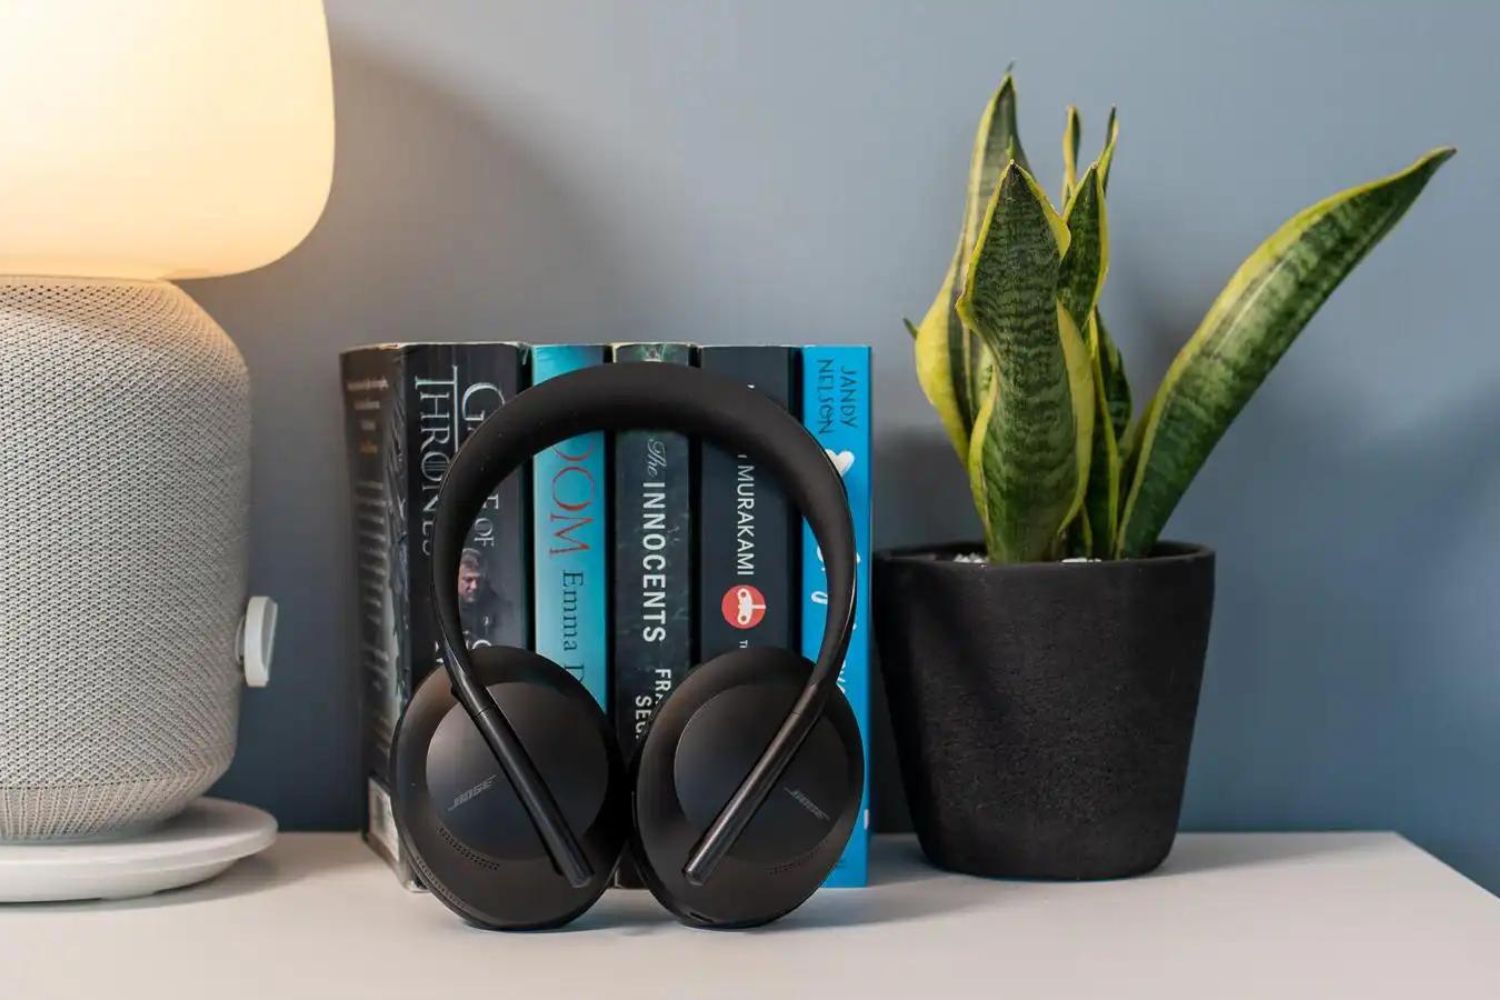
Introduction
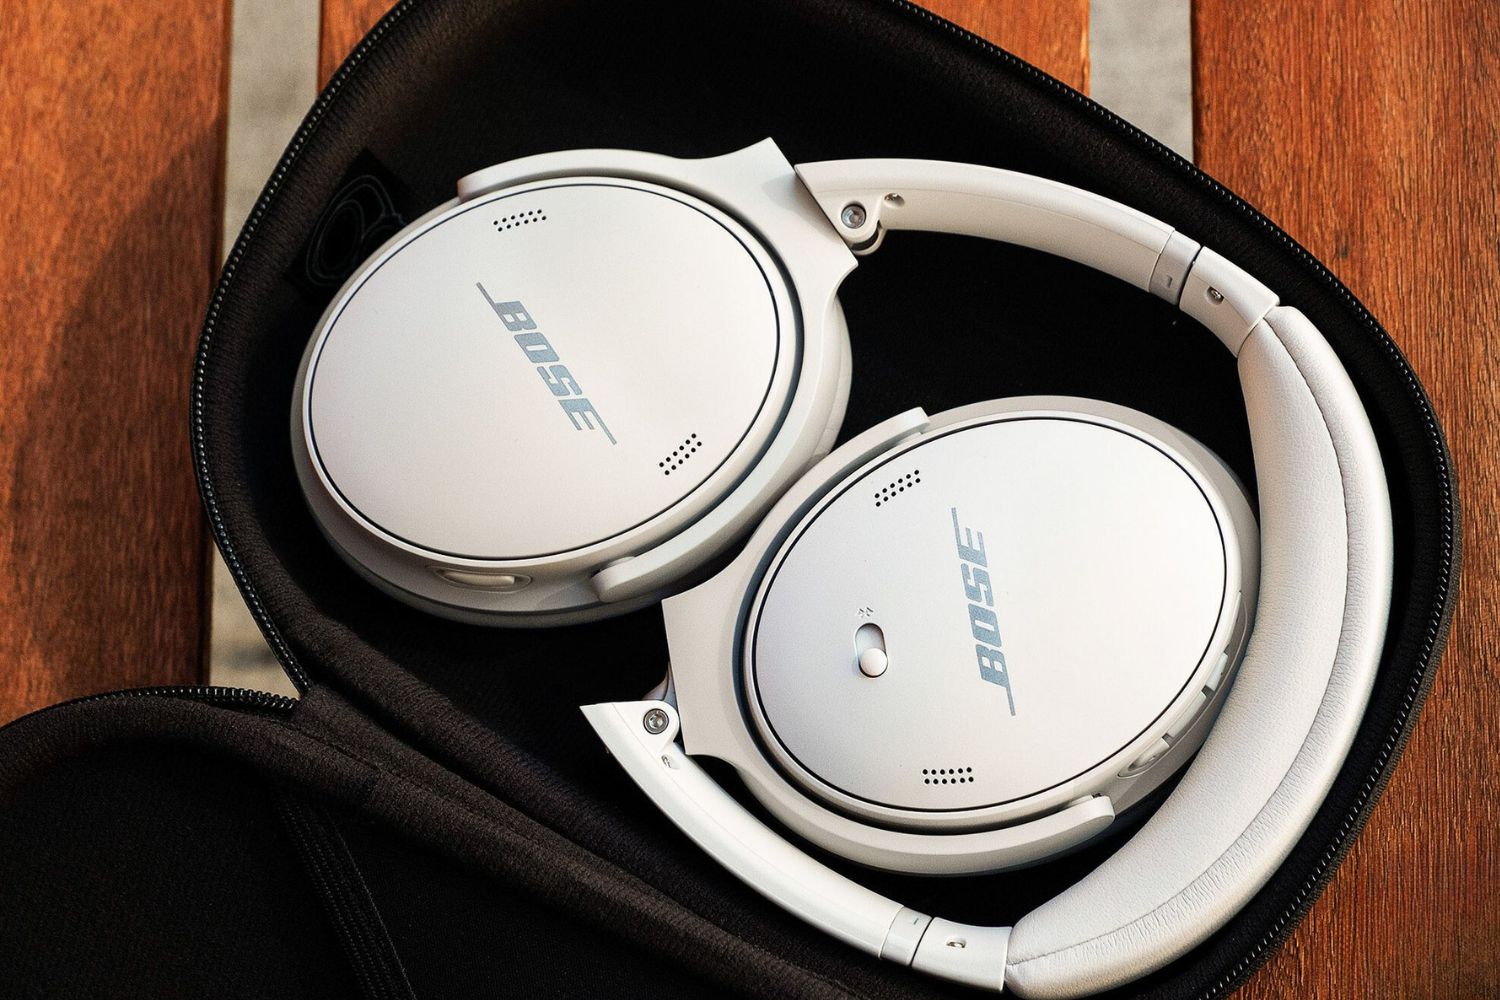
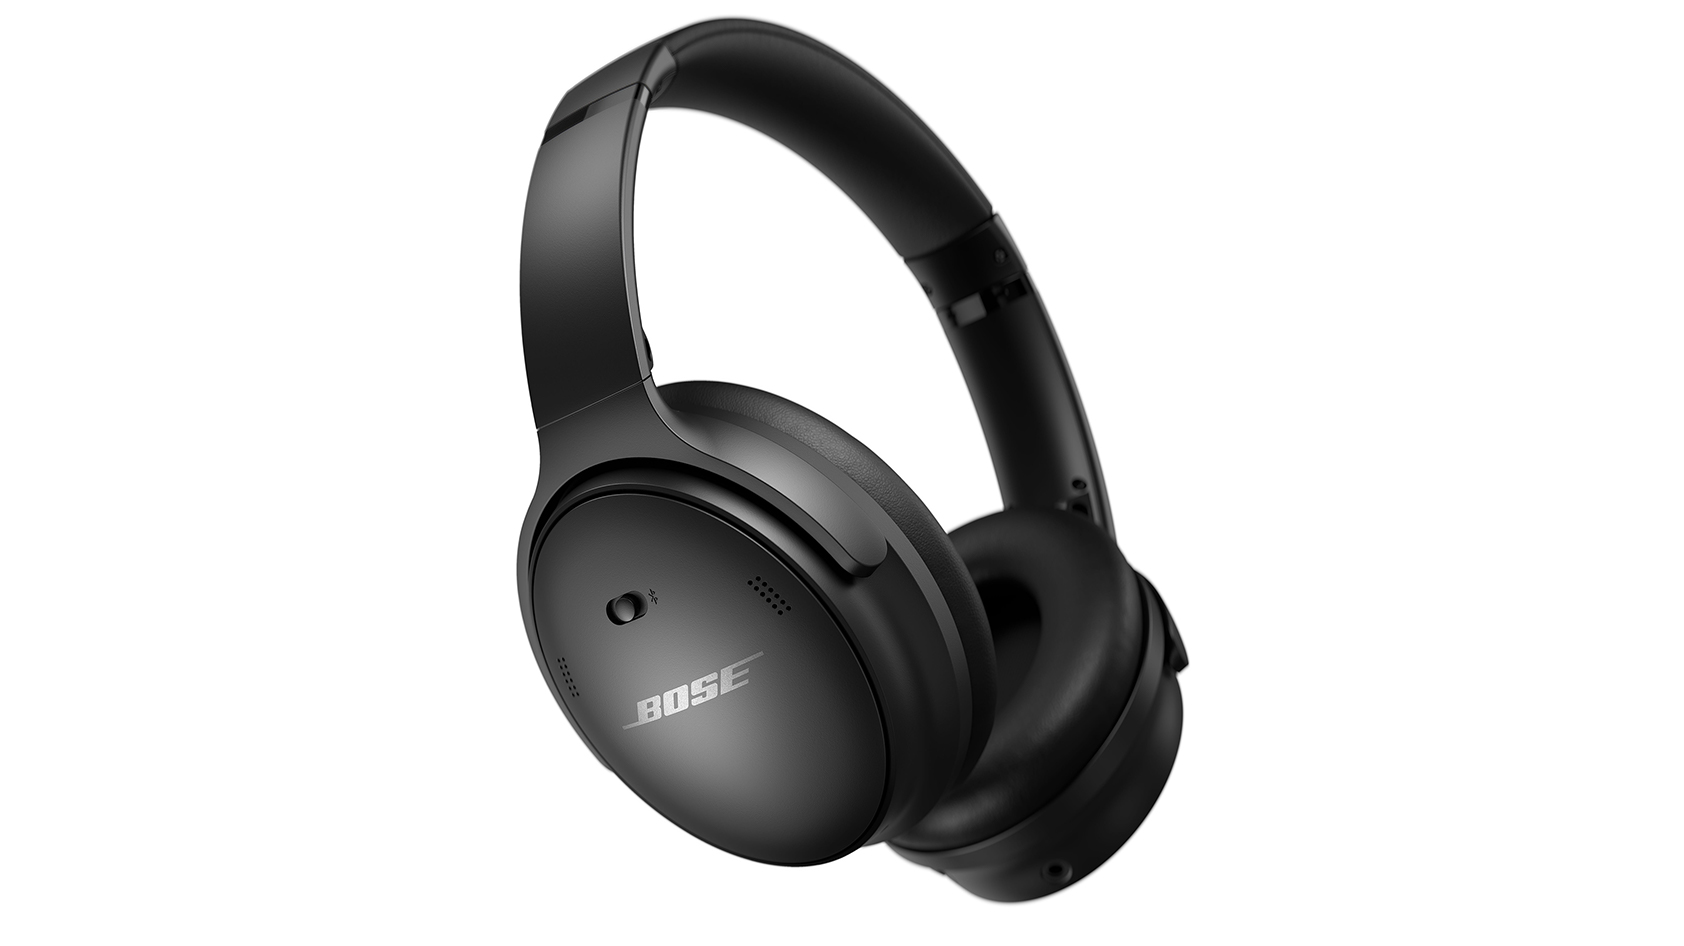
Welcome to this guide on how to clean your Bose Noise Cancelling Headphones. Whether you use them for your daily commute, during workouts, or while traveling, it’s essential to keep your headphones clean to ensure optimal performance and longevity.
Bose Noise Cancelling Headphones are known for their high-quality sound and advanced noise cancellation technology. However, with regular use, dirt, sweat, and oils from your skin can accumulate on the ear cushions, headband, and ear cups, affecting both the comfort and audio quality. Cleaning your headphones regularly not only helps maintain their appearance but also ensures that they continue to provide you with an immersive audio experience.
In this guide, we will walk you through the step-by-step process of cleaning your Bose Noise Cancelling Headphones to help you keep them in pristine condition. We will cover the necessary tools and techniques required to clean the different parts of the headphones effectively. By following these cleaning instructions, you can enjoy crystal-clear sound and extend the lifespan of your cherished headphones.
So, let’s get started and discover the best practices for keeping your Bose Noise Cancelling Headphones clean and well-maintained!
Why cleaning your Bose Noise Cancelling Headphones is important
Keeping your Bose Noise Cancelling Headphones clean is essential for several reasons. Here are a few key reasons why regular cleaning is important:
- Prolonged lifespan: Cleaning your headphones regularly helps prevent the buildup of dirt, dust, and debris that can clog the speaker drivers and affect sound quality. By maintaining a clean and clear audio path, you can ensure that your headphones continue to deliver high-quality sound for an extended period.
- Improved audio performance: Over time, sweat, oils, and skin particles can accumulate on the ear cushions and ear cups, restricting the airflow and affecting the acoustic performance of the headphones. Cleaning removes these impurities, allowing for better sound reproduction and an enhanced listening experience.
- Hygiene and comfort: Headphones come in direct contact with our ears, making them prone to bacteria buildup and unpleasant odors. Regular cleaning helps remove sweat, oils, and germs from the ear cushions and headband, ensuring a more hygienic and comfortable listening experience.
- Avoid skin irritation: The materials used in headphone construction, such as foam or leather, can cause skin irritation if not properly cleaned. Regular cleaning helps prevent the accumulation of dirt and oils, reducing the risk of skin irritation, redness, and rashes.
- Preserve the aesthetic appeal: Bose Noise Cancelling Headphones are not only functional but also stylish. Keeping them clean maintains their visual appeal, ensuring that they look as good as they sound. With regular cleaning, you can prevent discoloration, stains, and wear and tear that can detract from the overall aesthetic of your headphones.
By understanding the importance of cleaning your Bose Noise Cancelling Headphones, you can ensure that they remain in optimal condition, providing you with an exceptional listening experience every time you put them on.
Things you will need for cleaning
Before you start cleaning your Bose Noise Cancelling Headphones, gather the following items:
- Mild detergent or cleaning solution: Choose a mild detergent or cleaning solution that is safe for use on delicate surfaces. Avoid using harsh chemicals or abrasive cleaners, as they can damage the headphone materials.
- Soft, lint-free cloth: Use a soft cloth that won’t leave scratches or lint behind. Microfiber cloths are ideal for cleaning headphones as they are gentle on the surfaces and highly absorbent.
- Cotton swabs or toothbrush: Cotton swabs or a soft-bristled toothbrush can be used to clean hard-to-reach areas and remove stubborn dirt or grime.
- Isopropyl alcohol: Isopropyl alcohol can be used to sanitize the headphone surfaces and remove any bacteria or germs. Make sure to dilute the alcohol with water to avoid any damage.
- Compressed air canister: A compressed air canister or blower can help remove dust, lint, and debris from hard-to-reach areas, such as the crevices around the ear cups.
- Plastic bag or container: Keep a plastic bag or container handy to hold small parts or screws during the cleaning process. This will prevent them from getting lost or misplaced.
By having these items ready, you will be fully equipped to effectively clean your Bose Noise Cancelling Headphones and ensure they are free from dirt, grime, and bacteria.
Step-by-step guide to clean your Bose Noise Cancelling Headphones
Now that you have gathered the necessary tools and cleaning supplies, follow these step-by-step instructions to clean your Bose Noise Cancelling Headphones:
- Prepare the headphones: Before you begin cleaning, turn off your headphones and disconnect any cables. If the ear cushions are removable, carefully detach them from the ear cups.
- Clean the ear cushions: Gently wipe the ear cushions using a soft cloth lightly dampened with a mild detergent solution. Be careful not to wet the cushions excessively, as this can damage the internal components. Dry the cushions thoroughly before reattaching them.
- Clean the headband: Using the same cloth and cleaning solution, wipe down the headband to remove any dirt or oils. Pay attention to the areas that come into contact with your skin, as they are more likely to accumulate sweat and oils. Wipe off any excess moisture with a dry cloth.
- Clean the ear cups: Use a soft cloth or cotton swab dipped in the cleaning solution to gently wipe the ear cups. Pay close attention to the crevices and seams where dirt and grime can accumulate. Avoid using excessive moisture and ensure the ear cups are dry before reassembling the headphones.
- Clean the exterior of the headphones: Use a soft cloth lightly soaked in a solution of isopropyl alcohol and water (diluted in a 1:1 ratio) to wipe the exterior surfaces of the headphones. This will sanitize the headphones and remove any bacteria. Dry off any excess moisture with a clean, dry cloth.
- Reassemble the headphones: Once all the parts are dry, reattach the ear cushions to the ear cups. Make sure they are securely in place. If your headphones have any additional attachments or accessories, such as detachable cables or other components, ensure they are properly reconnected.
- Final inspection: Give your headphones a final visual inspection to ensure they are clean and dry. Check for any remaining dirt or smudges and clean them as necessary. Also, inspect the cables and connectors for any damage or wear and replace them if needed.
Following these steps will help you maintain the cleanliness and functionality of your Bose Noise Cancelling Headphones, ensuring that they continue to provide you with exceptional audio quality and comfort.
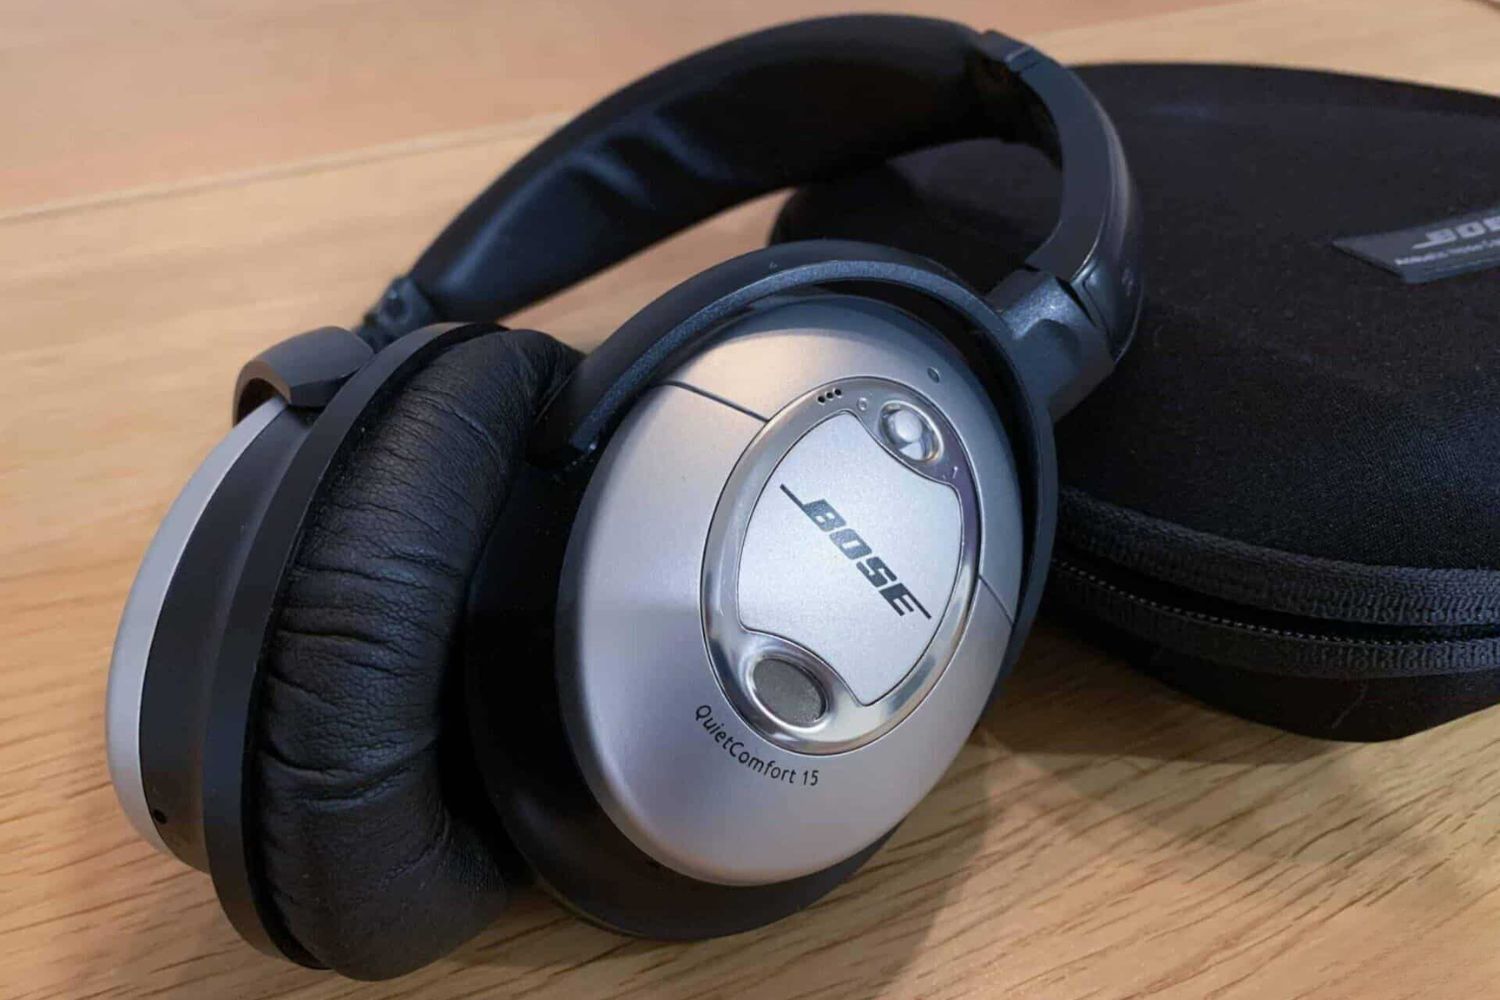
Cleaning the ear cushions
The ear cushions of your Bose Noise Cancelling Headphones are in direct contact with your ears and can accumulate sweat, oils, and dirt over time. It’s important to clean them regularly to maintain their comfort and hygiene. Follow these steps to clean the ear cushions:
- Remove the ear cushions: If your headphones have detachable ear cushions, carefully remove them from the ear cups. Refer to the manufacturer’s instructions if needed.
- Prepare a cleaning solution: Mix a small amount of mild detergent with warm water in a bowl. Ensure that the detergent is gentle and free from harsh chemicals that can damage the cushions.
- Wipe the cushions: Dip a soft cloth or sponge into the cleaning solution and wring out any excess liquid. Gently wipe the ear cushions, ensuring that you cover the entire surface. Pay close attention to areas with visible dirt or stains.
- Remove stubborn stains: For tough stains or buildup, use a soft-bristled toothbrush or a cotton swab dipped in the cleaning solution. Gently scrub the affected areas in a circular motion to dislodge dirt or grime.
- Rinse and dry: Once you have cleaned the ear cushions, rinse them thoroughly with clean water to remove any leftover detergent. Squeeze out any excess water and pat them dry with a clean, lint-free cloth. Avoid wringing or twisting the cushions, as this can damage their shape and material.
- Air dry: Place the ear cushions in a well-ventilated area and allow them to air dry completely. Avoid using a hairdryer or placing them near a heat source, as this can cause damage. Ensure that the cushions are completely dry before reattaching them to the ear cups.
- Inspect and reattach: Give the ear cushions a final inspection to ensure they are clean and dry. Check for any remaining stains or residue and repeat the cleaning process if necessary. Once they are completely dry, securely reattach the ear cushions to the ear cups.
By regularly cleaning the ear cushions of your Bose Noise Cancelling Headphones, you can maintain their hygiene, comfort, and prolong their lifespan, ensuring an enjoyable and hassle-free listening experience.
Cleaning the headband
The headband of your Bose Noise Cancelling Headphones is a crucial part that contributes to both comfort and style. Over time, it can accumulate sweat, oils, and dirt, necessitating regular cleaning. Here’s how to clean the headband:
- Prepare a cleaning solution: Mix a small amount of mild detergent with warm water in a bowl. Ensure that the detergent is gentle and free from harsh chemicals that can damage the headband material.
- Gently wipe the headband: Dip a soft cloth or sponge in the cleaning solution and wring out any excess liquid. Wipe the headband, paying close attention to areas that come into contact with your skin, as these areas are more likely to accumulate sweat and oils. Be gentle to avoid excessive moisture absorption or possible damage to the headband.
- Remove stubborn stains: For stubborn stains or grime, use a soft-bristled toothbrush or a cotton swab dipped in the cleaning solution. Gently scrub the affected areas in a circular motion to loosen and remove the dirt. Take care not to apply too much pressure to avoid damaging the headband.
- Clean the underside of the headband: Flip your headphones upside down to expose the underside of the headband. Use the same soft cloth or sponge and cleaning solution to wipe this area, removing any dirt or oil residue that may have accumulated.
- Dry the headband: After cleaning, use a clean, dry cloth to remove any excess moisture from the headband. Gently pat it dry and allow it to air dry completely before using the headphones again. Avoid using a hairdryer or placing the headphones near a heat source, as this can cause damage to the headband material.
- Final inspection: Once the headband is dry, give it a final inspection to ensure it is clean and free from stains or residue. If you notice any remaining dirt or marks, repeat the cleaning process as necessary until the headband looks clean and fresh.
By regularly cleaning the headband of your Bose Noise Cancelling Headphones, you can keep it in good condition, maintain its appearance, and enhance the overall comfort of the headphones.
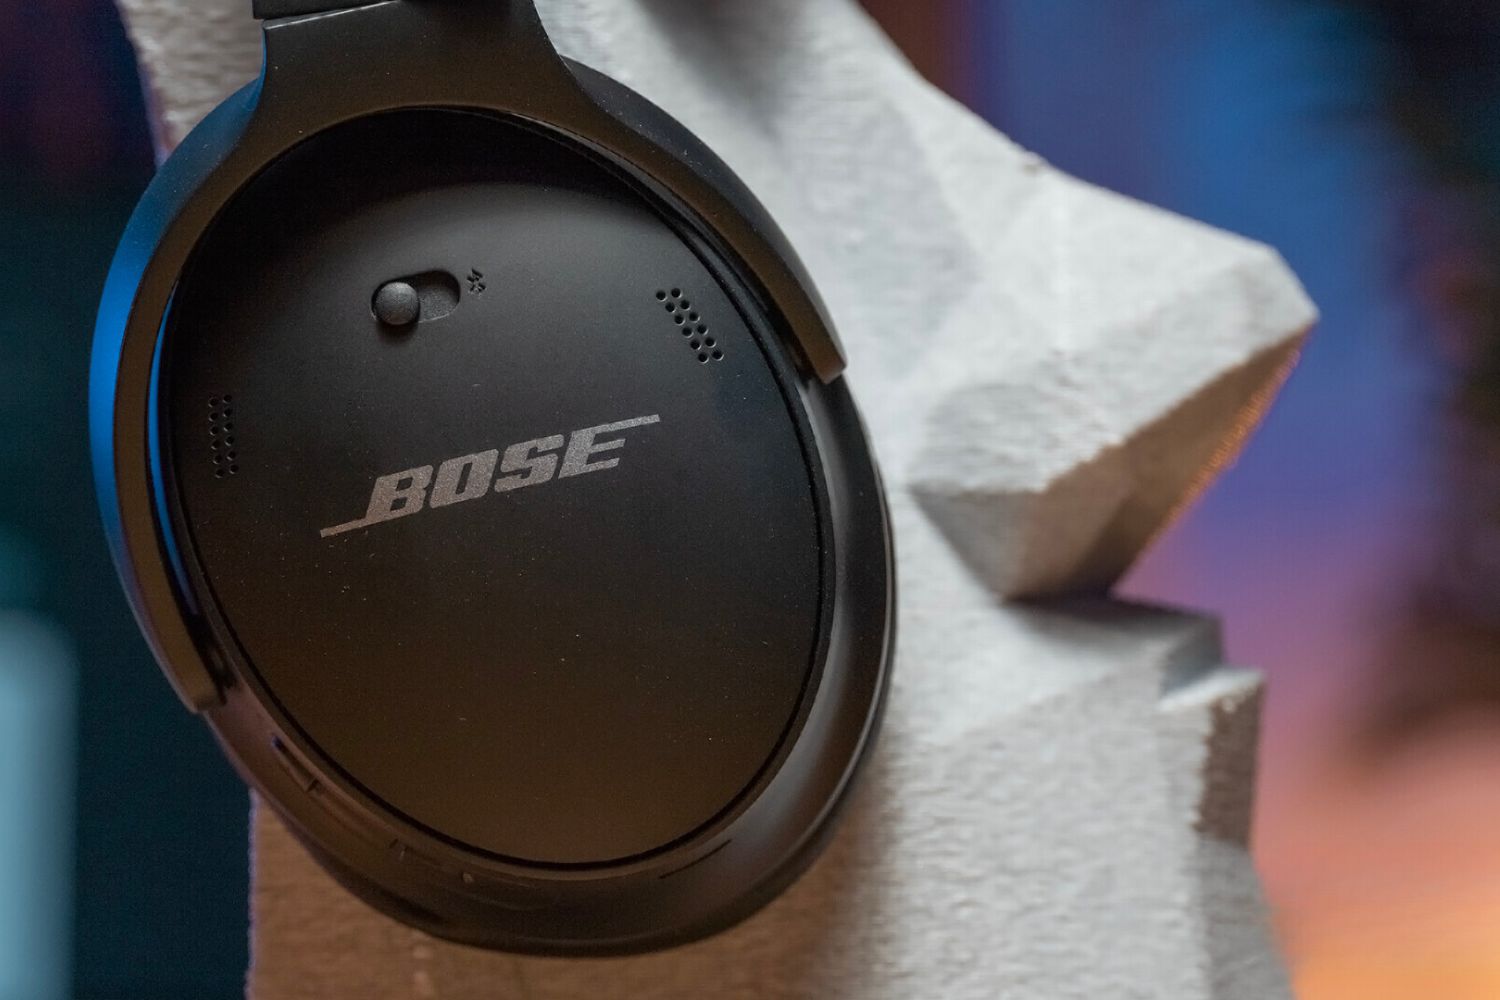
Cleaning the ear cups
The ear cups of your Bose Noise Cancelling Headphones can accumulate dirt, oils, and debris over time, impacting their appearance and sound performance. Regular cleaning of the ear cups is important to maintain their cleanliness and ensure optimal audio quality. Follow these steps to clean the ear cups:
- Prepare a cleaning solution: In a bowl, mix a mild detergent with warm water. Make sure the detergent is gentle and does not contain harsh chemicals that can damage the ear cup material.
- Gently wipe the ear cups: Dip a soft cloth or sponge into the cleaning solution and wring out any excess liquid. Carefully wipe the surface of the ear cups, covering all areas. Pay particular attention to the crevices and seams where dirt and grime can accumulate.
- Remove stubborn dirt: For stubborn dirt or buildup, use a cotton swab or a soft-bristled toothbrush dipped in the cleaning solution. Gently scrub the affected areas in a circular motion to loosen and remove the dirt or grime. Be careful not to apply too much pressure to avoid damaging the ear cups.
- Rinse and dry: Once you have cleaned the ear cups, rinse them thoroughly with clean water to remove any residual soap or detergent. Squeeze out any excess water and pat dry with a clean, lint-free cloth. Ensure that the ear cups are completely dry before reassembling the headphones.
- Air dry: Place the ear cups in a well-ventilated area and allow them to air dry completely. Avoid using a hairdryer or exposing them to direct heat sources, as this can cause damage to the materials. Ensure that the ear cups are completely dry before reattaching them to the headphones.
- Final inspection: Give the ear cups a final visual inspection to ensure they are clean and free from any dirt, stains, or residue. If necessary, repeat the cleaning process for any stubborn or missed spots. Once they are dry and thoroughly cleaned, reattach the ear cups to the headphones.
By regularly cleaning the ear cups of your Bose Noise Cancelling Headphones, you can maintain their appearance, prevent the buildup of dirt and oils, and ensure optimal sound quality for your listening enjoyment.
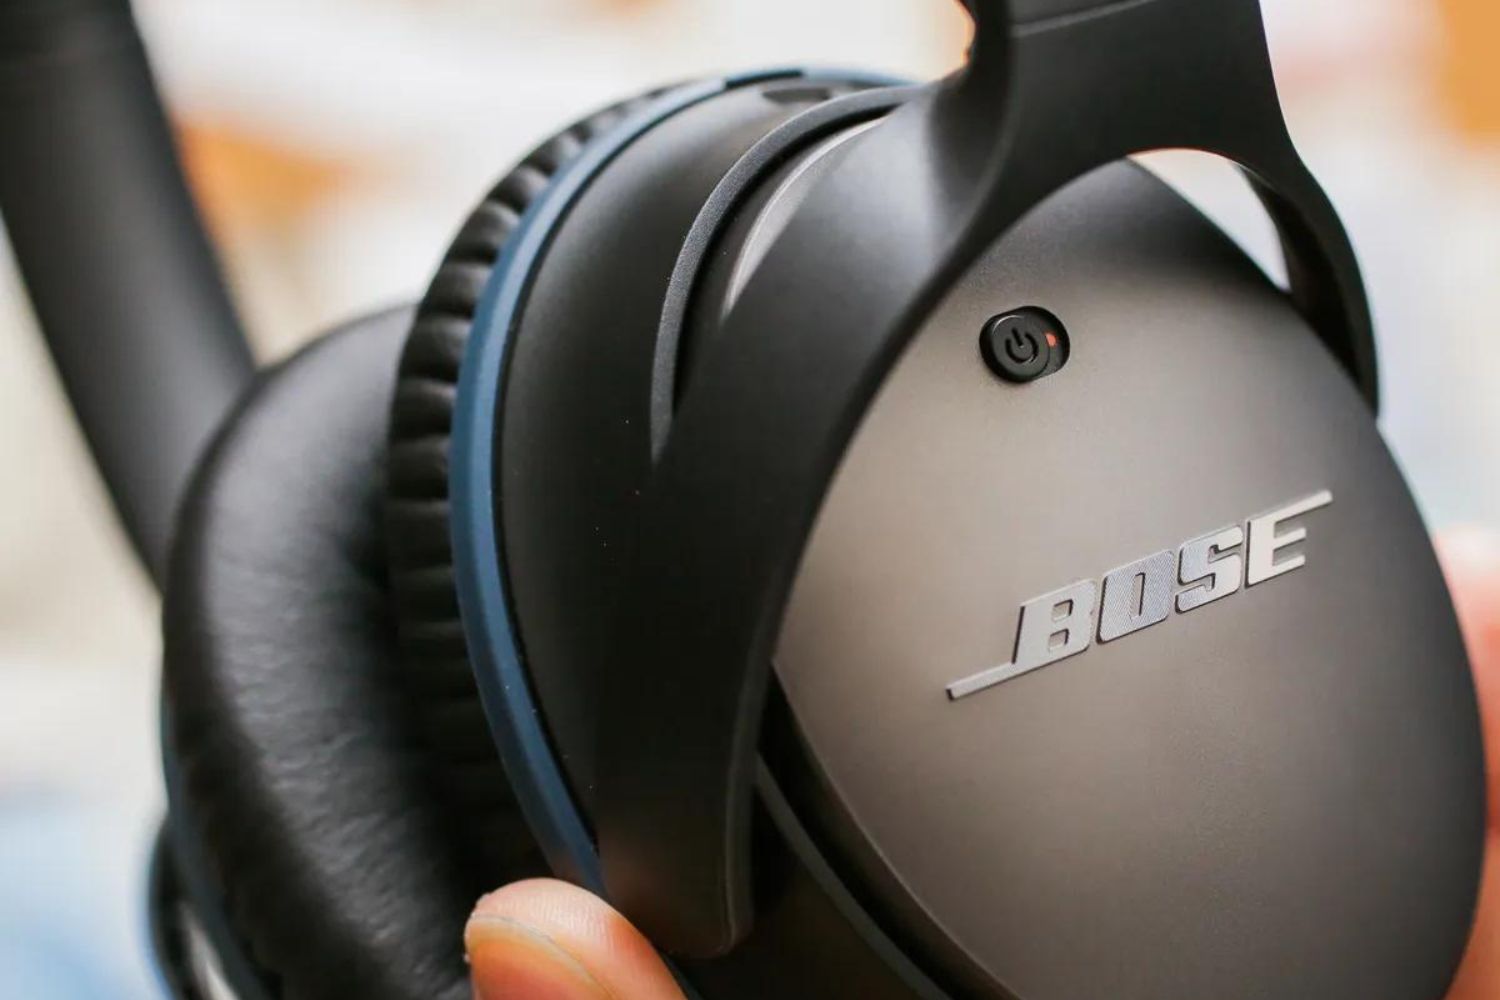
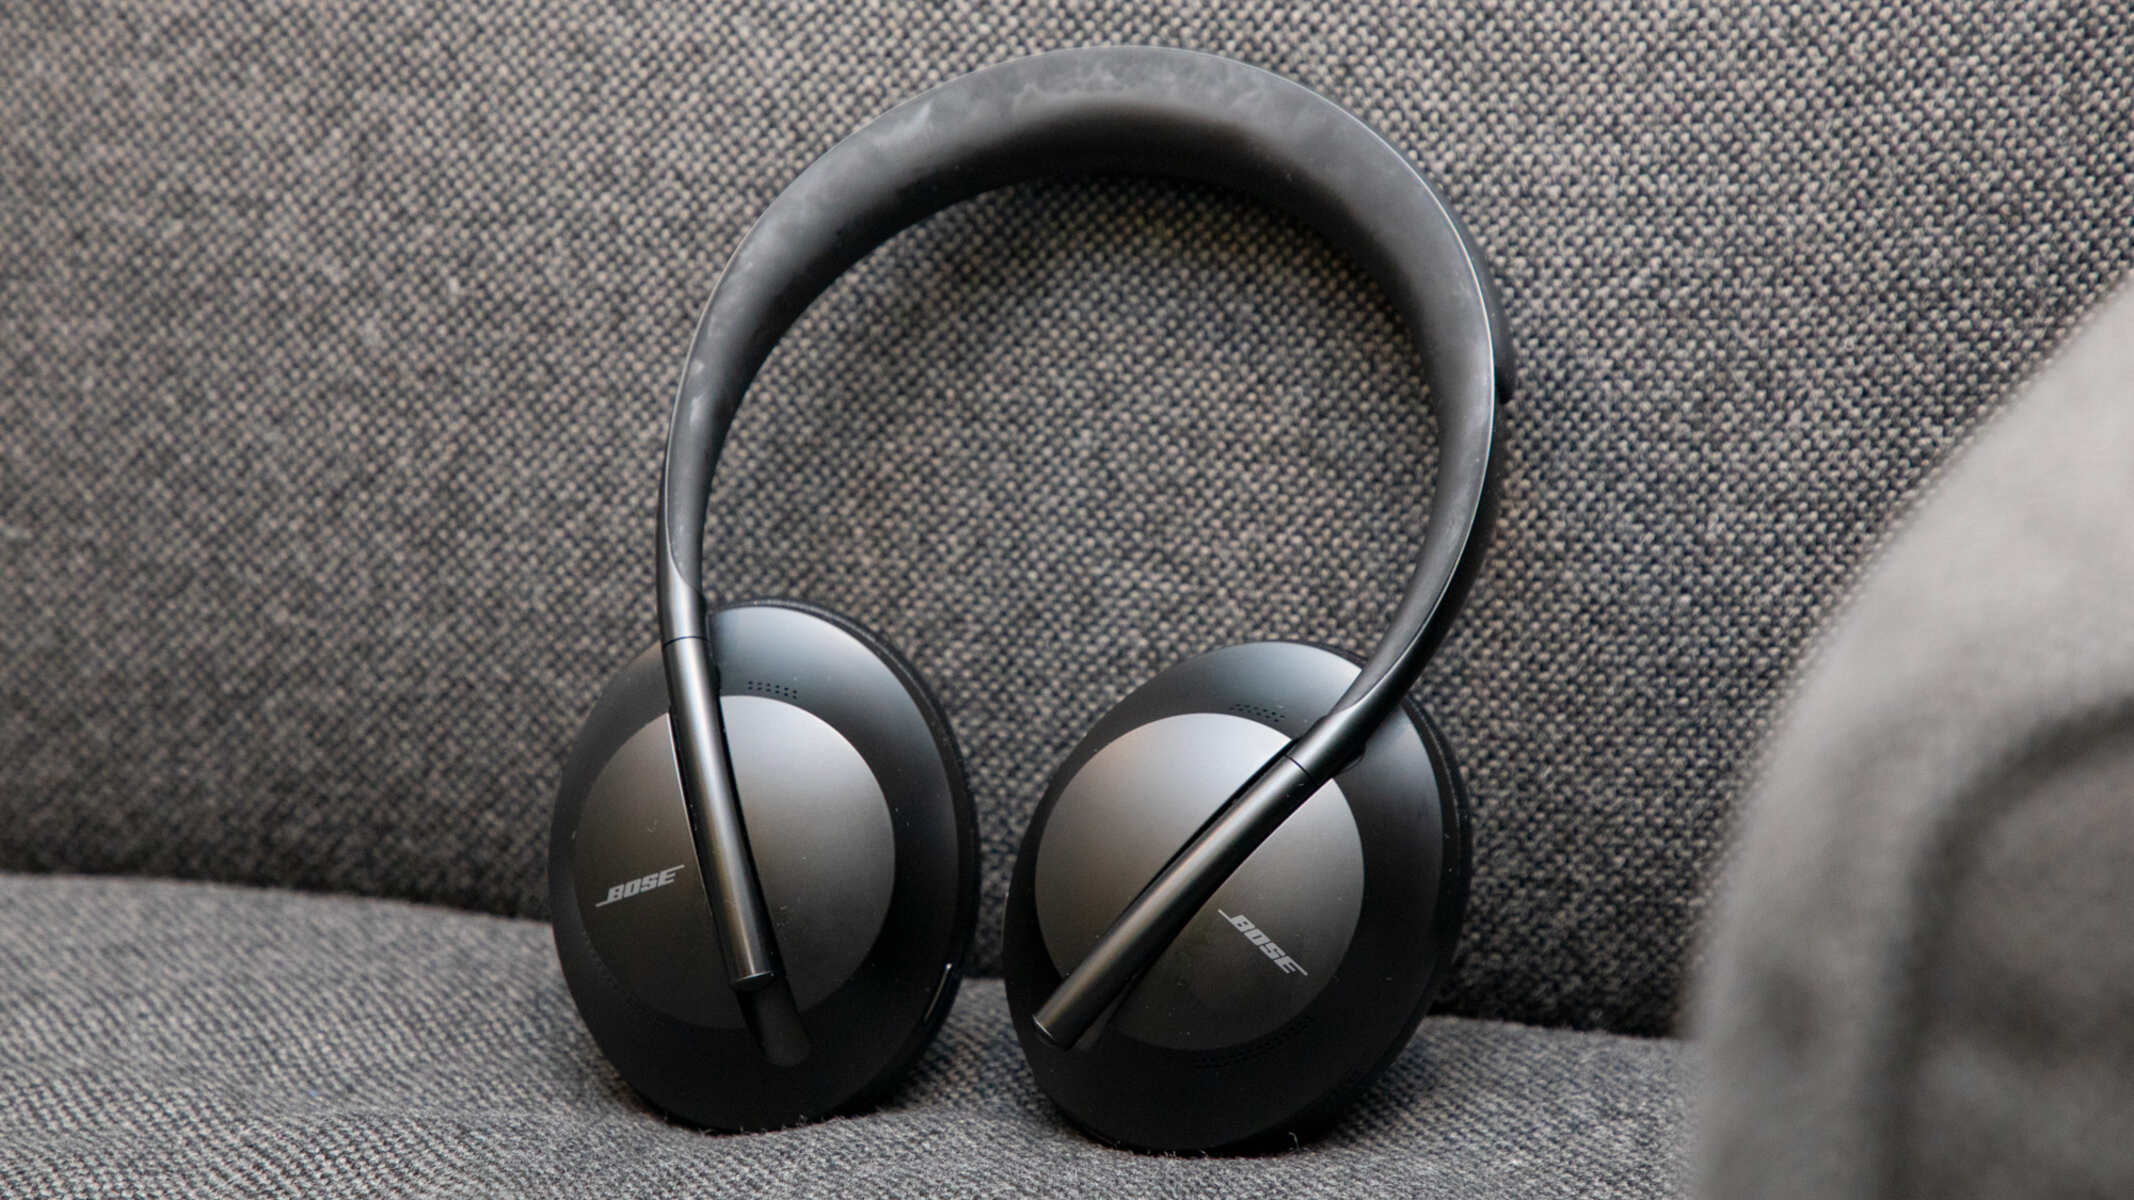
Cleaning the exterior of the headphones
In addition to cleaning the ear cushions, headband, and ear cups, it’s important to clean the exterior surfaces of your Bose Noise Cancelling Headphones. Here’s how you can effectively clean the exterior of your headphones:
- Prepare a cleaning solution: In a small bowl, mix equal parts of isopropyl alcohol and water to create a diluted cleaning solution. This solution will help sanitize the surfaces of the headphones.
- Gently wipe the surfaces: Dip a soft cloth or sponge into the cleaning solution and wring out any excess liquid. Wipe the exterior surfaces of the headphones, including the plastic or metal areas, using gentle strokes. Avoid getting any liquid into the headphone drivers or ports.
- Focus on crevices and seams: Pay extra attention to the crevices, seams, and any small areas that may accumulate dirt or grime. Use a cotton swab or a soft-bristled toothbrush dipped in the cleaning solution to clean these hard-to-reach spots.
- Dry the surfaces: After wiping the surfaces with the cleaning solution, use a clean, dry cloth to remove any excess moisture. Gently pat dry the headphone exterior, ensuring that no liquid remains on the surface.
- Inspect and polish: Take a close look at the headphone exterior to ensure it is clean and free from any marks or residue. If necessary, repeat the cleaning process for any stubborn dirt or stains. You can also use a specialized headphone cleaner or polish to give the surfaces a gentle shine.
By regularly cleaning the exterior of your Bose Noise Cancelling Headphones, you can keep them looking clean and fresh while also ensuring proper hygiene. This cleaning routine will help maintain the overall appearance of your headphones and contribute to a more enjoyable and satisfying listening experience.
Tips for maintaining the cleanliness of your Bose Noise Cancelling Headphones
Keeping your Bose Noise Cancelling Headphones clean not only enhances their appearance but also ensures optimal performance and longevity. Here are some tips to help you maintain the cleanliness of your headphones:
- Regularly wipe down your headphones: Foster a habit of wiping down your headphones after each use. This will help remove any surface oils, dirt, or sweat that may have accumulated during your listening session.
- Store your headphones properly: When you’re not using your headphones, store them in a clean and dry case or pouch. This protects them from dust, dirt, and potential damage.
- Avoid using harsh chemicals: Stick to mild cleaning solutions and avoid using harsh chemicals or abrasive cleaners, as they can damage the materials and finishes of your headphones.
- Take care of the cables: Keep the cables of your headphones clean by wiping them down regularly with a soft, damp cloth. Avoid using excessive moisture or submerging the cables in water.
- Remove earwax regularly: If you notice earwax build-up on the ear cushions or ear cups, gently remove it using a soft cloth or cotton swab. Be careful not to push the earwax further into the headphone drivers.
- Keep headphones away from excessive moisture: Avoid exposing your headphones to excessive moisture, as it can damage the internal components. This includes using them in heavy rain or high-humidity environments.
- Replace worn-out parts: Over time, ear cushions or cables may wear out or become damaged. Check them regularly and replace them if necessary, following the manufacturer’s guidelines or contacting Bose support for assistance.
- Follow the manufacturer’s instructions: Consult the user manual or visit the official Bose website for specific cleaning and maintenance instructions. Following the manufacturer’s guidelines ensures you take the best care of your headphones.
By implementing these tips, you can maintain the cleanliness and longevity of your Bose Noise Cancelling Headphones. Keeping them clean and well-maintained will ensure a fantastic audio experience every time you put them on.
Conclusion
Cleaning your Bose Noise Cancelling Headphones is an important routine to maintain their performance, comfort, and longevity. Regular cleaning helps remove dirt, sweat, oils, and other impurities that can accumulate on the ear cushions, headband, ear cups, and exterior surfaces of the headphones. By following the step-by-step cleaning process outlined in this guide, you can keep your headphones in pristine condition and prolong their lifespan.
Remember to gather the necessary tools and cleaning supplies before you begin. Use mild detergent solutions, soft cloths, cotton swabs, and isopropyl alcohol to clean different parts of the headphones effectively. Take care to avoid excessive moisture, harsh chemicals, and submerging the headphones in water, as these can damage the internal components.
In addition to regular cleaning, implementing good maintenance practices will help ensure the cleanliness of your headphones. Storing them properly, wiping them down after each use, and replacing worn-out parts are all important steps to maintain their hygiene and appearance.
By prioritizing the cleanliness of your Bose Noise Cancelling Headphones, you can enjoy an immersive audio experience, extend their lifespan, and keep them looking and feeling as good as new. So, make cleaning your headphones a regular part of your routine and elevate your listening experience to new heights!