Introduction
Who doesn’t love indulging in a refreshing scoop of ice cream on a hot summer day? Unfortunately, traditional store-bought ice cream can be packed with artificial ingredients, excessive sugar, and unhealthy fats. The good news is that you can enjoy the delectable taste of ice cream guilt-free by making it at home using an ice cream maker. In this article, we will guide you through the process of making healthy ice cream using an ice cream maker, ensuring that you have complete control over the ingredients and can customize it to suit your dietary preferences and needs.
By making your own ice cream, you can choose high-quality ingredients, opt for natural sweeteners, and experiment with various flavors and mix-ins. Whether you’re following a specific diet or simply trying to make healthier choices, making ice cream at home allows you to create a delicious treat that is good for both your taste buds and overall well-being.
In the sections that follow, we will walk you through the step-by-step process of making healthy ice cream in an ice cream maker. From selecting the right ingredients to churning the perfect consistency, we’ve got you covered. So, grab your favorite ice cream maker, put on your apron, and let’s get churning!
Choosing the Right Ingredients
When it comes to making healthy ice cream, the first step is selecting the right ingredients. By choosing wholesome and nutritious options, you can ensure that your homemade ice cream is not only delicious but also good for you. Here are some key considerations when selecting your ingredients:
- Base Ingredients: Start by choosing a high-quality base for your ice cream. Instead of heavy cream, opt for alternatives such as coconut milk, almond milk, or Greek yogurt. These options are lower in saturated fat and calories, making them ideal for a healthier treat.
- Sweeteners: Replace refined sugar with natural sweeteners like honey, maple syrup, or stevia. These options add sweetness without the negative effects of processed sugars.
- Flavorings: Experiment with natural flavorings to enhance the taste of your ice cream. Extracts like vanilla, almond, or peppermint can add a delightful aroma without any additional calories.
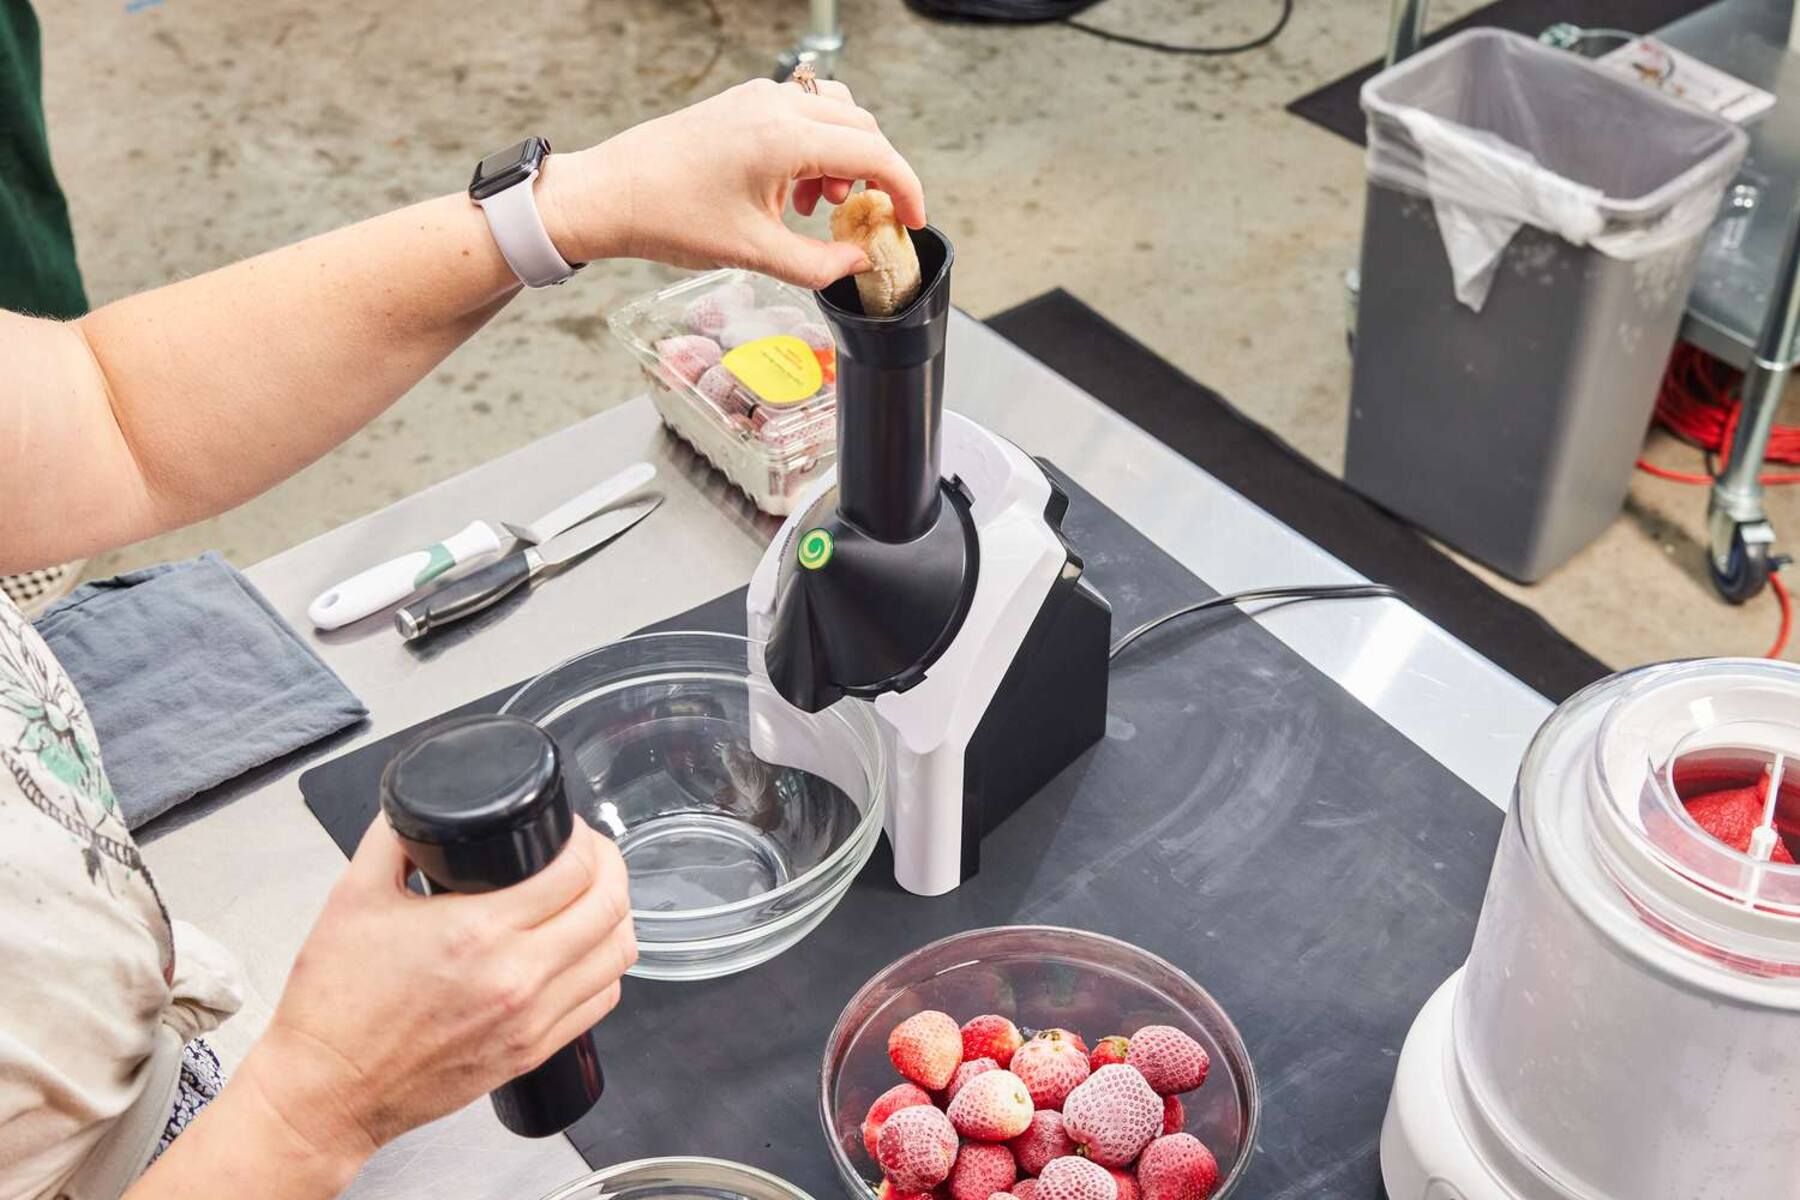
- Fresh Fruits: Incorporate fresh fruits into your ice cream for added vitamins and minerals. Berries, mangoes, and bananas are excellent choices that lend natural sweetness and a burst of flavor.
- Mix-ins: Get creative with mix-ins to add texture and excitement to your ice cream. Chopped nuts, dark chocolate chips, shredded coconut, or crushed cookies are great options that provide a satisfying crunch.
By carefully selecting these ingredients, you can create a healthier ice cream that doesn’t compromise on taste. Consider your dietary needs and preferences when choosing the base, sweeteners, and mix-ins, and have fun experimenting with unique flavor combinations.
Preparing the Ice Cream Base
Once you have gathered all the necessary ingredients, it’s time to prepare the ice cream base. The base serves as the foundation of your ice cream and determines its texture and creaminess. Here’s a step-by-step process to prepare the perfect ice cream base:
- Measure and Mix: Begin by measuring the ingredients according to your chosen recipe. Combine the base ingredients such as coconut milk or Greek yogurt with the sweetener in a mixing bowl. Whisk or blend the mixture until it is well combined and smooth.
- Add Flavorings: If you want to add extra flavorings such as vanilla extract or cocoa powder, this is the time to do so. Stir in the desired flavorings into the ice cream base, ensuring they are evenly incorporated.
- Taste and Adjust: Before moving on, it’s essential to taste the ice cream base. Adjust the sweetness or add more flavorings if needed, keeping in mind that the taste will slightly mellow when frozen.
- Chill the Mixture: Cover the ice cream base with plastic wrap or transfer it to a lidded container. Refrigerate the mixture for a minimum of 2 hours or overnight. This chilling process allows the flavors to meld together and helps the mixture to properly freeze during the churning process.
Remember, the key to a smooth and creamy ice cream is ensuring that the ingredients are well mixed and chilled. Take your time to follow these steps, and you’ll be rewarded with a delightful homemade treat.
Adding Flavor and Mix-ins
One of the most exciting parts of making homemade ice cream is the opportunity to experiment with various flavors and mix-ins. By adding different ingredients, you can create unique and personalized ice cream creations. Here’s how to enhance the flavor and incorporate mix-ins into your ice cream:
- Extracts and Spices: Enhance the flavor of your ice cream by adding extracts such as vanilla, almond, or mint. A little goes a long way, so start with a small amount and gradually adjust to your taste. You can also experiment with spices like cinnamon or nutmeg for an extra kick.
- Fresh Fruit: Amp up the taste and natural sweetness of your ice cream by adding fresh fruit. Simply dice or puree the fruit of your choice and gently fold it into the chilled ice cream base before churning. Strawberries, peaches, and raspberries are popular choices for fruity ice cream flavors.
- Homemade Sauces: Create delicious swirls of flavor by incorporating homemade sauces. This could be caramel sauce, chocolate fudge, or even a fruit compote. Drizzle the desired amount over the churned ice cream during the freezing process and use a spoon or spatula to gently swirl it in.
- Mix-ins: Get creative with mix-ins to add texture and extra indulgence to your ice cream. Chopped nuts, crushed cookies, chocolate chips, or even chunks of your favorite candy can take your homemade ice cream to the next level. Add them during the last few minutes of churning to distribute them evenly throughout the mixture.
- Combining Flavors: Don’t be afraid to mix and match flavors to create exciting combinations. Layer different ice cream flavors or swirl them together for a marbled effect. The possibilities are endless, so let your imagination run wild!
Remember to keep the proportions in mind when adding flavorings and mix-ins. Be cautious not to overload the ice cream with too many ingredients, as it may affect the texture. Start with smaller amounts and adjust to your liking.
By adding your favorite flavors and mix-ins, you can truly personalize your homemade ice cream and satisfy your cravings with every spoonful.
Churning the Ice Cream
Now that your ice cream base is prepared and flavored, it’s time to churn it in the ice cream maker. Churning is an important step that incorporates air into the mixture, giving the ice cream its creamy and smooth texture. Here’s a step-by-step guide on how to churn your ice cream:
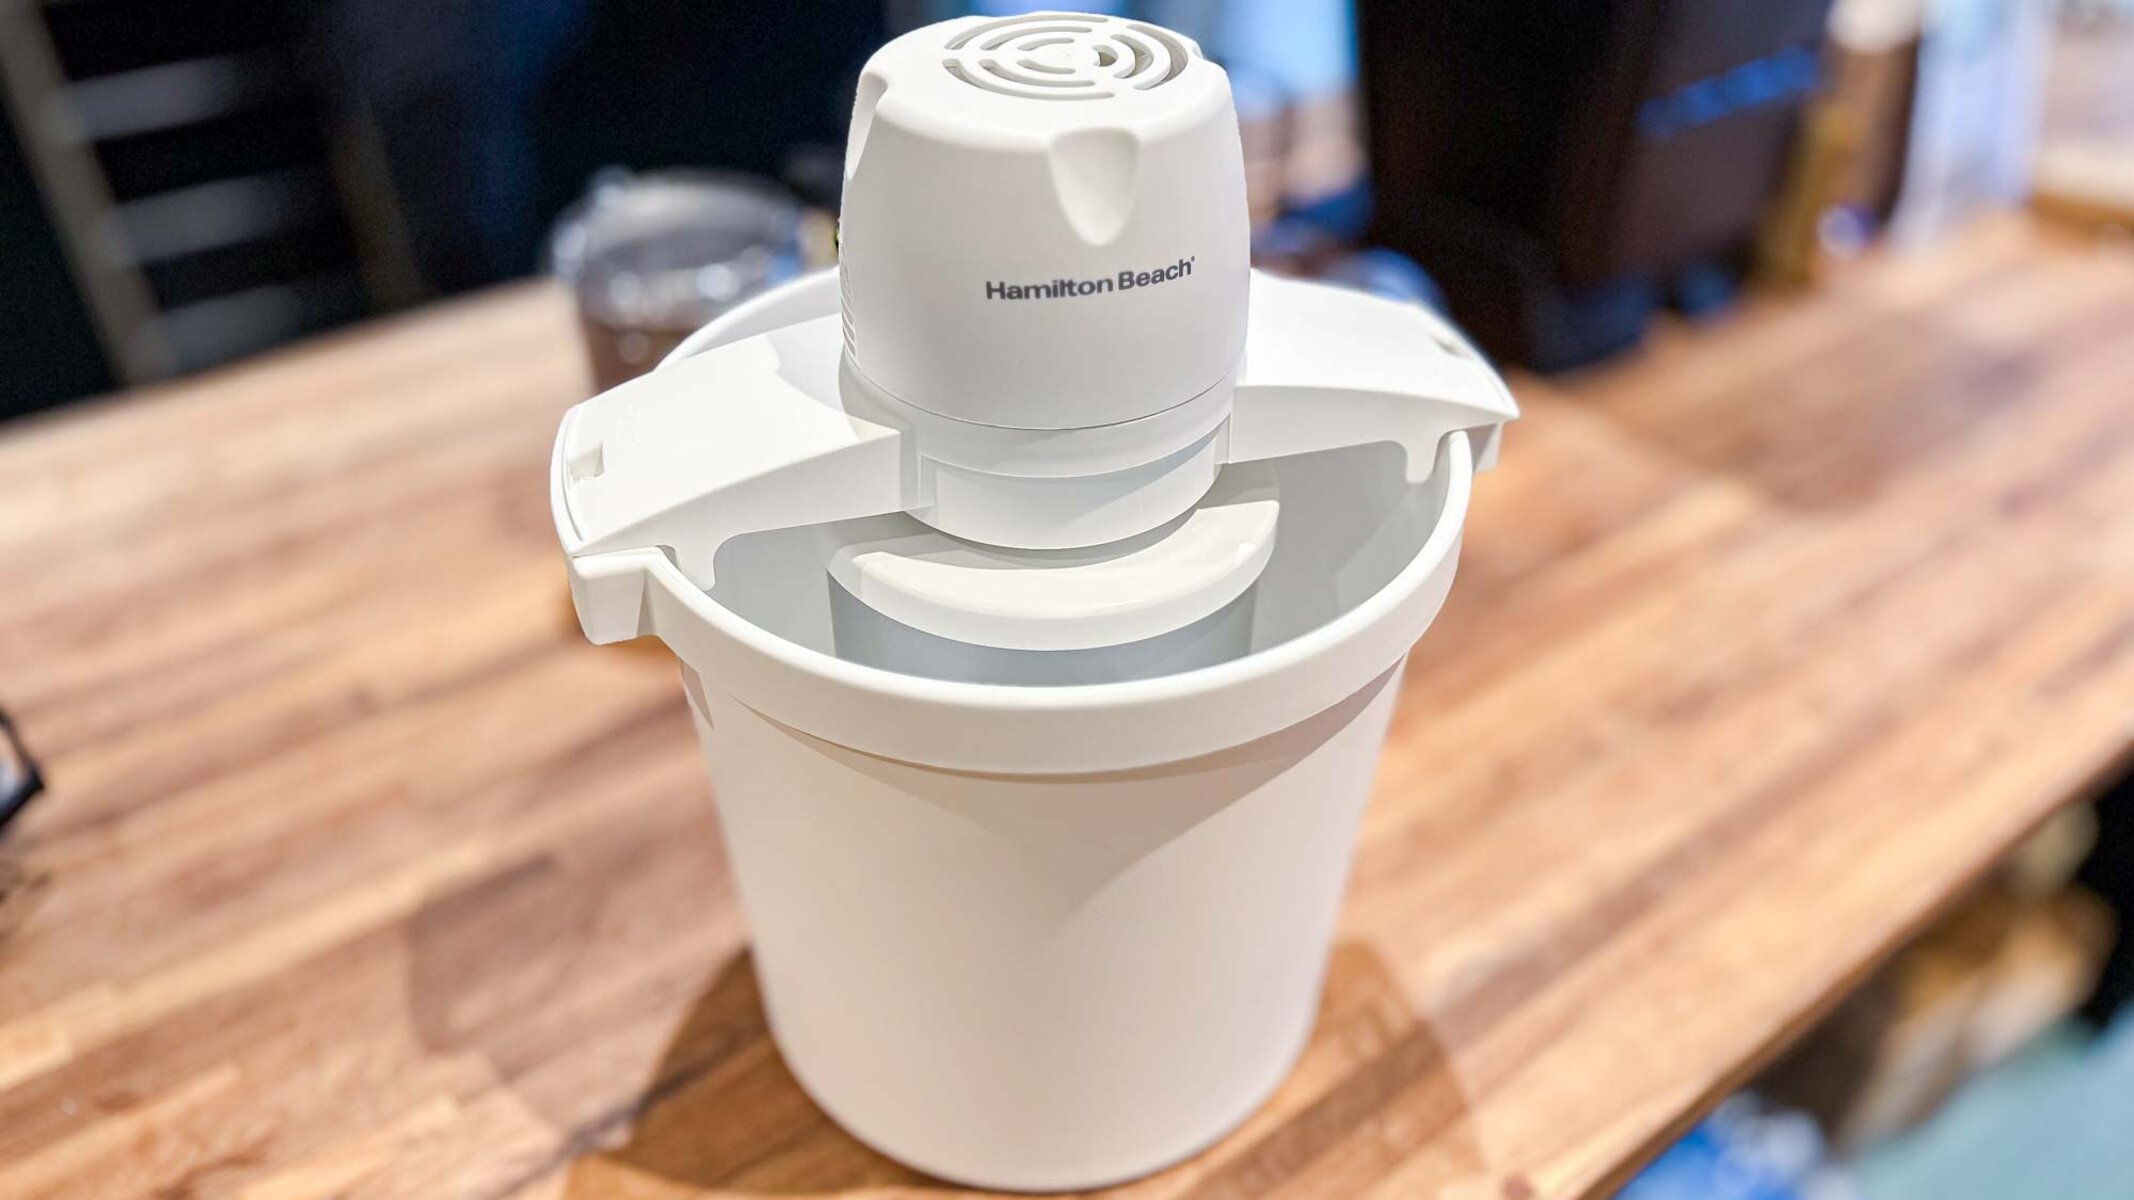
- Pre-freeze the Ice Cream Maker: Ensure that the bowl of your ice cream maker has been properly pre-frozen according to the manufacturer’s instructions. This typically takes around 12-24 hours in the freezer.
- Set Up the Ice Cream Maker: Assemble your ice cream maker and turn it on before pouring in the chilled ice cream base. This will allow the mixture to start freezing immediately.
- Pour the Ice Cream Base: Slowly and carefully pour the chilled ice cream base into the ice cream maker’s bowl while it’s running. The machine will slowly churn the mixture and begin freezing it.
- Follow the Manufacturer’s Instructions: Different ice cream makers have varying churning times, usually ranging from 20-40 minutes. Refer to the instruction manual that came with your machine for specific guidelines.
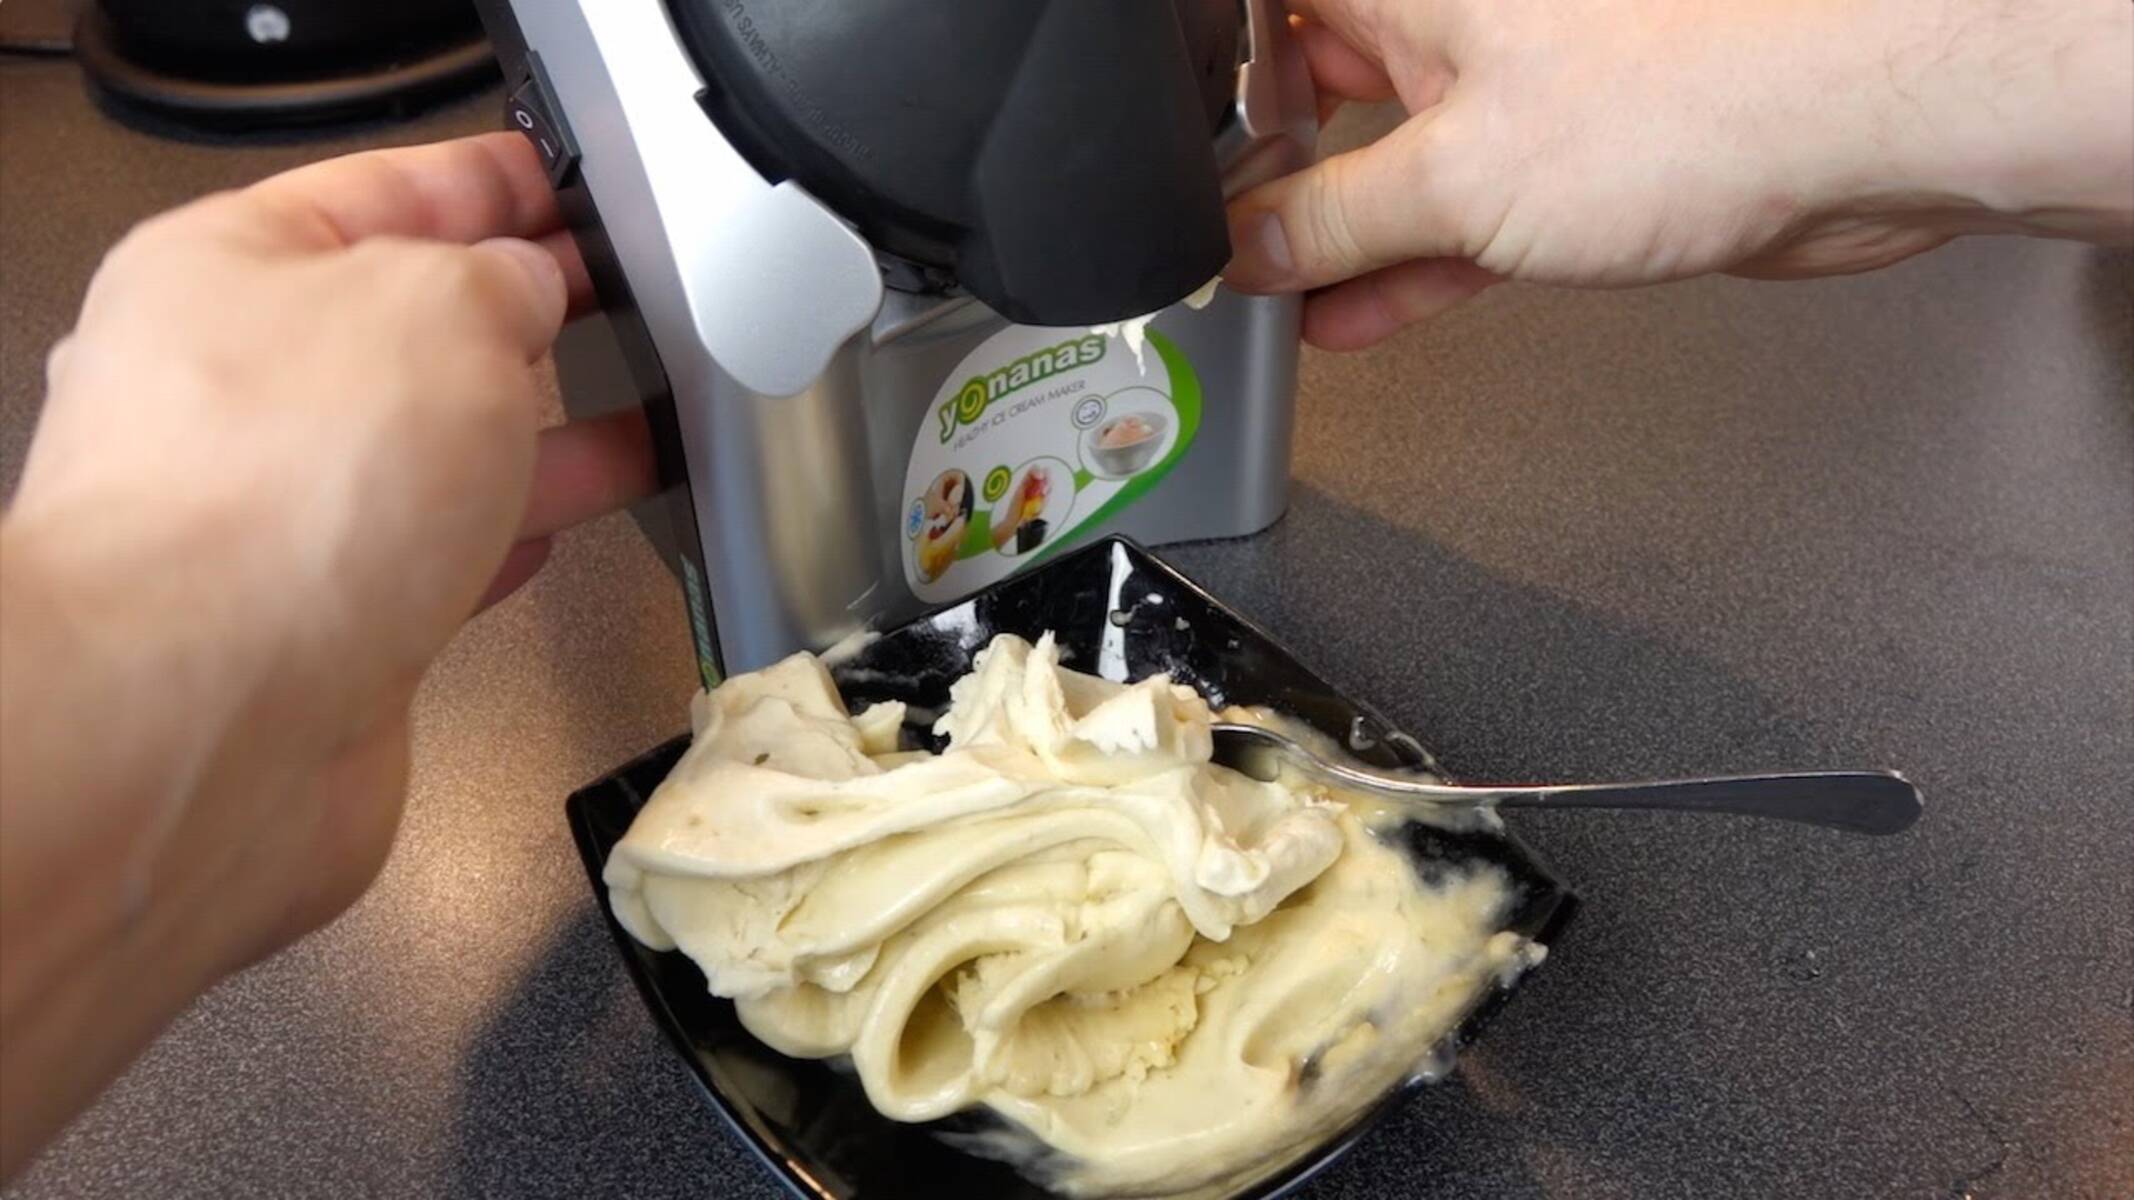
- Monitor the Consistency: Keep an eye on the ice cream as it churns. The mixture will thicken and increase in volume as it freezes. You want it to reach a soft-serve consistency. If desired, you can sample a small amount to determine if it’s to your liking.
- Add Mix-ins (Optional): If you’re adding mix-ins like chocolate chips or nuts, add them during the last few minutes of churning to evenly distribute them throughout the ice cream.
Once the ice cream has reached the desired consistency and your mix-ins are incorporated, it’s time to transfer it to a storage container for further freezing.
Churning the ice cream properly is crucial to achieving the desired texture. Following these steps and the instructions of your ice cream maker will help you create a creamy and delightful treat.
Freezing and Storage
After churning your homemade ice cream, it’s essential to properly freeze and store it to maintain its texture and flavor. Here are some tips for freezing and storing your ice cream:
- Transfer to a Container: Once the ice cream has reached the desired consistency, quickly transfer it from the ice cream maker’s bowl to a lidded container. Use a spatula to scrape every last bit, ensuring you get all the deliciousness.
- Press a Layer of Parchment Paper: To prevent ice crystals from forming on the surface of the ice cream, press a layer of parchment paper or plastic wrap directly onto the surface before sealing the container with a lid. This helps create a protective barrier and maintain the creaminess of the ice cream.
- Deep Freeze: Place the container in the coldest part of your freezer, usually towards the back. Make sure the temperature is set to at least -18°C (0°F) to ensure proper freezing. Keep the ice cream in the freezer for a minimum of 4 hours or until it is solid and scoopable.
- Prevent Freezer Burn: To further protect your ice cream from freezer burn, consider using an airtight container or covering it with an additional layer of plastic wrap. This will help maintain its flavor and prevent any off-odors from permeating the ice cream.
- Label and Date: To keep track of the freshness of your homemade ice cream, label the container with the flavor and date it was made. This way, you can easily identify and consume it before it loses its optimal taste and texture.
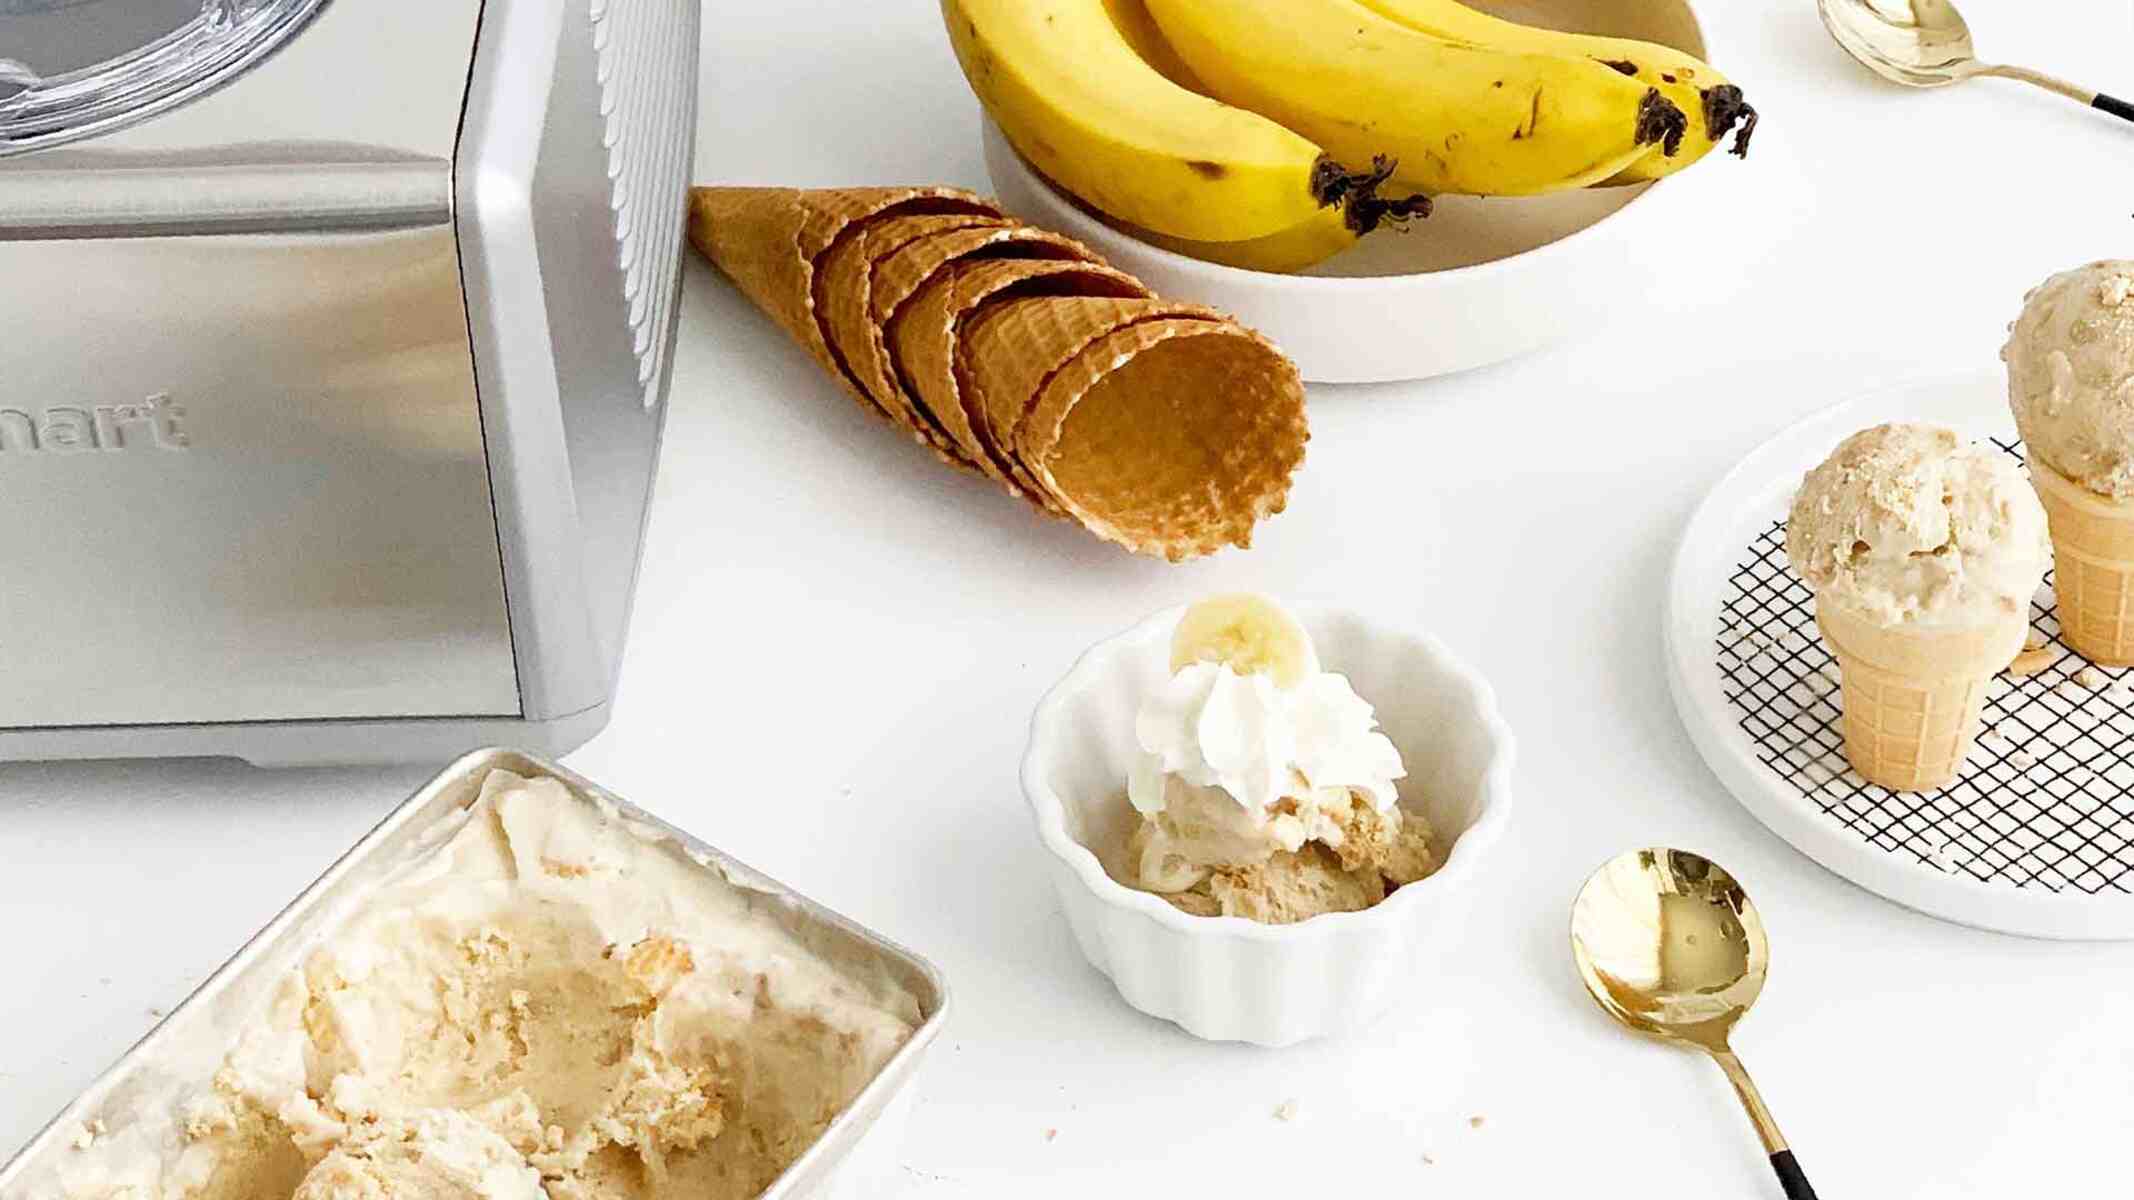
When it’s time to indulge in your homemade ice cream, allow it to sit at room temperature for a few minutes to soften slightly before scooping. Serve in your favorite bowl or cone, and enjoy the fruits of your labor!
Remember that homemade ice cream doesn’t contain any preservatives, so it’s best to consume it within 2-3 weeks for the best taste and quality.
Tips and Tricks
Making homemade ice cream in an ice cream maker can be a delightful experience. To help you achieve the best results and create delicious ice cream every time, here are some tips and tricks to keep in mind:
- Pre-Freeze the Bowl: Make sure to thoroughly pre-freeze the bowl of your ice cream maker according to the manufacturer’s instructions. This ensures that the ice cream freezes properly during the churning process.
- Chill the Ingredients: Before preparing the ice cream base, make sure that all the ingredients are chilled, especially the liquid base. This helps in achieving a faster freeze and better texture during churning.
- Be Patient: It’s important to be patient during the churning process. Avoid opening the ice cream maker frequently, as this can disrupt the freezing process and result in a less creamy texture.
- Experiment with Ratios: Feel free to experiment with the ratios of ingredients in your ice cream base. Adjust the amount of sweetener, fat, and flavorings to suit your taste preferences and dietary needs.
- Try Different Flavors: Don’t be afraid to get creative with flavors. Add extracts, spices, or even ingredients like matcha powder or peanut butter swirls to create unique and tantalizing ice cream flavors.
- Use High-Quality Ingredients: Opt for high-quality, organic, and fresh ingredients whenever possible. They will not only enhance the taste but also contribute to the overall quality and nutritional value of your homemade ice cream.
- Clean the Ice Cream Maker Properly: Always clean your ice cream maker according to the manufacturer’s instructions. This ensures that there are no leftover residues that could affect the quality of future batches of ice cream.
- Let the Ice Cream Soften: If your ice cream becomes too hard after freezing, allow it to sit at room temperature for a few minutes to soften before scooping.
Remember, making homemade ice cream is a creative and enjoyable process. Don’t be afraid to experiment, have fun, and share your delicious creations with family and friends!
Conclusion
Creating healthy and delicious ice cream at home using an ice cream maker is a rewarding experience. By choosing the right ingredients, preparing a flavorful base, and incorporating your favorite flavors and mix-ins, you can indulge in guilt-free frozen treats that align with your dietary preferences. With the tips and tricks mentioned, you can elevate your ice cream-making skills and explore a world of exciting flavor combinations.
Homemade ice cream allows you to have control over the ingredients, ensuring that you’re consuming a nutritious dessert without sacrificing on taste. By opting for natural sweeteners, fresh fruits, and alternative bases such as coconut milk or Greek yogurt, you can customize your ice cream to suit your health goals and dietary needs.
Avoiding artificial additives and excessive amounts of sugar found in store-bought ice cream is a major advantage of making your own. Plus, the ability to experiment with various flavors and mix-ins will keep your taste buds satisfied and continually craving more.
So, grab your ice cream maker, follow the steps carefully, and let your creativity shine through as you churn out delectable homemade ice cream. Whether you prefer classic flavors or like to venture into the realm of adventurous combinations, the possibilities are endless.
Enjoy the process of making your own ice cream, and relish in the satisfaction of treating yourself and your loved ones to the wholesome goodness of homemade frozen delights. Happy churning!