Introduction
Welcome to this guide on how to create an email group in Microsoft Outlook. Email groups, also known as distribution lists or contact groups, allow you to send messages to multiple recipients with just a few clicks. Whether you need to communicate with your team at work, organize a group of friends, or send updates to clients, creating an email group can save you valuable time and effort.
Microsoft Outlook is a popular email client that offers a user-friendly interface and powerful features, including the ability to manage contacts and create email groups. In this step-by-step tutorial, we will walk you through the process of making an email group within Outlook, enabling you to streamline your communication and enhance your productivity.
By creating an email group, you can avoid the hassle of manually adding multiple recipients to your email every time you want to send a message. Once you have set up an email group in Outlook, you can simply select the group name when composing an email, and the message will be sent to all the contacts included in the group.
Whether you are a seasoned Outlook user or new to the software, this guide will provide you with all the information you need to create an email group effortlessly. So let’s dive in and learn how to set up an email group in Microsoft Outlook.
Step 1: Open Microsoft Outlook
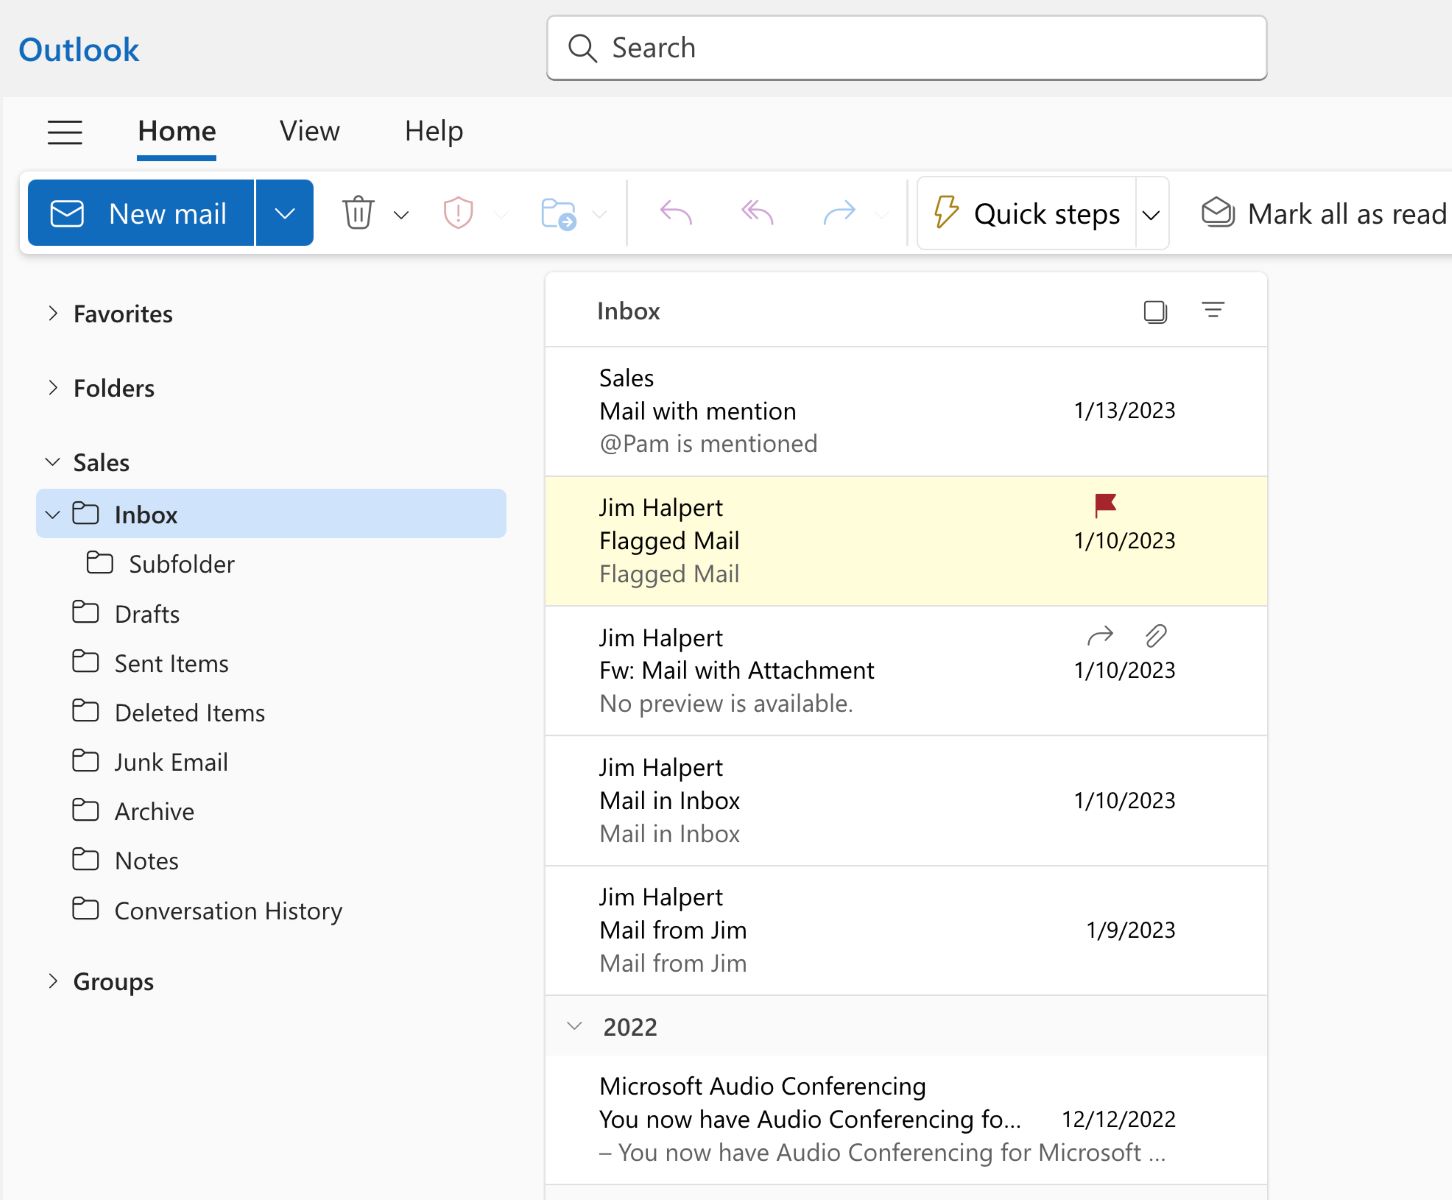
The first step in creating an email group in Microsoft Outlook is to open the application on your computer. Locate the Outlook icon and double-click on it to launch the program. If Outlook is not already installed on your computer, you can download and install it from the Microsoft website or use the version provided by your organization.
Once Outlook is open, you will be greeted with the main Outlook interface, which consists of different modules such as Mail, Calendar, People, and Tasks. For creating an email group, we will be using the “People” module. To navigate to the People module, click on the “People” icon located at the bottom of the Outlook window. It is usually represented by an icon featuring two people.
If your Outlook interface looks different or you are unable to find the People module, don’t worry. The layout and organization of Outlook may vary based on the version you are using. In such cases, check the navigation bar or menu options to find the People module. If you are still having trouble locating it, refer to the Outlook documentation or seek assistance from your IT support team.
Opening Microsoft Outlook is the foundation for creating an email group. Once you have launched the application and accessed the People module, you are ready to proceed to the next step. In the following steps, we will guide you through the process of selecting contacts, naming the email group, adding contacts to the group, and saving it for future use.
Step 2: Click on the “People” icon
After opening Microsoft Outlook, the next step to create an email group is to click on the “People” icon. The People module allows you to manage and organize your contacts, making it the ideal place to create and maintain your email groups.
Locate the “People” icon at the bottom of the Outlook window. It is usually represented by an icon featuring two people. The icon may be positioned on the left or right side, depending on your Outlook version or customization settings.
Once you have identified the People icon, simply click on it to access the People module. This module provides a comprehensive overview of your contacts, including their names, email addresses, phone numbers, and other relevant information.
By clicking on the People icon, you will be taken to the Contacts section of Outlook. Here, you can manage and organize your contacts, create new contacts, and search for specific individuals. The People module offers various customization options, allowing you to view your contacts in different layouts and categories.
In addition to accessing the People module by clicking on the icon, you may also find the People option in the Outlook navigation bar or menu. Different versions of Outlook may have slight variations in terms of interface and layout, but the functionality remains the same.
Clicking on the People icon opens up a world of possibilities for managing your contacts and creating email groups. In the next step, we will guide you on how to select the contacts you want to include in your email group.
Step 3: Select the contacts you want to include in the email group
Now that you are in the People module of Microsoft Outlook, it’s time to select the contacts you want to include in your email group. This step allows you to choose the individuals who will receive your emails when you use the email group in the future.
To select contacts, you can follow these steps:
- Scan through your list of contacts and identify the individuals you want to include in the email group.
- Click on the checkbox next to each contact’s name to select them. You can select multiple contacts by clicking on their respective checkboxes.
- Alternatively, you can use the Ctrl or Shift key on your keyboard to select multiple contacts. Hold down the Ctrl key and click on individual contacts to select them. To select a range of contacts, hold down the Shift key and click on the first and last contacts in the range.
- As you select contacts, you will notice that their names are highlighted or checked off. This indicates that they are included in your selection.
Take your time to review your contacts and ensure that you have chosen all the relevant individuals for your email group. If you accidentally select a contact that you don’t wish to include, simply click on the checkbox again to unselect them.
Remember, the purpose of creating an email group is to streamline your communication process. Therefore, it’s important to choose contacts that are relevant to a specific topic or purpose. For example, if you are creating an email group for your marketing team, select the members of your marketing department.
Once you have selected the contacts you want to include in your email group, you are ready to move on to the next step, where you will learn how to create a new contact group within Outlook.
Step 4: Click on “Home” in the Outlook toolbar
After selecting the contacts you want to include in your email group, the next step is to click on the “Home” tab in the Outlook toolbar. The “Home” tab provides access to various options and functions related to your contacts, emails, and other Outlook features.
The toolbar is typically located at the top of the Outlook window and consists of different tabs, including “Home,” “Send/Receive,” “Folder,” and “View.” These tabs categorize the different actions and settings you can perform within Outlook.
To navigate to the “Home” tab, simply click on it with your mouse. The tab should be highlighted or visually emphasized to indicate that it is currently active.
By clicking on the “Home” tab, you will be presented with a range of options related to managing your contacts and creating new groups. This tab is the central hub for contact management within Outlook and serves as a starting point for various operations.
On the “Home” tab, you will find options such as “New Contact,” “New Contact Group,” “Categorize,” and “Forward.” These options allow you to create new contacts, organize your contacts into groups, assign categories to contacts, and forward emails to others.
Clicking on the “Home” tab is a crucial step in the process of creating an email group because it provides access to the option to create a new contact group. In the next step, we will guide you on how to proceed with creating a new contact group within Outlook.
Step 5: Choose “New Contact Group”
After clicking on the “Home” tab in the Outlook toolbar, the next step is to choose the option for creating a new contact group. This option allows you to define a name and add contacts to the email group you are creating.
To choose “New Contact Group,” follow these steps:
- Look for the “New Contact Group” option in the toolbar. It is usually displayed as a button or an icon with a label indicating its purpose.
- Click on the “New Contact Group” button or icon to open the new contact group window. This action will initiate the process of creating a new contact group within Outlook.
- Alternatively, you may find the “New Contact Group” option in a drop-down menu under the “New” category. Click on the downward-facing arrow next to the “New” button to reveal additional options, and select “New Contact Group” from the list.
By choosing the “New Contact Group” option, you are signaling to Outlook that you want to create a new group for your selected contacts. This step is essential as it allows you to proceed with naming the email group and adding contacts to it.
It’s worth noting that the specific location and appearance of the “New Contact Group” option may vary depending on the version of Outlook you are using. However, Outlook typically provides intuitive ways to navigate to this option within its interface.
By reaching this point, you are on the right track to create your email group. In the following step, we will guide you through the process of naming the email group, which will help you easily identify and manage it in the future.
Step 6: Name the email group
Once you have chosen the “New Contact Group” option in Outlook, the next step is to name the email group you are creating. Giving your email group a specific and meaningful name will help you easily identify and manage it in the future.
To name the email group, follow these steps:
- A window will appear after selecting the “New Contact Group” option. This window will provide fields for you to enter the necessary information.
- Locate the field labeled “Name” or “Group Name.” Click on the field to activate it.
- Type in the desired name for your email group. Ensure that the name accurately reflects the purpose or topic of the group. For example, if the group consists of your project team members, you could name it “Project X Team.”
It is important to choose a name that is descriptive and easy to remember, as it will make it more efficient for you to select the email group when composing messages in the future.
Additionally, Outlook may provide additional fields for you to enter additional information about the email group, such as a description or notes. While these fields are optional, filling them out can provide you with more context about the group’s purpose or specific instructions for its members.
By naming your email group, you are one step closer to creating a well-organized and efficient communication channel within Outlook. In the next step, we will guide you on how to add contacts to your newly named email group.
Step 7: Add contacts to the email group
After giving your email group a name, the next step is to add the selected contacts to the group. This will ensure that all the chosen individuals receive your emails when you use the email group in the future.
To add contacts to the email group, follow these steps:
- Within the email group window, locate the option to “Add Members.” This option is typically located in the toolbar or menu of the group window. Click on it to access the available options.
- You will be presented with various options for adding contacts to the group. The most common option is “From Outlook Contacts.” This option allows you to select contacts from your existing Outlook contacts list and add them to the email group.
- Choose the “From Outlook Contacts” option, and a new window or panel will open, displaying your contacts list. Here, you can browse through your contacts, select the ones you want to add, and click on the “Add” or “OK” button to add them to the email group.
- In addition to the “From Outlook Contacts” option, Outlook may provide other options for adding contacts, such as “From Address Book” or “New Email Contact.” These options allow you to add contacts from other sources or manually create new contacts.
- Repeat the process of selecting and adding contacts until you have included all the individuals you want in your email group.
Adding contacts to your email group ensures that they will receive your emails effortlessly whenever you send a message to the entire group. It saves you the time and effort of selecting each contact individually when composing new emails.
Once you have added all the desired contacts to the email group, you are now ready to move on to the next step, where you will learn how to save the email group for future use.
Step 8: Save the email group
After adding contacts to your email group, it is important to save the group to ensure that you can easily access it for future use. Saving the email group allows you to quickly select it when composing new emails, making your communication more efficient and streamlined.
To save the email group, follow these steps:
- In the email group window, locate the option to “Save & Close” or “Save.” This option is usually located in the toolbar or menu at the top of the group window. Click on it to save your email group.
- You may be prompted to choose a location where you want to save the group, such as your Contacts folder or a custom folder you have created. Select the desired location and click on “Save.”
By saving the email group, you are ensuring that it is accessible and can be easily identified within Outlook. It will be saved as a separate entity, allowing you to manage it separately from individual contacts.
In addition to saving the email group, you may have the option to update or edit the group’s details in the future. This can include changing the name, adding or removing contacts, or modifying any additional information you entered during the creation process.
Once you have successfully saved your email group, you can start using it immediately when composing new emails. In the following step, we will guide you on how to compose an email to the email group you have created.
Step 9: Compose an email to the email group
Now that you have successfully created and saved your email group in Microsoft Outlook, you are ready to take advantage of its convenience. In this step, we will guide you on how to compose an email specifically addressed to the email group, allowing you to communicate with all the group members simultaneously.
To compose an email to the email group, follow these steps:
- Open the Outlook application and click on the “Mail” tab or icon in the navigation bar. This will take you to the section where you can compose new emails.
- Click on the “New Email” button or icon to start composing a new email.
- In the “To” field of the email composition window, start typing the name or the first few letters of the name of your email group. Outlook will automatically suggest the email group as a recipient.
- Select the suggested email group from the list by either clicking on it or pressing the “Enter” key on your keyboard. This will add the entire group as recipients of your email.
- Continue composing your email as you would with any other message. Add a subject, write the content, and include any attachments or formatting that you require.
- Once you are satisfied with your email, click on the “Send” button to send the message to all the members of the email group.
By composing an email to the email group, you can quickly and efficiently communicate with multiple recipients at once. This saves you the time and effort of selecting each individual contact manually.
Remember that when you send an email to the group, each member of the group will receive a copy of the email. This allows for effective group communication and ensures that everyone stays informed.
Congratulations! You have completed all the steps to create an email group, add contacts to it, and compose emails specifically for the group. By following these steps, you can streamline your communication process and enhance your productivity when sending messages to multiple contacts within Outlook.
Conclusion
Creating an email group in Microsoft Outlook is a valuable skill that can greatly improve your communication efficiency. With the ability to send emails to multiple recipients with just a few clicks, email groups save you time and effort when reaching out to specific groups of contacts.
In this comprehensive guide, we have walked you through the step-by-step process of creating an email group in Outlook. From opening the application and accessing the People module to selecting contacts, naming the group, and adding contacts to it, we have covered all the necessary steps to create and save your email group.
By following these steps, you can easily manage and organize your contacts within Outlook, creating specific groups that cater to different purposes or topics. Whether you want to communicate with your team at work, coordinate with a group of friends, or update clients, email groups provide a convenient way to streamline your communication.
Additionally, we have guided you on how to compose an email specifically addressed to your email group, allowing you to effortlessly communicate with all the group members in a single message. This eliminates the need to manually select each contact every time you send a group email, saving you time and ensuring effective communication.
By effectively utilizing email groups in Microsoft Outlook, you can enhance your productivity, improve your communication workflow, and ensure that important messages reach the intended recipients promptly.
Remember, practice makes perfect. As you become more comfortable with creating and managing email groups in Outlook, you can explore advanced options and features such as editing group settings, adding custom fields, and utilizing group communication tools provided by Outlook.
Now that you have learned how to create an email group in Outlook, go ahead and apply this knowledge to your own email communication. Take advantage of this powerful feature to simplify your communication process and stay organized within the Outlook environment.
Happy emailing!


