Introduction
Welcome to the world of electric skateboarding! If you’re tired of pushing your skateboard uphill or simply want to add an extra thrill to your rides, converting your skateboard into an electric one with a hub motor is an exciting project to undertake. Not only does it make your skateboard more powerful and efficient, but it also opens up a whole new world of possibilities for exploration and adventure.
In this guide, we’ll take you through the step-by-step process of making an electric skateboard hub motor. From choosing the right motor to wiring the electronic components, we’ll cover all the essential aspects you need to know to successfully complete this project.
Before we dive into the details, let’s talk about why a hub motor is a popular choice for electric skateboards. Unlike traditional belt-driven motors, hub motors are integrated into the skateboard wheels, providing a sleek and compact design. They are also quieter, more efficient, and require less maintenance. With a hub motor, you can enjoy a smooth and seamless ride while maintaining the aesthetics of your skateboard.
However, it’s important to note that making an electric skateboard requires technical knowledge and skills. If you’re not comfortable working with electronics or don’t have experience in skateboard modifications, it’s always a good idea to seek assistance from a professional. Safety should always be a top priority when working with any DIY project, especially electrical components.
Now that we have a brief overview let’s move on to the materials and tools you’ll need to get started on your electric skateboard hub motor journey.
Materials and Tools Needed
Before you begin assembling your electric skateboard hub motor, it’s important to gather all the necessary materials and tools. Here’s a comprehensive list of what you’ll need:
1. Skateboard: Start with a sturdy skateboard deck that can accommodate the weight and dimensions of the motor.
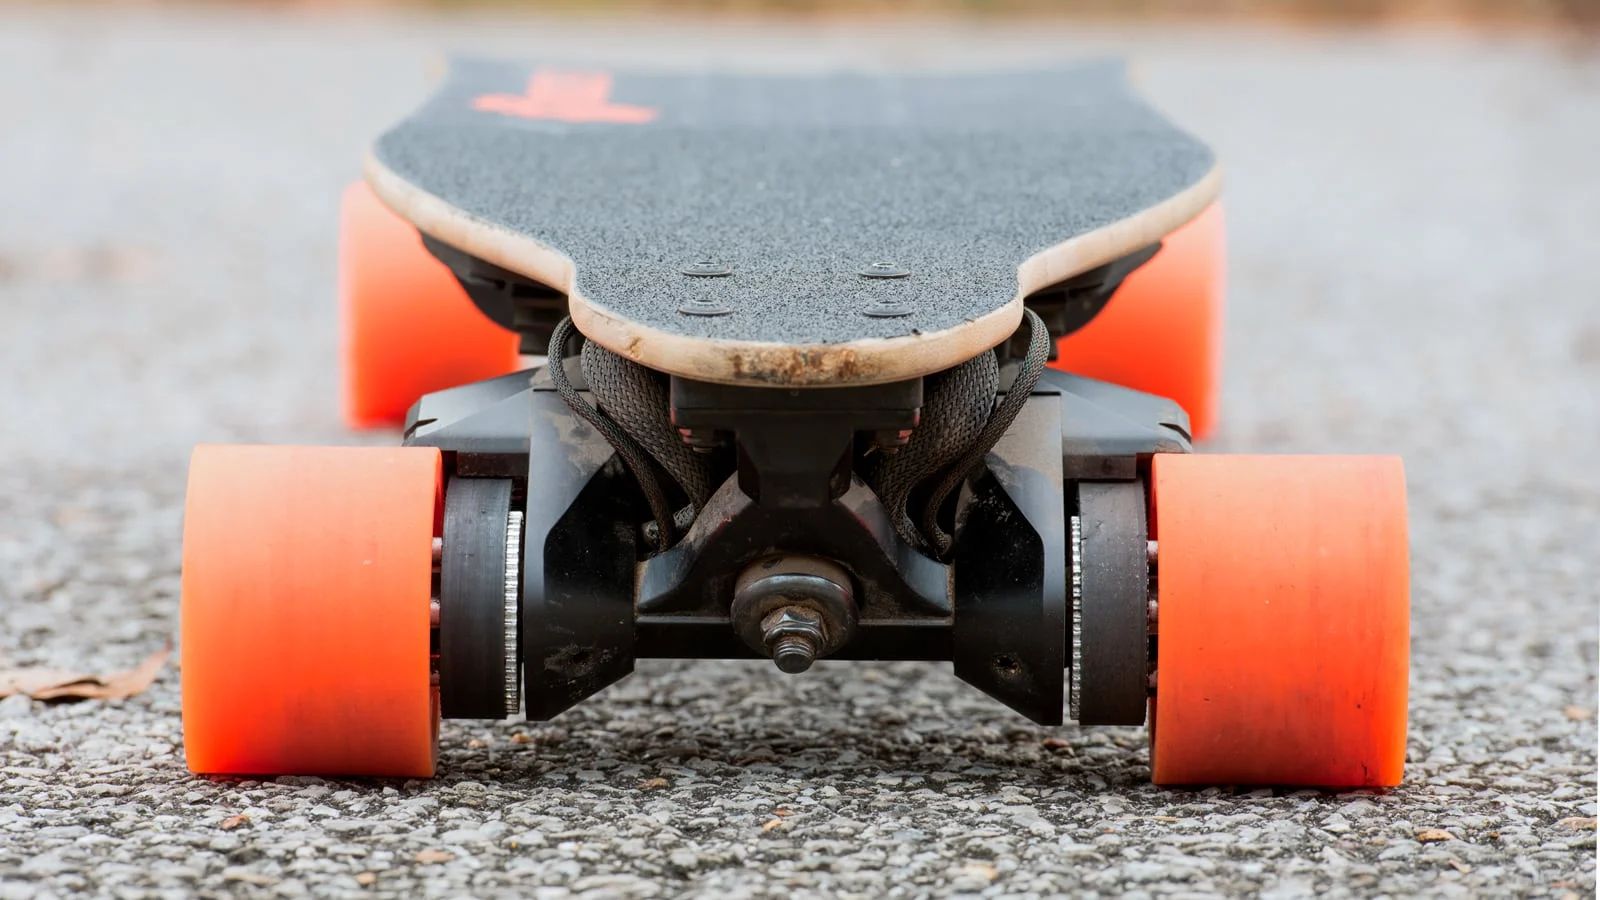
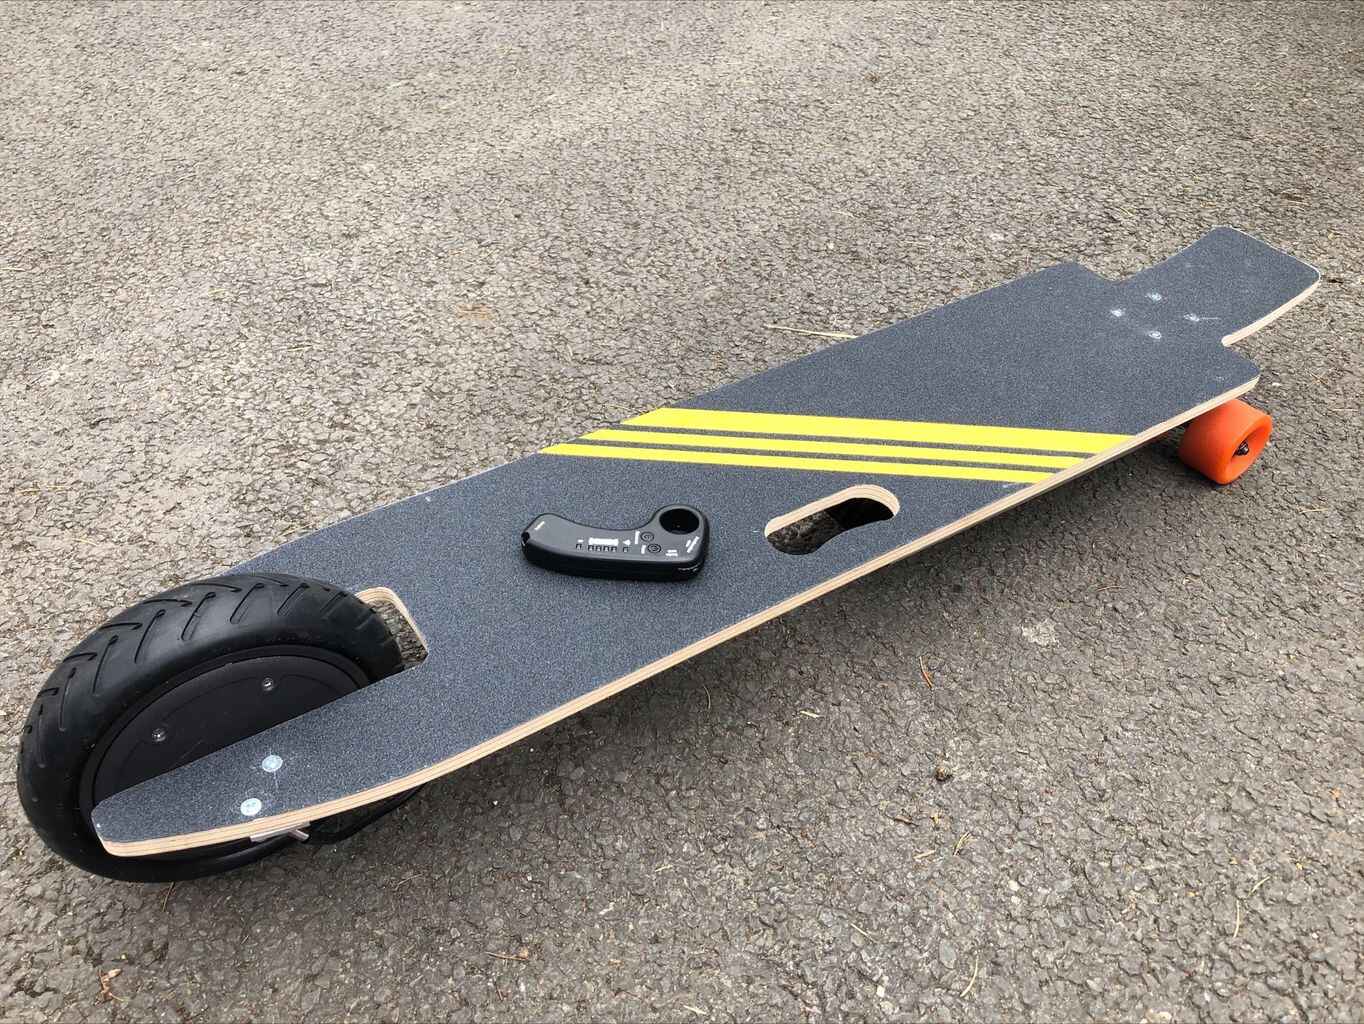
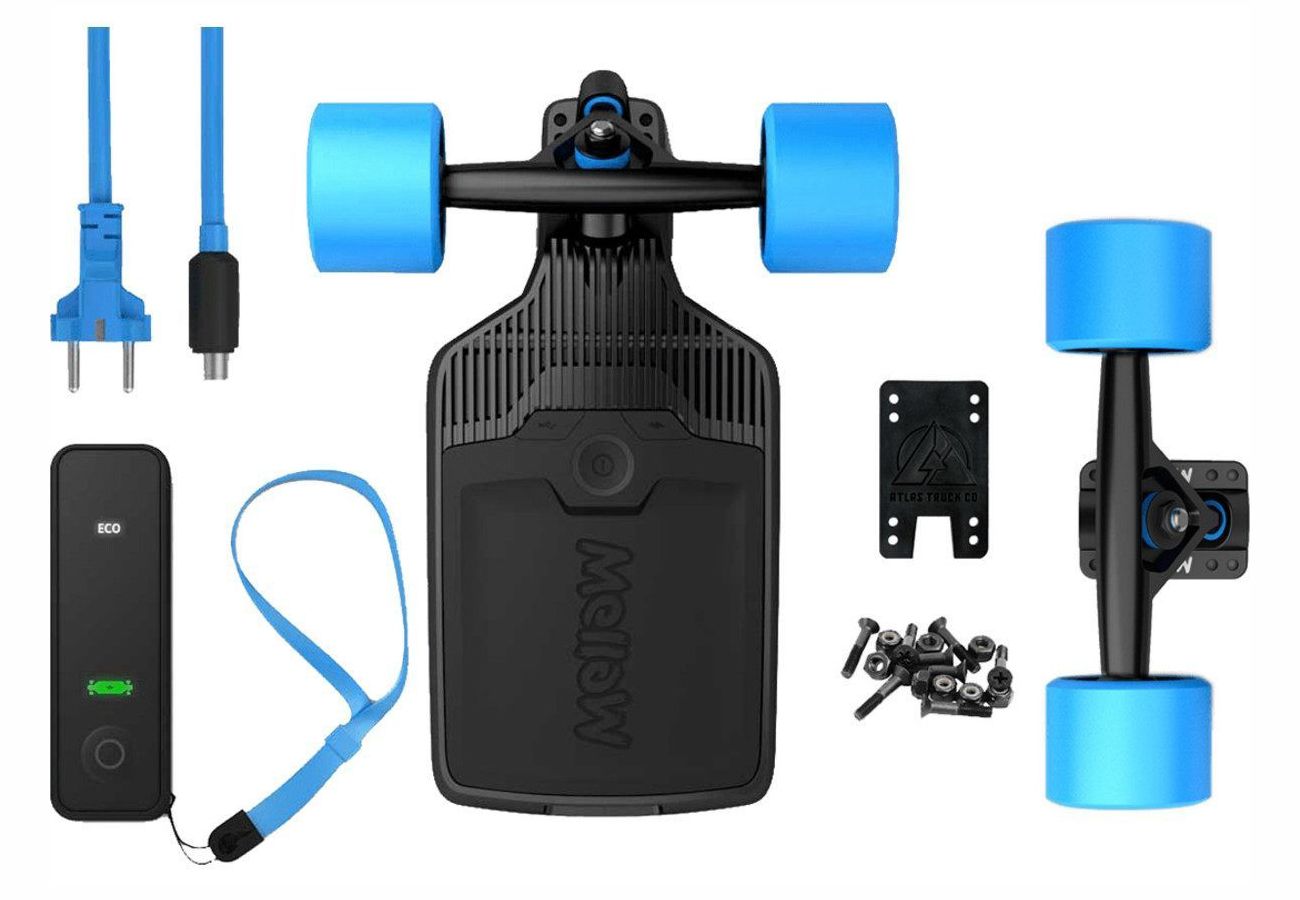
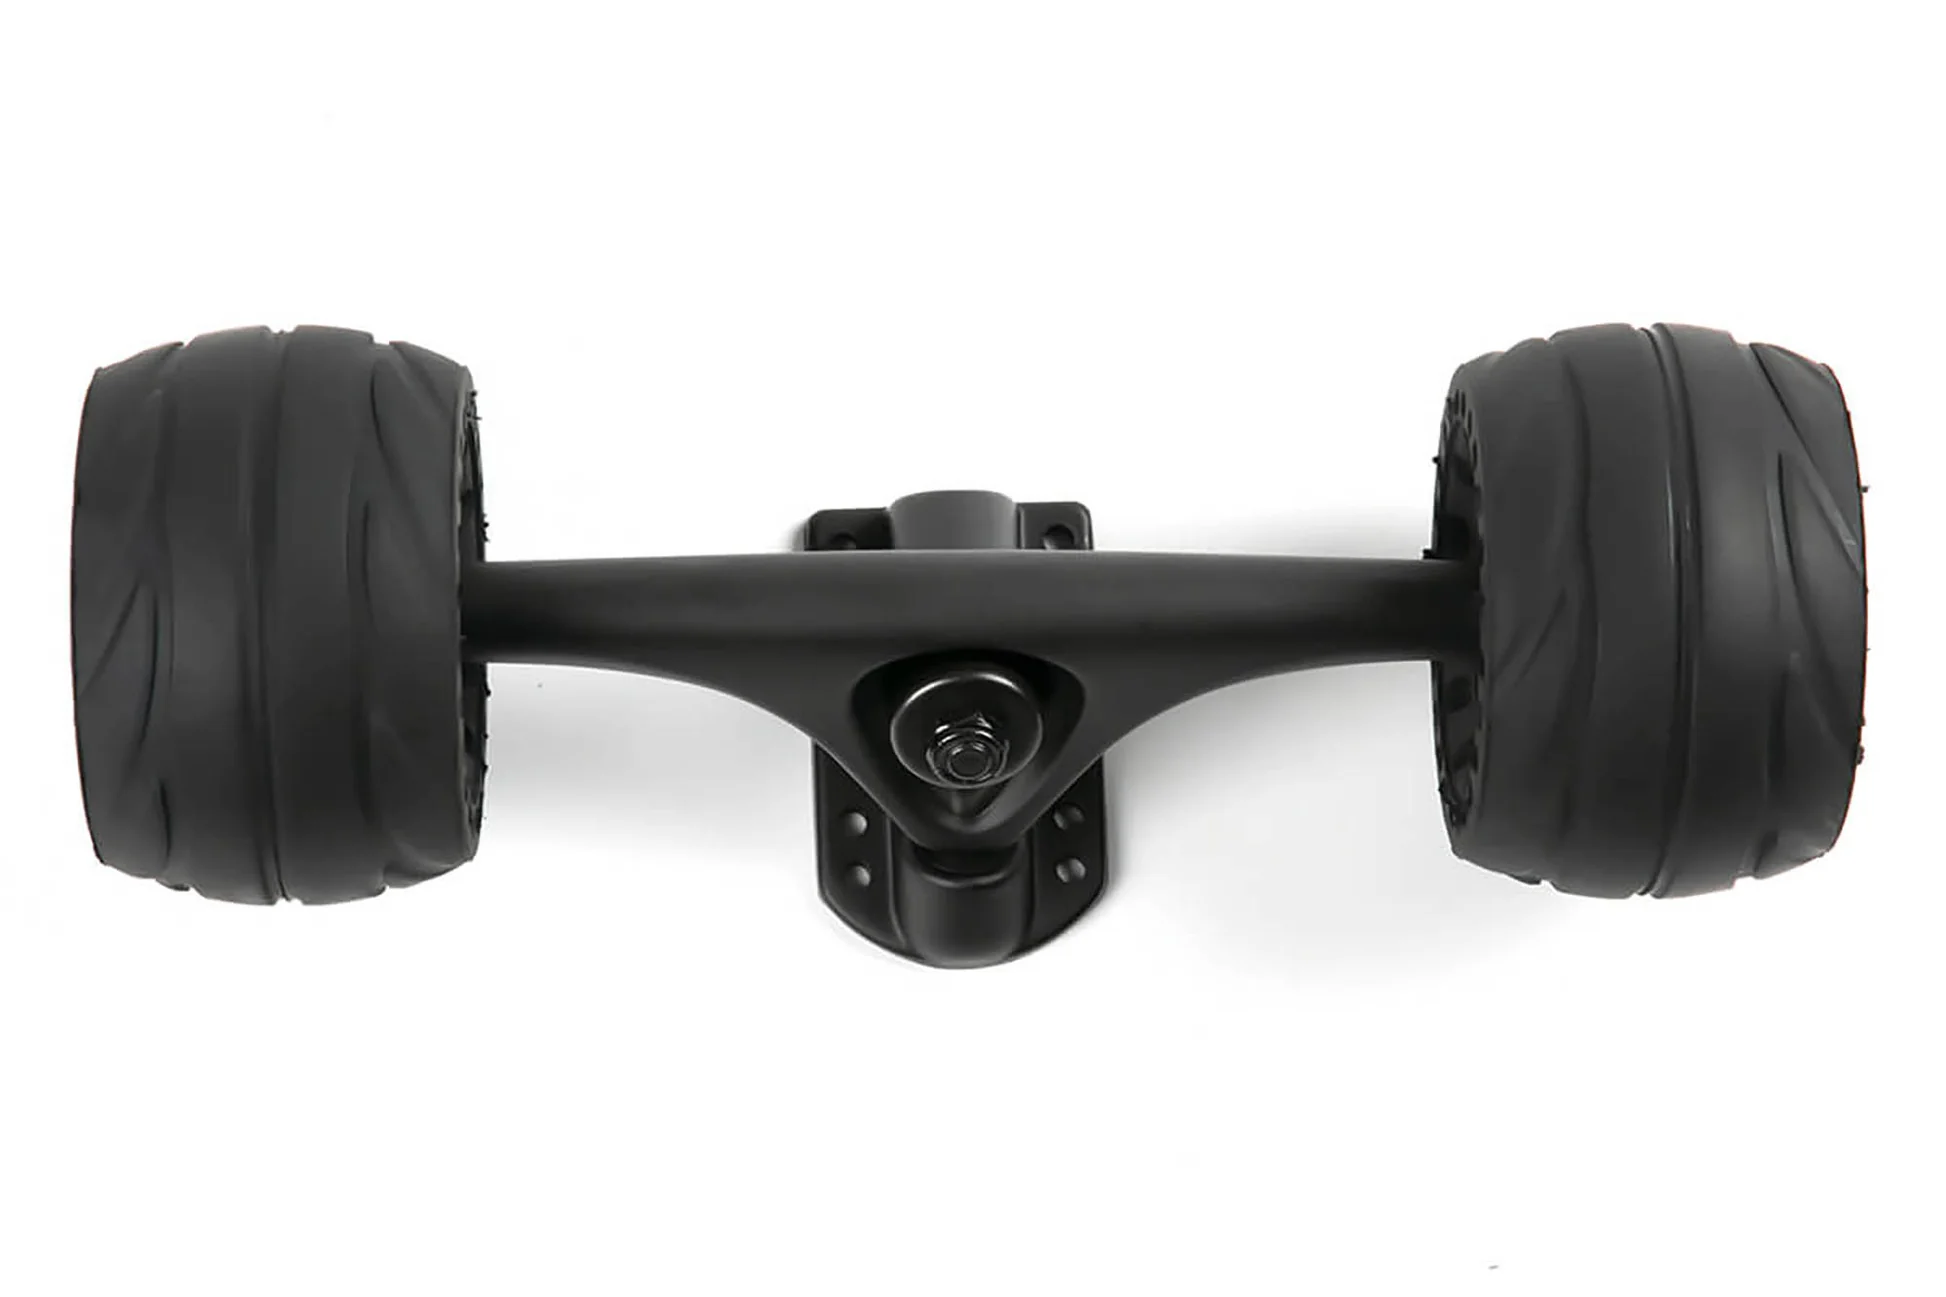
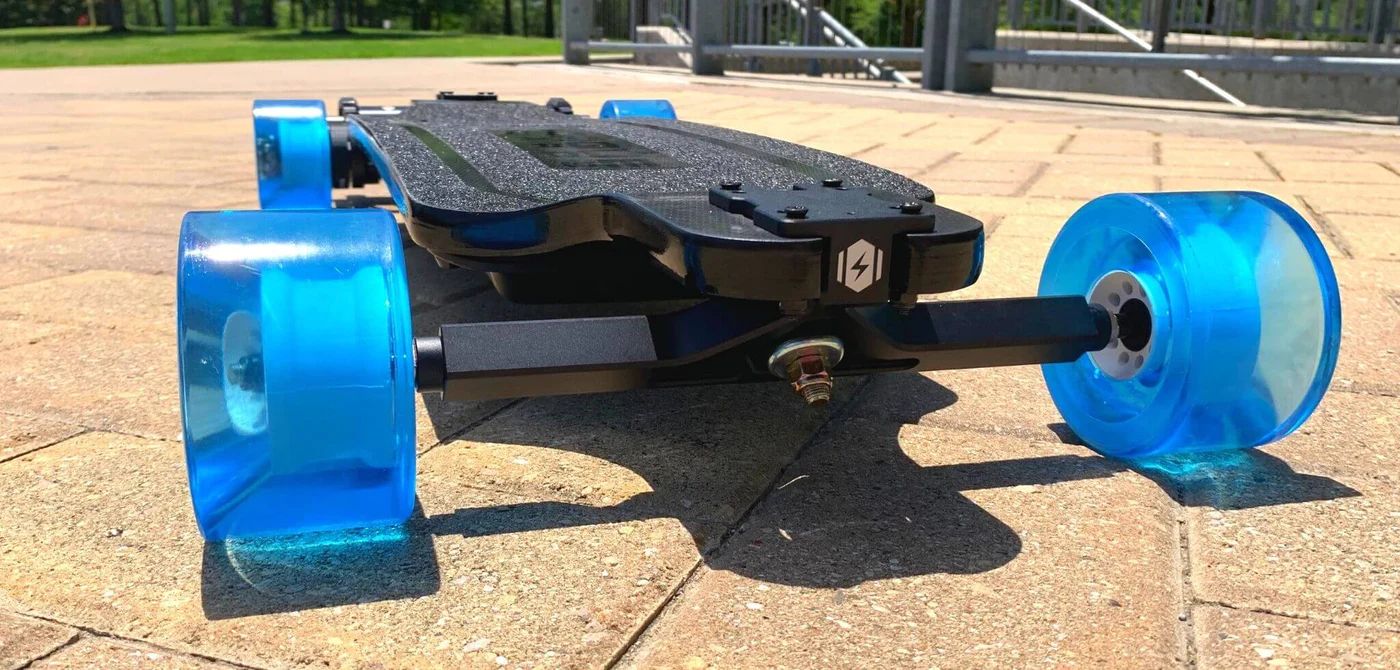
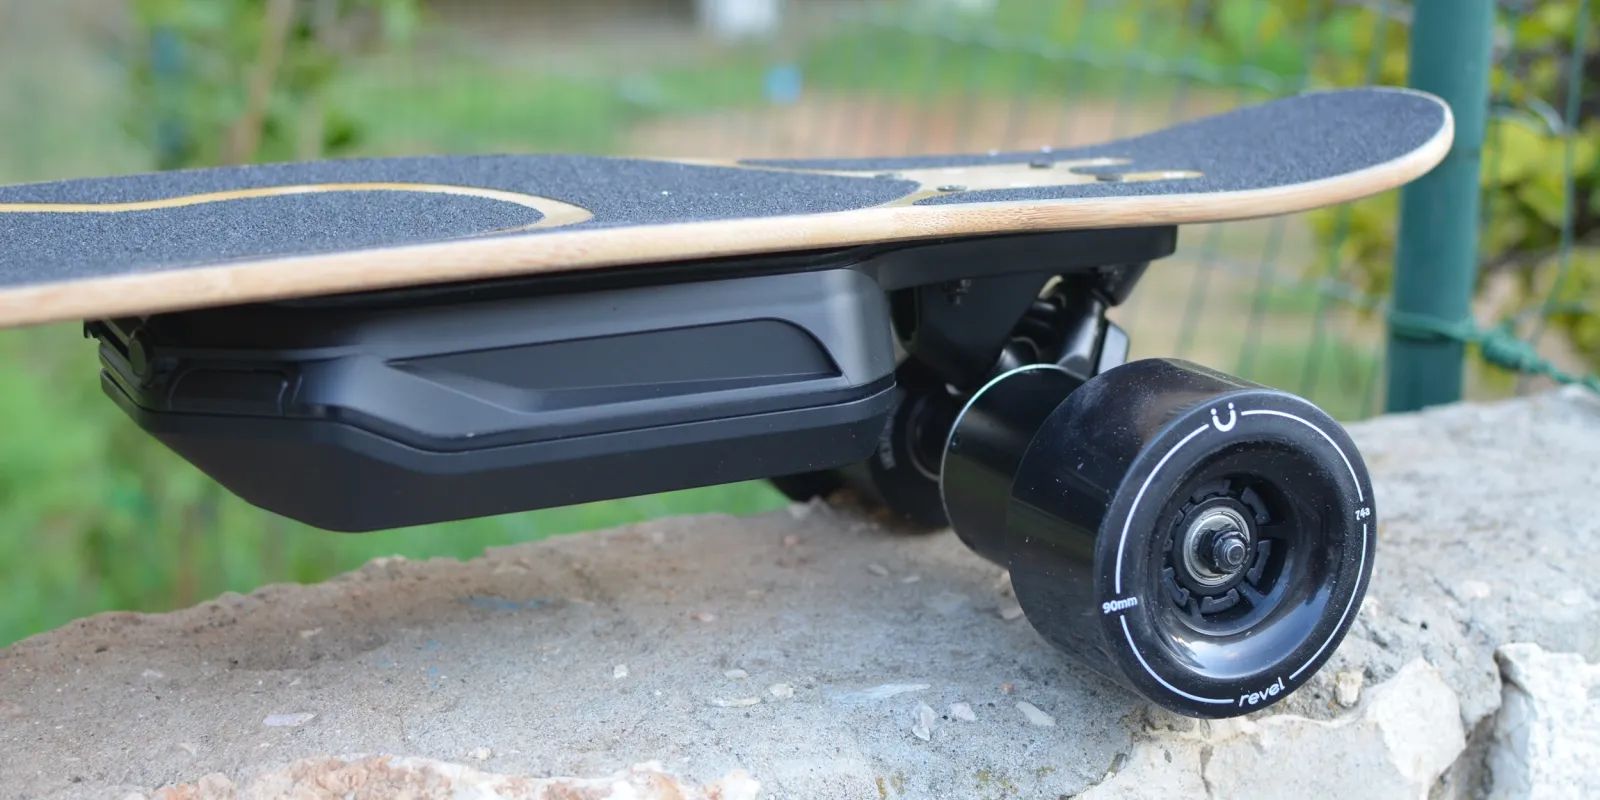
2. Hub Motor: Choose a hub motor that suits your needs and budget. Ensure it’s compatible with your skateboard’s wheel size and has sufficient power for your desired speed and range.
3. Electronic Speed Controller (ESC): The ESC is responsible for controlling the speed and direction of the motor. Make sure to choose a high-quality ESC that can handle the power requirements of your motor.
4. Battery: Select a lithium-ion battery pack with enough voltage and capacity to provide adequate power for your motor. Consider factors like range, weight, and size when choosing a battery.
5. Power Switch: A power switch is essential for turning the motor on and off. Look for a reliable and waterproof switch that can handle the current draw of your motor.
6. Battery Enclosure: To protect the battery and ensure its secure placement, you’ll need a suitable battery enclosure that fits your specific battery dimensions and can be securely mounted to your skateboard.
7. Battery Charger: Invest in a compatible battery charger to keep your battery fully charged and ready for rides.
8. Wiring and Connectors: Purchase high-quality wires and connectors to ensure reliable connections between the motor, ESC, battery, and power switch.
9. Tools: You’ll need various tools for this project, including a screwdriver, wrenches, pliers, wire cutters/strippers, heat shrink tubing, soldering iron, and heat gun (for shrinking heat shrink tubing).
These are the primary materials and tools needed for making an electric skateboard hub motor. It’s essential to invest in quality components to ensure the durability, safety, and performance of your electric skateboard. Additionally, always follow the manufacturer’s instructions and safety guidelines when working with these materials and tools.
Now that you have everything you need, let’s move on to the step-by-step process of assembling the motor components.
Step 1: Choosing the Right Motor
The first and most crucial step in making an electric skateboard hub motor is selecting the right motor for your specific needs. Here are some factors to consider when choosing a motor:
1. Power and Speed: Determine how much power and speed you want your electric skateboard to have. Motors with higher wattage output will provide more power and speed. Consider your weight, terrain, and desired speed to choose an appropriate motor.
2. Motor Type: Hub motors come in two types: brushless and brushed. Brushless motors are generally preferred due to their higher efficiency, lower maintenance, and smoother operation.
3. Wheel Size Compatibility: Ensure that the motor you select is compatible with the size of your skateboard wheels. Typically, hub motors are available in various wheel sizes, such as 80 mm, 90 mm, or 100 mm.
4. Motor KV Rating: The KV rating indicates the motor’s RPM per volt. A higher KV rating will provide more speed, while a lower KV rating offers more torque. Consider your preferred balance between speed and torque when choosing a motor.
5. Motor Mounting Options: Check if the motor comes with mounting options that fit your skateboard. Some motors have integrated mounts, while others require separate mounting brackets.
Additionally, it’s essential to read customer reviews and manufacturer specifications to ensure the motor’s reliability and performance. Look for motors from reputable brands known for producing quality electric skateboard components.
Once you’ve chosen the motor that suits your specific requirements, you’re ready to move on to the next step: assembling the motor components. This involves attaching the motor to the skateboard and ensuring proper alignment and connection.
In the next section, we’ll guide you through the process of assembling the motor components to create your electric skateboard hub motor.
Step 2: Assembling the Motor Components
Now that you’ve chosen the right motor for your electric skateboard hub motor project, let’s move on to assembling the motor components. Follow these step-by-step instructions:
1. Begin by preparing your skateboard deck. Ensure it’s clean and free from any debris or obstacles that may interfere with the motor installation process.
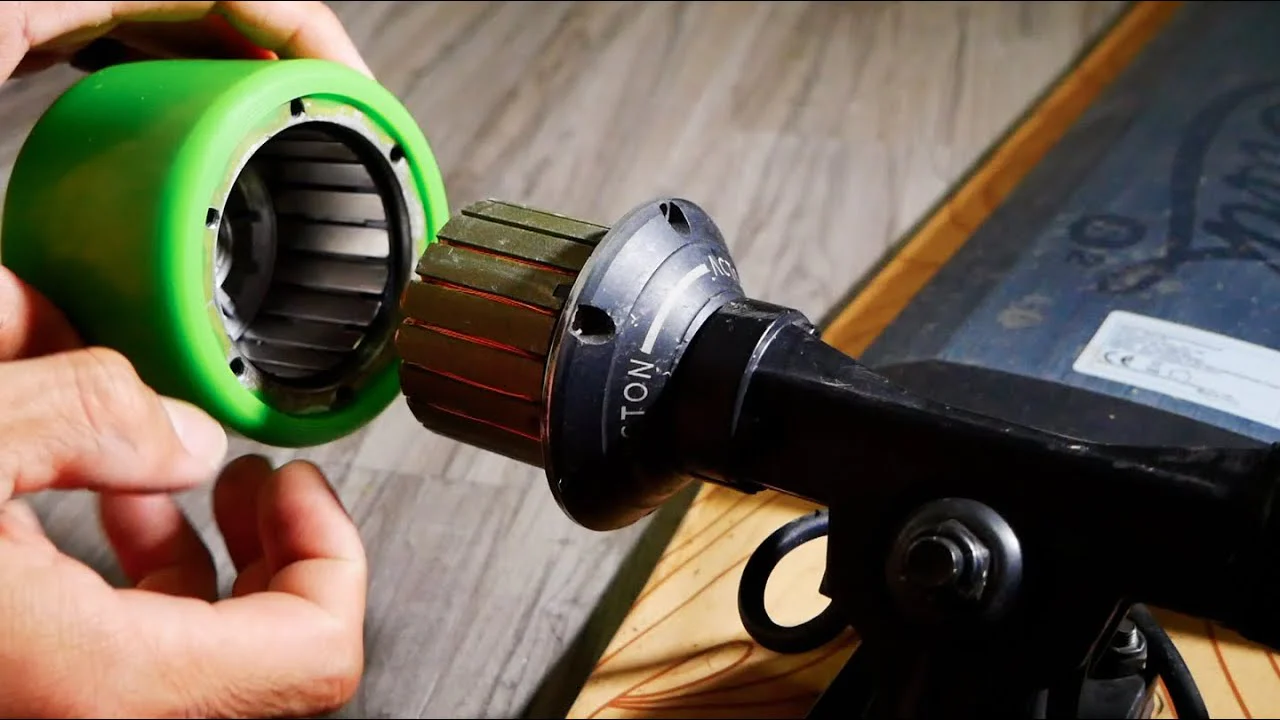
2. Attach the motor to the skateboard. If your motor comes with integrated mounts, align them with the corresponding holes on your skateboard deck. If not, use separate mounting brackets to secure the motor in place. Ensure the motor is centered and aligned with the skateboard’s centerline.
3. Use the appropriate screws and bolts to secure the motor to the skateboard. Tighten them securely but avoid over-tightening, as it may damage the motor or deck.
4. Confirm the proper alignment of the motor with the skateboard wheels. Ensure that the motor does not rub against the wheels or any other parts of the skateboard.
5. Connect the motor wires to the electronic speed controller (ESC). Follow the manufacturer’s instructions to identify the correct wiring connections. Typically, you’ll have three motor wires (phase wires) and three corresponding wires on the ESC.
6. Use high-quality connectors and soldering techniques to secure the motor wires to the ESC. Ensure that the connections are sturdy and well-insulated to prevent any loose or exposed wires.
7. Double-check all the connections and ensure they are secure. Inspect the motor and ESC for any signs of improper installation or loose parts.
Once you’ve completed the assembly of the motor components, your electric skateboard hub motor is taking shape. However, there are still crucial steps left to complete the transformation. In the next section, we’ll guide you through the process of connecting the motor to the skateboard and setting up the electronic speed controller.
Step 3: Connecting the Motor to the Skateboard
Now that you’ve assembled the motor components, it’s time to connect the motor to the skateboard. This step involves ensuring proper alignment and securely fastening the motor to the skateboard deck. Follow these steps for a seamless connection:
1. Begin by positioning the motor on the skateboard deck. Align it with the holes or mounting brackets, ensuring that it sits centered and parallel to the deck.
2. Use the appropriate screws and bolts to attach the motor to the skateboard. Start by loosely tightening the screws, allowing for adjustments if necessary.
3. Once the motor is attached, check for any alignment issues. Ensure that the motor is parallel to the skateboard’s centerline and that there is sufficient clearance between the motor and the wheels.
4. Gradually tighten the screws, starting from one side and moving diagonally to maintain an even pressure distribution. Do not overtighten, as it can damage the threads or the skateboard deck.
5. Double-check the tightness of all the screws and bolts to ensure they are securely fastened. Give the motor a gentle shake to confirm its stability and that there are no loose connections.
6. Inspect the motor and skateboard deck for any signs of misalignment or rubbing. Make any necessary adjustments to avoid interference that could affect the performance of the motor or the skateboard itself.
Connecting the motor to the skateboard is a critical step in the electric skateboard conversion process. It’s important to ensure that the motor is firmly attached and properly aligned to guarantee a smooth and safe ride. Once you have completed this step, proceed to the next section, where we will guide you through the process of wiring the electronic speed controller (ESC) for your electric skateboard hub motor.
Step 4: Wiring the Electronic Speed Controller (ESC)
With the motor connected to your skateboard, it’s time to wire the electronic speed controller (ESC). The ESC is responsible for controlling the speed and direction of the motor. Follow these steps to wire the ESC properly:
1. Start by locating the ESC on your electric skateboard. It is usually a small rectangular box that can be mounted on the skateboard deck or inside a protective enclosure.
2. Identify the input wires on the ESC. These wires will be connected to the power source, usually the battery.
3. Strip the ends of the input wires and prepare them for connection. Use wire cutters/strippers to remove a small portion of the insulation, exposing the wire conductors.
4. Connect the positive (+) and negative (-) wires of the battery to the corresponding input terminals on the ESC. Ensure a secure and reliable connection by using high-quality connectors and crimping or soldering them in place.
5. If your ESC has additional wires, they are likely for throttle control and signal input. Consult the manufacturer’s documentation to identify these wires and their functions.
6. Connect the throttle control wire to the designated throttle input on the ESC. This wire allows you to control the speed of the motor. Follow the manufacturer’s instructions for proper connection.
7. For signal input, some ESCs may require a receiver to receive commands from a remote control. Connect the signal wire from the receiver to the designated input on the ESC and ensure a secure connection.
8. Once all the necessary connections are made, double-check the wiring to ensure there are no loose or exposed wires. Inspect the ESC for any signs of improper installation or damage.
9. Secure any loose wires or connectors with zip ties or adhesive-backed mounts to prevent them from interfering with the operation of the skateboard.
10. Before proceeding to the next step, test the connections by turning on the power switch and gently applying throttle. Ensure that the motor responds appropriately to the input and that there are no unexpected movements or malfunctions.
Properly wiring the ESC is essential for the smooth operation and control of your electric skateboard hub motor. Take your time to ensure that all connections are secure and reliable. In the next step, we will discuss the installation of the battery and power switch for your electric skateboard.
Step 5: Installing the Battery and Power Switch
Now that you have wired the electronic speed controller (ESC), it’s time to install the battery and power switch to complete the setup of your electric skateboard hub motor. Follow these steps for a safe and functional installation:
1. Choose a suitable location on your skateboard deck to install the battery. Consider factors such as weight distribution and accessibility. Ensure that the chosen spot allows for easy mounting and doesn’t interfere with your riding experience.
2. Attach the battery enclosure to the skateboard deck using the appropriate mounting brackets or adhesive. Ensure a secure attachment so that the battery doesn’t move during rides or impact the skateboard’s performance.
3. Place the battery inside the enclosure, ensuring that it fits securely and doesn’t move around. Use foam padding or adhesive-backed Velcro straps to add additional support and prevent any vibrations.
4. Locate the positive (+) and negative (-) terminals on the battery and connect them to the corresponding input wires on the electronic speed controller (ESC). Ensure a secure and reliable connection with high-quality connectors and proper insulation.
5. For safety purposes, install a power switch that allows you to turn the motor on and off. Choose a waterproof and reliable power switch that can handle the current draw of your motor. Install it in a convenient location on the skateboard deck.
6. Connect the power switch to the ESC by connecting the positive (+) and negative (-) wires to the corresponding terminals on the power switch. Double-check the connections to ensure they are secure and properly insulated.
7. Once all the connections are made, inspect the battery and power switch for any signs of improper installation or damage. Ensure that all wires are neatly organized and secured to prevent any interference during rides.
8. Test the functionality of the battery and power switch by turning the power switch on and off. Ensure that the motor responds accordingly, turning on and off as expected.
9. If everything is functioning properly, secure all the wires and connectors with zip ties or adhesive-backed mounts to prevent them from shifting or interfering with the operation of the skateboard.
With the battery and power switch properly installed, you have completed a significant step in making your electric skateboard hub motor. In the next step, we will discuss testing and troubleshooting to ensure that everything is working correctly before enjoying your electrified ride.
Step 6: Testing and Troubleshooting
Now that you have completed the assembly of your electric skateboard hub motor, it’s crucial to test and troubleshoot any potential issues. Follow these steps to ensure that everything is working correctly:
1. Double-check all the connections and ensure they are secure and properly insulated. Inspect the motor, ESC, battery, and power switch for any signs of loose connections or damage.
2. Turn on the power switch and test the functionality of the motor by gently applying throttle. Ensure that the motor responds smoothly and without any unexpected movements or noises. Check for proper acceleration and deceleration.
3. Test the braking performance of the motor. Gradually apply the brake and observe how well the motor brings the skateboard to a stop. Ensure that the brakes are responsive and smooth.
4. Take the skateboard for a test ride in a safe and open area. Start with slow speeds and gradually increase them, observing the performance and handling of the skateboard. Pay attention to any vibrations, unusual noises, or issues with the motor or ESC.
5. Check the battery life and range. Monitor how long the battery lasts on a full charge and how far you can travel before needing a recharge. Ensure that the battery is providing the expected performance.
6. If you encounter any issues or abnormalities during testing, refer to the manufacturer’s documentation or seek assistance from a professional. Troubleshoot the problem systematically by checking connections, inspecting components, and referencing troubleshooting guides or forums.
7. If necessary, fine-tune the settings of the electronic speed controller (ESC) to optimize the performance of your electric skateboard. Refer to the ESC manual or consult online resources that provide guidance on adjusting throttle response, maximum speed, braking force, and other configurable parameters.
Testing and troubleshooting are crucial steps in ensuring the safety and performance of your electric skateboard hub motor. Take the time to thoroughly test your setup and address any issues that arise. Once you are satisfied with the performance and functionality, you can confidently enjoy the electrified ride of your newly transformed skateboard.
Remember to always prioritize safety while riding your electric skateboard and adhere to local traffic laws and regulations. Have fun and enjoy the thrill of cruising with your electric skateboard hub motor!
Conclusion
Congratulations! You have successfully completed the process of making an electric skateboard hub motor. By choosing the right motor, assembling the motor components, wiring the electronic speed controller (ESC), installing the battery and power switch, and conducting thorough testing and troubleshooting, you have transformed your regular skateboard into an electrifying and powerful ride.
Converting a skateboard into an electric one with a hub motor opens up a world of possibilities for adventure and exploration. You can now enjoy the convenience of effortless riding, improved speed, and extended range, all while maintaining the sleek aesthetics of your skateboard.
However, it’s important to remember that safety should always be a priority. Always wear appropriate safety gear when riding your electric skateboard and follow local traffic laws and regulations. Regularly inspect and maintain your electric skateboard to ensure its performance and durability.
Additionally, keep in mind that making an electric skateboard requires technical knowledge and skills. If you don’t have experience with electronics or skateboard modifications, it’s always a good idea to seek assistance from a professional.
We hope this guide has been helpful in guiding you through the process of making an electric skateboard hub motor. Enjoy your electrified rides and have fun exploring the world on your newly transformed skateboard!