Introduction
Welcome to this guide on how to make your very own solar panel charger! With the increasing popularity of renewable energy sources, harnessing solar power has become more accessible and affordable. A solar panel charger is a great DIY project that allows you to harness the power of the sun and use it to charge your electronic devices, whether you’re camping, traveling, or simply want to reduce your carbon footprint.
Creating your own solar panel charger not only saves you money on retail alternatives but also gives you the opportunity to learn about solar energy and its benefits. By following the steps in this guide, you can create a portable and eco-friendly charger that can be used whenever sunlight is available.
In this article, we will take you through the step-by-step process of building your solar panel charger. We will discuss the materials needed, provide detailed instructions on each step, and guide you through testing and mounting your DIY solar charger.
This project requires basic knowledge of electronics and soldering, so if you’re new to these skills, don’t worry! We’ll break down each step and explain everything in simple terms. By the end of this guide, you’ll have a functional solar panel charger that you can proudly use and show off.
Before we dive into the process, let’s take a look at the materials you’ll need to gather for this project.
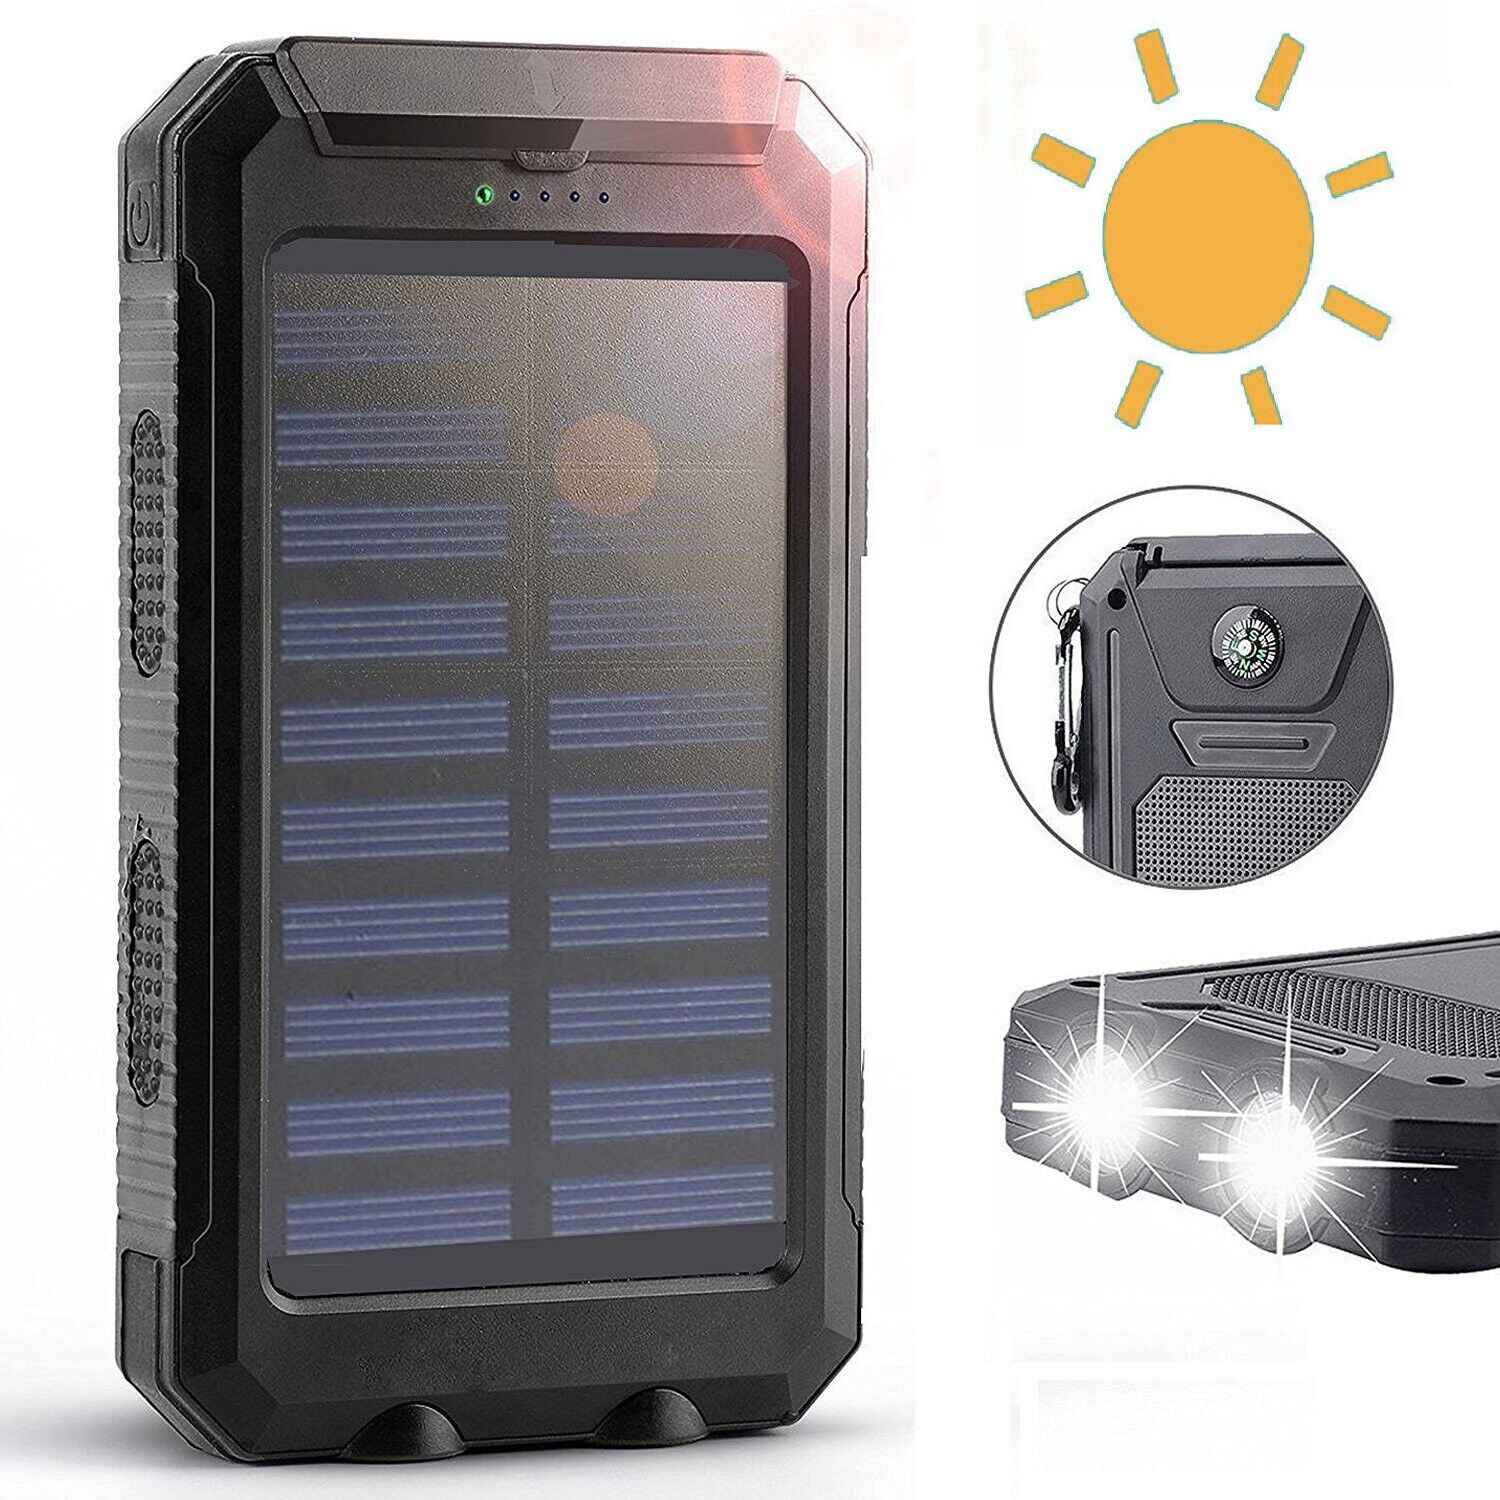
Materials Needed
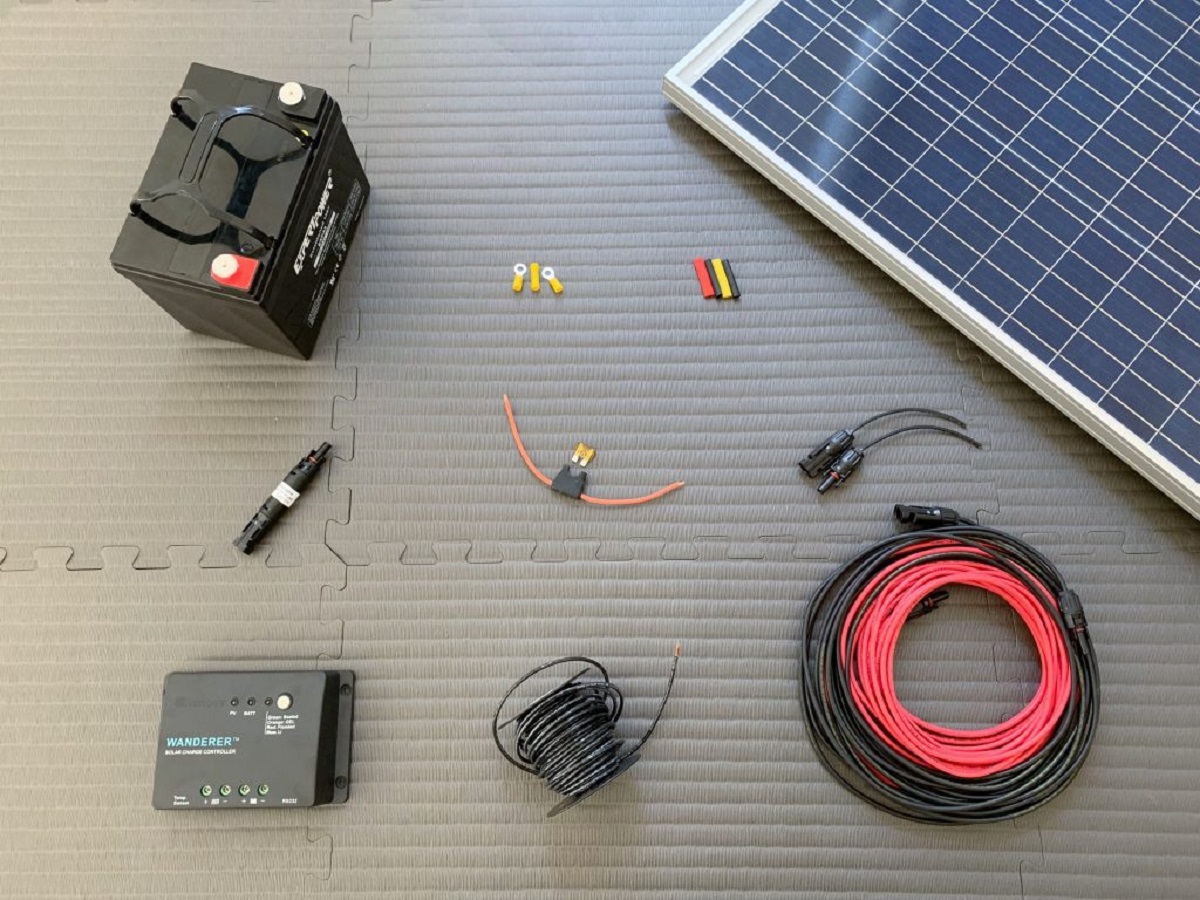
To get started on building your solar panel charger, you’ll need to gather the following materials:
- Solar cells: These are the key component of your solar panel charger. You can purchase solar cells online or from a local electronics store. Make sure to choose high-quality cells that are suitable for your project.
- Soldering iron and solder: You’ll need these tools to connect the solar cells and build the electrical circuit of your charger.
- Battery pack: This will store the energy captured by the solar panel and allow you to charge your devices even when the sun is not shining.
- Diode: A diode is used to prevent the battery from discharging back into the solar panel when there’s no sunlight.
- Enclosure: Choose a suitable enclosure to protect the electrical components from dust, moisture, and physical damage. It should also be lightweight and portable.
- Wires: You’ll need wires to connect the solar cells, battery, and diode. Make sure they are of a suitable gauge for the current flowing through them.
- Connector and cable: Choose a connector and cable that are compatible with the devices you wish to charge using the solar panel charger.
- Epoxy or adhesive: This will be used to secure the solar cells to the enclosure and prevent them from shifting or getting damaged.
- Tools: In addition to the soldering iron, you’ll need wire cutters, a wire stripper, a multimeter for testing, and a hot glue gun for securing the components in place.
It’s also a good idea to have some additional components handy, such as a voltage regulator or a charge controller, depending on the complexity of your project and the specific requirements of your devices. These components can help regulate the voltage and protect your devices from overcharging or voltage fluctuations.
Now that you have an idea of the materials needed, let’s move on to the first step of the construction process – gathering the materials!
Step 1: Gather Materials
Before you begin building your solar panel charger, it’s crucial to gather all the necessary materials and tools. This ensures that you have everything you need at hand and helps streamline the construction process. Here’s a detailed breakdown of the items you’ll need to gather:
- Solar cells: Start by purchasing high-quality solar cells from an electronics store or reputable online retailer. Consider the power output and dimensions of the cells, keeping in mind the voltage and capacity requirements of your devices.
- Soldering iron and solder: Choose a soldering iron with a suitable wattage for your project. Make sure you have enough solder on hand to connect the solar cells and other electronic components.
- Battery pack: Select a battery pack that matches the voltage and capacity needed for your devices. Make sure it’s compatible with the solar cells and can be easily connected to the charger circuit.
- Diode: Purchase a diode to prevent reverse current flow and protect the solar cells from discharging at night or in low-light conditions. Choose a diode with a suitable current rating and forward voltage drop.
- Enclosure: Find an enclosure that can accommodate the solar cells, battery pack, and other components. It should be durable, lightweight, and offer protection against dust, moisture, and physical damage.
- Wires: Get a variety of wires in different gauges for connecting the solar cells, battery pack, diode, and other components. Ensure they are long enough to reach all the necessary connections and have suitable insulation.
- Connector and cable: Choose a connector and cable that match the charging requirements of your devices. It should be compatible with the connector on your battery pack and have sufficient length for convenience.
- Epoxy or adhesive: Select a suitable adhesive, such as epoxy or strong adhesive tape, to secure the solar cells onto the enclosure.
- Tools: Gather essential tools like wire cutters, a wire stripper, a multimeter for testing, hot glue gun for securing components, and any other tools you might need during the construction process.
Once you have all the materials and tools ready, you’re well-prepared to proceed with building your solar panel charger. The next step will involve preparing the solar panel itself. So, let’s move on to Step 2!
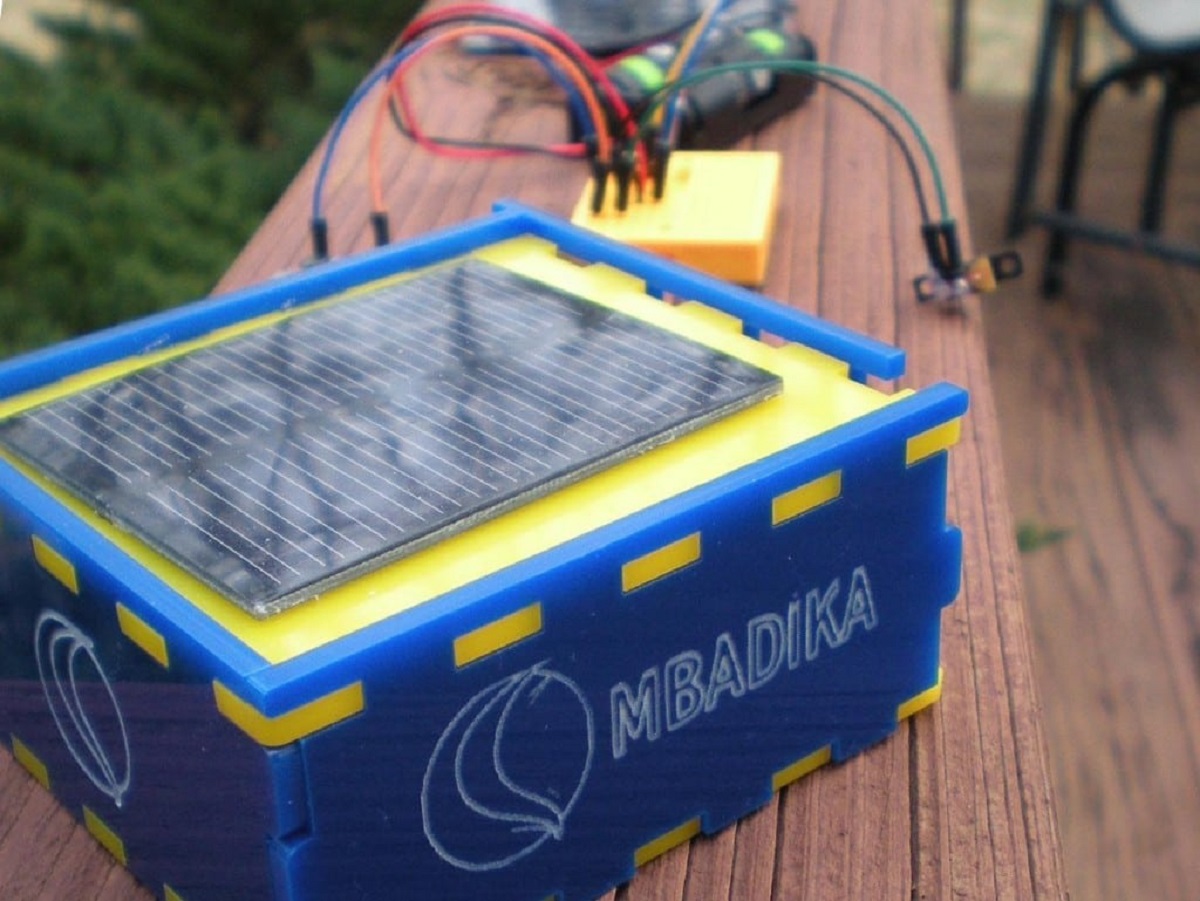
Step 2: Prepare the Solar Panel
Now that you have gathered all the necessary materials, it’s time to prepare the solar panel for the charger. In this step, we will focus on getting the solar cells ready and arranging them in a series or parallel configuration, depending on your desired voltage and current output.
Here’s a step-by-step guide to preparing the solar panel:
- Inspect the solar cells: Carefully examine each solar cell for any damage or defects. Check for any cracks, discoloration, or broken connections. If you find any faulty cells, set them aside and replace them with new ones.
- Clean the solar cells: Use a clean cloth or cotton swab dipped in isopropyl alcohol to gently clean the surface of each solar cell. This removes any dust, dirt, or oil that could reduce their efficiency. Allow the cells to dry before proceeding.
- Arrange the solar cells: Determine the desired configuration for your solar panel charger. You can arrange the cells in a series connection to increase the total voltage output or in a parallel connection to enhance the current output.
- Solder the solar cells: Use a soldering iron and solder to connect the solar cells together according to your chosen configuration. Ensure that the connections are secure and the solder joints are smooth and free of any short circuits.
- Test the solar panel: Use a multimeter to test the voltage and current output of the solar panel. This helps ensure that all the connections are properly made and the solar cells are functioning correctly.
It’s important to exercise caution while handling the solar cells to avoid any damage. Work in a well-ventilated area and wear safety goggles and gloves if necessary. Take your time to ensure that the cells are properly aligned and securely connected before moving on to the next step.
Now that your solar panel is prepared, you’re one step closer to completing your solar panel charger. In the next step, we will assemble the circuit that will allow the solar panel to charge the battery. So, let’s move on to Step 3!
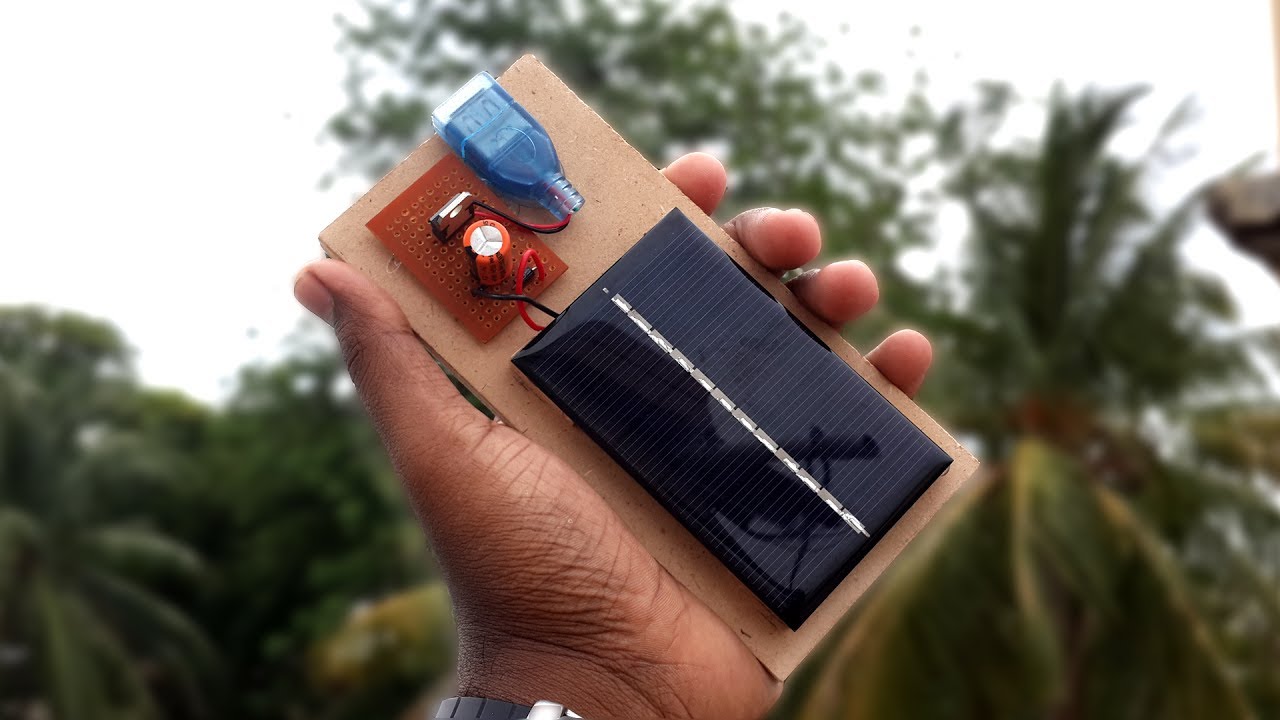
Step 3: Assemble the Circuit
With the solar panel prepared, it’s time to assemble the circuit that will enable the charging of the battery pack. This step involves connecting the solar cells, diode, and battery pack to form a functional circuit. By properly configuring the circuit, you can ensure the efficient flow of energy from the solar panel to the battery.
Here’s a step-by-step guide to assembling the circuit for your solar panel charger:
- Prepare the diode: Identify the positive and negative terminals of the diode. The striped end of the diode indicates the cathode (negative terminal), while the non-striped end represents the anode (positive terminal).
- Connect the diode: Connect the cathode end of the diode to the positive terminal of the solar panel. Solder the connection securely, making sure there is a strong bond between the diode and the solar panel.
- Connect the battery pack: Determine the positive and negative terminals of the battery pack. Connect the positive terminal of the battery pack to the anode end of the diode. Similarly, connect the negative terminal of the battery pack to the negative terminal of the solar panel.
- Solder the connections: Use the soldering iron and solder to create strong, reliable connections between the various components. Double-check that each connection is secure and free from any loose connections or solder bridges.
- Insulate the connections: To prevent short circuits, cover any exposed connections with electrical tape or heat shrink tubing. This ensures that the circuit remains protected and reduces the risk of accidental damage.
It’s important to pay attention to the polarity of the components and ensure that the positive and negative terminals are correctly connected. Take your time during the soldering process and verify each connection before proceeding to the next step.
Now that you’ve assembled the circuit, you’re ready to move on to the next step – connecting the solar panel to the circuit. So, let’s proceed to Step 4!
Step 4: Connect the Solar Panel to the Circuit
Now that you have your circuit assembled, it’s time to connect the solar panel to the circuit. This step involves linking the prepared solar panel to the rest of the components, allowing it to harness sunlight and transfer the generated energy to the battery pack.
Follow these step-by-step instructions to connect the solar panel to the circuit:
- Identify the solar panel connections: Locate the positive and negative terminals of the solar panel that you have prepared in Step 2.
- Connect the positive terminal: Connect the positive terminal of the solar panel to the anode end of the diode using a wire. You can either solder the connection or use a suitable connector, depending on your preference and the materials you have available.
- Connect the negative terminal: Connect the negative terminal of the solar panel to the negative terminal of the battery pack using another wire. Again, ensure a secure and reliable connection, either through soldering or using a connector.
- Double-check the connections: Carefully inspect each connection to ensure there are no loose or faulty connections. Verify that the positive and negative terminals are correctly aligned and securely connected.
Once all the connections are in place and verified, you can proceed to the next step – testing the solar panel charger. Testing is an essential part of the process and helps to confirm the functionality of your DIY solar panel charger. So, let’s move on to Step 5!
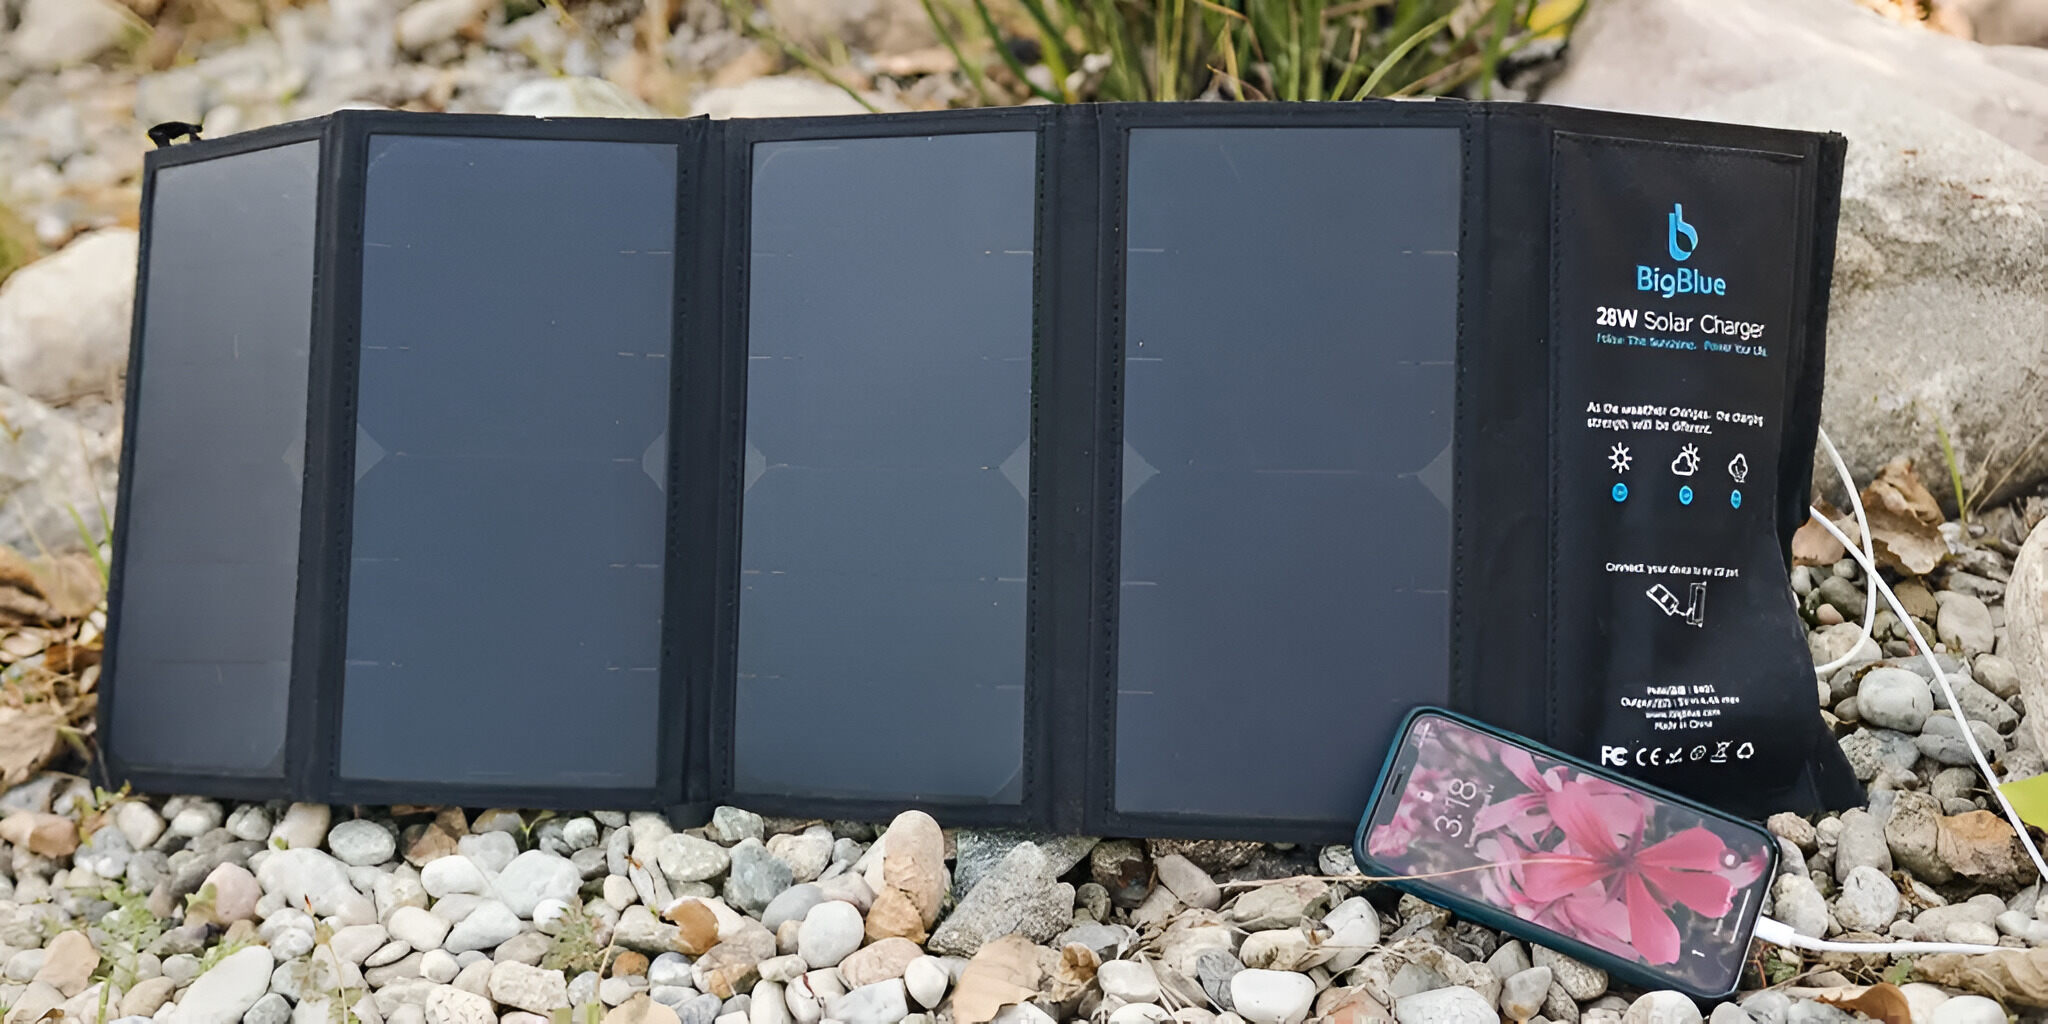
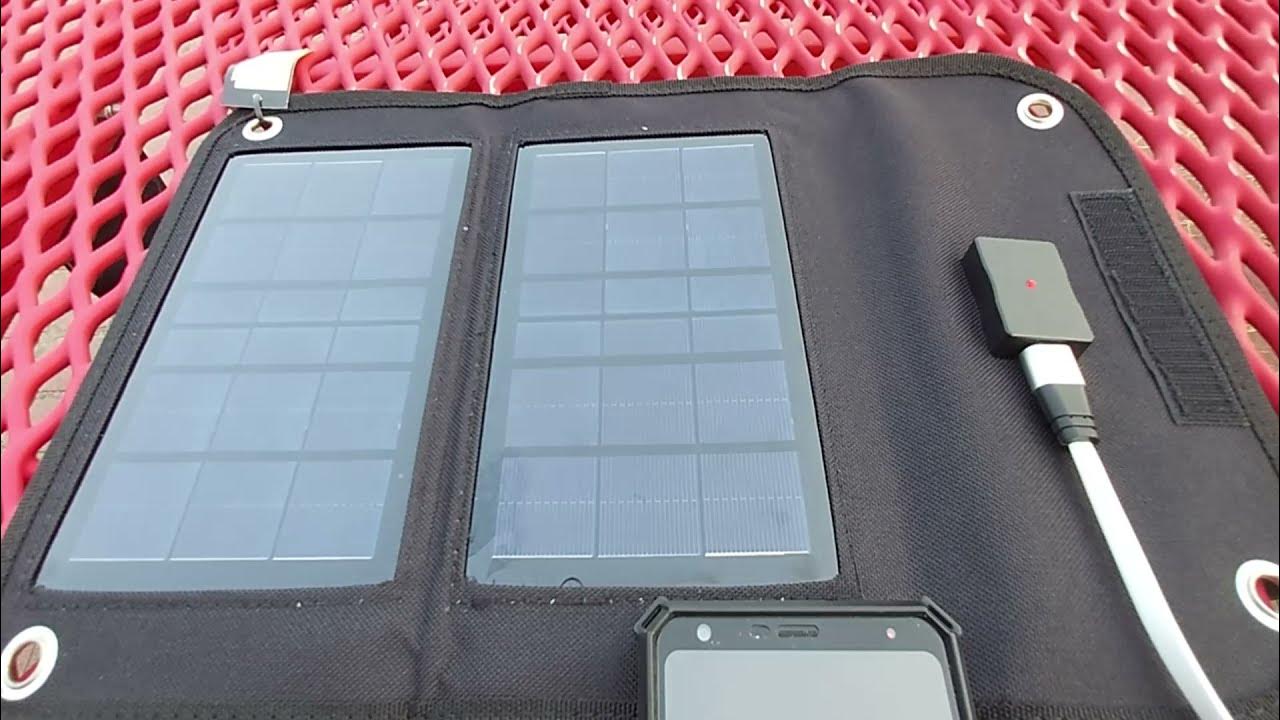
Step 5: Testing the Solar Panel Charger
After connecting the solar panel to the circuit, it’s important to test the functionality of your DIY solar panel charger to ensure it’s working as intended. This step allows you to verify that the solar cells are capturing sunlight and transferring the energy to the battery pack for charging.
Follow these steps to test your solar panel charger:
- Place the solar panel in direct sunlight: Position the solar panel in an area where it receives direct sunlight. Avoid any obstructions that may cast shadows over the solar cells.
- Check for voltage output: Use a multimeter to measure the voltage output of the solar panel. It should read a positive voltage value, indicating that the solar cells are functioning and generating electricity.
- Monitor the battery pack: Connect the battery pack to the charger and observe if it starts to charge. Check the battery pack’s voltage and see if it increases over time. This indicates that the solar panel charger is successfully transferring energy to the battery.
- Test charging a device: Connect a compatible device to the charger and see if it starts charging. Ensure the charging process is smooth and uninterrupted, indicating that the charger is providing the necessary power to the device.
During the testing phase, pay attention to any abnormal behavior or signs of malfunction. This may include insufficient charging, unstable voltage readings, or the device not recognizing the charger. If you encounter any issues, review the connections and troubleshoot accordingly.
By thoroughly testing your solar panel charger, you can confirm its effectiveness and make any necessary adjustments or improvements before moving on to the next step.
Now that you have tested your solar panel charger successfully, you’re ready to move on to the final step – mounting the charger. In the next step, we will explore how to securely mount your DIY solar panel charger for optimal use. Let’s proceed to Step 6!
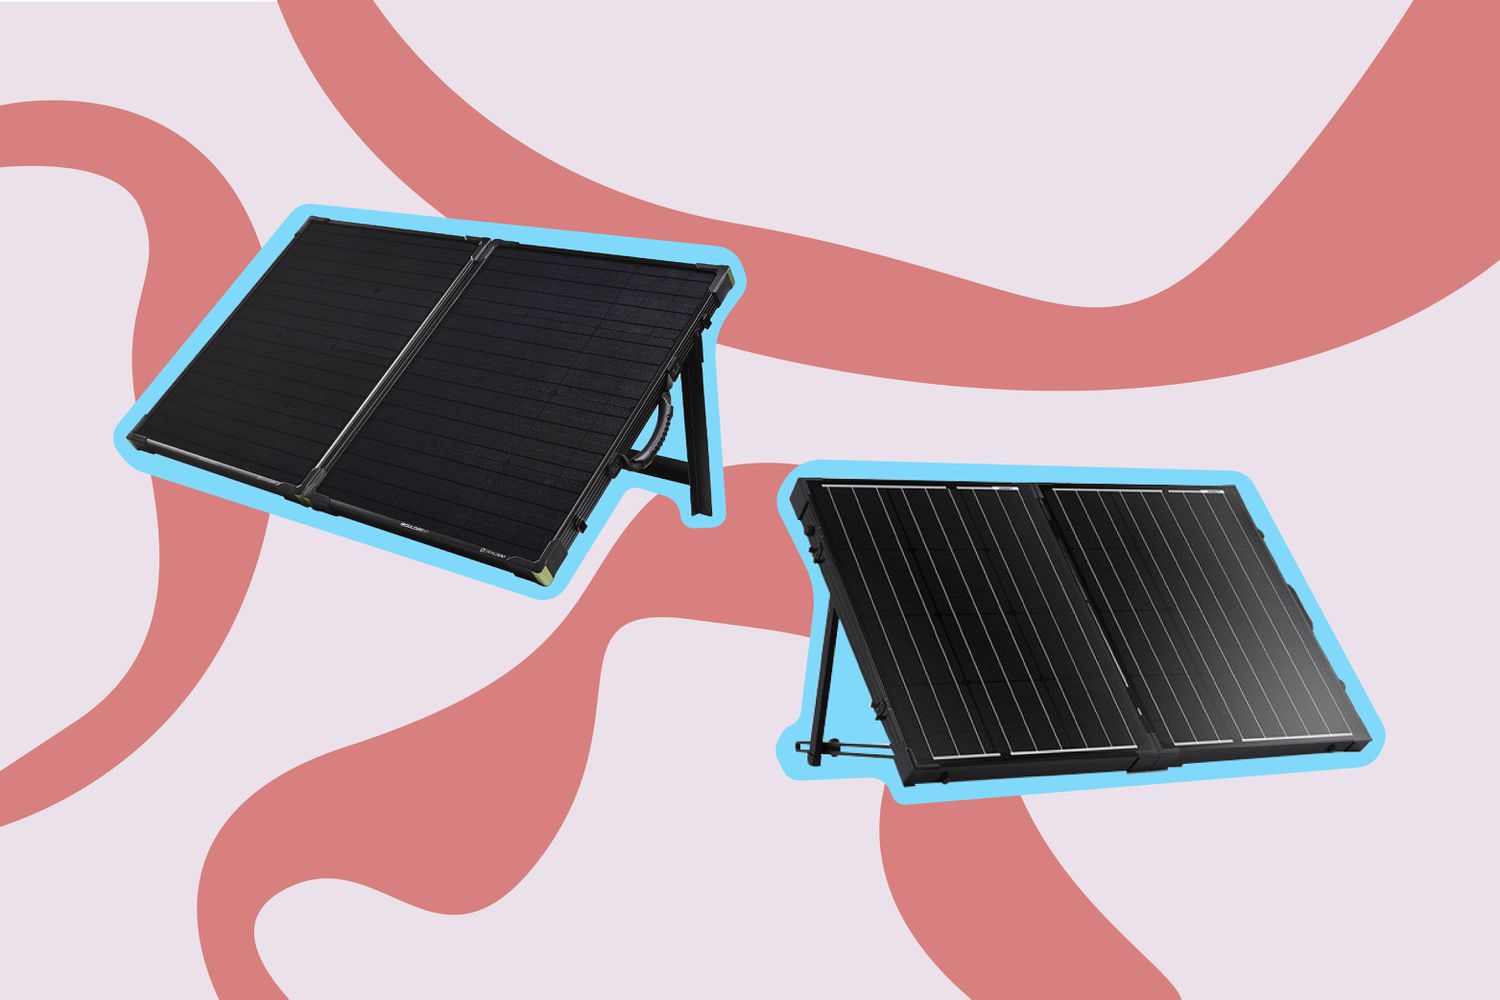
Step 6: Mounting the Solar Panel Charger
After confirming the functionality of your solar panel charger, the final step is to mount it securely for convenient and efficient use. Properly mounting the charger ensures stability, protection, and optimal exposure to sunlight for maximum energy generation.
Follow these steps to mount your DIY solar panel charger:
- Select a suitable location: Choose a location where the solar panel can receive maximum sunlight throughout the day. This could be on a rooftop, a garden, or any open space free from obstructions.
- Prepare the mounting surface: Clean the mounting surface and ensure it is free from any debris or dust. Use appropriate cleaning materials, such as water and a mild detergent, to ensure a clean and smooth surface.
- Install mounting brackets: Depending on the chosen location and the type of mounting brackets you have, install them securely onto the mounting surface. Ensure they are aligned properly and offer the necessary support for the solar panel.
- Attach the solar panel: Use screws, bolts, or other suitable fasteners to attach the solar panel to the mounting brackets. Ensure a secure and stable connection, taking care not to damage the solar panel in the process.
- Check the alignment and angle: Adjust the solar panel to face directly towards the sun. Consider the geographical location and season to determine the optimal angle for maximum sunlight exposure. Use a solar panel angle calculator or consult local resources for guidance.
- Secure the electrical connections: Once the solar panel is securely mounted, check all the electrical connections, including those to the battery pack and charging cables. Ensure they are well-insulated, protected from environmental elements, and free from any loose connections or exposed wires.
Proper mounting and secure installation of your solar panel charger extend its lifespan, enhance its efficiency, and reduce the risk of damage. Regularly inspect and maintain the charger to ensure it functions optimally over time.
Congratulations! You have successfully built and mounted your very own solar panel charger. With this eco-friendly device, you can now harness the power of the sun and charge your devices sustainably.
Remember to always practice safety precautions when working with electronics and solar panels. Be mindful of electrical hazards and follow proper procedures to protect yourself and your equipment.
Enjoy using your DIY solar panel charger and embrace the benefits of renewable energy in your daily life!
Conclusion
Congratulations on successfully completing your DIY solar panel charger! By following the step-by-step instructions in this guide, you’ve learned how to gather the necessary materials, prepare the solar panel, assemble the circuit, connect the solar panel to the circuit, test the charger, and mount it securely. Now, you have a portable and eco-friendly device that harnesses the power of the sun to charge your electronic devices.
Building a solar panel charger not only saves you money on retail alternatives but also allows you to learn about solar energy and contribute to a greener future. By utilizing renewable energy sources, you can reduce your carbon footprint and become more self-sufficient in powering your devices.
When using your solar panel charger, remember to position it in an area with maximum sun exposure, such as a rooftop or an open outdoor space. Regularly check and maintain the connections to ensure optimal performance and longevity of the charger.
Additionally, continue exploring renewable energy solutions and incorporating sustainable practices into your lifestyle. Renewable energy not only benefits the environment but also provides a reliable and cost-effective source of power in the long run.
We hope this guide has enlightened you and inspired you to utilize solar energy in other aspects of your life. By taking small steps towards sustainability, we can make a significant impact on conserving our planet for future generations.
Now, go forth and enjoy the convenience and environmental benefits of your DIY solar panel charger. Charge your devices with the power of the sun and embrace a greener way of living!