Introduction
Welcome to the ultimate guide on how to make 10 lbs of mashed potatoes in an electric pressure cooker. Mashed potatoes are a classic side dish that is loved by many, and making them in an electric pressure cooker can save you both time and effort in the kitchen. Whether you’re hosting a large gathering or simply craving a hearty meal, this step-by-step guide will help you create a large batch of fluffy, creamy mashed potatoes that will leave your guests begging for more.
Choosing to cook mashed potatoes in an electric pressure cooker offers several advantages. Not only does it reduce the cooking time significantly, but it also helps to retain the nutrients and flavors of the potatoes. The high-pressure environment of the cooker allows for faster cooking while preserving the natural moisture and taste of the potatoes.
In this guide, we will walk you through the process of making 10 lbs of mashed potatoes in an electric pressure cooker. From selecting the right cooker to preparing the potatoes and adding the perfect seasonings, we’ll cover every step to ensure your mashed potatoes turn out perfectly.
So, let’s get started and dive into the world of delicious mashed potatoes made in an electric pressure cooker. With just a few simple steps, you’ll be able to whip up a large batch of this classic dish without breaking a sweat. Get ready to impress your family and friends with your newfound mastery of electric pressure cooker mashed potatoes!
Choosing the Right Electric Pressure Cooker
When it comes to making 10 lbs of mashed potatoes in an electric pressure cooker, choosing the right cooker is crucial. With so many options available on the market, it can be overwhelming to select the one that best suits your needs. Here are some key factors to consider when choosing an electric pressure cooker.
1. Size: Look for an electric pressure cooker with a capacity large enough to accommodate 10 lbs of potatoes. Models with a minimum capacity of 8 quarts should be suitable for this task. Opting for a larger cooker allows for sufficient space for the potatoes and ensures even cooking.
2. Safety Features: Safety should always be a top priority when using any kitchen appliance. Ensure that the electric pressure cooker you choose has essential safety features such as pressure release valves, locking lids, and a secure sealing mechanism. These features help prevent accidents and guarantee a hassle-free cooking experience.
3. Cooking Programs: Electric pressure cookers come with a variety of cooking programs and settings. Look for a model that offers a manual mode, as it allows you to have more control over the cooking process. Additionally, having preset programs for potatoes or vegetables can be convenient but not essential.
4. Ease of Use: Consider the overall user-friendliness of the electric pressure cooker. Look for a model with an intuitive control panel and clear instructions. Additionally, features like a non-stick cooking pot and a removable inner lid make cleaning and maintenance a breeze.
5. Budget: Set a budget that works for you and search for electric pressure cookers within that range. Remember that quality and performance are important factors to consider, so don’t solely focus on price. Look for reputable brands with good customer reviews.
By taking these factors into account, you’ll be able to select an electric pressure cooker that meets your cooking needs and helps you make the perfect batch of mashed potatoes. Now that you’ve chosen the right cooker, let’s move on to gathering the ingredients for this delicious dish.
Gathering the Ingredients
Before diving into the process of making mashed potatoes in an electric pressure cooker, it’s important to gather all the necessary ingredients. Here’s what you’ll need:
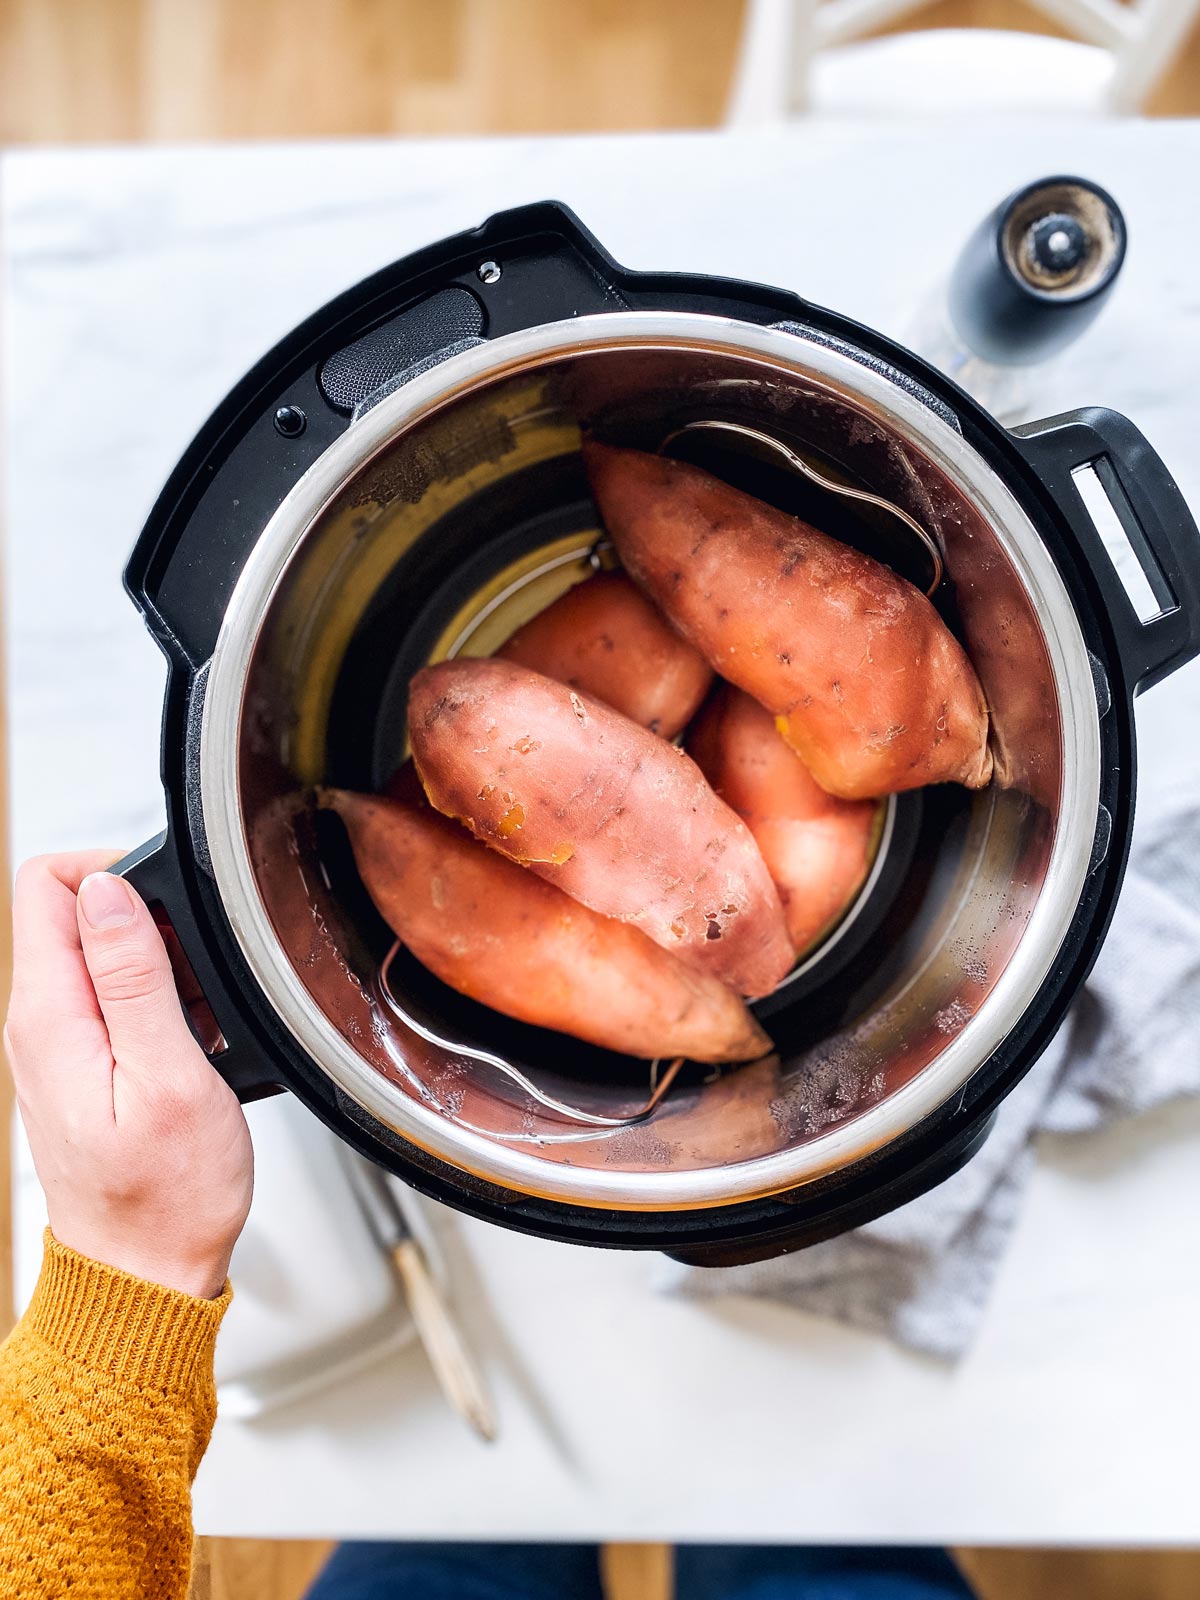
1. Potatoes: Start by selecting the right type of potatoes for your mashed potatoes. Russet or Yukon Gold potatoes are the best options as they have a high starch content, which results in a fluffier texture. Aim for around 10 lbs of potatoes, depending on how many servings you plan to make.
2. Liquid: To cook the potatoes and create the desired consistency, you’ll need a liquid component. For a traditional flavor, use water or chicken broth. Vegetable broth or milk can also be used for added richness and creaminess.
3. Butter: Butter adds richness and flavor to mashed potatoes. Plan on using approximately 1 cup of unsalted butter. You can adjust the amount to suit your taste preferences.
4. Seasonings: To enhance the taste of the mashed potatoes, consider adding seasonings such as salt, black pepper, garlic powder, or herbs like thyme or rosemary. These ingredients can be adjusted based on your personal preferences.
5. Optional Additions: If you’re looking to elevate your mashed potatoes, consider adding extras such as sour cream, cream cheese, or grated cheese for added creaminess and flavor. Chopped chives or parsley can also be added for a pop of freshness.
Make sure to also have essential kitchen tools on hand, including a peeler, a cutting board, a knife, a measuring cup, a colander, and a potato masher or an electric hand mixer for mashing the potatoes.
Now that you have all the necessary ingredients and tools ready, you’re one step closer to enjoying a hearty batch of mashed potatoes. In the next section, we’ll dive into the process of preparing the potatoes.
Preparing the Potatoes
Once you’ve gathered all the ingredients for your mashed potatoes, it’s time to prepare the potatoes before cooking them in the electric pressure cooker. Follow these steps to ensure your potatoes are ready to go:
1. Wash the Potatoes: Start by thoroughly washing the potatoes under running water to remove any dirt or debris. Use a vegetable brush to scrub the skins gently. Cleaning the potatoes ensures that no unwanted particles end up in your mashed potatoes.
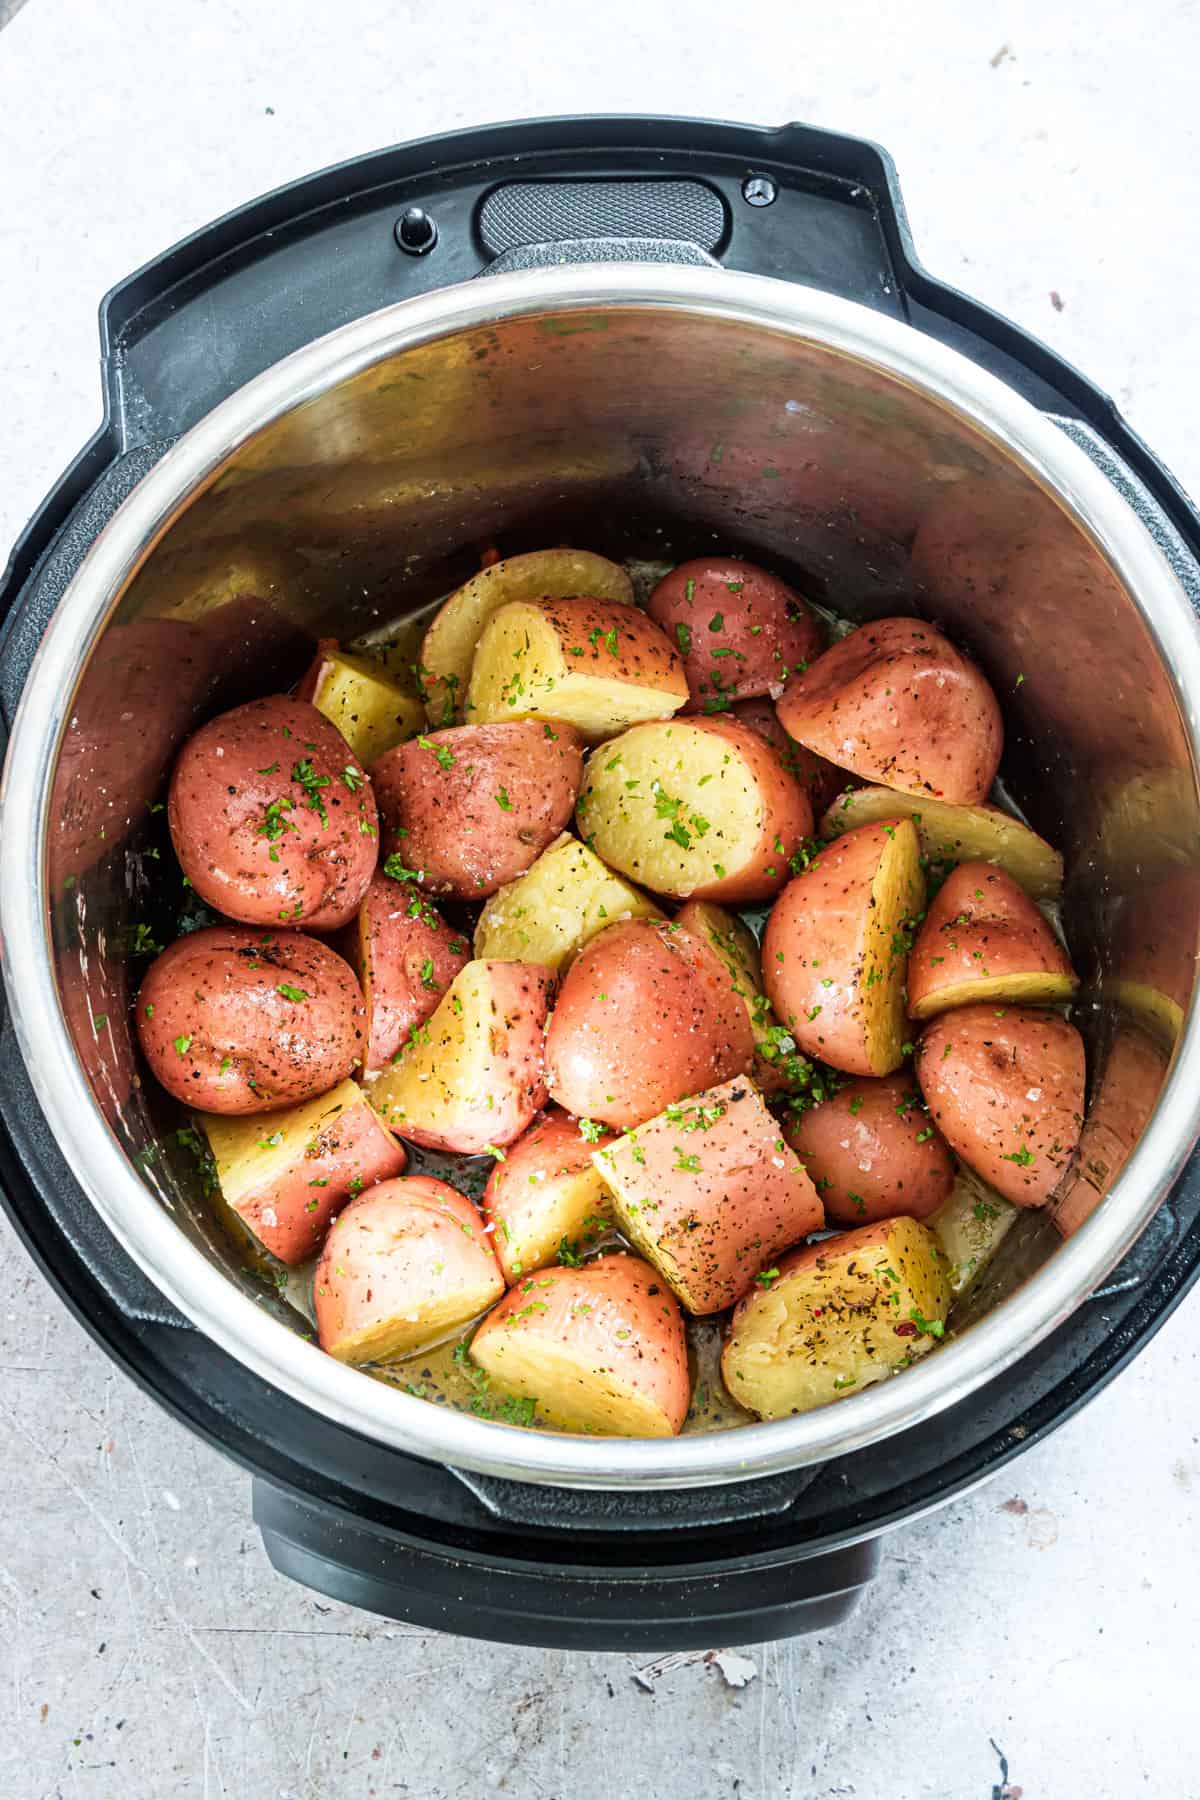
2. Peel or Leave the Skin On: Decide whether you want to peel the potatoes or leave the skin on. Leaving the skin on can add extra texture and nutrients to your mashed potatoes. However, if you prefer a smoother consistency, peel the potatoes using a peeler. Make sure to remove any blemishes or eyes on the potatoes.
3. Cut into Even-sized Pieces: Quarter the potatoes or cut them into 1-inch cubes to ensure even and consistent cooking. This step helps the potatoes cook evenly without any undercooked or overcooked pieces.
4. Rinse Off Excess Starch: After cutting the potatoes, place them in a large bowl filled with cold water. This step helps remove excess starch, resulting in fluffier mashed potatoes. Gently swish the potatoes in the water for a minute or two, then drain off the starchy water. Repeat this process until the water is clear.
5. Pat Dry: Once you’ve rinsed off the excess starch, pat the potatoes dry using a clean kitchen towel or paper towels. This step ensures that the potatoes cook properly in the electric pressure cooker.
Now that your potatoes are properly prepped, it’s time to move on to the next step – adding the right amount of water. This is crucial in achieving the perfect texture for your mashed potatoes. Let’s dive into it in the following section.
Adding the Right Amount of Water
When it comes to cooking mashed potatoes in an electric pressure cooker, it’s essential to add the right amount of water to achieve the desired texture. Adding too much water can result in watery mashed potatoes, while adding too little can lead to undercooked potatoes. Follow these guidelines to ensure you get it just right:
1. Follow the Manufacturer’s Instructions: Check the instruction manual of your electric pressure cooker for specific guidelines on the minimum and maximum amount of water to use. Different models may have slight variations in water requirements.
2. Use Enough Water to Cover the Potatoes: As a general rule, add enough water to just cover the potatoes. This typically ranges from 1 to 2 cups of water, depending on the size of your pressure cooker. Adding more water than necessary can dilute the flavor and make the mashed potatoes too runny.
3. Avoid Excessive Water: It’s important not to exceed the maximum fill line indicated on the inside of the pressure cooker. Overfilling the cooker can cause the water to overflow during cooking, resulting in a messy and potentially dangerous situation.
4. Consider the Potato Variety: Keep in mind that different potato varieties have varying moisture content. So, the amount of water needed may differ slightly depending on whether you’re using russet, Yukon Gold, or another type of potato. Adjust the amount accordingly to ensure the potatoes cook evenly and maintain the desired texture.
5. Balance Moisture with Other Ingredients: If you prefer your mashed potatoes to be extra creamy, you can reduce the amount of water slightly and add additional liquid ingredients like milk or vegetable broth. Just be mindful of not adding too much liquid, as it can make the mashed potatoes too thin.
By following these tips, you’ll be able to add the right amount of water to your electric pressure cooker, ensuring perfectly cooked mashed potatoes. In the next section, we’ll explore how to adjust the cooking time for optimal results.
Adjusting the Cooking Time
One of the advantages of using an electric pressure cooker to make mashed potatoes is the significantly reduced cooking time. However, it’s important to adjust the cooking time to ensure the potatoes are perfectly cooked and achieve the desired texture. Here’s how to get the cooking time just right:
1. Consider Potato Size: The size of the potato pieces will affect the cooking time. Smaller potato cubes will cook faster than larger ones. Aim to cut the potatoes into uniform-sized pieces to ensure even cooking and prevent some pieces from being overcooked while others are undercooked.
2. Follow the Recipe Guidelines: If you’re using a specific recipe for mashed potatoes in an electric pressure cooker, follow the recommended cooking time provided. The recipe should take into account the potato size and desired texture.
3. Adjust for Desired Texture: The cooking time can be adjusted based on whether you prefer a chunkier or smoother texture. For chunkier mashed potatoes, a shorter cooking time may be suitable. If you want smoother, creamier potatoes, consider increasing the cooking time slightly.
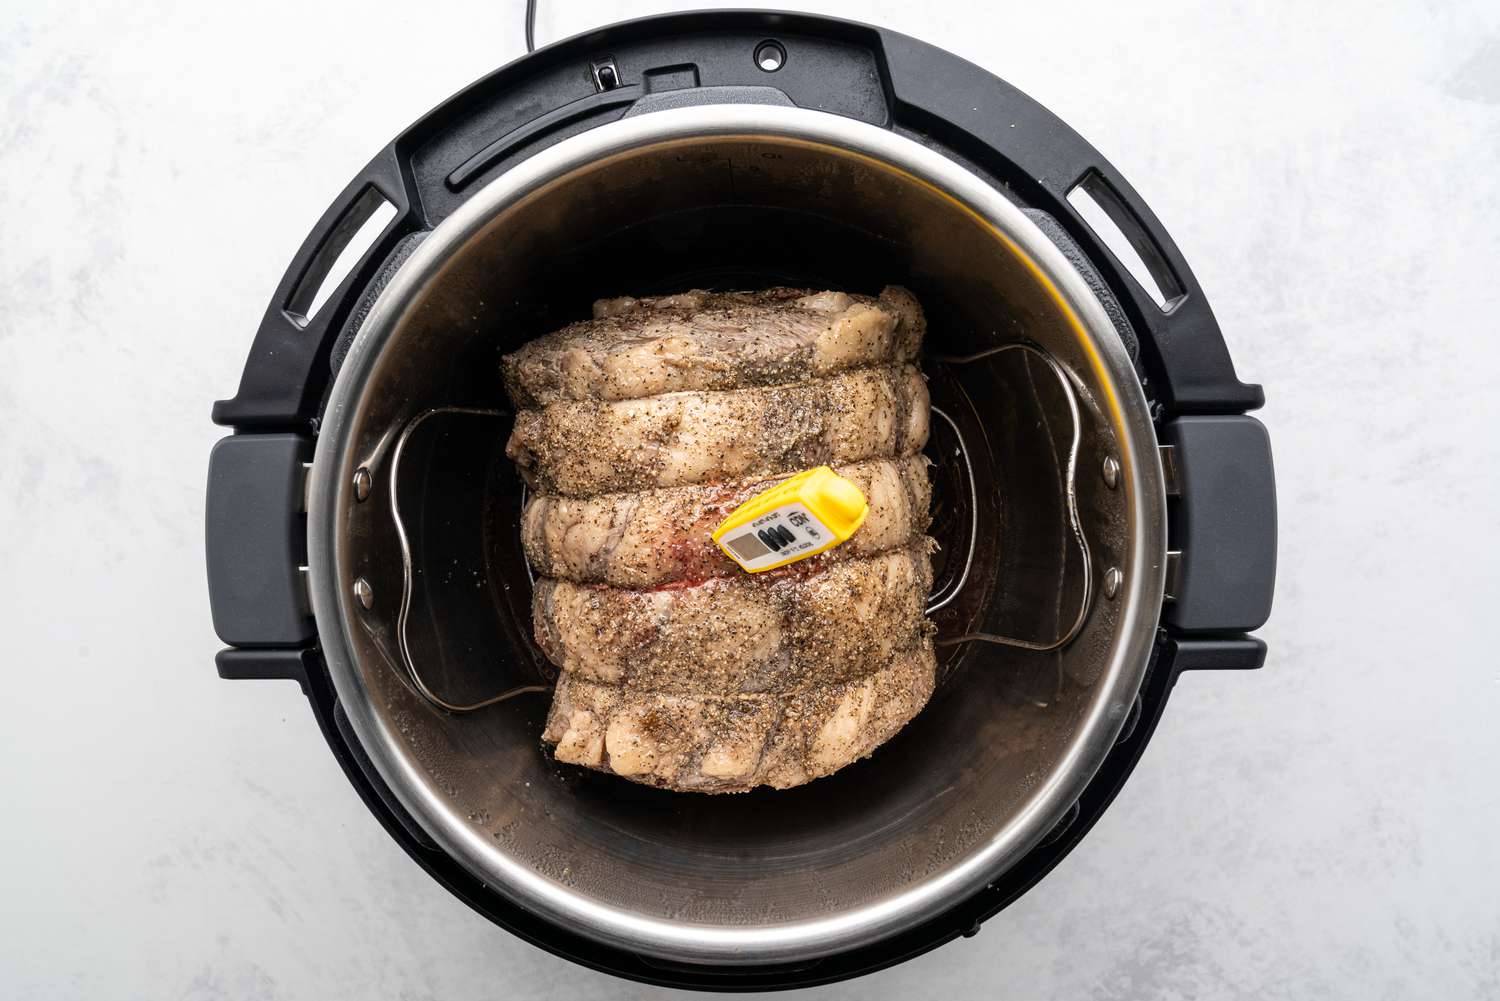
4. Test with a Fork: To determine if the potatoes are cooked to perfection, use a fork to pierce them. If the fork easily slides through the potatoes with little resistance, they are cooked. If there is resistance or the potatoes are still firm, continue cooking for a few more minutes.
5. Experiment and Make Note of Results: Each electric pressure cooker may vary in terms of heating and cooking speeds. It’s a good idea to experiment with different cooking times to find what works best for your specific cooker and personal preference. Keep a note of the cooking time that yields the perfect texture for reference.
By adjusting the cooking time based on the size of the potato pieces and your desired texture, you’ll be able to achieve perfectly cooked mashed potatoes in your electric pressure cooker. In the next section, we’ll cover the step-by-step process of cooking the potatoes in the pressure cooker.
Cooking the Potatoes in the Pressure Cooker
Now that your potatoes are prepped and the cooking time has been adjusted, it’s time to cook the potatoes in the electric pressure cooker. Follow these steps to ensure perfectly cooked mashed potatoes:
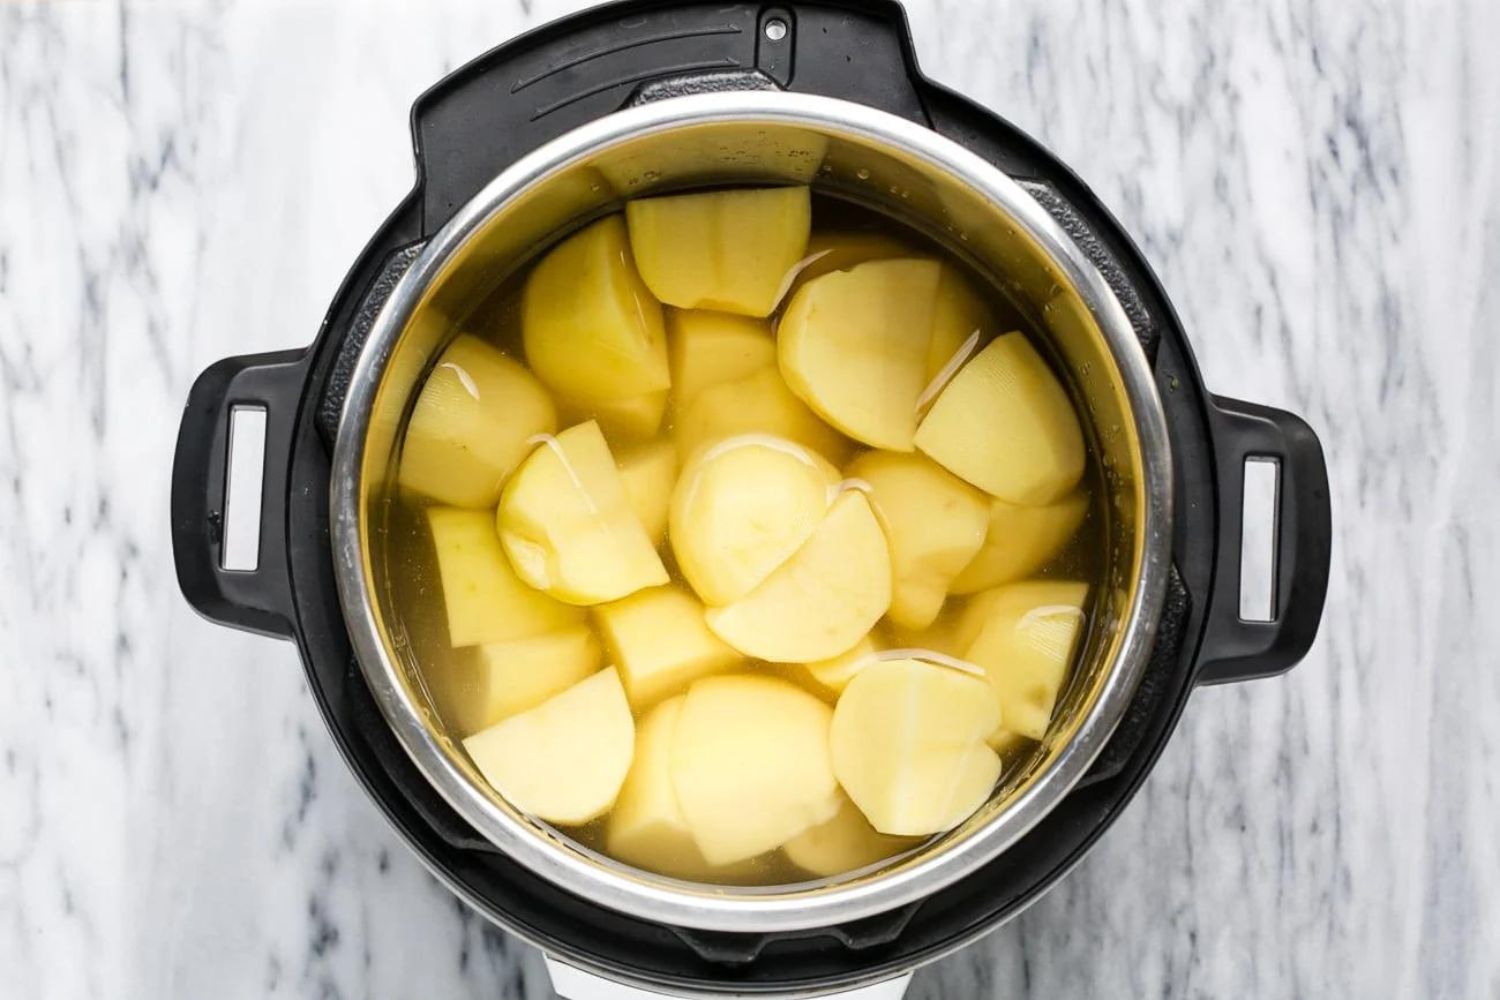
1. Add the Potatoes to the Pressure Cooker: Place the cut potatoes into the cooking pot of the electric pressure cooker. Ensure the potatoes are evenly spread and not overcrowded to allow for even cooking.
2. Add the Water: Pour the predetermined amount of water (usually 1 to 2 cups) into the pressure cooker, making sure it covers the potatoes without exceeding the maximum fill line. This provides the necessary steam and pressure to cook the potatoes.
3. Seal the Pressure Cooker: Attach and lock the lid securely onto the pressure cooker. Ensure that the pressure release valve is set to the “Sealing” position to build pressure inside the cooker during cooking.
4. Select the Cooking Program: Depending on your electric pressure cooker model, select the appropriate cooking program for potatoes or use the manual mode. Adjust the cooking time to the recommended time or the one you’ve determined through testing.
5. Start the Cooking Process: Press the start button or set the cooking process in motion as per your specific electric pressure cooker’s instructions. The cooker will now heat up, build pressure, and begin the cooking process.
6. Natural Release or Quick Release: Once the cooking time is complete, there are two methods for releasing the pressure in the electric pressure cooker. Natural Release involves allowing the cooker to release pressure naturally, which takes about 10-15 minutes. Quick Release involves carefully turning the pressure release valve from the “Sealing” to the “Venting” position to release the steam quickly. Follow your cooker’s instructions for the recommended method.
7. Check for Doneness: Carefully open the lid of the pressure cooker once the pressure has been released. Check the potatoes for doneness by inserting a fork into the potatoes. They should be tender and easily mashed.
Now that the potatoes are cooked to perfection, it’s time to move on to the next step – draining and mashing the potatoes. We’ll cover this in detail in the following section.
Draining and Mashing the Potatoes
After cooking the potatoes in the electric pressure cooker, it’s time to drain and mash them to create the creamy, luscious texture of mashed potatoes. Follow these steps to achieve the perfect consistency:
1. Carefully Transfer the Potatoes: Using oven mitts or silicone gloves, carefully remove the inner pot from the electric pressure cooker and place it on a heat-resistant surface. Be cautious as the pot and potatoes will be hot.
2. Drain Excess Liquid: If there is any remaining cooking liquid in the pot, carefully pour it out into a heat-proof bowl or sink. Be mindful of the hot steam when doing this to avoid burns. Alternatively, you can use a colander to drain the potatoes, reserving some of the cooking liquid if needed for later adjustments.
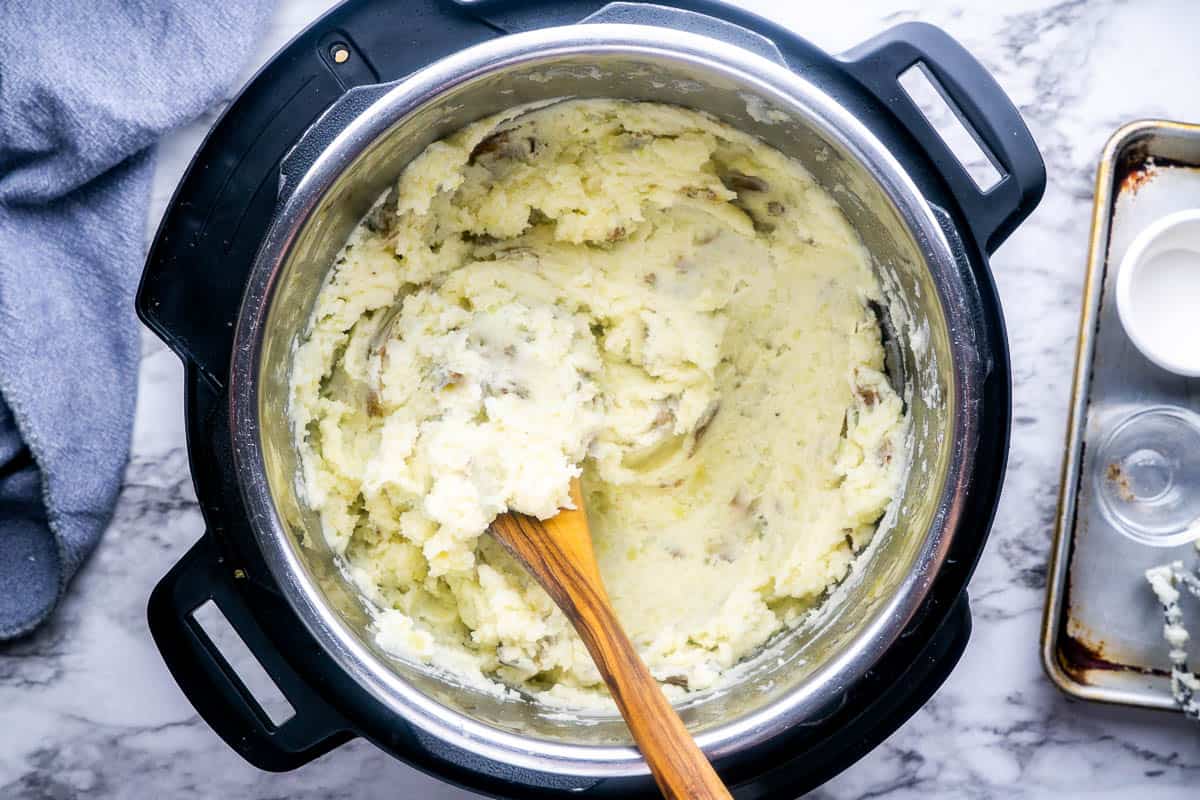
3. Mash the Potatoes: Using a potato masher or an electric hand mixer, start mashing the potatoes until they reach your desired consistency. For a creamier texture, you can add a small amount of the reserved cooking liquid, milk, or broth to the mashed potatoes. Continuously mash until smooth, but be careful not to over mix as it can result in gluey potatoes.
4. Adjust the Seasoning: Taste the mashed potatoes and add salt, pepper, and any additional seasonings according to your preference. If desired, you can also incorporate any optional additions such as butter, sour cream, cream cheese, or grated cheese. Mix well to distribute the flavors evenly.
5. Keep Warm or Reheat: If you’re not serving the mashed potatoes immediately, you can keep them warm by placing the inner pot back into the electric pressure cooker and selecting the “Keep Warm” function. Alternatively, you can reheat them later by covering the pot with a lid and gently reheating on the stove over low heat.
With the potatoes drained and mashed to perfection, you’re now ready to serve your delicious homemade mashed potatoes. In the next section, we’ll discuss how to present and serve the mashed potatoes to impress your guests.
Adding Butter and Seasoning
Now that the mashed potatoes are perfectly mashed, it’s time to add the final touches by incorporating butter and seasoning. This step will add richness, flavor, and depth to your mashed potatoes. Follow these guidelines to achieve the perfect balance of buttery goodness and seasoning:
1. Butter: Add around 1 cup of unsalted butter to the mashed potatoes. The butter should be at room temperature to make it easier to incorporate. Start by adding about half of the butter and mix it into the mashed potatoes until it melts. Taste and adjust the amount of butter to your preference. Remember, the more butter you add, the richer and creamier the mashed potatoes will be.
2. Seasoning: Season the mashed potatoes with salt, pepper, and any additional spices or herbs according to your taste. Start with a small amount and gradually increase until you achieve the desired flavor. Additionally, consider adding minced garlic, garlic powder, onion powder, or dried herbs like thyme, rosemary, or parsley for extra depth and complexity.
3. Personalize the Seasonings: Feel free to get creative and personalize the seasonings based on your preferences. You can experiment with adding spices like paprika, cayenne pepper, or even a touch of nutmeg for a unique flavor profile. Remember to taste and adjust the seasonings as needed until the mashed potatoes are seasoned to your liking.
4. Mix Well: Gently mix the melted butter and seasonings into the mashed potatoes until everything is well combined and distributed evenly. Be careful not to over mix, as it can lead to a dense or gummy texture. Aim for light and fluffy mashed potatoes that are rich in flavor.
5. Taste and Adjust: Take the opportunity to taste the mashed potatoes and make any necessary adjustments. If you find that the potatoes need more butter or seasoning, add a small amount at a time, mixing well and tasting after each addition until you’re satisfied with the flavor.
Once you’ve added the butter and seasoning, your mashed potatoes are now ready to be served. In the next section, we’ll discuss some tips for presenting and serving the mashed potatoes to impress your family or guests.
Serving the Mashed Potatoes
Now that your mashed potatoes are perfectly seasoned and buttery, it’s time to serve them in a way that will make your dish truly inviting and appetizing. Follow these tips to present your mashed potatoes in an appealing manner:
1. Plating: Use a large serving bowl or individual plates to showcase your mashed potatoes. Consider creating a well in the center of the potatoes where you can add an extra pat of butter or a sprinkle of herbs for a decorative touch.
2. Garnish: Sprinkle some chopped fresh herbs, such as parsley or chives, over the top of the mashed potatoes for a pop of color and added flavor. Alternatively, you can sprinkle a dash of paprika or grated cheese for an extra visual appeal.
3. Gravy or Sauce: Serve your mashed potatoes with a flavorful gravy or sauce. Classic options like homemade turkey gravy or mushroom gravy can enhance the taste and add richness to the dish. Drizzle the gravy or sauce over the mashed potatoes just before serving.
4. Side Dishes: Consider serving your mashed potatoes alongside other complementary dishes. Some popular options include roasted chicken, grilled steak, roasted vegetables, sautéed greens, or a fresh salad. The combination of flavors and textures will create a well-rounded and satisfying meal.
5. Family Style or Individual Portions: Depending on the occasion and your preference, you can either serve the mashed potatoes family-style in a large serving dish for everyone to help themselves or portion them out individually for a more formal presentation.
6. Keep Warm: If you’re not serving the mashed potatoes immediately, you can cover the dish or individual portions with foil and keep them warm in a preheated oven at a low temperature (around 200°F/93°C) for up to 30 minutes. Stir the mashed potatoes before serving to ensure they maintain their creamy consistency.
Remember, the presentation of your mashed potatoes can greatly enhance the overall dining experience. Take the time to arrange them beautifully and have fun experimenting with different serving styles. Now that your mashed potatoes are plated and ready to be enjoyed, let’s discuss some tips for handling leftovers in the next section.
Tips for Leftovers
Leftover mashed potatoes are a delicious and versatile ingredient that can be transformed into new meals or enjoyed as a side dish on their own. Here are some tips to make the most out of your leftover mashed potatoes:
1. Reheating: If you want to enjoy the mashed potatoes as is, you can reheat them in the microwave or on the stovetop. Add a splash of milk or broth to help revive the creaminess. Stir occasionally to ensure even heating and prevent the mashed potatoes from drying out.
2. Freezing: Mashed potatoes can be frozen for future use. Allow the mashed potatoes to cool completely before transferring them to airtight containers or freezer-safe bags. Label and date the containers, and lay them flat in the freezer to maximize space. Thaw in the refrigerator overnight before reheating.
3. Leftover Mash Pies: Transform your mashed potatoes into a delicious leftover mash pie. Layer the mashed potatoes over leftover shredded turkey, chicken, or vegetables. Top with shredded cheese and bake in the oven until the filling is heated through and the mashed potatoes are golden and crisp on top.
4. Shepherd’s Pie: Use your mashed potatoes as a topping for a classic shepherd’s pie. Spread the mashed potatoes over cooked ground beef or lamb, along with mixed vegetables and gravy. Bake until the filling is bubbling and the mashed potatoes are golden and crispy around the edges.
5. Mashed Potato Pancakes: Mix the leftover mashed potatoes with some flour, an egg, and your choice of seasonings. Form the mixture into small patties and pan-fry until golden and crispy on both sides. Serve as a side dish or even for breakfast with eggs and bacon.
6. Mashed Potato Soup: Thin out the mashed potatoes with some broth or milk to create a creamy and comforting mashed potato soup. Add in your favorite herbs, spices, and even cooked bacon or vegetables for extra flavor and texture.
Remember to store leftover mashed potatoes safely in the refrigerator for up to three to four days. Discard any leftovers that have been left at room temperature for more than two hours to prevent foodborne illness.
With these tips, you can ensure that your leftover mashed potatoes are put to good use and enjoyed in creative and exciting ways. Now that you’re equipped with these ideas, you can confidently serve and handle any amount of mashed potato leftovers.
Conclusion
Making 10 lbs of mashed potatoes in an electric pressure cooker is a time-saving and convenient way to prepare this classic side dish. By following the steps outlined in this guide, you can create a large batch of fluffy, creamy mashed potatoes that will impress your family and guests.
From choosing the right electric pressure cooker to gathering the necessary ingredients, preparing the potatoes, adjusting the cooking time, and adding butter and seasoning, each step plays a crucial role in achieving the perfect mashed potatoes. Taking the time to wash, peel, and cut the potatoes, as well as adding the appropriate amount of water and adjusting the cooking time, ensures even cooking and optimal texture.
Adding butter and seasonings not only enhances the flavor but also allows you to personalize the mashed potatoes to suit your taste preferences. Whether you enjoy them as a side dish or incorporate them into creative recipes, mashed potatoes are sure to be a hit.
Furthermore, with leftover mashed potatoes, you have the opportunity to transform them into new and delicious meals such as leftover mash pies, shepherd’s pie, or mashed potato pancakes. Freezing the leftovers provides the convenience of enjoying mashed potatoes at a later time without compromising taste or quality.
So, grab your electric pressure cooker, round up your ingredients, and get ready to create a delightful batch of mashed potatoes. Whether it’s a holiday gathering, family dinner, or a comforting weeknight meal, these homemade mashed potatoes will undoubtedly be a crowd-pleaser. Enjoy the process of cooking, savor every mouthful, and explore the versatility of this beloved side dish.