Introduction
Welcome to this comprehensive guide on how to lock cells in Google Sheets. Google Sheets is a powerful online spreadsheet software that allows users to create and collaborate on spreadsheets. One important feature of Google Sheets is the ability to lock cells, which ensures that certain cells remain unchanged while the rest of the sheet can be edited. This feature is particularly useful when working on shared spreadsheets or when you want to protect specific data from accidental modifications.
Locking cells in Google Sheets provides an added layer of security and control over your spreadsheet, preventing unwanted changes or accidental deletions. Whether you’re working on financial data, team schedules, or any other type of information that requires data integrity, knowing how to lock cells effectively is essential.
In this guide, we will cover various methods to lock cells in Google Sheets. We will walk you through step-by-step instructions, highlighting the benefits and limitations of each method. By the end of this guide, you will have a solid understanding of how to protect your data and ensure the accuracy and integrity of your Google Sheets.
Before we dive into the methods, let’s discuss why locking cells in Google Sheets is important and the potential use cases where this feature can be beneficial.
Why Locking Cells in Google Sheets is Important
Locking cells in Google Sheets serves several important purposes, making it an essential tool for efficient and secure spreadsheet management. Here are some key reasons why locking cells is important:
- Data Protection: Locking cells ensures the protection of critical data from accidental edits or deletions. This is crucial when dealing with important financial information, complex formulas, or sensitive data that should remain unchanged.
- Data Integrity: By locking cells, you maintain the integrity of your spreadsheet by preventing inadvertent changes or unauthorized access. This is particularly important when sharing a spreadsheet with multiple collaborators, as it helps preserve the accuracy and reliability of the data.
- Preserving Formulas: When you have formulas in your spreadsheet, locking cells that contain those formulas ensures they are not accidentally altered. This helps maintain the consistency and reliability of your calculations, saving you time and minimizing the risk of errors.
- Controlled Collaboration: Locking cells allows you to control the level of access and editing permissions for different users. This is beneficial when working on a spreadsheet with a team, as it helps prevent unwanted modifications and ensures that each collaborator only has access to the cells they need to work with.
- Presentation and Reporting: When creating presentations or reports using Google Sheets, locking cells ensures that specific data points or information remain fixed and unchanged. This helps in maintaining the visual consistency and accuracy of your final presentation.
Whether you’re managing personal finances, analyzing data for a business, or collaborating with a team on a project, locking cells in Google Sheets is crucial to protect your data, maintain data integrity, and ensure efficient collaboration.
How to Lock Cells in Google Sheets
Google Sheets provides several methods to lock cells, giving you flexibility in choosing the one that best suits your needs. Here, we will explore three commonly used methods to lock cells in Google Sheets:
Method 1: Using the Protect Sheets and Ranges Feature
The Protect Sheets and Ranges feature in Google Sheets allows you to lock specific ranges or entire sheets, granting permissions to different users. Here’s how you can use this method:
- Select the range of cells you want to lock or click on the sheet tab to protect the entire sheet.
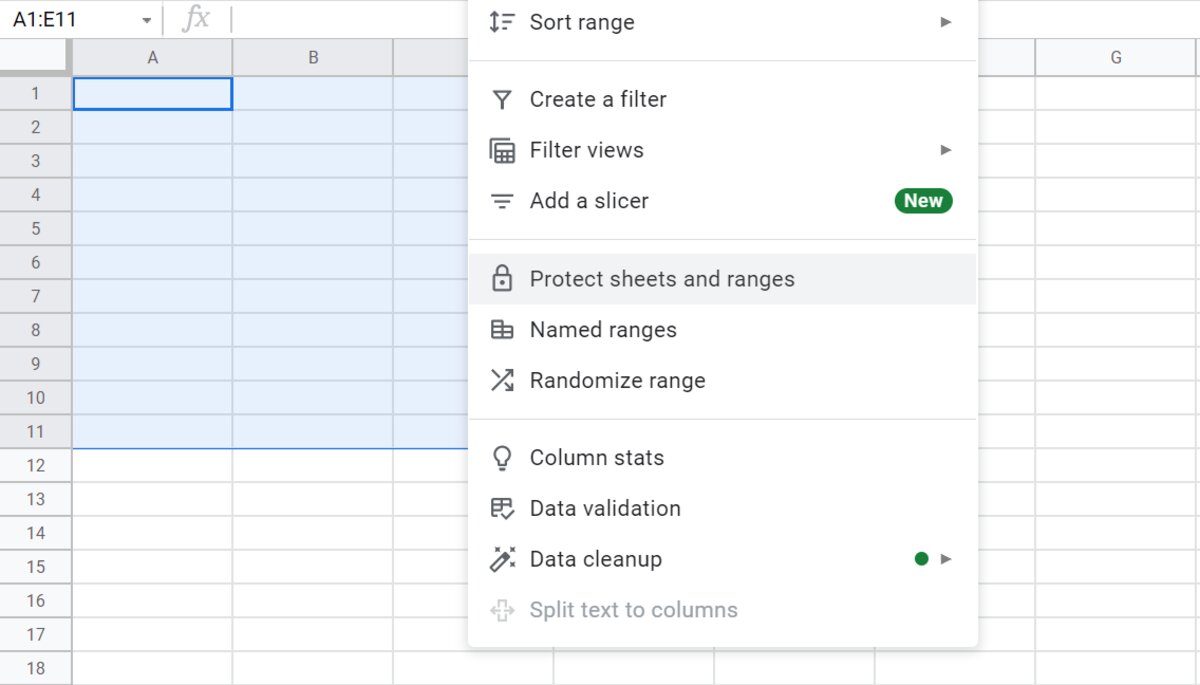
- Navigate to the “Data” menu and select “Protect sheets and ranges”.
- In the sidebar that appears, click on the “Set Permissions” button to specify who can edit the protected cells.
- Choose the appropriate permission level for each user or select “Only you” to restrict editing access to yourself.
- Click on the “Set Permissions” button to apply the changes.
Method 2: Using Data Validation
Data validation is another effective method to lock cells in Google Sheets. It allows you to set specific criteria for cell entries, preventing any changes that do not meet the specified conditions. Here’s how to use data validation to lock cells:
- Select the range of cells you want to lock.
- Go to the “Data” menu and choose “Data validation”.
- In the data validation dialog box, select “Custom formula is” from the drop-down menu.
- Enter a formula in the Custom formula field that restricts the entry to a specific condition. For example, you can use “=NOT(ISBLANK(A1))” to allow editing only when the cell A1 is not empty.
- Click on “Save” to apply the data validation rule to the selected cells.
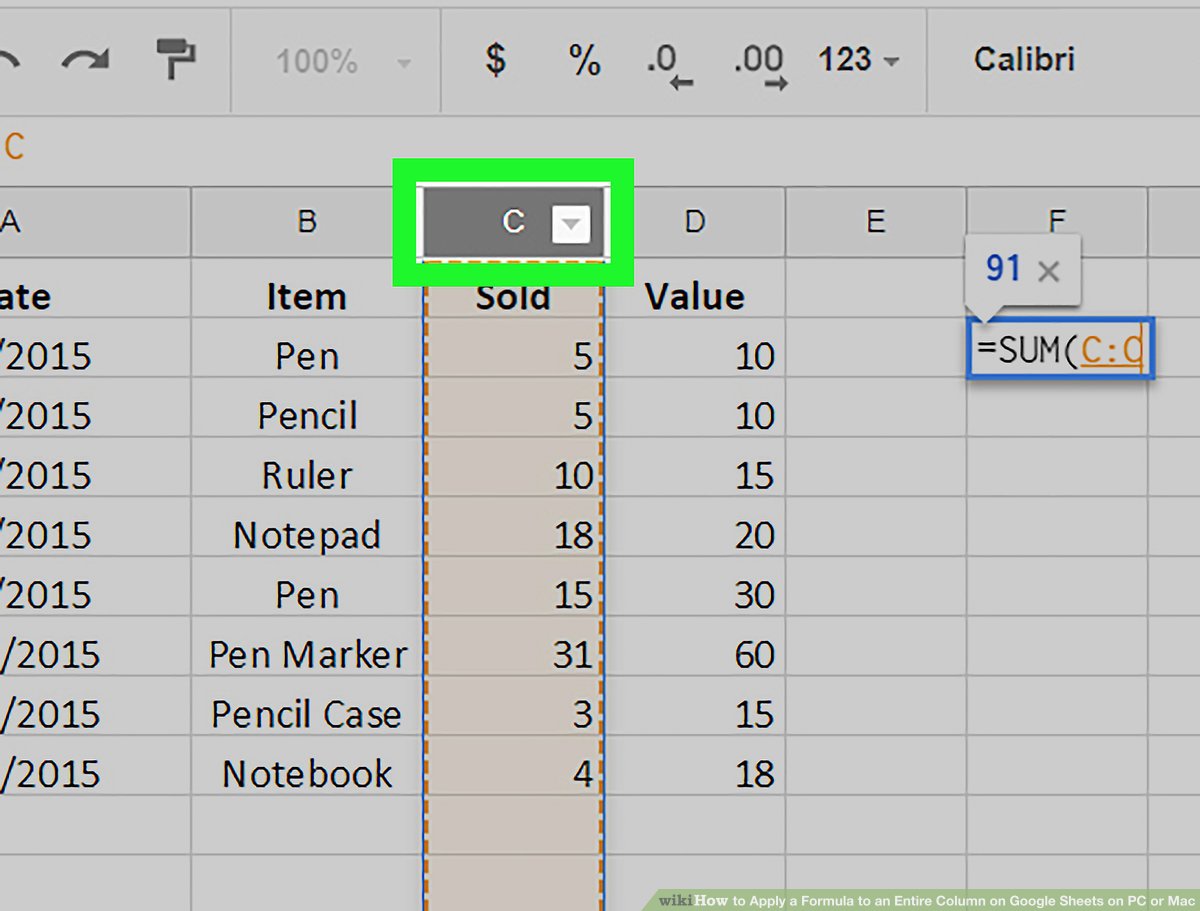
Method 3: Using a Formula
You can also use a formula to lock cells in Google Sheets. By using a formula, you can create logical conditions that determine whether a cell can be edited or not. Here’s how to use a formula to lock cells:
- Select the range of cells you want to lock.
- Click on the cell where you want to enter your formula.
- Type a formula that determines the edit permissions for the selected cells. For example, you can use “=IF(A1=”Admin”,TRUE,FALSE)” to allow editing only if cell A1 contains the word “Admin”.
- Press Enter to apply the formula to the selected cells.
By applying these methods, you can easily lock cells in Google Sheets, ensuring data security, integrity, and controlled access to your spreadsheets.
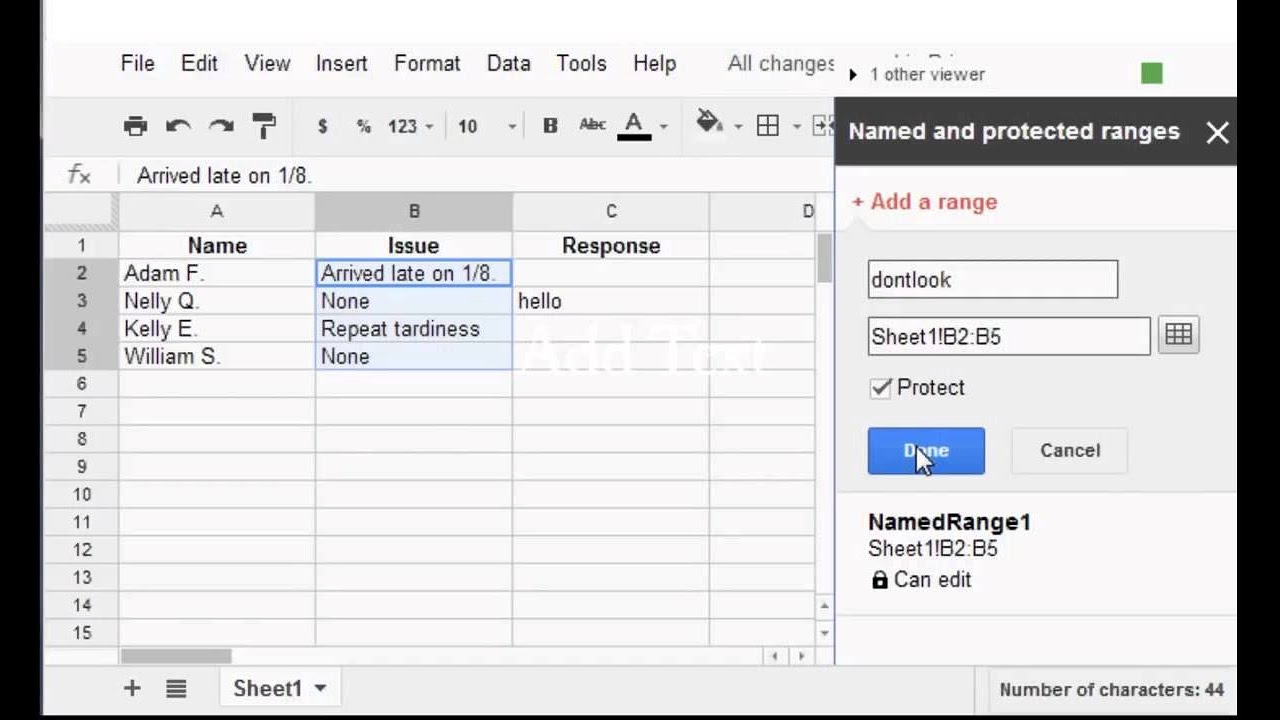
Method 1: Using the Protect Sheets and Ranges Feature
One effective method to lock cells in Google Sheets is by utilizing the “Protect Sheets and Ranges” feature. This feature allows you to specify which cells or ranges should be locked, and grants permissions to different users to control their level of access. Follow these steps to lock cells using this method:
- Select the range of cells you want to lock or click on the sheet tab to protect the entire sheet.
- Navigate to the “Data” menu at the top of your Google Sheets interface.
- From the drop-down menu, select “Protect Sheets and Ranges.”
- A sidebar will appear on the right-hand side of the screen, providing you with various options for protecting your sheet or range.
- In the sidebar, click on the “Set Permissions” button to specify who can edit the protected cells.
- A dialog box will appear, allowing you to enter the email addresses or select from a list of users who should have access to the protected cells. You can also choose the permission level for each user.
- After setting the permissions, click on the “Set Permissions” button to apply the changes.
By following these steps, you can easily lock specific cells or an entire sheet in Google Sheets. This method is particularly useful when collaborating on a spreadsheet with multiple users, as it allows you to control who can edit the locked cells and who has read-only access.
Locking cells using the Protect Sheets and Ranges feature provides an added layer of security and control over your data in Google Sheets. It ensures that the protected cells remain unchanged while allowing other cells to be edited as needed. This is especially beneficial when working on sensitive information or critical calculations that should not be altered accidentally.
Furthermore, utilizing this feature allows you to maintain the integrity of your spreadsheet by preventing unauthorized modifications. It streamlines the collaboration process, as you can grant access to specific users or teams, ensuring that each person has the necessary permissions to complete their tasks without compromising the integrity of the protected cells.
Overall, the Protect Sheets and Ranges feature in Google Sheets is a powerful tool that enables you to lock cells and protect your data. By implementing this method, you can have peace of mind knowing that your important information is secure from accidental changes or unauthorized access.
Method 2: Using Data Validation
Another effective method to lock cells in Google Sheets is by using the Data Validation feature. Data validation allows you to set specific criteria or conditions for cell entries, preventing any changes that do not meet the specified requirements. Follow these steps to lock cells using this method:
- Select the range of cells you want to lock.
- Go to the “Data” menu at the top of your Google Sheets interface.
- From the drop-down menu, choose “Data validation.”
- A dialog box will appear, providing you with various options for setting up data validation rules.
- In the criteria section, select the type of validation rule you want to apply. This can include options like “Checkbox,” “Date,” “Number,” or “Text.”
- Based on the selected criteria, set the specific conditions or requirements for the cell entries.
- Optional: Add a custom error message to inform users why their input does not meet the validation rules.
- Click on “Save” to apply the data validation rule to the selected cells.
By using data validation to lock cells, you are able to restrict changes to specific conditions, such as a range of values or a specific text entry. This is particularly useful when you want to ensure data consistency and accuracy, as well as prevent accidental changes or input errors.
For example, if you have a range of cells that should only accept whole numbers between 1 and 100, you can set up a data validation rule to restrict input to those criteria. Any attempts to enter a number outside of that range will trigger an error message, preventing the change and prompting the user to enter a valid value.
Furthermore, using data validation enhances data integrity and efficiency. It guides users to enter the correct information in the specified cells, reducing the likelihood of errors and the need for manual data cleanup. By locking cells through data validation, you can rely on the accuracy and integrity of your spreadsheet data.
Overall, the Data Validation feature in Google Sheets provides a convenient and powerful method to lock cells based on specified conditions. By implementing this method, you can ensure that the locked cells only accept valid entries, promoting data accuracy and minimizing errors in your spreadsheet.
Method 3: Using a Formula
Using a formula is another effective method to lock cells in Google Sheets. With a formula, you can create logical conditions that determine whether a cell can be edited or not. Here are the steps to lock cells using this method:
- Select the range of cells you want to lock.
- Click on the cell where you want to enter your formula.
- Type a formula that determines the edit permissions for the selected cells.
- Press Enter to apply the formula to the selected cells.
Using a formula to lock cells allows you to set up dynamic edit permissions based on specific conditions. You can create formulas using functions like IF, AND, OR, or other logical operators to determine whether a cell should be editable or not.
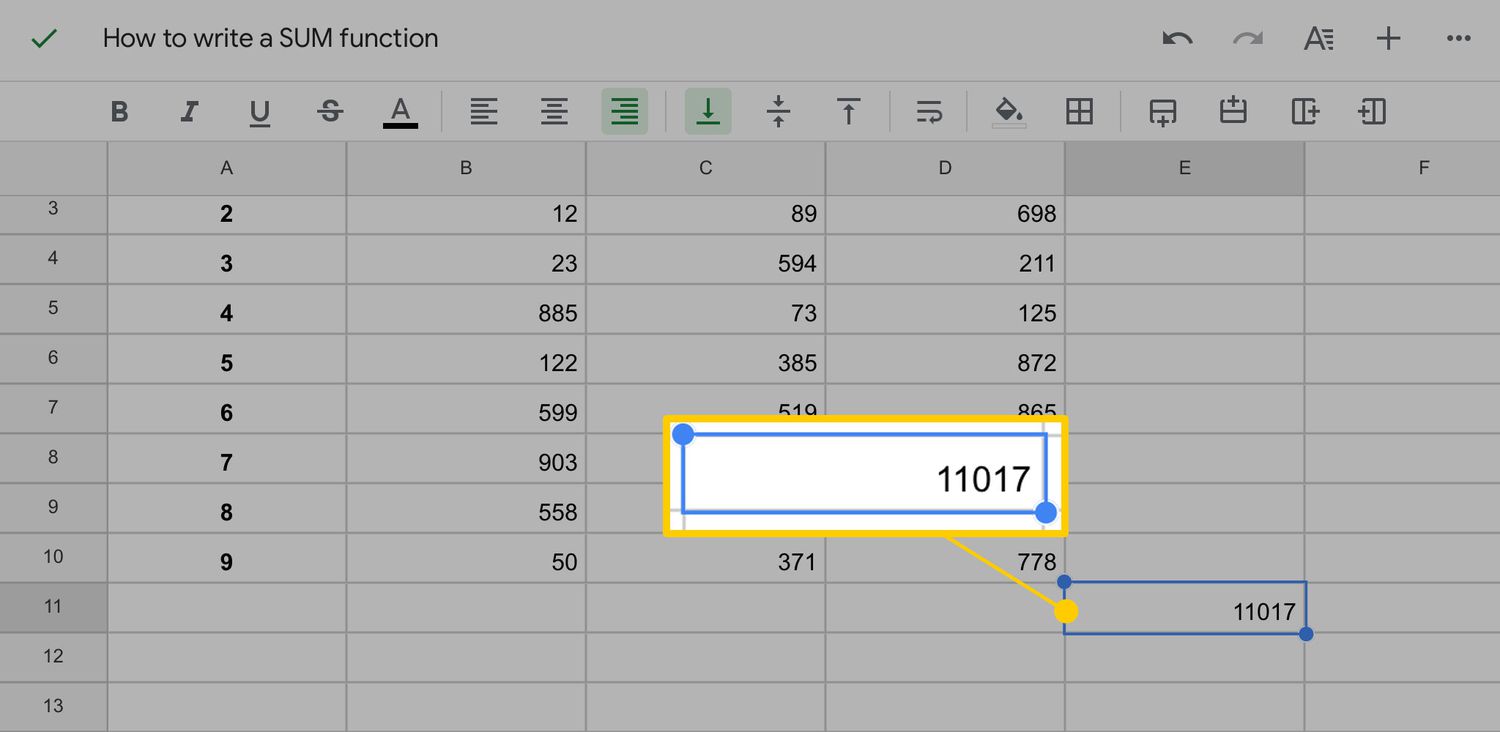
For example, let’s say you have a range of cells representing sales data, and you want to lock any cell that contains a value greater than 500. You can use the following formula:
=IF(A1>500, FALSE, TRUE)
This formula checks the value in cell A1. If it is greater than 500, the formula returns FALSE, indicating that the cell should be locked. If the value is less than or equal to 500, the formula returns TRUE, indicating that the cell should be editable.
By utilizing formulas to lock cells, you have greater control over the editing permissions in your spreadsheet. This method allows you to tailor the lock criteria based on the specific requirements of your data and workflow.
In addition, using formulas to lock cells provides flexibility and adaptability. You can easily change the formula or apply it to different ranges, allowing you to adjust the locking criteria as needed without manually editing individual cell permissions.
Overall, utilizing formulas to lock cells in Google Sheets offers a dynamic and customizable approach to controlling edit permissions. By implementing this method, you can set up logical conditions to determine whether cells should be locked or editable, ensuring the integrity and security of your spreadsheet data.
Tips for Locking Cells in Google Sheets
When it comes to locking cells in Google Sheets, there are a few tips that can help you make the most out of this feature. Here are some helpful tips to consider:
- Plan ahead: Before locking cells, take the time to carefully plan which cells or ranges need to be protected. Consider the specific data or formulas that should remain unchanged, and identify any cells that may require editing permissions for collaboration purposes.
- Use multiple methods: Depending on your spreadsheet needs, you can combine different methods to lock cells. For example, you can use data validation rules in combination with protecting specific ranges or even formulas. Experiment with these methods to achieve the level of control you desire.
- Regularly review and update: It’s important to periodically review and update your locked cells. As your spreadsheet evolves, you may need to adjust the locked cells or permissions to reflect new data or changes in your workflow. Regularly review the locked cells to ensure they still meet your requirements.
- Test and validate: Before finalizing the locked cells, test them thoroughly to ensure they are working as expected. Verify that the editing permissions, formula-based locks, or data validation rules are functioning correctly. This will help you avoid any unintentional restrictions or unintended accessibility for different users.
- Communicate with collaborators: When working on a shared sheet, communicate the purpose and restrictions of the locked cells to your collaborators. This will help them understand which cells are off-limits and why. Clear communication ensures smooth collaboration and reduces the risk of accidental modifications to locked cells.
- Document your locking strategy: Keep a record of the cells or ranges that you have locked, along with any associated permissions or locking methods. This documentation will provide clarity and ease future modifications or adjustments to the locked cells.
By following these tips, you can effectively lock cells in Google Sheets and maintain control over the integrity of your data. Locking cells appropriately ensures that the right cells remain unchanged while allowing for collaboration and modification in other areas, promoting data accuracy and security.
Conclusion
Locking cells in Google Sheets is an important aspect of managing and protecting your spreadsheet data. Whether you are working on personal finance spreadsheets or collaborating with a team on a project, the ability to lock cells ensures data integrity and prevents accidental modifications.
In this comprehensive guide, we explored three methods for locking cells in Google Sheets: the Protect Sheets and Ranges feature, data validation, and using formulas. Each method provides different levels of control and suits various use cases. By implementing these methods, you can prevent unauthorized changes, preserve the accuracy of formulas, and maintain the security of your sensitive data.
When locking cells, it is important to plan ahead, use multiple methods if needed, regularly review and update your locked cells, and communicate effectively with collaborators. These tips will help you make the most out of the locking feature and ensure a smooth experience when working with your spreadsheets.
Remember that while locking cells adds an important layer of security, it is equally crucial to establish a balance between locking cells and allowing necessary access for collaboration. By employing the right locking methods and permissions, you can strike this balance and ensure efficient workflow without sacrificing data integrity.
Google Sheets provides a range of powerful features to protect your data, and understanding how to lock cells effectively is key to harnessing the full potential of this tool. Whether you are working on personal projects or professional collaborations, locking cells in Google Sheets empowers you to maintain control over your data and achieve accurate and reliable results.