Introduction
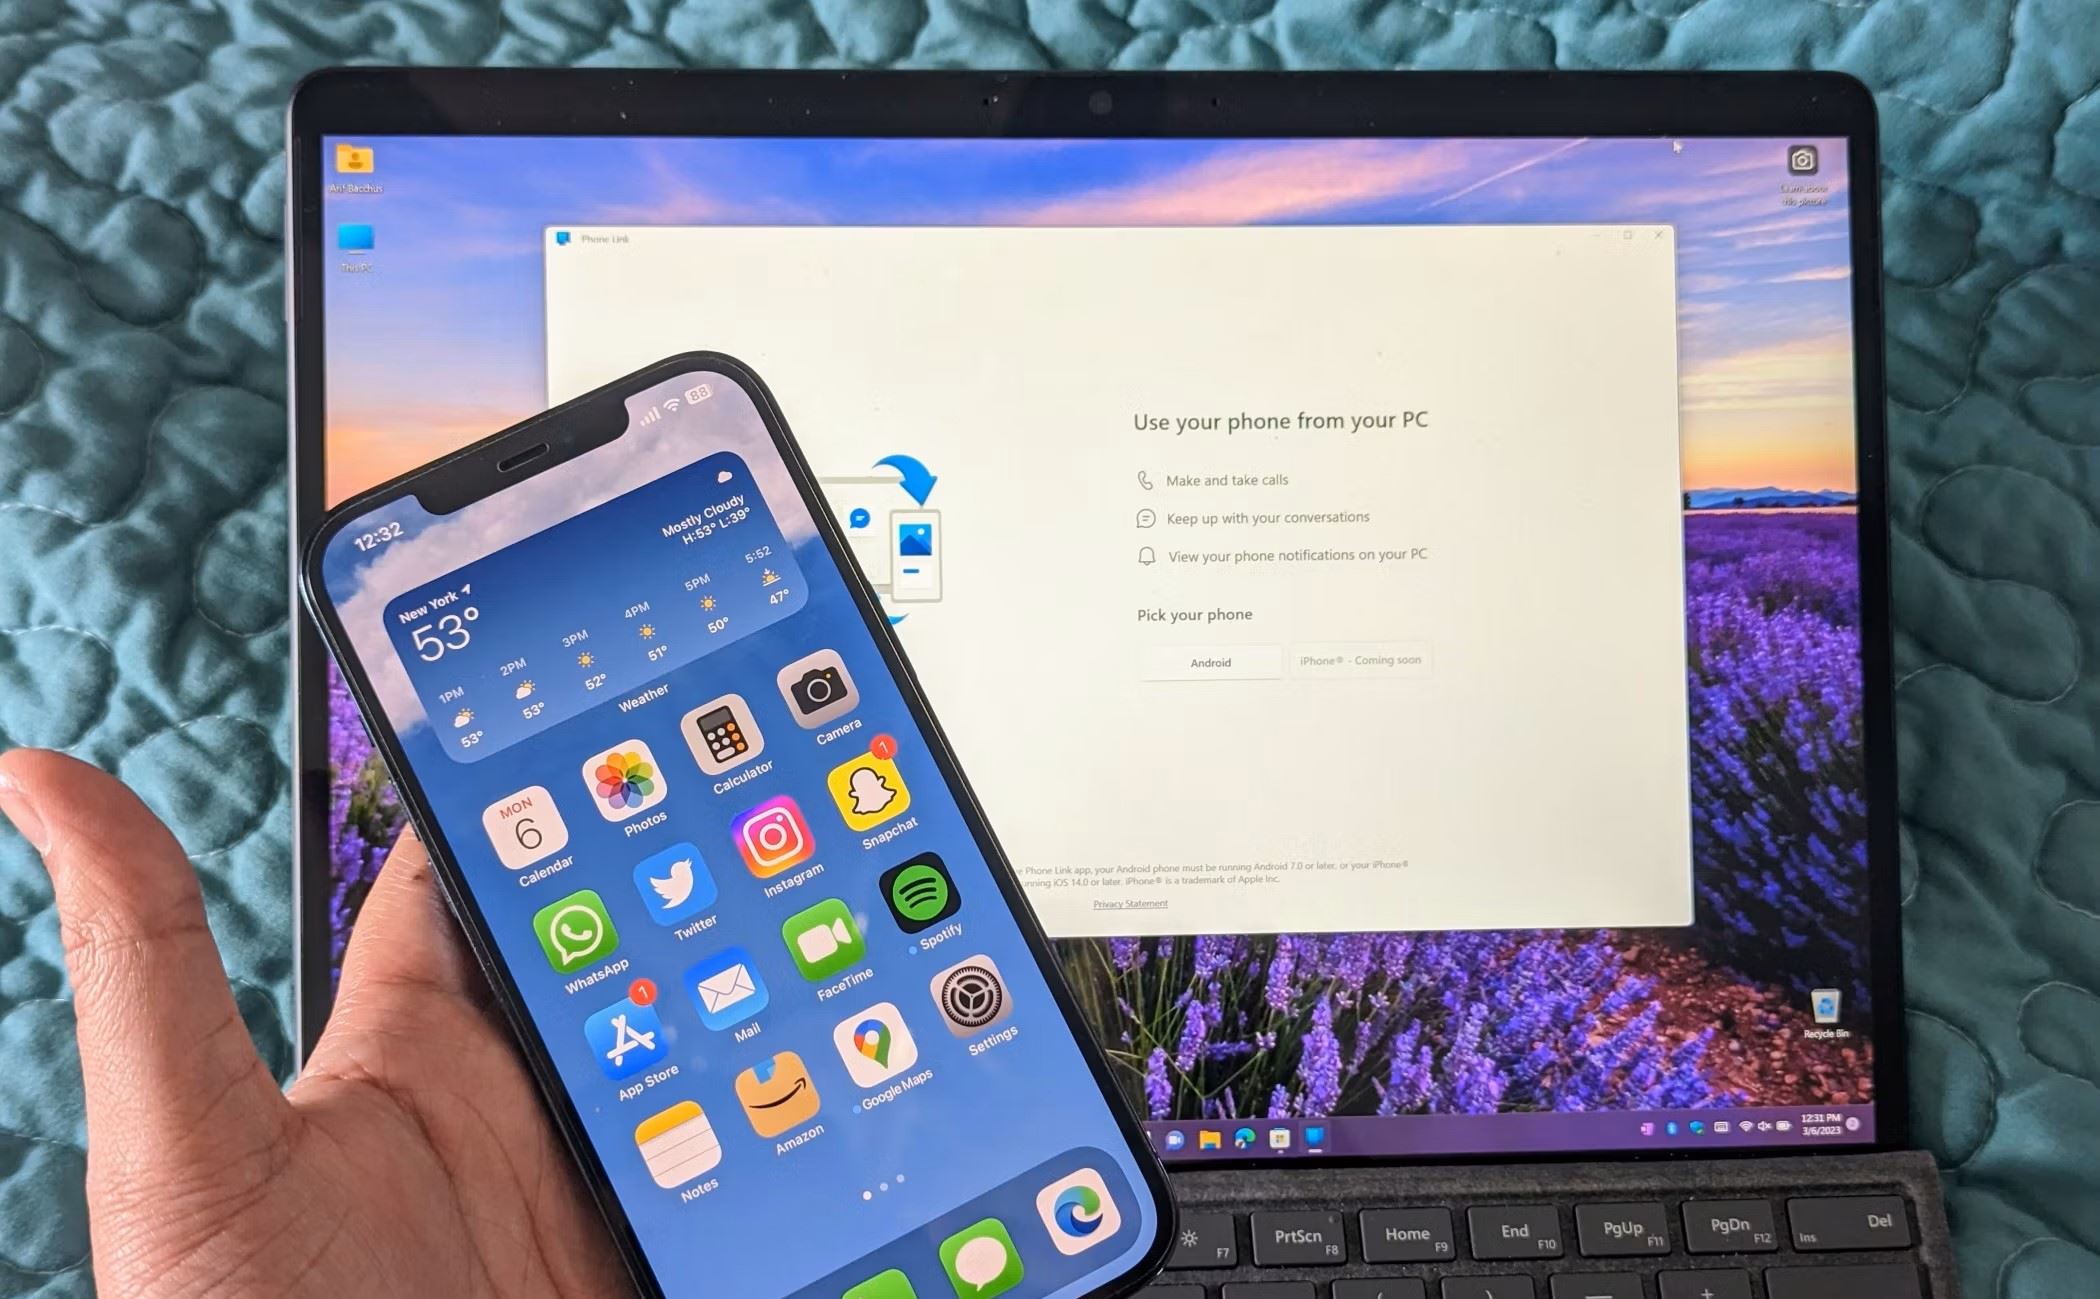
Welcome to our guide on how to link your iPhone to Windows 10! With the seamless integration between different devices becoming increasingly important in today’s digital world, connecting your iPhone to your Windows 10 computer allows you to transfer files, access your photos, and even use your iPhone as a mobile hotspot.
Whether you want to sync your files, share photos, or utilize your iPhone’s internet connection on your Windows 10 computer, this step-by-step guide will walk you through the process. By following these simple instructions, you’ll be able to establish a successful connection and enjoy the benefits of seamless cross-device functionality.
Before we get started, please make sure you have met the necessary prerequisites for linking your iPhone to Windows 10. This includes having a compatible iPhone model and operating system, as well as ensuring that both your iPhone and computer have Bluetooth capabilities. Once you have confirmed these requirements, let’s dive into the steps needed to establish a connection between your devices.
Prerequisites
Before you can link your iPhone to Windows 10, there are a few prerequisites you need to fulfill. These requirements ensure that your devices are compatible and can establish a successful connection. Here’s what you need:
- Compatible iPhone: Ensure that you have an iPhone that is compatible with Windows 10. Most recent iPhone models are compatible, including iPhone 7 and later.
- Operating System: Make sure that your iPhone is running on the latest iOS version. This ensures optimal compatibility with Windows 10.
- Bluetooth Capabilities: Both your iPhone and Windows 10 computer need to have Bluetooth capabilities. Check if your devices have Bluetooth enabled and that they are discoverable.
- Windows 10 Computer: Obviously, you’ll need a computer running Windows 10 for this guide.
Once you have confirmed that you meet these prerequisites, you’re ready to move on to the next steps. Now let’s dive into the step-by-step process of linking your iPhone to Windows 10.
Step 1: Enable Bluetooth on iPhone
The first step in linking your iPhone to Windows 10 is to ensure that Bluetooth is enabled on your iPhone. Bluetooth allows for wireless communication between devices, making it essential for establishing a connection with your computer. Follow these steps to enable Bluetooth on your iPhone:
- Open the Settings app on your iPhone. You can find the Settings app on your home screen, represented by a gear icon.
- Scroll down and tap on “Bluetooth” in the list of settings.
- Toggle the switch to the “On” position to enable Bluetooth.
Once Bluetooth is enabled on your iPhone, it will start scanning for nearby devices. Make sure to keep your iPhone’s Bluetooth settings open as you proceed to the next step. Enabling Bluetooth on your iPhone is crucial for establishing a successful connection with your Windows 10 computer.
Step 2: Enable Bluetooth on Windows 10
To successfully link your iPhone to Windows 10, you need to ensure that Bluetooth is enabled on your computer. Here’s how you can enable Bluetooth on a Windows 10 computer:
- Click on the “Start” menu button on your desktop or press the Windows key on your keyboard.
- From the Start menu, click on the “Settings” (gear) icon to open the Windows Settings.
- In the Settings window, click on the “Devices” category.
- In the Devices window, click on the “Bluetooth & other devices” tab on the left-hand side.
- Toggle the switch to the “On” position under the “Bluetooth” section to enable Bluetooth on your Windows 10 computer.
Once Bluetooth is enabled on your Windows 10 computer, it will start searching for nearby devices. Ensure that your computer’s Bluetooth settings window remains open as you proceed to the next step.
Enabling Bluetooth on your Windows 10 computer is crucial for establishing a successful connection with your iPhone. Once both devices have Bluetooth enabled, we can move on to the next step of pairing your iPhone with Windows 10.
Step 3: Pair iPhone with Windows 10
Now that both Bluetooth is enabled on both your iPhone and Windows 10 computer, it’s time to pair them together. Pairing allows the devices to establish a secure connection and communicate with each other. Here’s how you can pair your iPhone with Windows 10:
- On your Windows 10 computer, go to the “Bluetooth & other devices” settings, as explained in the previous step.
- Click on the “Add Bluetooth or other device” button.
- In the “Add a device” window, select the “Bluetooth” option.
- On your iPhone, go to the Bluetooth settings, as explained in the previous step.
- Your iPhone should now detect your Windows 10 computer in the list of available devices. Tap on the name of your computer to initiate the pairing process.
- Windows 10 will display a pop-up notification with a pairing code.
- Verify that the pairing code displayed on your iPhone matches the one shown on your computer screen. If they match, tap on “Pair” to confirm the pairing.
Once the pairing process is complete, you will see a confirmation message on both your iPhone and Windows 10 computer. Your devices are now successfully paired and ready to share data and establish a connection. You can proceed to the next step to learn how to transfer files between your iPhone and Windows 10.
Step 4: Transfer Files Between iPhone and Windows 10
Now that your iPhone is paired with your Windows 10 computer, you can start transferring files between the two devices. Whether it’s photos, videos, documents, or music, you can easily move files back and forth. Here are a few methods to transfer files between your iPhone and Windows 10:
Method 1: Using File Explorer
- Connect your iPhone to your Windows 10 computer using a USB cable.
- On your computer, open File Explorer by pressing the Windows key + E.
- In File Explorer, you should see your iPhone listed under “This PC” or “Devices and drives.”
- Double-click on your iPhone to access its file system.
- You can now navigate through your iPhone’s folders and files. Simply drag and drop files between your computer and iPhone to transfer them.
Method 2: Using iCloud Drive
- Ensure that you have iCloud Drive set up on both your iPhone and Windows 10 computer.
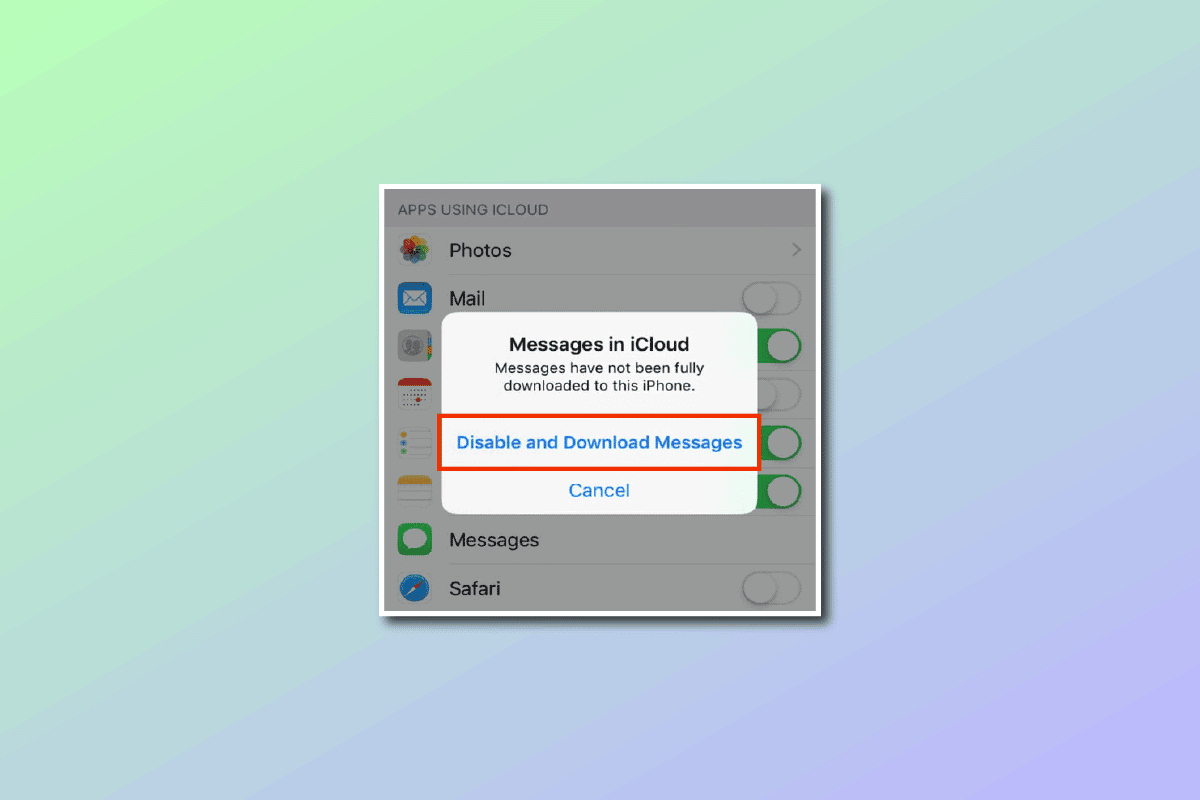
- On your iPhone, go to Settings > iCloud > iCloud Drive and enable it.
- On your Windows 10 computer, download and install iCloud for Windows from the Apple website.
- Once installed, sign in to iCloud using your Apple ID and select the files and folders you want to sync between your devices.
- Your files will now automatically sync between your iPhone and Windows 10 computer via iCloud Drive.
These are just two of the many methods available to transfer files between your iPhone and Windows 10. Choose the method that best suits your needs and preferences. With these file transfer options, you can easily keep your files in sync and accessible across both devices.
Now that you know how to transfer files, let’s move on to the final step, which explores using your iPhone as a mobile hotspot on Windows 10.
Step 5: Use Your iPhone as a Mobile Hotspot on Windows 10
If you’re in a situation where you need internet access on your Windows 10 computer but don’t have a Wi-Fi connection, you can use your iPhone as a mobile hotspot. By turning on the personal hotspot feature on your iPhone, you can share your cellular data connection with your computer. Here’s how you can use your iPhone as a mobile hotspot on Windows 10:
- On your iPhone, go to Settings > Personal Hotspot.
- Toggle the switch to the “On” position to enable the personal hotspot feature.
- Take note of the Wi-Fi name (SSID) and password displayed on your iPhone. You will need this information to connect to your iPhone’s hotspot on Windows 10.
- On your Windows 10 computer, click on the “Wi-Fi” icon in the system tray located at the bottom right corner of the screen.
- In the list of available Wi-Fi networks, locate and click on your iPhone’s hotspot name.
- Enter the password that you noted from your iPhone when prompted.
Once you have connected your Windows 10 computer to your iPhone’s hotspot, you will be able to access the internet using your iPhone’s cellular data. This feature is particularly useful when you are traveling or in an area without a stable Wi-Fi connection.
With the completion of this final step, you now know how to link your iPhone to Windows 10. From enabling Bluetooth to transferring files and using your iPhone as a mobile hotspot, you can now enjoy seamless connectivity between your devices. Experiment with different features and explore the possibilities that arise from connecting your iPhone to Windows 10.
Conclusion
In this guide, we have explored the step-by-step process of linking your iPhone to Windows 10. By enabling Bluetooth on both your iPhone and Windows 10 computer, you have established a connection that allows for seamless file transfer and internet sharing.
We started by ensuring that you meet the prerequisites for linking your iPhone to Windows 10, including having a compatible iPhone model, the latest operating system, and Bluetooth capabilities on both devices. Then, we went through the individual steps of enabling Bluetooth on your iPhone and Windows 10, pairing the devices together, transferring files using methods such as File Explorer and iCloud Drive, and using your iPhone as a mobile hotspot on Windows 10.
Linking your iPhone to Windows 10 opens up a world of possibilities by allowing you to seamlessly share files, access your photos and videos, and even use your iPhone’s internet connection on your computer. It’s a convenient and efficient way to enhance your productivity and streamline your workflow.
Now that you have successfully linked your iPhone to Windows 10, feel free to explore the various features and functionalities available to you. Experiment with file transfers, sync your data using iCloud, and utilize your iPhone as a mobile hotspot when needed. Embrace the power of cross-device connectivity and enjoy the seamless integration between your iPhone and Windows 10.
We hope this guide has been helpful to you on your journey to connect your iPhone to Windows 10. Should you have any further questions or encounter any issues, refer back to this guide or consult the official support channels for your devices.





![Top 4 Ways to Download YouTube Videos in 2024 [For PC/Mac/Android/iOS]](https://robots.net/wp-content/uploads/2023/12/How-to-download-YouTube-videos-300x150.png)
