Introduction
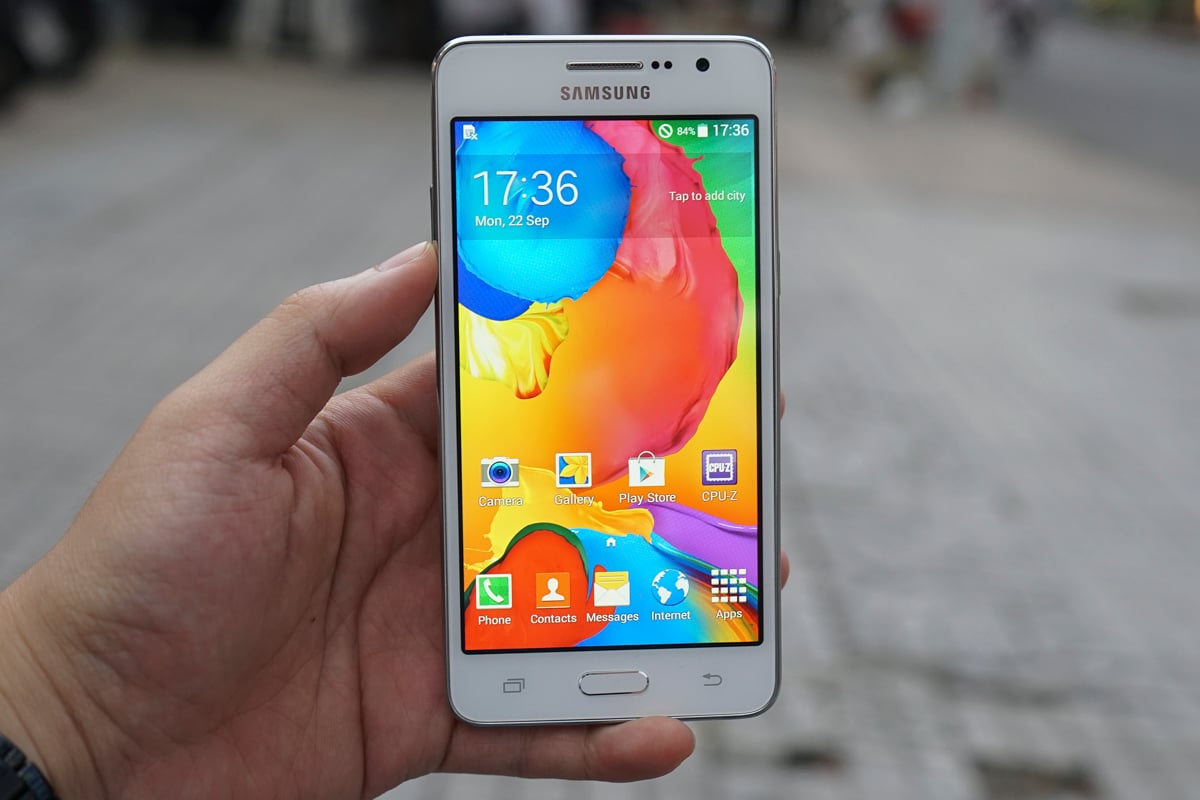
Welcome to this guide on how to jailbreak your Samsung Galaxy Grand Prime. Jailbreaking your device gives you more control and freedom to customize your Android experience. By following the steps outlined in this tutorial, you will be able to unlock your device’s full potential and explore a wide range of exciting features and customization options.
The Samsung Galaxy Grand Prime is a popular smartphone that offers a great balance of performance and affordability. However, like many Android devices, it comes with certain limitations imposed by the manufacturer. Jailbreaking your device allows you to overcome these limitations and unleash its true power.
Before we dive into the process of jailbreaking, it is important to note that this procedure may void your device’s warranty. Additionally, there are certain risks involved, so it is crucial to follow the instructions carefully and proceed at your own discretion.
In this guide, we will take you through the step-by-step process of jailbreaking your Samsung Galaxy Grand Prime. We will cover everything from enabling developer options to flashing a custom ROM, giving you full control over your device.
It is worth mentioning that jailbreaking your device may also open up new possibilities for installing third-party applications, customizing your device’s appearance, and improving performance through optimization tweaks.
Now, let’s get started with the necessary preparations before we dive into the actual jailbreaking process. Make sure to follow each step closely and double-check your understanding before proceeding.
Preparing Your Device
Before you begin the jailbreaking process, there are a few important steps you need to follow to ensure a smooth and successful procedure. These preparatory steps will help you avoid any potential issues and ensure that your device is ready for the upcoming modifications.
Backup Your Data: It is always recommended to back up your important data before making any changes to your device. While the jailbreaking process itself should not delete any data, there is always a small risk involved. Creating a backup will give you peace of mind and allow you to restore your data in case of any unexpected situations.
Charge Your Device: Make sure your Samsung Galaxy Grand Prime has enough battery power to sustain the jailbreaking process. A fully charged device will prevent any interruptions that could potentially lead to issues during the procedure. Connect your device to a power source and let it charge until it reaches at least 50% battery level.
Check for Software Updates: Before proceeding with jailbreaking, it’s essential to ensure that your device is running the latest available software version. Check for any available updates by going to the Settings menu, selecting Software Updates, and clicking on the Check for Updates option. If there are any updates available, download and install them before proceeding.
Research Compatibility: Different jailbreaking methods and tools are specifically designed for certain device models and software versions. It is crucial to research and verify that the method you plan to use is compatible with your Samsung Galaxy Grand Prime model and software version. Failing to do so may result in unsuccessful jailbreaking attempts or even potential damage to your device.
Enable USB Debugging: USB debugging is a developer option that allows your device to communicate with your computer. To enable USB debugging, go to your device’s Settings menu, scroll down to About Phone, tap on it, and find the Build Number. Tap the Build Number several times until you see a message saying “You are now a developer.” Go back to the main Settings menu and select Developer Options. Enable USB debugging from there.
Unlock Bootloader: Bootloader unlocking is often necessary to gain full control over your device. However, it is essential to note that unlocking the bootloader may void your device’s warranty and could potentially lead to data loss. Research the proper method for bootloader unlocking specific to your device model and proceed with caution.
By completing these preparatory steps, you can ensure that your Samsung Galaxy Grand Prime is ready for the jailbreaking process. Following these precautions will help minimize any risks or complications and increase the chances of a successful jailbreak.
Enabling Developer Options
Before you can begin the jailbreaking process for your Samsung Galaxy Grand Prime, you need to enable the Developer Options on your device. This will give you access to various advanced settings and features that are normally hidden from regular users. Enabling Developer Options is a straightforward process, and once activated, you can tweak your device’s settings and customize it to your liking.
Here’s how you can enable Developer Options on your Samsung Galaxy Grand Prime:
- Open the Settings app on your device.
- Scroll down and tap on “About Phone” or “About Device”.
- Find the “Software Information” or “Software Version” option and tap on it.
- Locate the “Build Number” or “Build Version” entry and tap on it multiple times repeatedly. You will see a message indicating that you are now a developer.
- Go back to the main Settings menu and scroll down to find the newly unlocked “Developer Options” listed.
- Tap on “Developer Options” to access the advanced settings menu.
That’s it! You have successfully enabled Developer Options on your Samsung Galaxy Grand Prime. You can now explore and modify various settings to enhance your device’s performance and customize its behavior according to your preferences.
It is worth noting that Developer Options contains several critical settings that can significantly impact your device’s performance if improperly adjusted. We advise caution when making changes to any of the settings to avoid any potential problems with your device.
In the next section, we will walk you through the process of enabling USB debugging, another essential step in the jailbreaking process. USB debugging allows your device to communicate with your computer and execute commands. It is a crucial requirement for various jailbreaking tasks.
Let’s move on to the next section to learn how to enable USB debugging on your Samsung Galaxy Grand Prime.
Enabling USB Debugging
Enabling USB debugging is an important step in the jailbreaking process because it allows your Samsung Galaxy Grand Prime to communicate with your computer and execute commands. USB debugging enables developers and advanced users to access certain features and perform tasks that are not available to regular users. By enabling USB debugging, you gain greater control over your device and can perform actions such as installing custom ROMs and debugging applications.
Follow the steps below to enable USB debugging on your Samsung Galaxy Grand Prime:
- Go to the Settings app on your device and scroll down to find “Developer Options”.
- If Developer Options is not visible, go to the previous section for instructions on how to enable it.
- In the Developer Options menu, locate and tap on “USB Debugging”.
- A pop-up message will appear to confirm if you want to enable USB debugging. Tap “OK” to proceed.
Once you have completed these steps, USB debugging will be enabled on your Samsung Galaxy Grand Prime. You will now be able to connect your device to your computer and perform various tasks using tools like Android Debug Bridge (ADB) or other jailbreaking software.
It’s important to note that USB debugging allows for greater access to your device’s system files and settings. Therefore, use it carefully and only enable USB debugging when necessary. Leaving USB debugging enabled all the time may pose certain security risks, so it’s advisable to disable it when you’re not using it.
Now that USB debugging is enabled on your Samsung Galaxy Grand Prime, you’re ready to move on to the next steps in the jailbreaking process, such as unlocking the bootloader and installing a custom recovery.
Unlocking Bootloader
Unlocking the bootloader of your Samsung Galaxy Grand Prime is another crucial step in the jailbreaking process. The bootloader is responsible for loading the operating system when you turn on your device. By default, the bootloader is locked to protect the device’s integrity and prevent unauthorized modifications.
Unlocking the bootloader allows you to gain administrative access and install custom recoveries and custom ROMs on your device. However, keep in mind that unlocking the bootloader may void your warranty and can potentially lead to data loss. Proceed with caution and understand the risks involved.
Here’s how you can unlock the bootloader of your Samsung Galaxy Grand Prime:
- Ensure that you have enabled Developer Options and USB Debugging on your device, as explained in the previous sections.
- Connect your device to your computer using a USB cable.
- Open a command prompt or terminal window on your computer.
- Enter the following command to check if your device is recognized by the computer:
adb devices. - If your device is listed, proceed to the next step. If not, make sure you have the necessary USB drivers installed for your device.
- Next, reboot your device into bootloader mode. You can do this by entering the following command:
adb reboot bootloader. - Once your device is in bootloader mode, use the volume up/down keys to navigate to the “Unlock Bootloader” option, then press the power button to select it.
- Follow the on-screen instructions to confirm the bootloader unlocking process. Keep in mind that this will erase all data on your device.
- After the bootloader is unlocked, your device will reboot automatically.
That’s it! You have successfully unlocked the bootloader of your Samsung Galaxy Grand Prime. You are now one step closer to fully jailbreaking your device and gaining more control over its functionality and customization options.
Now that the bootloader is unlocked, the next step is to install a custom recovery like TWRP (Team Win Recovery Project), which will allow you to flash custom ROMs and perform other advanced actions on your device.
Installing TWRP Recovery
Installing a custom recovery, such as TWRP (Team Win Recovery Project), is a crucial step in the jailbreaking process for your Samsung Galaxy Grand Prime. A custom recovery enables you to perform advanced tasks on your device, including installing custom ROMs, creating full device backups, and flashing system modifications.
Before proceeding with the installation of TWRP Recovery, ensure that you have already unlocked the bootloader, as mentioned in the previous section. Additionally, make sure you have enabled USB debugging and connected your device to your computer.
Here is a step-by-step guide on how to install TWRP Recovery on your Samsung Galaxy Grand Prime:
- Download the TWRP Recovery image file suitable for your device model and software version from a trusted source, such as the TWRP official website.
- Place the downloaded TWRP Recovery image in a folder on your computer for easy access.
- Open a command prompt or terminal window on your computer.
- Enter the following command to check if your device is recognized by the computer:
adb devices. - If your device is listed, proceed to the next step. If not, ensure that you have the necessary USB drivers installed.
- Boot your Samsung Galaxy Grand Prime into bootloader mode, using the command:
adb reboot bootloader. - Once your device is in bootloader mode, navigate to the folder where you saved the TWRP Recovery image file.
- Flash the TWRP Recovery image onto your device by entering the following command:
fastboot flash recovery twrp.img(replace “twrp.img” with the actual file name of the TWRP Recovery image). - Wait for the flashing process to complete.
- Once the process is finished, reboot your device by entering the command:
fastboot reboot.
Upon rebooting, your Samsung Galaxy Grand Prime should now have TWRP Recovery installed. You can access the recovery mode by holding down the specific key combination (usually volume up + power button) when powering on your device.
TWRP Recovery provides a user-friendly interface that allows you to perform various actions. It is recommended to explore the TWRP interface and familiarize yourself with the different options available.
Now that TWRP Recovery is installed on your device, you are ready to proceed with the next step, which is downloading the custom ROM for your Samsung Galaxy Grand Prime.
Downloading the ROM
Downloading a custom ROM is a crucial part of the jailbreaking process for your Samsung Galaxy Grand Prime. A custom ROM is a modified version of the device’s operating system that offers additional features, customization options, and improved performance compared to the stock ROM.
When choosing a custom ROM, it is important to select one that is compatible with your specific device model and software version. Additionally, ensure that you download custom ROMs from reputable sources to avoid any security risks or issues with your device.
Here’s a step-by-step guide on how to download a custom ROM for your Samsung Galaxy Grand Prime:
- Research and find a reputable website or forum that offers custom ROMs for your device. Make sure the custom ROM you choose is compatible with your device’s model and software version.
- Visit the website or forum and locate the section dedicated to your device’s custom ROMs.
- Look for the custom ROM that best suits your preferences and requirements. Read reviews and user feedback to gauge the stability and performance of the ROM.
- Once you have selected a custom ROM, click on the download link provided. The ROM file will be saved to your computer.
- Verify the integrity of the downloaded ROM file by comparing its checksum with the one provided on the website or forum. This ensures that the file has not been modified or tampered with.
- Transfer the downloaded ROM file to your Samsung Galaxy Grand Prime. You can do this by connecting your device to your computer via USB and copying the file onto the device’s internal storage or SD card.
After successfully downloading the custom ROM and transferring it to your device, you are one step closer to fully jailbreaking your Samsung Galaxy Grand Prime. In the next section, we will guide you through the process of flashing the custom ROM onto your device using TWRP Recovery.
Make sure to follow all the instructions carefully and proceed with caution to avoid any potential risks or issues during the flashing process.
Flashing the ROM
Flashing the custom ROM onto your Samsung Galaxy Grand Prime is a critical step in the jailbreaking process. The term “flashing” refers to the installation of the custom ROM onto your device’s system partition, replacing the stock ROM. This allows you to experience the new features, customization options, and improved performance offered by the custom ROM.
Before proceeding with the flashing process, ensure that you have completed the previous steps, which include unlocking the bootloader, installing TWRP Recovery, and downloading the custom ROM.
Here’s a step-by-step guide on how to flash the custom ROM onto your Samsung Galaxy Grand Prime:
- Ensure that the custom ROM file is located on your device’s internal storage or SD card.
- Power off your device.
- Boot your device into TWRP Recovery mode. This is usually done by holding down a specific key combination (such as volume up + power button) when powering on your device.
- In TWRP Recovery, select “Wipe” or “Factory Reset” to clear your device’s data and cache partitions. Note that this will erase all data on your device, so make sure you have backed up any important files or data beforehand.
- Navigate back to the main TWRP menu and select “Install”.
- Browse to the location where you stored the custom ROM file and select it.
- Swipe to confirm the flash and start the installation process.
- Wait for the custom ROM to be flashed onto your device. This may take a few minutes.
- Once the flash is complete, go back to the main TWRP menu and select “Reboot”.
- Your device will now boot up with the newly flashed custom ROM installed.
It is important to note that the first boot after flashing a new ROM may take longer than usual. This is normal as the system is optimizing itself for the new ROM.
Congratulations! You have successfully flashed the custom ROM onto your Samsung Galaxy Grand Prime. You can now enjoy the enhanced features, customization options, and improved performance that the custom ROM offers.
Remember, always proceed with caution and make sure you have a backup of your data before flashing a custom ROM. Additionally, be sure to choose a reputable and compatible custom ROM to ensure a smooth and stable experience on your device.
Rebooting your Device
After successfully flashing the custom ROM on your Samsung Galaxy Grand Prime, it’s important to properly reboot your device to finalize the installation process and ensure that the new ROM runs smoothly. Rebooting your device allows the system to configure itself and apply any necessary changes or updates.
Here’s a step-by-step guide on how to reboot your Samsung Galaxy Grand Prime:
- Once the custom ROM has been flashed onto your device, you will be in TWRP Recovery mode.
- On the TWRP main menu, select the “Reboot” option.
- In the “Reboot” menu, choose “System” or “Reboot” to restart your device.
- Wait for your device to complete the reboot process.
- Upon reboot, your Samsung Galaxy Grand Prime will now run on the newly installed custom ROM.
During the reboot process, your device may take a slightly longer time to start up compared to the usual boot time. This is normal as the system adapts to the new ROM and performs necessary optimizations.
Once your device has finished rebooting, you can explore and enjoy the features, customizations, and improved performance that the custom ROM offers. Take some time to familiarize yourself with the new interface and settings available on your device.
It’s worth noting that the first few hours or days after installing a custom ROM may involve some initial setups or configurations. This could include reconfiguring certain settings, reinstalling your preferred apps, or customizing your device according to your preferences.
Remember, flashing a custom ROM is a powerful modification that allows for enhanced customization and functionality on your Samsung Galaxy Grand Prime. However, always proceed with caution, ensure that you follow reputable sources for custom ROMs, and keep regular backups of your important data.
Now that your device has been successfully rebooted, you can experience the full potential of the custom ROM and enjoy a personalized Android experience on your Samsung Galaxy Grand Prime.
Conclusion
Congratulations! You have learned how to jailbreak your Samsung Galaxy Grand Prime and unlock its full potential. By following the step-by-step instructions in this guide, you have successfully enabled Developer Options, enabled USB debugging, unlocked the bootloader, installed TWRP Recovery, downloaded a custom ROM, and flashed it onto your device. These modifications have allowed you to take control of your device and customize it according to your preferences.
Jailbreaking your device opens up a world of possibilities for customization, enhanced performance, and access to new features. With the custom ROM installed, you can now enjoy a unique Android experience, tailored to your liking.
Remember, jailbreaking your device may void your warranty and carry certain risks. It’s essential to proceed with caution, research the specific procedures for your device model, and follow reputable sources for custom ROMs. Regularly back up your data to prevent any loss during the process.
As you explore your newly jailbroken Samsung Galaxy Grand Prime, you can further enhance your device by installing custom apps, themes, and tweaks to personalize your experience even further. Stay up-to-date with the latest developments in the custom ROM community to discover new features and optimizations for your device.
We hope this guide has empowered you to make the most out of your Samsung Galaxy Grand Prime and enjoy a customized Android experience. Embrace the freedom and flexibility that comes with jailbreaking, and have fun exploring the endless possibilities for your device!