Introduction
Welcome to our comprehensive guide on how to install wireless security cameras. In this digital age, ensuring the safety and security of our homes or businesses has become increasingly important. One effective and convenient way to achieve this is by installing wireless security cameras. Unlike traditional wired cameras, wireless security cameras offer flexibility, easy installation, and remote accessibility. Whether you want to monitor your property for potential intruders, keep an eye on your children or pets, or simply have peace of mind knowing your home is protected, wireless security cameras can provide the solution.
The advances in technology have made wireless security cameras more affordable and user-friendly than ever before. With a wide range of options available in the market, choosing the right system can be a daunting task. In this guide, we will cover everything you need to know about selecting, installing, and maintaining wireless security cameras.
Before diving into the installation process, it’s essential to understand the benefits of using wireless security cameras. Firstly, wireless cameras eliminate the need for extensive wiring, saving you time and effort during installation. With wireless technology, you can easily position the cameras in desired locations without the constraints of wiring. Additionally, wireless cameras offer the convenience of remote access. You can view the camera feed from your smartphone, tablet, or computer, providing real-time monitoring and peace of mind, even when you are away from home.
Another advantage of wireless security cameras is their ability to integrate with other smart home devices. Many modern wireless camera systems are compatible with voice assistants and smart home hubs, allowing you to control and monitor your cameras seamlessly. Whether you want to receive alerts on your phone, integrate the camera feeds with your home security system, or automate certain actions based on camera detection, wireless cameras offer a high level of customization and integration possibilities.
Now that we’ve highlighted the importance and benefits of wireless security cameras, let’s dive into the crucial factors to consider when choosing the right system for your needs.
The Importance of Wireless Security Cameras
Having a reliable and effective security system is essential for protecting your property and ensuring the safety of your loved ones. Wireless security cameras play a crucial role in maintaining the security and peace of mind you desire. Here are some key reasons why wireless security cameras are important:
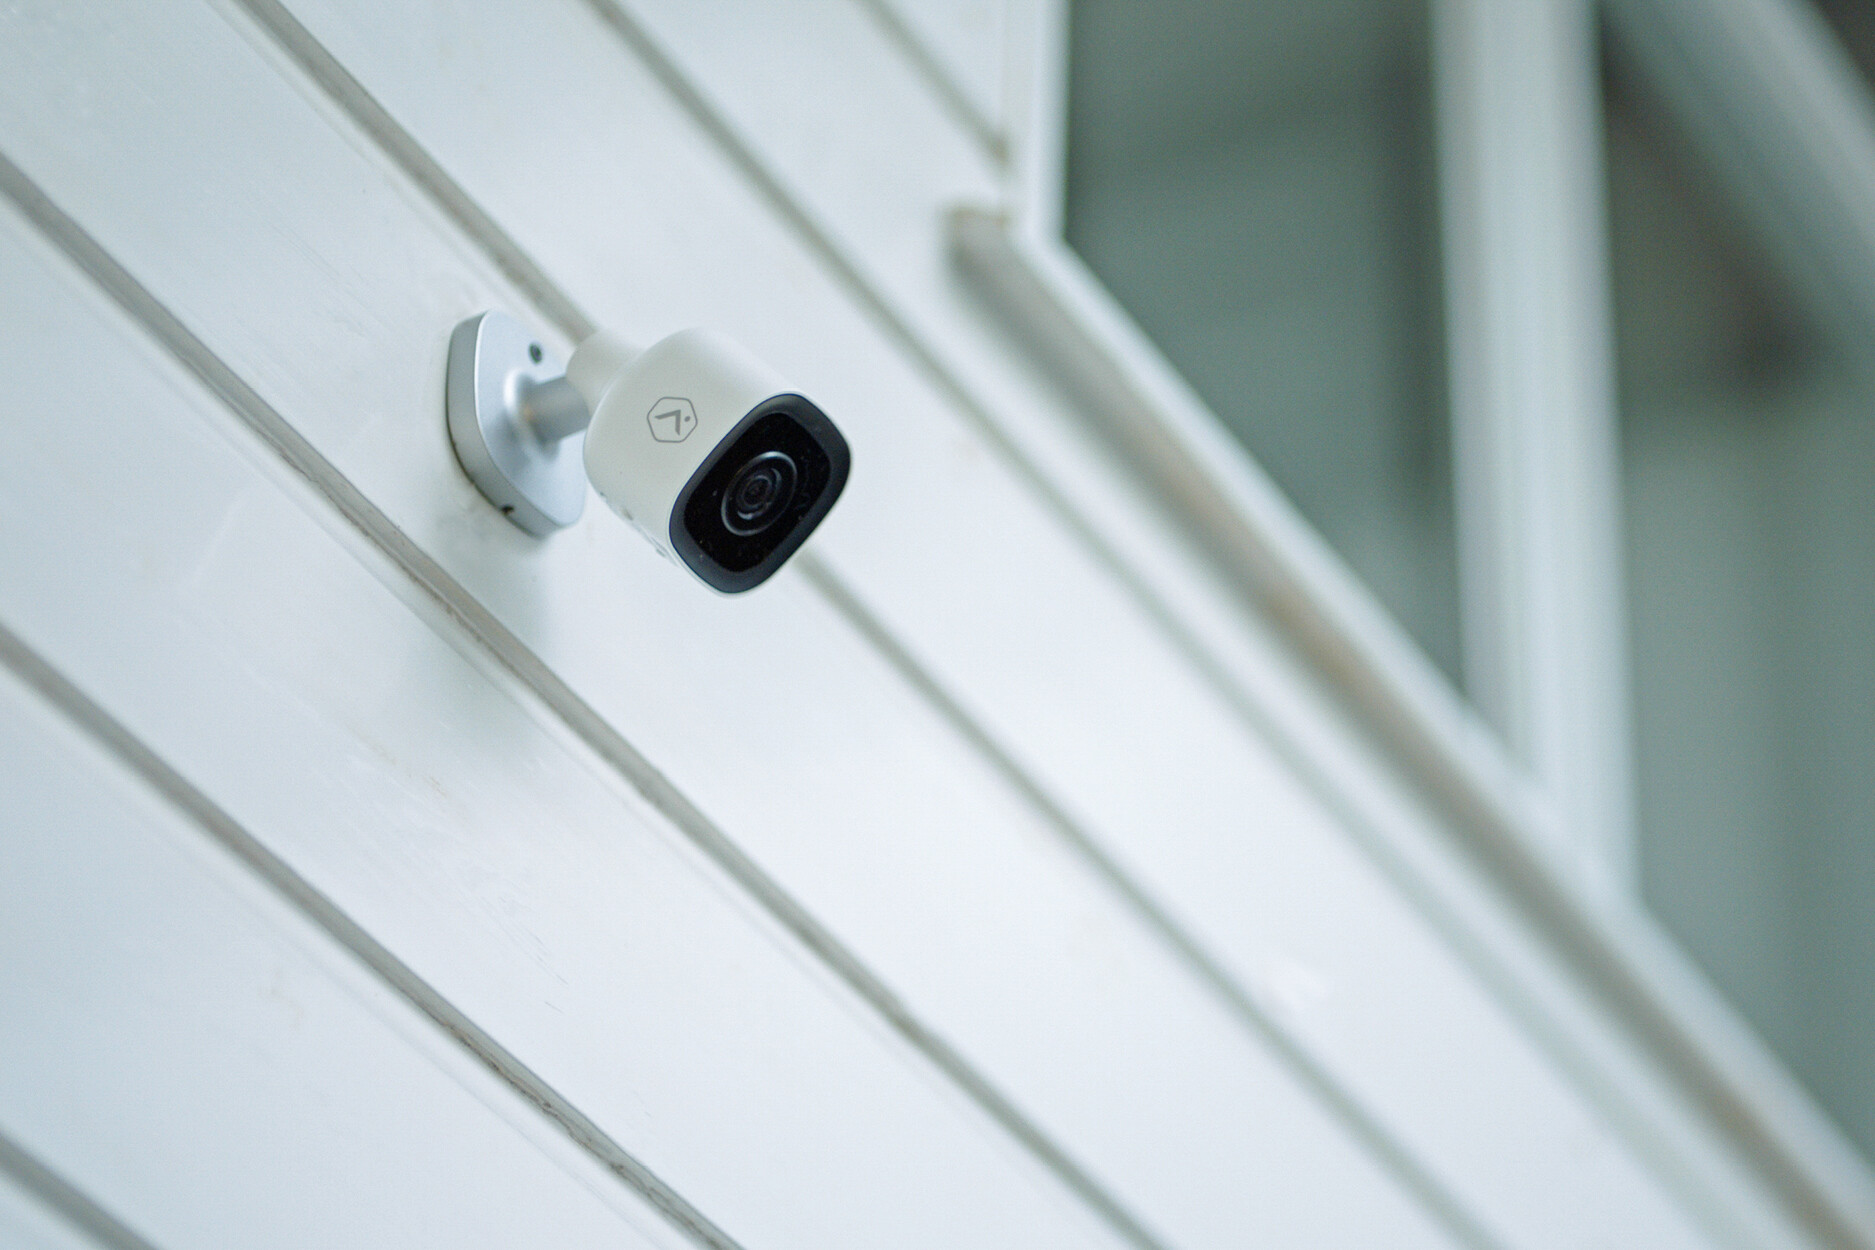
- Deterrence: The mere presence of security cameras can act as a deterrent to potential intruders. Criminals are less likely to target properties that have visible surveillance cameras, as they increase the risk of being caught. Wireless cameras can be strategically placed in noticeable locations to create a strong visual deterrent.
- Evidence collection: In the unfortunate event of a burglary or other criminal activity, having video evidence can significantly increase the chances of identifying and apprehending the perpetrators. Wireless security cameras capture high-quality footage that can be used by law enforcement agencies to aid in investigations and prosecutions.
- Remote monitoring: One of the main advantages of wireless security cameras is their ability to provide remote monitoring. With a compatible mobile app or browser interface, you can access the live feed of your cameras from anywhere, at any time. Whether you’re at work, on vacation, or simply in another room, you can keep an eye on your property and loved ones.
- Protection for loved ones: Wireless security cameras offer an added layer of protection for your family and loved ones. Whether you want to monitor your children playing in the backyard, keep an eye on elderly family members, or ensure the safety of pets, wireless cameras provide valuable peace of mind.
- Insurance benefits: Many insurance companies offer discounts on home insurance premiums for properties with security systems, including wireless security cameras. By investing in a wireless camera system, you not only protect your property but also potentially save on insurance costs.
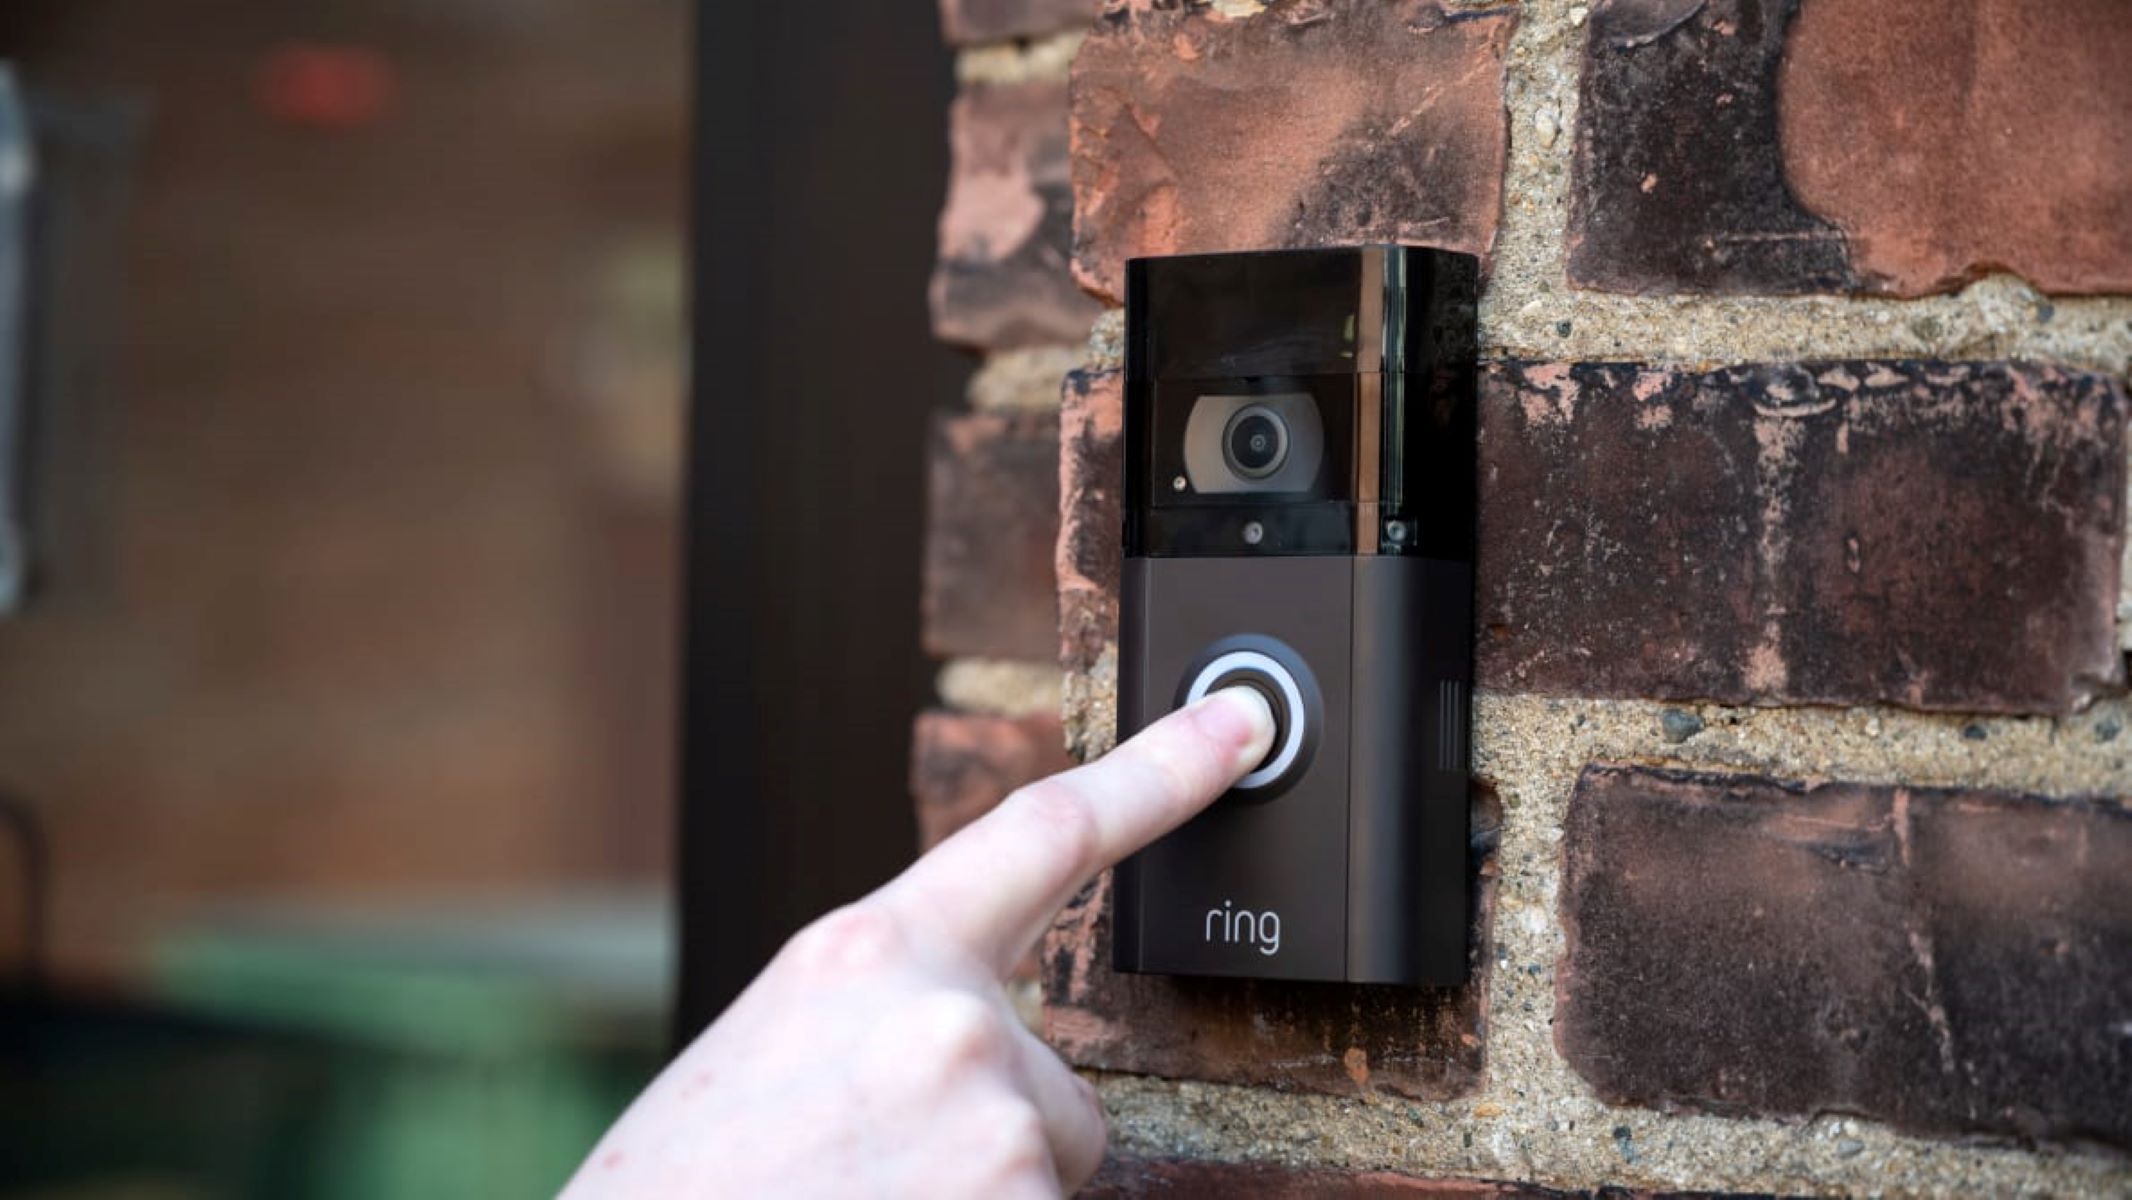
- Integration with smart home devices: Wireless security cameras can seamlessly integrate with other smart home devices, allowing for enhanced automation and control. You can receive alerts on your phone when motion is detected, integrate the camera feeds with your smart doorbell, or even automate lights and alarms based on camera activity.
In summary, wireless security cameras are essential for deterring criminals, collecting evidence, providing remote monitoring, protecting loved ones, and enjoying insurance benefits. Their ability to integrate with other smart home devices adds a new level of convenience and customization. When it comes to ensuring the safety and security of your property, wireless security cameras are a valuable investment.
Choosing the Right Wireless Security Camera System
With the wide variety of options available in the market, choosing the right wireless security camera system can be overwhelming. However, by considering a few key factors, you can make an informed decision that meets your specific needs. Here are some important factors to consider when selecting a wireless security camera system:
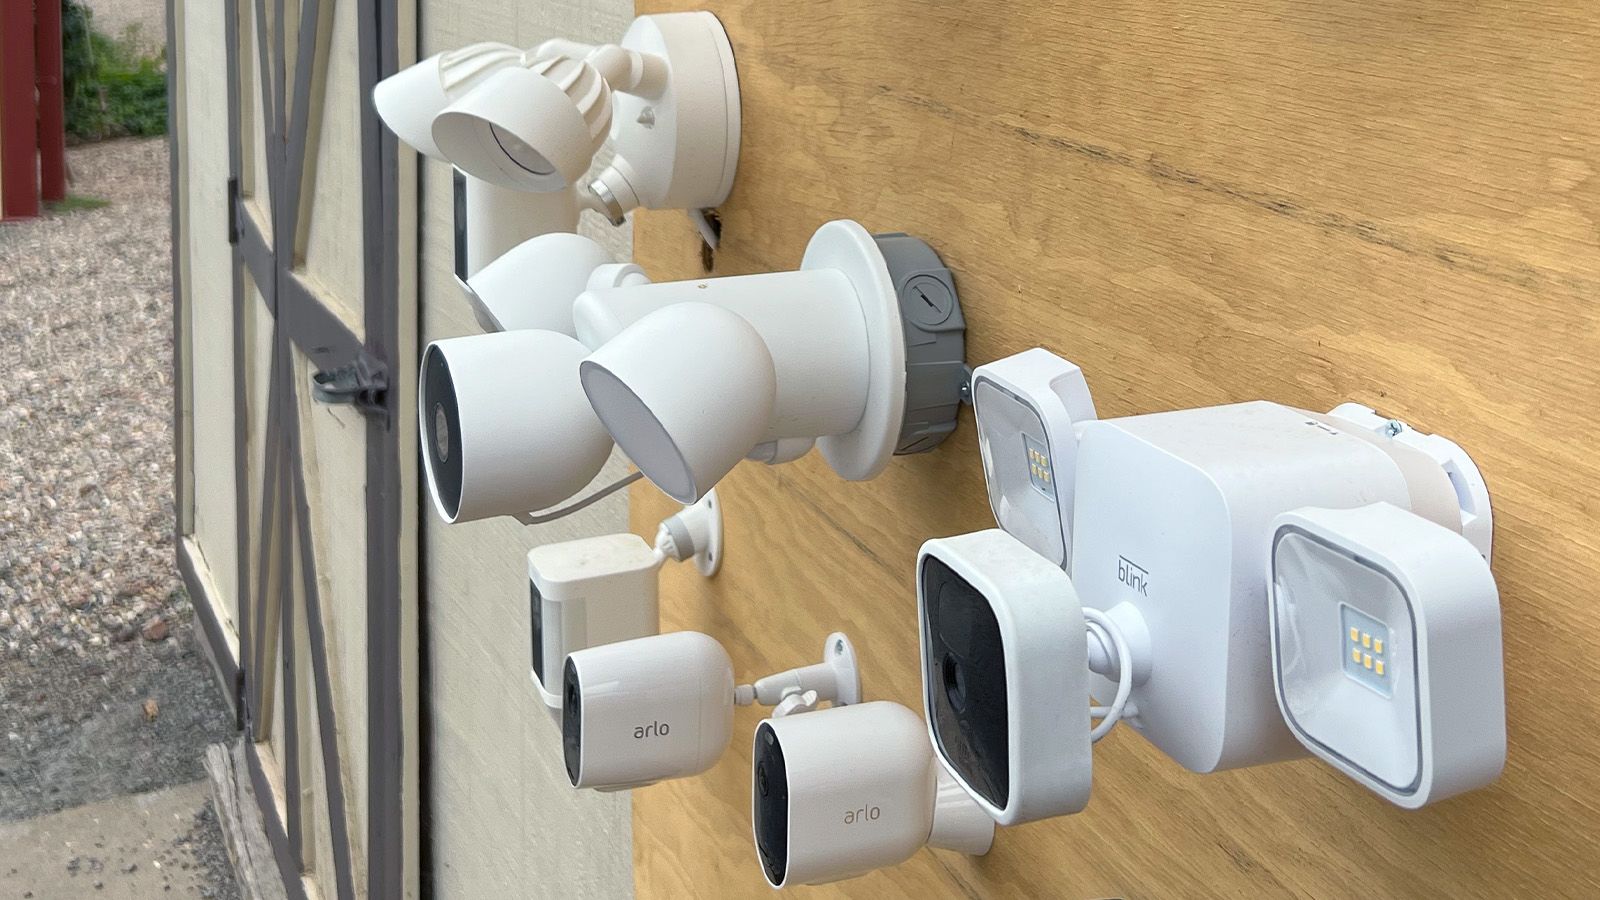
- Camera resolution: The camera resolution determines the clarity of the footage. Higher resolution cameras capture more detail, allowing for a better identification of faces, license plates, and other important details. Look for cameras with at least 1080p resolution for optimal clarity.
- Field of view: The field of view refers to the area that the camera can capture. Consider the specific areas you want to monitor and choose cameras with wide-angle lenses or adjustable field of view to cover those areas effectively.
- Night vision: If you need 24/7 surveillance, consider cameras with infrared night vision capabilities. These cameras have built-in infrared LEDs that enable them to capture clear footage even in complete darkness.
- Wireless range: Evaluate the wireless range of the camera system to ensure that it can cover the distance between your desired camera locations and the base station or network video recorder (NVR). Take into account any potential obstructions, such as walls or other wireless devices, that may affect the range.
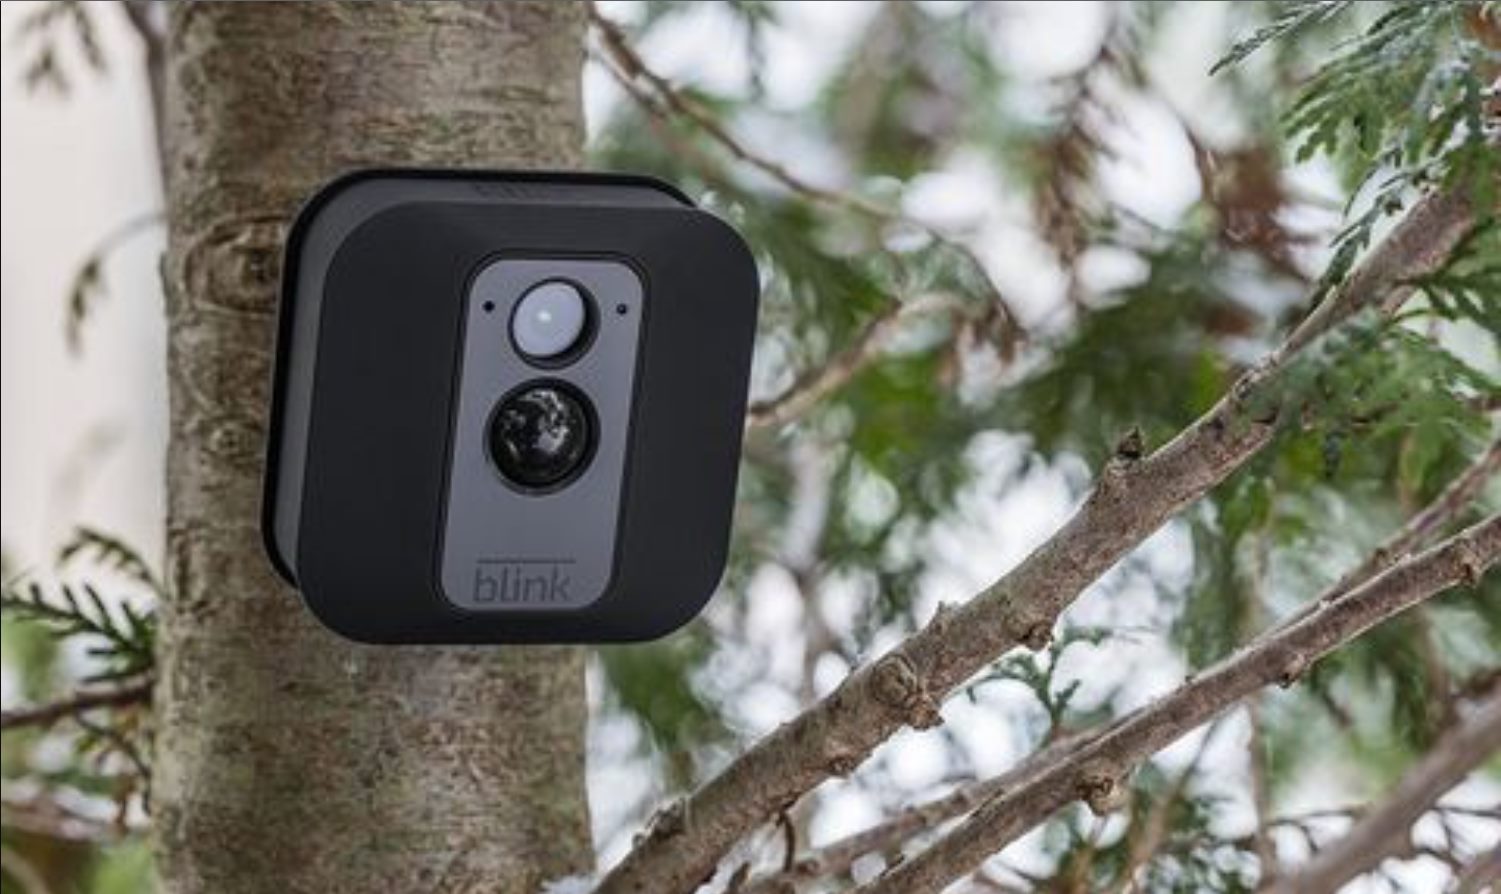
- Power source: Wireless security cameras can be powered by batteries, AC power, or a combination of both. Battery-powered cameras offer flexibility in terms of placement but require regular battery changes or recharging. AC-powered cameras provide constant power but may have limited placement options due to the need for an electrical outlet.
- Storage options: Consider the storage options available for storing the camera footage. Many wireless security camera systems offer cloud storage subscriptions or local storage options, such as microSD cards or external hard drives. Assess your storage needs and choose a system that offers adequate storage capacity.
- Additional features: Look for additional features that may enhance the functionality and usability of the camera system. These can include motion detection, two-way audio communication, smartphone alerts, integration with smart home devices, and easy-to-use mobile apps or software interfaces.
- Budget: Set a budget for your wireless security camera system and prioritize the features that are most important to you. While it’s important to find a system that fits within your budget, remember that quality and reliability should not be compromised for cost.
By considering these factors and conducting thorough research on different brands and models, you can choose a wireless security camera system that meets your specific requirements. Next, we will discuss the tools and supplies you will need to install the cameras.
Gathering the Necessary Tools and Supplies
Before you begin with the installation process, it’s important to gather all the necessary tools and supplies. Having the right equipment on hand will make the installation smoother and more efficient. Here are the essential tools and supplies you will need:
- Wireless security camera system: Make sure you have purchased a reliable wireless security camera system that includes the cameras, base station or NVR, and any necessary cables or connectors.
- Ladder or step stool: Depending on the height and placement of the cameras, a ladder or step stool may be needed to access the installation area safely.
- Power drill and bits: A power drill will come in handy for drilling holes in walls or other surfaces to mount the cameras or attach the base station or NVR.
- Screwdriver: It’s important to have a screwdriver that is compatible with the types of screws provided with your wireless security camera system.
- Level: To ensure that your cameras are properly aligned and positioned, a level will help you maintain a straight and balanced installation.
- Cable clips or wire guards: If you are running cables for power or network connection, cable clips or wire guards can help secure and organize the cables along walls or other surfaces.
- Tape measure: Use a tape measure to accurately measure distances and ensure proper camera placement.
- Pencil or marker: Marking the locations for camera placement or drilling holes will help guide your installation process and ensure accuracy.
- Screws and anchors: Depending on the mounting surface, you may need screws and anchors to secure the cameras or base station/NVR in place.
- Network cable (Ethernet cable): If your wireless security camera system requires a wired connection between the cameras and the base station or NVR, you will need network cables of appropriate length.
- Power supply: If your cameras require a power source, make sure you have power supplies or extension cords readily available.
- Smartphone or computer: To test and configure the cameras and monitor the camera feed, have your smartphone or computer with the necessary apps or software installed.
Gathering these tools and supplies beforehand will save you time and frustration during the installation process. Additionally, make sure to read the user manual or installation guide provided with your wireless security camera system for any specific tools or supplies that may be required. Once you have everything prepared, you can move on to planning the camera placement and starting the installation process.
Planning the Camera Placement
Proper camera placement is key to maximizing the effectiveness and coverage of your wireless security camera system. Before you start drilling holes or mounting the cameras, take some time to plan out the placement strategy. Here are some important considerations for planning the camera placement:
- Identify vulnerable areas: Assess your property and identify the areas that are most vulnerable or prone to potential threats. These can include entry points such as doors, windows, and gates, as well as other areas of concern like driveways, backyard, or outdoor storage areas.
- Camera angle and coverage: Determine the camera angle and coverage required for each location. Consider the field of view and range of the cameras to ensure they adequately capture the desired areas. Adjust the angle and position of the cameras to minimize blind spots and maximize coverage.
- Consider lighting conditions: Take into account the lighting conditions of the areas you plan to monitor. Ensure that the cameras have appropriate lighting, either natural or artificial, to capture clear and detailed footage. Install additional lighting if needed to improve visibility.
- Obstructions and interference: Consider any potential obstacles or interference that may affect the performance of the cameras. Identify potential obstructions such as trees, shrubs, or walls that may block or compromise the camera’s field of view. Take into account other wireless devices that may cause interference and adjust camera placement accordingly.
- Height and mounting options: Determine the optimal height and mounting options for the cameras based on the areas you want to monitor. Higher placement may provide a wider view, while lower placement may capture more detailed footage. Evaluate the mounting options available, such as wall mounts or pole mounts, and choose the most suitable option for each location.
- Consider privacy concerns: Respect the privacy of your neighbors and ensure that the cameras are not capturing their property or sensitive areas. Adjust the angles and fields of view to minimize any unintentional invasion of privacy.
- Camera connectivity: Keep in mind the wireless range of your camera system and the distance between the cameras and the base station or NVR. Ensure that the cameras are within range and consider potential wireless signal strength issues in areas farther from the base station or NVR.
Once you have planned the camera placement, mark the locations with a pencil or marker for reference during the installation. It’s important to maintain a balance between optimal coverage and aesthetic appeal. Consider the overall appearance and blend of the cameras with the surroundings to ensure they are not easily noticed or tampered with.
By carefully planning the camera placement, you can maximize the effectiveness and coverage of your wireless security camera system, providing you with the peace of mind and security you desire.
Installing the Base Station or NVR
The base station or network video recorder (NVR) is a central component of your wireless security camera system that manages and records the camera feeds. Proper installation of the base station or NVR is crucial for the overall functionality and performance of your system. Here’s a step-by-step guide to installing the base station or NVR:
1. Choose a suitable location: Select a secure and easily accessible location for the base station or NVR. It should be near a power outlet and have a stable internet connection if applicable. Ensure that the location provides adequate ventilation to prevent overheating.
2. Connect the power: Plug the power adapter of the base station or NVR into a nearby power outlet. Make sure the power outlet is easily accessible and can accommodate the power adapter’s plug.
3. Connect to the router (if applicable): If your base station or NVR requires a wired internet connection, connect an Ethernet cable from the LAN port of the base station or NVR to an available port on your router. This connection will enable remote access and provide internet connectivity for any smart features.
4. Connect to the monitor (if applicable): If your base station or NVR has a dedicated HDMI or VGA output for connecting to a monitor or TV, use the appropriate cable to make the connection. This will allow you to view the camera feeds and navigate through the system’s settings and configuration.
5. Power on the base station or NVR: Press the power button on the base station or NVR to turn it on. Allow a few moments for the system to initialize and boot up.
6. Follow the on-screen instructions: Depending on the specific model and manufacturer of your base station or NVR, you may be prompted to follow on-screen instructions for initial setup and configuration. This may include setting up user accounts, network settings, and any necessary software updates.
7. Configure the system settings: Once the base station or NVR is powered on and configured, access the system settings to customize various options. This may include adjusting resolution settings, enabling motion detection, configuring recording schedules, and setting up remote access.
8. Ensure proper connection and functionality: Verify that the cameras are connected to the base station or NVR and check the video feeds on the connected monitor or through the system’s software interface. Ensure that the feeds are clear and stable, and that all cameras are functioning properly.
Remember to refer to the user manual or installation guide provided with your specific base station or NVR for detailed instructions on installation and configuration. Following these steps will ensure a smooth installation process and set the foundation for a reliable wireless security camera system.
Setting up the Cameras
Setting up the cameras is the next step in installing your wireless security camera system. Properly configuring and positioning the cameras ensures optimal coverage and functionality. Here’s a step-by-step guide to setting up the cameras:
1. Choose camera locations: Refer to your camera placement plan and identify the locations where each camera will be installed. Ensure that they provide the desired coverage and align with your security goals. Double-check for any potential obstructions or interference that may affect the camera’s performance.
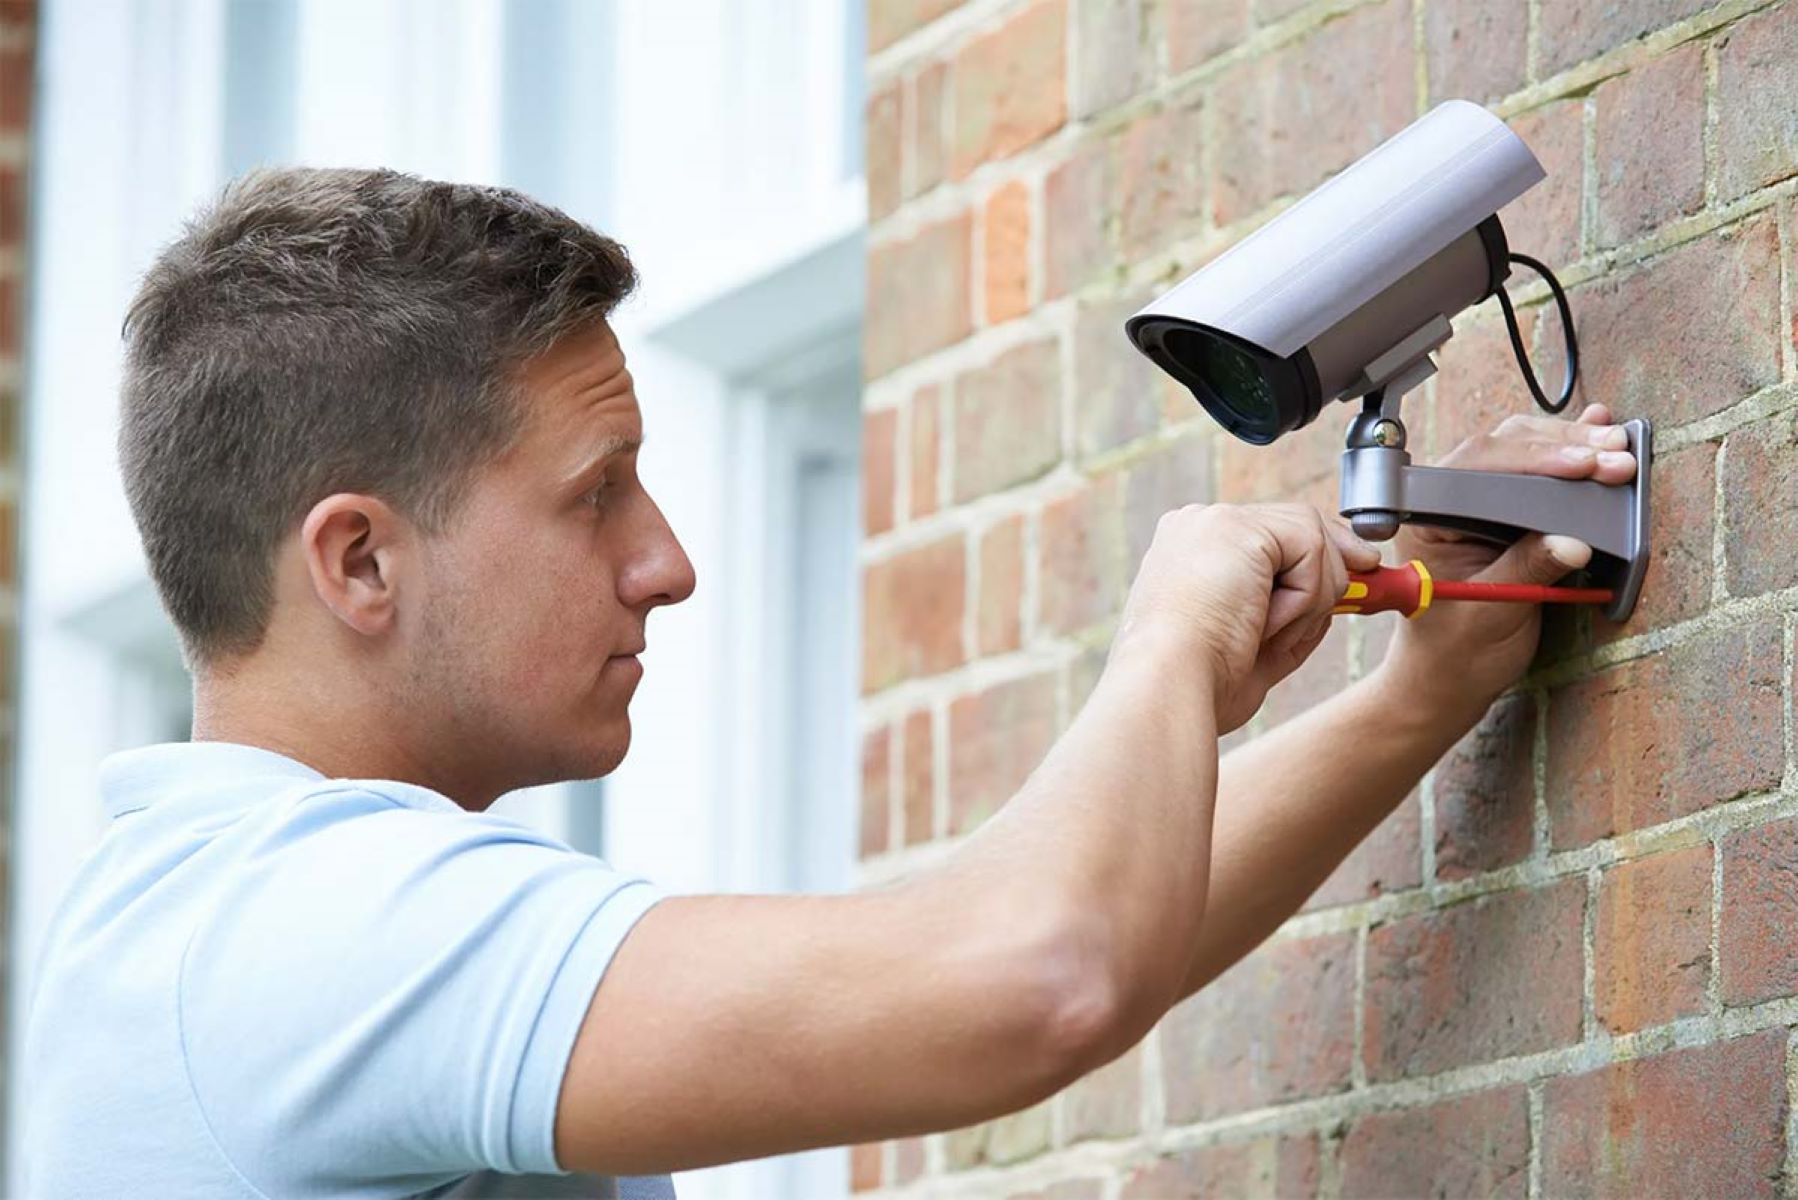
2. Mount the cameras: Use the necessary mounting brackets or hardware provided with your wireless security camera system to mount the cameras securely. Ensure that the mounting surfaces are stable and capable of supporting the weight of the cameras. Use a level to ensure that the cameras are properly aligned.
3. Power on the cameras: Depending on the power source of your cameras, either insert batteries or connect them to a power source. If your cameras are battery-powered, follow the manufacturer’s instructions to install and activate the batteries. If they require an AC power source, connect the power supply or extension cord to the appropriate input on the camera.
4. Connect to the base station or NVR: Follow the instructions provided with your specific wireless security camera system to connect the cameras to the base station or NVR. This may involve using pairing buttons, scanning QR codes, or inputting unique identifiers to establish a secure wireless connection.
5. Adjust camera angles and settings: Fine-tune the camera angles and positions to ensure optimal coverage of the desired areas. Use the camera’s pan, tilt, and zoom features, if available, to adjust the field of view. Access the camera settings through the base station or NVR software interface to configure additional options such as motion detection sensitivity or recording settings.
6. Test camera functionality: Once the cameras are installed and configured, test their functionality to ensure they are capturing clear, high-quality footage. Monitor the camera feeds through the base station or NVR software interface or use a mobile app to view the live camera feeds on your smartphone or computer. Check for any issues such as poor image quality, lag, or connectivity problems.
7. Make necessary adjustments: If you encounter any issues or identify areas where the camera coverage could be improved, make the necessary adjustments. This may include repositioning the cameras, adjusting camera settings, or installing additional cameras to fill any blind spots or areas of concern.
8. Secure camera connections: It is important to ensure that the wireless connections between the cameras and the base station or NVR are secure. Follow the manufacturer’s instructions to enable any available encryption or security features to prevent unauthorized access to your camera feeds.
By following these steps, you can successfully set up and configure your wireless security cameras for optimal performance and coverage. It’s crucial to consult the user manual or installation guide specific to your wireless security camera system for detailed instructions and troubleshooting steps, if needed.
Connecting the Cameras to the Base Station or NVR
Connecting the cameras to the base station or network video recorder (NVR) is a vital step in setting up your wireless security camera system. This process establishes the wireless connection between the cameras and the central recording device, enabling live viewing and recording of the camera feeds. Here’s a step-by-step guide to connecting the cameras to the base station or NVR:
1. Power on the cameras: Ensure that the cameras are powered on by either inserting batteries or connecting them to a power source, depending on the camera’s power requirements.
2. Access the camera settings: Use the software interface provided with your wireless security camera system to access the camera settings. This can typically be done through the base station or NVR software or a mobile app connected to the system.
3. Enable camera pairing mode: Follow the instructions provided with your specific camera system to enable the pairing mode on each camera. This mode allows the cameras to establish a wireless connection with the base station or NVR.
4. Initiate camera pairing: In the camera settings menu, initiate the pairing process for each camera. This may involve pressing a pairing button on the camera, scanning a QR code, or inputting a unique identifier provided with the camera.
5. Wait for the pairing process: Allow some time for the base station or NVR to detect and establish a wireless connection with the cameras. This process may take a few minutes, so be patient during this step.
6. Verify camera connection: Once the cameras are successfully paired, verify their connection status in the camera settings within the base station or NVR software interface. The cameras should be listed as connected and ready to use.
7. Check camera feeds: Monitor the camera feeds through the base station or NVR software interface or use a mobile app connected to the system. Ensure that the camera feeds are displaying correctly and that they are providing the desired coverage and image quality.
8. Make adjustments if necessary: If you encounter any issues with camera connectivity or the camera feeds are not displaying as expected, troubleshoot by relocating the base station or NVR closer to the cameras, ensuring there are no physical obstructions affecting the wireless connection.
9. Secure the camera connections: To ensure the security of your camera feeds, review and enable any security features provided by your wireless security camera system. This may include encryption protocols or password protection to prevent unauthorized access.
By following these steps, you can successfully connect the cameras to the base station or NVR, enabling live viewing and recording of the camera feeds. It’s important to consult the user manual or installation guide specific to your wireless security camera system for detailed instructions and troubleshooting steps, if needed.
Adjusting Camera Settings
Adjusting the camera settings is an essential part of setting up your wireless security camera system. Fine-tuning these settings allows you to customize the functionality and performance of the cameras to best suit your surveillance needs. Here’s a step-by-step guide on how to adjust the camera settings:
1. Access the camera settings: Use the base station or network video recorder (NVR) software interface or a mobile app connected to your wireless security camera system to access the camera settings.
2. Camera resolution: Adjust the camera resolution settings to determine the quality of the recorded footage. Higher resolutions provide sharper and more detailed images but may require more storage space.
3. Video recording options: Configure the recording options for your cameras, such as continuous recording or scheduled recording based on specific time intervals or motion detection triggers. Set the desired recording length and storage duration.
4. Motion detection settings: Enable and fine-tune the motion detection feature for your cameras. Adjust the sensitivity level to prevent false alarms triggered by minor movements, such as plants swaying in the wind, while ensuring that significant motion events are captured.
5. Notification alerts: Set up notifications to receive alerts on your smartphone, email, or other devices when motion is detected by the cameras. Specify the type of events that trigger the notifications and customize the alert settings to your preference.
6. Night vision settings: If your cameras have night vision capabilities, adjust the night vision settings to optimize visibility in low-light or nighttime conditions. Configure the infrared sensor sensitivity and the automatic switching between day and night modes.
7. Camera positioning and field of view: Review and adjust the camera positioning and field of view to ensure optimal coverage and minimize blind spots. Use pan, tilt, and zoom features if available to fine-tune the camera angles for better surveillance.
8. Audio settings: If your cameras have audio capabilities, adjust the audio settings to enable two-way communication or to record audio along with the video footage. Set the audio sensitivity and ensure that any privacy concerns are addressed.
9. Scheduled actions: Configure any scheduled actions or automation features based on specific events or times. For example, you can set up specific actions to occur when motion is detected, such as triggering lights or sounding an alarm.
10. Review and save the settings: Once you have adjusted the camera settings to your satisfaction, review them one final time to ensure they meet your surveillance requirements. Save the settings to apply them to the cameras.
11. Regularly review and update: It’s important to regularly review and update the camera settings as needed. Adjustments may be necessary based on changing surveillance needs, environmental factors, or system performance.
By following these steps, you can effectively adjust the camera settings of your wireless security camera system to optimize performance and meet your specific surveillance requirements. It’s recommended to refer to the user manual or installation guide provided with your wireless security camera system for detailed instructions on accessing and adjusting the camera settings.
Testing the Surveillance System
After setting up your wireless security camera system, it’s crucial to thoroughly test its functionality to ensure that it operates correctly and provides the desired level of surveillance. Here are the steps to effectively test your surveillance system:
1. Verify camera feeds: Check each camera feed to ensure that they are displaying clear and high-quality footage. Monitor the live camera feeds through the base station or network video recorder (NVR) software interface or use a connected mobile app to view the feeds on your smartphone or computer.
2. Test motion detection: Trigger motion events in the camera’s field of view to verify that the motion detection feature is working correctly. Walk in front of each camera or place objects within the frame to ensure that the cameras detect and record the motion appropriately.
3. Review recorded footage: Access the recorded footage to confirm that the cameras are correctly capturing, saving, and storing video recordings. Verify that the playback is of good quality and that the footage is stored in the designated location, whether it be locally on the NVR or in the cloud.
4. Check notification alerts: Trigger motion events or other applicable event triggers to test the notification alerts. Ensure that you receive notifications on your smartphone, email, or other connected devices as configured in the camera settings. Review the notifications to verify their accuracy and timely delivery.
5. Test remote access: Access the surveillance system remotely using the mobile app or software interface to check if you can view the camera feeds and control the system functions from an external network. Confirm that the remote access is smooth and secure.
6. Assess night vision capability: Test the night vision feature by monitoring the camera feeds in low-light or nighttime conditions. Verify that the infrared sensors activate appropriately and that the footage remains clear and visible.
7. Check connectivity: Ensure that all cameras remain connected to the base station or NVR and maintain a stable wireless connection. Walk around the areas covered by the cameras to test the signal strength and connectivity throughout the premises.
8. Inspect camera angles and coverage: Review the camera angles and coverage to ensure that there are no blind spots or areas of concern. Adjust camera positions, if necessary, to improve coverage and optimize surveillance.
9. Test system backups: If your system offers backup options, such as cloud storage or external storage devices, test the backup process to ensure that the recorded footage is successfully backed up and that it can be easily accessed when needed.
10. Perform routine maintenance checks: Establish a regular maintenance schedule to inspect and clean the cameras and ensure they are functioning optimally. Check cable connections, clean camera lenses, and address any issues that may affect the performance of the surveillance system.
By following these testing steps, you can ensure that your wireless security camera system is functioning effectively and providing the level of surveillance you need. Regular testing and maintenance will help to identify and resolve any issues to maintain a reliable and secure surveillance system. Refer to the user manual or installation guide specific to your wireless security camera system for detailed instructions on testing and troubleshooting issues, if encountered.
Tips for Maintaining and Troubleshooting Wireless Security Cameras
Maintaining and troubleshooting wireless security cameras are essential to ensure their long-term functionality and effectiveness. Here are some valuable tips to help you maintain and troubleshoot your wireless security camera system:
1. Regularly clean and inspect the cameras: Dust, dirt, or debris can accumulate on the camera lenses over time, affecting image quality. Regularly clean the lenses with a soft cloth to maintain clear vision. Additionally, inspect the cameras for any physical damage or signs of tampering.
2. Keep the camera firmware updated: Firmware updates often include performance improvements, bug fixes, and security patches. Check for firmware updates regularly and install them as recommended by the manufacturer to ensure optimal performance and protection against vulnerabilities.
3. Monitor signal strength: Pay attention to the wireless signal strength between the cameras and the base station or network video recorder (NVR). If you notice weak or inconsistent signals, try repositioning the base station or NVR and/or adjust the camera placement for better connectivity.
4. Ensure adequate power supply: Check the power supply of your cameras to ensure they are receiving sufficient power. If using battery-powered cameras, regularly monitor the battery levels and replace or recharge them as needed. For AC-powered cameras, ensure the power source is stable and uninterrupted.
5. Manage storage capacity: Regularly monitor the available storage capacity on your NVR, microSD cards, or cloud storage. Delete unnecessary footage, configure the system to overwrite old recordings when storage is full, or expand your storage capacity if necessary.
6. Address wireless interference: Wireless devices operating on the same frequencies can potentially interfere with your camera system’s performance. Identify and mitigate sources of interference, such as routers, cordless phones, or microwave ovens, by adjusting their positions or using different wireless channels.
7. Secure your system: Protect your wireless security camera system from unauthorized access by using strong and unique passwords for the base station, NVR, and any associated mobile apps. Regularly review and update passwords to enhance system security.
8. Monitor and test camera health: Regularly check the camera feeds and test the functionality of each camera to ensure they are operating correctly. Look for any signs of abnormal behavior, such as image distortion, loss of connection, or unusual noises, and address them promptly.
9. Seek manufacturer support: If you encounter persistent issues or need assistance with troubleshooting, consult the manufacturer’s support documentation, online forums, or contact their customer support for guidance and solutions.
10. Keep a backup of important footage: Backup crucial footage regularly to external storage devices or cloud storage. This will ensure that important video evidence is preserved even in the event of system failures or data loss.
11. Document and organize: Maintain a record of your camera placements, settings, usernames, passwords, and warranty information. This will be helpful for future troubleshooting, upgrades, or if you need to reconfigure your wireless security camera system.
By following these tips, you can effectively maintain and troubleshoot your wireless security camera system, ensuring its optimal performance and extending its lifespan. Always refer to the user manual or installation guide provided with your specific camera system for detailed instructions and recommendations.
Conclusion
Installing a wireless security camera system is a valuable investment in safeguarding your property, loved ones, and peace of mind. By following the steps outlined in this guide, you can successfully install, configure, and maintain a reliable wireless security camera system. From choosing the right system to planning camera placement, connecting the cameras to the base station or NVR, adjusting settings, and testing the system, each step plays a crucial role in ensuring effective surveillance.
With wireless security cameras, you can enjoy the benefits of remote monitoring, motion detection, night vision, and seamless integration with other smart home devices. By selecting high-quality cameras with desirable features and considering factors such as resolution, field of view, and wireless range, you can maximize the effectiveness of your system.
Regular maintenance and troubleshooting are essential to keep your wireless security camera system running smoothly. By following best practices such as cleaning the cameras, updating firmware, monitoring signal strength, and safeguarding the system against unauthorized access, you can maintain the longevity and reliability of your system.
Remember to regularly test the functionality of your surveillance system by reviewing camera feeds, checking motion detection, verifying recorded footage, and testing remote access and notification alerts. Regular testing allows you to identify and resolve any issues promptly, ensuring that your system is always ready to provide reliable surveillance.
With the right wireless security camera system in place and proper maintenance and troubleshooting practices followed, you can have peace of mind knowing that your property is under vigilant surveillance. Invest time and effort in setting up and maintaining your wireless security camera system, and enjoy the benefits of enhanced security, remote monitoring, and peace of mind.


