Introduction
Connecting your iPhone to your laptop wirelessly can greatly enhance your productivity and make transferring files a breeze. Whether you want to sync your photos, access files on both devices, or even use your iPhone as a mobile hotspot, setting up a wireless connection between your iPhone and laptop is a straightforward process.
Gone are the days when you needed cables and connectors to establish a connection between your iPhone and laptop. With advancements in technology, wireless connectivity has become the norm, offering convenience and flexibility. In this guide, we will walk you through the steps to connect your iPhone to your laptop wirelessly.
Before diving into the step-by-step process, it’s important to ensure that your iPhone and laptop are compatible with wireless connectivity. Most recent iPhone models and laptops come with built-in Wi-Fi capabilities, allowing you to connect them effortlessly. However, it’s always a good idea to double-check the specifications of your specific devices to avoid any compatibility issues.
Step 1: Check your iPhone and laptop compatibility
Before you begin the process of connecting your iPhone to your laptop wirelessly, it’s crucial to ensure that both devices are compatible with this type of connection. Most iPhone models and laptops are equipped with Wi-Fi capabilities, but it’s always best to double-check.
On your iPhone, go to the Settings app and navigate to the Wi-Fi section. Ensure that the Wi-Fi toggle switch is enabled. If you see the name of your home network or any available Wi-Fi networks in the list, it indicates that your iPhone is Wi-Fi compatible.
For your laptop, look for the Wi-Fi symbol on the keyboard or check the network connectivity settings. If you find a Wi-Fi icon or the ability to connect to available networks, it means your laptop has the necessary functionality.
If you’re unsure about the compatibility of your devices, you can consult the user manuals or visit the manufacturer’s website for more information. Additionally, you can contact customer support for assistance.
It’s important to note that some older laptop models may require the use of an external Wi-Fi adapter to establish a wireless connection. These adapters can be purchased online or at electronics stores, and they often come with installation instructions.
Once you have confirmed that both your iPhone and laptop are compatible with Wi-Fi connectivity, you can proceed to the next steps to connect them wirelessly.
Step 2: Make sure Wi-Fi is enabled on your iPhone and laptop
Before connecting your iPhone to your laptop wirelessly, ensure that the Wi-Fi feature is enabled on both devices. Here’s how:
On your iPhone:
- Unlock your iPhone and navigate to the home screen.
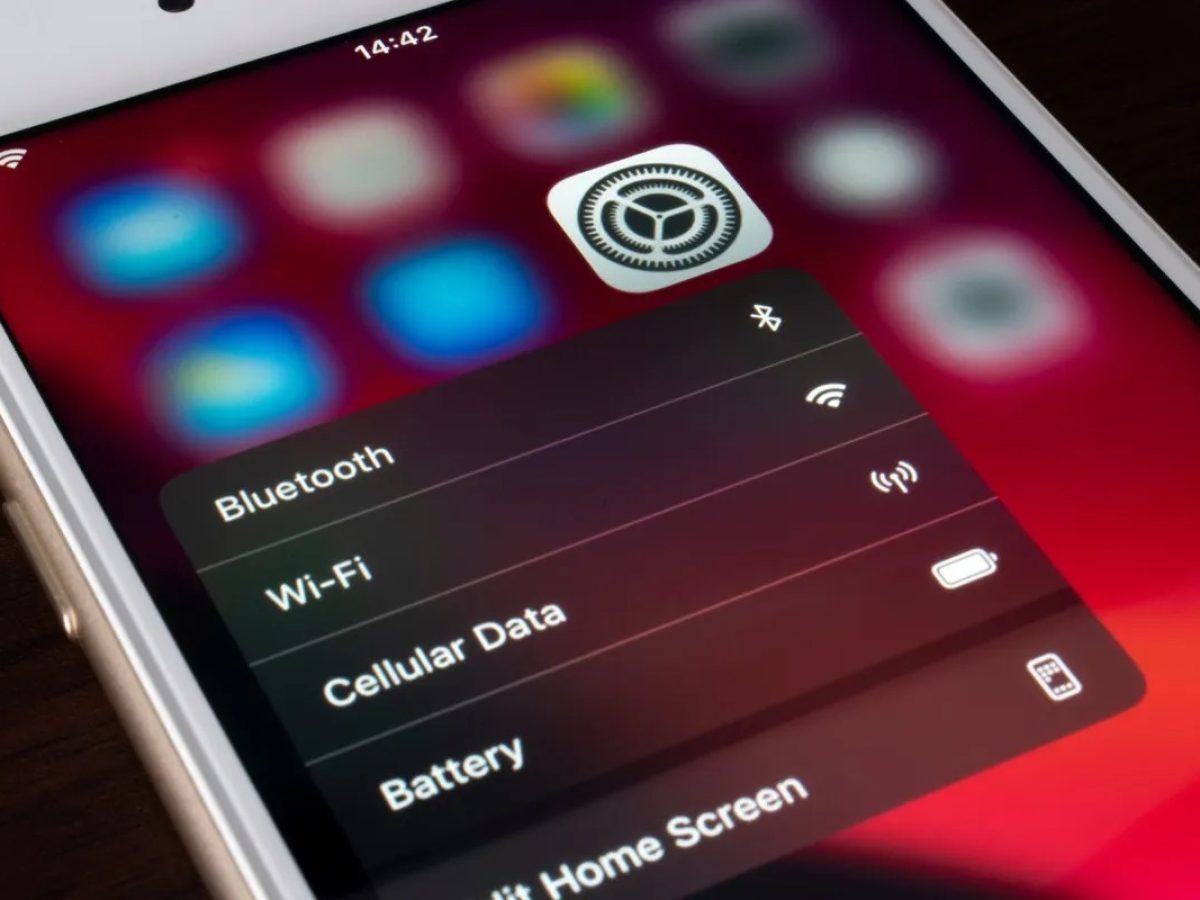
- Open the Settings app by tapping on the gear icon.
- Scroll down and tap on “Wi-Fi.”
- Toggle the Wi-Fi switch to the “On” position.
This will activate Wi-Fi on your iPhone, allowing it to search for available networks.
On your laptop:
- Boot up your laptop and ensure that it is running on the operating system.
- Locate the network icon in the taskbar or system tray.
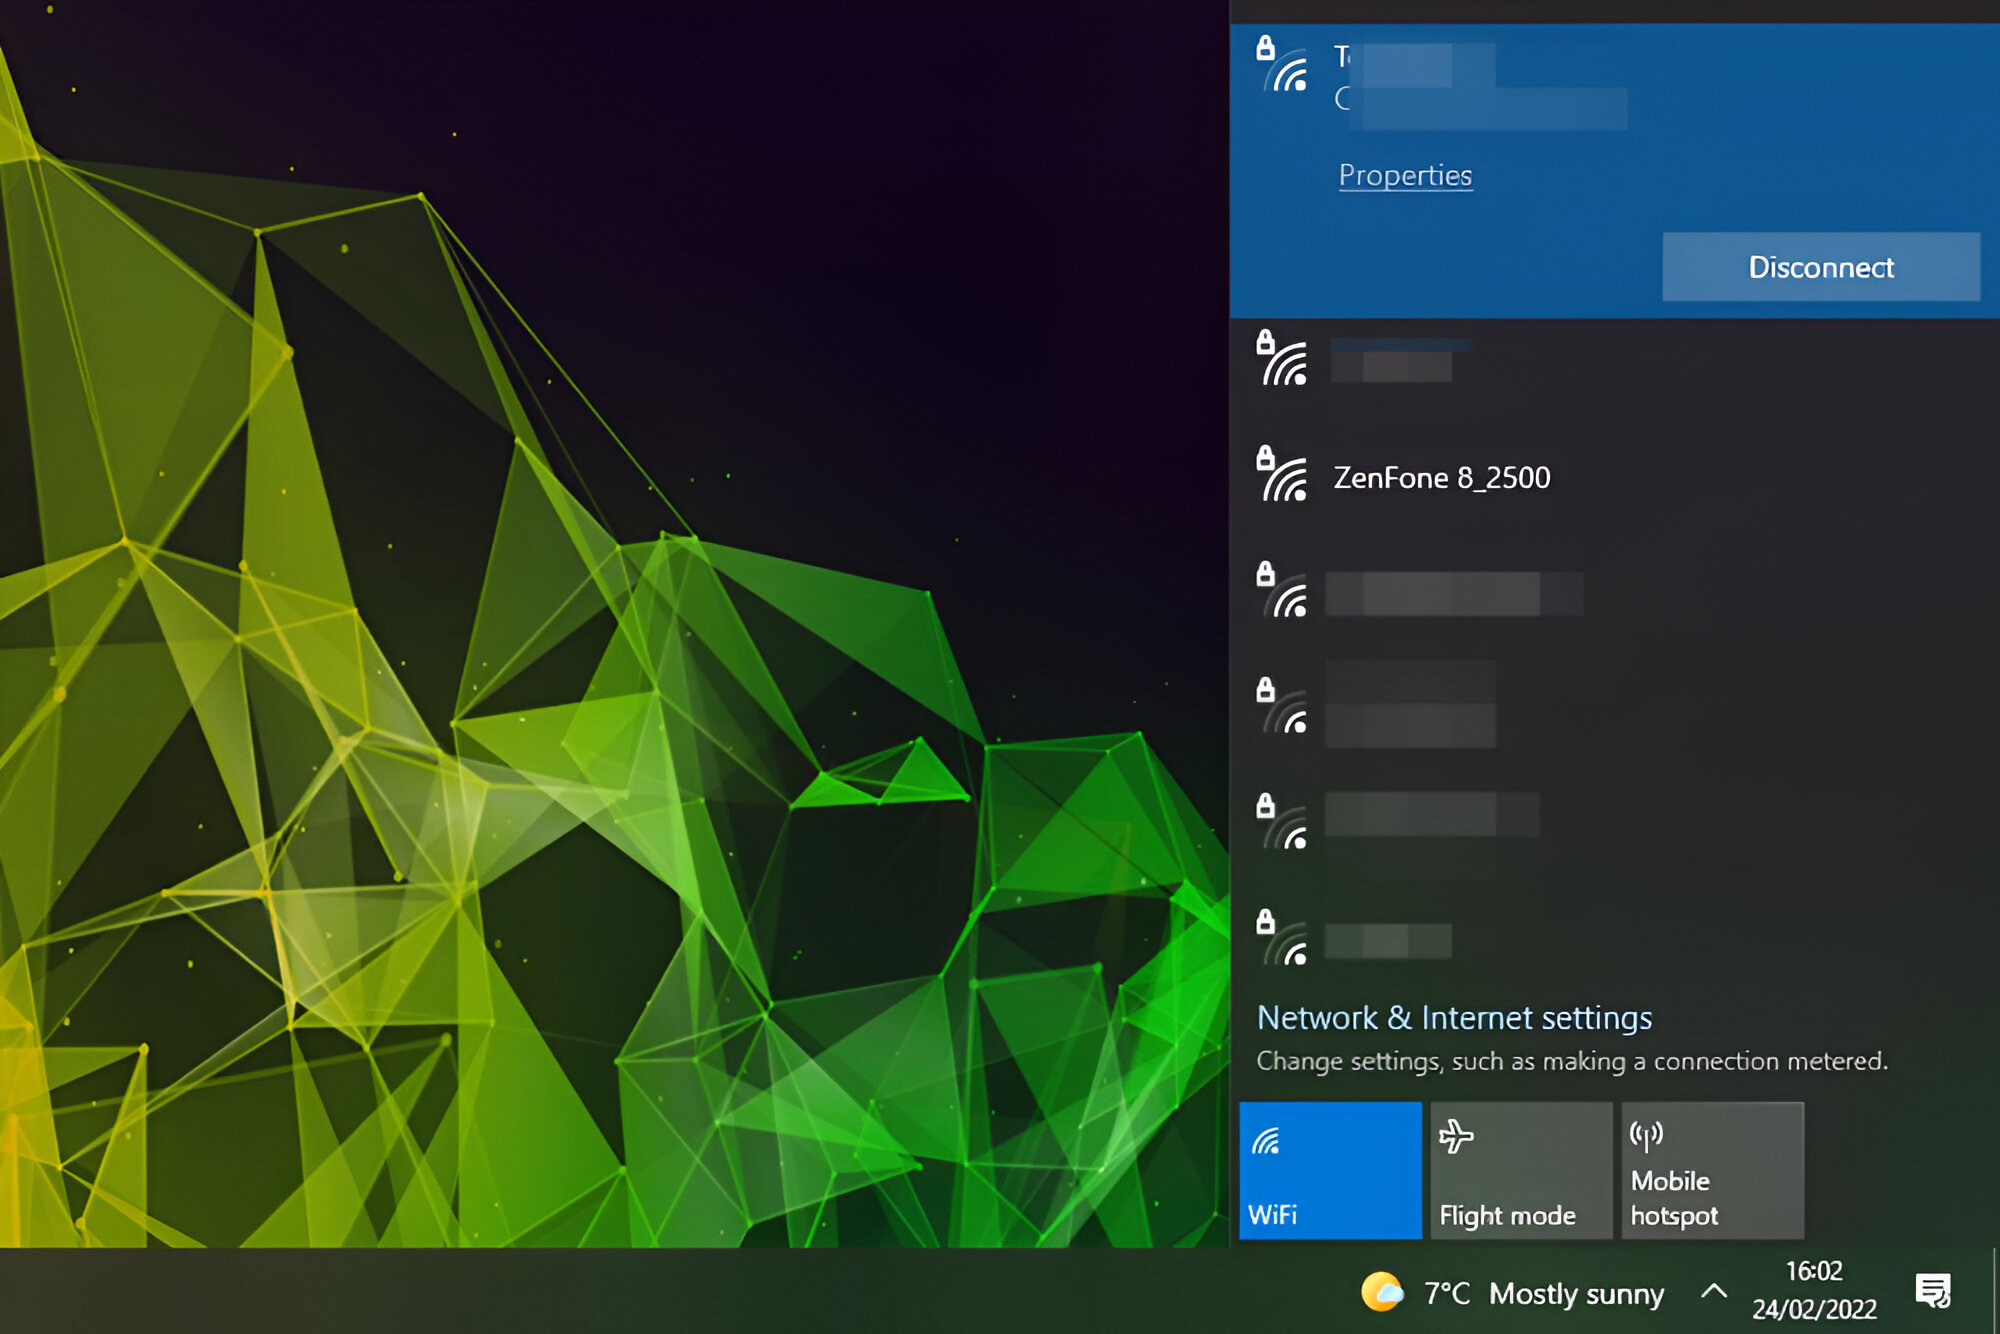
- Click on the network icon to open the network settings.
- Make sure the Wi-Fi option is enabled.
If the Wi-Fi option is disabled, click on it to enable Wi-Fi connectivity on your laptop. This will enable your laptop to detect and connect to nearby Wi-Fi networks.
Once you have enabled Wi-Fi on both your iPhone and laptop, they will be ready to establish a wireless connection.
Step 3: Connect the iPhone and laptop to the same Wi-Fi network
In order to connect your iPhone to your laptop wirelessly, it is essential that both devices are connected to the same Wi-Fi network. Follow these steps to ensure they are on the same network:
On your iPhone:
- Open the Settings app on your iPhone.
- Tap on “Wi-Fi” to access the Wi-Fi settings.
- Wait for your iPhone to scan for available Wi-Fi networks.
- Select the Wi-Fi network that you want to connect to.
- If the network is secured, enter the password when prompted.
- Once connected, you will see a checkmark next to the network name.
Your iPhone is now connected to the Wi-Fi network, making it ready to establish a wireless connection with your laptop.
On your laptop:
- Open the network settings on your laptop. The steps may vary depending on the operating system you are using.
- Look for the list of available Wi-Fi networks.
- Select the same Wi-Fi network that you connected to on your iPhone.
- If required, enter the password for the network.
- Wait for your laptop to establish a connection to the Wi-Fi network.
Once your laptop is connected to the same Wi-Fi network as your iPhone, both devices will be on the same network, paving the way for a seamless wireless connection.
Step 4: Establish the wireless connection on your laptop
Now that both your iPhone and laptop are connected to the same Wi-Fi network, it’s time to establish the wireless connection on your laptop. The process may vary slightly depending on the operating system you are using. Here are the general steps:
On Windows:
- Click on the network icon located in the taskbar or system tray.
- Locate and select the Wi-Fi network you just connected to.
- Click on the “Connect” button.
- If prompted, enter the password for the Wi-Fi network.
- Wait for your laptop to establish the connection.
Once the connection is established, a notification will appear, indicating that you are connected to the Wi-Fi network.
On macOS:
- Click on the Wi-Fi icon in the menu bar.
- Select the Wi-Fi network you connected to on your iPhone.
- Click on the “Connect” button.
- If required, enter the password for the Wi-Fi network.
- Your laptop will establish the connection.
After successfully connecting your laptop to the Wi-Fi network, it will be ready to communicate with your iPhone wirelessly.
Now that the wireless connection between your laptop and iPhone has been established, you can proceed to the next step and connect your iPhone to your laptop wirelessly.
Step 5: Connect iPhone to laptop wirelessly
With the wireless connection established between your iPhone and laptop, it’s time to connect your iPhone to your laptop wirelessly. Follow these steps:
- On your laptop, open a web browser or the software/application you want to use to connect with your iPhone.
- On your iPhone, unlock the device and navigate to the home screen.
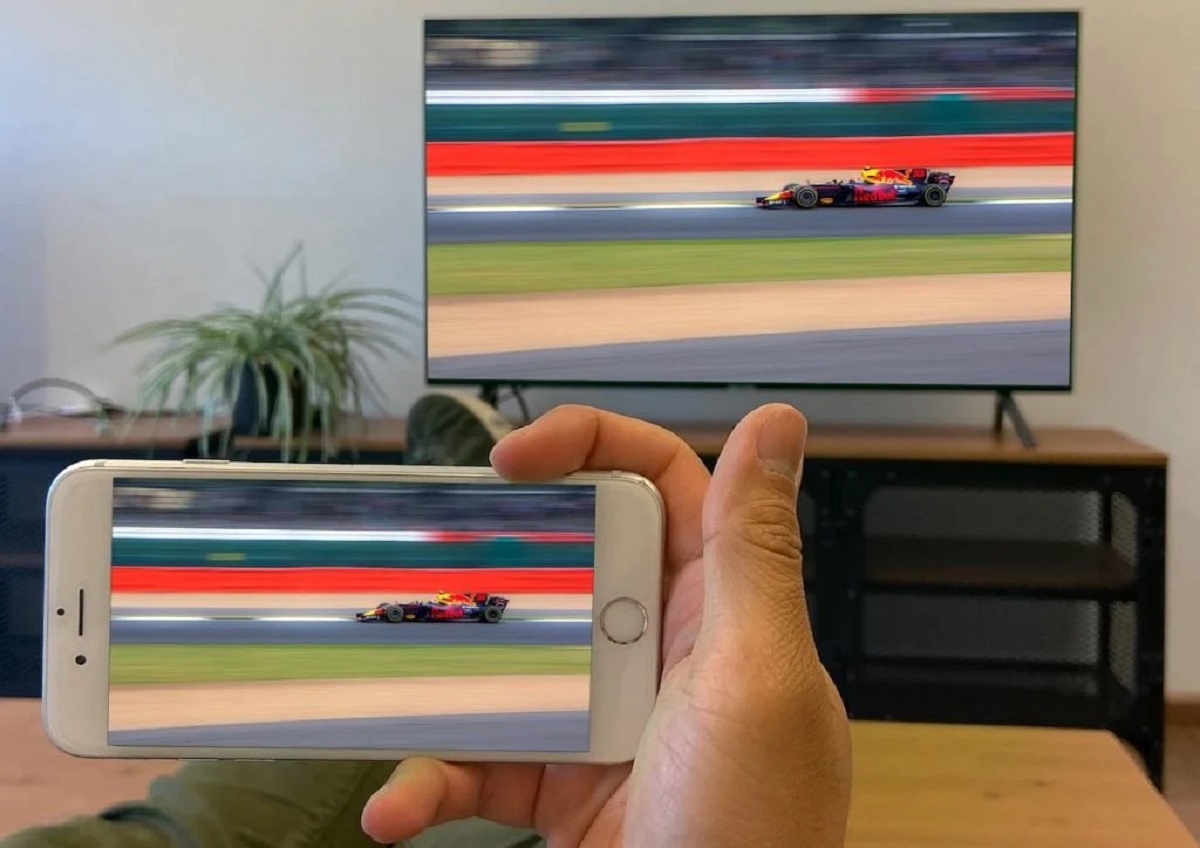
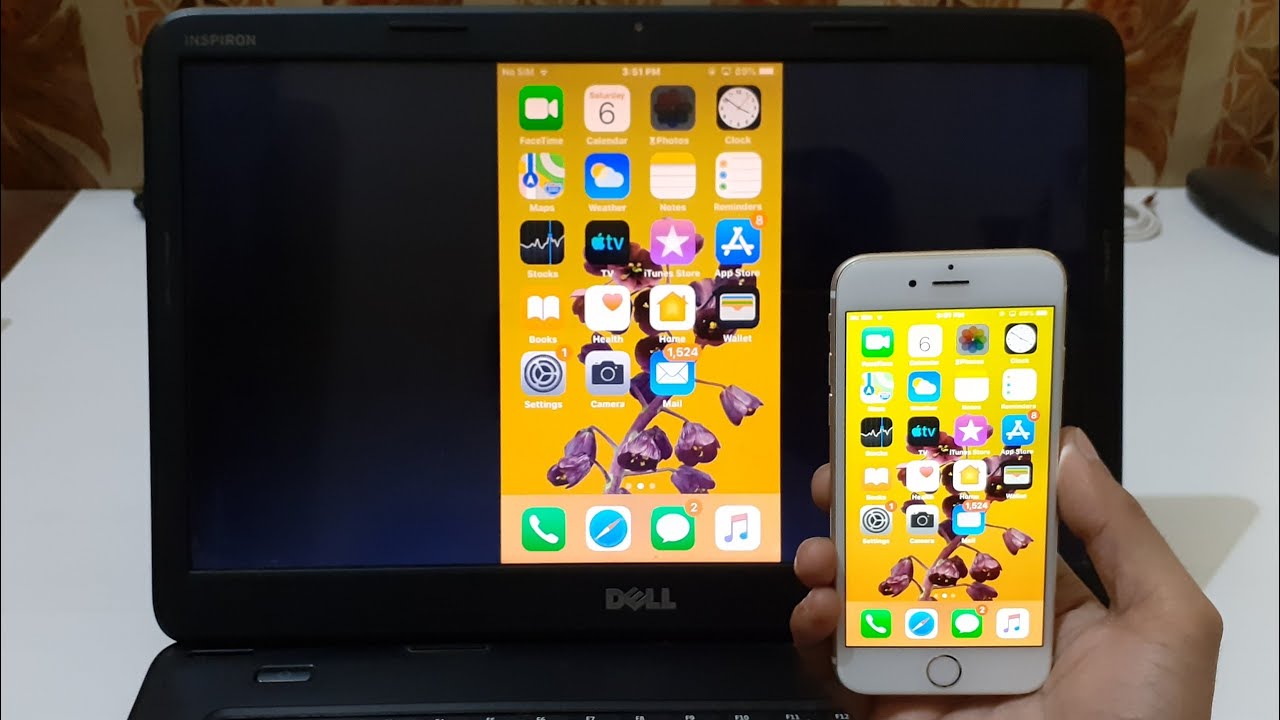
- Swipe up from the bottom of the screen to access the Control Center on iPhone models with Face ID, or swipe up from the bottom on iPhone models with a home button.
- Tap on the “Screen Mirroring” or “AirPlay” icon.
- A list of available devices will be displayed on your iPhone. Select your laptop from the list.
- Your iPhone’s screen will be mirrored or connected to your laptop wirelessly.
Depending on the software or application you are using, the steps to connect may vary. For instance, if you’re using file transfer software, you may need to follow the specific instructions provided by the software.
Once the connection is established, you can now transfer files, stream media, or perform any other desired tasks between your iPhone and laptop wirelessly.
Keep in mind that some applications and software may require additional configuration or setup to enable wireless connectivity. Refer to the respective documentation or help guides for detailed instructions.
Now that your iPhone is successfully connected to your laptop wirelessly, you can enjoy the convenience and flexibility of seamless data transfer and synchronization between the two devices.
Step 6: Troubleshooting common connectivity issues
While connecting your iPhone to your laptop wirelessly is usually a smooth process, there might be instances where you encounter connectivity issues. Here are some common problems and troubleshooting steps:
1. Weak Wi-Fi signal: If you’re experiencing a weak Wi-Fi signal, try moving closer to the router or access point. Additionally, ensure that there are no physical obstructions, such as walls or furniture, blocking the signal.
2. Incorrect Wi-Fi password: If you’re unable to connect your iPhone or laptop to the Wi-Fi network, double-check the password you entered. Passwords are case-sensitive, so make sure you enter it correctly. You can also try forgetting the Wi-Fi network on both devices and reconnecting with the correct password.
3. Update software and firmware: Outdated software or firmware on either your iPhone or laptop can cause connectivity issues. Make sure both devices are running the latest updates. Check for updates in the Settings app on your iPhone and the System Preferences or Settings on your laptop.
4. Restart devices: Sometimes a simple restart can resolve connectivity problems. Try restarting both your iPhone and laptop and then attempt to establish the wireless connection again.
5. Disable VPN or proxy settings: Virtual Private Network (VPN) or proxy settings on your laptop might interfere with the wireless connection. Disable any active VPN or proxy settings and try connecting again.
6. Test with another Wi-Fi network: If you’re still experiencing connectivity issues, try connecting to another Wi-Fi network to determine if the problem is specific to your current network.
7. Reset network settings: As a last resort, you can reset the network settings on your iPhone. This will erase all saved Wi-Fi networks and their passwords. Go to the Settings app, select “General,” then “Reset,” and finally tap on “Reset Network Settings.” On your laptop, you can try resetting network settings by accessing the network settings and choosing the appropriate option.
By following these troubleshooting steps, you should be able to resolve most common connectivity issues and establish a wireless connection between your iPhone and laptop.
Conclusion
Connecting your iPhone to your laptop wirelessly opens up a world of convenience and seamless interaction between the two devices. By following the steps outlined in this guide, you can easily establish a wireless connection and enjoy the benefits of wireless data transfer, file synchronization, and more.
Remember to check the compatibility of your devices and ensure that Wi-Fi is enabled on both your iPhone and laptop. Connecting them to the same Wi-Fi network is crucial for establishing a successful wireless connection. Once connected, you can utilize various applications, software, and features to transfer files, stream media, or mirror your iPhone screen on your laptop.
If you encounter any connectivity issues, try troubleshooting by checking the Wi-Fi signal, entering the correct password, updating software and firmware, restarting devices, and disabling VPN or proxy settings. In some cases, testing with another Wi-Fi network or resetting network settings on your devices may help resolve persistent issues.
With wireless connectivity, you can enhance your productivity and make the most of your iPhone and laptop’s capabilities. Enjoy the convenience of seamless wireless communication and improve your workflow by connecting your iPhone to your laptop wirelessly.