Introduction
Installing a WiFi card in your computer can greatly enhance your internet connectivity and give you the freedom to connect to wireless networks. Whether you want to upgrade your existing WiFi card or add one to a desktop computer that doesn’t have built-in wireless capabilities, this step-by-step guide will help you through the installation process.
Having a WiFi card installed in your computer means no more dealing with messy cables or limited connectivity. You can enjoy fast and reliable internet access without being tethered to a physical connection. Plus, it opens up new possibilities for streaming, gaming, and online work.
In this guide, you’ll learn how to install a WiFi card in your computer. We’ll walk you through the process, from gathering the necessary tools and materials to installing the drivers. Even if you’re not the most tech-savvy, don’t worry! With a little patience and following the steps carefully, you’ll have your WiFi card up and running in no time.
Before we get started, it’s important to note that different computers may have slightly different installation processes. While we’ll provide general instructions, it’s always a good idea to consult the user guide for your specific computer model and WiFi card for any specific instructions or requirements.
Now, let’s get started and turn your computer into a wireless powerhouse!
Step 1: Gather the necessary tools and materials
Before you begin installing a WiFi card, it’s important to make sure you have all the necessary tools and materials. Here’s a list of what you’ll need:
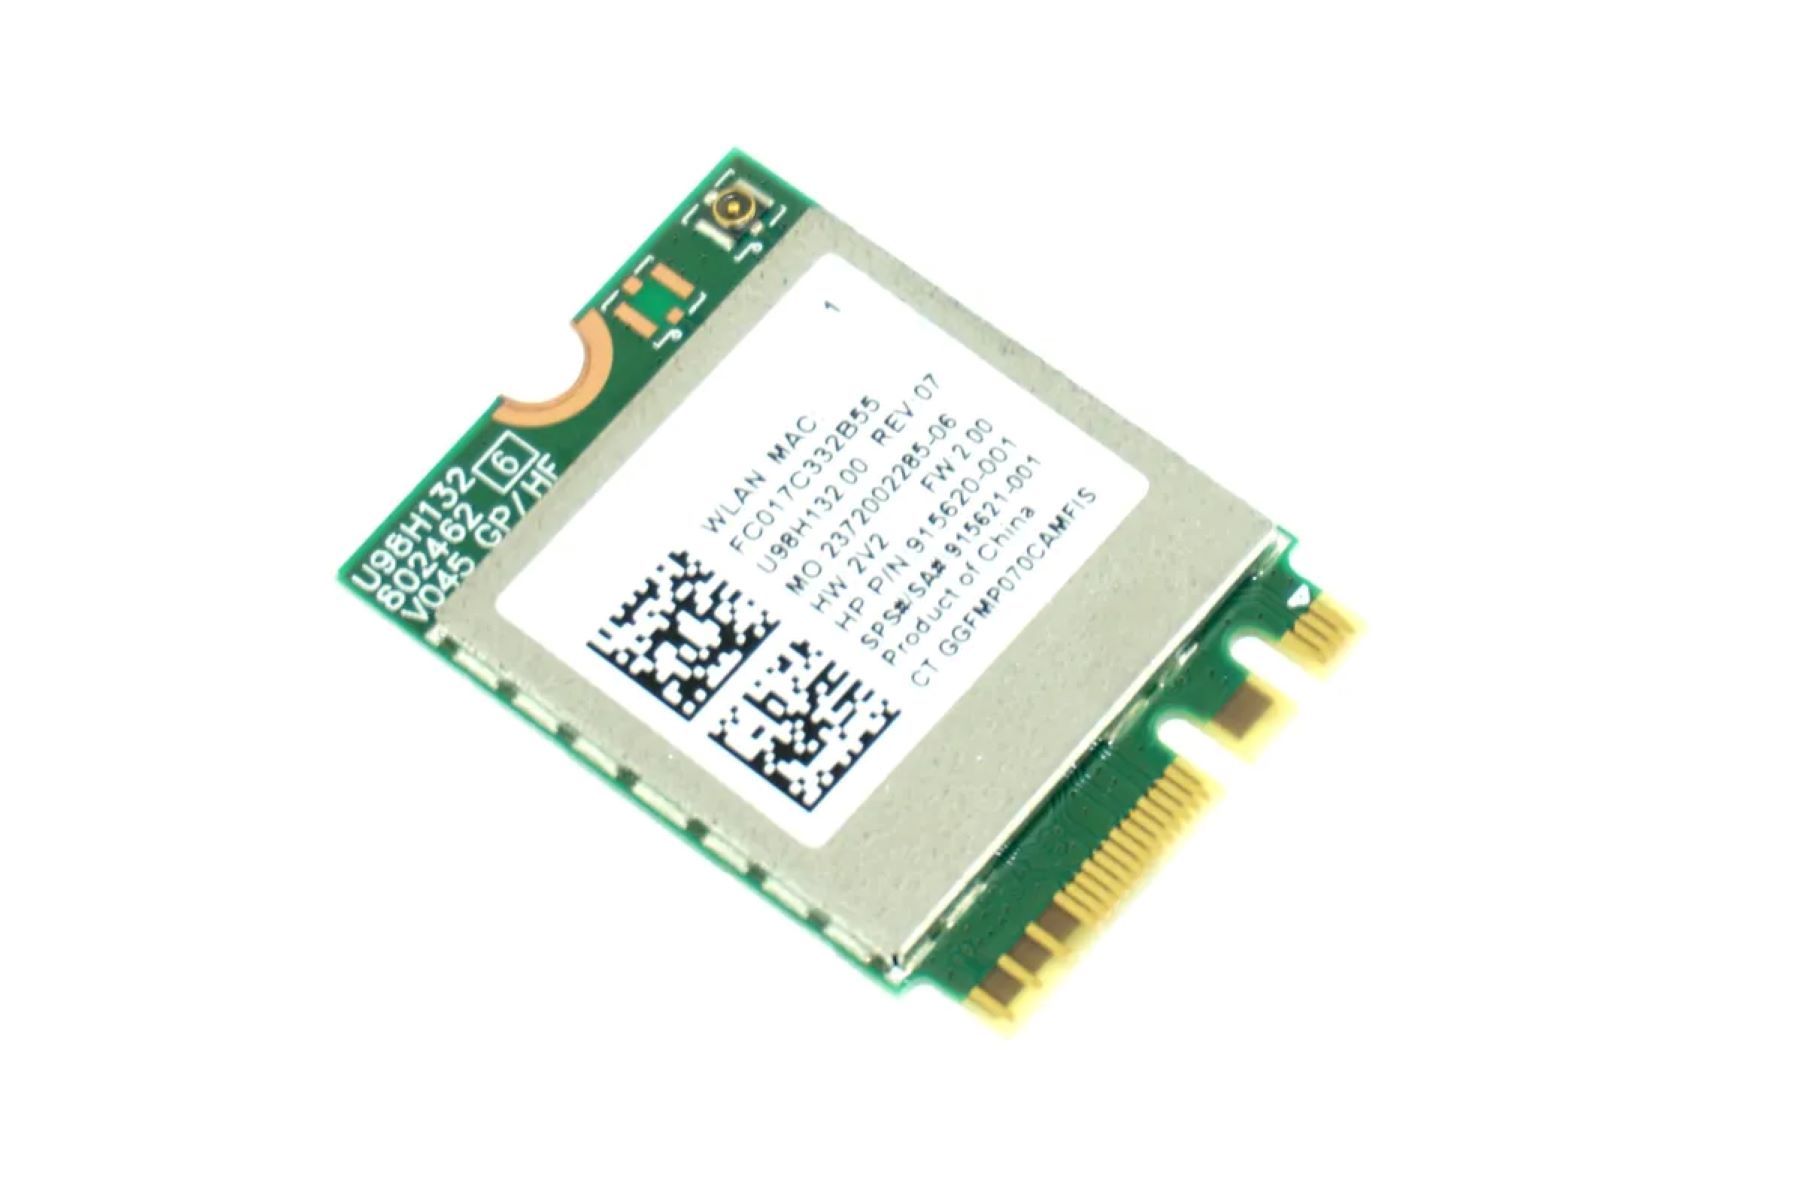
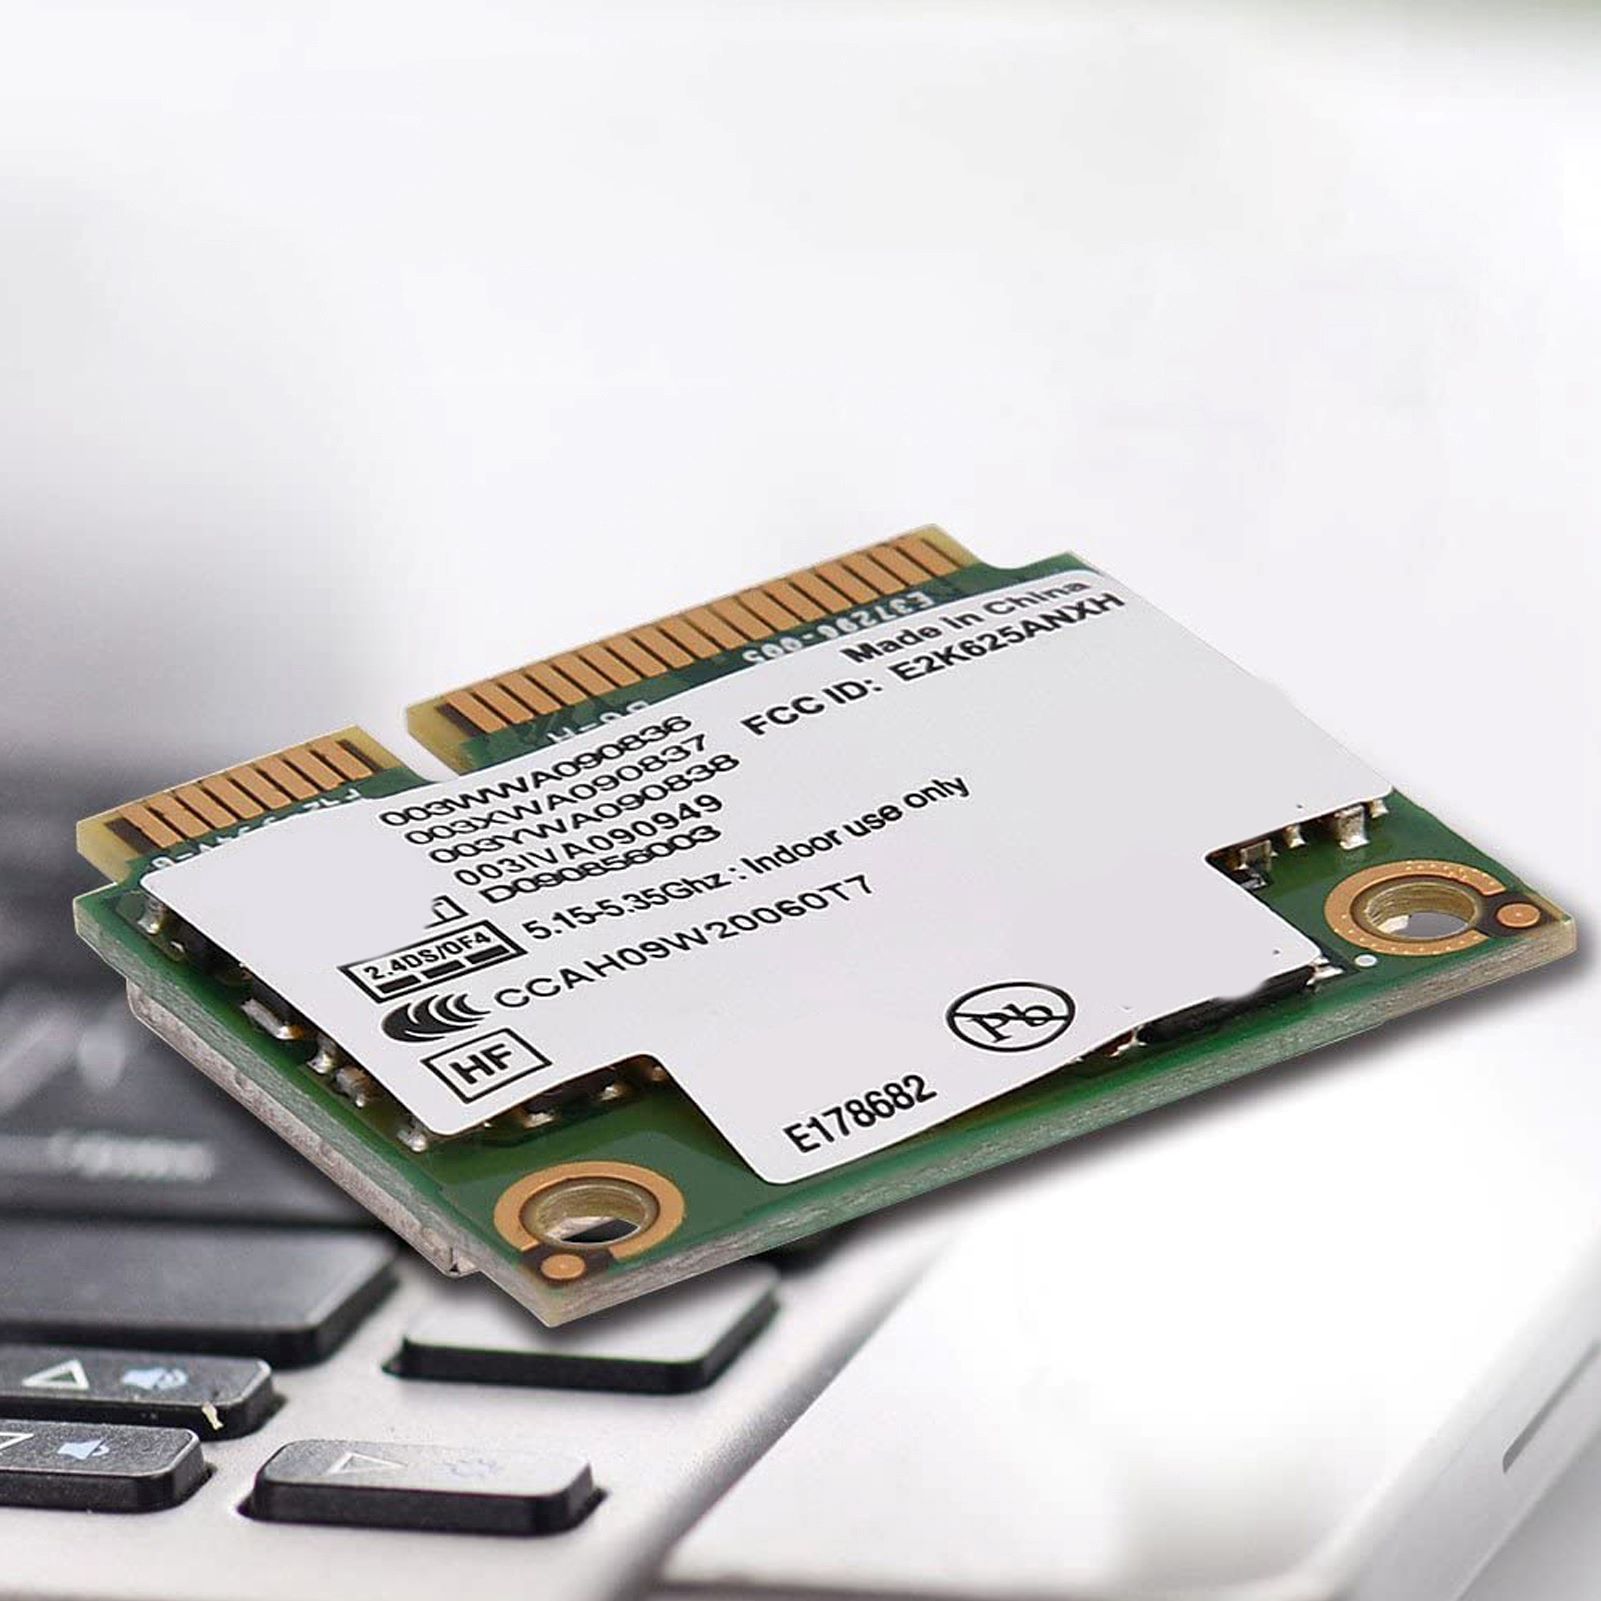
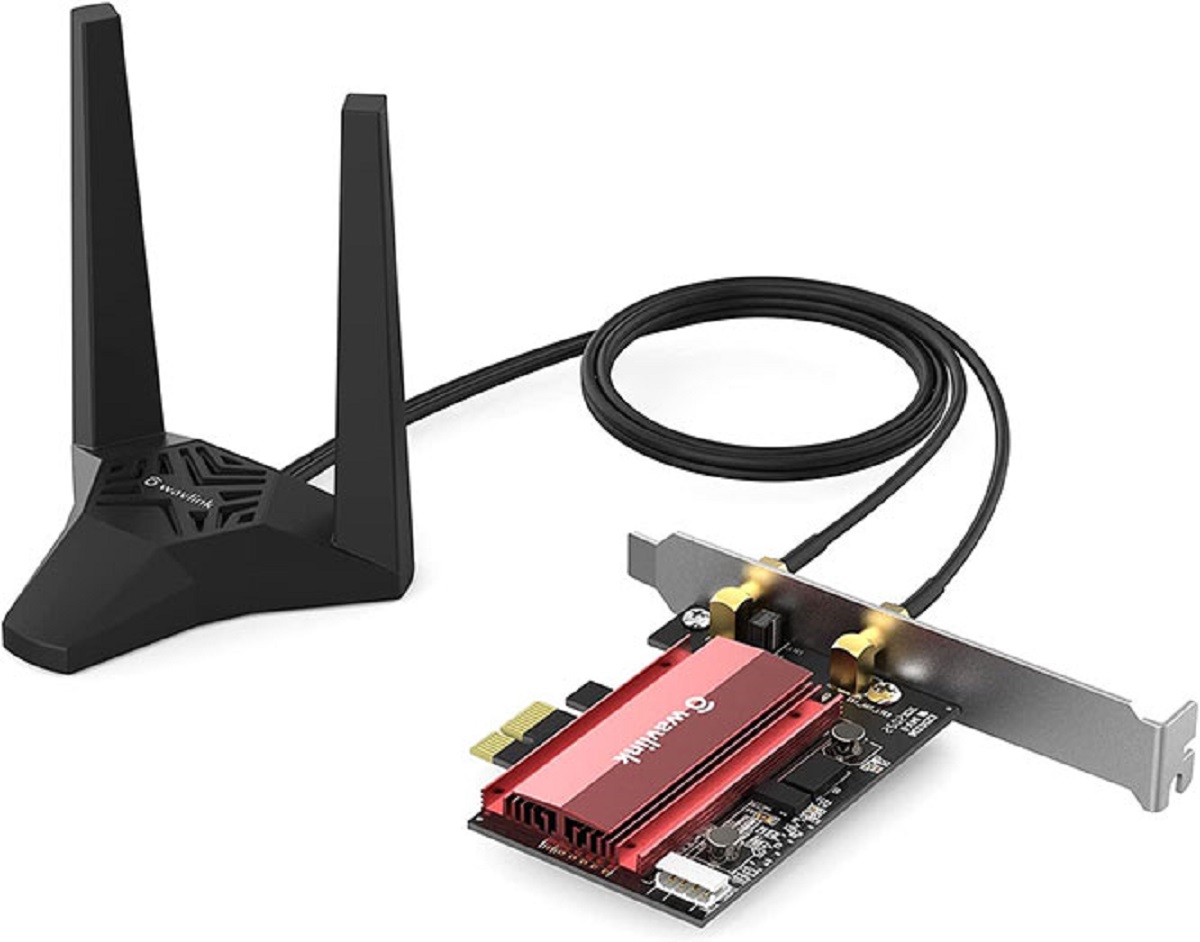
- A compatible WiFi card: Make sure to check the specifications of your computer and choose a WiFi card that is compatible with your system. This can usually be found in the user manual or on the manufacturer’s website.
- A screwdriver: You’ll need a small screwdriver, typically a Phillips head or a flathead, depending on the type of screws used in your computer’s case.
- Antennas: Most WiFi cards come with antennas to help improve the signal strength. Check if your WiFi card includes antennas or if you need to purchase them separately.
- Anti-static wrist strap (optional): It’s a good idea to wear an anti-static wrist strap when working inside your computer to prevent any accidental damage caused by static electricity.
Once you have gathered all the necessary tools and materials, you are ready to move on to the next step. Make sure to read through the instructions provided with your WiFi card to familiarize yourself with any specific requirements or recommendations.
Now that you have everything you need, let’s proceed to the next step: preparing your computer for the installation.
Step 2: Prepare your computer
Before you begin the installation process, it’s essential to prepare your computer to ensure a smooth and safe installation of the WiFi card. Follow these steps:
- Power off your computer: Shut down your computer completely and unplug it from the power source. This will prevent any accidental damage during the installation process.
- Ground yourself: To avoid any damage from static electricity, it’s important to ground yourself. You can do this by touching a metal surface or wearing an anti-static wrist strap. This will discharge any static electricity and protect sensitive components.
- Clear a workspace: Find a clean and well-lit area to work on. Make sure you have enough space to lay your computer on a flat surface.
- Open the computer case: Depending on the type of computer you have, you may need to remove screws or slide-off side panels to access the internal components. Consult your computer’s user manual for specific instructions on how to open the case correctly.
- Take precautions: Once the case is open, be cautious of any sharp edges or cables inside the computer. Make sure to keep your workspace tidy and organized to prevent accidents or damage to any components.
By following these steps, you’ll ensure that your computer is properly prepared for the WiFi card installation. Taking these precautions will minimize the risk of static electricity damage and keep your computer safe throughout the process.
Now that you have your computer prepared, we can move on to the next step: opening the computer case.
Step 3: Open your computer case
Now that you have prepared your computer, it’s time to open the computer case. Opening the case will grant you access to the internal components where you will install the WiFi card. Follow these steps:
- Refer to your computer’s user manual: Different computer models have different methods for opening the case. Consult your computer’s user manual for specific instructions on how to remove the side panel or access the internal components. It may involve removing screws, sliding panels, or pressing release buttons.
- Ensure safety: Before proceeding, make sure your computer is powered off and unplugged. This will eliminate any potential risks associated with electrical currents.
- Ground yourself: Just as you did in the previous step, ground yourself by touching a metal surface or wearing an anti-static wrist strap. This will discharge any static electricity and protect the sensitive components inside your computer.
- Remove the side panel: Once you have located the screws or mechanisms that hold the case together, carefully remove the side panel of the computer case. Set it aside in a safe place, ensuring it won’t get damaged during the installation process.
- Take note of the interior: As you open the case, take a moment to familiarize yourself with the interior. Pay attention to any cables, fans, or other components that may be in your way during the installation process.
Opening your computer case grants you access to the internal components, allowing you to proceed with the WiFi card installation. Remember to handle the computer case and its components with care to avoid any accidental damage.
Now that you’ve successfully opened your computer case, we can move on to the next step: locating the available PCI-E slot for the WiFi card installation.
Step 4: Locate the available PCI-E slot
Once you have opened your computer case, the next step is to locate the available PCI-E slot where you will install the WiFi card. Follow these steps to identify the slot:
- Consult your computer’s manual: To determine the location of the PCI-E slots, refer to your computer’s user manual. It will provide a diagram or detailed description of the internal components and their respective locations.
- Look for the PCI-E slots: The PCI-E slots are typically located near the middle or bottom section of the motherboard. They are rectangular slots with a series of small gold pins inside.
- Identify the available slot: Take a closer look at the PCI-E slots and identify the one that is available for the WiFi card. It’s best to choose a slot that is closest to where you plan on positioning the antennas for optimal reception.
Locating the available PCI-E slot is a crucial step in the installation process. It ensures the WiFi card will be properly connected to your computer’s motherboard and allows for seamless communication with the other components. By following these steps, you will be ready to insert the WiFi card into the appropriate slot in the upcoming step.
Now that you have located the available PCI-E slot, it’s time to move on to the next step: inserting the WiFi card into the slot.
Step 5: Insert the WiFi card
With the available PCI-E slot identified, it’s time to proceed with inserting the WiFi card into the slot. Follow these steps to ensure a successful installation:
- Handle the WiFi card with care: Before handling the WiFi card, make sure to ground yourself by touching a metal surface or wearing an anti-static wrist strap. This helps protect the card from any potential damage caused by static electricity.
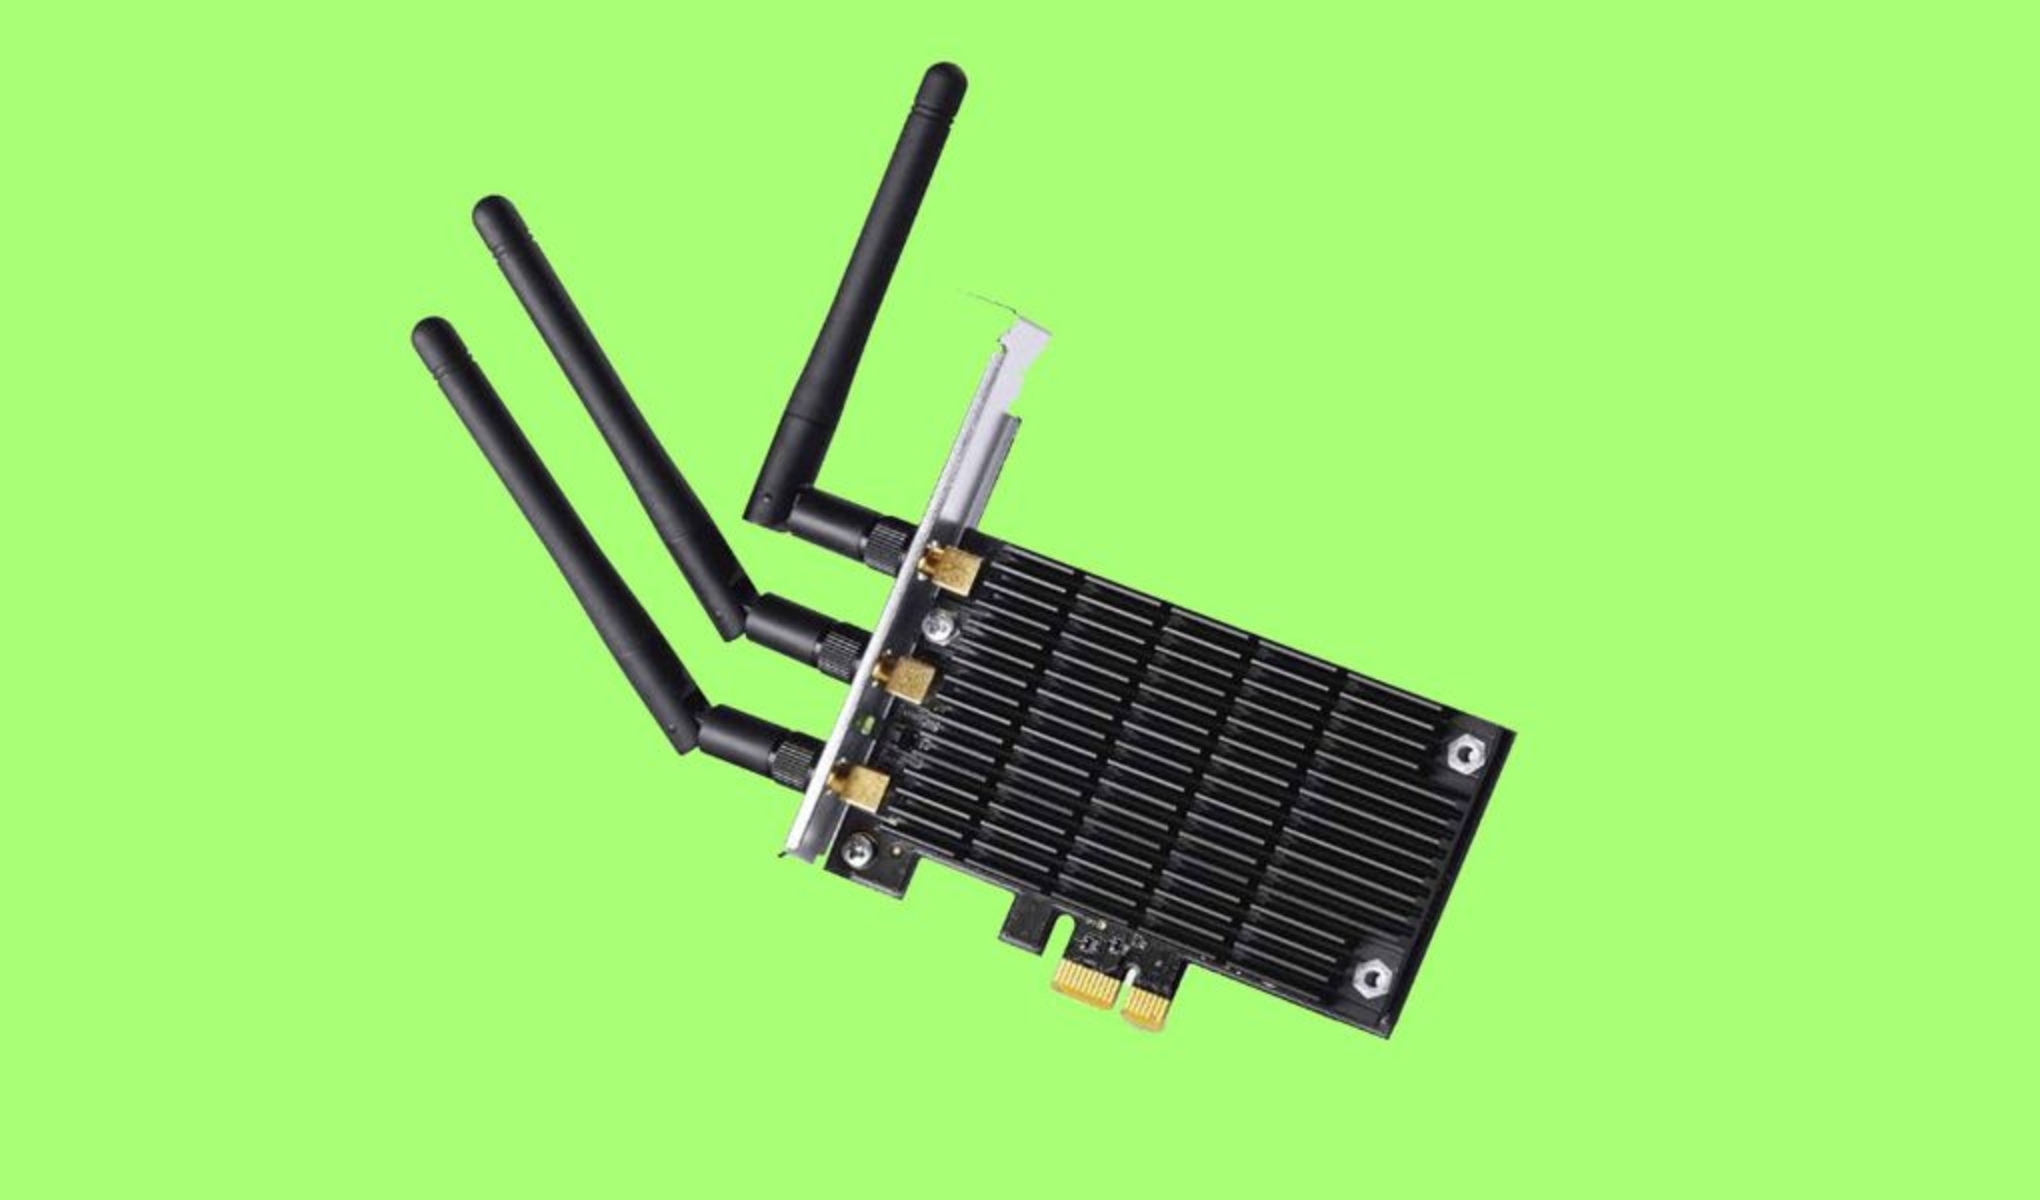
- Align the WiFi card: Take the WiFi card and align it with the available PCI-E slot. Make sure the gold contact pins on the WiFi card are facing downwards towards the slot.
- Insert the card: Gently slide the WiFi card into the slot, applying even pressure. Be cautious and ensure the card is properly aligned and securely inserted. You may need to use a little force, but avoid excessive pressure that could damage the card or the slot.
- Push down the securing clip: Once the WiFi card is inserted, push down the securing clip at the end of the PCI-E slot. This secures the WiFi card in its place and prevents it from accidentally getting dislodged during normal use.
It’s important to note that different motherboard models may have slightly different mechanisms for securing the WiFi card. Refer to your motherboard’s manual for any specific instructions or variations in the process.
By following these steps, you will successfully insert the WiFi card into the available PCI-E slot. The card should fit snugly and be properly aligned to ensure a stable connection. With the WiFi card in place, we can move on to the next step: securing the WiFi card in the computer case.
Step 6: Secure the WiFi card
After inserting the WiFi card into the PCI-E slot, it’s essential to secure it properly to ensure stability and prevent any accidental dislodging. Follow these steps to secure the WiFi card:
- Locate the mounting bracket: Look for the mounting bracket on your WiFi card. It is usually a small metal or plastic tab located at the end of the card opposite the PCIe slot.
- Align the mounting bracket with the computer case: Position the mounting bracket of the WiFi card in line with the corresponding screw hole or slot provided in your computer case. Ensure that the card is properly aligned and parallel with the case for a secure fit.
- Use screws or clips to secure the WiFi card: Depending on the design of your computer case, you might need to use screws or clips to secure the WiFi card in place. Insert the screws into the designated screw holes on the mounting bracket and tighten them gently using a screwdriver. If your case utilizes clips, snap them into place to hold the card securely.
- Double-check the stability: Once secured, give the WiFi card a gentle wiggle to ensure it is firmly in place. If it moves or feels loose, recheck the alignment and tighten the screws or clips further if needed.
By following these steps, you will effectively secure the WiFi card inside your computer. This helps prevent any movement or accidental disconnection of the card, ensuring a consistent and reliable wireless connection.
Now that the WiFi card is secure, we can move on to the next step: connecting the antennas for optimal signal strength.
Step 7: Connect the antennas
To maximize the signal strength and range of your WiFi card, it’s important to connect the antennas correctly. Follow these steps to connect the antennas:
- Locate the antenna connectors: Look for the antenna connectors on your WiFi card. They are usually small, threaded connectors located near the mounting bracket or at the edge of the card.
- Identify the antenna cables: The antennas typically come with cables that have connectors at the end. Each cable corresponds to an antenna.
- Match the connectors: Match the connectors on the antenna cables with the antenna connectors on the WiFi card. The connectors are usually labeled or color-coded for easy identification. Align the connectors and gently screw them in place.
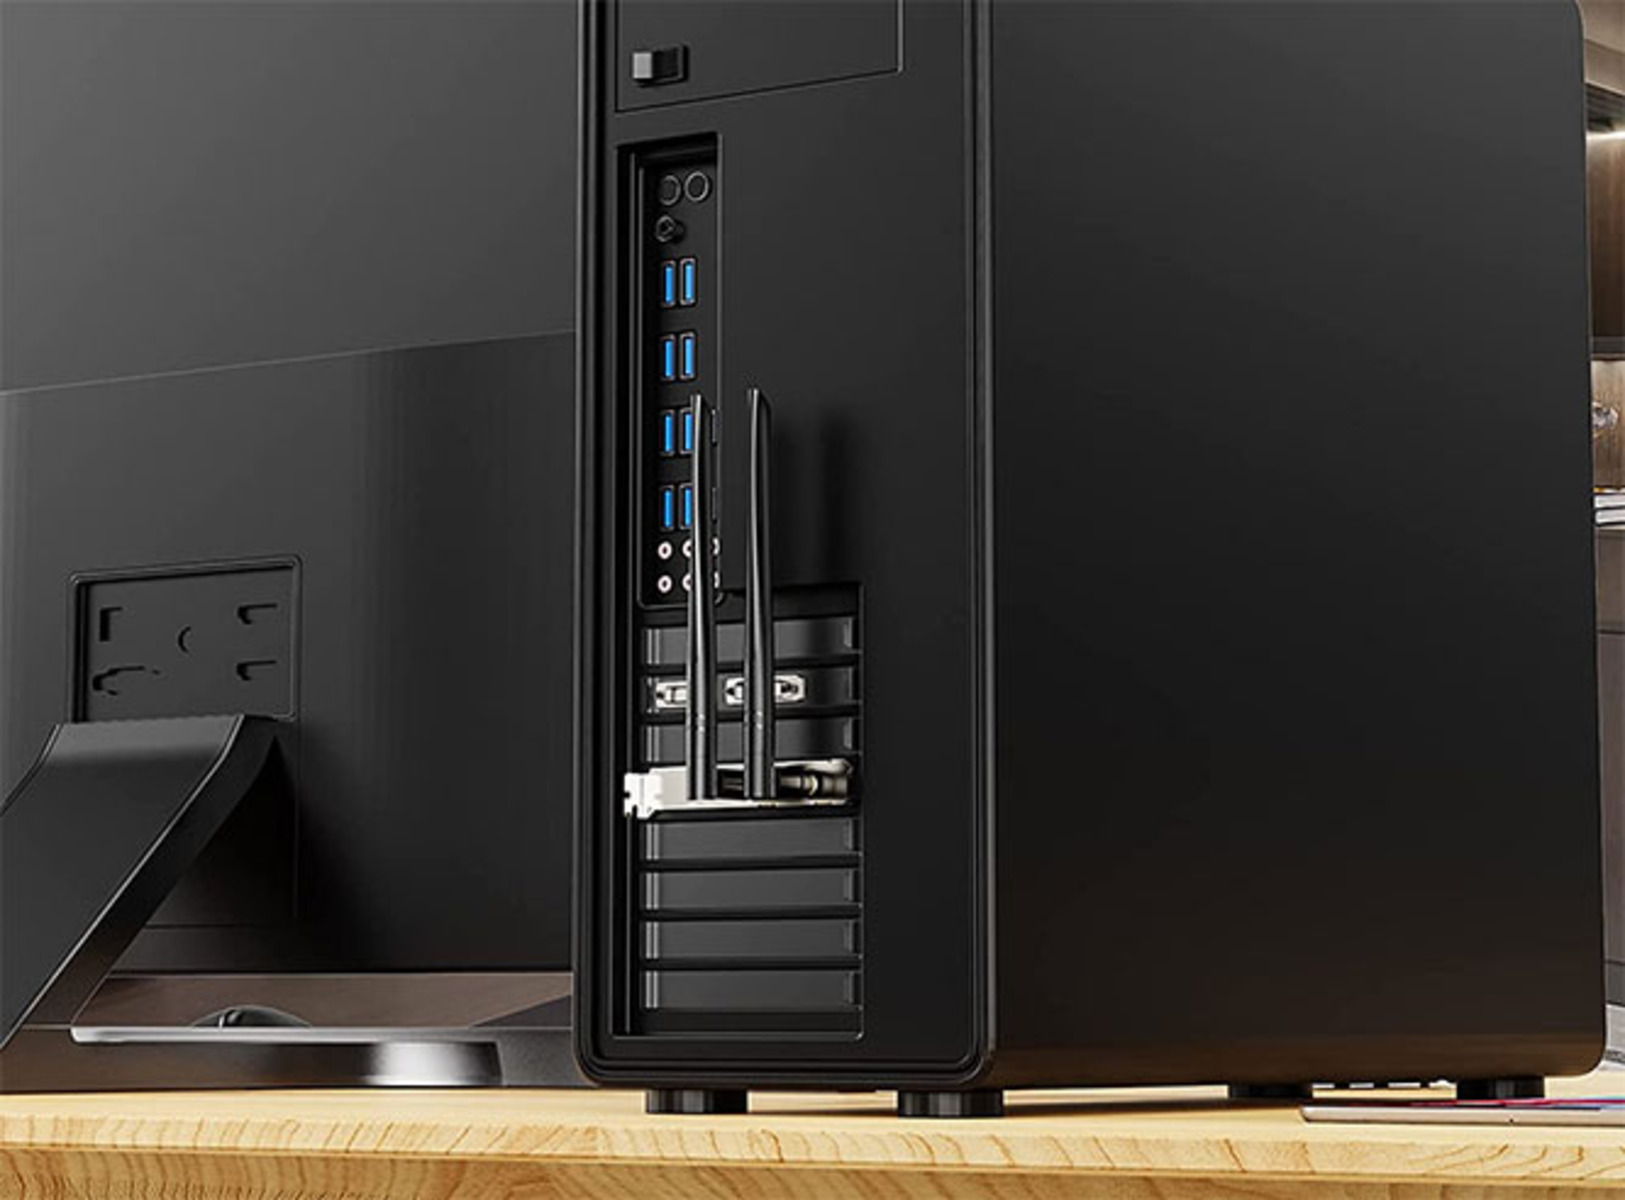
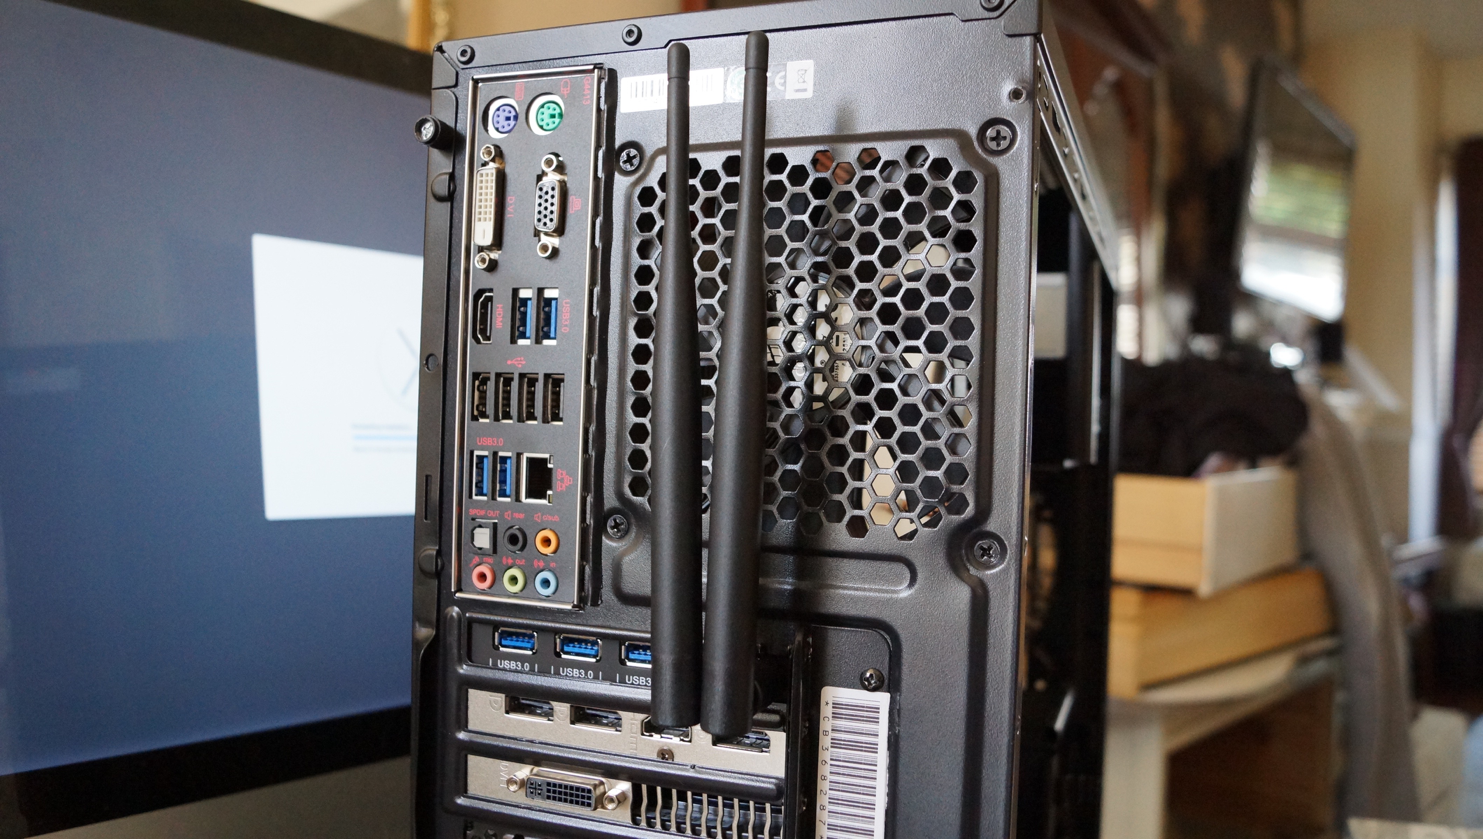
- Position the antennas: Once the cables are secured to the WiFi card, position the antennas in a way that allows for optimal signal reception. You can experiment with different orientations to find the best position. You can attach the antennas to the case using the provided brackets or position them on a magnetic surface nearby.
- Adjust the antennas: To further enhance the signal strength, you can adjust the angle and direction of the antennas. Point them slightly away from each other for a better coverage area. It’s also worth considering the placement of your computer in relation to the WiFi source.
Connecting the antennas correctly ensures that you can fully utilize the capabilities of your WiFi card. Taking the time to position and adjust the antennas properly can result in improved signal strength and overall wireless performance.
With the antennas connected, we move closer to completing the installation process. In the next step, we will guide you through closing your computer case securely.
Step 8: Close your computer case
With the WiFi card installed and antennas connected, it’s time to close your computer case. Closing the case not only protects the internal components but also helps maintain proper airflow and prevent dust accumulation. Follow these steps to securely close your computer case:
- Carefully position the side panel: Align the side panel of your computer case with the open slot. Ensure that any cables or components inside the case are not obstructing the proper fit of the panel.
- Gently slide the side panel into place: Slowly slide the side panel back into its original position. Be cautious not to apply excessive force or pressure that could potentially damage any components.
- Fasten the screws or secure the latches: If your case uses screws, insert them into the designated screw holes on the side panel and tighten them using a screwdriver. If your case uses latches or clips, snap them into place to secure the panel.
- Double-check for a secure fit: After closing the case, give it a slight wiggle to ensure that the side panel is securely fastened. If there is any movement or looseness, review the alignment and re-tighten screws or latches if necessary.
By following these steps, you will successfully close your computer case, keeping the internal components protected while maintaining a secure and stable environment for your new WiFi card.
Now that your computer case is closed, we can move on to the final step: installing the drivers for your WiFi card.
Step 9: Install the drivers
After successfully installing the WiFi card and closing your computer case, the final step is to install the drivers. Drivers are essential software that allows your operating system to communicate with the WiFi card, enabling it to function properly. Follow these steps to install the drivers:
- Insert the driver installation disc: Most WiFi card manufacturers provide a driver installation disc with the card. Insert the driver disc into your computer’s optical drive.
- Run the driver installation program: Once the disc is inserted, the driver installation program should automatically launch. If it doesn’t, navigate to the disc drive in File Explorer and locate the setup file to launch the program manually.
- Follow the on-screen instructions: The driver installation program will guide you through the installation process. Follow the on-screen instructions carefully, and make sure to read any additional prompts or messages that may appear.
- Restart your computer (if required): After the driver installation is complete, you may be prompted to restart your computer. It’s important to restart your computer to ensure that the drivers are fully integrated with your operating system.
- Update drivers (if necessary): Once your computer is restarted, it’s a good practice to update the drivers to the latest version. Visit the manufacturer’s website and download the latest drivers specifically for your WiFi card model. Install the updated drivers following the same procedure as before.
By following these steps, you will successfully install the necessary drivers for your WiFi card. This will allow your computer to recognize and utilize the full capabilities of the WiFi card, providing you with a stable wireless connection.
Congratulations! You have completed the installation process and are now ready to enjoy the benefits of your newly installed WiFi card.
Conclusion
Installing a WiFi card in your computer is a relatively straightforward process that can greatly enhance your internet connectivity. By following the step-by-step guide outlined in this article, you have learned how to gather the necessary tools, prepare your computer, open the computer case, locate the available PCI-E slot, insert the WiFi card, secure it in place, connect the antennas, close the computer case, and install the drivers.
Throughout the installation process, it’s crucial to exercise caution and follow the specific instructions provided by your computer’s user manual and the WiFi card manufacturer. Taking necessary precautions such as grounding yourself, handling the components with care, and ensuring proper alignment will help prevent any accidental damage to your computer or WiFi card.
Once the WiFi card is successfully installed and the drivers are installed and updated, you can enjoy the benefits of a stable and reliable wireless connection. With your computer no longer bound by cables, you have the freedom to connect to wireless networks and unlock new possibilities for streaming, gaming, and online work.
Remember, while this guide provides general instructions, it’s always essential to consult the user guides and manuals specific to your computer model and WiFi card. Different computers and WiFi cards may have slight variations in installation processes, which is why it’s important to follow the instructions that come with your specific hardware.
Now that you have completed the installation process, take a moment to appreciate your new WiFi card and the enhanced connectivity it brings. Say goodbye to the limitations of wired connections and embrace the freedom and flexibility offered by a wireless network!
Happy surfing!