Introduction
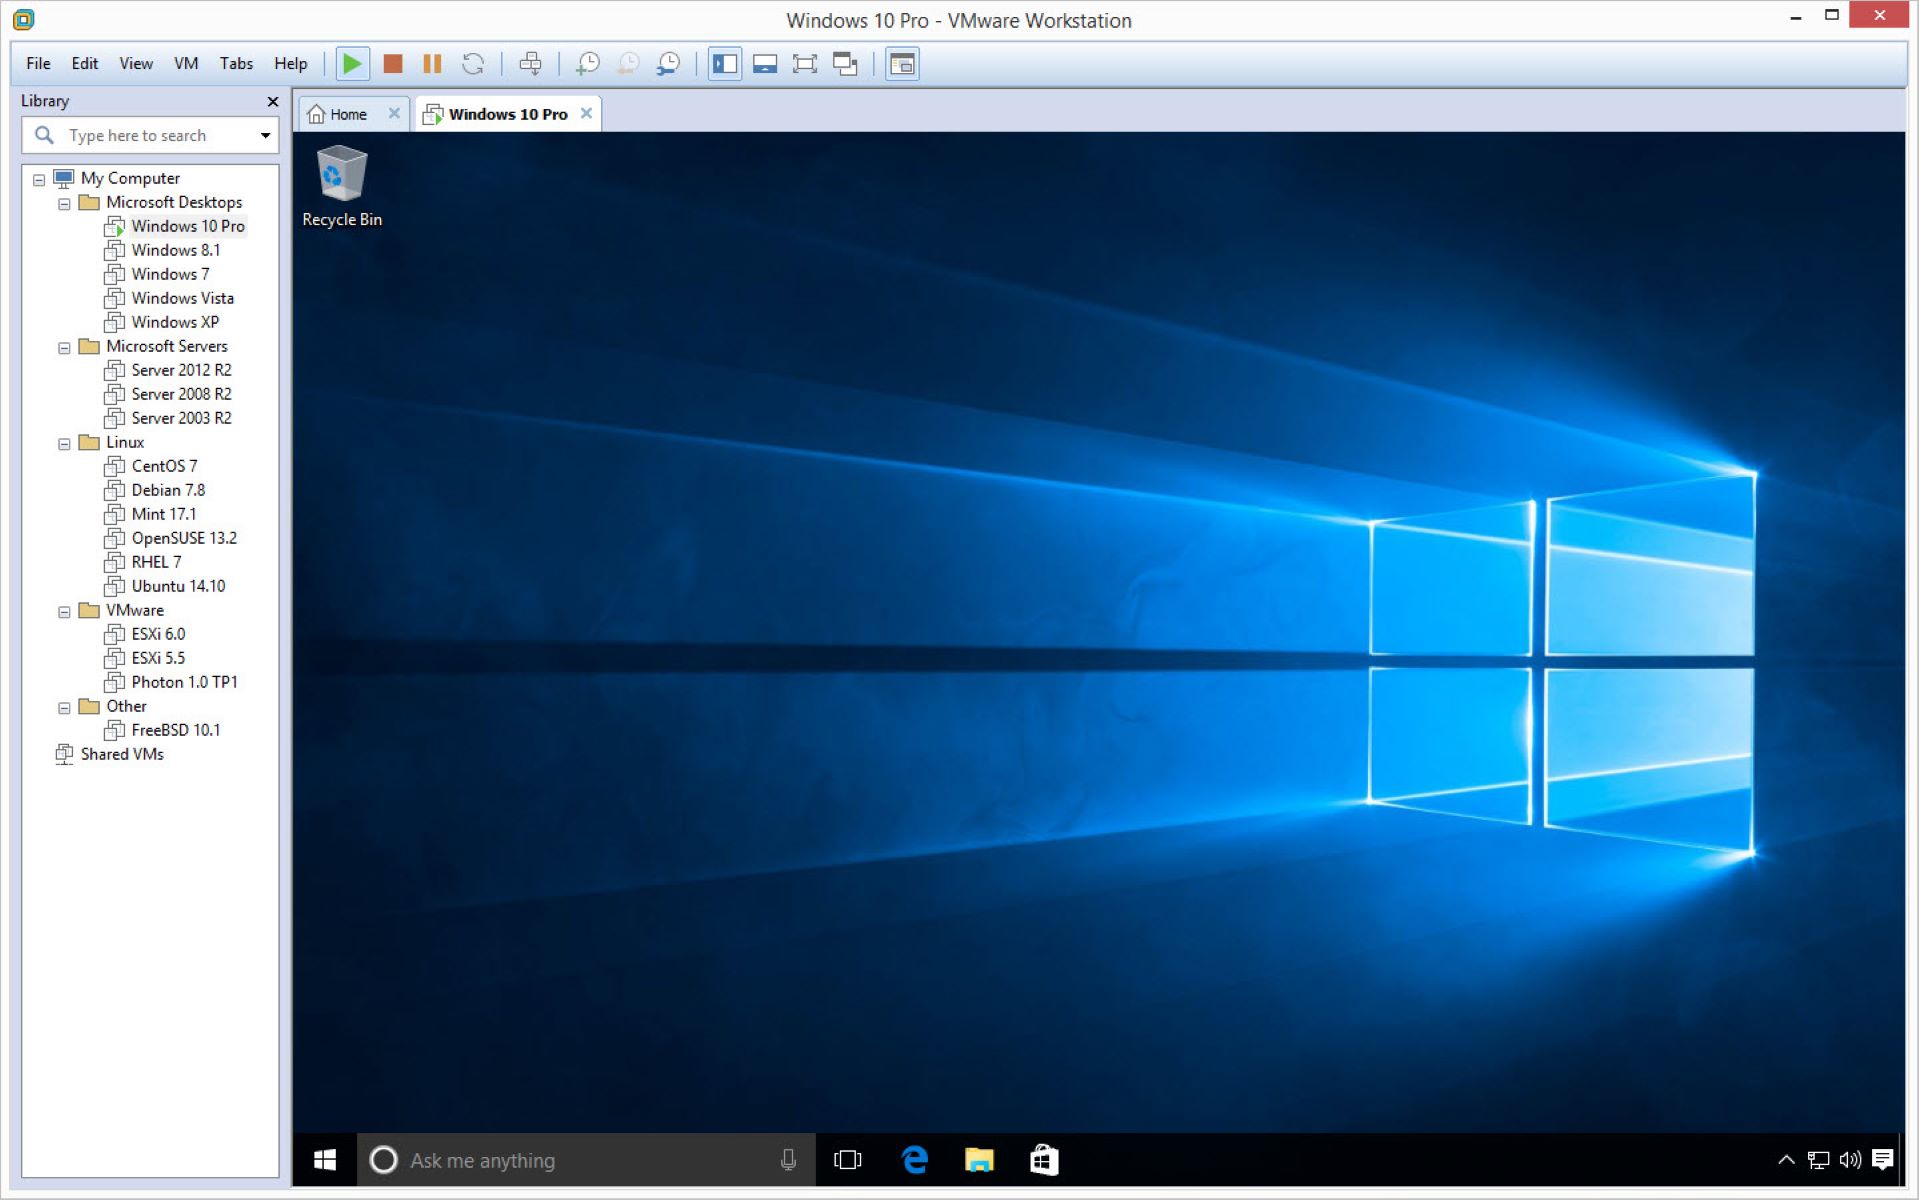
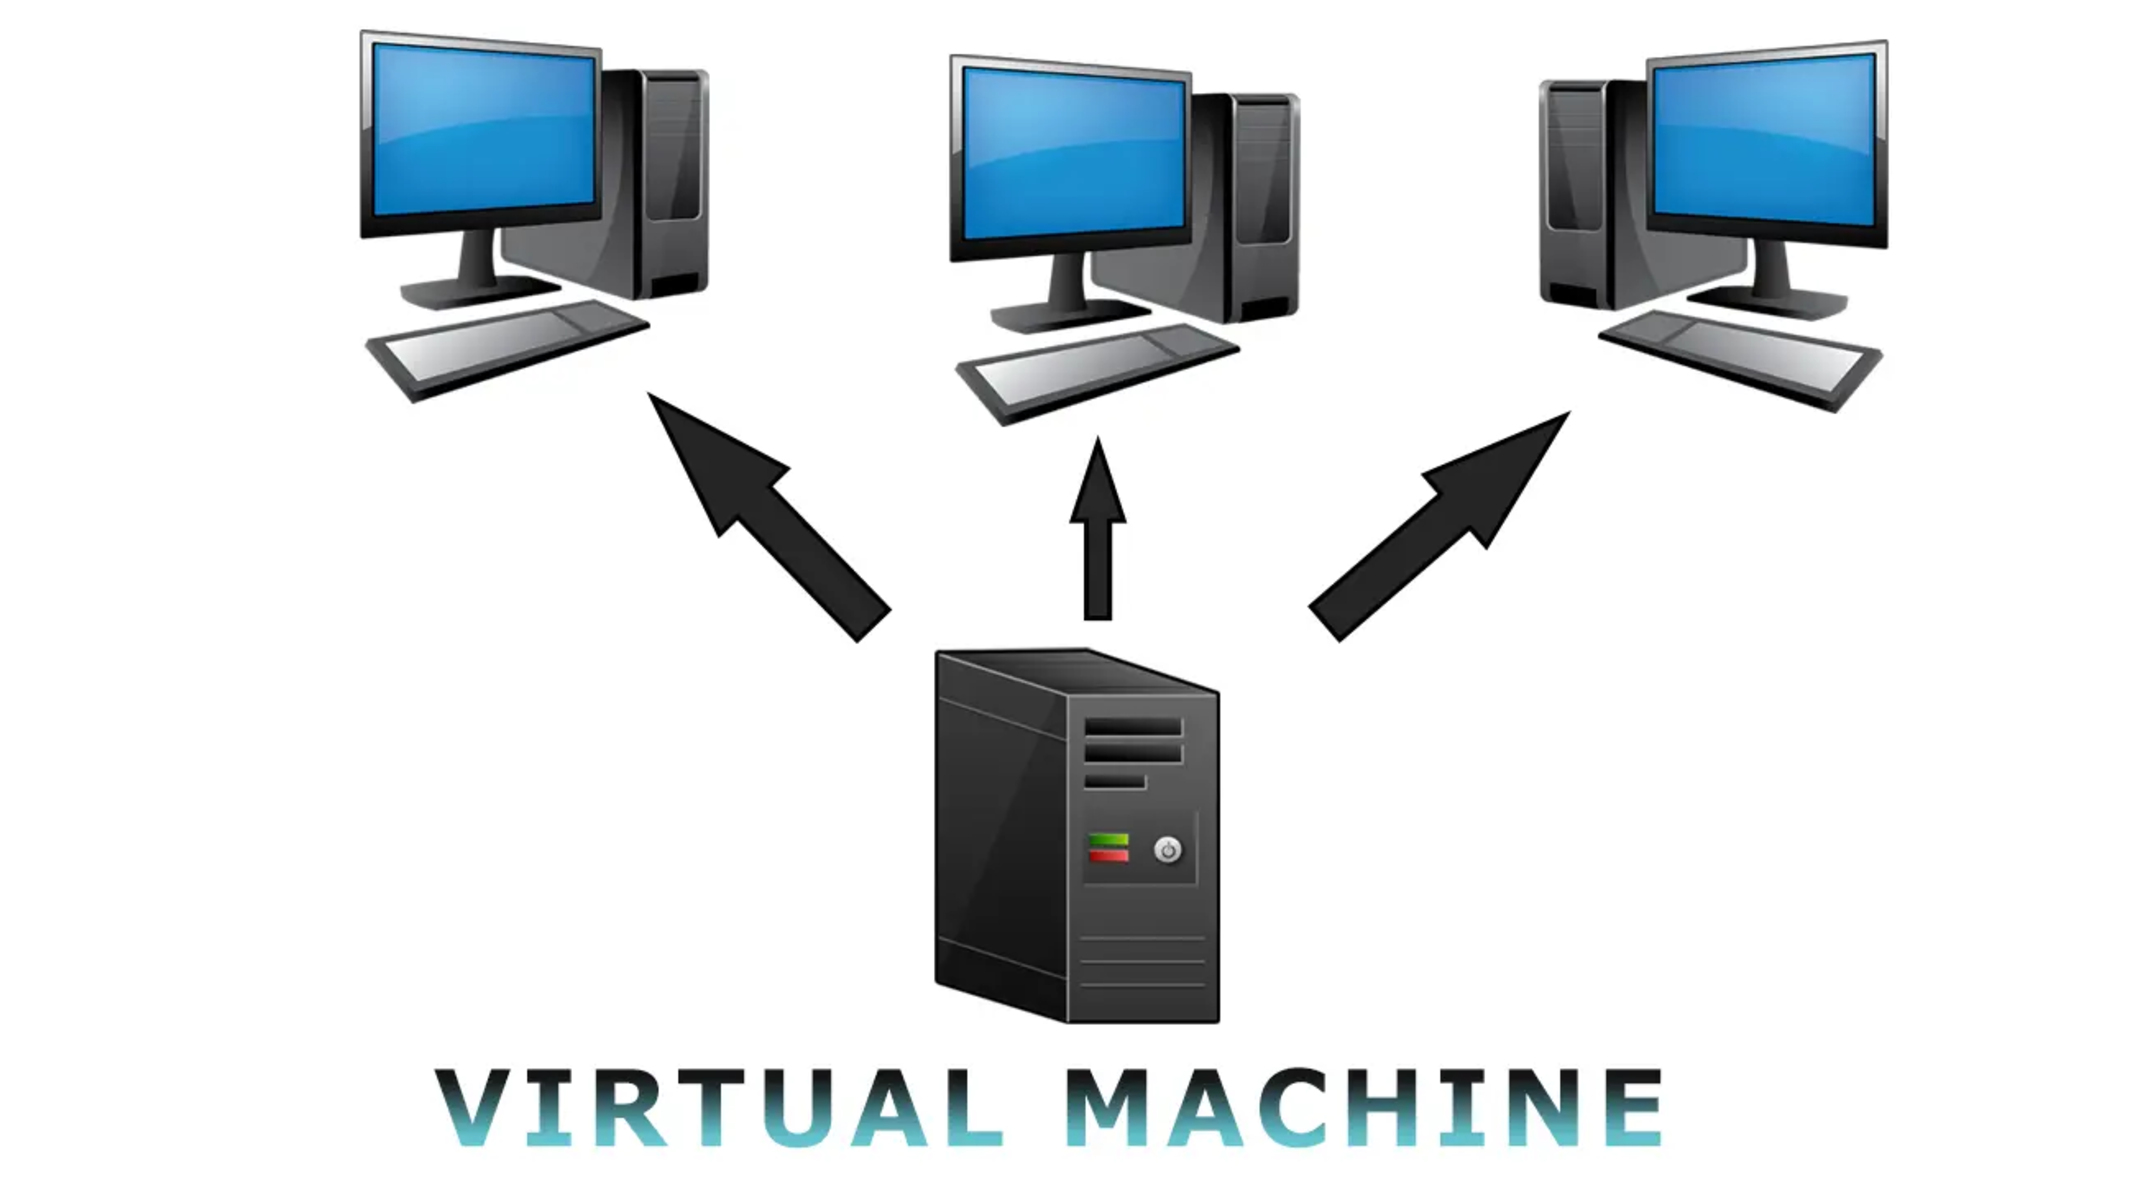
Welcome to this tutorial on how to install VMware Workstation 14 on Fedora. VMware Workstation is a powerful virtualization software that allows you to run multiple operating systems on a single computer. With its extensive features and ease of use, VMware Workstation has become the go-to choice for developers, IT professionals, and hobbyists alike.
By installing VMware Workstation on your Fedora system, you can create virtual machines to test software applications, develop and debug software, and perform various virtualization tasks. This comprehensive guide will walk you through the step-by-step process of installing VMware Workstation 14 on Fedora, ensuring that you have all the necessary tools and dependencies in place.
Before we begin, it is essential to have a basic understanding of Fedora and a working installation of the operating system. Additionally, you should have administrative privileges on your system to execute the installation process smoothly.
Throughout this tutorial, we will be using VMware Workstation 14, the latest version available at the time of writing. However, the steps outlined here should also be applicable to future versions with minor variations, if any.
So, let’s get started and equip your Fedora system with the power of VMware Workstation 14, allowing you to harness the full potential of virtualization and optimize your computing experience.
Prerequisites
Before you begin the installation process, there are a few prerequisites that need to be met. Ensure that you have the following requirements fulfilled:
- A Fedora operating system installed on your computer. It’s recommended to have a recent version of Fedora to ensure compatibility with VMware Workstation 14.
- A computer with sufficient hardware resources to run virtual machines smoothly. VMware Workstation can be resource-intensive, so make sure you have enough RAM, CPU, and disk space available.
- An active internet connection to download the necessary software packages and updates during the installation process.
- Administrative access to your Fedora system. You will need administrative privileges to install and configure VMware Workstation.
- Basic knowledge of the command line interface in Fedora. Some steps in this tutorial involve executing commands in the terminal.
- A valid VMware Workstation 14 license key or a trial version. You can obtain a license key from the VMware website or choose to install the trial version initially.
- Ensure that your system is up to date with the latest software updates by running the following command in the terminal:
sudo dnf update
By fulfilling these prerequisites, you will have a solid foundation to proceed with the installation of VMware Workstation 14 on your Fedora system. It’s always beneficial to have a smooth installation process, so make sure you have everything ready before diving in.
Step 1: Downloading VMware Workstation 14
The first step in installing VMware Workstation 14 on Fedora is to download the installation package from the VMware website. Follow these steps:
- Open your web browser and navigate to the VMware Workstation 14 download page.
- Ensure that you are on the “Workstation” tab, and click on the “Download Now” button to start the download.
- Depending on your internet speed, the download may take a few moments. Once the download is complete, you will have the installation bundle file saved on your computer. By default, the downloaded file is usually located in the “Downloads” folder.
Once the download is finished, you are ready to proceed to the next step. Ensure that you have a stable internet connection during the download process to avoid any interruptions or corruptions in the downloaded file.
Downloading VMware Workstation 14 is a crucial step as it provides you with the necessary installation package to set up the software on your Fedora system. Make sure to choose the correct version for your operating system to ensure compatibility and optimal performance.
Step 2: Installing Required Dependencies
Before you can proceed with the installation of VMware Workstation 14 on Fedora, you need to make sure that all the required dependencies are installed on your system. Follow these steps to install the necessary dependencies:
- Open a terminal on your Fedora system.
- Run the following command in the terminal to install the required dependencies:
sudo dnf install gcc glibc-headers kernel-headers kernel-devel
This command will install the necessary packages that VMware Workstation 14 relies on for proper functioning.
- During the installation process, your system may prompt you to enter your password. Enter your password and press Enter to continue.
- Wait for the installation process to complete. This may take a few moments depending on your internet speed and system performance.
Once the installation of the required dependencies is finished, you will be one step closer to running VMware Workstation 14 on your Fedora system. These dependencies provide the necessary components and libraries that VMware Workstation needs to work seamlessly on your operating system.
By installing the required dependencies, you are ensuring that your system is adequately prepared to handle the installation and future usage of VMware Workstation 14. It’s essential to complete this step to avoid any potential issues or conflicts during the installation process.
Step 3: Extracting VMware Workstation Installation Bundle
Once you have downloaded the VMware Workstation 14 installation bundle and installed the required dependencies, the next step is to extract the installation bundle. Here’s how you can do it:
- Open the terminal on your Fedora system.
- Navigate to the directory where the VMware Workstation installation bundle is located. By default, the downloaded bundle is usually located in the “Downloads” folder.
- Run the following command in the terminal to extract the installation bundle:
tar -xvf VMware-Workstation-Full-14.x.x-xxxxxx.bundle
Note: Replace “14.x.x-xxxxxx” with the actual version of the VMware Workstation installation bundle that you have downloaded.
- The extraction process may take a few moments depending on the size of the installation bundle. Once it is complete, you will see the extracted files in the same directory.
Extracting the installation bundle is an important step as it prepares the necessary files and components required for the installation process. By running the provided command in the terminal, you will extract the contents of the bundle, making them accessible for further configuration and installation.
Make sure to double-check the extracted files to ensure they match the version and name of the VMware Workstation installation bundle you have downloaded. This will help avoid any potential confusion or conflicts during the installation process.
Step 4: Running the VMware Workstation Installer
After extracting the VMware Workstation installation bundle, the next step is to run the installer to initiate the installation process. Follow these steps to run the installer:
- Open the terminal on your Fedora system.
- Navigate to the directory where the VMware Workstation installation bundle was extracted.
- Run the following command in the terminal to start the installation:
sudo ./VMware-Workstation-14.x.x-xxxxxx.bundle
Note: Replace “14.x.x-xxxxxx” with the actual version of the VMware Workstation installation bundle that you have downloaded.
- The VMware Workstation installer will display the End User License Agreement (EULA). Read through the agreement carefully.
By running the installer, you are launching the VMware Workstation installation process, which will guide you through the necessary steps to successfully install the software on your Fedora system. Running the provided command in the terminal ensures that the installer is executed with the necessary permissions and privileges.
As the installer launches, make sure to review the End User License Agreement (EULA) to familiarize yourself with the terms and conditions of using VMware Workstation. It is essential to understand and agree to the EULA before proceeding with the installation.
Step 5: Accepting the License Agreement
After running the VMware Workstation installer, you will be required to review and accept the End User License Agreement (EULA) before proceeding with the installation. Follow these steps to accept the license agreement:
- Once the installer launches, it will display the End User License Agreement (EULA). Scroll through the agreement and carefully read the terms and conditions.
- If you agree to the terms, you will be prompted to accept the license agreement. Type “yes” or “y” in the terminal and press Enter to accept the agreement.
- The installer will proceed to the next step once you have accepted the license agreement.
It is important to thoroughly review and understand the terms and conditions outlined in the EULA before accepting it. By accepting the agreement, you are acknowledging your compliance with the terms set forth by VMware for the usage of their Workstation software.
If you do not agree to the terms, you can choose not to proceed with the installation and exit the installer. However, in order to install and use VMware Workstation on your Fedora system, accepting the license agreement is a mandatory step.
Step 6: Choosing the Installation Mode
Once you have accepted the End User License Agreement (EULA), you will need to choose the installation mode for VMware Workstation. There are two installation modes available: Typical and Custom. Follow these steps to select the installation mode:
- After accepting the license agreement, the installer will prompt you to choose the installation mode. Type the corresponding number for your desired installation mode and press Enter:
- Typical: This mode installs VMware Workstation with the default settings. It is suitable for most users who prefer a straightforward installation process without customizing advanced features or options.
- Custom: This mode allows you to customize the installation, selecting specific features and options according to your preferences. It is recommended for advanced users who want to tailor the installation to their specific needs.
- The installer will proceed as per your selected installation mode.
Choosing the installation mode allows you to determine the level of customization and control you want during the installation process. The typical mode provides a quick and simple installation with default settings, while the custom mode allows you to fine-tune the installation according to your requirements.
Carefully consider your needs and preferences before choosing the installation mode to ensure that the installed VMware Workstation aligns with your desired configuration. If you are uncertain, the typical mode is a safe choice that will provide a standard installation of VMware Workstation on your Fedora system.
Step 7: Selecting the Installation Folder
After choosing the installation mode, the next step in the VMware Workstation installation process is to select the installation folder. Follow these steps to choose the installation folder:
- Depending on the installation mode you selected in the previous step, the installer will either automatically proceed with the default installation folder or prompt you to choose a custom installation folder.
- If the installer prompts you to choose a custom installation folder, you can either accept the default location or specify a different folder by entering the desired path in the provided field.
- Once you have chosen the installation folder, the installer will proceed to the next step.
Selecting the installation folder allows you to determine the location where VMware Workstation will be installed on your Fedora system. By default, the installer selects an appropriate folder based on the installation mode and the operating system’s file system conventions.
If you prefer to install VMware Workstation in a different folder, such as on a different disk or partition, you have the option to specify a custom installation path. Ensure that the chosen folder has sufficient disk space for VMware Workstation and its associated files.
Choose the installation folder carefully to ensure that it aligns with your preferences and system requirements. Once you have selected the installation folder, the installer will proceed with the necessary steps to install VMware Workstation in the specified location.
Step 8: Configuring User Access Control
During the VMware Workstation installation process, you may come across a step that requires you to configure user access control. This step is crucial for granting the necessary permissions to the user or users who will be using VMware Workstation on your Fedora system. Follow these steps to configure user access control:
- The installer will display a prompt asking if you want to set up user access control. Type “yes” or “y” in the terminal and press Enter to proceed.
- Enter the username or usernames of the user(s) who will have access to VMware Workstation. You can enter multiple usernames separated by spaces.
- Press Enter to continue once you have entered the username(s).
Configuring user access control ensures that the authorized user(s) have the necessary permissions to run VMware Workstation and access its features. By specifying the username(s) during this step, you are granting explicit access to those users and allowing them to benefit from the capabilities of VMware Workstation on your Fedora system.
It is important to carefully enter the correct username(s) to ensure that the appropriate access is granted. Double-check the usernames you enter to avoid any potential issues or restrictions in accessing VMware Workstation.
Upon completing the configuration of user access control, the installer will proceed with the installation process, taking into account the specified permissions for the designated user(s).
Step 9: Enabling VMware Workstation Features
Once user access control is configured, the next step in the VMware Workstation installation process is to enable specific features. Enabling features allows you to customize the installation based on your requirements and preferences. Follow these steps to enable VMware Workstation features:
- The installer will present you with a list of features that can be enabled or disabled during the installation process.
- Review the list of features and choose the ones you want to enable. To enable a feature, type “1” and press Enter. To disable a feature, type “0” and press Enter.
- Once you have selected your desired features, the installer will proceed to the next step.
Enabling VMware Workstation features allows you to take full advantage of the software’s capabilities and tailor the installation to your specific needs. The available features may include advanced networking, USB device support, drag and drop functionality, shared folders, and more.
Consider your workflow and requirements when selecting the features to enable. If you are unsure about a particular feature, leaving it enabled by default is generally advisable for most users.
By enabling or disabling features during this step, you can customize the environment and functionality of VMware Workstation according to your preferences, ensuring the software aligns with your specific use cases and requirements.
Step 10: Installing VMware Workstation
After configuring the features, the installation process for VMware Workstation will commence. This step involves the actual installation of the software on your Fedora system. Follow these steps to install VMware Workstation:
- The installer will display the progress of the installation, indicating the files being copied and the overall progress.
- Wait for the installation process to complete. The duration may vary depending on the speed of your system and the complexity of the selected features.
During the installation, you may see a few informational messages or prompts that require your attention. Read through these messages carefully and follow any additional instructions provided by the installer.
It is recommended not to interrupt or terminate the installation process once it has started. Wait patiently until the installation is completed to avoid any potential issues or incomplete installation.
Upon successful completion of the installation process, you will have VMware Workstation installed and ready to be used on your Fedora system. It’s an exciting milestone that brings virtualization capabilities to your fingertips.
Congratulations! You have successfully installed VMware Workstation on your Fedora system. You are now ready to explore the countless possibilities and benefits offered by this powerful virtualization software.
Step 11: Completing the Installation
Once the installation of VMware Workstation on Fedora is finished, there are a few final steps to complete the installation process. Follow these steps to wrap up the installation:
- The installer will display a message notifying you that the installation is complete. Take a moment to review this message.
- Press Enter to close the installer and exit the installation process.
- At this point, VMware Workstation is successfully installed on your Fedora system.
Upon completion of the installation, it is recommended to restart your system. Restarting will ensure that any system changes made during the installation process take effect and that VMware Workstation functions optimally.
Once you have restarted your system, you can launch VMware Workstation by searching for it in the applications menu or by running the “vmware” command in the terminal.
Congratulations! You have successfully installed VMware Workstation on your Fedora system. You are now ready to unleash the power of virtualization, allowing you to run multiple operating systems and applications side by side.
Take some time to familiarize yourself with the features and capabilities of VMware Workstation. This software offers a range of advanced functionalities, such as virtual machine creation, networking configurations, snapshot management, and much more.
Enjoy exploring VMware Workstation and all the opportunities it brings for software development, testing, and virtualized environments.
Conclusion
Installing VMware Workstation 14 on Fedora opens up a world of possibilities for developers, IT professionals, and enthusiasts. With its virtualization capabilities, you can easily create and manage multiple virtual machines, enabling efficient software testing, development, and experimentation.
In this comprehensive guide, we have walked through the step-by-step process of installing VMware Workstation 14 on Fedora. We covered the prerequisites, downloading the installation bundle, installing the required dependencies, extracting the installation bundle, running the installer, accepting the license agreement, choosing the installation mode, selecting the installation folder, configuring user access control, enabling VMware Workstation features, installing the software, and completing the installation process.
Throughout the installation process, it is crucial to carefully follow each step and review the provided instructions. Pay close attention to any prompts or messages displayed during the installation, as they may require your input or additional actions.
By successfully installing VMware Workstation on your Fedora system, you now have a powerful tool at your disposal to streamline your workflow, facilitate software development and testing, and explore virtualized environments. Utilize the features offered by VMware Workstation to create, manage, and customize virtual machines according to your specific needs.
Remember to keep your VMware Workstation installation up to date by regularly checking for updates and installing them when available. This ensures you have the latest features, bug fixes, and security enhancements.
Thank you for following along with this installation guide. We hope it has provided you with the necessary information and guidance to successfully install VMware Workstation 14 on your Fedora system. Enjoy your virtualization journey!


