Introduction
Upgrading your computer’s hard drive to a solid-state drive (SSD) is one of the most effective ways to significantly improve its performance and speed. Unlike traditional mechanical hard drives, SSDs use flash memory to store and retrieve data, resulting in faster boot times, quicker application launches, and overall snappier system responsiveness. Whether you’re a professional who needs to enhance your productivity or a casual user looking to give your computer a speed boost, installing an SSD is a worthwhile investment.
In this guide, we will walk you through the step-by-step process of installing an SSD in your computer. We will cover everything from gathering the necessary tools and equipment to installing the operating system on the new SSD. By the end of this guide, you’ll have a clear understanding of how to successfully upgrade your hard drive to an SSD and enjoy the performance benefits it offers.
Before we get started, it’s important to note that while installing an SSD is generally straightforward, it does require some technical knowledge and careful handling of computer components. If you’re not comfortable working with computers or have limited experience, it may be best to seek the assistance of a professional or consult the user manual for your specific computer model.
Now, without further ado, let’s dive into the exciting world of SSD installation and get ready to turbocharge your computer’s performance!
Step 1: Gather the necessary tools and equipment
Before you embark on the SSD installation process, it’s important to gather all the required tools and equipment to ensure a smooth and hassle-free upgrade. Here are the essential items you’ll need:
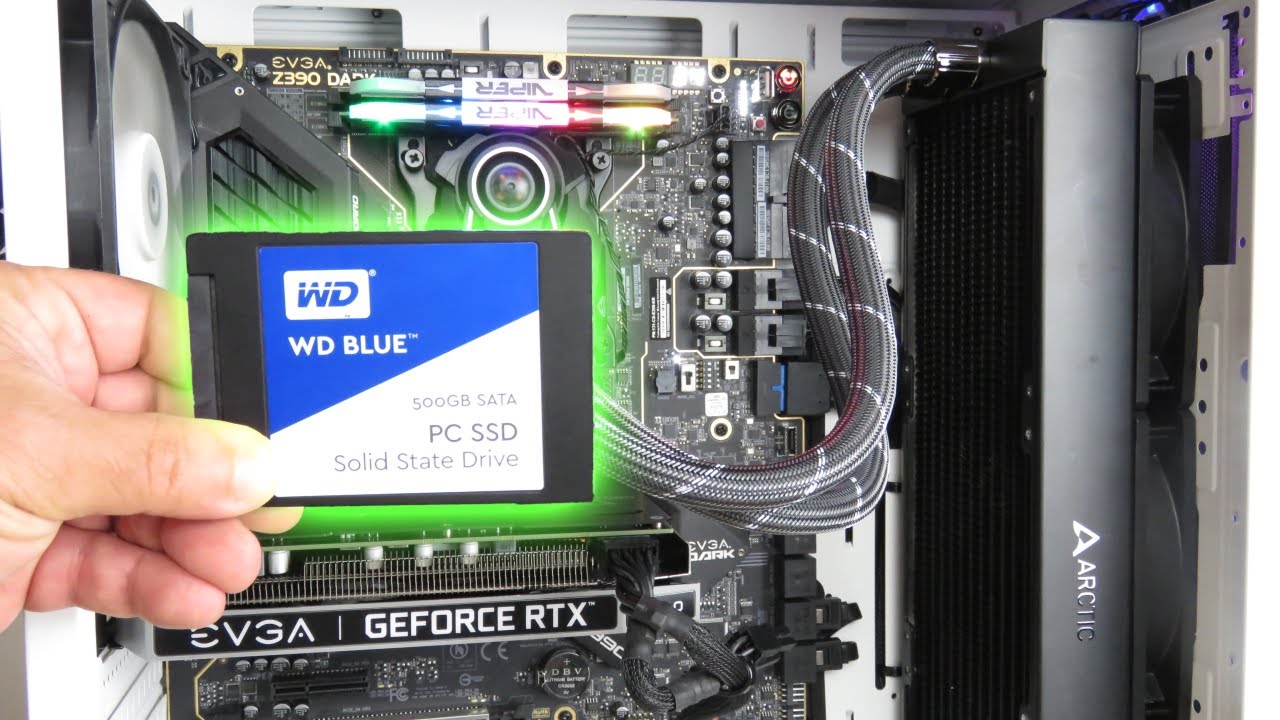
1. SSD: The star of the show, you’ll need a high-quality SSD that meets your storage needs. Consider factors such as capacity and speed when choosing the right SSD for your computer. Make sure to check compatibility with your computer model as well.
2. Screwdriver: Depending on your computer model, you may require a Phillips or Torx screwdriver to open the computer case and secure the SSD in place. Check the screws used in your computer and ensure you have the correct screwdriver size.
3. Static wrist strap or grounding mat: When working inside your computer, it’s crucial to protect the sensitive electronic components from static electricity. Using a static wrist strap or grounding mat will help discharge any static and prevent damage to your computer.
4. External storage: To ensure a smooth migration of your data from the old hard drive to the new SSD, having an external storage device such as a USB flash drive or external hard drive is essential. This will allow you to back up and transfer your important files and data.
5. Data migration software: Depending on your personal preference, you can opt for data migration software to clone your existing hard drive onto the new SSD. This software simplifies the process by transferring your operating system, applications, and files without the need for manual reinstallation.
6. Computer manual and documentation: It’s always wise to have the user manual and documentation for your computer handy during the installation process. These resources will provide specific instructions and guidelines for working inside your computer model.
Once you have gathered all the necessary tools and equipment, you’re ready to move on to the next step: preparing your computer for the SSD installation.
Step 2: Prepare your computer
Before diving into the physical installation of the SSD, it’s important to properly prepare your computer to ensure a successful upgrade. Here are the steps you need to take:
1. Backup your data: It’s crucial to back up all your important files and data before proceeding with the SSD installation. This will help safeguard your valuable information in case of any unforeseen issues during the upgrade process. You can use the external storage device mentioned in the previous step to create a backup.
2. Perform a thorough system scan: Before making any changes to your computer’s hardware, it’s recommended to run a full system scan using reliable antivirus software. This will help identify and resolve any existing issues or malware that could potentially interfere with the installation process.
3. Update device drivers: It’s advisable to update your device drivers to their latest versions. This can be done by visiting the manufacturer’s website and downloading the updated drivers for your specific computer model. Up-to-date drivers ensure compatibility and optimal performance with the new SSD.
4. Disconnect the power: Prior to opening your computer case, shut down your computer completely and unplug it from the power source. This is crucial to prevent any electrical mishaps and protect yourself and the computer components from potential harm.
5. Ground yourself: Static electricity can cause damage to sensitive computer components, so it’s important to discharge any static buildup from your body. Use a static wrist strap or touch a grounded metal object to eliminate static before touching any internal parts of your computer.
6. Refer to the manual: Review your computer’s user manual or documentation for specific instructions on how to access the internal components. Different computer models may have different access methods, and it’s important to follow the manufacturer’s guidelines to avoid any damage.
By properly preparing your computer, you’ll ensure a smooth installation process and minimize the risk of encountering any issues. Once you have completed these steps, you’re ready to move on to the next step: removing the old hard drive.
Step 3: Remove the old hard drive
Now that you have prepared your computer, it’s time to remove the old hard drive to make way for the SSD. Follow these steps to safely remove the old hard drive:
1. Locate the old hard drive: Depending on your computer model, the hard drive may be located in different areas. It’s usually found inside the computer case, secured to a drive bay or bracket. Consult your user manual or documentation if you have trouble finding it.
2. Disconnect the cables: Carefully disconnect the data and power cables connected to the old hard drive. These cables are typically attached to their respective ports on the back of the hard drive. Gently pull the connectors straight out to remove them.
3. Remove the mounting screws: Use the appropriate screwdriver to remove the screws that secure the old hard drive to the drive bay or bracket. Keep the screws in a safe place, as you will need them later to secure the SSD in place.
4. Remove the old hard drive: Once the screws are removed, gently slide the old hard drive out of the drive bay or bracket. Be cautious not to force or tilt the hard drive to prevent damage to the connectors.
5. Handle the old hard drive: If you plan to reuse the old hard drive or dispose of it, handle it with care. Avoid dropping the drive or exposing it to static electricity, as this can cause damage.
It’s important to note that if you’re replacing the old hard drive with the new SSD, you will need to install the operating system and your files on the SSD later in the process. If you’re using a data migration software, it will help clone your old hard drive contents onto the new SSD seamlessly.
With the old hard drive successfully removed, you’re now ready to move on to the next step: installing the SSD into your computer.
Step 4: Install the SSD
With the old hard drive removed, it’s time to install the new SSD into your computer. Follow these steps to ensure a smooth installation process:
1. Locate an empty drive bay: Identify an available drive bay where you can install the SSD. Most computers have multiple drive bays, and you can choose the one that is most convenient for you. Refer to your computer’s manual or documentation for guidance if needed.
2. Match the mounting holes: Ensure that the mounting holes on the SSD align with the holes on the drive bay or bracket where you plan to install it. This is important to ensure a secure and proper fit.
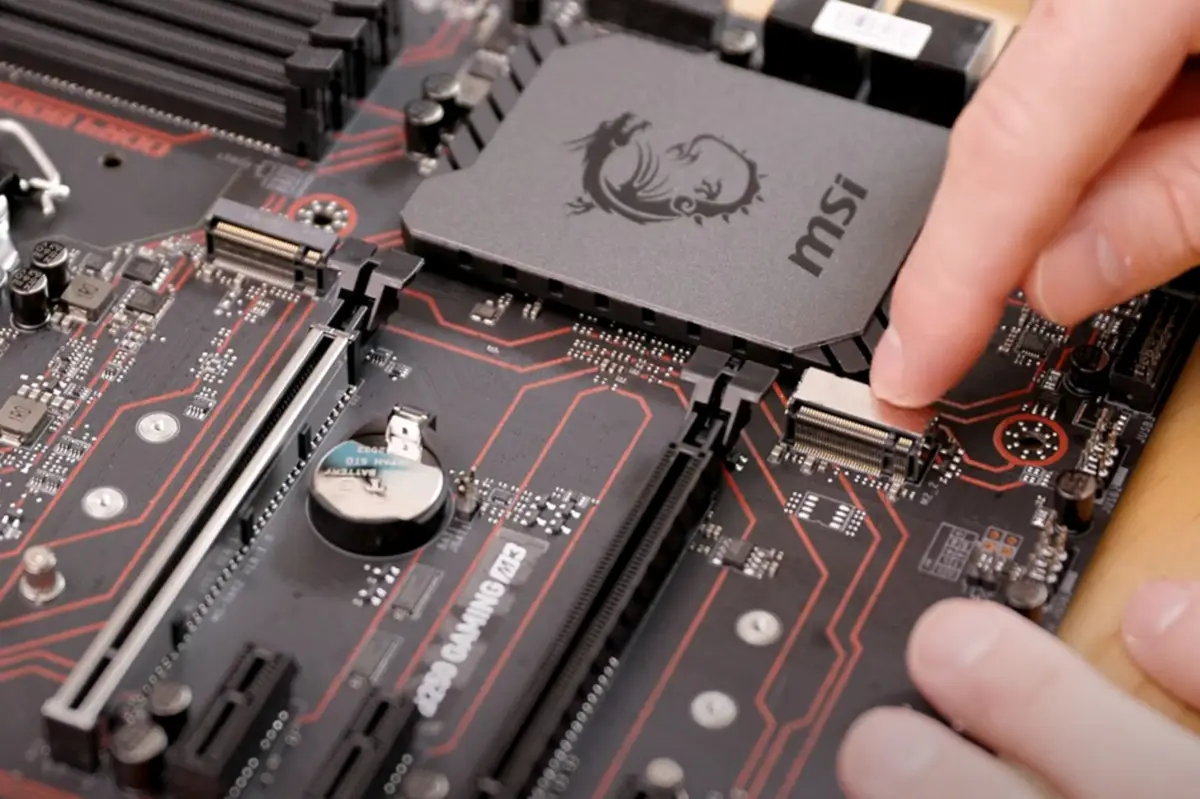
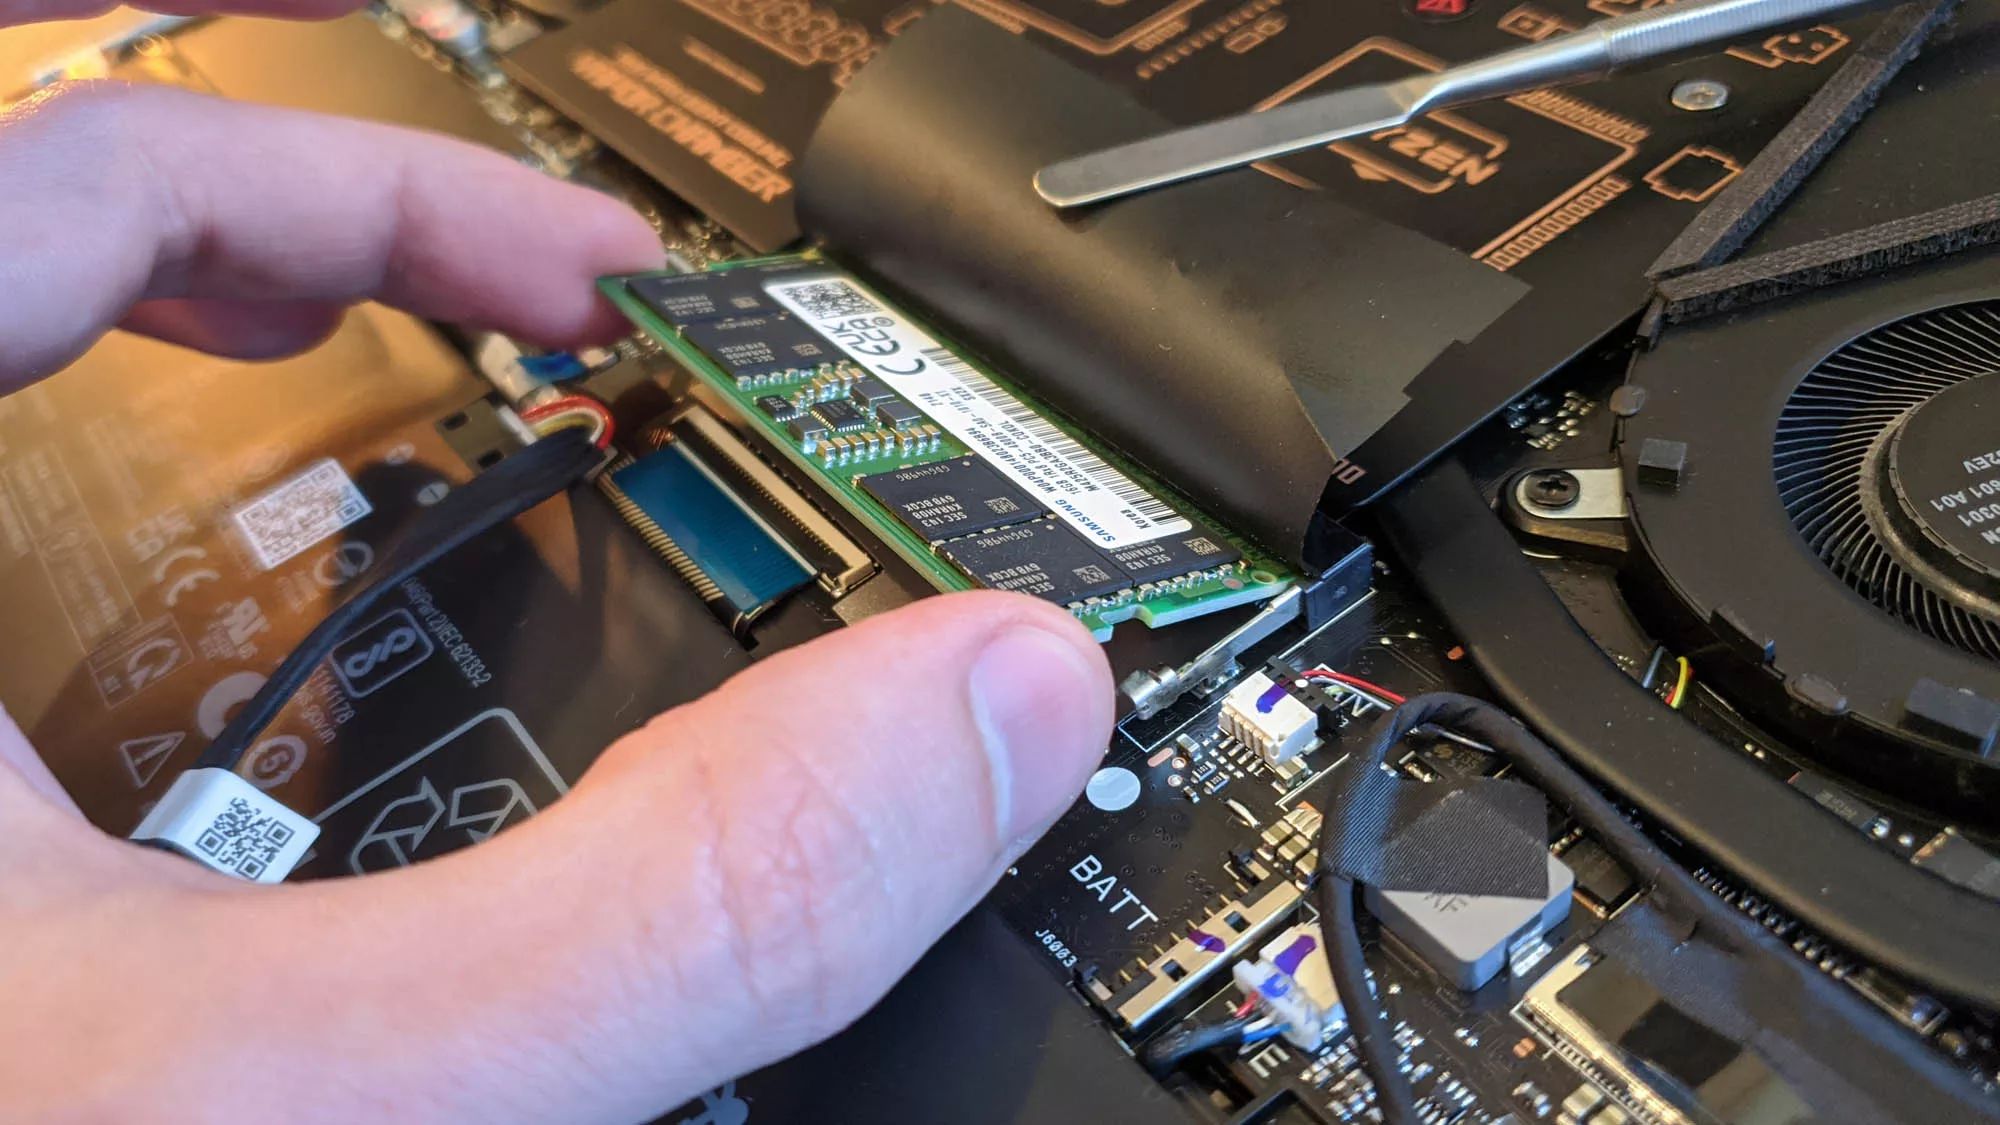
3. Attach the SSD: Gently slide the SSD into the drive bay, lining up the mounting holes with the corresponding holes in the drive bay or bracket. Make sure it is inserted evenly and does not get caught on any cables or components.
4. Secure the SSD: Use the screws that you removed earlier from the old hard drive to secure the SSD in place. Tighten the screws just enough to hold the SSD firmly without overtightening, as this can damage the drive.
5. Double-check the connections: Ensure that the data and power cables are not obstructing the SSD or putting unnecessary pressure on it. Make sure the cables are properly connected to the SSD, aligning the connectors correctly.
It’s important to note that different computer models may require different installation methods for the SSD. Always refer to the user manual or documentation provided by the manufacturer for specific instructions tailored to your computer model.
Once you have successfully installed the SSD, you’re one step closer to enjoying enhanced performance and speed. The next step is to connect the necessary cables to the SSD, which we will cover in the next section of this guide.
Step 5: Secure the SSD in place
Now that you have installed the SSD into your computer, it’s important to properly secure it in place to prevent any movement or damage. Follow these steps to ensure the SSD is securely held in position:
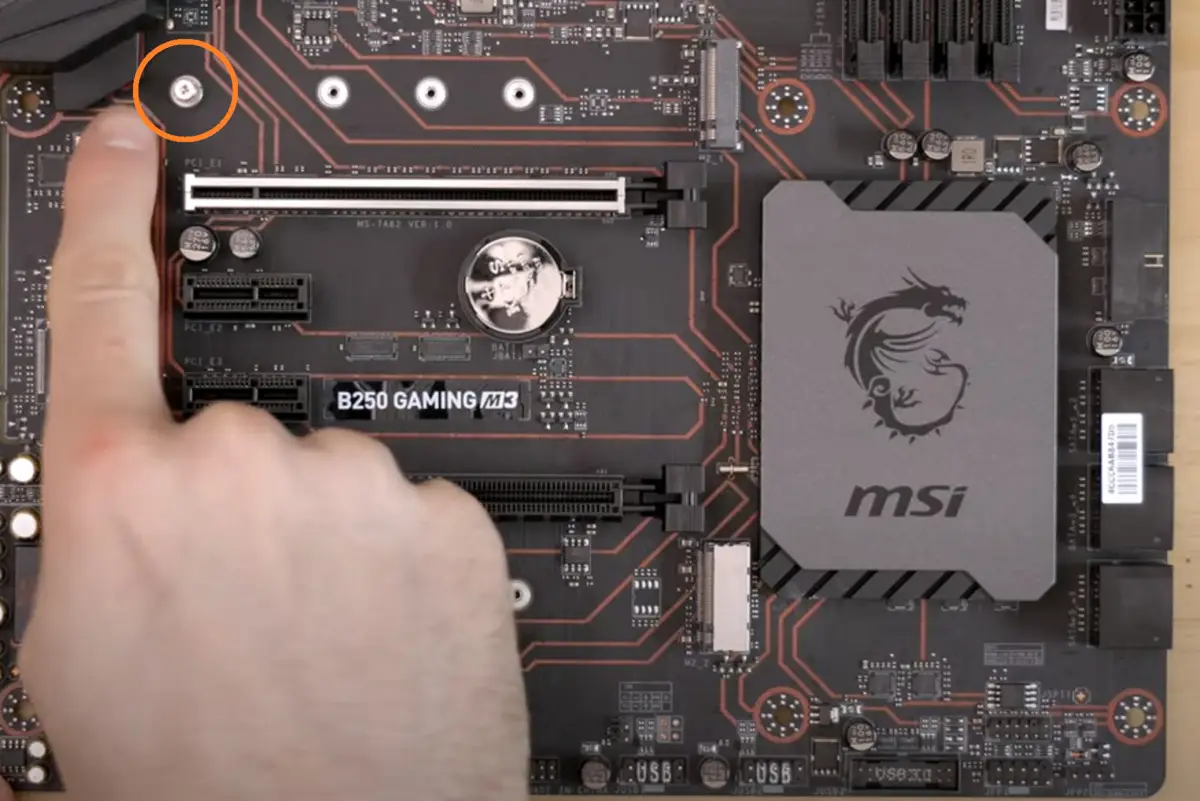
1. Check the mounting screws: Double-check that the screws used to secure the SSD to the drive bay or bracket are tightened securely. Avoid over-tightening, as this can damage the SSD or strip the screw holes.
2. Inspect the cables: Ensure that the data and power cables connected to the SSD are properly aligned and not putting undue stress on the SSD or any nearby components. Check that the connectors are securely attached and not loose.
3. Organize cables: Take a moment to tidy up the cables inside your computer’s case. Use cable ties or clips to secure and route the cables neatly, away from the SSD and other critical components. This will improve airflow and prevent any accidental disconnections.
4. Reconnect any other components: If you had to disconnect any other components, such as fans or additional drives, during the installation process, make sure to reconnect them securely. Ensure all connections are tight and properly seated.
5. Close the computer case: Carefully place the computer case cover back onto the chassis. Secure it using the appropriate screws or latches. Make sure the case is fully closed and flush with no gaps or loose areas.
By securing the SSD in place and organizing the cables, you ensure that the SSD remains stable and protected inside your computer. This will contribute to the long-term durability and optimal performance of the SSD.
Now that the SSD is securely installed, it’s time to move on to the next step: connecting the necessary cables to the SSD. We will cover this in detail in the following section of this guide.
Step 6: Connect the cables
With the SSD securely in place, it’s time to connect the necessary cables to ensure proper functionality. Follow these steps to ensure a successful connection:
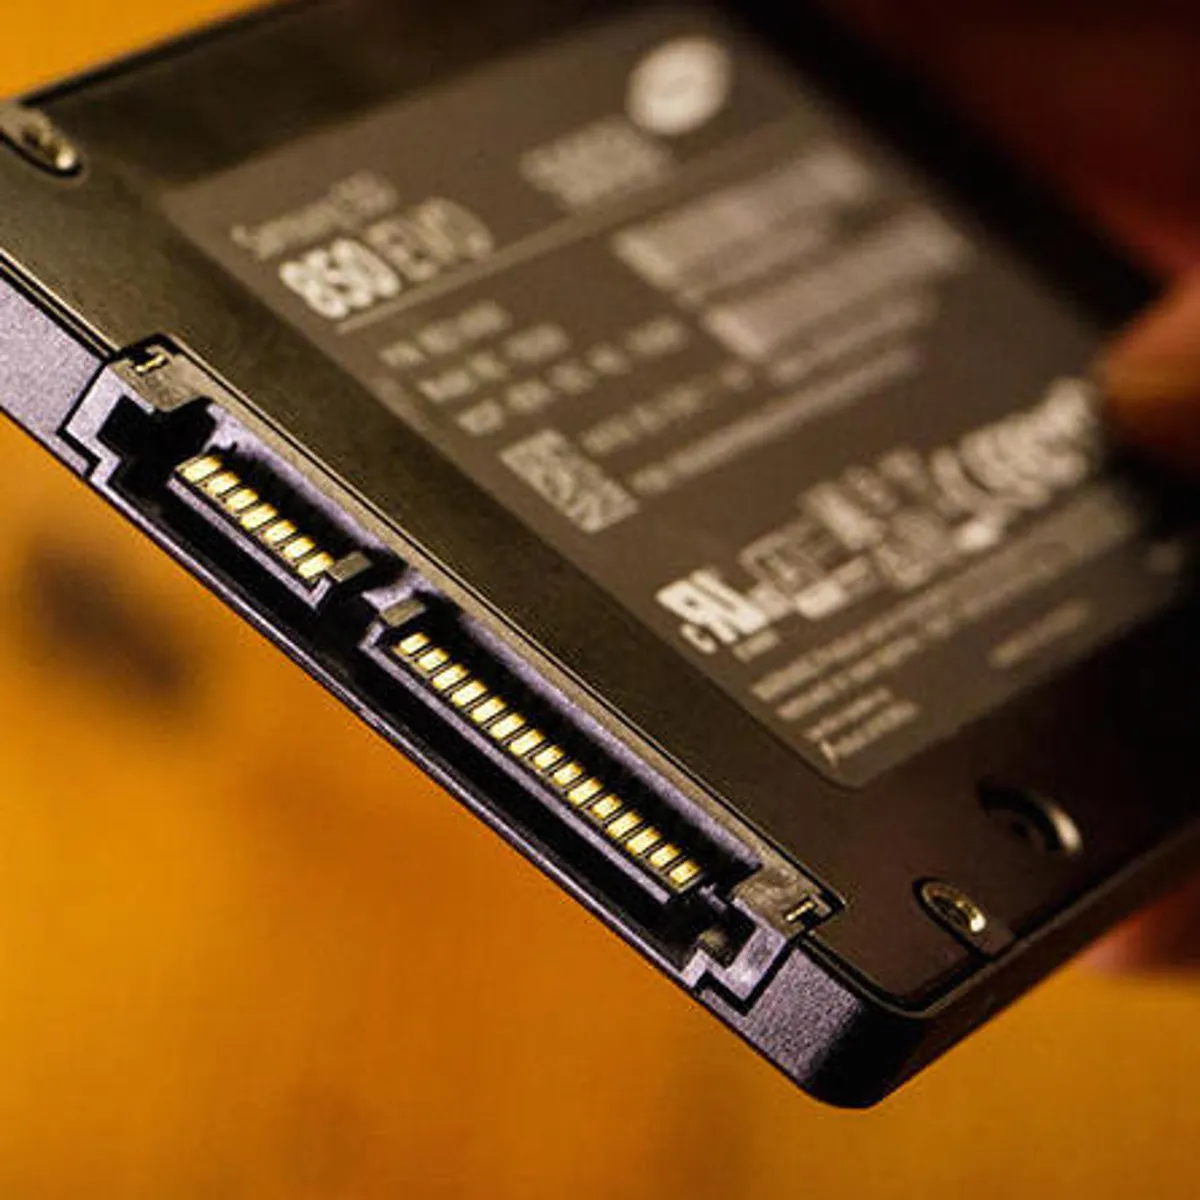
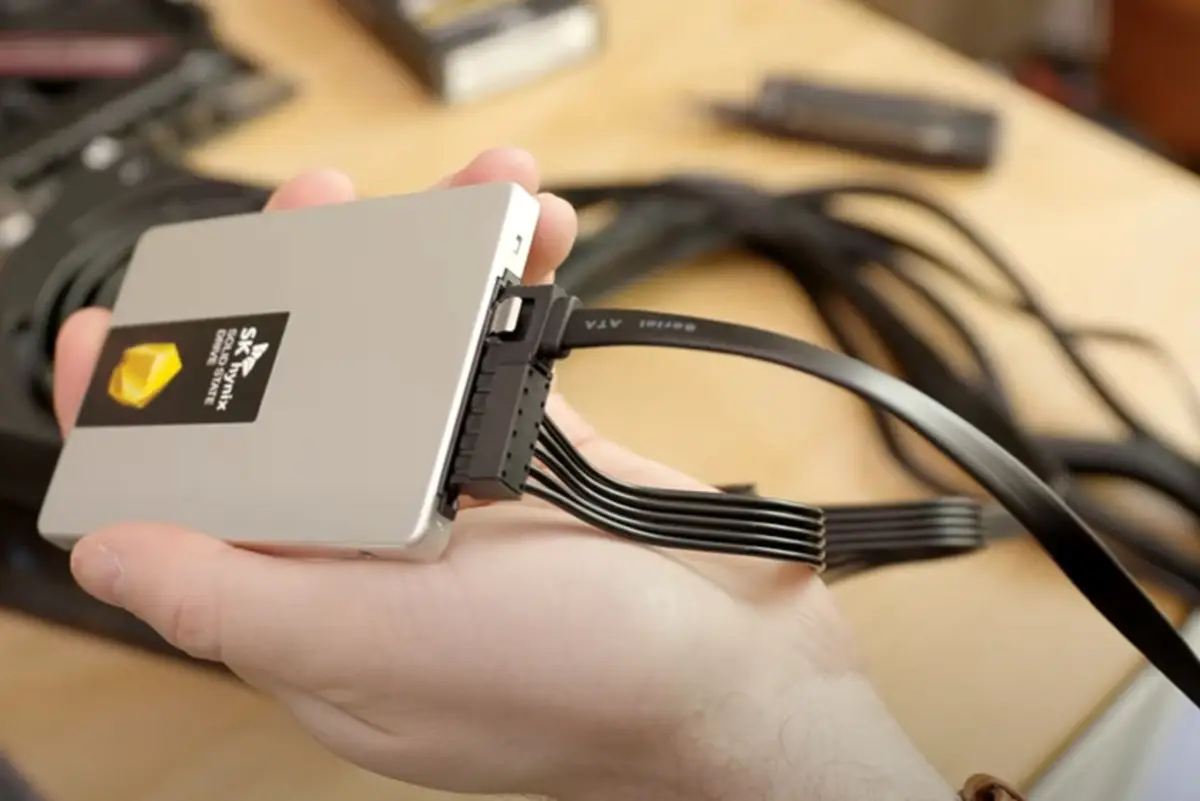
1. Data cable: Locate an available SATA data cable from your computer’s power supply. Connect one end of the data cable to the SATA port on the SSD, and the other end to an available SATA port on the motherboard. Ensure that the connectors are securely inserted and aligned.
2. Power cable: Connect the power cable to the SSD. There are different types of power connectors, such as SATA power connectors and Molex connectors. Use the appropriate cable for your SSD and connect it securely to the power port on the SSD. Make sure the connector is aligned and inserted completely.
3. Double-check the connections: After connecting the data and power cables, double-check that they are secure and properly seated. Ensure that there are no loose connections or cables that could accidentally disconnect later on.
4. Route the cables: Take a moment to route the cables in a neat manner, away from any fans or other components that generate heat. Keep the cables tidy and organized to promote good airflow and prevent any accidental disconnections.
5. Inspect for any potential issues: Before proceeding, carefully inspect the area around the SSD and cables for any potential issues. Make sure that no cables are pinched or obstructing the proper functioning of the SSD. Fix any obstructions or re-route cables if needed.
By connecting the necessary cables properly, you ensure that the SSD is receiving the power and data it requires to function optimally. The stable and secure connections will contribute to the reliable performance of your computer.
Next, we will move on to securing the SSD and closing the computer case, which we will cover in the following section of this guide.
Step 7: Secure the SSD and close the computer case
Now that you have connected the cables to the SSD, it’s time to secure the SSD in place and close your computer case. Follow these steps to ensure a secure installation:
1. Check the mounting screws: Double-check that the screws used to secure the SSD to the drive bay or bracket are tightened securely. Ensure they are snug but not overtightened, as this can damage the SSD or strip the screw holes.
2. Verify cable connections: Take a moment to verify that the data and power cables connected to the SSD are secure and properly seated. Ensure that there are no loose connections or cables that could accidentally disconnect.
3. Route cables for optimal airflow: Organize and route the cables in a way that promotes good airflow within your computer case. Avoid cables obstructing fans or getting in the way of other components. Keeping the cables tidy helps maintain a cooler operating environment for the SSD and other components.
4. Close the computer case: Carefully place the computer case cover back onto the chassis. Ensure the case is aligned properly and tightly closed. Use the appropriate screws or latches to secure the case in place.
5. Inspect for any potential issues: Before considering the installation complete, inspect the area around the SSD and cables for any potential issues. Ensure that no cables are pinched or obstructing the smooth operation of the SSD. Address any obstructions or cable management issues if necessary.
Securing the SSD in place and closing the computer case is crucial to protect the SSD and ensure its optimal performance. A properly secured SSD reduces the risk of vibration or movement that could damage the drive or disrupt its connection.
With the SSD secured and the computer case closed, you have completed the physical installation process. However, there is still an essential step remaining: installing the operating system onto the SSD. We will cover this step in detail in the next section of the guide.
Step 8: Install the operating system
Now that you have successfully installed the SSD and secured it in your computer, it’s time to install the operating system. Follow these steps to install the operating system onto the SSD:
1. Create a bootable installation media: Depending on your computer’s operating system, you may need to create a bootable USB drive or DVD with the installation files. Follow the instructions provided by the operating system’s manufacturer to create the bootable media.
2. Connect the bootable media: Connect the bootable installation media to your computer by plugging in the USB drive or inserting the DVD into the appropriate drive. Ensure that your computer is powered off before doing this.
3. Boot from the installation media: Power on your computer and access the boot menu. The key to access the boot menu can vary depending on your computer’s manufacturer. Common keys include F12, Esc, or Del. Once in the boot menu, select the option to boot from the installation media.
4. Follow the installation prompts: The installation process will guide you through a series of prompts and options. Follow the on-screen instructions to select the SSD as the destination drive for the operating system installation. You may need to format the SSD before proceeding with the installation.
5. Complete the installation: Sit back and allow the operating system installation to complete. This process may take some time, depending on the operating system and your computer’s specifications. Once the installation is finished, your computer will prompt you to set up user accounts and personalize your settings.
6. Install necessary drivers and updates: After the operating system is installed, it’s important to install any necessary drivers for your computer’s hardware components. Visit the manufacturer’s website and download the latest drivers for your computer model. Additionally, make sure to install any available updates to keep your system secure and up to date.
By installing the operating system onto the SSD, you’ll be able to take full advantage of its speed and performance benefits. The operating system will boot faster, applications will launch quicker, and overall system responsiveness will be improved.
Once the operating system installation is complete, it’s time to move on to the final step: testing the SSD to ensure it is functioning properly. We will cover this step in the next section of the guide.
Step 9: Test the SSD and enjoy the improved performance
Congratulations on successfully installing the operating system onto your SSD! Now it’s time to test the SSD to ensure everything is functioning as expected and enjoy the improved performance. Follow these steps to complete the process:
1. Boot up your computer: Power on your computer and allow it to boot up. You should notice a significant improvement in boot times. The SSD’s faster read and write speeds will result in a quicker startup compared to a traditional hard drive.
2. Launch applications and perform tasks: Open up your frequently used applications and perform typical tasks to experience the enhanced speed and responsiveness. You should notice a significant reduction in loading times for programs and files.
3. Run benchmark tests: To measure the improved performance of your SSD, you can run benchmark tests. Various software programs, such as CrystalDiskMark or ATTO Disk Benchmark, are available for this purpose. These tests will provide you with data on the SSD’s read and write speeds, giving you a clear indication of its performance.
4. Transfer files and backups: If you migrated data from your old hard drive or backed up files to an external storage device, now is the time to transfer them to the SSD. Enjoy the faster file transfer speeds and keep your important data safe on the SSD.
5. Monitor SSD health: It’s a good practice to regularly monitor the health of your SSD. Many SSD manufacturers provide SSD management software that allows you to check the drive’s temperature, estimated lifespan, and overall health. Keeping an eye on the SSD’s health will help identify any issues early on.
By testing and enjoying the improved performance of your SSD, you’ll truly appreciate the benefits of your upgrade. Your computer will feel snappier, applications will load faster, and you’ll have a smoother overall computing experience.
Remember to periodically back up your data, as SSDs can fail just like any other storage device. Regularly updating your computer’s software, including the SSD’s firmware, is also important to maintain optimal performance and security.
With the completion of this final step, you can fully enjoy the benefits of your new SSD and experience a significant boost in your computer’s performance. Congratulations on successfully installing your SSD and completing the upgrade process!