Introduction
Welcome to our step-by-step guide on how to install RAM (Random Access Memory) on your PC. Adding more RAM to your computer can greatly improve its performance, allowing for smoother multitasking, faster program loading times, and enhanced overall system responsiveness. Whether you’re a tech enthusiast or a beginner, upgrading your PC’s RAM is a relatively simple process that can yield noticeable improvements in your computer’s performance.
RAM is a crucial component of your computer that temporarily stores data that the system needs to access quickly. It acts as a workspace for your computer, allowing it to store and retrieve information while running various programs simultaneously. If your computer is experiencing slowdowns or lag when running resource-intensive applications or if you frequently encounter the dreaded “out of memory” error, upgrading your RAM can provide the boost you need.
In this guide, we will walk you through the installation process, from gathering the necessary tools to turning on your computer with the new RAM installed. By following these steps, you can ensure a smooth and successful installation, even if you have no previous experience with computer hardware.
Before we dive into the installation process, it’s important to note that different computers have different RAM requirements and restrictions. It’s crucial to check your computer’s specifications to determine the type and amount of RAM it can support. This information can usually be found in the user manual, on the manufacturer’s website, or by using system information tools available in your operating system.
Now that we’ve covered the basics, let’s get started by gathering the necessary tools and equipment for the RAM installation process.
Step 1: Gather the necessary tools and equipment
Before you begin the RAM installation process, it’s important to ensure that you have all the necessary tools and equipment. Here are the items you will need:
- A screwdriver: Depending on your computer case, you may need a Phillips head or a flathead screwdriver to open the case. Check the screws on your case to determine the required screwdriver type.
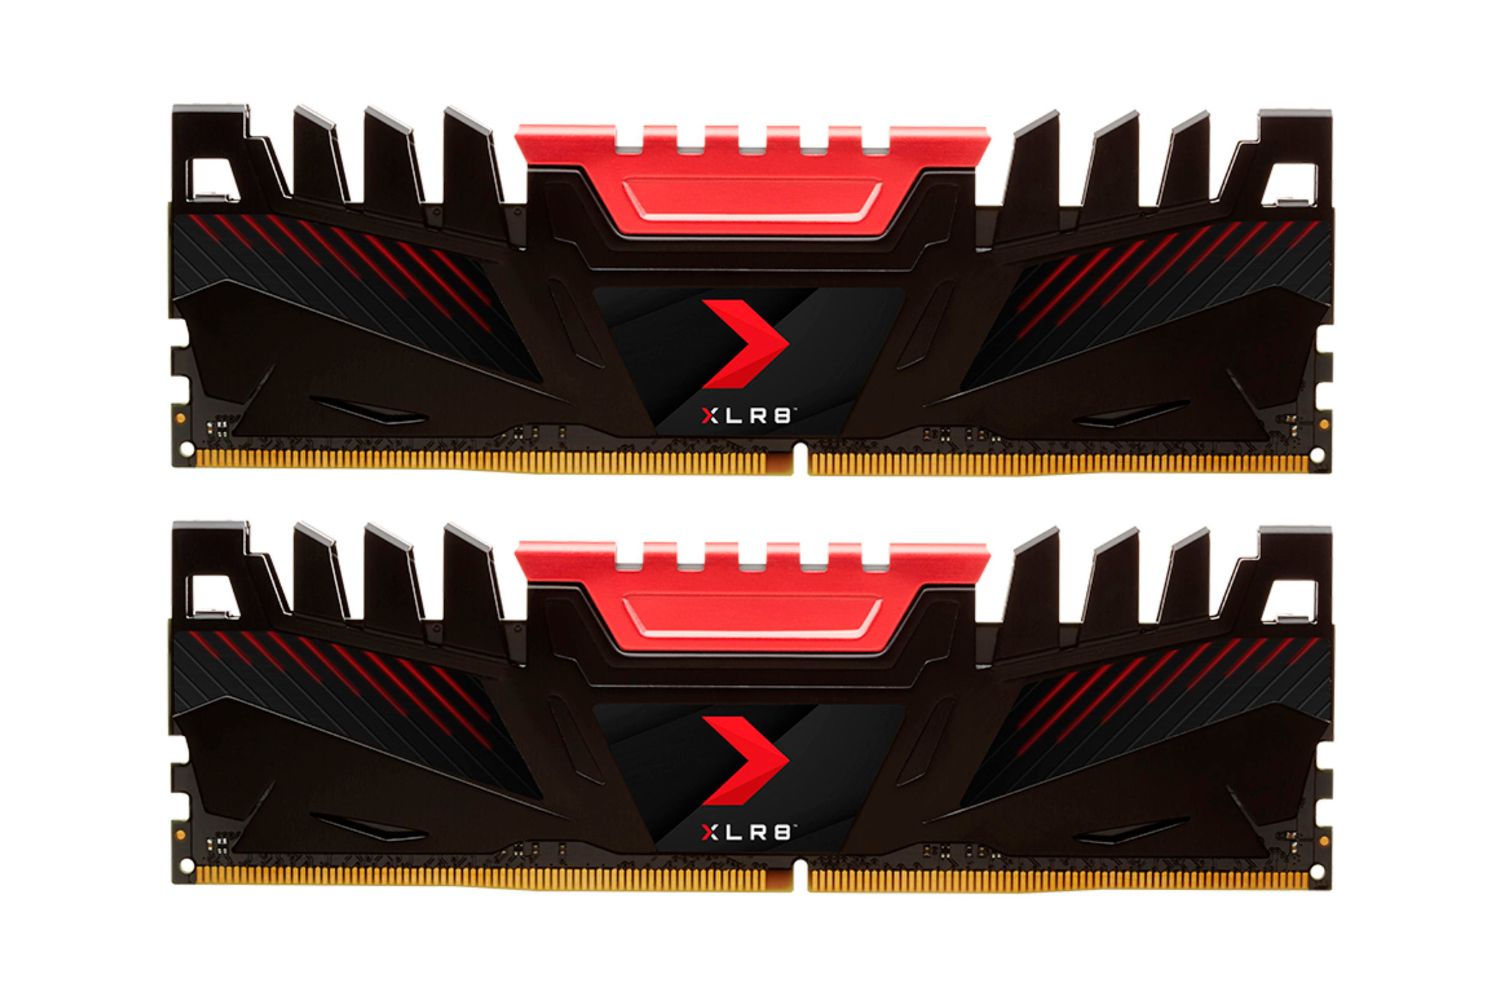
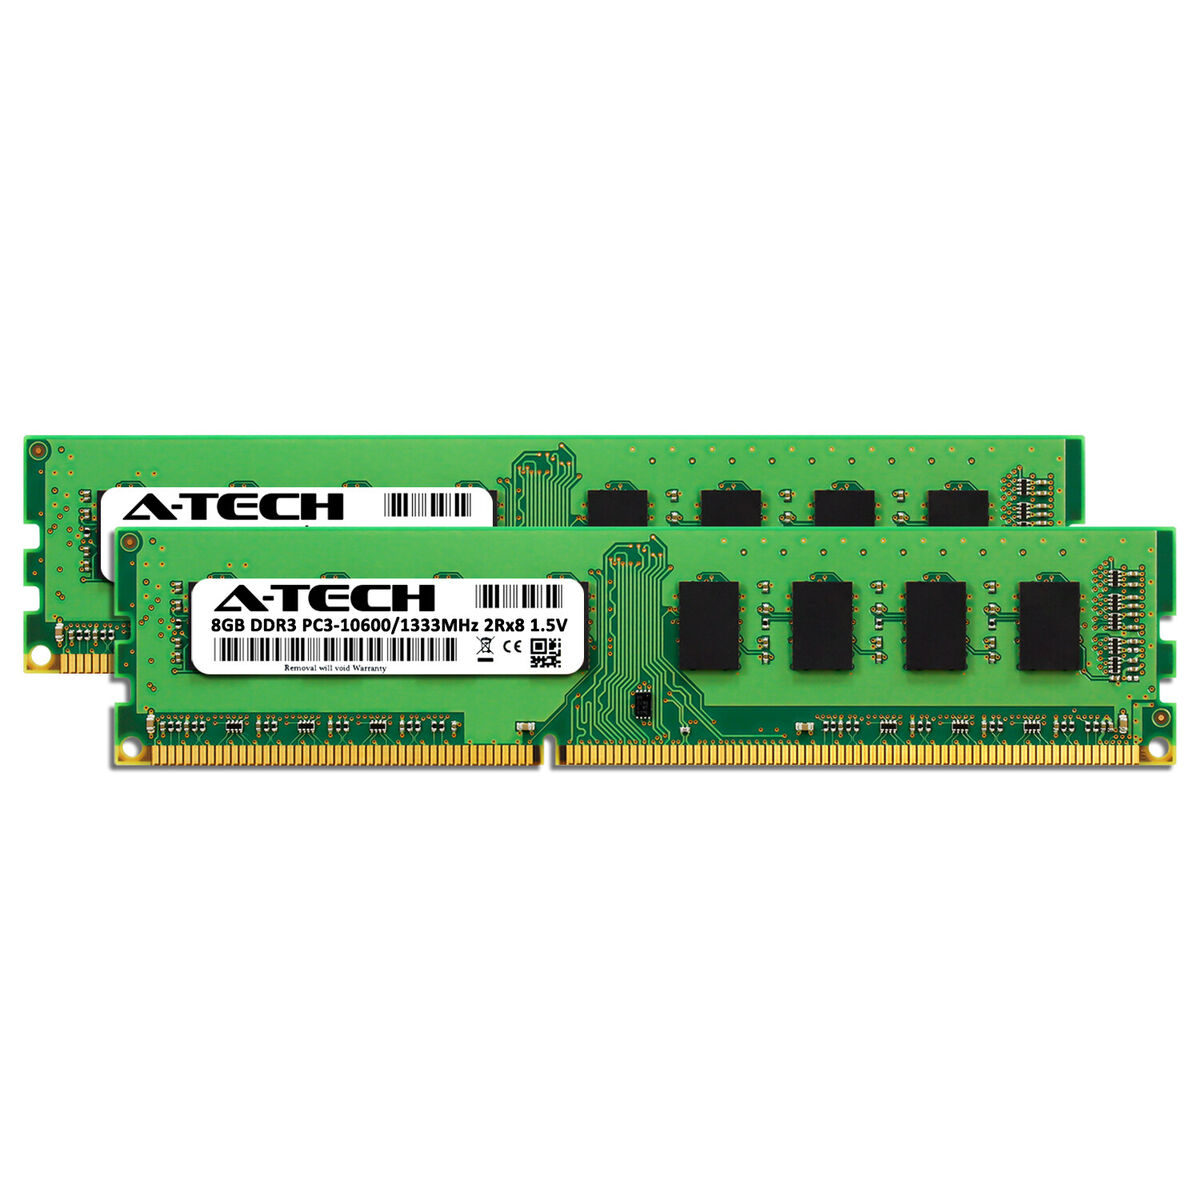
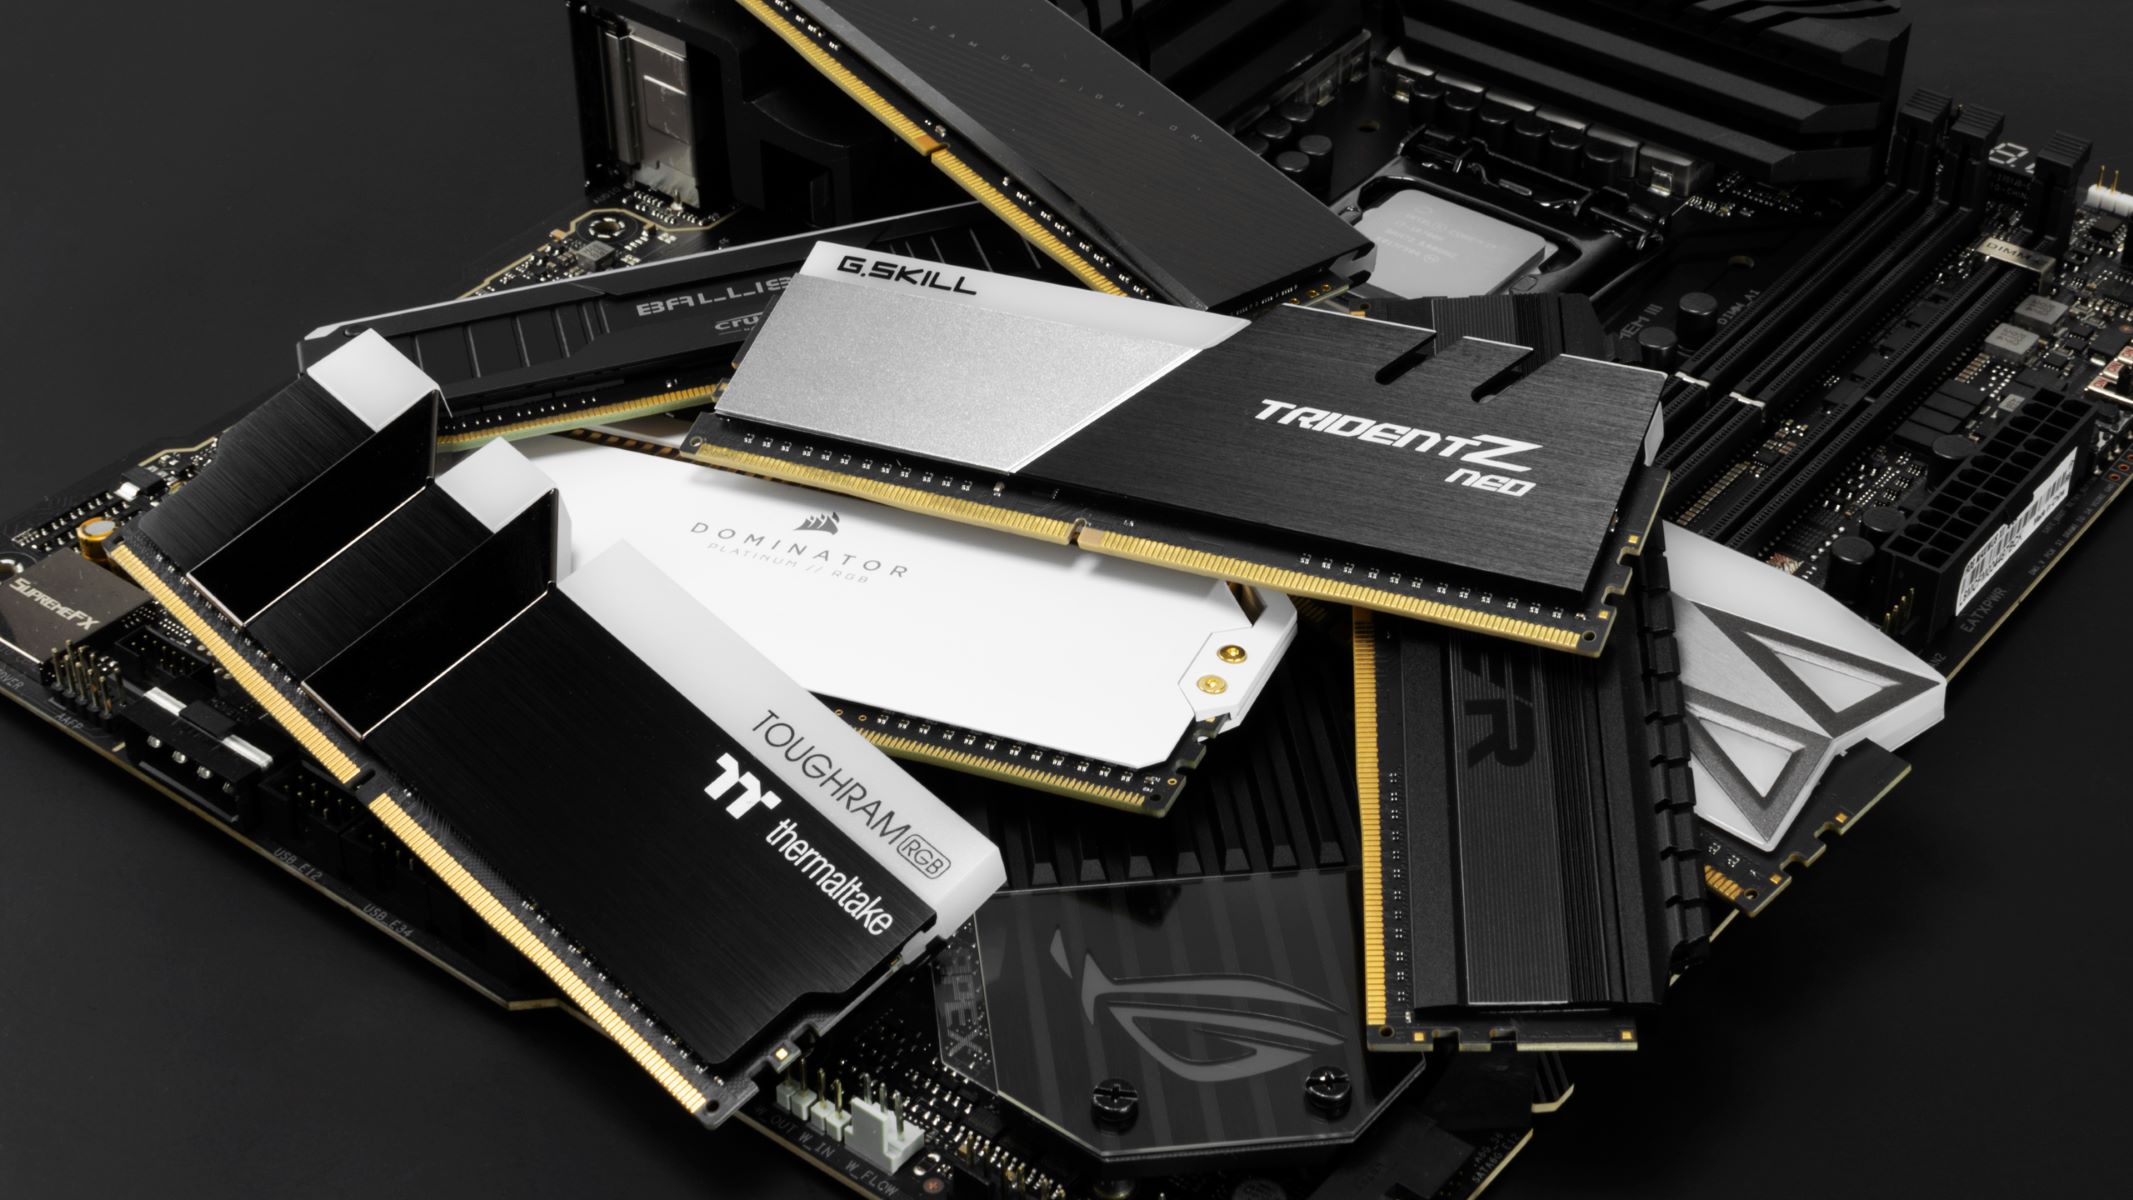
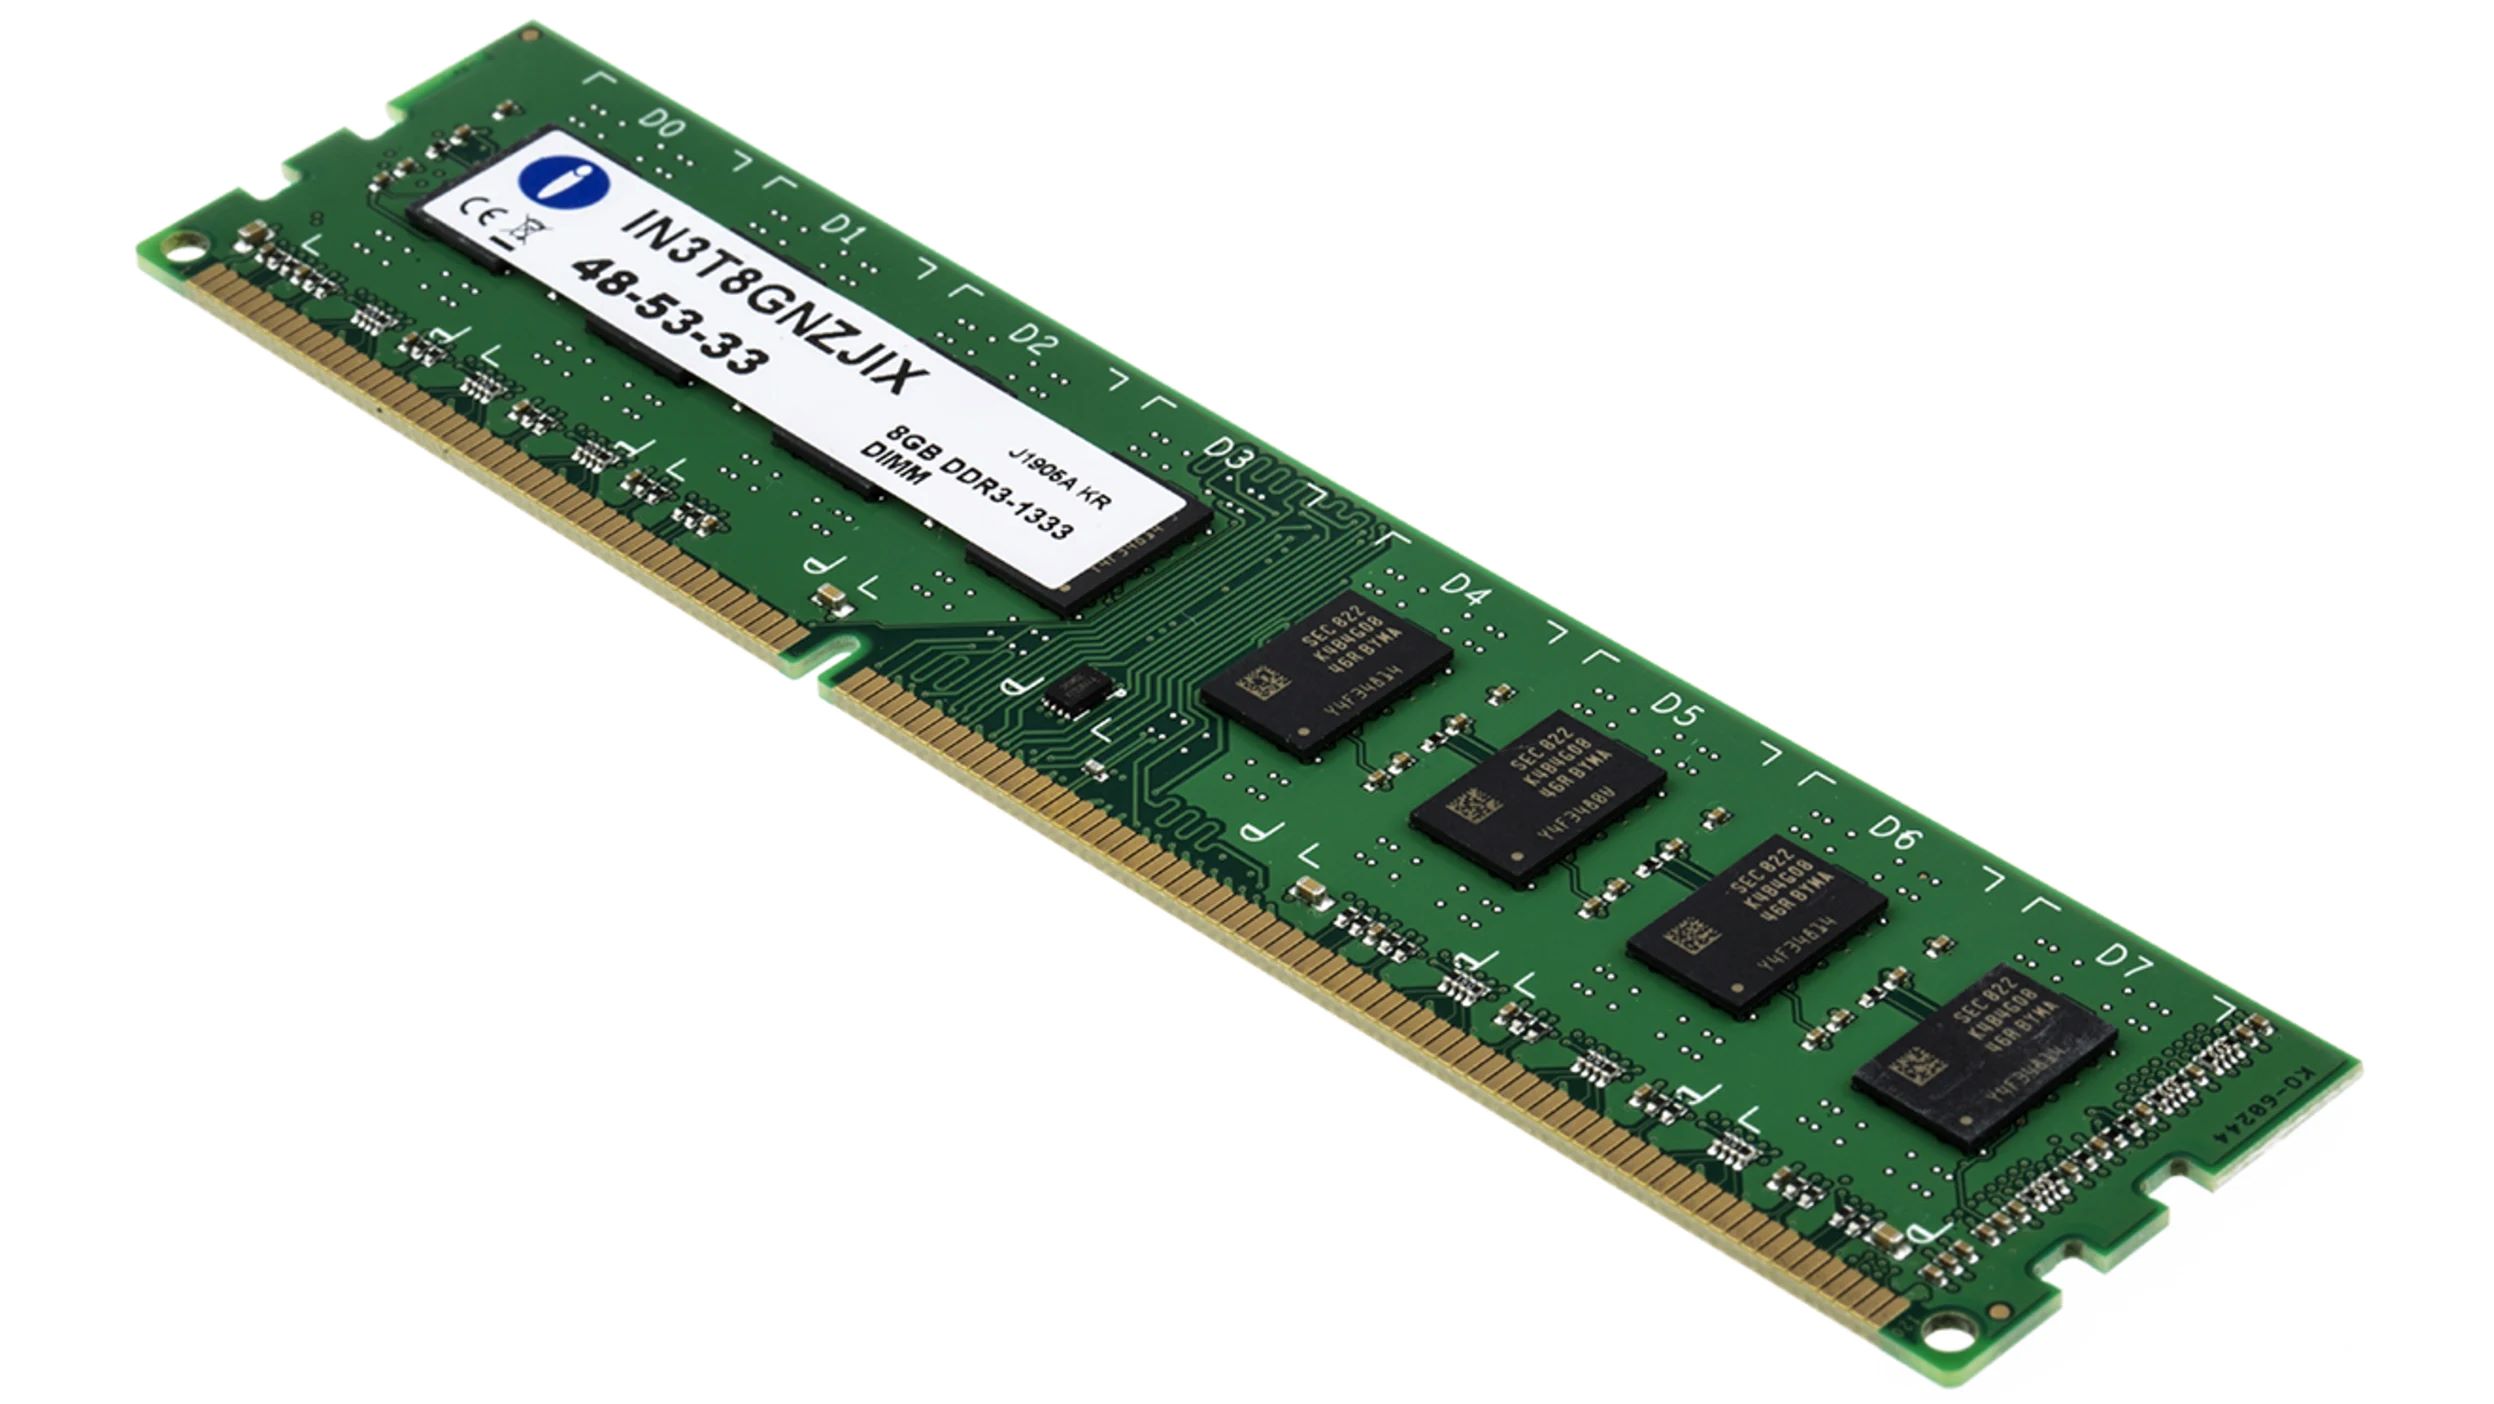
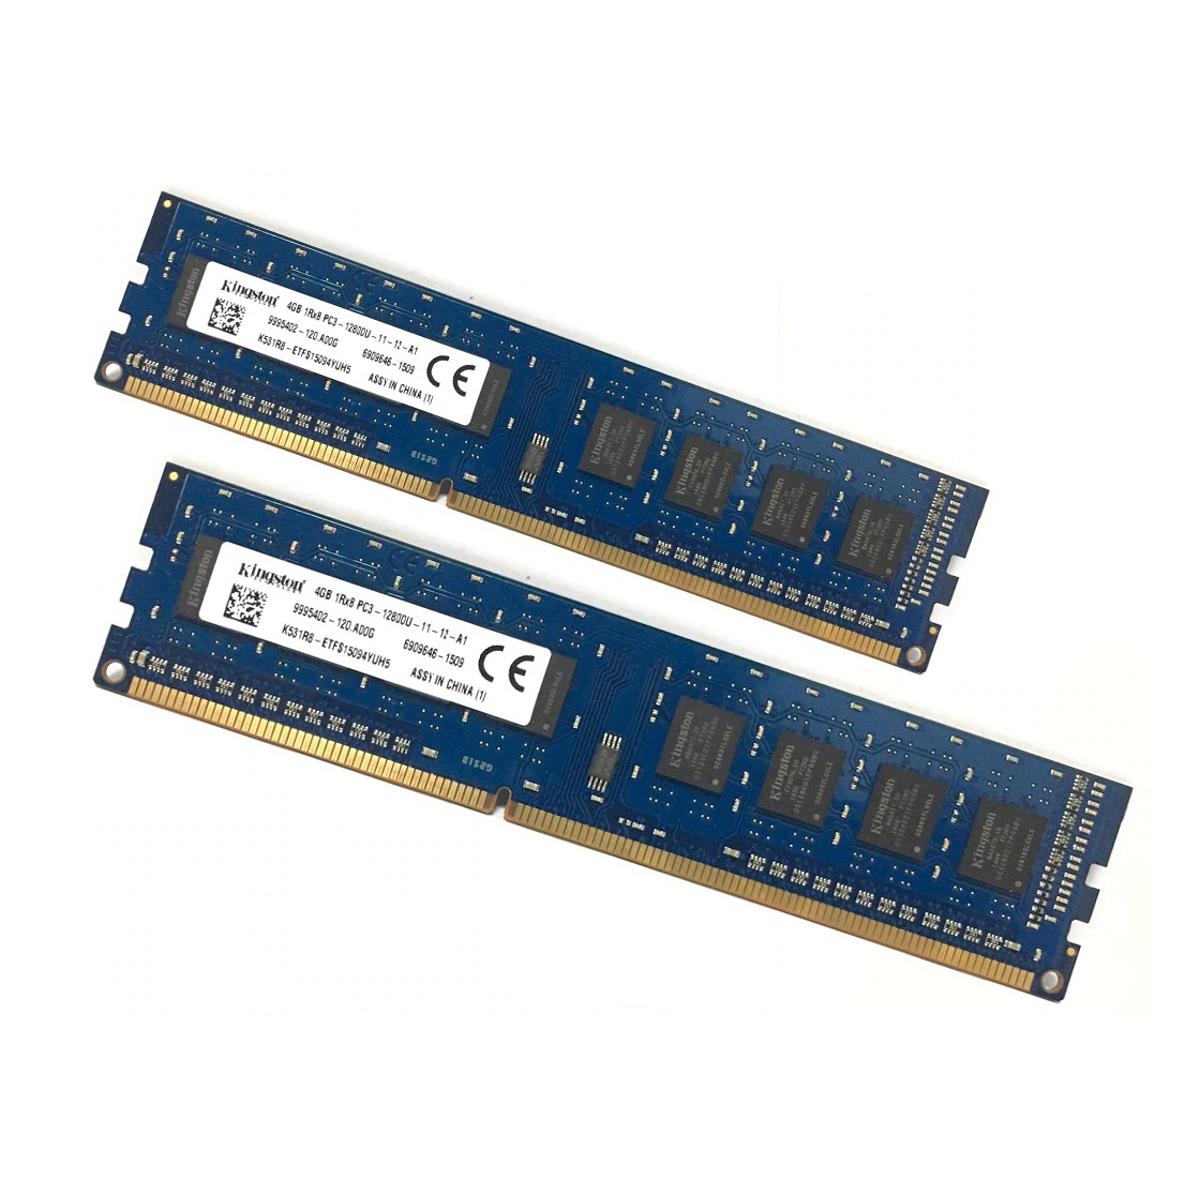
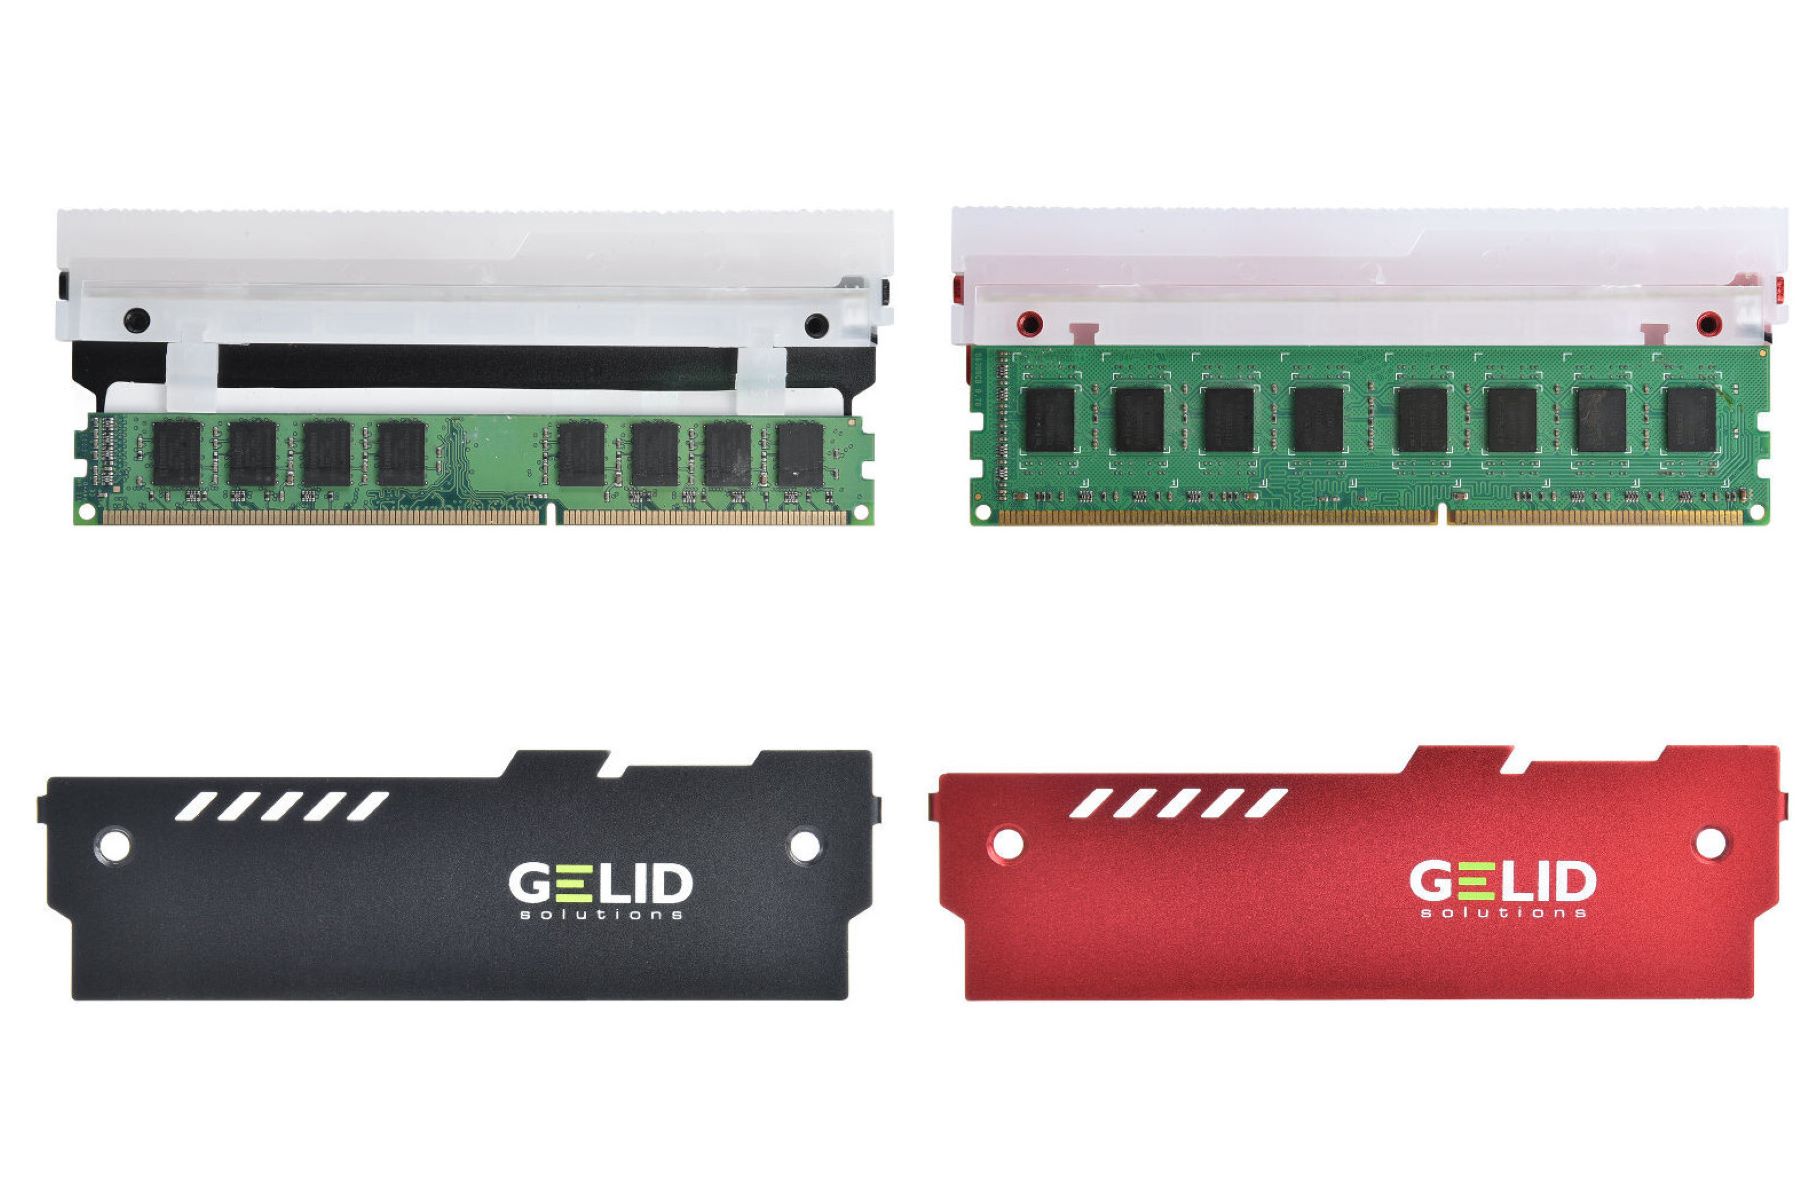
- The new RAM module: Make sure you have purchased the correct type of RAM that is compatible with your computer. Refer to your computer’s manual or the manufacturer’s website for the appropriate specifications.
- An anti-static wristband (optional): While not mandatory, wearing an anti-static wristband can help protect your computer components from electrostatic discharge (ESD) damage, especially if you live in a dry environment.
- A clean, flat surface: Find a clear workspace where you can comfortably work on your computer without the risk of damaging any components.
Once you have gathered all the necessary tools and equipment, you are ready to proceed to the next step. It’s important to gather these items beforehand to ensure a smooth and efficient installation process.
Now that you have everything you need, it’s time to move on to the next step: shutting down your computer and disconnecting all cables.
Step 2: Shut down your computer and disconnect all cables
Before you start working on your computer’s hardware, it’s essential to power it down and disconnect all cables. This will help prevent any potential damage to both yourself and the computer.
To shut down your computer:
- If you are using Windows, click on the “Start” button, then select “Power,” and finally click on “Shut down.”
- For macOS users, click on the Apple menu in the top-left corner, then select “Shut Down.”
- If you are using a desktop computer, make sure to turn off the power switch located at the back of the computer case.
Once your computer is completely turned off, you should disconnect all cables, including the power cord, monitor cable, keyboard, mouse, and any other peripherals that may be connected.
Keep in mind that some cables may be securely attached and require you to press or slide a latch or button to release them. Take your time to examine each cable and ensure a safe disconnection.
By shutting down your computer and removing all cables, you eliminate the risk of electrical shock and minimize the chance of accidentally damaging any components during the RAM installation process.
Now that your computer is safeguarded and ready for the next step, let’s move on to locating the RAM slots on your computer’s motherboard.
Step 3: Locate the RAM slots on your computer’s motherboard
In order to install your new RAM module, you will need to find the RAM slots on your computer’s motherboard. These slots are specifically designed for inserting the RAM sticks and are usually located near the center of the motherboard, though the exact placement can vary depending on the motherboard’s design.
To locate the RAM slots, follow these steps:
- First, ensure that your computer is still powered off and all cables are disconnected.
- Next, open your computer case by removing the screws holding the side panel in place. Use your screwdriver to carefully unscrew and remove the panel. Some cases may have additional mechanisms for opening, so refer to your case manual if needed.
- Once the case is open, visually inspect the motherboard. Look for rectangular slots typically arranged in pairs. These are the RAM slots.
- Modern motherboards usually have two or four RAM slots, although higher-end models may feature more. The slots are often color-coded, with alternating colors indicating the recommended placement for optimal performance. Consult your motherboard’s manual for specific details regarding slot configuration.
- Note that some motherboards may have retaining clips or levers on either side of the RAM slots. These clips hold the RAM sticks securely in place. Take note of their position so that you can properly insert and secure the new RAM module later in the installation process.
Locating the RAM slots is a crucial step in preparing your computer for the RAM installation. Once you have successfully identified the RAM slots, you can proceed to the next step: opening the computer case.
Step 4: Open the computer case
Now that you have located the RAM slots on your computer’s motherboard, it’s time to open the computer case. Opening the case will give you access to the internal components, allowing you to install the new RAM module.
Follow these steps to open the computer case:
- Make sure your computer is powered off and disconnected from any power source.
- Find the screws holding the side panel of the computer case in place. These are typically located at the back of the case.
- Using a screwdriver, carefully remove the screws. Place them in a safe location as you will need them to secure the panel later.
- Once the screws are removed, gently slide the side panel away from the case. Be cautious not to force it or damage any of the internal components.
- You may encounter some resistance while removing the panel due to the case’s design. If this happens, check for any additional latches or mechanisms that need to be disengaged. Refer to your computer case manual for guidance if needed.
- Once the side panel is removed, you should have a clear view of the internal components, including the motherboard, RAM slots, and other hardware.
Opening the computer case requires careful handling to avoid unnecessary damage. Take your time and be gentle when removing the side panel.
With the case open, you are now ready to proceed to the next step: grounding yourself to prevent any static electricity discharge that could damage sensitive components.
Step 5: Ground yourself
Before you handle any computer components, it’s essential to ground yourself to prevent any static electricity discharge that could potentially damage sensitive hardware. Static electricity can build up on your body and transfer to the computer’s components, causing irreversible damage.
To ground yourself, follow these steps:
- Touch a large metal object or use an anti-static wristband to discharge any built-up static electricity from your body.
- If you’re using an anti-static wristband, strap it securely around your wrist and connect the other end to a metal part of the computer case.
- If you don’t have an anti-static wristband, make sure to touch a metal component, such as the computer case, power supply, or a metal table leg, to discharge any static electricity before handling the RAM module or other computer parts.
- Repeat this grounding process whenever you leave and come back to your workspace, as static electricity can build up again.
Grounding yourself is a simple yet crucial step to ensure the safety of your computer components. By doing so, you minimize the risk of damaging any sensitive parts due to static discharge.
Now that you have grounded yourself, you can proceed confidently to the next step: removing any existing RAM modules (if applicable) before installing the new RAM module.
Step 6: Remove existing RAM (if applicable)
If your computer already has RAM installed, you will need to remove the existing modules before installing the new RAM. This step is not necessary if you are adding additional RAM modules to the empty slots.
Follow these steps to remove the existing RAM:
- Carefully locate the clips or levers on either side of the RAM module(s) in the RAM slots. These clips are used to secure the RAM in place.
- Gently push the clips outward to unlock the RAM module.
- Once the clips have been released, the RAM module should pop up at an angle.
- Hold the RAM module by its edges and gently pull it straight out of the slot. Avoid applying excessive force or bending the module.
- If there are multiple RAM modules installed, repeat this process for each module by unlocking the clips and removing them one at a time.
Be mindful of the orientation of the RAM module while removing it. Take note of the notch on the module’s connector, as it should align with the slot on the motherboard.
Handle the RAM modules with care to avoid any unnecessary damage. Place the removed RAM modules in an anti-static bag or on an anti-static surface for safe storage.
If your computer does not have any RAM installed or if you are adding additional RAM modules, you can skip this step and proceed to installing the new RAM module.
Once you have successfully removed the existing RAM (if applicable), you are now ready to move on to the exciting part: installing the new RAM module.
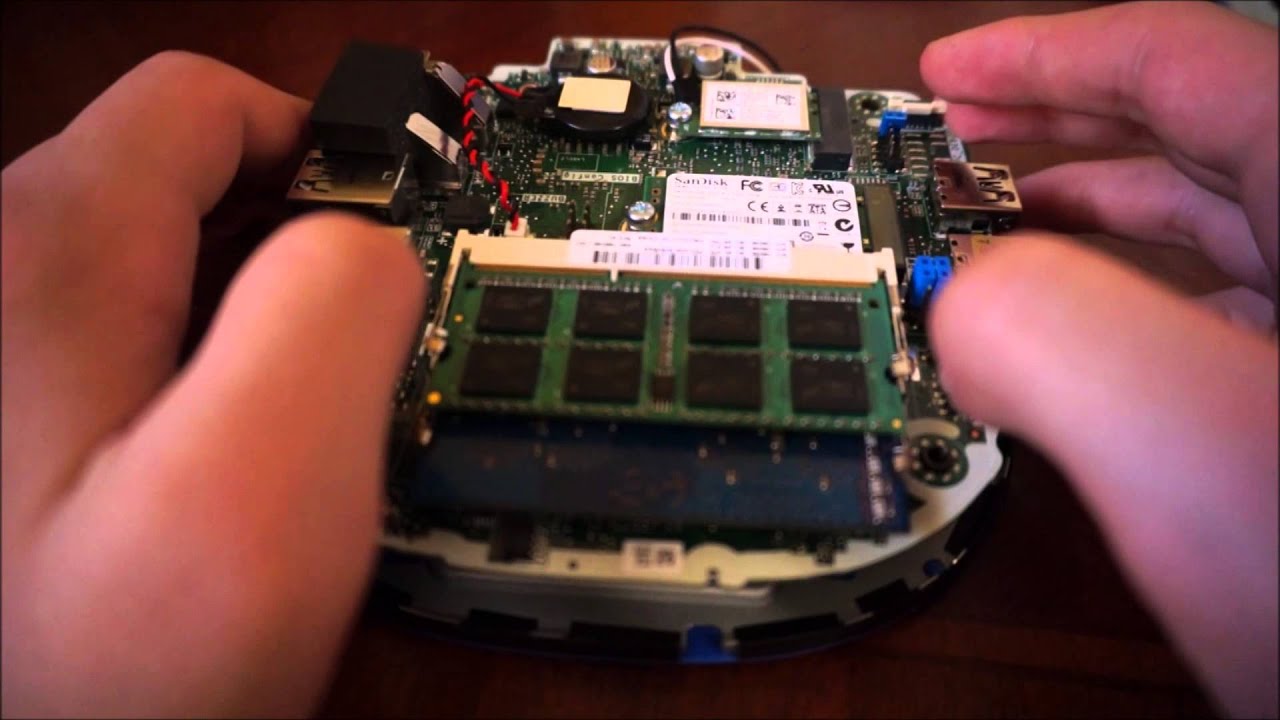
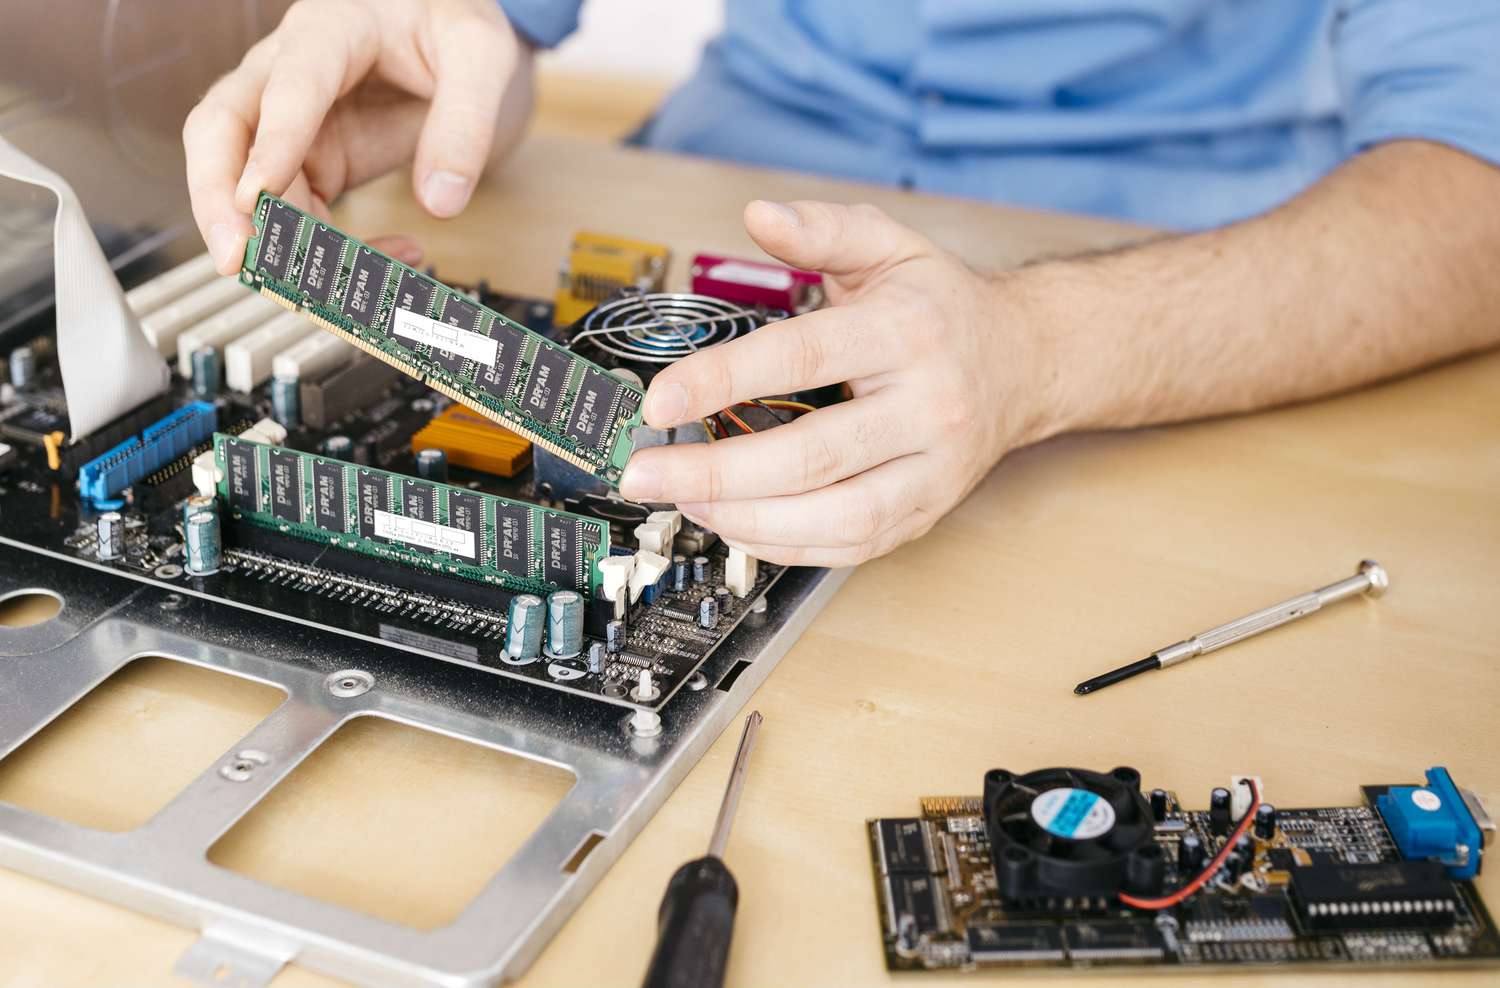
Step 7: Install the new RAM module
With the existing RAM module removed (if applicable), it’s time to install the new RAM module into your computer. Follow these steps to ensure a successful installation:
- Hold the new RAM module by its edges, making sure to avoid touching the gold contacts on the bottom.
- Align the notch on the RAM module’s connector with the slot on the motherboard.
- Gently insert the RAM module into the slot at a slight angle, with the gold contacts facing downward.
- Apply even pressure to both ends of the module and gently push it down until the clips or levers on the motherboard snap into place, securing the RAM module.
- Once the RAM module is firmly inserted and locked in place, give it a gentle wiggle to ensure a proper connection.
If you’re installing multiple RAM modules, start with the slot labeled “DIMM1” or consult your motherboard manual for the recommended installation order. This ensures that your computer boots up with the correct memory configuration.
Remember to refer to your computer’s manual or manufacturer’s website to determine the maximum supported RAM configuration and any specific requirements for installing multiple modules.
With the new RAM module successfully installed, you’re one step closer to enjoying improved performance on your computer.
The next step will be to close the computer case and prepare for reconnecting all the necessary cables.
Step 8: Close the computer case
Now that the new RAM module is securely installed, it’s time to close the computer case to protect the internal components and ensure proper airflow. Follow these steps to close the case:
- Ensure that all cables are clear of the case and internal components, making sure nothing is obstructing the closing of the case.
- Line up the side panel with the case by aligning the screw holes.
- Gently slide the side panel back into position, ensuring that it fits snugly and flush with the rest of the case.
- Reinsert the screws you removed earlier into the screw holes. Tighten them just enough to secure the panel without over-tightening.
- Double-check that the case is properly closed and secure.
It’s important to close the computer case to protect the internal components from dust, debris, and accidental damage. Additionally, a properly closed case ensures proper airflow, which is essential for maintaining low temperatures and optimal performance for your computer.
With the case closed and secured, it’s time to move on to the next step: reconnecting all the cables to your computer.
Step 9: Reconnect all cables and turn on the computer
With the computer case closed, it’s time to reconnect all the cables and peripherals that you disconnected earlier. Follow these steps to ensure everything is properly connected:
- Start by reconnecting the power cable to the back of your computer case. Ensure it is securely plugged into both the computer and the power outlet.
- Connect your monitor cable to the appropriate port on your computer. This is typically a VGA, DVI, HDMI, or DisplayPort connection.
- Reconnect your keyboard and mouse to the corresponding ports. If you have wireless devices, make sure to reestablish the connection.
- If you have any other peripherals such as printers, speakers, or external hard drives, reconnect them to the appropriate ports.
- Double-check that all cables are securely connected and properly seated. Avoid bending or twisting the cables excessively.
Once all the cables and peripherals are reconnected, you’re ready to turn on the computer. Press the power button and wait for the boot-up process to begin.
During the boot-up process, your computer will detect the newly installed RAM module(s) and configure them accordingly. This process may take a moment, so be patient. Once the computer has fully booted up, you can start using your upgraded system with the added memory.
It’s important to note that if your computer does not start or encounters any issues after installing the new RAM module(s), you should refer to your computer’s manual or consult with a professional for further assistance.
Now that your computer is up and running with the new RAM installed, it’s time to move on to the final step: verifying that the system recognizes the new RAM configuration.
Step 10: Check if the new RAM is detected by the system
After installing the new RAM module(s) into your computer, it’s important to verify that the system recognizes and detects the new memory. This ensures that the RAM is functioning properly and that your computer is utilizing the upgraded memory configuration.
Follow these steps to check if the new RAM is detected by the system:
- Boot up your computer and log in to the operating system.
- Once the computer has fully loaded, open the System Information or Task Manager utility. The process may vary depending on your operating system.
- In the System Information or Performance tab, look for the memory or RAM section. Here, you should see the total amount of RAM installed and other details such as the speed and configuration.
- Verify that the total amount of RAM displayed matches the newly installed RAM module(s) capacity. For example, if you added a 4GB RAM module, the total RAM should increase by 4GB.
- Take note of the RAM speed and configuration displayed. This information can help you confirm that the system is utilizing the new RAM properly.
If the system displays the correct total RAM capacity and other relevant details, congratulations! Your new RAM module(s) are successfully installed and detected by the system.
However, if you encounter any issues or the system does not recognize the new RAM, double-check the following:
- Ensure that the RAM module(s) are properly seated in the slots.
- Confirm that the RAM module(s) are compatible with your computer and meet the necessary specifications.
- Try reseating the RAM modules or installing them in a different configuration if applicable (e.g., swapping their positions).
If the problem persists, it’s recommended to consult with a professional or refer to your computer’s manual for further troubleshooting steps.
With the new RAM successfully installed and detected by the system, you can now enjoy the enhanced performance and improved multitasking capabilities of your upgraded computer!
Conclusion
Congratulations! You have successfully completed the RAM installation process on your computer. By following this step-by-step guide, you have upgraded your computer’s memory, which will lead to improved performance and smoother multitasking capabilities.
Throughout this guide, we covered the necessary tools and equipment, the importance of shutting down the computer and disconnecting all cables before starting the installation, and locating and opening the computer case. We also discussed the significance of grounding yourself, removing existing RAM (if applicable), and installing the new RAM module.
After installing the new RAM, we highlighted the importance of closing the computer case securely and reconnecting all cables and peripherals. We also emphasized the need to check if the system recognizes the new RAM, ensuring correct installation and proper utilization of the upgraded memory configuration.
Remember, the amount and type of RAM your computer can support may vary, so it’s crucial to consult your computer’s manual or manufacturer’s website to ensure compatibility and follow any specific guidelines.
By increasing the amount of RAM in your computer, you can expect enhanced system responsiveness, faster program loading times, and smoother overall performance when running multiple applications simultaneously.
Thank you for using this guide to learn how to install RAM on your PC. We hope that you found it helpful and that you enjoy the benefits of your upgraded computer. If you have any further questions or need additional assistance, don’t hesitate to consult with a professional or refer to the manufacturer’s support resources.
Happy computing!