Introduction
Welcome to the world of computer upgrades! If you’re looking to improve the performance of your PC, installing additional RAM (Random Access Memory) can be a game-changer. RAM plays a crucial role in allowing your computer to handle multiple tasks simultaneously and run applications smoothly. Whether you’re a gamer, a video editor, or simply someone who wants a snappier computer experience, adding more RAM can provide the boost you need.
Installing RAM into your PC may sound complicated, but fear not! This step-by-step guide will walk you through the process, making it easy and straightforward even for beginners. By the end of this tutorial, you’ll be equipped with the knowledge to upgrade your computer like a pro.
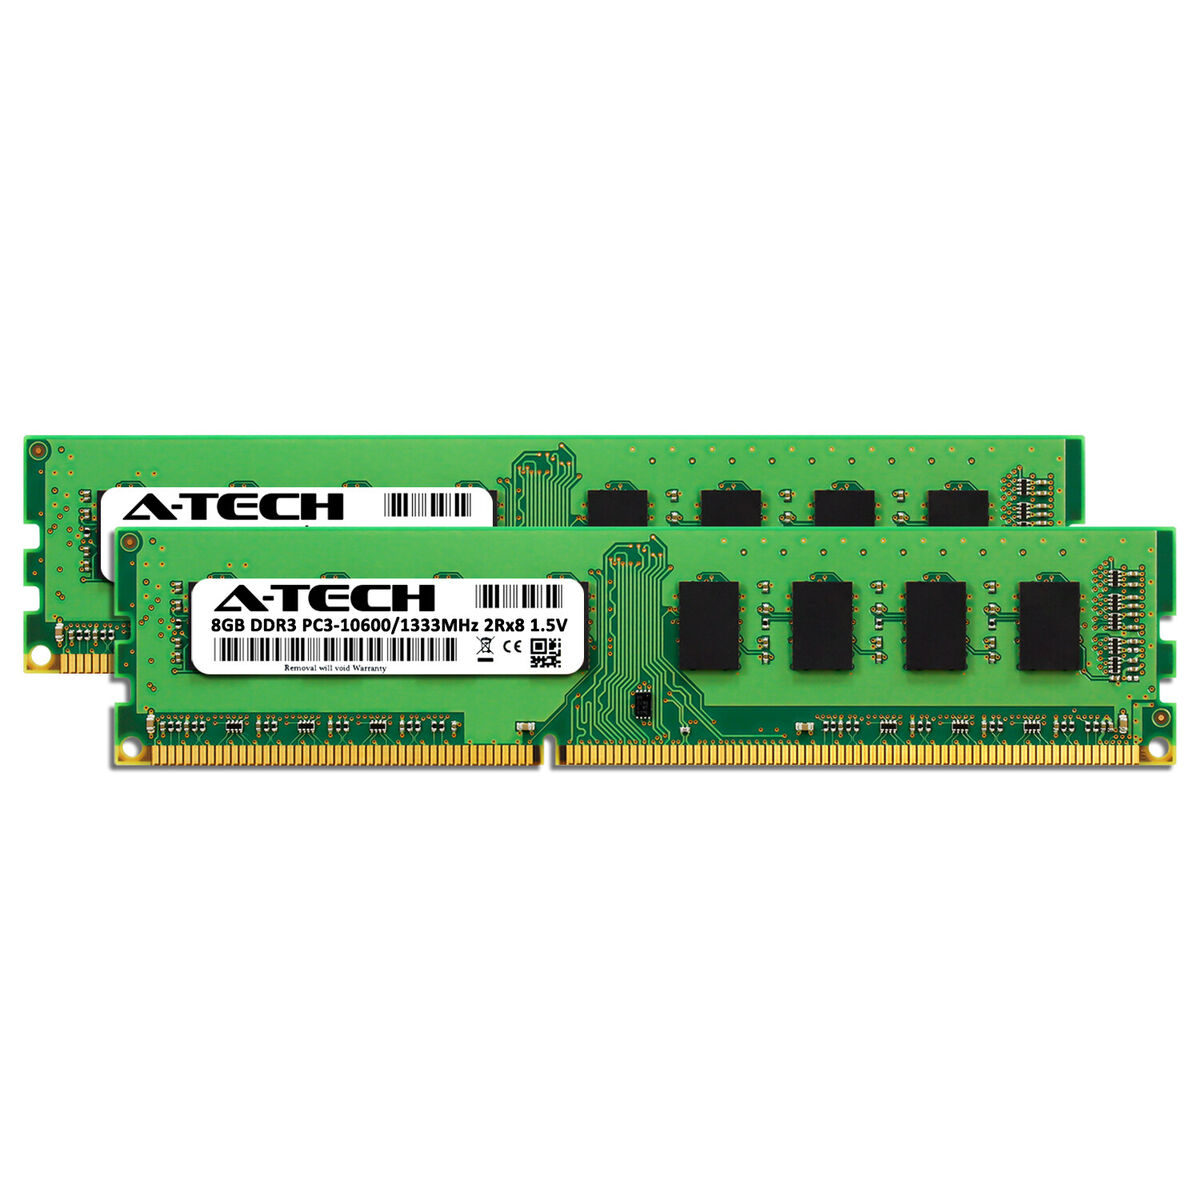
Before we dive into the installation process, it’s essential to prepare yourself with the necessary tools and materials. You’ll need a compatible set of RAM modules specific to your computer’s motherboard and a small Phillips screwdriver. It’s also a good idea to have an antistatic wrist strap to protect your components from electrostatic discharge.
Additionally, make sure to read your computer’s documentation or manufacturer’s website to understand the specific RAM installation instructions for your model. Different computers may have varying methods for installing RAM, so it’s vital to follow the guidelines provided by the manufacturer.
Now that you’re all set, let’s get started with the installation process. This guide will walk you through the necessary steps, from powering down your computer to securing the RAM modules in place. So, grab your tools and buckle up for a RAM-tastic adventure!
Step 1: Preparation
Before diving into the RAM installation process, it’s crucial to prepare yourself and your workspace to ensure a smooth and successful upgrade. Here are the essential steps for preparation:
- Gather the necessary tools and materials: The first step is to gather all the tools and materials you’ll need for the installation. This includes the RAM modules compatible with your computer, a small Phillips screwdriver, and an antistatic wrist strap to prevent any potential damage from static electricity.
- Power down your computer: Before doing any work on your computer, always make sure to shut it down properly. Click on the “Start” menu and select “Shutdown” to turn off your PC. Wait for the computer to completely power down before proceeding.
- Unplug your computer: Once the computer is turned off, unplug the power cord from the electrical outlet. This is an important safety precaution to prevent any electrical shock while working on the internal components of your PC.
- Prepare your workspace: Find a clean, well-lit area to work on your computer. Ensure that you have a stable surface such as a desk or table to prevent any accidental damage or drops during the installation process. It’s also a good idea to have a soft cloth or towel nearby to place your computer on and protect it from scratches.
- Ground yourself: Static electricity can be harmful to computer components, so it’s essential to discharge any static electricity from your body before handling the RAM modules. Wear an antistatic wrist strap and connect it to a grounded object, such as the metal frame of your computer case, to equalize your charge with the components.
By following these preparation steps, you ensure that you have all the necessary tools, a safe working environment, and appropriate precautions in place before moving forward with the RAM installation process. It’s crucial to take the time to set up your workspace properly to minimize any potential risks and maximize the chances of a successful upgrade.
Step 2: Shut down your computer
Before you start installing RAM into your PC, it’s essential to shut down your computer properly. Follow these steps to ensure a safe and controlled shutdown:
- Save any open files: Before shutting down your computer, save any unsaved work and close all open applications. This will prevent data loss and ensure that your files are safely stored.
- Exit any running programs: If you have any programs running in the background, such as antivirus software or system utilities, exit them before proceeding with the shutdown. This will help avoid any potential conflicts or errors during the installation process.
- Click on the “Start” menu: On the bottom-left corner of your screen, click on the “Start” menu symbol, usually represented by the Windows logo.
- Select “Shutdown”: From the dropdown menu, select the “Shutdown” option. This will initiate the shutdown process for your computer.
- Wait for the computer to power down: Once you’ve selected the “Shutdown” option, patiently wait for the computer to complete the shutdown process. This may take a few moments, depending on the speed of your system.
- Ensure your computer is completely powered off: Once the computer has shut down, it’s important to double-check that it is fully powered off. Look for any indicator lights on the front or back of your computer that may signify power. If the lights are still illuminated, press and hold the power button for a few seconds until the system powers off completely.
By following these steps, you ensure that your computer is safely powered down, which is essential before working on its internal components. Shutting down your computer properly helps prevent any potential damage to the hardware and ensures that the RAM installation process can be conducted smoothly.
Step 3: Locate the RAM slots
After shutting down your computer, the next step is to locate the RAM slots where the new RAM modules will be installed. Follow these steps to find the RAM slots in your desktop or laptop:
- Refer to your computer’s manual: Consult your computer’s manual or manufacturer’s website to locate the RAM slots. The manual will provide detailed instructions on how to access and identify the RAM slots specific to your model.
- Open the computer case: If you’re working with a desktop computer, you’ll need to open the computer case to gain access to the internal components. Most computer cases have screws or latches that hold the side panels in place. Use a screwdriver or follow the provided instructions to remove the side panel and expose the internal components.
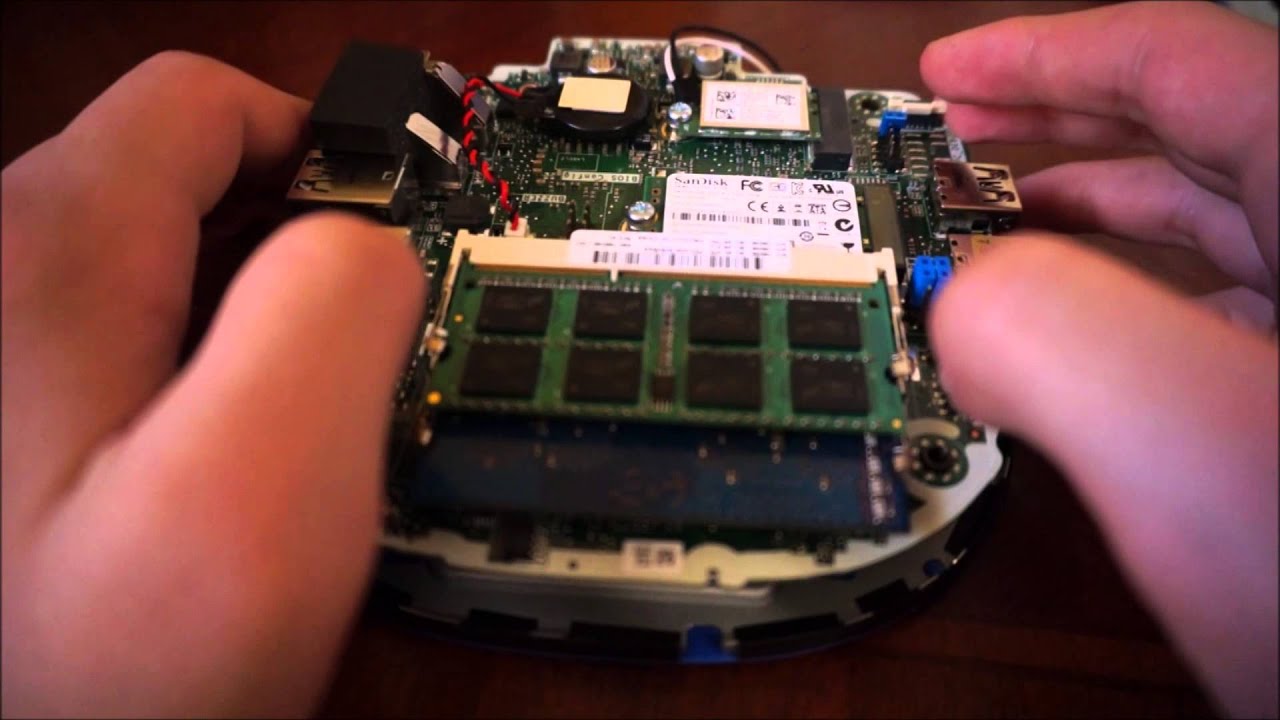
- Identify the motherboard: Once the computer case is open, locate the motherboard. The motherboard is the large circuit board that houses various components, including the RAM slots. It’s usually positioned horizontally at the bottom of the case.
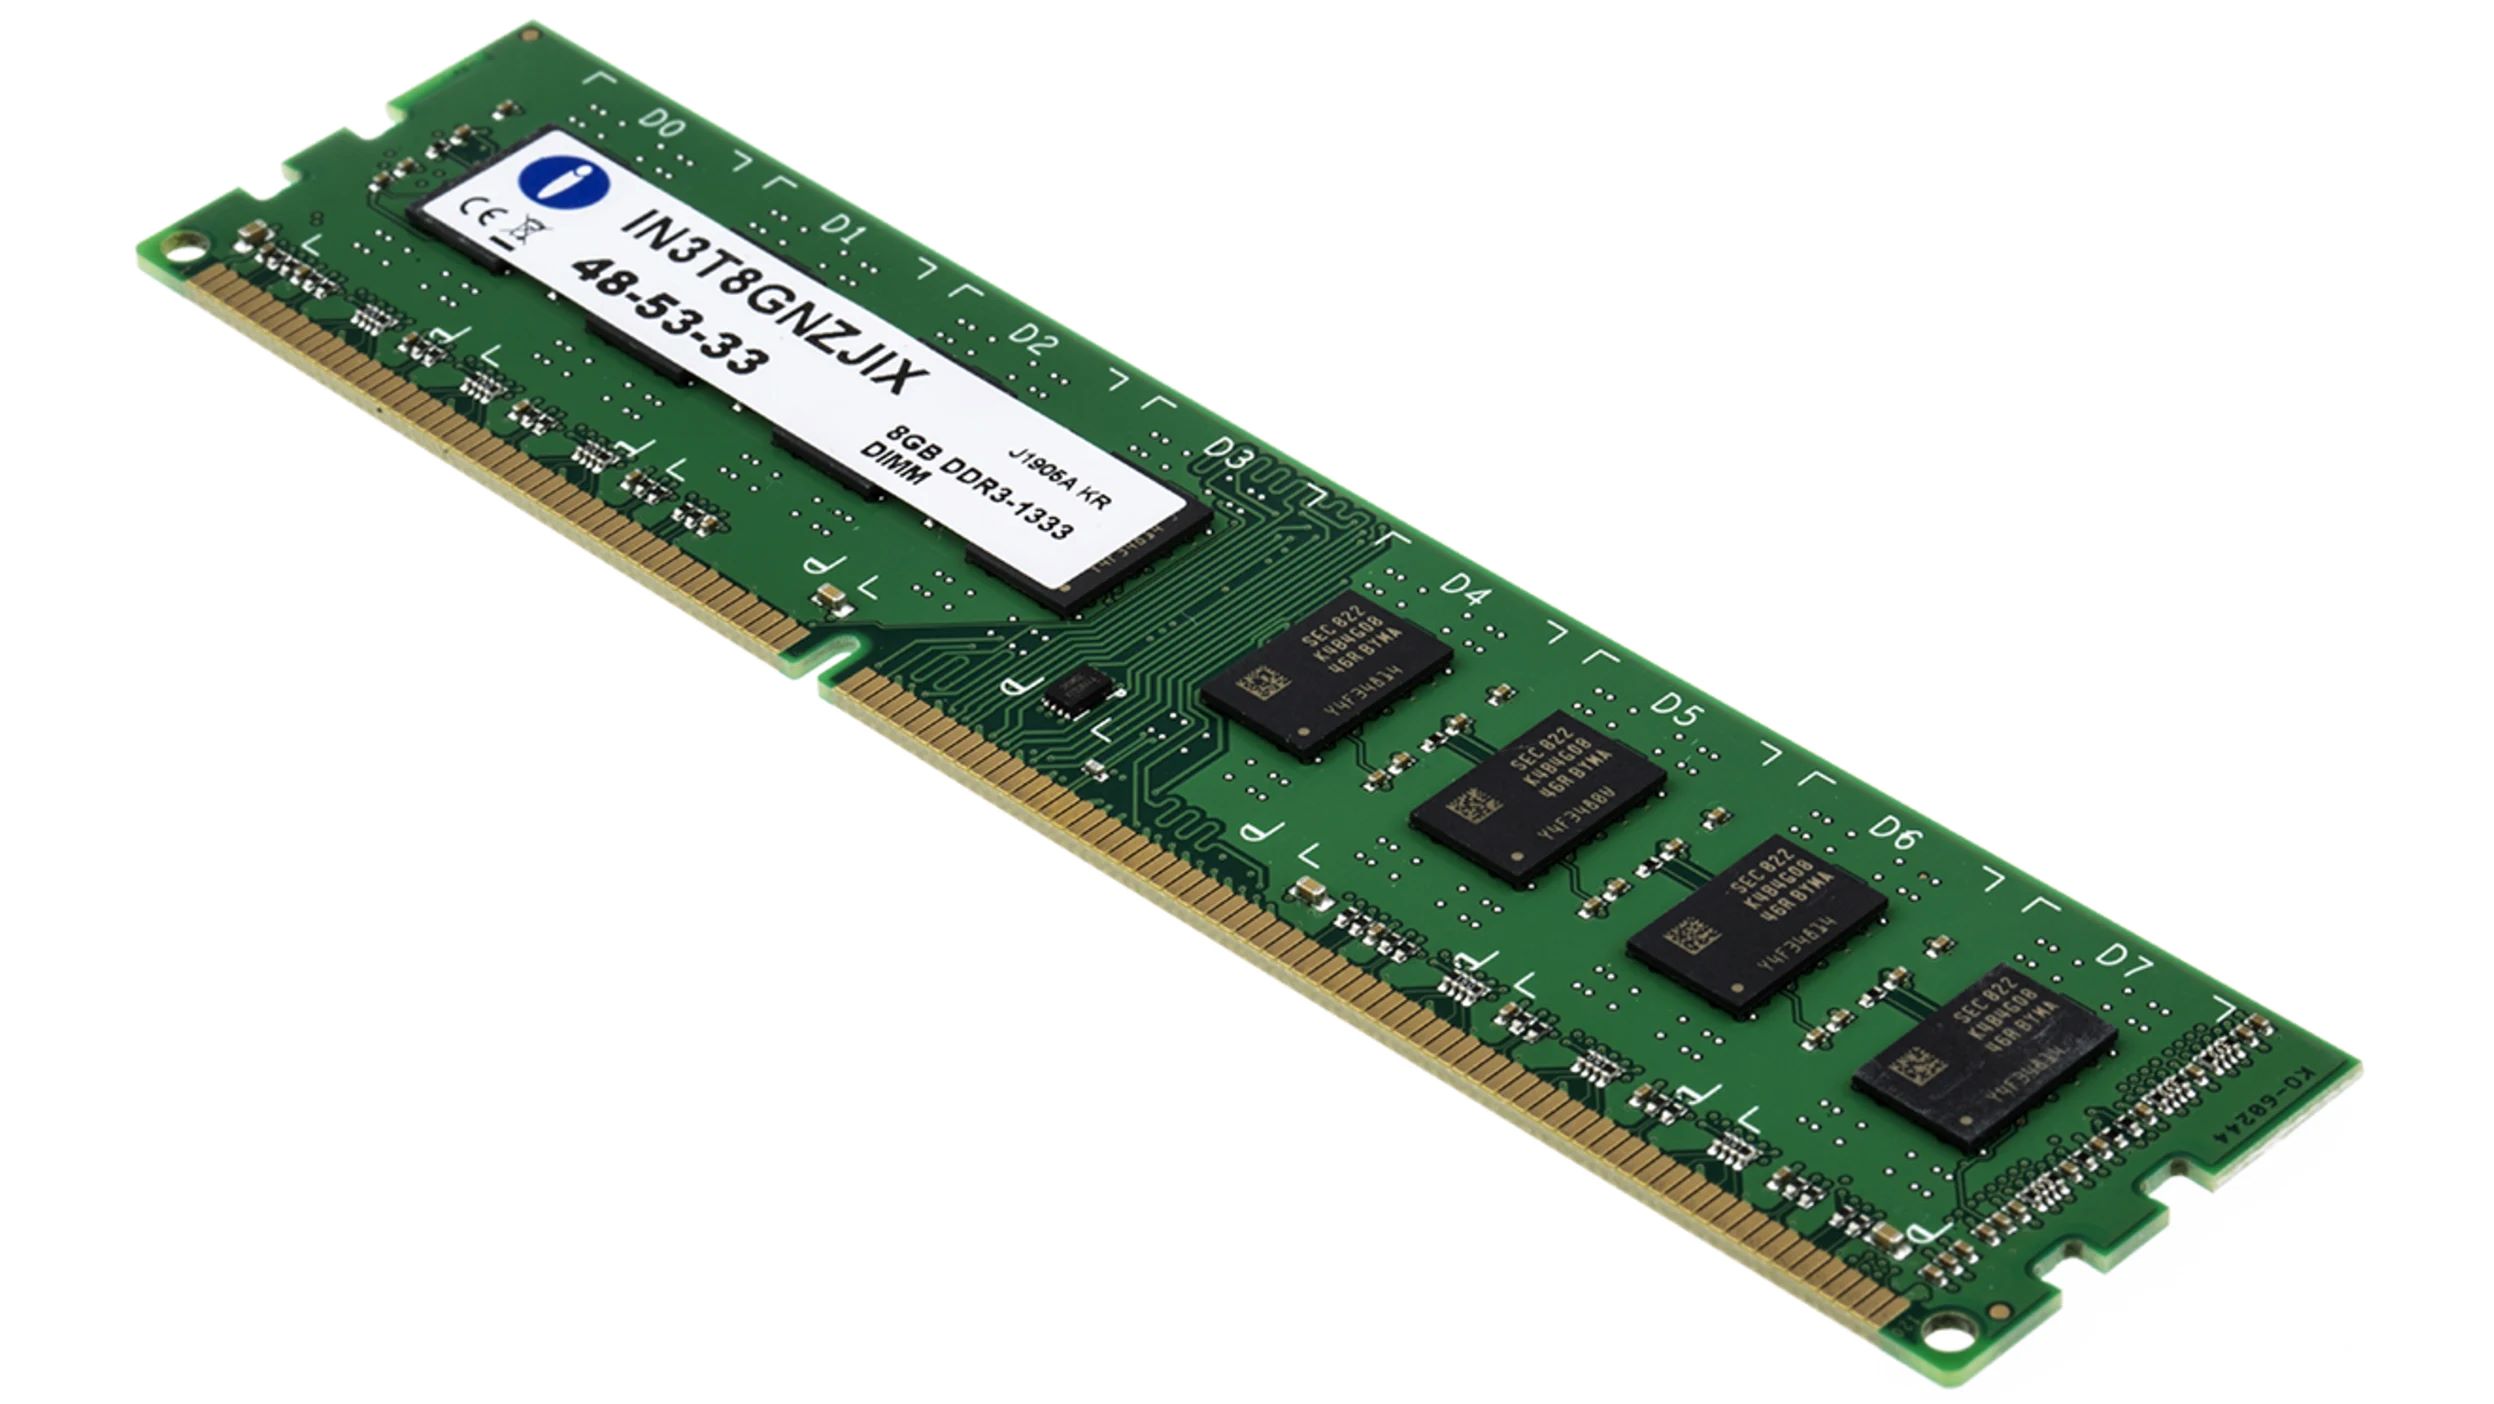
- Look for the RAM slots: On the motherboard, you’ll find a set of slots specifically designed for inserting RAM modules. These slots are typically long, rectangular-shaped, and grouped together. The number of RAM slots can vary depending on your computer’s motherboard.
- Identify the type of RAM slots: Take note of the type of RAM slots your computer has. Common types include DIMM (Dual In-Line Memory Module) and SO-DIMM (Small Outline DIMM) for desktops and laptops, respectively. The RAM slots will have notches or dividers that correspond to the type of RAM module they can accommodate.
By following these steps, you’ll be able to locate the RAM slots in your computer. The RAM slots may vary in location and design depending on your computer model, but referring to the manual and identifying the motherboard will help you find them with ease. Once you’ve located the RAM slots, you’re one step closer to upgrading your computer’s memory and improving its performance!
Step 4: Remove the RAM slot covers
With the RAM slots located, the next step is to remove the covers or clips that may be protecting them. Follow these steps to remove the RAM slot covers:
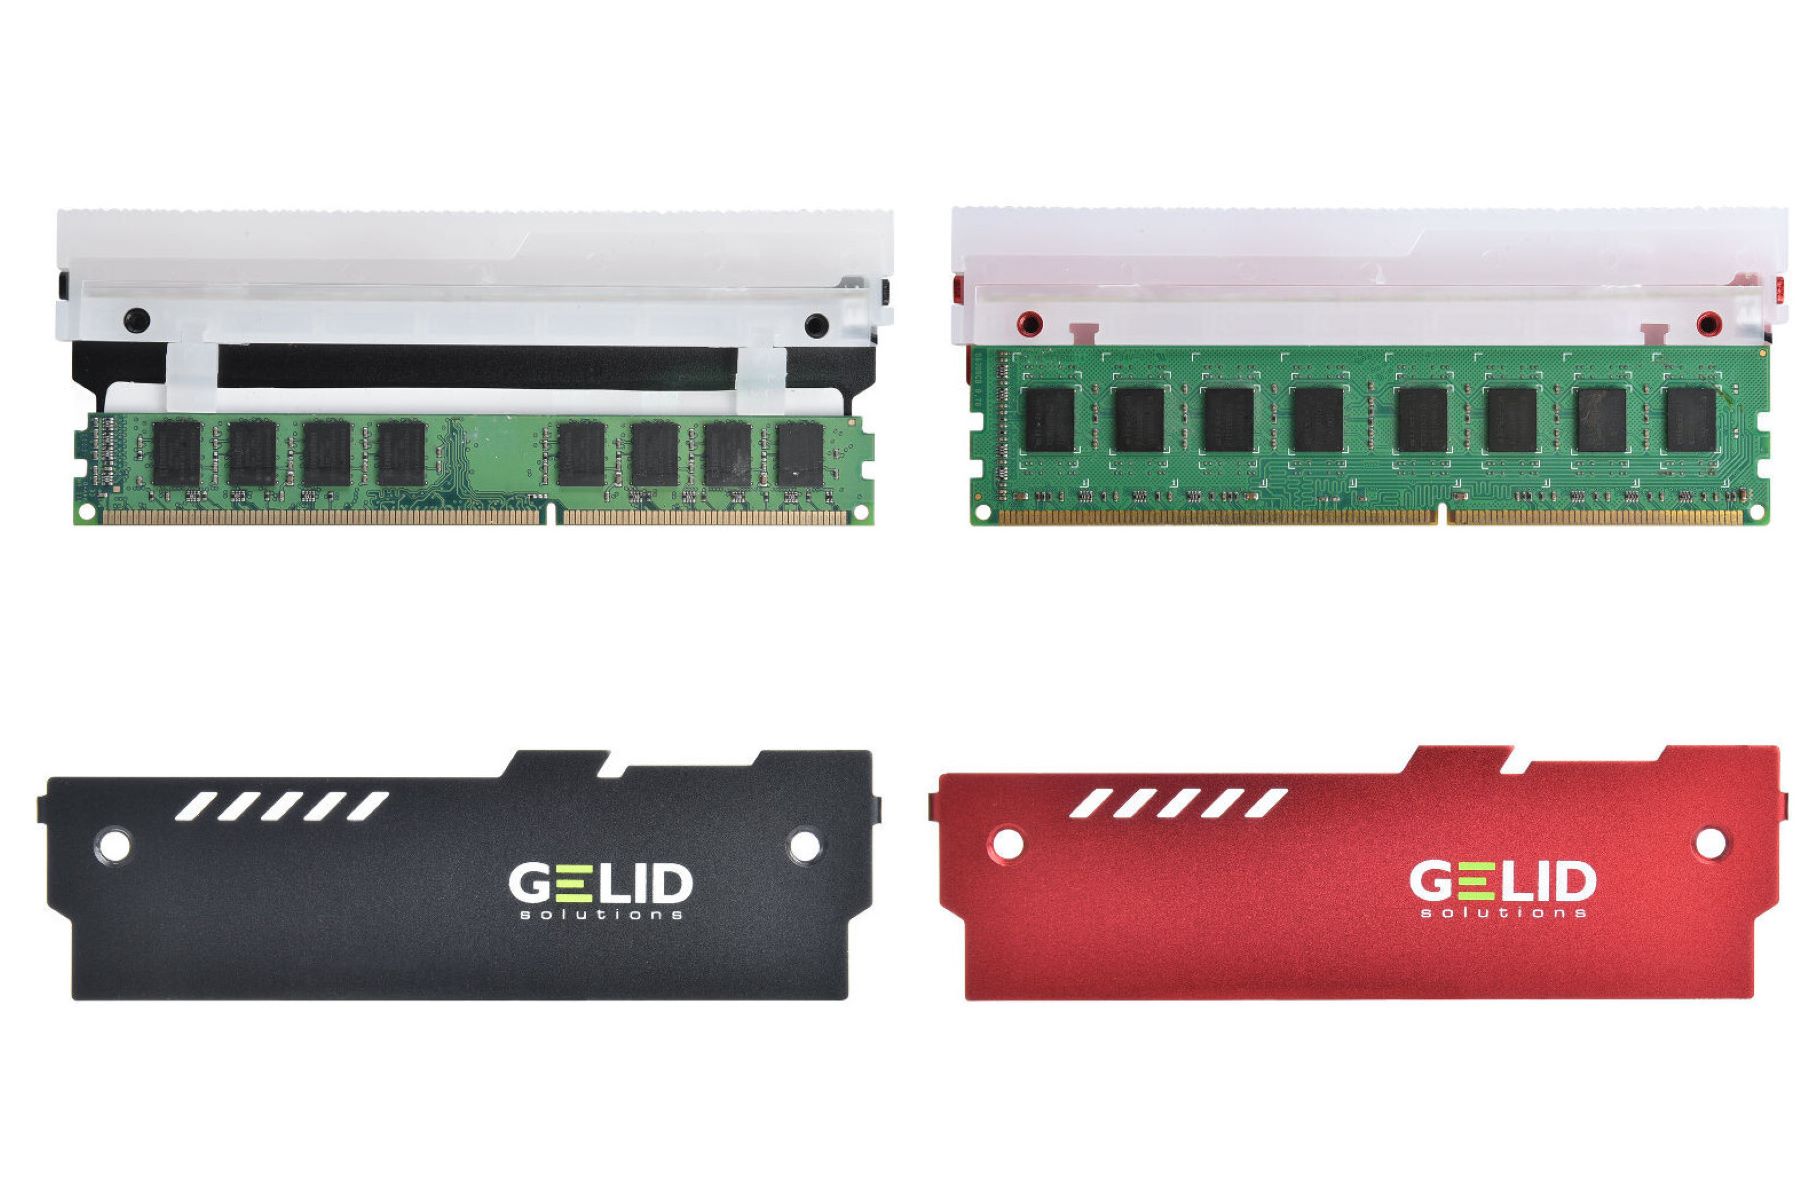
- Inspect the RAM slot covers: Take a close look at the RAM slots and check if there are any covers or clips securing them. Some computers may have plastic covers or metal clips that need to be removed before inserting new RAM modules.
- Locate the retention mechanism: If there are covers or clips, locate the retention mechanism that holds them in place. This mechanism could be in the form of small levers, latches, or screws that need to be released to remove the covers.
- Release the retention mechanism: Depending on the type of mechanism, follow the appropriate steps to release it. For levers or latches, you may need to push or pull them to unlock and release the covers. If screws are present, use a screwdriver to unscrew and remove them.
- Remove the RAM slot covers: Once the retention mechanism is released, carefully remove the RAM slot covers. Gently pull them away or slide them out of the slots, taking care not to apply excessive force that could damage the motherboard or the covers themselves.
- Set aside the covers: Keep the covers in a safe place, as you may need them again in the future. Storing them in a labeled container or resealable bag will help prevent loss or damage.
By following these steps, you’ll successfully remove the RAM slot covers that may be protecting your computer’s RAM slots. It’s important to exercise caution when handling the covers and ensure that the retention mechanisms are properly released to avoid any unnecessary damage. With the covers removed, you’re now ready to insert the new RAM modules into the empty slots, which we’ll cover in the next step.
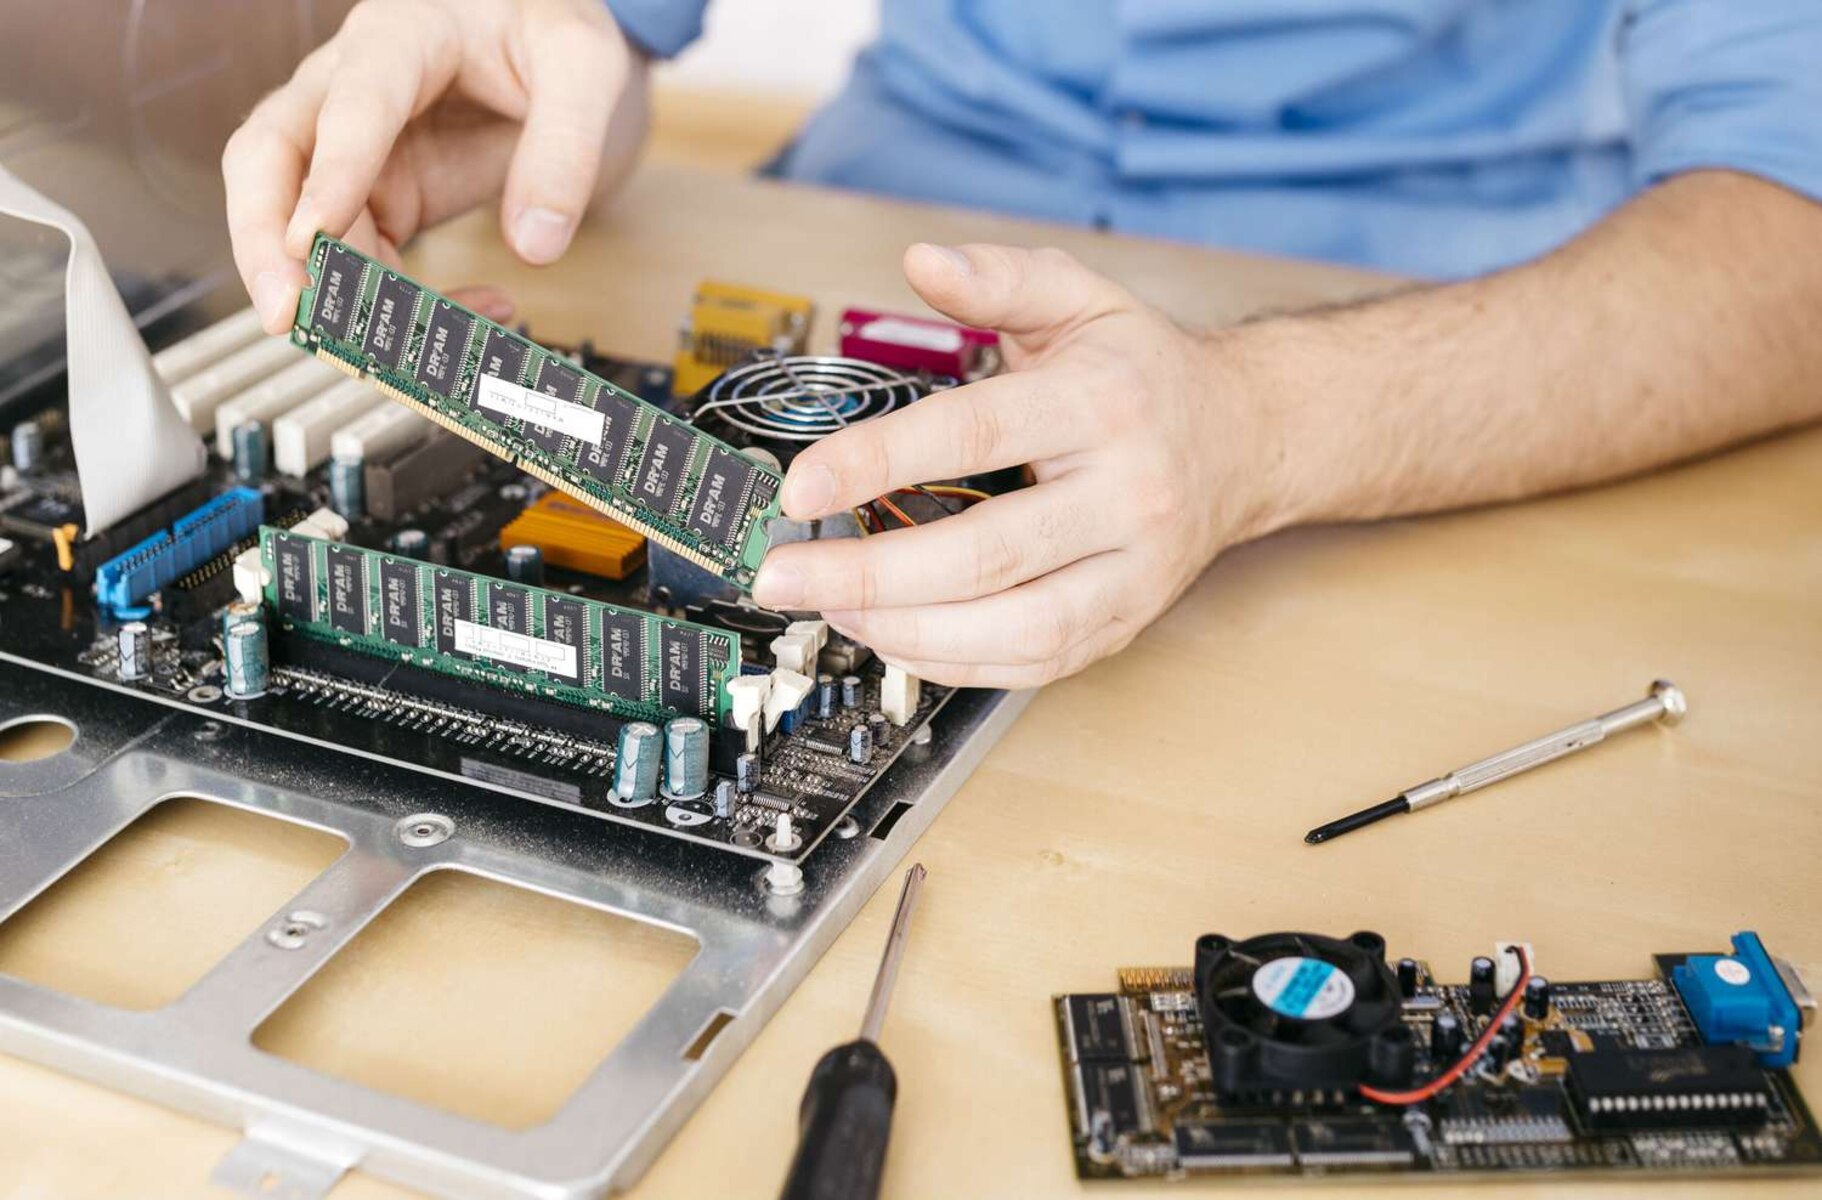
Step 5: Insert the RAM modules
Now that the RAM slot covers have been removed, it’s time to insert the new RAM modules into the empty slots. Follow these steps to ensure a successful installation:
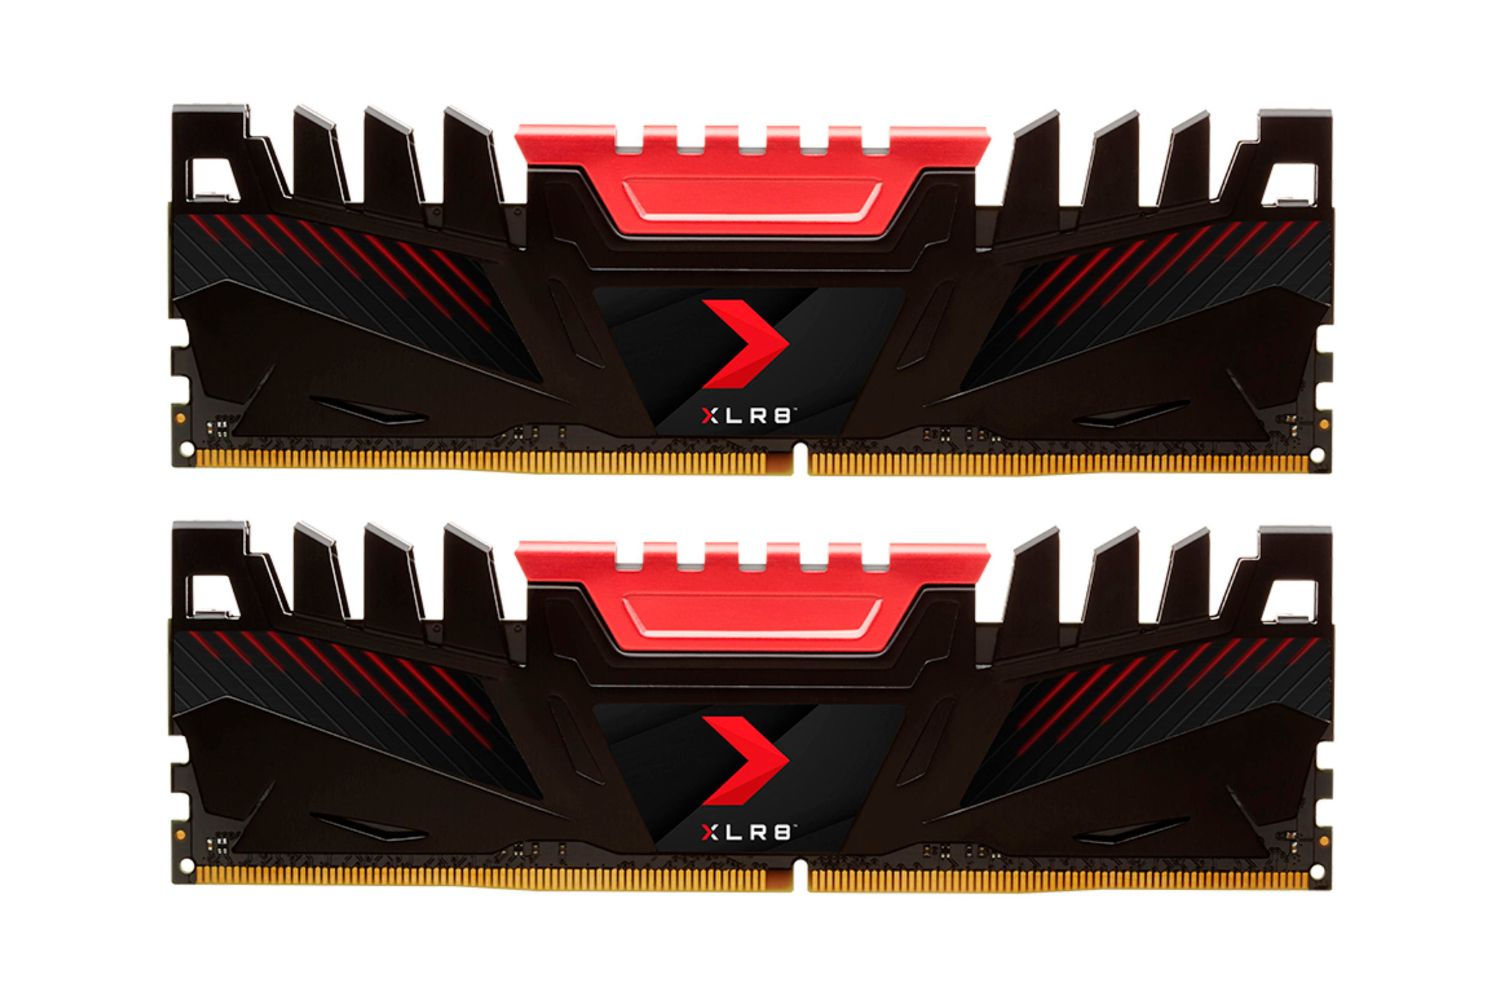
- Handle the RAM modules with care: Before inserting the RAM modules, make sure to handle them with care. Hold the modules by their edges, avoiding touching the gold contacts or any sensitive components to prevent damage from static electricity or oils on your fingers.
- Align the RAM module correctly: Take a close look at the RAM module and the RAM slot to ensure proper alignment. RAM modules have a notch or dividers on the bottom edge that must match the notch or dividers inside the RAM slot.
- Insert the RAM module at a slight angle: Hold the RAM module at a slight angle, with the notch or dividers aligned with the slot, and gently insert it into the slot. The slot has guides that will help guide the module into place.
- Apply firm and even pressure: Once the RAM module is aligned with the slot, apply firm and even pressure on both ends of the module. Push down until the module is fully seated in the slot and the gold contacts are no longer visible.
- Ensure a secure connection: After inserting the RAM module, give it a gentle wiggle to ensure that it’s securely connected. The module should be snug and not move or come loose from the slot. If it feels loose, remove and reinsert it to ensure a proper connection.
- Repeat the process for additional RAM modules: If you’re installing multiple RAM modules, repeat the above steps for each module. Some motherboards may have multiple slots grouped together, while others may have slots scattered across the motherboard. Refer to your manual for the specific slot configuration for your computer.
Following these steps will ensure that the RAM modules are inserted correctly and securely into the RAM slots. Take your time and be gentle during the installation process, as applying excessive force could damage the modules or the motherboard. With the RAM modules in place, you’re now ready to move on to the next step of securing them in the slots.
Step 6: Push the module into place
Now that the RAM modules have been inserted into the RAM slots, the next step is to push them into place. This ensures a secure connection and optimal performance. Follow these steps to properly push the modules into place:
- Apply even pressure on the module: Place your fingers on the top edges of the RAM module and apply even pressure. Ensure that your fingers are pressing down on the module’s top edges, holding it firmly.
- Use your thumbs to push down: With your fingers in position, use your thumbs to push down on the module. Apply steady downward pressure to firmly seat the module into the slot.
- Avoid excessive force: While it’s essential to apply enough pressure to secure the module, be cautious not to apply excessive force. Press firmly, but do not use excessive strength, as it may damage the module or the slot.
- Listen for a click: As you push the RAM module into place, listen for a click or a snapping sound. This indicates that the retaining clips or latches on the sides of the RAM slot have engaged and secured the module in place.
- Check for proper alignment: Once you’ve pushed the module into place and heard the click, visually inspect the RAM module to ensure that it is properly aligned with the slot. The module should be parallel to the other modules and seated evenly.
- Repeat the process for other modules: If you have inserted multiple RAM modules, repeat the above steps for each module in the same careful manner. Ensure that each module is pushed into place securely and evenly.
By following these steps, you’ll securely push the RAM modules into place, locking them into the slots. It’s important to exercise caution and apply even pressure to ensure a proper and secure connection. Once you’ve pushed all the modules into place, you’re ready to move on to the next step of securing them with the retaining clips.
Step 7: Secure the module with retaining clips
After pushing the RAM modules into place, it’s time to secure them using the retaining clips or latches. These clips or latches ensure that the modules remain firmly seated in the RAM slots. Follow these steps to properly secure the modules:
- Locate the retaining clips: Take a look at the sides of the RAM slots and locate the retaining clips or latches. These are small plastic arms or levers that hold the RAM modules in place.
- Press the retaining clips into position: Using your fingers, gently press the retaining clips or latches back into their original position. You may need to push them outward or downward, depending on the design of your motherboard and the clips themselves.
- Listen for a clicking sound: As you press the retaining clips into position, listen for a clicking sound. This indicates that the clips have engaged and securely locked the RAM modules in place.
- Check for a visual confirmation: After pressing the retaining clips, visually inspect the RAM modules and ensure that the clips are fully secured. The modules should no longer move or wiggle, indicating a proper connection.
- Double-check the alignment: While securing the retaining clips, also double-check the alignment of the RAM modules. Ensure that they are still parallel to each other and seated evenly in the slots.
By following these steps, you’ll properly secure the RAM modules using the retaining clips or latches. The retaining clips are essential for maintaining a stable connection and preventing the modules from accidentally becoming loose. Once you’ve secured all the modules, you can proceed to the next step of replacing the RAM slot covers.
Step 8: Replace the RAM slot covers
Now that the RAM modules are securely in place, it’s time to replace the RAM slot covers or clips. These covers help protect the installed RAM modules from dust and debris, ensuring their longevity and optimal performance. Follow these steps to properly replace the RAM slot covers:
- Take the RAM slot covers: Retrieve the RAM slot covers that you set aside earlier. Ensure that they are clean and free from any dirt or debris.
- Identify the correct orientation: Examine the RAM slot covers and the corresponding slots to determine the correct orientation for installation. The covers should align properly with the slots, ensuring a secure fit.
- Align the covers with the slots: Carefully position the RAM slot covers over the slots, aligning them with the notches or guides on the motherboard. Take your time to ensure proper alignment before proceeding.
- Push the covers into place: Apply gentle pressure to the covers to push them back into position. Depending on the design of your computer case, you may need to slide or snap them into place. Ensure that the covers fit snugly and securely over the slots.
- Double-check the alignment: After replacing the covers, visually inspect them to confirm that they are aligned evenly and parallel to each other. This ensures a neat and uniform appearance.
- Secure any retention mechanisms: If the RAM slot covers have retention mechanisms such as screws or clips, make sure to reattach or secure them according to the manufacturer’s instructions. This will help keep the covers in place and prevent any accidental movement.
By following these steps, you’ll successfully replace the RAM slot covers, providing protection to the installed RAM modules. Properly securing the covers is essential to maintain the integrity of the modules and prevent any dust or debris from accumulating in the slots. With the covers back in place, you’re almost done with the RAM installation process.
Step 9: Close your computer
With the RAM installation complete, the final step is to close your computer and prepare it for use. Follow these steps to ensure a secure and properly closed computer:
- Double-check all connections: Before closing your computer, double-check all the connections and components to ensure that everything is properly seated and secure. Verify that the RAM modules are securely in place and that all cables and peripherals are connected as they were before.
- Replace the side panel: If you removed the side panel of your desktop computer, carefully align it with the case and slide it back into position. Use the screws or latches to securely fasten the panel, ensuring a snug fit.
- Tighten any screws: If there are any loose screws on the case, tighten them to prevent any rattling or potential damage during operation. However, be careful not to overtighten and risk damaging the case or components.
- Connect the power cord: If you had unplugged the power cord earlier, now is the time to reconnect it to the back of your computer and plug it into an electrical outlet. Ensure a firm connection to provide power to your system.
- Power on your computer: With everything in place, press the power button to boot up your computer. Wait for it to start up, and you should see the familiar startup sequence on your screen.
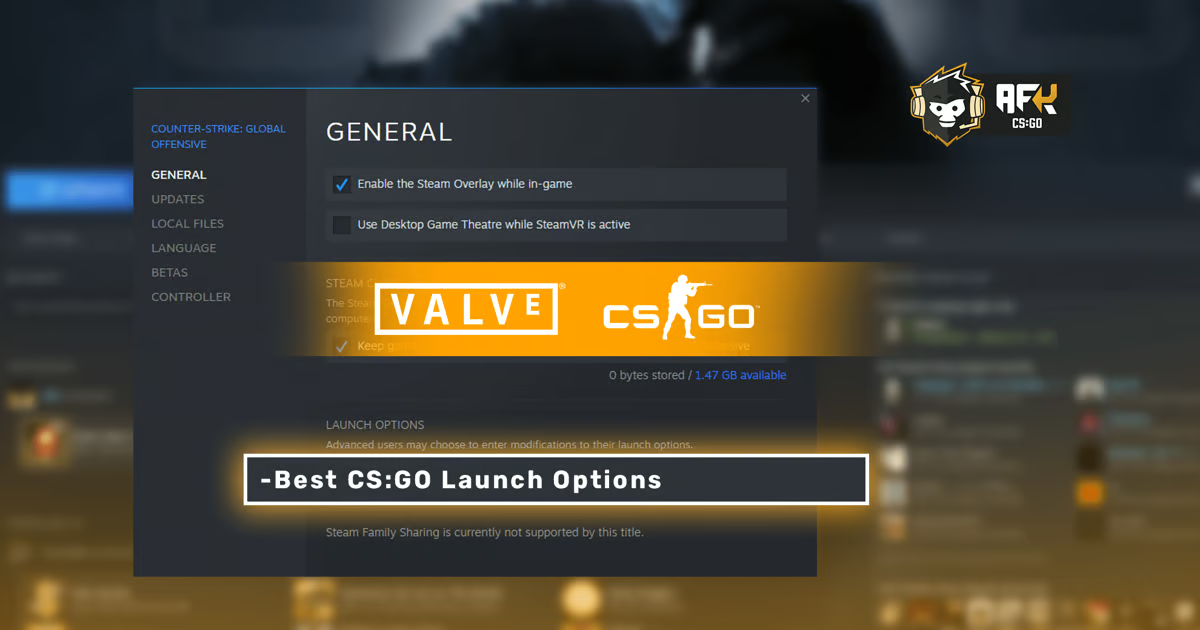
- Verify the installation: Once your computer has booted up, verify that the new RAM modules are recognized. You can do this by checking the system information or task manager to see if the increased memory capacity is reflected.
By following these steps, you’ll ensure that your computer is closed properly and ready to be used with the newly installed RAM. Take the time to double-check all connections and components to avoid any potential issues or loose connections. With your computer powered on and the RAM installation successfully completed, you can now enjoy the enhanced performance and increased memory capacity!
Conclusion
Congratulations! You have successfully installed new RAM modules into your computer, boosting its performance and overall capability. By following the step-by-step guide outlined in this article, you have gained the knowledge and skills needed to upgrade your computer’s RAM like a pro.
Throughout the installation process, you have learned important steps such as preparing your workspace, shutting down your computer properly, locating the RAM slots, removing the RAM slot covers, inserting the RAM modules, pushing them into place, securing them with retaining clips, replacing the RAM slot covers, and finally closing your computer.
It is worth mentioning that upgrading the RAM can significantly improve system speed, multitasking capabilities, and overall responsiveness. Whether you are a gamer, a professional working with resource-intensive software, or a general user who wants a smoother computing experience, adding more RAM is a cost-effective way to enhance your computer’s performance.
Remember, each computer may have specific requirements and differences in the RAM installation process. It is crucial to consult your computer’s manual or manufacturer’s website for detailed instructions tailored to your specific model. Always ensure compatibility between the RAM modules and your computer’s motherboard to avoid any issues.
Now that you have successfully installed the new RAM, take some time to verify that your computer recognizes the upgraded memory capacity. You can do this by checking the system information or task manager on your computer.
With the installation complete, you can now enjoy a faster and more efficient computing experience. Whether you’re engaging in demanding tasks or simply looking for a snappier system, the increased RAM capacity will undoubtedly enhance your overall computing performance.
Thank you for following this guide, and happy computing with your upgraded RAM!