Introduction
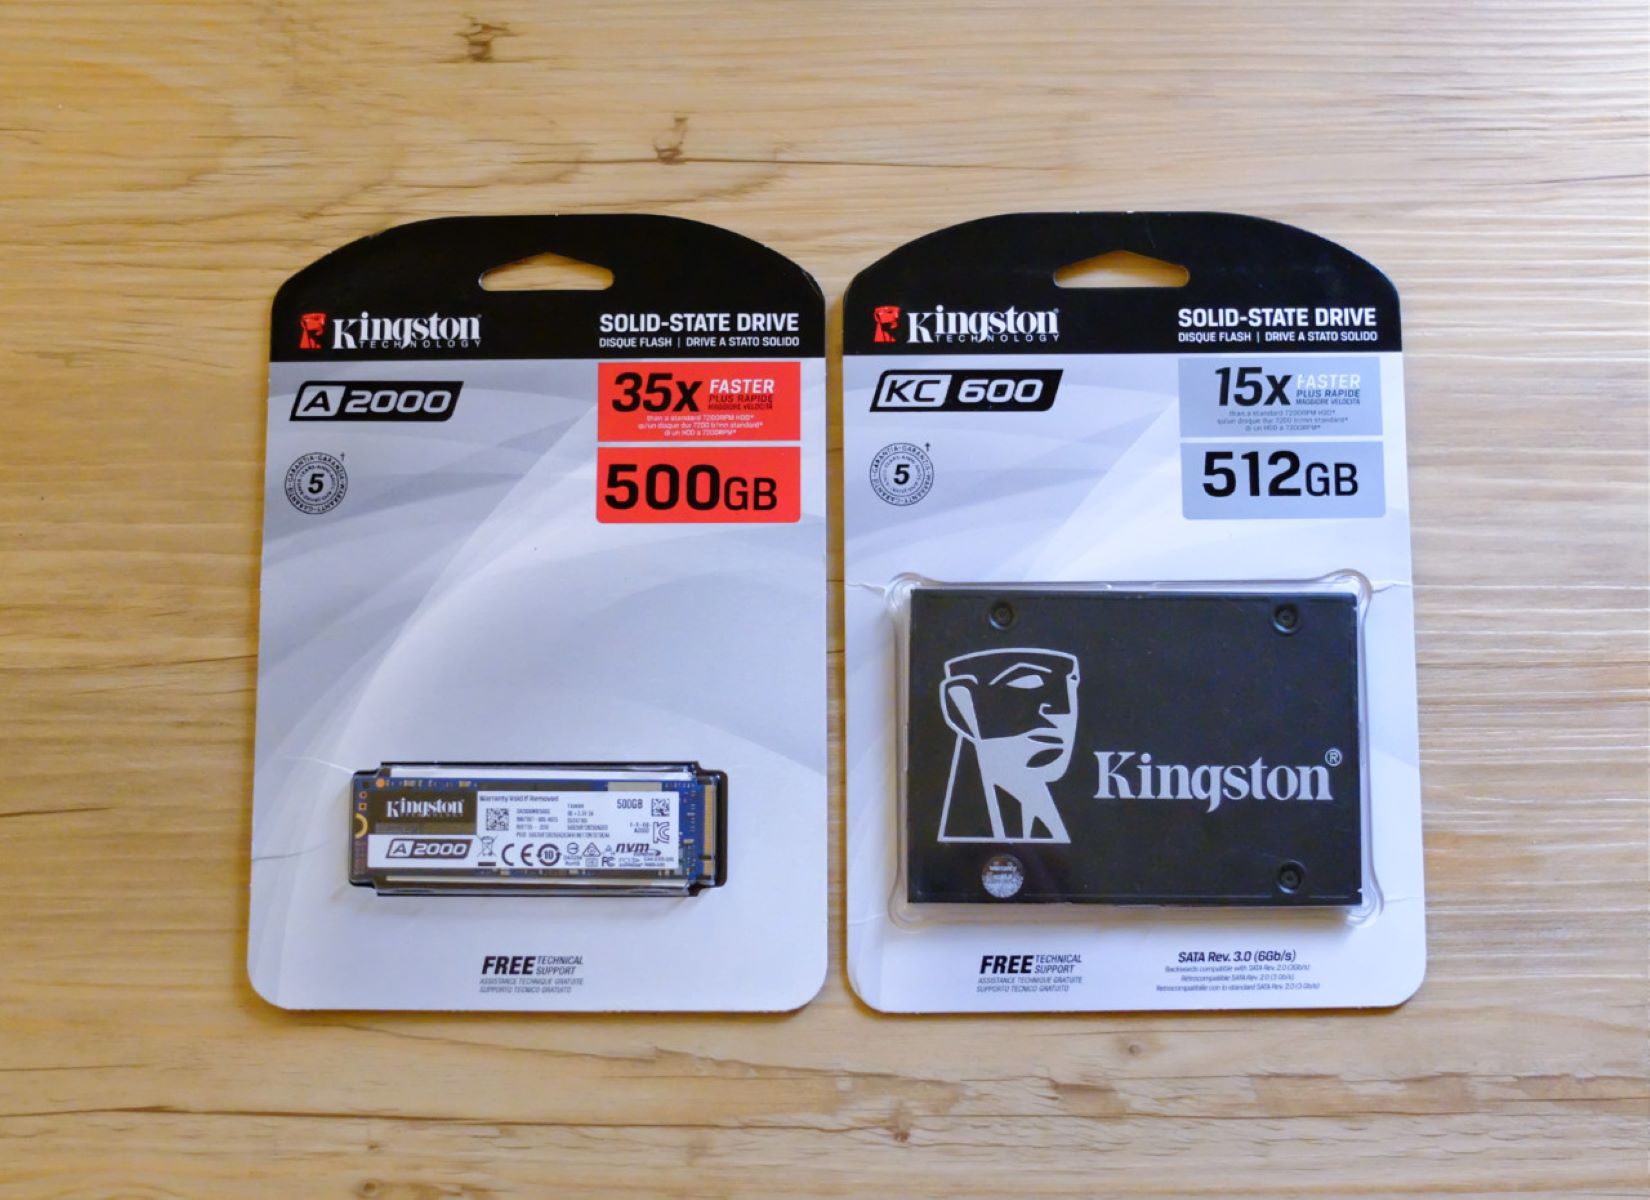
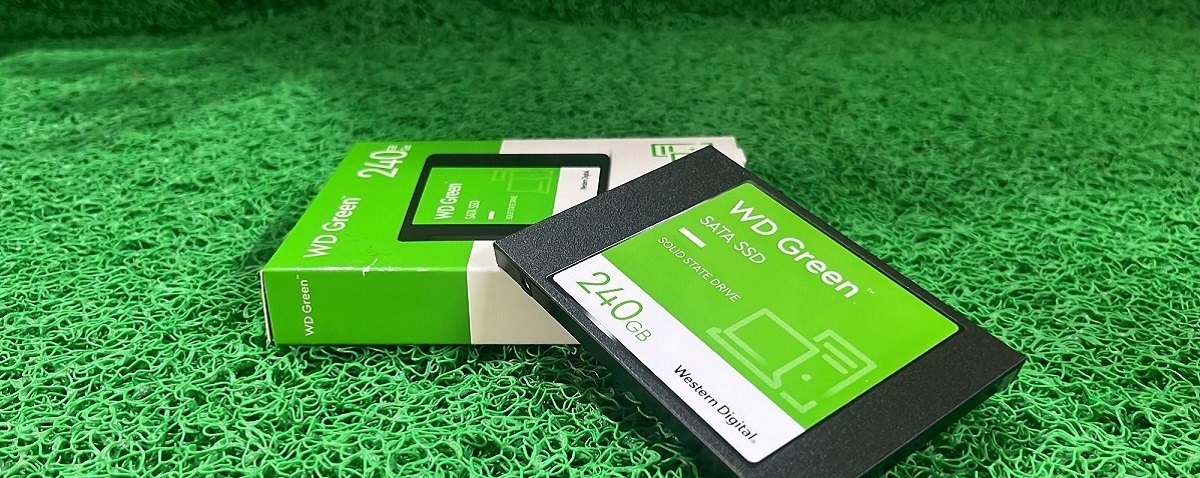
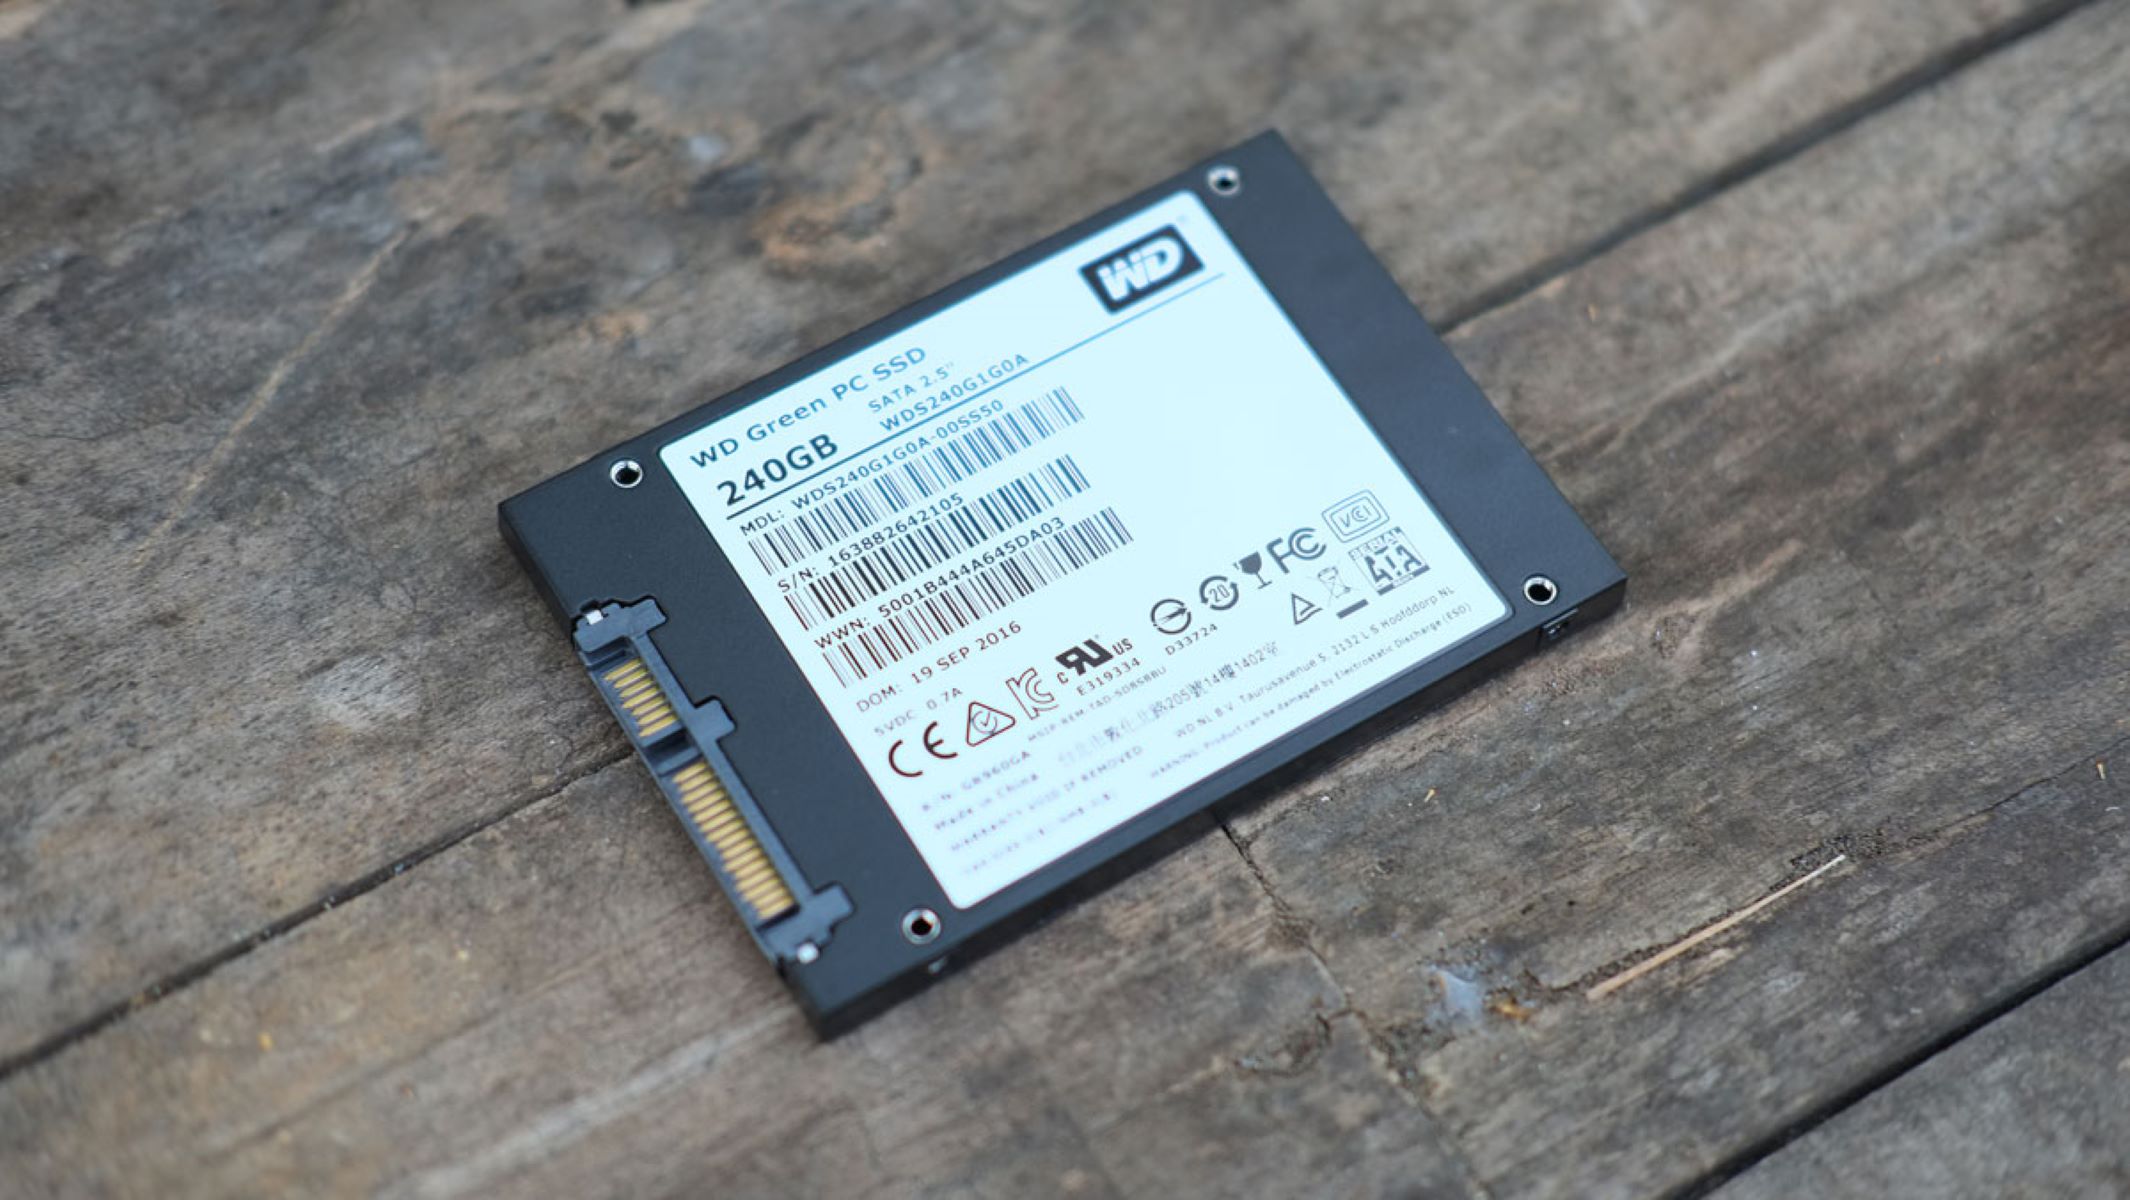
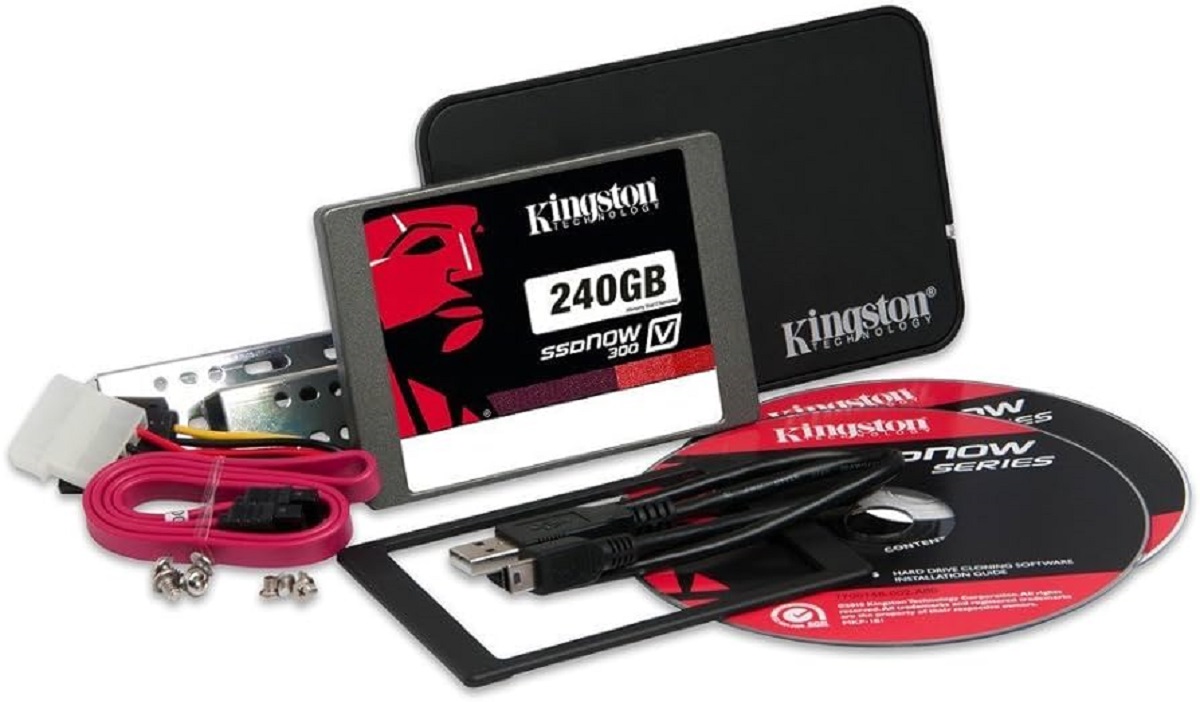
Welcome to our guide on how to install the Kingston 240GB Solid State Drive (SV300 240GB). If you’re looking to enhance your computer’s performance and speed up data access, upgrading to an SSD is a great choice. The Kingston SV300 240GB offers a generous amount of storage capacity and fast read/write speeds, making it suitable for both casual users and gamers alike.
In this installation guide, we will walk you through the step-by-step process of installing the Kingston 240GB SSD into your desktop computer. Whether you are a tech enthusiast or a novice, this guide will provide you with all the information you need to successfully complete the installation.
Upgrading to an SSD has several advantages over traditional hard disk drives (HDDs). SSDs do not have any moving parts, resulting in faster boot times, quicker file transfers, and improved overall system performance. The Kingston SV300 240GB SSD boasts impressive sequential read/write speeds, reduced power consumption, and increased durability, making it an excellent investment for anyone looking to enhance their computing experience.
Before we jump into the installation process, it’s essential to ensure that you have all the necessary tools and materials on hand. Having the right equipment will make the installation process more convenient and efficient. In the next section, we will discuss the tools and materials required for this installation.
Preparing for Installation
Before diving into the installation process, it’s essential to prepare yourself and your workstation. Taking the time to gather the necessary tools and materials will ensure a smooth installation process and help to avoid any unnecessary complications.
Here’s what you need to do to prepare for the Kingston 240GB SSD installation:
- Read the manual: Before doing anything, make sure to read through the Kingston 240GB SSD user manual. The manual will provide you with important information on installation procedures, precautions, and any specific requirements for your system.
- Backup your data: It’s always a good idea to back up your data before performing any hardware installation. While the installation process itself should not affect your data, it’s better to be safe than sorry. Transfer your important files, documents, and media to an external storage device or cloud storage.
- Gather the necessary tools: To successfully install the Kingston 240GB SSD, you’ll need a few basic tools. These include a screwdriver (usually Phillips head), an antistatic wrist strap (optional but recommended), and a clean working area that is free from static electricity.
- Locate your system’s documentation: Find the documentation for your desktop computer. This includes the user manual or any online resources provided by the manufacturer. These documents will help you identify the necessary steps to access the storage drive area of your computer.
By following these preparation steps, you can ensure a smooth and successful installation of your Kingston 240GB SSD. Once you have completed these tasks, you’ll be ready to start the actual installation process. In the next section, we will walk you through the step-by-step instructions for installing the SSD into your desktop computer.
Gathering Tools and Materials
Before you begin the installation of the Kingston 240GB SSD, it’s important to ensure that you have all the necessary tools and materials readily available. Gathering these items beforehand will help streamline the installation process and prevent any unnecessary delays or disruptions.
Here’s a list of the tools and materials you’ll need:
- Screwdriver: A Phillips head screwdriver is typically required to remove or secure screws during the installation process. Make sure you have a screwdriver that fits the screws commonly used in your desktop computer.
- Antistatic wrist strap: While not mandatory, using an antistatic wrist strap can be beneficial to prevent any electrostatic discharge (ESD) from damaging your computer components. It’s an extra safety precaution worth considering.
- Clean workspace: Find a clean and well-lit area to work on your computer. Keeping your workspace organized and free from clutter will help facilitate the installation and prevent any accidental damage.
- Kingston 240GB SSD: Of course, you’ll need the Kingston 240GB SSD itself. Ensure that you have the correct model and that it is compatible with your desktop computer.
- System documentation: Locate the documentation for your desktop computer, such as the user manual or any online resources provided by the manufacturer. This documentation will come in handy when accessing and installing the SSD.
By having these tools and materials ready, you’ll be well-prepared to tackle the installation of the Kingston 240GB SSD. Having everything within reach will save you time and ensure a smoother process. In the next section, we will guide you through the step-by-step instructions for installing the SSD into your desktop computer.
Steps for Installation
Now that you have all the necessary tools and materials prepared, it’s time to go through the step-by-step process of installing the Kingston 240GB SSD into your desktop computer. Follow these instructions carefully to ensure a successful installation:
Step 1: Shutting Down and Opening the Case
Before starting the installation process, shut down your computer completely and disconnect the power cable. Taking this precaution will protect you from any electrical hazards.
Next, locate the screws or latches that secure the computer case. Unscrew the screws or release the latches to open the case. Make sure to ground yourself by touching a metal surface to discharge any static electricity.
Step 2: Disconnecting Cables and Removing Old Drive
Once inside the case, locate the current storage drive, whether it’s an HDD or another SSD. Carefully disconnect any cables connected to the drive, including the data and power cables. Take note of how the cables are connected, as you will need to reconnect them to the Kingston SSD.
After disconnecting the cables, unscrew or release any additional screws or brackets that hold the old drive in place. Carefully remove the old drive from its slot in the drive bay.
Step 3: Installing Kingston 240GB SSD
Take the Kingston 240GB SSD and align it with the empty slot in the drive bay. Gently slide the drive into the slot until it is fully inserted. Make sure the connectors on the SSD are facing outward for easy cable connection.
If necessary, use screws or brackets to secure the Kingston SSD in place. Be careful not to overtighten the screws.
Step 4: Connecting Cables and Closing the Case
With the Kingston SSD securely in place, reconnect the data and power cables that were previously connected to the old drive. Ensure that the cables are properly inserted and firmly connected. Double-check the orientation of the connectors to avoid any potential damage.
Once all the necessary cables are connected, carefully close the computer case. Secure the case by tightening any screws or reattaching any latches that hold it in place.
Step 5: Powering On and Configuring the Drive
With the installation complete, you can now reconnect the power cable to the computer and power it on. Wait for the operating system to recognize the Kingston 240GB SSD.
Once the SSD is detected, you may need to configure it in your computer’s BIOS or through the operating system’s disk management utility. Follow the manufacturer’s instructions or refer to your system documentation for guidance on configuring the SSD.
Congratulations! You have successfully installed the Kingston 240GB SSD into your desktop computer. Now you can enjoy faster boot times, quicker file transfers, and improved overall system performance.
Step 1: Shutting Down and Opening the Case
The first step in installing the Kingston 240GB Solid State Drive (SV300 240GB) into your desktop computer is to shut down the computer and open the case. This will allow you to access the internal components of your computer safely.
Follow these steps to shut down and open the case:
- Shutting down: Save any open files or documents and close all running programs. Once you have done that, click on the Start menu in the lower left corner of your desktop, then click on the Power icon. Select “Shut down” from the dropdown menu. Wait for your computer to completely shut down before proceeding.
- Disconnecting the power cable: Locate the power cable connected to your desktop computer. It is usually located at the back of the computer case and has a plug that goes into the power supply unit (PSU). Gently pull the power plug from the PSU to disconnect the power supply. This will ensure that there is no power running to your computer while you work on the internal components.
- Opening the case: Depending on the make and model of your desktop computer, the case may have screws or latches securing it. Locate the screws or latches on the back or side of the case. If there are screws, use an appropriate screwdriver to unscrew them. If there are latches, slide or push them to release the case. Carefully remove the side panel of the case to reveal the internal components.
- Grounding yourself: To prevent any electrostatic discharge (ESD) that could damage internal components, it’s important to ground yourself. You can do this by touching a metal surface, such as the case itself, before handling any internal components.
By following these steps, you have successfully shut down your computer and opened the case, ensuring a safe and accessible environment for the installation process. Now you can proceed to the next step of disconnecting cables and removing the old drive.
Step 2: Disconnecting Cables and Removing Old Drive
Now that you’ve opened the case of your desktop computer, it’s time to disconnect the cables and remove the old drive that will be replaced by the Kingston 240GB Solid State Drive (SV300 240GB). Follow these steps carefully to ensure a smooth removal process:
- Identifying the old drive: Take a moment to locate the current storage drive in your computer. This could be a hard disk drive (HDD) or another solid-state drive (SSD). Identify the cables connected to the drive, which usually include a data cable and a power cable.
- Disconnecting the data cable: Begin by disconnecting the data cable from the old drive. This cable transfers data between the drive and other components of your computer, such as the motherboard. Gently pull the connector away from the drive while supporting the drive with your other hand. Set the cable aside.
- Removing the power cable: Next, disconnect the power cable connected to the old drive. The power cable supplies electricity to the drive. Similarly, gently pull the power cable connector away from the drive. Ensure that you support the drive with your other hand to prevent any unnecessary strain on the cable.
- Unscrewing the drive (if necessary): In some cases, the old drive may be secured in place by screws or brackets. If this is the case, locate and unscrew the screws or release the brackets to free the drive. Keep the screws or brackets in a safe place as you may need them later.
- Removing the old drive: Once the cables are disconnected and any screws or brackets are removed, carefully slide or lift the old drive out of its slot. Take note of the orientation of the drive within the drive bay for reference when installing the Kingston SSD.
By following these steps, you have successfully disconnected the cables and removed the old drive from your desktop computer. Now you are ready to proceed with the next step, installing the Kingston 240GB SSD. Take care to handle the old drive and cables with caution to prevent any damage during the removal process.
Step 3: Installing Kingston 240GB SSD
With the old drive removed, you can now proceed to install the Kingston 240GB Solid State Drive (SV300 240GB) into your desktop computer. Follow these steps carefully to ensure a successful installation:
- Locating the drive bay: Identify the empty drive bay or slot where the Kingston SSD will be installed. It is typically located near the previous location of the old drive. Ensure that the drive bay is compatible with the size of the Kingston SSD (2.5-inch form factor).
- Aligning the Kingston SSD: Take the Kingston SSD and align it with the empty slot in the drive bay. The connectors on the SSD should be facing outward for easy cable connection. Gently slide the drive into the slot until it is fully inserted. Be careful not to apply excessive force.
- Securing the Kingston SSD: If necessary, use screws or brackets provided with your computer casing to secure the Kingston SSD in place. Follow the instructions in your computer’s documentation to properly install and secure the drive. Ensure that the screws or brackets are firmly but not overly tightened.
- Cable connections: Take the data cable that you disconnected from the old drive and connect it to the appropriate connector on the Kingston SSD. Align the connectors properly and push them together until they are fully connected. Similarly, reconnect the power cable to the power connector on the SSD.
- Double-checking connections: Once the cables are connected, ensure that they are securely attached to the Kingston SSD. Double-check the alignment and make sure there are no loose connections.
By following these installation steps, you have successfully installed the Kingston 240GB SSD into your desktop computer. The SSD is now securely positioned in the drive bay and properly connected with the necessary cables. Proceed to the next step to connect cables and close the case of your computer.
Step 4: Connecting Cables and Closing the Case
Now that you have successfully installed the Kingston 240GB Solid State Drive (SV300 240GB) into your desktop computer, the next step is to connect the necessary cables and close the case. Follow these steps carefully to ensure everything is properly connected and secured:
- Cable connections: Before closing the case, make sure to reattach any cables that were disconnected during the installation process. Connect the data cable from the Kingston SSD to the appropriate port on the motherboard. Also, reconnect the power cable from the power supply unit to the Kingston SSD.
- Double-checking connections: Once the cables are reconnected, take a moment to double-check all the cable connections. Ensure that they are snugly and securely attached to the Kingston SSD. Improperly connected cables may cause issues with data transfer or power supply.
- Closing the case: Carefully position the side panel of the computer case back into place. Make sure that it aligns correctly with the rest of the case. Use the screws or latches that you previously removed to secure the side panel back onto the case. Tighten the screws but be careful not to overtighten them.
- Verifying external cables: Verify that all external cables, such as the keyboard, mouse, and monitor cables, are securely connected to the appropriate ports on your computer. Ensure that none of the cables are loose or disconnected, as this could impact the overall functionality of your computer.
- Final inspection: Before powering on your computer, take a final moment to inspect the installation. Check that all cables are neatly organized and not obstructing any fans or other components. Ensure that there are no loose screws or objects inside the case that could cause damage.
By following these steps, you have successfully connected the necessary cables and closed the case of your desktop computer. The Kingston 240GB SSD is securely installed and ready for use. Now you can proceed to the final step of powering on your computer and configuring the new drive.
Step 5: Powering On and Configuring the Drive
With the Kingston 240GB Solid State Drive (SV300 240GB) successfully installed in your desktop computer, it’s time to power on your system and configure the new drive. Follow these steps to ensure a smooth start-up and proper configuration:
- Powering on: Connect the power cable to your computer and plug it into a power outlet. Ensure that all external cables, such as the monitor, keyboard, and mouse, are properly connected as well. Press the power button to start your computer.
- Accessing the BIOS: During the boot-up process, you may need to access the BIOS (Basic Input/Output System) of your computer. The key to access the BIOS can vary depending on your computer’s manufacturer. Common keys include Del, F2, F10, or Esc. Refer to your computer’s documentation to determine the correct key.
- Configuring the Kingston SSD: Once you are in the BIOS, navigate to the “Storage” or “Boot” settings. Locate the Kingston SSD and ensure that it is listed as a recognized device. If it isn’t listed, double-check the cables and connections to ensure they are correctly installed.
- Setting the boot order (optional): If you’re using the Kingston SSD as your primary boot drive, you may want to set it as the first boot option in the BIOS. This will ensure that your computer boots from the SSD instead of other storage devices. Consult your computer’s documentation or BIOS settings for instructions on how to set the boot order.
- Save and exit: Once you have made any necessary changes in the BIOS, save the settings and exit. This will allow your computer to start up normally with the Kingston SSD as the recognized boot device.
- Initial operating system setup: If you have installed a new operating system on the Kingston SSD, follow the instructions provided by the operating system installer. This may include configuring your user settings, creating a new account, or transferring data from a backup.
- Verifying functionality: After the operating system setup is complete, verify that the Kingston SSD is functioning properly. Check its performance, speed, and storage capacity to ensure everything is working as expected.
By following these steps, you have successfully powered on your computer and configured the Kingston 240GB SSD. You are now ready to enjoy the improved performance, faster boot times, and overall enhanced computing experience that the SSD provides. Congratulations on completing the installation process!
Troubleshooting Tips
While installing the Kingston 240GB Solid State Drive (SV300 240GB) into your desktop computer, you might encounter some common issues or challenges. Don’t worry, as we’ve got you covered with these troubleshooting tips:
- Double-check cable connections: If your computer doesn’t recognize the Kingston SSD, ensure that all cables are securely connected. Check both the data and power cables to make sure they are properly inserted into the SSD and the motherboard or power supply unit.
- Confirm compatibility: Verify that the Kingston SSD is compatible with your motherboard and operating system. Check the SSD’s specifications and requirements to ensure compatibility with your system. If there is a compatibility issue, consider contacting Kingston support for assistance or considering an alternative solution.
- Update drivers and firmware: Check if there are any available updates for your motherboard’s drivers or the SSD’s firmware. Outdated drivers or firmware can cause compatibility issues and performance problems. Visit the manufacturer’s website to download and install the latest updates.
- Check BIOS settings: Make sure that the SATA mode in your BIOS is set to AHCI (Advanced Host Controller Interface) for optimal SSD performance. Additionally, ensure that the SATA port to which the Kingston SSD is connected is enabled in the BIOS settings.
- Verify SATA cable functionality: If you suspect a problem with the data cable, try using a different SATA cable to connect the Kingston SSD. This can help determine if the issue is specific to the cable itself.
- Scan for viruses/malware: Run a thorough scan of your newly installed Kingston SSD for any viruses or malware. Use reputable antivirus software to ensure the security and integrity of your system.
- Perform a clean installation of the operating system (if needed): If you encounter persistent issues or want to start fresh, consider performing a clean installation of your operating system on the Kingston SSD. Back up your data and follow the recommended procedures for installing the operating system on a new drive.
- Consult manufacturer’s support: If you have followed the troubleshooting steps without success, reach out to Kingston’s technical support for further assistance. They have dedicated resources to help resolve any specific issues you may encounter during or after the installation process.
By following these troubleshooting tips, you will be able to address common challenges and resolve any issues that may arise during the installation and configuration of the Kingston 240GB SSD. Remember to exercise patience and attention to detail as you troubleshoot, and don’t hesitate to seek assistance when needed.
Conclusion
Congratulations! You have successfully completed the installation of the Kingston 240GB Solid State Drive (SV300 240GB) into your desktop computer. By following the step-by-step instructions and utilizing the troubleshooting tips, you have equipped your computer with a high-performance SSD that will enhance its speed, efficiency, and overall performance.
The Kingston 240GB SSD offers a significant upgrade over traditional hard disk drives, providing faster boot times, quicker file transfers, and improved overall system responsiveness. With its generous storage capacity and reliable performance, you can now store and access your data with ease.
Remember to keep the installation process in mind should you need to install or upgrade any additional storage devices or components in the future.
Should you encounter any issues or have further questions, don’t hesitate to reach out to Kingston’s technical support for assistance. They are dedicated to providing reliable and efficient support to ensure that your installation and usage experience with the Kingston 240GB SSD is smooth and successful.
Thank you for choosing Kingston as your storage solution. Enjoy the increased performance and productivity that the Kingston 240GB SSD brings to your computing journey!