Introduction
Welcome to our guide on how to install digital camera software. Whether you’re a professional photographer or a casual hobbyist, having the right software for your digital camera is crucial for managing and enhancing your photos. The software provided by the camera manufacturer offers features such as image editing, organizing, and transferring files from your camera to your computer.
In this article, we will walk you through the step-by-step process of installing digital camera software on your computer. We’ll cover everything from downloading the software to connecting your camera and launching the software for the first time.
Installing digital camera software is a fairly straightforward process, but it can vary slightly depending on the brand and model of your camera. By following our guide, you’ll gain a better understanding of the installation process and be ready to start taking full advantage of the features offered by your camera’s software.
Before we dive into the steps, make sure you have your camera’s USB cable and a computer with an internet connection handy. This will allow you to download the necessary software and establish a connection between your camera and computer.
Are you ready to get started? Let’s jump right in and begin with downloading the software in the next section.
Step 1: Downloading the software
The first step in installing digital camera software is to download the necessary software from the manufacturer’s website. This software is specific to your camera model and is designed to work seamlessly with the device.
To begin, open your preferred web browser and navigate to the manufacturer’s official website. Once there, locate the “Support” or “Downloads” section, which is usually found in the top menu or footer of the website. Look for the section related to software or drivers for your camera model.
Within the software or drivers section, you should find a list of available downloads. Look for the software package that corresponds with your camera model and operating system (Windows or MacOS). Click on the download link to initiate the download process.
The download may take some time, depending on the size of the software package and your internet connection speed. It’s important to ensure a stable internet connection during this process to avoid any interruptions.
Once the download is complete, locate the downloaded file on your computer. The file is often in a compressed format such as .zip or .exe. If it’s compressed, you’ll need to extract the files before proceeding with the installation.
To extract the files, right-click on the downloaded file and select “Extract” or “Extract Here”. This will create a folder containing the necessary files for installation.
With the software files extracted, you’re now ready to move on to the next step: running the installation file. Stay tuned!
Step 2: Running the installation file
Now that you have downloaded the software for your digital camera, it’s time to run the installation file and begin the installation process. Running the installation file will initiate the setup wizard that will guide you through the necessary steps to install the software on your computer.
To start, navigate to the folder where you extracted the downloaded files in the previous step. Look for a file with a name similar to “setup.exe” or “installer.exe”. This is the installation file that you need to run.
Double-click on the installation file to launch the setup wizard. In some cases, you may be prompted to confirm that you want to run the file. Click “Yes” or “Run” to proceed with the installation.
Once the setup wizard opens, you may be greeted with a welcome message or a prompt to choose your language preference. Follow the on-screen instructions and provide the necessary inputs as requested. This may include selecting a language, choosing an installation location, or confirming the software version.
Take a moment to review the system requirements specified by the software. Ensure that your computer meets or exceeds these requirements to ensure smooth installation and optimal performance of the software.
Next, you may be prompted to close any other applications or programs that are currently running on your computer. This is to prevent any conflicts during the installation process. Close any necessary applications and click “Next” to continue.
The setup wizard will now begin installing the software files onto your computer. Depending on the size of the software package, this process may take a few minutes. It’s important to be patient and not interrupt the installation process.
Once the installation is complete, you may be presented with a notification or prompt that informs you of a successful installation. Congratulations! You have successfully run the installation file for your digital camera’s software.
In the next step, we will cover the process of agreeing to the terms and conditions. Keep reading!
Step 3: Agreeing to the terms and conditions
After running the installation file, the next step in installing the digital camera software is to agree to the terms and conditions set by the manufacturer. This is a standard procedure that ensures you are aware of your rights and responsibilities when using the software.
Once the installation process is complete, you may be presented with a screen that displays the terms and conditions. These terms outline the usage rights, restrictions, and any additional requirements imposed by the camera manufacturer.
It’s important to carefully read through the terms and conditions to understand the terms of use for the software. Pay close attention to any clauses related to privacy, data collection, and software updates to ensure that you are comfortable with them.
If you agree to the terms and conditions, you will typically be required to indicate your acceptance by checking a box or clicking an “Agree” button. Some software may also provide a link to view the full terms and conditions document before you proceed.
Keep in mind that if you do not agree to the terms and conditions, you may not be able to proceed with the installation of the software. In such cases, you may need to seek an alternative software solution or contact the manufacturer for further assistance.
Once you have agreed to the terms and conditions, click on the “Next” or “Continue” button to proceed with the installation process. The setup wizard will now move on to the next step, where you can choose the desired installation settings for the software.
In the next section, we will guide you through the process of choosing installation settings. Keep reading to learn more!
Step 4: Choosing installation settings
Now that you have agreed to the terms and conditions, the next step in installing the digital camera software is to choose the installation settings. This step allows you to customize the installation process according to your preferences and requirements.
During this step, you may be presented with a screen that offers various installation options. These options can include selecting the destination folder where the software will be installed, choosing additional components to install (such as photo editing tools or plug-ins), and setting shortcuts or icons on your computer’s desktop or Start menu.
Let’s take a closer look at these installation settings:
- Destination Folder: By default, the setup wizard will suggest a folder where the software will be installed. You can choose to accept the default location or specify a different folder. Consider selecting a folder that is easily accessible and relevant to the software’s purpose.
- Additional Components: Some software packages may offer additional components or features that you can choose to install. These components can enhance your software’s functionality, such as additional filters or effects for photo editing. Review the available options and select any components that you would like to include.
- Shortcuts and Icons: You may be given the option to create shortcuts or icons for easy access to the software. These shortcuts can be placed on your desktop, Start menu, or taskbar, depending on your preference. Select the desired options to customize the accessibility of the software.
Take your time to review the available installation settings and make the selections that align with your needs. Once you have made your choices, click on the “Next” or “Continue” button to proceed.
The setup wizard will now apply the chosen installation settings and prepare for the actual installation of the software. In the next step, we will guide you through the process of installing the software onto your computer. Stay tuned!
Step 5: Installing the software
Now that you have chosen the installation settings, it’s time to proceed with the actual installation of the digital camera software. This step will install the necessary files onto your computer and ensure that the software is ready to use.
After confirming your installation settings, click on the “Install” or “Next” button to initiate the installation process. The setup wizard will now begin copying the necessary files and components to your computer. This process may take a few moments, depending on the size of the software and the speed of your computer.
During the installation, you may see a progress bar indicating the status of the installation. It’s important to avoid interrupting the process or closing the setup wizard to ensure a successful installation.
Once the installation is complete, you will see a notification or prompt indicating the successful installation of the software. It may also offer options to launch the software immediately or provide guidance on how to access it later.
At this point, you have successfully installed the digital camera software on your computer. Congratulations! The software is now ready for use, and you can proceed to the next step of connecting your digital camera to your computer.
Before moving on, it’s a good idea to restart your computer. This will ensure that all the necessary files and changes associated with the software installation are applied correctly.
In the next step, we will guide you through the process of connecting your digital camera to your computer. Keep reading to learn how to establish the connection and start using the software!
Step 6: Connecting your digital camera to your computer
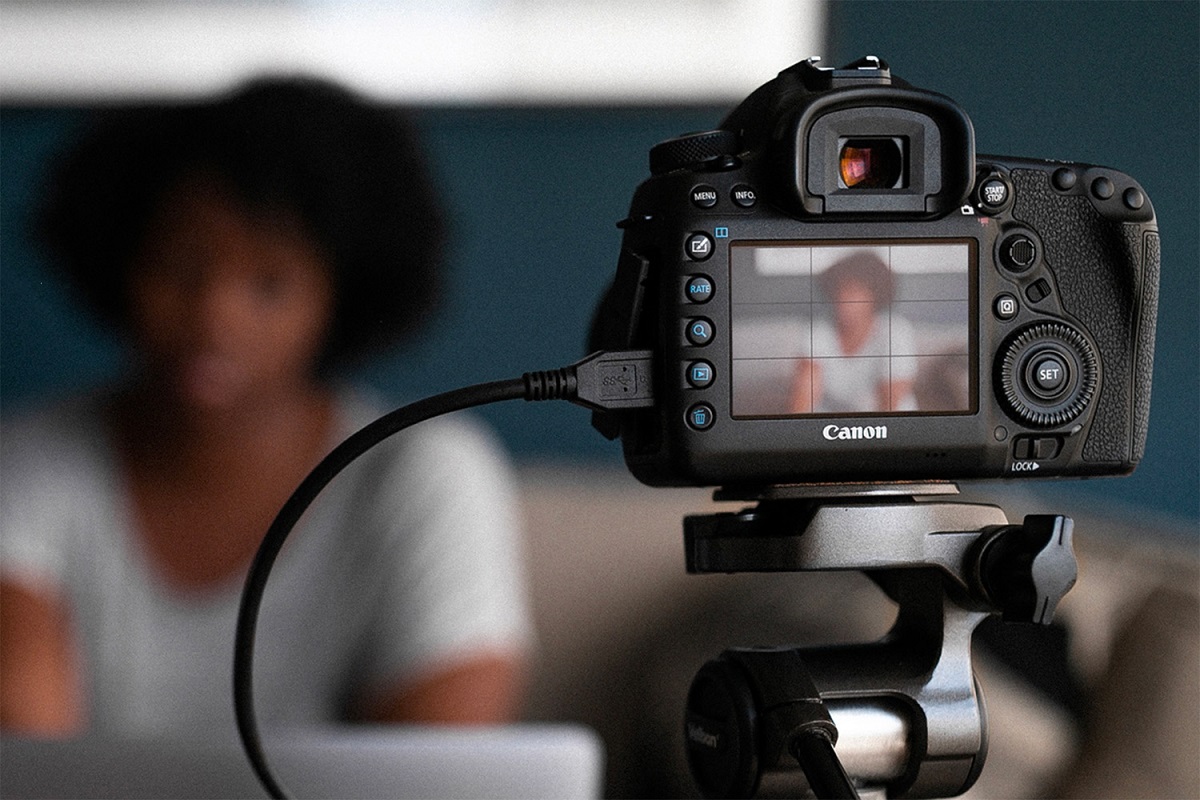
Now that you have successfully installed the digital camera software, it’s time to connect your digital camera to your computer. Establishing this connection is crucial for transferring photos and accessing the features provided by the software.
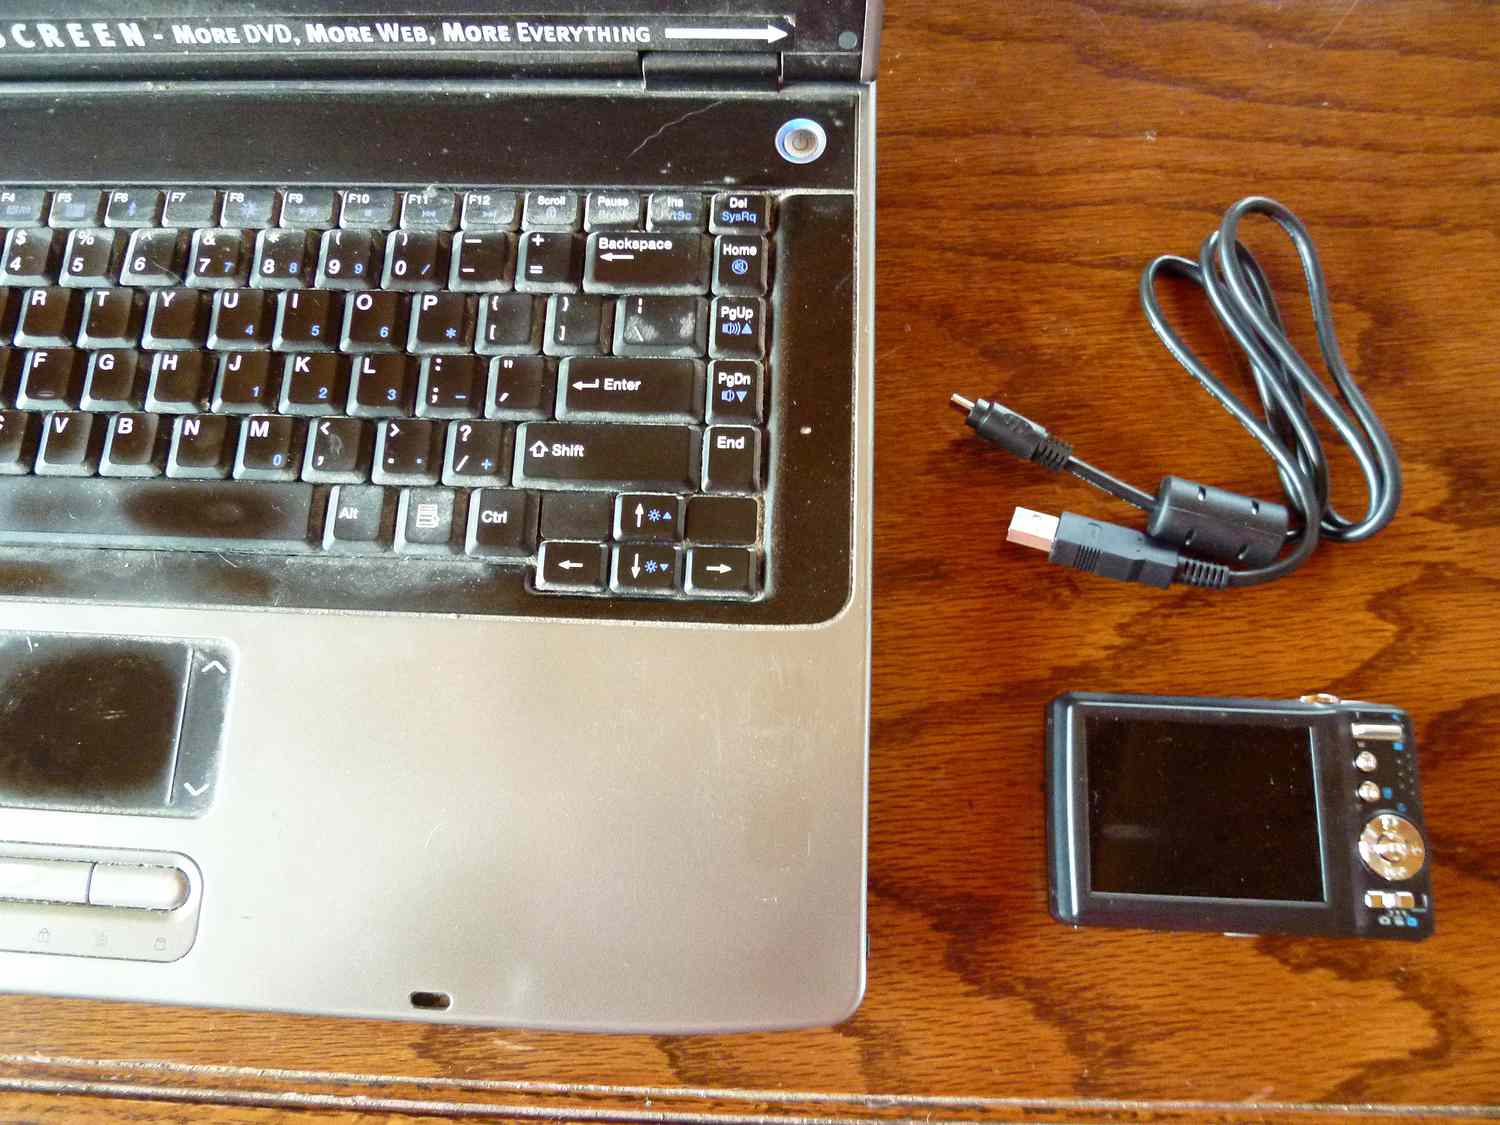
Before connecting your digital camera, ensure that it is powered off. Locate the USB cable that came with your camera. One end of the cable should have a standard USB connector, while the other end may have a proprietary connector that is specific to your camera model.
Plug the standard USB connector into an available USB port on your computer. The USB ports are usually located on the front or back of the computer tower, or on the sides of a laptop. Make sure to choose a port that is easily accessible and has a stable connection.
Next, plug the proprietary connector into the corresponding port on your digital camera. This port is typically labeled as “USB” or indicated by an icon that resembles a USB symbol. Ensure that the connection is secure.
Once the connections have been made, power on your digital camera. It will now establish a connection with your computer.
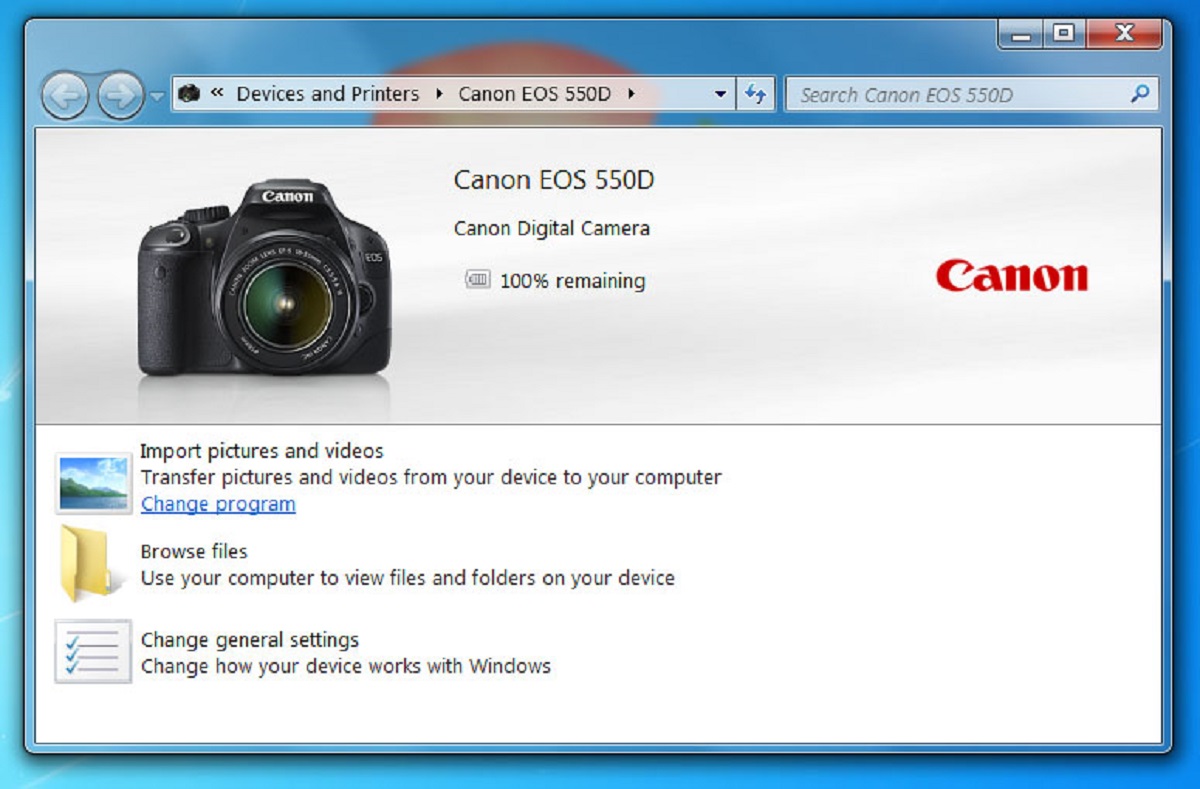
Depending on your camera model and software settings, you may see a notification on your computer indicating that a device has been connected. The camera might also display a message asking for your permission to establish the connection.
Follow the on-screen prompts to allow the connection between your camera and computer. The software should then recognize your camera and display options for transferring photos and accessing additional features.
If your camera is not recognized by the software, try disconnecting and reconnecting the USB cable. Ensure that the connections are secure and properly inserted. You may also need to consult the camera’s user manual or contact the manufacturer for further assistance.
Once the connection is established, you can start transferring photos from your camera to your computer and explore the various features offered by the software.
In the next section, we will guide you through the process of launching the software and exploring its functionalities. Keep reading to learn more!
Step 7: Launching the software
Now that you have successfully connected your digital camera to your computer, it’s time to launch the software and explore its functionalities. The software provided by the camera manufacturer offers a range of features, such as photo organization, editing, and sharing capabilities.
Once your camera is connected, navigate to your computer’s Start menu or desktop and look for the software icon or shortcut. Double-click on the icon to launch the software.
Upon launching the software, you may be greeted with a welcome screen or a dashboard that provides an overview of the available features. Take some time to familiarize yourself with the layout and navigation options provided by the software.
Depending on the software, you may have access to features such as photo browsing, editing tools, organization and sorting options, and sharing capabilities. Explore the different menus and buttons within the software to fully utilize its functionalities.
To transfer photos from your digital camera to your computer, look for an option or button that allows you to import or download photos. This feature will typically guide you through the process of selecting the photos you want to transfer and choosing a location on your computer to save them.
Once the photos are imported, you can use the software’s editing tools to enhance and modify your images. These tools may include options for adjusting brightness, contrast, saturation, cropping, and applying filters or effects.
Furthermore, the software may offer features for organizing your photo collection, such as creating albums or tagging images with keywords. This makes it easier to locate specific photos in the future.
Additionally, explore the software’s sharing options, which allow you to upload and share your photos directly from the software to social media platforms or via email.
Remember to refer to the software’s user manual or online resources for more detailed instructions and tips on using specific features. The more you familiarize yourself with the software, the more you can make the most out of your digital camera and create stunning photographs.
Congratulations! You have successfully installed the digital camera software, connected your camera to your computer, and launched the software. You are now ready to unleash your creativity and embark on an exciting photographic journey.
With these steps completed, you can now enjoy the full range of features and capabilities offered by the software. Happy shooting!
Conclusion
Congratulations on successfully installing the digital camera software and setting up the connection between your camera and computer! With the software up and running, you now have access to a range of features and functionalities that can enhance your photography experience.
Throughout this installation guide, we walked you through the step-by-step process of downloading the software, running the installation file, agreeing to the terms and conditions, choosing installation settings, installing the software, connecting your camera to your computer, and launching the software.
By following these steps, you have ensured that your camera’s software is properly installed and ready to use. This software will allow you to transfer photos from your camera to your computer, as well as provide additional tools for editing, organizing, and sharing your images.
Remember to explore the various features offered by the software and refer to the user manual or online resources for more information on specific functionalities. The more familiar you become with the software, the more you can harness its power to create stunning photos and unlock your creative potential.
As you continue your photography journey, regularly check for software updates from the manufacturer. These updates often offer new features, bug fixes, and improvements to ensure optimal performance of your camera software.
Keep practicing, experimenting, and honing your photography skills. The digital camera software is a valuable tool that can help you unleash your creativity and achieve the best results in your photographic endeavors.
Now, armed with your newly installed digital camera software, it’s time to capture breathtaking moments and immortalize them through your lens. Happy shooting!


