Introduction
Welcome to the world of cybersecurity, where installing an antivirus program on your Windows 10 system is a crucial step towards protecting your sensitive information and keeping your computer safe from various online threats. With the ever-growing number of malware attacks and cyberattacks, having a reliable antivirus software is essential for a smooth and worry-free computing experience.
Antivirus software is designed to detect, prevent, and remove malicious software such as viruses, spyware, adware, ransomware, and other potentially unwanted programs. It acts as a shield, scanning files, websites, and email attachments to identify and eliminate any threats that could harm your computer and compromise your privacy.
In this step-by-step guide, we will walk you through the process of installing an antivirus program on your Windows 10 operating system. Whether you are a novice or a tech-savvy individual, this article will provide you with the necessary information to choose the right antivirus program and ensure a smooth installation process.
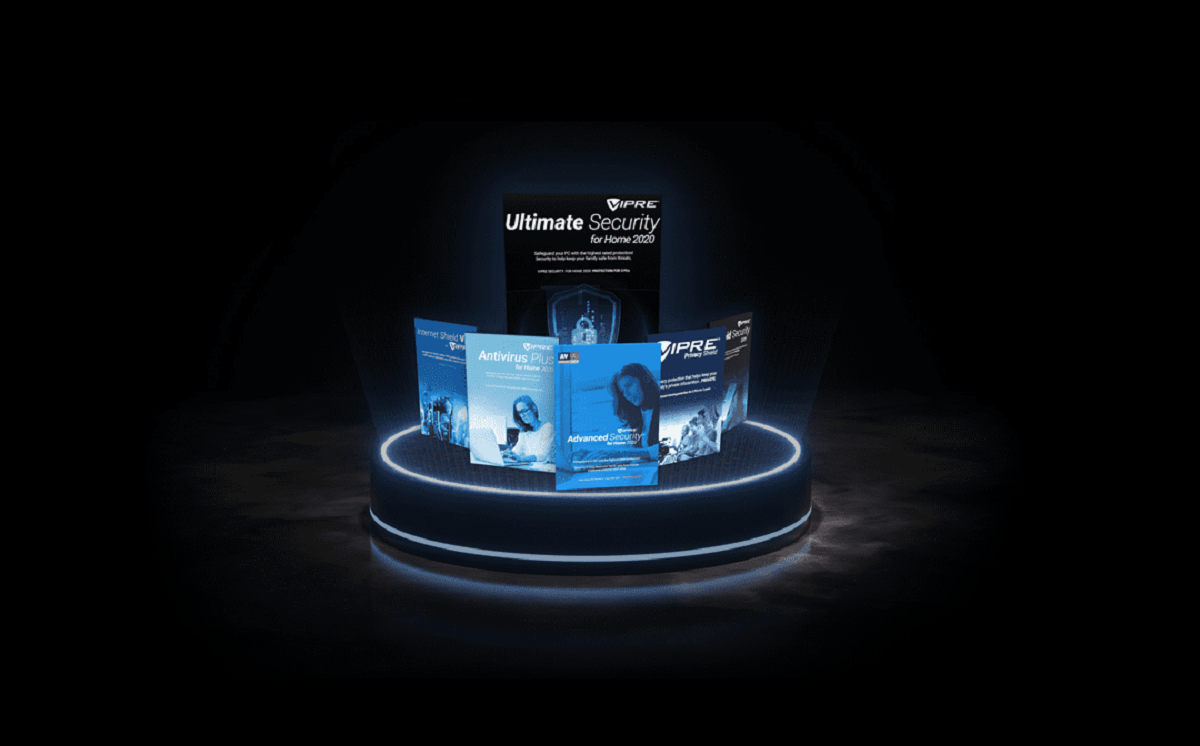
Before we dive into the installation process, it’s important to note that there are numerous antivirus software options available in the market. Each program offers different features, performance levels, and pricing options. Therefore, taking the time to evaluate your needs and research the available options will help you make an informed decision.
Now that we’ve laid the foundation, let’s proceed to the next step: selecting the right antivirus program that suits your specific requirements.
Step 1: Selecting an Antivirus Program
When it comes to selecting an antivirus program for your Windows 10 system, there are a few factors to consider. Before diving into the research process, it’s essential to identify your specific needs and priorities to ensure you choose the right antivirus software. Here are some points to consider:
- Protection Features: Look for antivirus programs that offer comprehensive protection against various types of malware, including viruses, ransomware, spyware, and phishing attacks. Additionally, consider features like real-time scanning, automatic updates, and web protection.
- Performance: Antivirus software should provide effective protection without significantly impacting your system’s performance. Look for lightweight programs that use minimal system resources.
- User-Friendliness: Consider the user interface and ease of use. An intuitive and user-friendly interface will make navigating the antivirus program a breeze, allowing you to easily access important features and settings.
- Compatibility: Ensure the antivirus program is compatible with Windows 10. Check the system requirements and ensure it works seamlessly with your operating system.
- Customer Support: Reliable customer support is crucial. Look for antivirus programs that offer timely customer service, including email, phone, or live chat support. This can be helpful in case you have any technical issues or need assistance.
- Reviews and Ratings: Take the time to read reviews and ratings from reputable sources and real users. This will provide insights into the antivirus program’s performance, reliability, and effectiveness.
- Price: Consider your budget and the pricing options offered by different antivirus programs. Many antivirus software providers offer free versions with limited features, as well as paid versions with additional functionality.
By considering these factors, you will be able to narrow down your options and select the antivirus program that best suits your needs. Once you have a shortlist of antivirus programs, you can proceed to the next step: downloading the software.
Step 2: Downloading the Antivirus Software
After selecting the antivirus program that meets your requirements, it’s time to download the software onto your Windows 10 system. Follow these steps to download the antivirus software:
- Go to the antivirus program’s official website. You can typically find this by searching for the name of the antivirus program in your preferred search engine.
- Navigate to the “Downloads” or “Get Started” section of the website. Look for the option to download the software for Windows 10.
- Click on the download link, and the antivirus program’s installer file will begin downloading onto your computer. The file is usually in the form of an executable (.exe) file.
- Depending on your browser settings, you may be prompted to save the file or it may automatically start downloading to a default location on your computer, such as the Downloads folder.
- Wait for the download to complete. The time it takes to download will vary depending on your internet speed.
Once the download is complete, you are ready to proceed to the next step: running the installer and starting the installation process. It is important to note that some antivirus programs may require you to create an account or provide your email address during the download process. Follow the prompts and provide the necessary information accordingly.
Remember to download the antivirus software only from the official website of the program to ensure that you are getting a legitimate and secure version of the software. Be cautious of downloading from third-party websites, as they may distribute altered or malicious versions of the antivirus program.
Now that you have successfully downloaded the antivirus software, it’s time to move on to the installation process. In the next step, we will guide you through the steps to run the installer and set up the antivirus software on your Windows 10 system.
Step 3: Running the Installer
With the antivirus software installer file downloaded onto your Windows 10 system, it’s time to run the installer and begin the installation process. Follow these steps to run the installer:
- Navigate to the location where the antivirus software installer file was downloaded. This is typically in your Downloads folder, but you may have chosen a different location during the download process.
- Locate the antivirus software installer file, which is usually in the form of an executable (.exe) file.
- Double-click on the installer file to run it. If prompted with a security warning, click “Run” or “Yes” to proceed.
- The installation wizard for the antivirus program will launch, guiding you through the installation process.
- Read and accept the End User License Agreement (EULA) or Terms of Service, if prompted. It is important to review and understand the terms before proceeding.
- Follow the prompts provided by the installation wizard. You may be asked to choose the installation location or specify any additional settings.
- Wait for the installation process to complete. This may take a few minutes, depending on the antivirus program and your system’s speed.
- Once the installation is finished, you will receive a notification or a prompt indicating that the antivirus software has been successfully installed on your Windows 10 system.
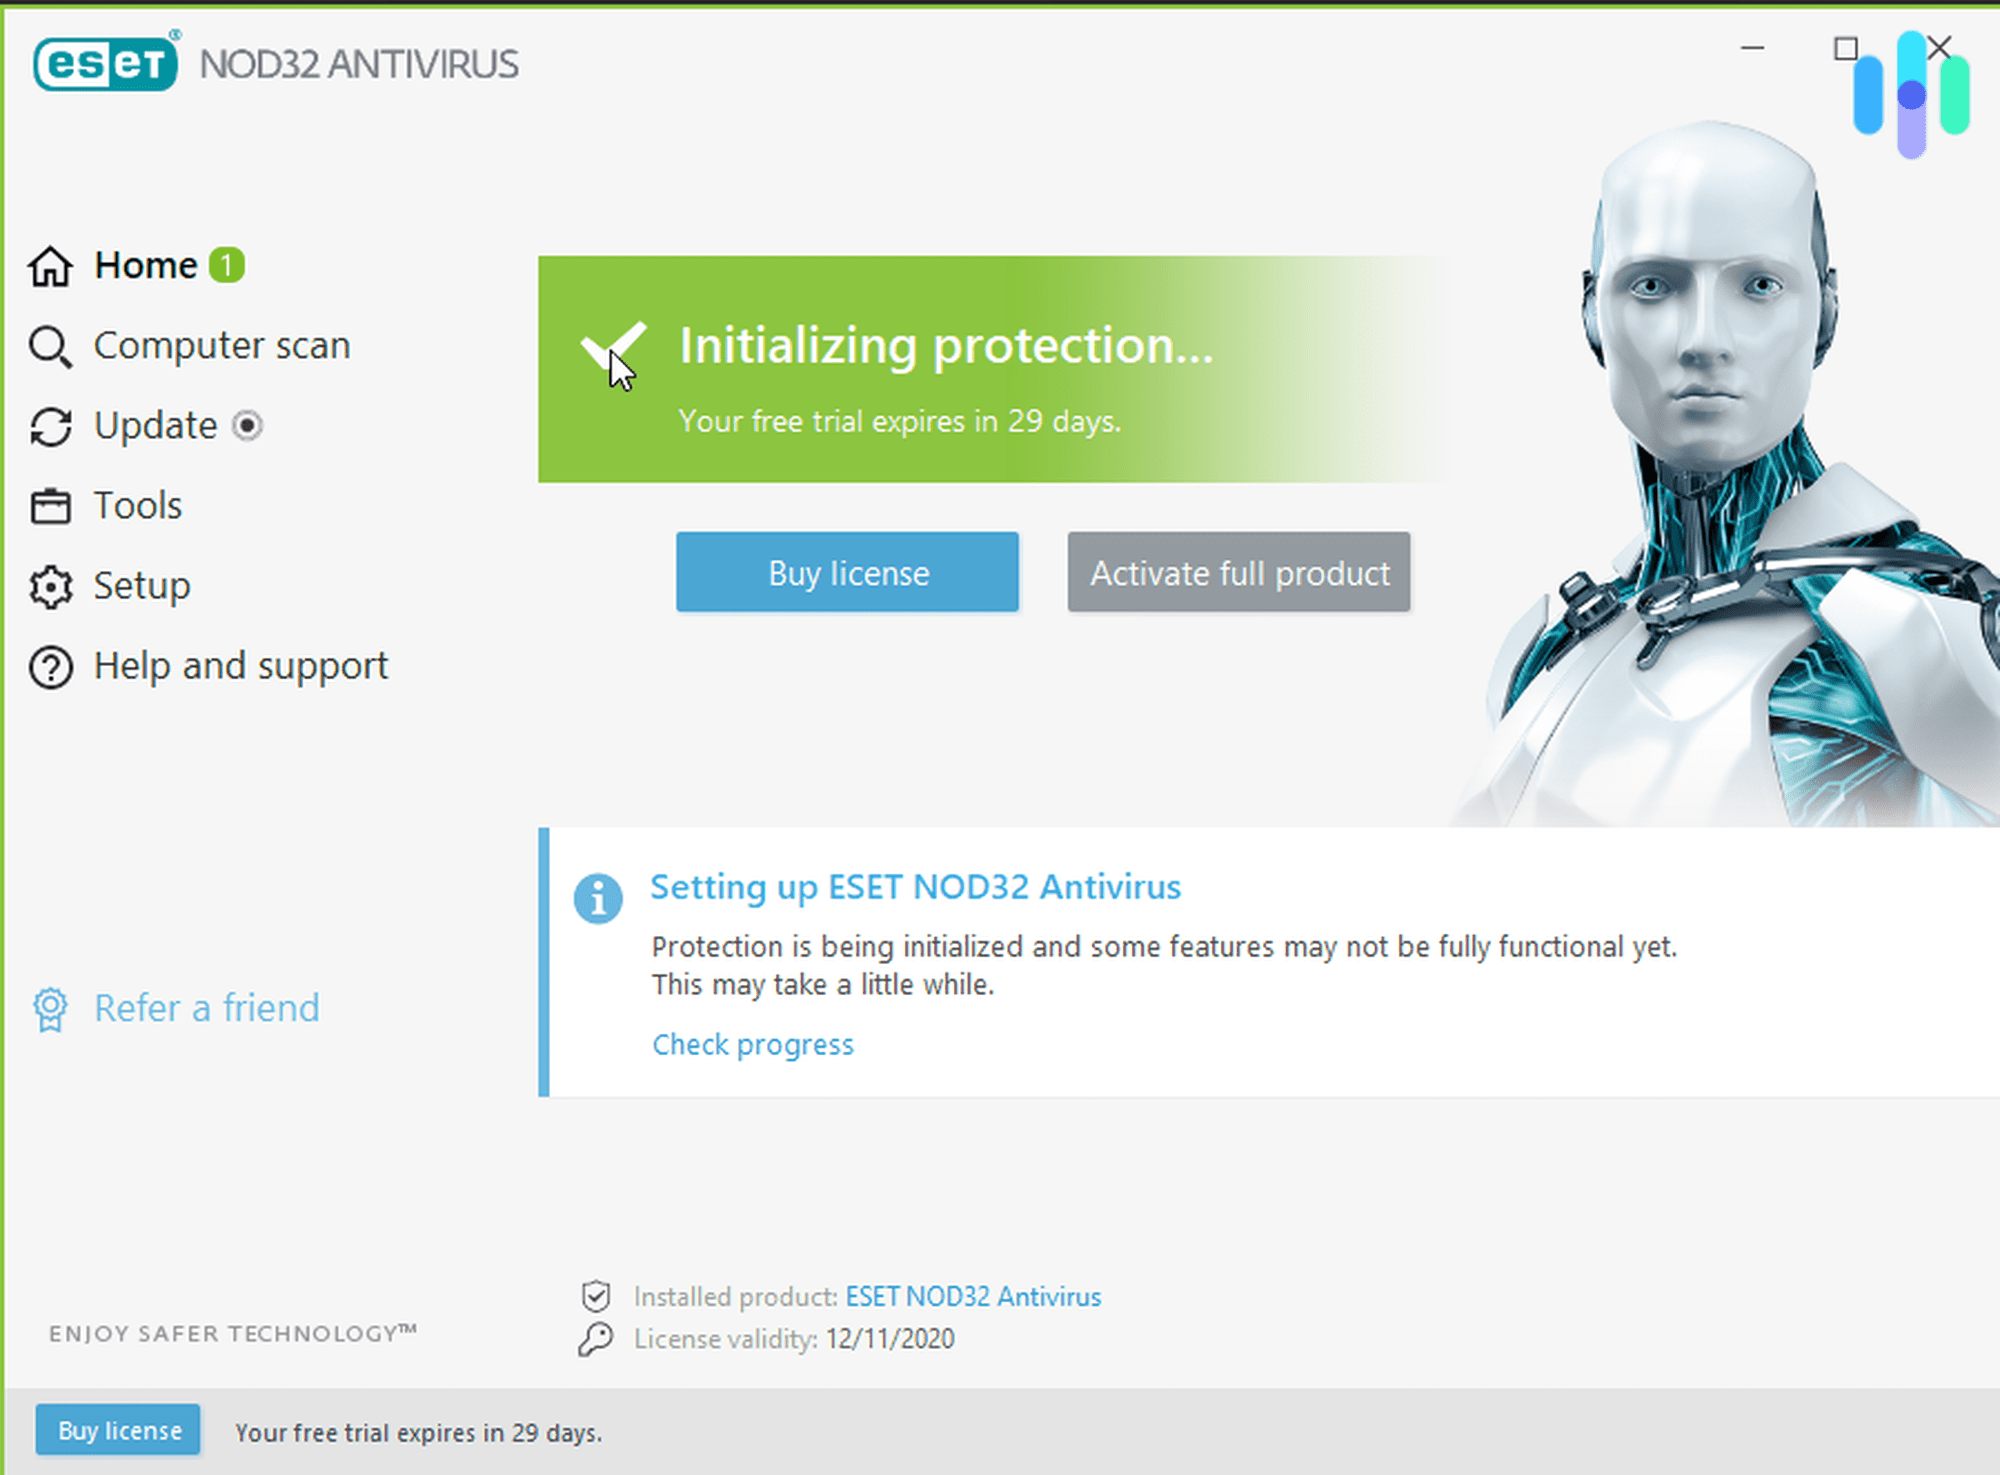
During the installation process, the antivirus software may start scanning your computer for any existing threats or vulnerabilities. This is a proactive step taken by the software to ensure your system’s security from the moment it is installed.
Now that the antivirus software has been installed on your Windows 10 system, it’s time to move on to the next step: choosing the appropriate installation settings to customize the software according to your preferences. In the following step, we will guide you through this process.
Step 4: Choosing Installation Settings
After successfully running the antivirus software installer, you will be presented with options to customize the installation settings according to your preferences. Follow these steps to choose the installation settings:
- Review the installation options provided by the antivirus software. These may include features like real-time scanning, automatic updates, firewall protection, and browser extensions.
- Select the desired installation settings based on your preferences and requirements. Some antivirus programs offer different levels of protection and customization options.
- Pay attention to any additional software or features that may be offered during the installation process. These may include browser toolbars or other programs that are not essential for the antivirus software to function. Be cautious and deselect any unwanted installations.
- If prompted, choose the type of scanning you prefer. Most antivirus programs offer options for quick scans, full system scans, or custom scans where you can select specific folders or files to scan.
- Consider enabling automatic updates for the antivirus software. This ensures that your antivirus program stays up to date with the latest virus definitions and security patches, providing you with optimal protection.
- Review any privacy or data collection settings offered by the antivirus software. Some programs may collect data for analysis or improvement purposes. It’s important to understand and adjust these settings based on your comfort level.
- Once you have selected your desired installation settings, click on the “Next” or “Install” button to proceed with the installation process.
- Wait for the installation process to complete. This may take a few moments, depending on the antivirus program and your system’s speed.
- Once the installation is finished, you will receive a notification or a prompt indicating that the antivirus software has been successfully customized with your chosen settings.
Choosing the appropriate installation settings allows you to tailor the antivirus software to meet your specific needs and preferences. It enables you to have control over the level of protection, system resources usage, and other features of the antivirus program.
In the next step, we will guide you through the process of completing the installation and ensuring that the antivirus software is fully set up on your Windows 10 system.
Step 5: Completing the Installation Process
After customizing the installation settings, you are nearing the end of the antivirus software installation process. Follow these final steps to complete the installation:
- Review the final installation summary displayed by the antivirus software. This summary may include details about the features enabled, options selected, and any additional software installed during the process.
- If provided with the option, choose whether you want to participate in the antivirus program’s feedback or improvement program.
- Click on the “Finish” or “Complete” button to finalize the installation process.
- Depending on the antivirus software, you may be prompted to restart your computer to fully activate the program and ensure all components are functioning properly. If prompted, go ahead and restart your Windows 10 system.
- Once your computer has restarted, the antivirus software should be fully installed and ready to provide protection against malicious threats.
Congratulations! You have successfully completed the installation process of the antivirus software on your Windows 10 system. The program is now actively running in the background, monitoring and safeguarding your computer from potential threats.
It is important to regularly update the antivirus software and keep it running in real-time to ensure continuous protection. Additionally, perform regular system scans to detect and eliminate any potential malware that may have evaded the security measures.
In the next step, we will guide you through the process of setting up automatic scans and updates, which will help to maintain the efficacy of the antivirus software on your Windows 10 system.
Step 6: Setting up Automatic Scans and Updates
Setting up automatic scans and updates for your antivirus software ensures that your Windows 10 system remains protected without requiring constant manual intervention. Follow these steps to configure automatic scans and updates:
- Open the antivirus software on your Windows 10 system. You can usually find the antivirus program’s icon in the system tray or by searching for it in the Start menu.
- Navigate to the settings or preferences section of the antivirus program. This may be located in the menu bar or as an option within the program’s interface.
- Look for the options related to automatic scans or scheduled scans. Typically, you will find settings to configure the frequency, time, and type of scans you want the antivirus software to perform.
- Choose the desired scan schedule that suits your needs. You may opt for a daily, weekly, or monthly scan. Consider scheduling the scan during a time when your computer is typically idle, such as during the night or when you are not actively using it.
- Enable automatic updates for the antivirus software. This ensures that the program receives the latest virus definitions, security patches, and feature enhancements.
- Depending on the antivirus program, you may have the option to configure additional settings such as real-time protection, firewall rules, or web browsing protection. Review these settings and adjust them as necessary based on your preferences.
- Save the settings and exit the antivirus program’s preferences or settings section.
By setting up automatic scans and updates, you are taking a proactive approach to keep your Windows 10 system protected from evolving threats. The antivirus software will automatically scan your system for any potential malware, ensuring that your files, programs, and personal information remain safe.
Remember to keep your computer powered on during scheduled scan times so that the antivirus software can perform the scans properly. Additionally, ensure your computer is connected to the internet to receive automatic updates that keep the antivirus software up to date.
In the next step, we will guide you through the process of verifying that the antivirus software is installed correctly and actively protecting your Windows 10 system.
Step 7: Verifying the Antivirus Software is Installed Correctly
After completing the installation and configuration of the antivirus software on your Windows 10 system, it is crucial to verify that the software is installed correctly and actively protecting your computer. Follow these steps to ensure everything is in order:
- Open the antivirus program on your Windows 10 system. You can usually find the antivirus program’s icon in the system tray or by searching for it in the Start menu.
- Navigate to the dashboard, home screen, or main interface of the antivirus software.
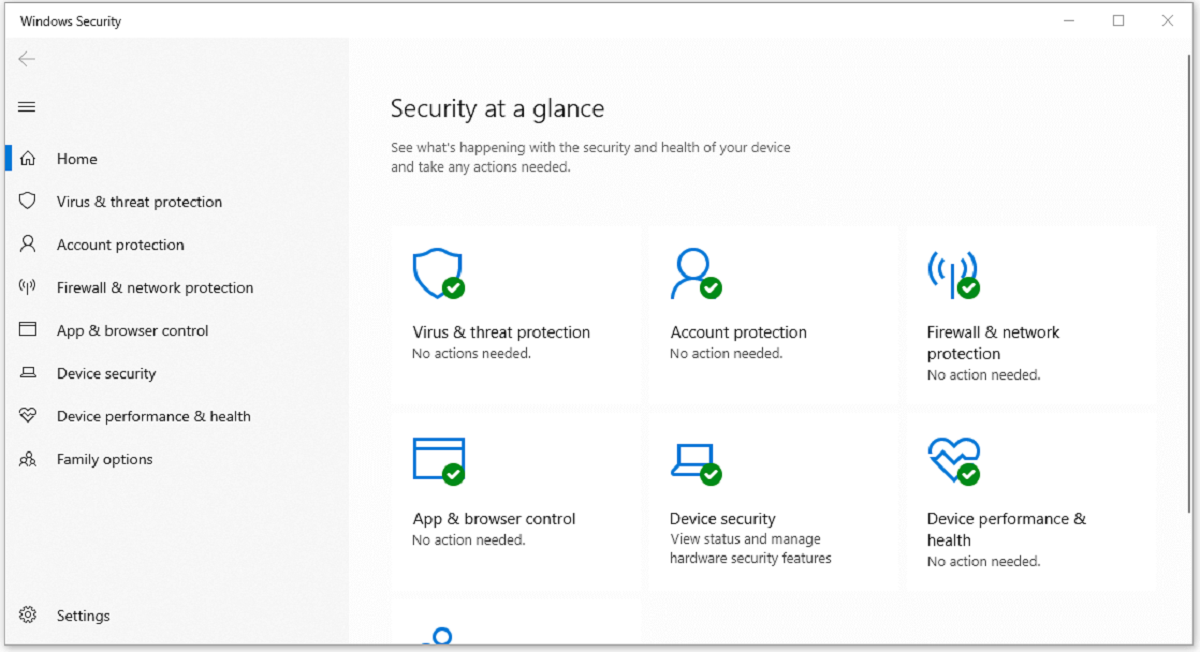
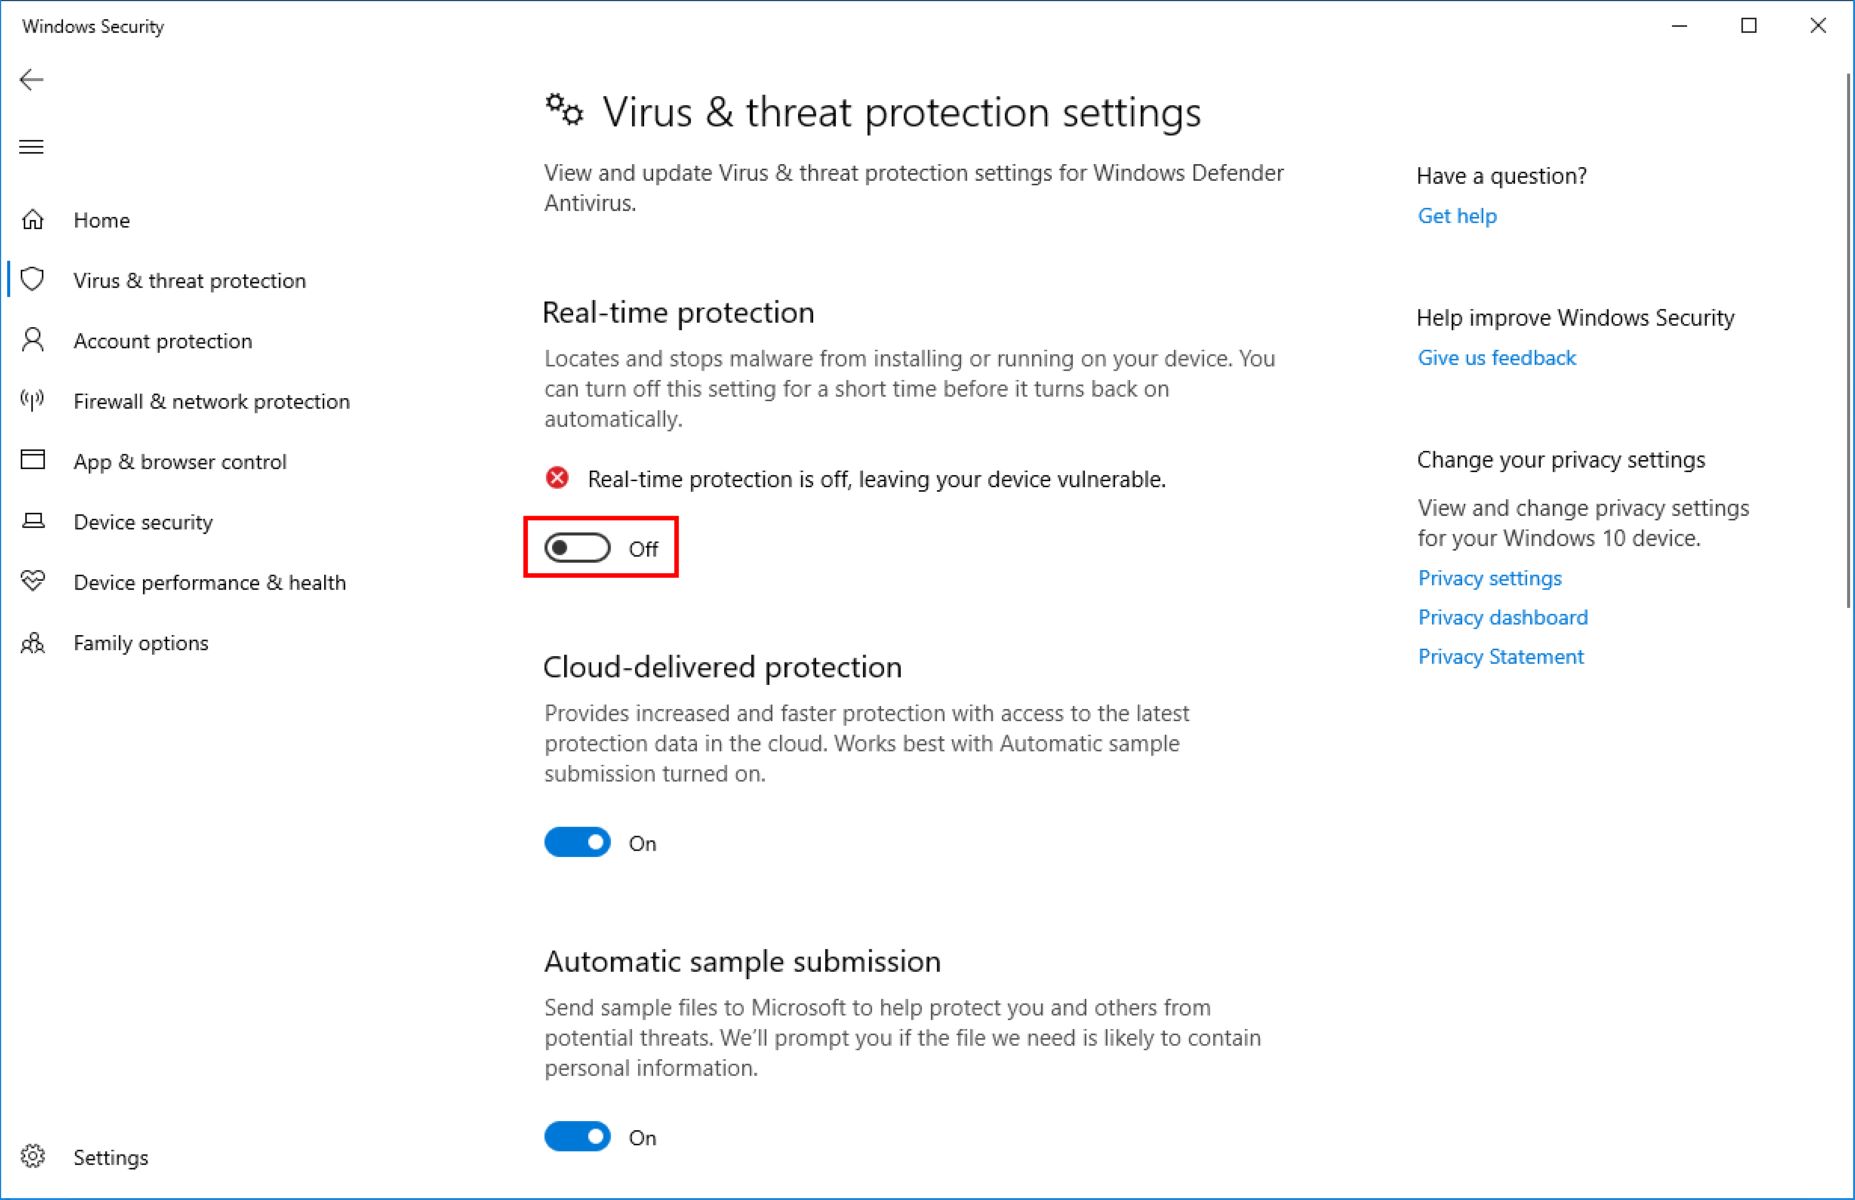
- Look for indicators that confirm the software is active and running. These may include a green checkmark, a message stating that your system is protected, or a notification that real-time protection is enabled.
- Check the antivirus program’s system tray icon, which may be located in the bottom-right corner of your screen. It should indicate that the antivirus software is active and protecting your Windows 10 system.
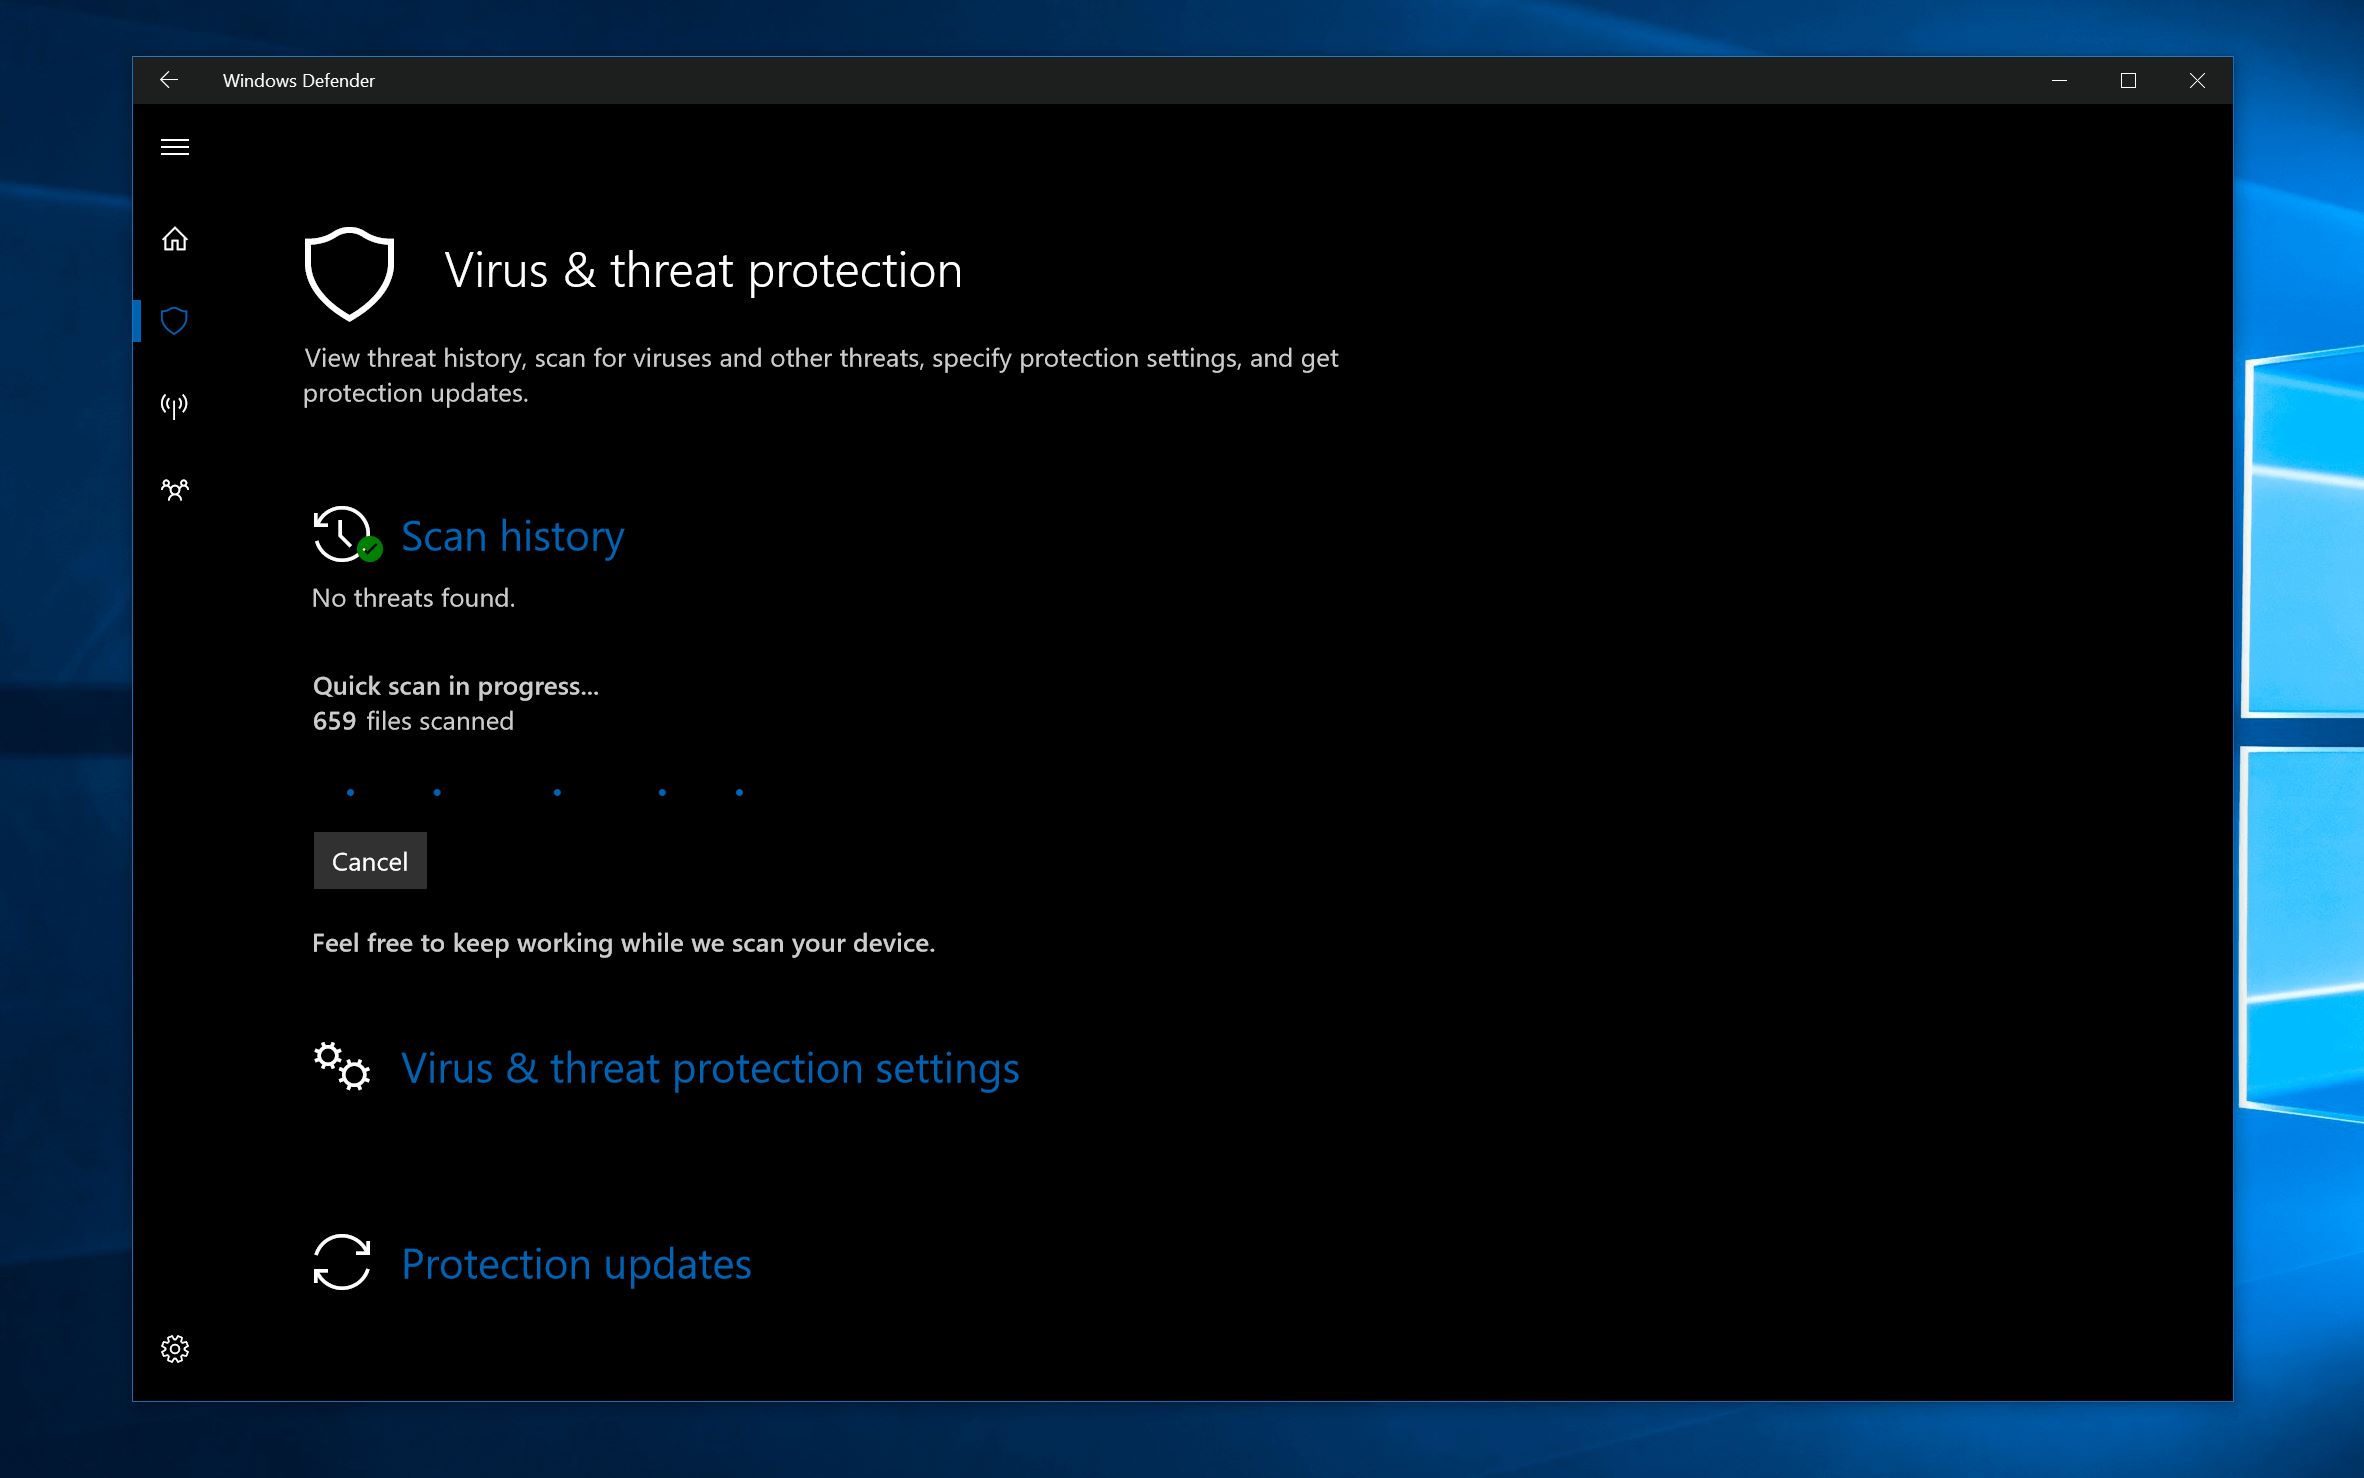
- Perform a manual scan of your system to ensure the antivirus software is detecting and removing any potential threats. Select the appropriate scan option within the antivirus program, such as a quick scan or full system scan, and let the scan run its course.
- Monitor the scan results to confirm that the antivirus software is actively scanning files, folders, and programs on your Windows 10 system.
- If any threats are detected during the scan, follow the instructions provided by the antivirus software to quarantine or remove the malicious files.
- Ensure that the automatic scan and update settings are functioning properly. Check if the antivirus software initiates scans according to the scheduled times and receives automatic updates as expected.
- If you encounter any issues or have doubts about the proper functioning of the antivirus software, consult the program’s help documentation or contact customer support for assistance and guidance.
Verifying that the antivirus software is installed correctly and actively protecting your Windows 10 system is crucial to maintaining a secure computing environment. By performing regular checks and confirming the software’s functionality, you can have peace of mind knowing that your computer is safeguarded against potential threats.
Congratulations on successfully installing and verifying the antivirus software on your Windows 10 system! You have taken an important step towards ensuring the security and protection of your computer and personal information.
Conclusion
Installing an antivirus program is crucial for protecting your Windows 10 system against a myriad of online threats. By following the step-by-step guide outlined in this article, you have gained the knowledge and skills necessary to choose an antivirus program, download and run the installer, customize the installation settings, and verify the software’s proper functionality.
Remember that selecting an antivirus program that meets your specific needs is essential. Consider factors such as protection features, performance impact, user-friendliness, compatibility, customer support, reviews, and pricing options. Researching and comparing different antivirus programs will help you make an informed decision.
Once you have selected the antivirus software, follow the proper installation process by downloading the installer from the official website and running it on your Windows 10 system. Customize the installation settings based on your preferences and ensure that automatic scans and updates are enabled to maintain optimal protection.
After completing the installation, verify that the antivirus software is installed correctly by checking the program’s interface, system tray icon, and performing manual scans. This step ensures that the antivirus software is actively protecting your computer and can detect and remove potential threats.
By following these steps, you have taken significant measures to safeguard your Windows 10 system and prevent unauthorized access, data breaches, malware infections, and other cyber threats. Regularly update the antivirus software, stay vigilant about potential security risks, and practice safe browsing habits to maintain a secure computing environment.
With the right antivirus program in place, you can confidently explore the digital world, knowing that you have a strong shield to protect your Windows 10 system from any potential harm.


