Introduction
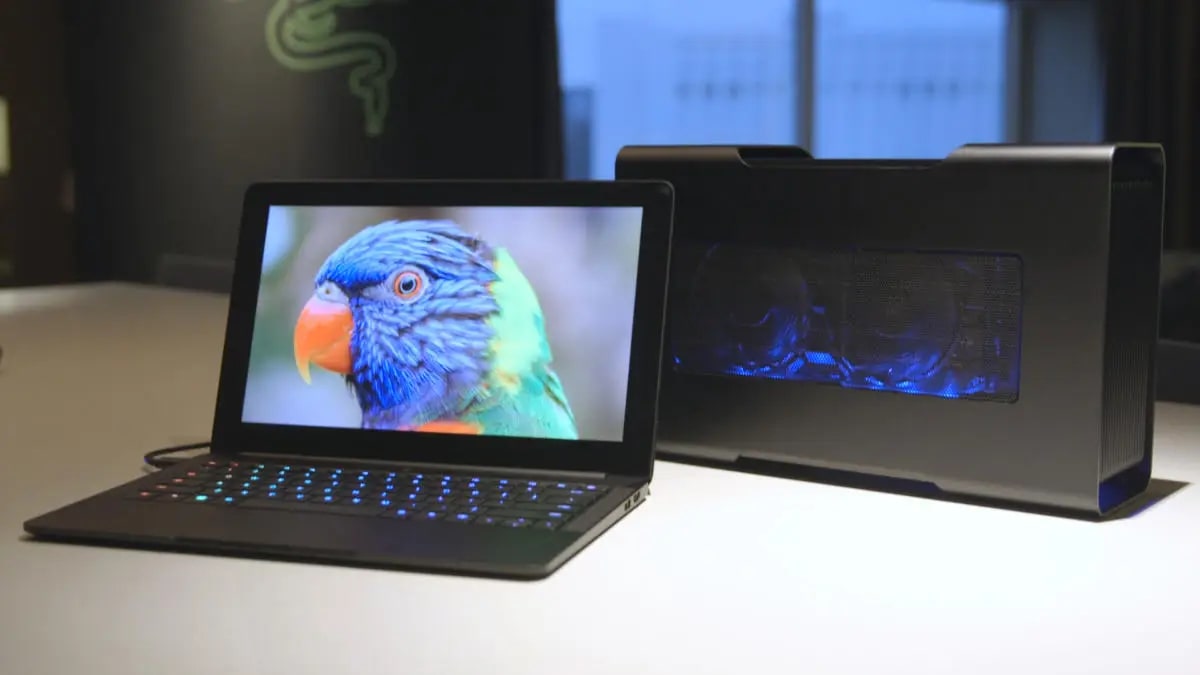
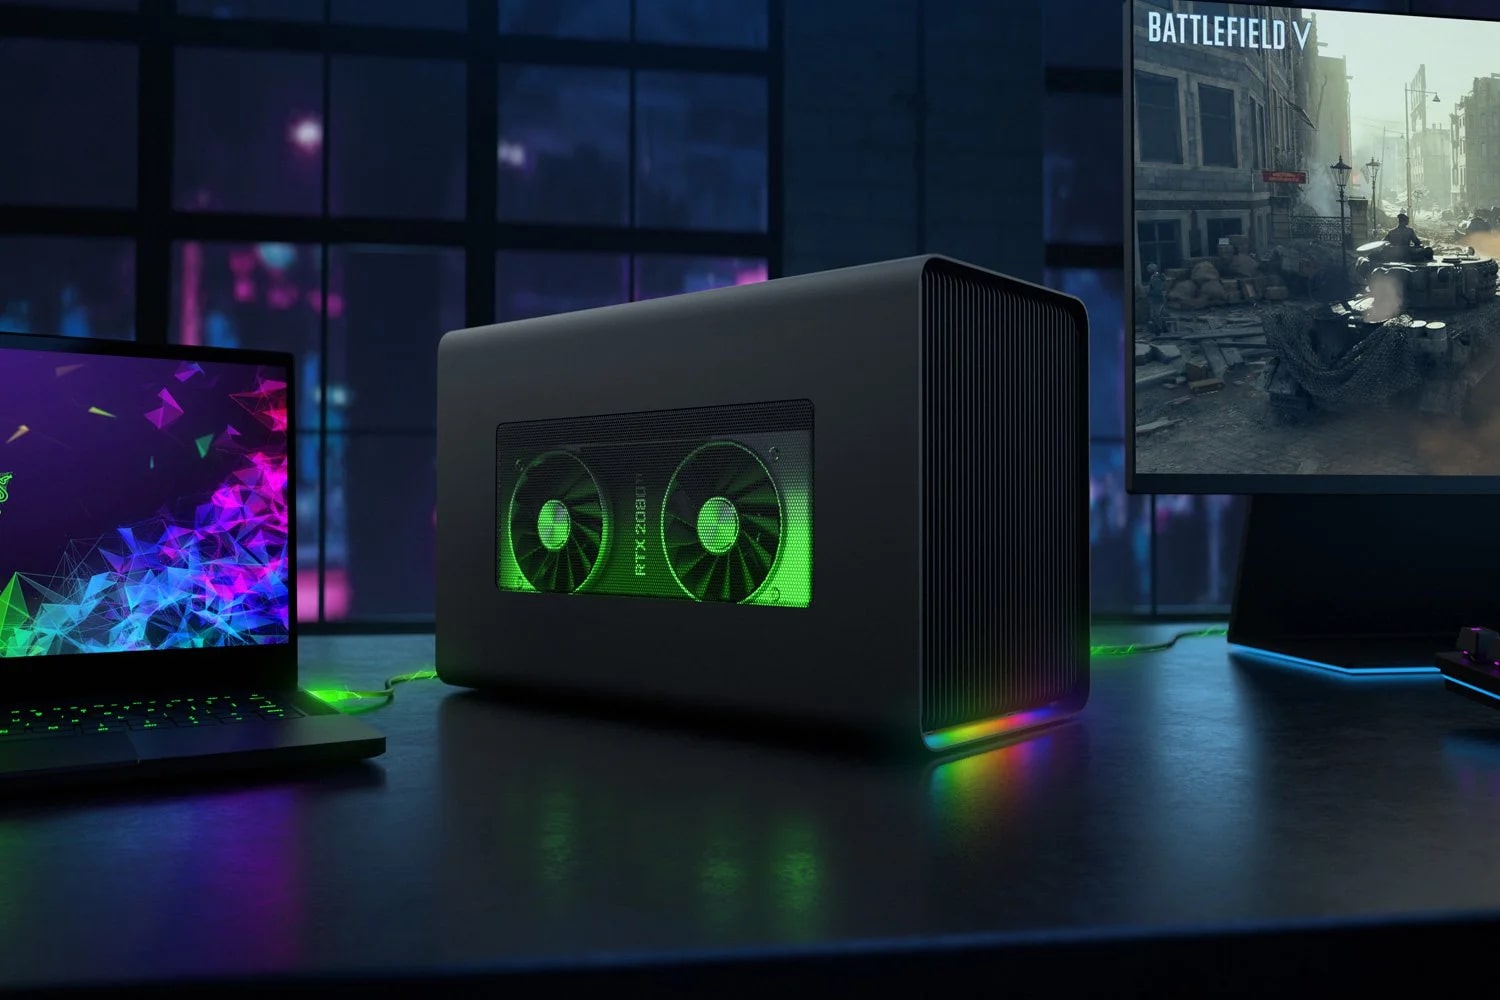
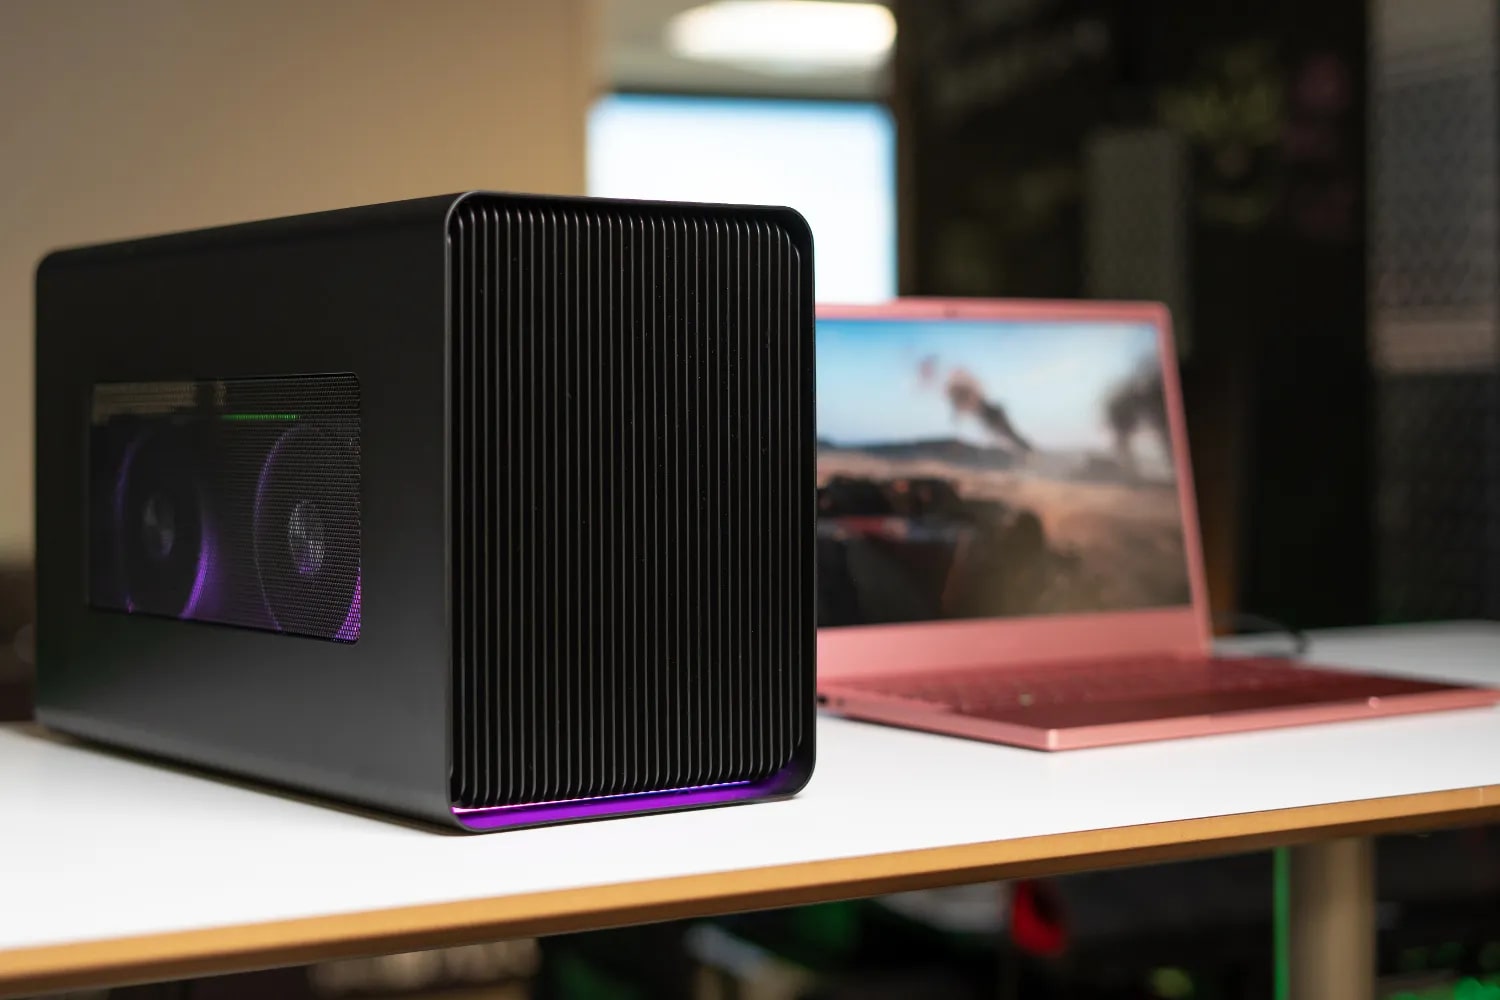
Welcome to our guide on how to install an external graphics card for a laptop. If you’re a passionate gamer or work with graphically intensive applications, you’ll know that the performance of your laptop’s built-in graphics card can sometimes leave a lot to be desired. That’s where an external graphics card comes in handy. By connecting a powerful graphics card to your laptop, you can significantly enhance its graphical processing capabilities.
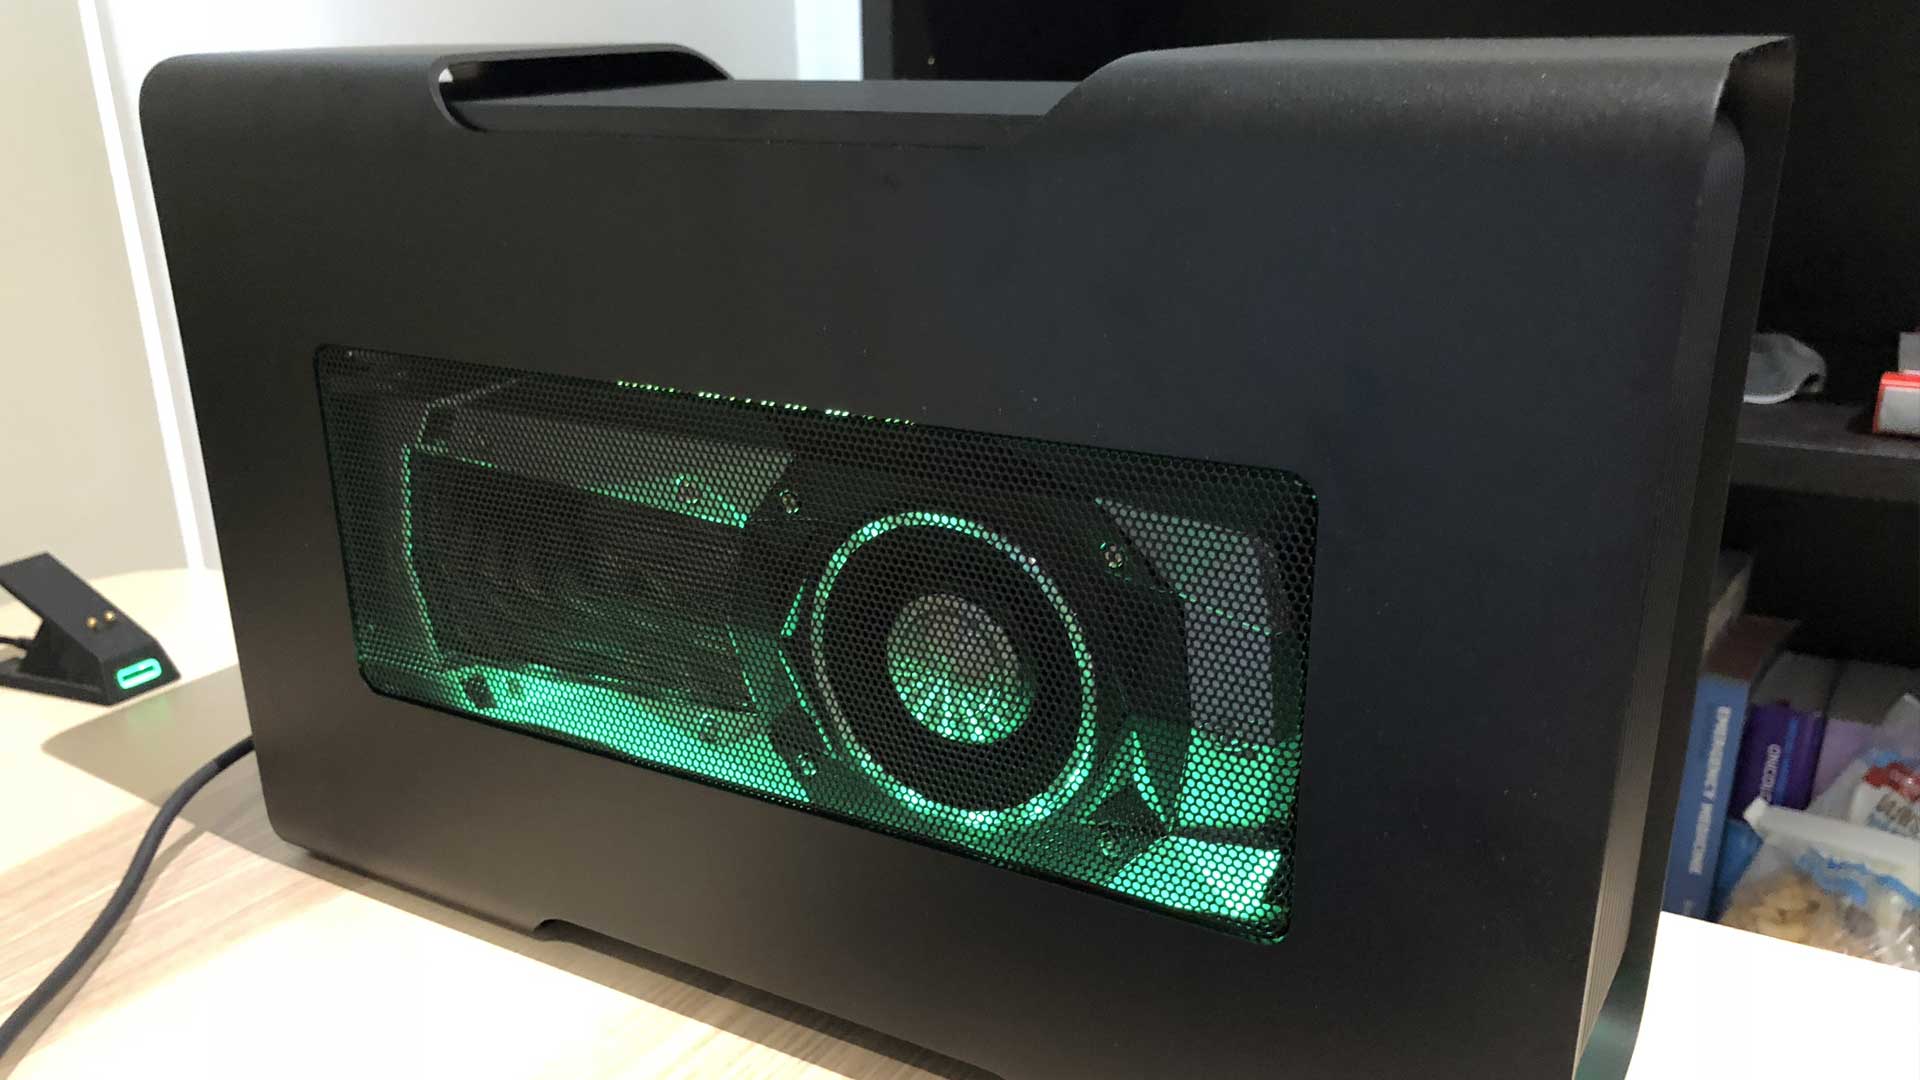
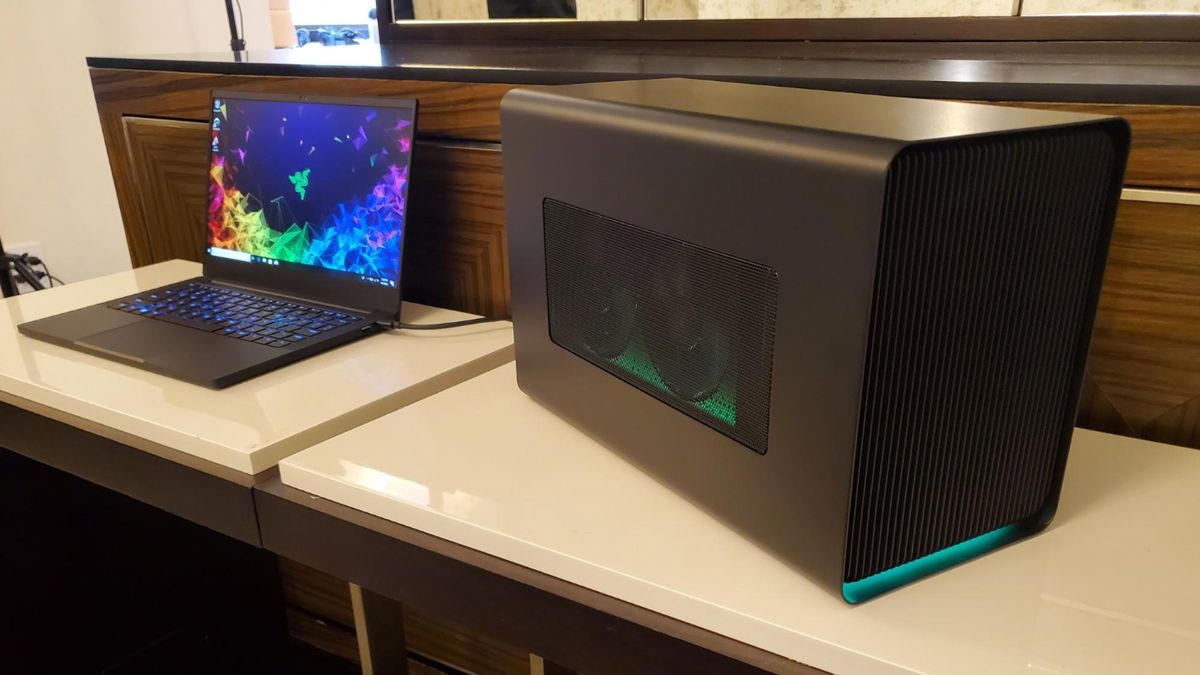
Before diving into the installation process, it’s important to note that not all laptops are compatible with external graphics cards. Laptops with Thunderbolt 3 ports or a dedicated PCI Express (PCIe) slot are typically the best candidates for this upgrade. Additionally, you’ll need to check if your laptop’s power supply can handle the extra power requirements of the graphics card.
In this guide, we’ll walk you through the steps to install an external graphics card on your laptop. We’ll cover everything from determining compatibility to installing the necessary drivers. So, let’s get started!
Step 1: Determine Compatibility
The first step in installing an external graphics card for your laptop is to determine its compatibility. Not all laptops support external graphics card upgrades, so it’s crucial to check if your laptop meets the necessary requirements. Here are a few key factors to consider:
- Thunderbolt 3 or PCIe slot: Check if your laptop has a Thunderbolt 3 port or a dedicated PCIe slot. These interfaces provide the necessary bandwidth and power to support an external graphics card.
- Power supply: External graphics cards require additional power, so ensure that your laptop’s power supply is sufficient to handle the increased load. You may need to consult your laptop’s specifications or reach out to the manufacturer for this information.
- Operating system: Make sure that your laptop’s operating system is compatible with the external graphics card you plan to install. Most external graphics cards support Windows, but support for macOS and Linux might vary.
- BIOS settings: Some laptops may require you to update the BIOS or enable specific settings to allow external graphics card installation. Check your laptop’s manual or manufacturer’s website for instructions on updating the BIOS or enabling the necessary settings.
To determine compatibility, you can also consult online forums, tech communities, or contact the manufacturer directly for further assistance. They can provide specific information regarding your laptop model and any known compatibility issues.
Once you’ve confirmed that your laptop is compatible with an external graphics card, you can proceed to the next step, which is selecting the right graphics card for your needs. This is an important decision as it will define the performance and capabilities you can achieve with your laptop.
Step 2: Select the Right External Graphics Card
Once you’ve determined the compatibility of your laptop, it’s time to select the right external graphics card. Choosing the appropriate graphics card involves considering your specific needs and budget. Here are some factors to consider:
- Performance requirements: Assess your performance requirements by considering the tasks you’ll be using the graphics card for. If you’re a hardcore gamer or working on demanding graphic design projects, you may need a high-performance graphics card. On the other hand, if you primarily use your laptop for casual gaming or basic graphics rendering, a mid-range graphics card will suffice.
- Budget: Determine your budget for the graphics card. Graphics cards come in various price ranges, and it’s important to find a balance between performance and cost. Consider how much you’re willing to spend to ensure you’re getting the best value for your investment.
- Compatibility: Ensure that the graphics card you choose is compatible with your laptop’s operating system and interface. Verify if the card supports Thunderbolt 3 or the specific type of PCIe slot available on your laptop.
- Power requirements: Take note of the power requirements of the graphics card and ensure that your laptop’s power supply can handle it. You may need to check the power consumption and recommended power supply wattage of the graphics card.
- Reviews and recommendations: Research and read reviews from trusted sources or seek recommendations from knowledgeable individuals. This will help you gauge the reliability, performance, and compatibility of different graphics card models.
Once you have considered these factors, you can make an informed decision regarding the graphics card that will best suit your needs. Be sure to check online marketplaces, compare prices, and read customer reviews to find the best deal.
With the right graphics card chosen, you’re ready to move on to the next step, which involves gathering the necessary tools and equipment for the installation process.
Step 3: Gather Necessary Tools and Equipment
Before you begin the installation process, it’s essential to gather all the necessary tools and equipment. Having everything you need at hand will help ensure a smooth and efficient installation. Here are the tools and equipment you may need:
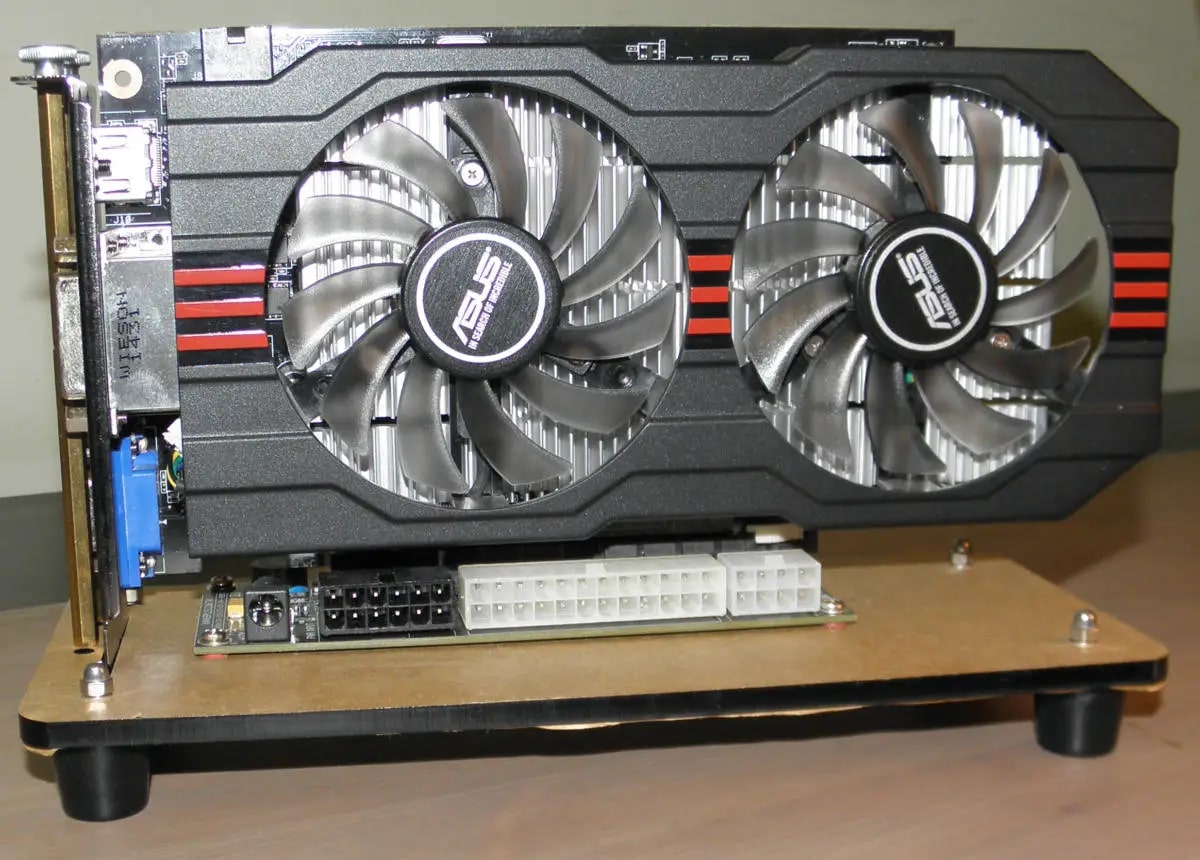
- External graphics card: You’ve already selected the right external graphics card in the previous step. Make sure you have it ready for installation.
- Screwdriver: Most laptops require a screwdriver to open the casing and access the internal components. Check the type and size of the screws on your laptop and have the appropriate screwdriver on hand.
- Anti-static wrist strap: To prevent any damage from static electricity, it’s advisable to wear an anti-static wrist strap while working on your laptop.
- Thermal paste: Depending on your laptop model, you may need to apply thermal paste to improve heat dissipation. Check the manufacturer’s instructions and have thermal paste available if required.
- Power supply: Some external graphics cards come with an additional power supply unit. Make sure you have the necessary power cables and connectors to connect the graphics card to the power supply properly.
- Driver installation media: Prepare a USB flash drive or DVD containing the necessary drivers for your graphics card. This will make it easier to install the drivers after connecting the graphics card.
- Internet connection: Ensure that you have a stable internet connection. This will allow you to download the latest graphics card drivers and updates during the installation process.
- User manual: Retrieve the user manual for both your laptop and the external graphics card. These manuals will provide specific instructions and guidance for your particular models.
Make sure to have all these tools and equipment readily available before starting the installation process. It’s also a good idea to organize your workspace and create an environment that’s free of static electricity and clutter.
Once you have gathered the necessary tools and equipment, you’re ready to move on to the next step, which involves preparing your laptop for the installation of the external graphics card.
Step 4: Prepare the Laptop
Before installing the external graphics card, it’s important to prepare your laptop to ensure a successful and hassle-free installation process. Follow these steps to prepare your laptop:
- Power off and unplug: Make sure your laptop is completely powered off and unplugged from any power source before starting the preparation process.
- Remove the laptop’s casing: If necessary, carefully remove the casing of your laptop to gain access to the internal components. Refer to your laptop’s user manual or search for specific instructions online for your particular laptop model.
- Ground yourself: To prevent any static electricity from damaging the components, it’s recommended to ground yourself before touching any internal parts of the laptop. You can do this by touching a grounded metal object or wearing an anti-static wrist strap.
- Identify the appropriate slot: Locate the Thunderbolt 3 port or PCIe slot on your laptop where you will be connecting the external graphics card. Refer to your laptop’s user manual or manufacturer’s website for clarification if needed. Ensure that the slot is free from any dust or debris.
- Remove any existing cards: If there are any existing cards occupying the slot where you plan to install the external graphics card, gently remove them. Be cautious and follow the proper procedures to avoid any damage.
- Apply thermal paste (if required): If your laptop manufacturer recommends applying thermal paste, carefully apply a thin layer on the GPU chip of the external graphics card. Follow the manufacturer’s guidelines for the amount and application technique.
- Ensure proper ventilation: Check the laptop’s ventilation system and ensure that it is free from any blockage. Proper airflow is crucial to prevent overheating during graphics-intensive tasks.
- Double-check all connections: Before proceeding to install the external graphics card, ensure that all connections, such as cables and wires, are securely connected inside the laptop.
By following these steps, you will have prepared your laptop for the installation of the external graphics card. With your laptop prepared, you can now move on to the exciting part: connecting the external graphics card.
Step 5: Connect the External Graphics Card
Now that your laptop is prepared, it’s time to connect the external graphics card. Follow these steps to ensure a proper connection:
- Locate the Thunderbolt 3 port or PCIe slot: Identify the Thunderbolt 3 port or PCIe slot on your laptop where you will be connecting the external graphics card. It is usually located on the side or back of the laptop.
- Remove the protective cover: If there is a protective cover on the slot, remove it carefully to expose the connector.
- Align the graphics card: Align the external graphics card with the slot and gently insert it. Ensure that it is properly seated and securely connected. Apply even pressure, if needed, to ensure a proper connection.
- Tighten the screws: If your external graphics card comes with screws, use the appropriate screwdriver to secure the graphics card in place. Tighten the screws carefully, but avoid overtightening to prevent damage.
- Connect the power supply: If your external graphics card requires additional power, connect the power supply cables from the graphics card to the appropriate connector on your laptop. Make sure the connections are secure.
- Reassemble the laptop casing: If you had to remove the laptop casing during the preparation process, carefully reassemble it, ensuring that all screws are tightened appropriately.
- Double-check the connections: Before moving on to the next step, double-check all the connections to make sure they are secure and properly aligned.
Once you have successfully connected the external graphics card, your laptop is one step closer to enhanced graphics performance. In the next step, we will guide you through the process of installing the necessary graphics card drivers.
Step 6: Install the Graphics Card Drivers
After connecting the external graphics card to your laptop, it’s crucial to install the necessary drivers to ensure optimal performance. Follow these steps to install the graphics card drivers:
- Internet connection: Ensure that your laptop is connected to a stable internet connection. This will allow you to download the latest drivers for your specific graphics card.
- Driver installation media: If you have a USB flash drive or DVD containing the graphics card drivers, insert it into the appropriate port on your laptop.
- Automatic driver installation: In many cases, the operating system automatically detects the new hardware and prompts you to install the drivers. Follow the on-screen instructions to proceed with the driver installation process. If prompted, choose “Install automatically” or “Search online for drivers.”
- Manual driver installation: If the driver installation does not initiate automatically, you can manually install the drivers. Open the Device Manager on your laptop by right-clicking on the Start menu, selecting “Device Manager,” and then locating the “Display adapters” category.
- Update driver software: Right-click on the external graphics card device listed in the Device Manager and select “Update Driver Software” from the dropdown menu. Choose the option to search for drivers automatically. Alternatively, you can choose the “Browse my computer for driver software” option if you have the drivers on a USB flash drive or DVD.
- Follow the installation prompts: Follow the instructions provided on-screen to complete the driver installation process. This may involve agreeing to terms and conditions, restarting your laptop, or selecting the appropriate driver version for your graphics card.
- Download drivers from manufacturer’s website: If the automatic driver installation or manual update process doesn’t work, you can visit the manufacturer’s website for your graphics card and download the drivers directly from there. Ensure that you select the correct drivers for your operating system and model of the graphics card.
- Restart your laptop: After the driver installation is complete, it is recommended to restart your laptop to ensure that the changes take effect.
Once the drivers are properly installed and your laptop has restarted, your external graphics card is ready to be utilized. In the next step, we will guide you through testing and configuring the external graphics card.
Step 7: Test and Configure the External Graphics Card
With the external graphics card installed and its drivers properly installed, it’s time to test and configure the card to ensure it is functioning correctly. Follow these steps to test and configure your external graphics card:
- Restart your laptop: Start by restarting your laptop to ensure that all the changes made during the driver installation process are in effect.
- Check device recognition: Once your laptop has rebooted, go to the Device Manager and verify that the external graphics card is detected and listed under the “Display adapters” category. This confirms that the card is properly recognized by your laptop’s operating system.
- Configure display settings: Navigate to the display settings on your laptop and ensure that the external graphics card is selected as the primary display adapter. This allows your laptop to utilize the full power and capabilities of the external graphics card.
- Test performance: Run graphic-intensive applications or games to test the performance of your external graphics card. Monitor the performance and compare it to the previous performance of your laptop’s built-in graphics card. You should notice a significant improvement in graphics rendering and overall performance.
- Adjust settings if needed: Depending on your specific requirements and preferences, you may need to adjust the settings of the external graphics card. This can include configuring display resolution, refresh rate, anti-aliasing, or other graphics-related options. Refer to the graphics card’s user manual or the manufacturer’s website for guidance on adjusting settings.
- Benchmark tests: For a more comprehensive assessment of the external graphics card’s performance, you can run benchmark tests. These tests measure the card’s capabilities and help you evaluate its performance in comparison to similar systems or graphics cards.
- Monitor temperatures: During heavy usage, monitor the temperatures of both the external graphics card and your laptop to ensure they are within safe operating limits. Excessive heat can affect performance and potentially damage your hardware.
- Update drivers: Regularly check for driver updates for your external graphics card. This helps ensure that you have the latest performance optimizations, bug fixes, and compatibility improvements for your card.
By following these steps, you can test and configure your external graphics card to achieve the best performance and gaming experience. Regularly monitoring temperatures, updating drivers, and fine-tuning settings will help maintain the optimal performance of your external graphics card.
Congratulations! You have successfully installed, tested, and configured your external graphics card for your laptop. Enjoy the enhanced graphics performance and explore the new possibilities that come with it.
Conclusion
Installing an external graphics card for your laptop can greatly enhance its graphical performance and open up new possibilities for gaming, graphic design, and other graphically intensive tasks. In this guide, we have covered the steps to install an external graphics card, from determining compatibility to testing and configuring the card.
We started by emphasizing the importance of determining compatibility. Not all laptops support external graphics card upgrades, so it’s crucial to check if your laptop has the necessary ports and power supply to accommodate the graphics card.
Next, we discussed the process of selecting the right external graphics card for your needs. Considering factors such as performance requirements, budget, compatibility, and reviews will help you make an informed decision.
We then moved on to gathering the necessary tools and equipment, which are essential for a successful installation. Having everything at hand will streamline the process and prevent unnecessary delays.
After that, we explored the preparation steps, including removing the laptop’s casing, grounding yourself, identifying the appropriate slot, and ensuring proper ventilation.
The subsequent step involved connecting the external graphics card to your laptop. We discussed aligning the card with the slot, tightening the screws, and connecting the power supply, if required.
Following that, we covered the installation of graphics card drivers, both through automatic installation and manual installation methods. We also mentioned the option to download drivers directly from the manufacturer’s website.
Next, we discussed testing and configuring the external graphics card, including checking device recognition, configuring display settings, testing performance, adjusting settings if necessary, running benchmark tests, and monitoring temperatures.
Lastly, we highlighted the importance of regularly updating drivers to ensure optimal performance and maintaining safe operating temperatures.
By following these steps, you can successfully install and utilize an external graphics card for your laptop, thereby unlocking superior graphical capabilities. Enjoy the enhanced visual experience and explore the full potential of your laptop’s graphics performance.