Introduction
Welcome to the world of solid-state drives (SSDs)! If you’re looking to boost the speed and performance of your desktop computer, installing an SSD is a great way to do it. Unlike traditional hard disk drives (HDDs), SSDs use flash memory technology, which means faster read and write speeds, improved reliability, and quieter operation. In this guide, we’ll take you through the steps of installing an SSD in your desktop computer.
Before we dive into the process, let’s talk about the benefits of installing an SSD. One of the main advantages is the significant increase in boot-up and loading times. With an SSD, your computer will start up in seconds, and applications will open in a flash. You’ll also experience faster file transfers and smoother multitasking, making it ideal for gamers, media enthusiasts, and anyone who values speed and performance.
Now, let’s discuss the tools and equipment you’ll need for this installation. Don’t worry; the list is minimal, and you may already have most of these items on hand.
Tools and Equipment Needed
Before you get started, gather the following tools and equipment:
- Screwdriver (usually a Phillips head or a Torx screwdriver, depending on your computer’s case)
- Anti-static wrist strap (optional but recommended to prevent static electricity damage)
- SSD drive mounting bracket (if your case doesn’t have dedicated SSD mounting points)
- SATA data cable (usually included with your SSD or motherboard)
- SATA power cable (usually included with your power supply or motherboard)
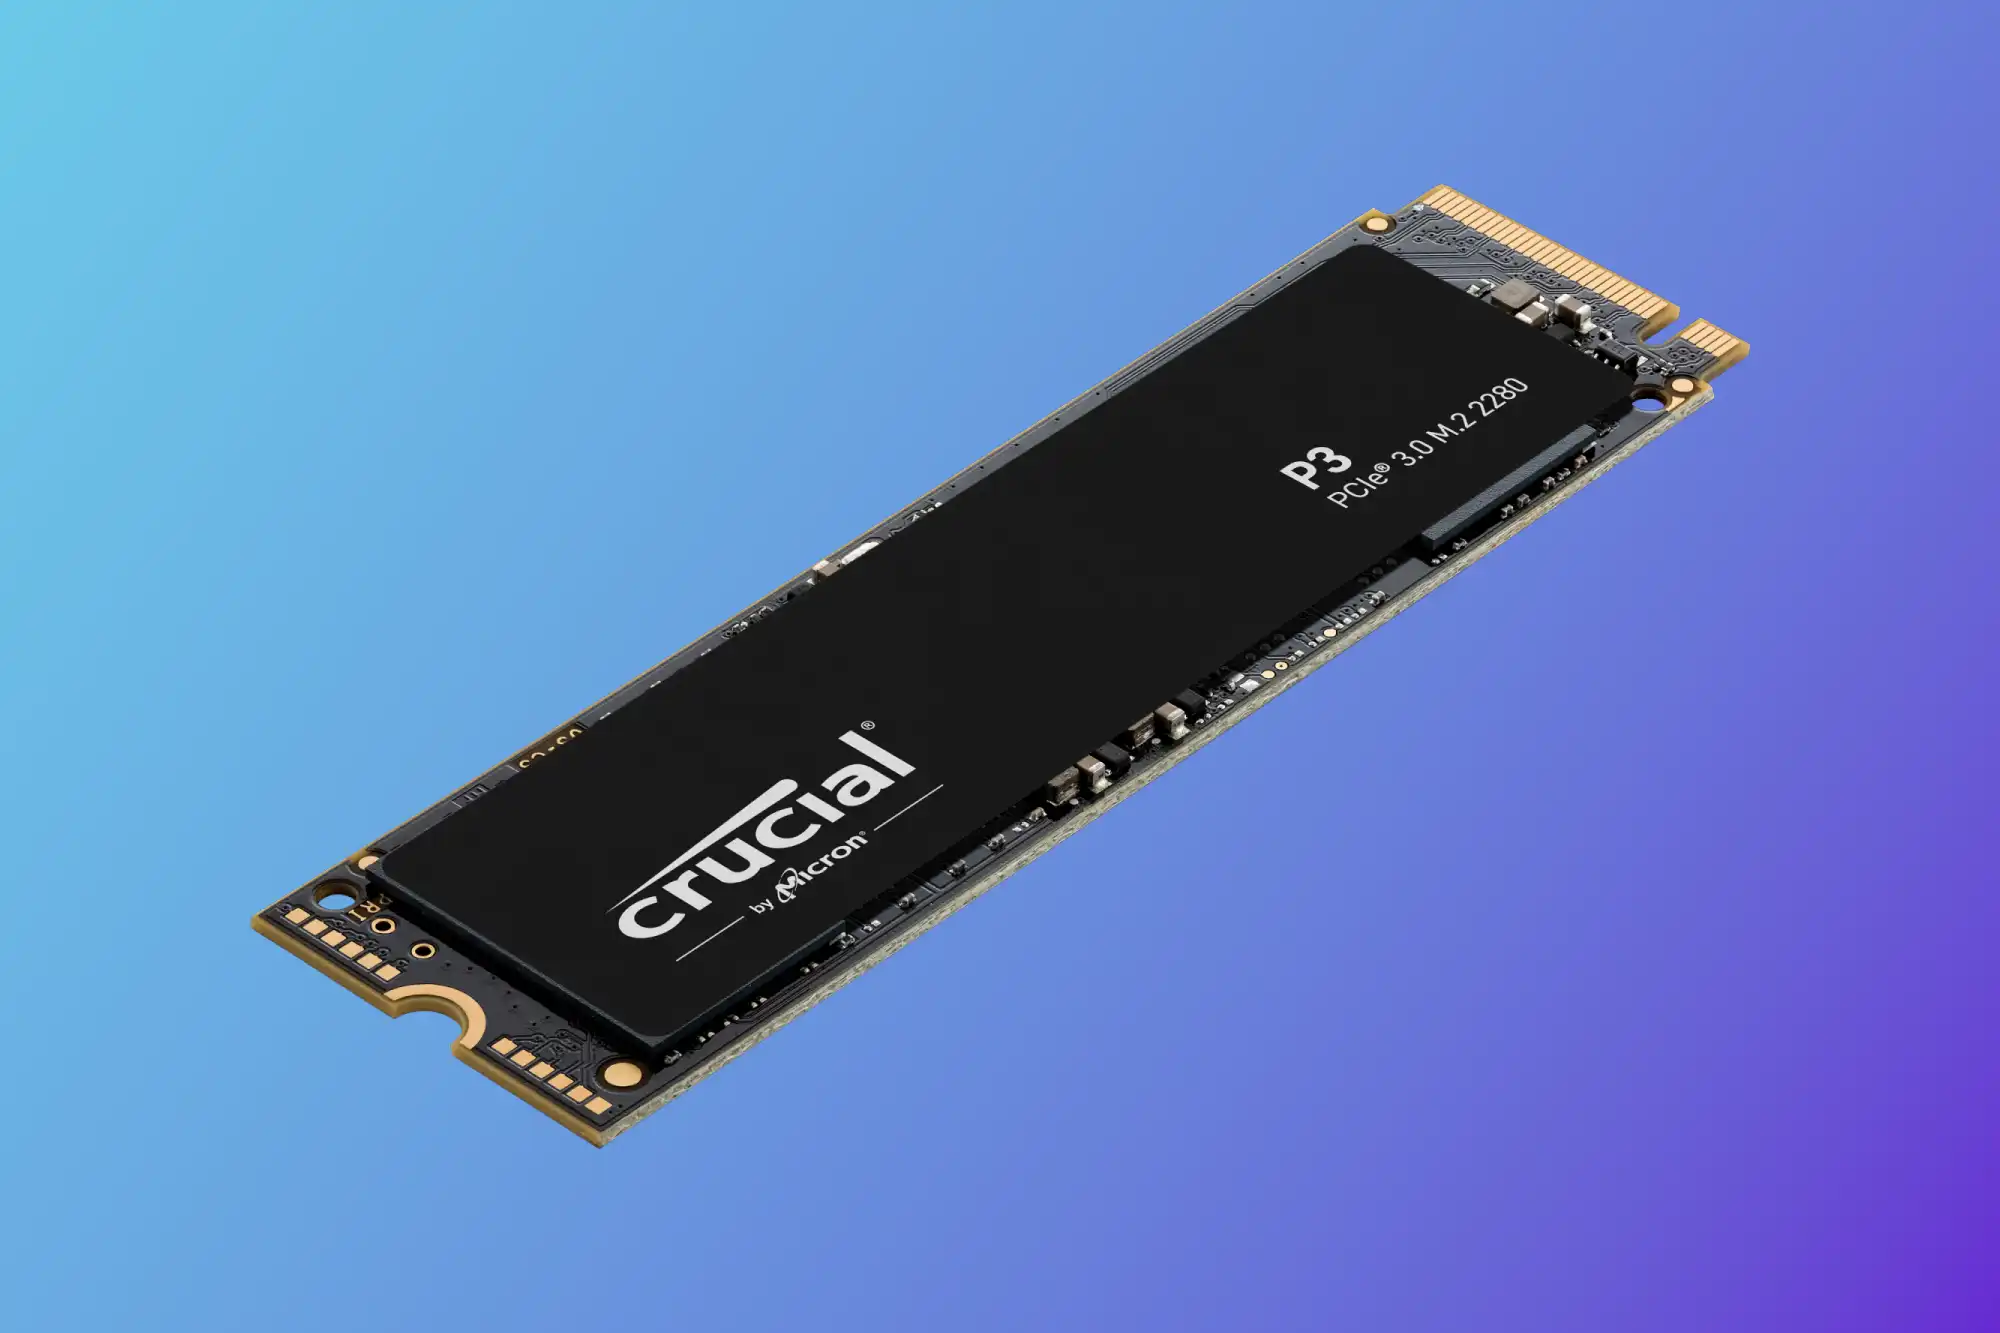
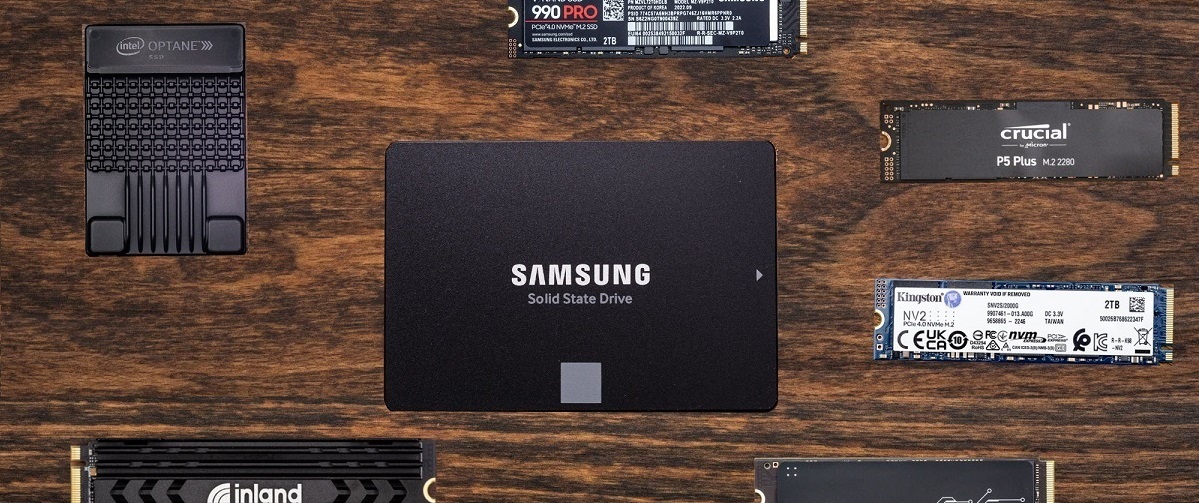
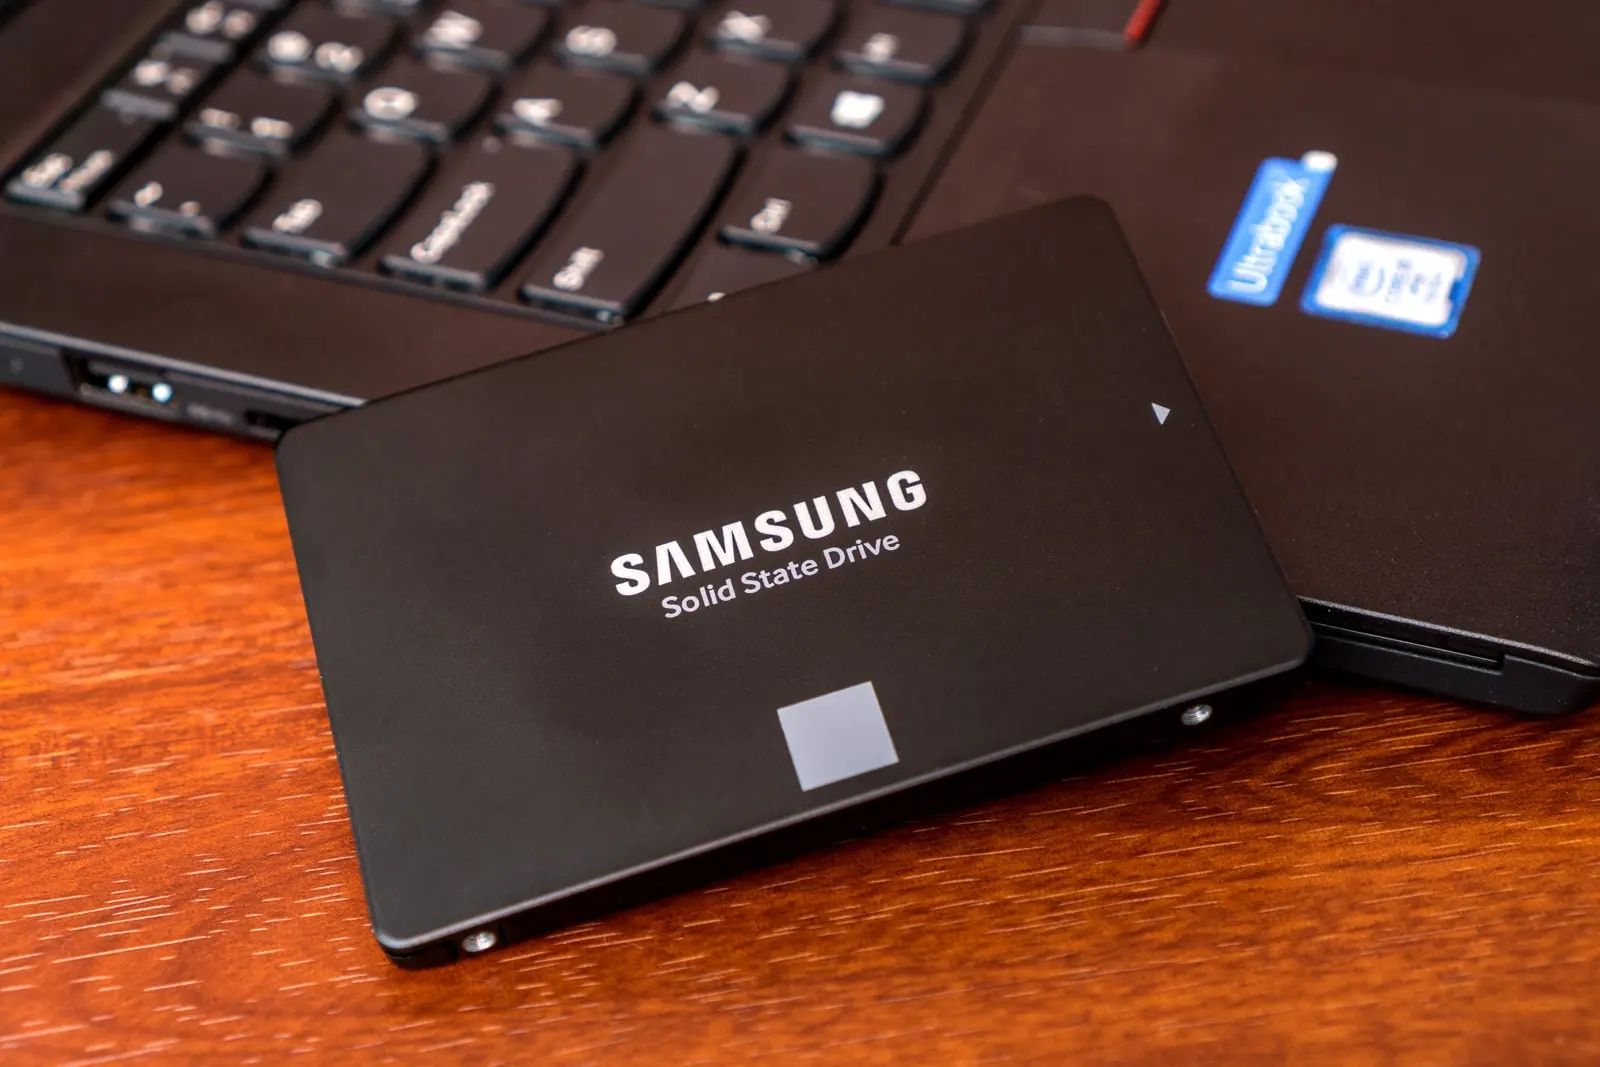
- SSD drive (make sure it’s compatible with your desktop’s form factor)
- Hard drive cloning software (optional, if you want to transfer your existing data to the SSD)
Make sure to choose a good-quality screwdriver that fits snugly and won’t strip the screws. Additionally, wearing an anti-static wrist strap while working on your computer can help prevent damage from static electricity.
If your desktop case doesn’t have dedicated mounting points for SSD drives, you’ll need a mounting bracket to secure the SSD in place. This can usually be purchased separately or as part of an SSD installation kit.
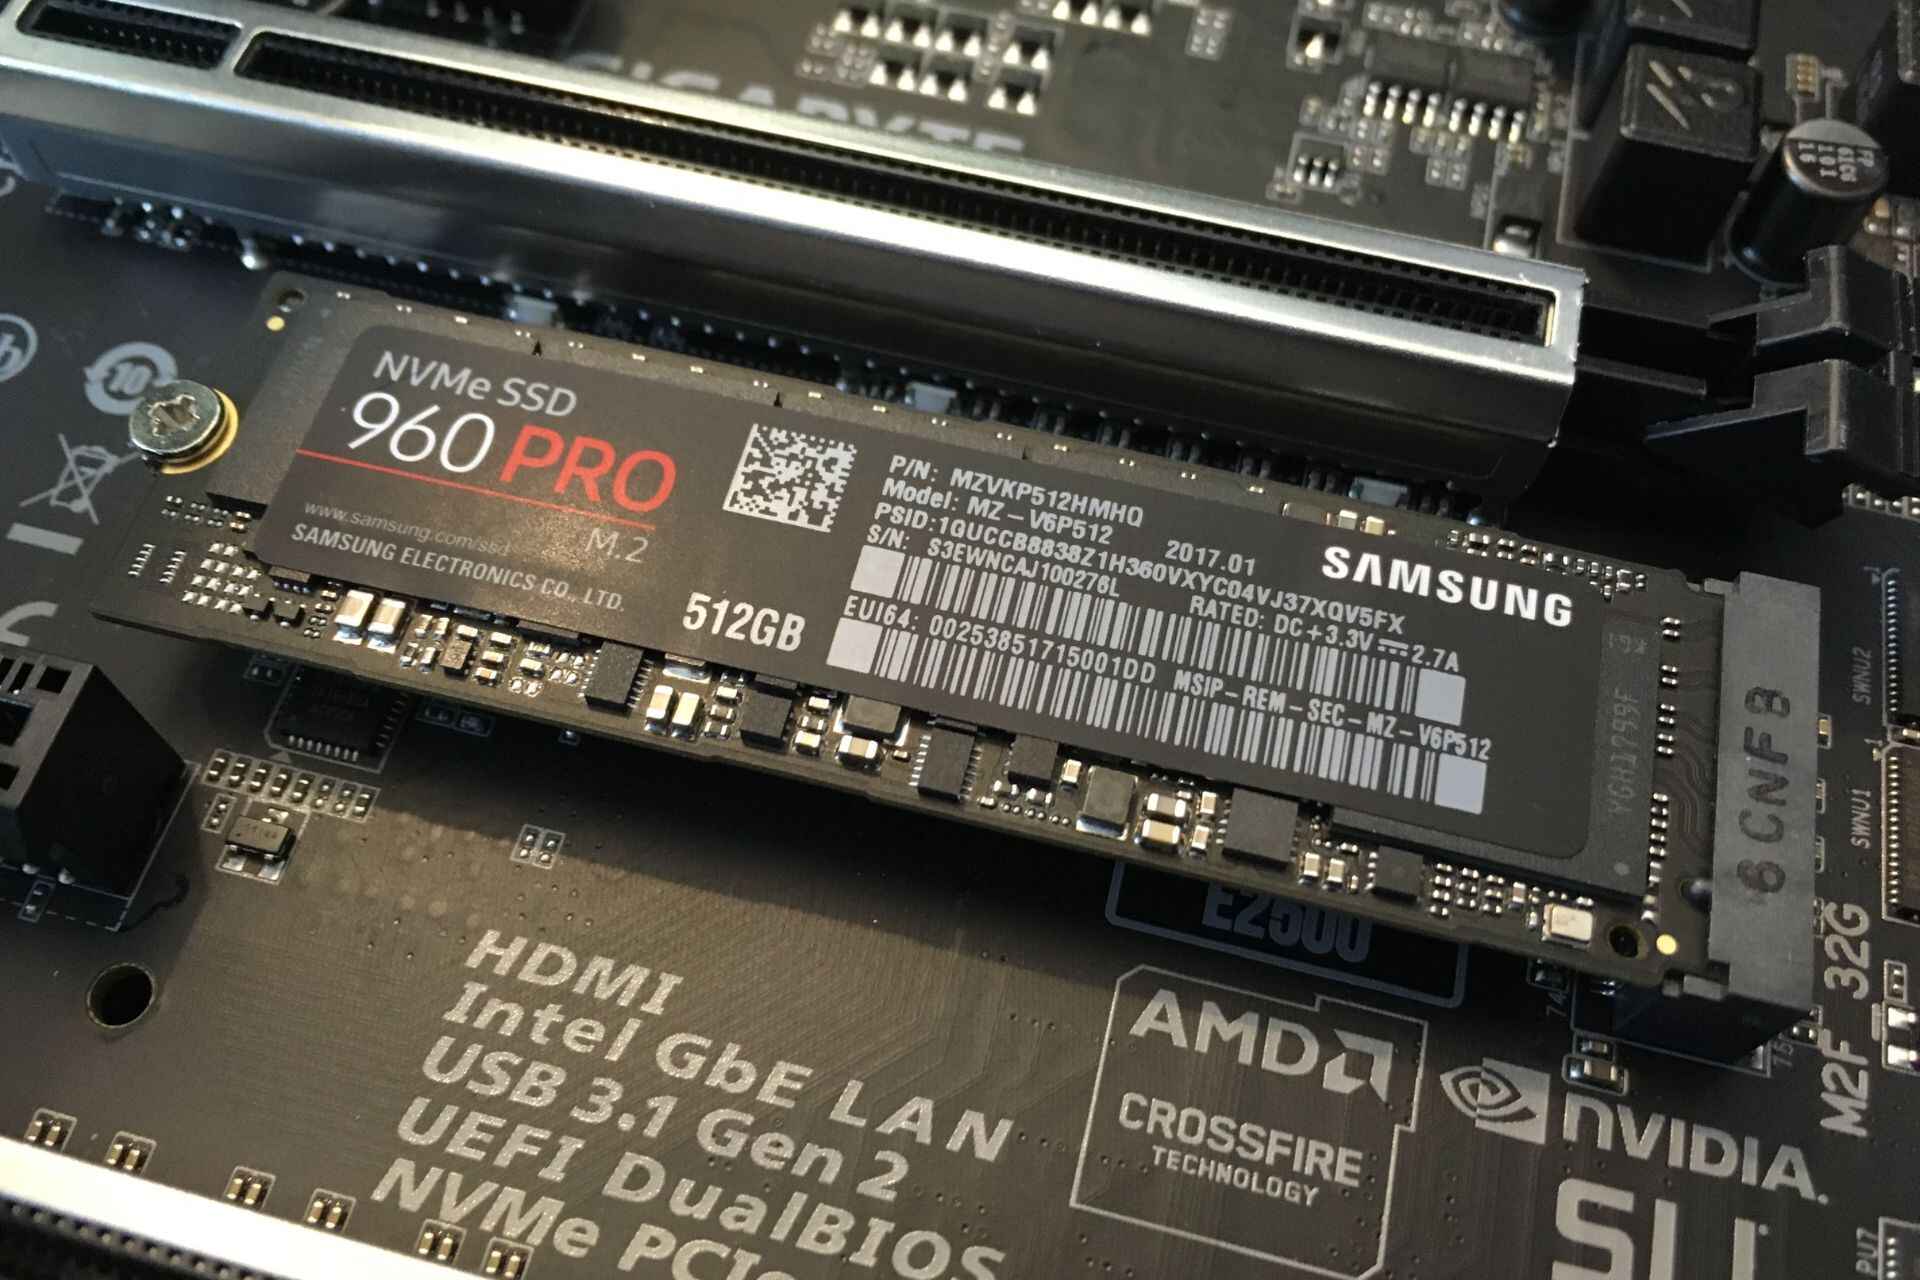
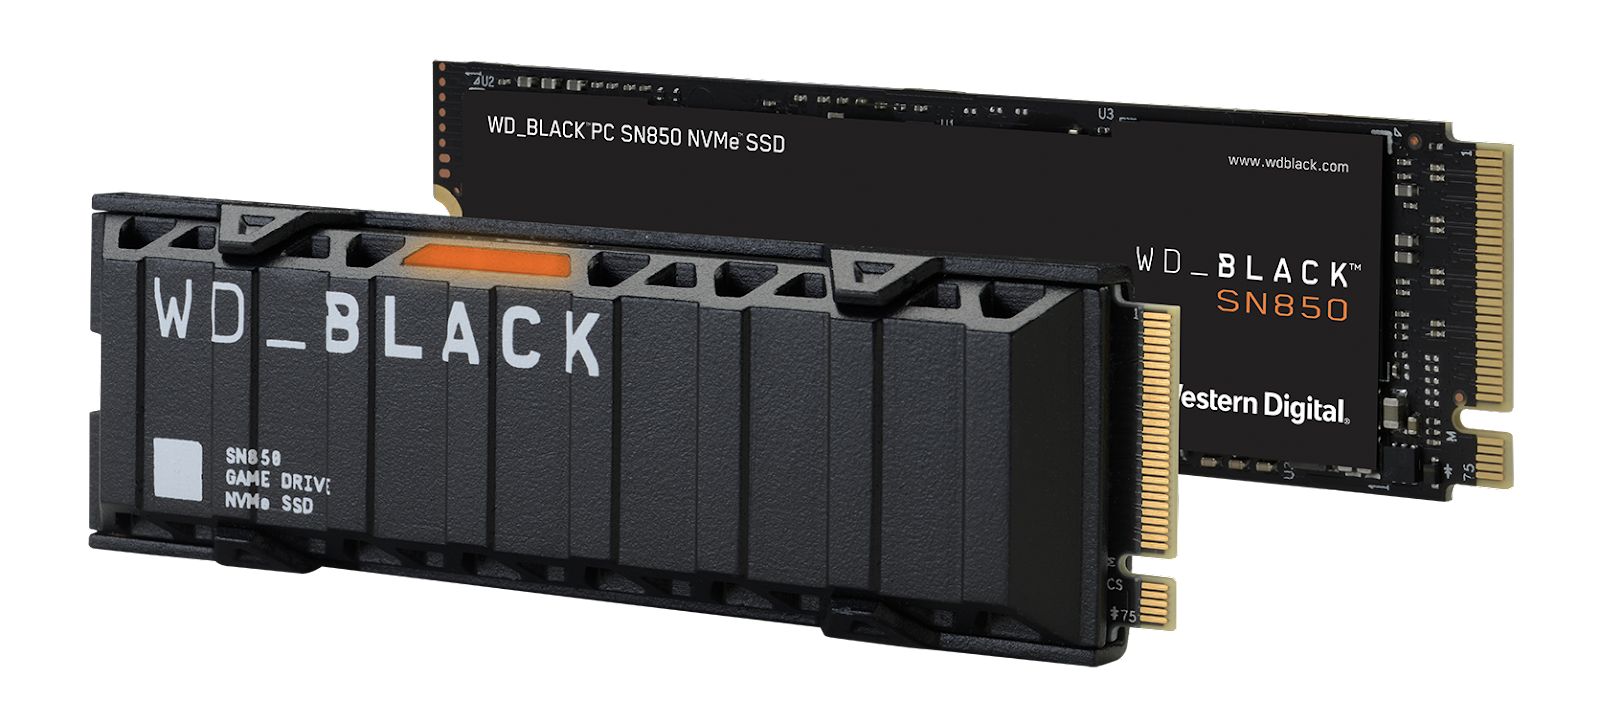
Lastly, check if your SSD requires any specific cables or adapters. Most SSDs use the standard SATA interface for data and power connections, but there may be exceptions, especially with newer NVMe SSDs.
Now that you have all the necessary tools and equipment, let’s move on to the step-by-step process of installing the SSD in your desktop computer.
Step 1: Power Down and Disconnect
The first step in any hardware installation is to ensure that your computer is powered down and disconnected from any power source. This is crucial to prevent any electrical shock or damage to your components.
Start by shutting down your computer through the operating system. Once it’s completely powered down, unplug the power cord from the wall outlet. If your desktop has a power switch on the back of the case, turn it off as well. This will prevent any residual power from flowing through the system.
Next, disconnect any peripheral devices such as monitors, keyboards, and mice. It’s also a good idea to remove any USB drives or memory cards that may be connected to your computer.
Now, carefully open up your computer case. The process of opening the case will vary depending on the make and model of your desktop. In most cases, you’ll need to remove a side panel by unscrewing the screws that hold it in place. Refer to your computer’s user manual or manufacturer’s website for specific instructions on how to open the case.
Once the side panel is removed, take a moment to ground yourself by touching a metal surface inside the case. This will discharge any static electricity that may have built up on your body, reducing the risk of damaging sensitive components.
With the power off, peripherals disconnected, and the case open, you’re now ready to proceed to the next step of installing your SSD in your desktop computer.
Step 2: Open the Case
Now that you have powered down your computer and disconnected all the necessary cables, it’s time to open the case. Opening the case will provide access to the internal components, making it easier to install your SSD.
The process of opening the case will vary depending on the type and model of your desktop computer. Here are the general steps to follow:
- Identify the screws or latches that hold the side panel in place. In most cases, you will find these screws on the back of the case.
- Using a screwdriver, carefully unscrew the screws or release the latches. Set the screws aside in a safe place, as you will need them later to secure the side panel.
- Once the screws or latches are removed, gently slide or lift the side panel away from the case. Take care not to force it or apply excessive pressure, as this may damage the case or components inside.
With the side panel removed, you will now have a clear view of the internal components of your desktop computer. Make sure to place the side panel in a safe location, as you will need to reattach it later.
It’s worth noting that some computer cases may have additional panels or covers that need to be removed to access specific areas. Refer to your computer’s manual or manufacturer’s website for detailed instructions on how to open your specific model.
Now that you have successfully opened the case, you are ready to proceed with the next steps of installing your SSD.
Step 3: Find an Available Slot for the SSD
After opening the case of your desktop computer, the next step is to find an available slot to install your SSD. Depending on the layout and design of your computer, there are a few possible locations where you can install the SSD:
- Hard Drive Bays: Many computer cases have dedicated bays or slots for hard drives and SSDs. These bays are typically located towards the front or bottom of the case. Check if there are any empty bays available and choose one for your SSD.
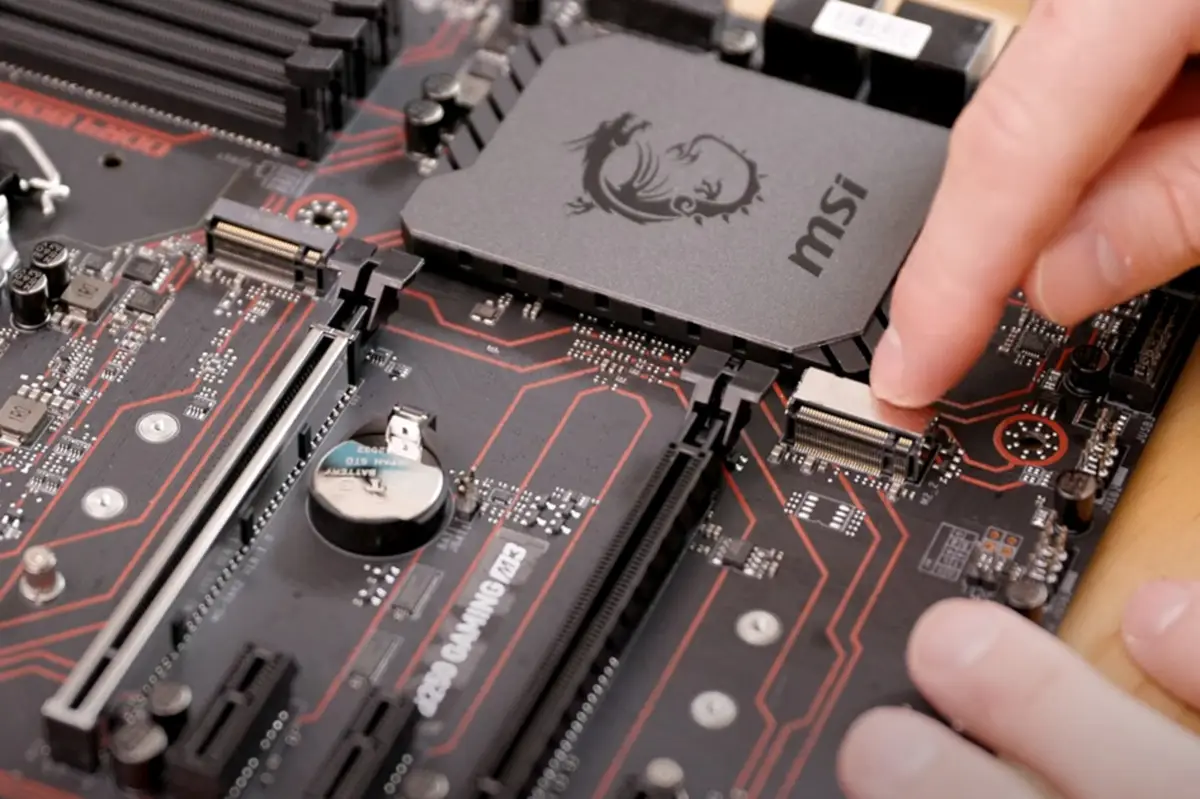
- SSD Mounting Points: Some modern computer cases provide specific mounting points for SSDs. These are usually small holes or brackets designed to secure the SSD in a specific location.
- Adapter Brackets: If your case doesn’t have dedicated SSD mounting points, fret not. You can use adapter brackets, which are metal or plastic brackets that allow you to mount the SSD in a regular hard drive bay.
If you have multiple options, consider factors such as cable management, airflow, and personal preference when choosing the location for your SSD.
It’s worth noting that if you’re replacing an existing hard drive with the SSD, you’ll need to remove the hard drive from its current location. Carefully detach any cables connected to the hard drive, and unscrew any mounting brackets or screws holding it in place. Keep the screws handy, as you may need them to secure the SSD.
Once you have identified the appropriate slot for your SSD, you’re ready to move on to the next step of actually mounting the SSD in your desktop computer.
Step 4: Mount the SSD
Now that you have identified the appropriate slot for your SSD, it’s time to mount it securely in place. The method of mounting will depend on the design of your computer case and the availability of dedicated SSD mounting points. Here are the general steps to follow:
- If your computer case has dedicated SSD mounting points, align the screw holes on the SSD with the corresponding holes on the mounting points.
- Using the screws that came with your SSD or your computer case, secure the SSD in place by screwing it into the mounting points. Be careful not to overtighten the screws to avoid damaging the SSD or the case.
- If your computer case doesn’t have dedicated SSD mounting points, use an adapter bracket. Attach the SSD to the bracket using the provided screws, and then secure the bracket in an available hard drive bay using the screws that came with your computer case.
Ensure that the SSD is positioned securely and does not wobble or move when gently shaken. This will help prevent any damage to the SSD or its connections.
Properly mounting the SSD is essential for its stability and longevity. It also allows for proper airflow within the case, which helps maintain optimal operating temperatures for all the components.
Now that the SSD is securely mounted, we can proceed to the next steps, where we will connect cables to ensure it functions properly.
Step 5: Connect the SATA Data Cable
With the SSD securely mounted in place, the next step is to connect the SATA data cable. The SATA data cable enables communication between the SSD and the motherboard, allowing data to be transferred back and forth. Follow these steps to connect the SATA data cable:
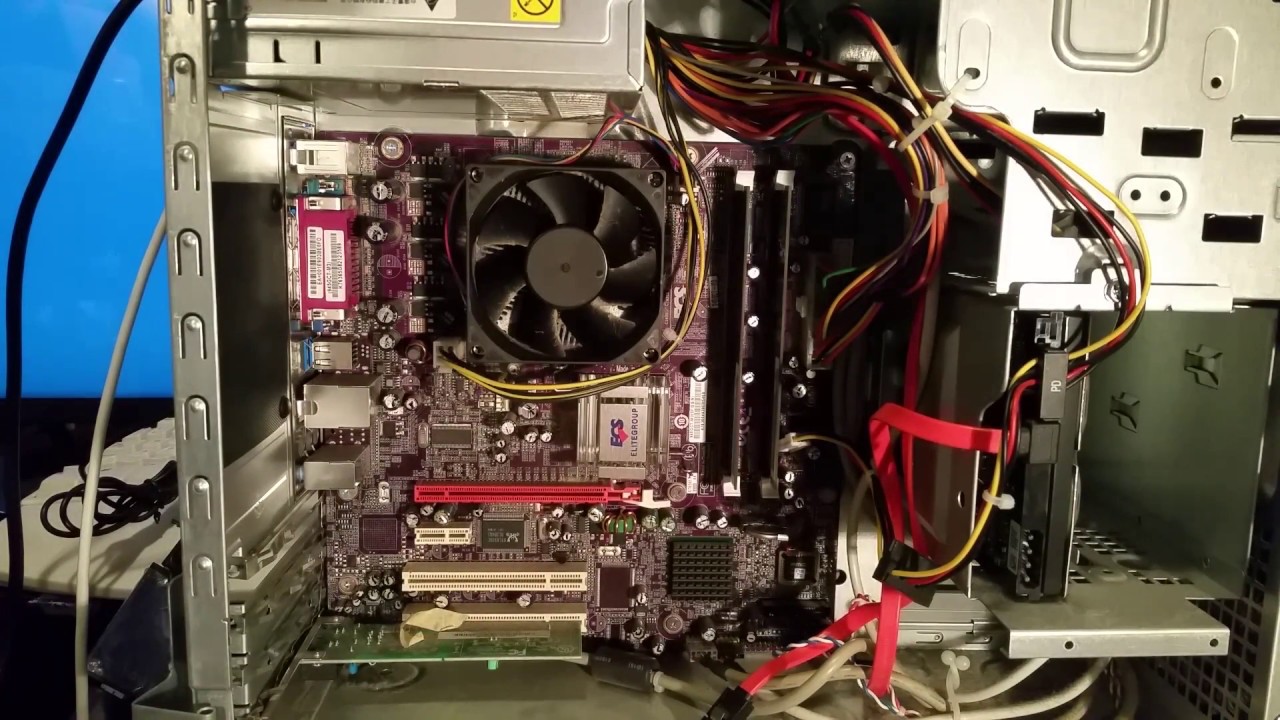
- Locate the SATA data ports on your motherboard. These ports are usually rectangular and labeled “SATA” or “SATA III”.
- Take one end of the SATA data cable and align it with one of the SATA data ports on the motherboard. The cable has a connector with a small L-shaped notch on one side.
- Insert the cable connector into the SATA data port, ensuring that the L-shaped notch aligns with the notch on the port.
- Securely push the connector into the port until it clicks into place. It should fit snugly without any visible gaps.
- Now, take the other end of the SATA data cable and connect it to the corresponding SATA data port on the SSD. Again, align the L-shaped notch with the notch on the SSD and firmly push the connector in until it clicks.
Double-check the connections to ensure they are secure and properly seated. A loose or poorly connected SATA data cable can result in data transfer issues or a non-functional SSD.
One important note is to avoid bending the SATA cables or placing excessive strain on the connectors. This can lead to a poor connection or even damage the cable. Proper cable management within the case is crucial for maintaining neat and secure connections.
Now that the SATA data cable is connected, we can move on to the next step, which involves connecting the power cable to the SSD.
Step 6: Connect the SATA Power Cable
Now that you have successfully connected the SATA data cable, it’s time to connect the SATA power cable to provide power to your SSD. The SATA power cable connects from the power supply unit (PSU) to your SSD, ensuring it receives the necessary power to function. Follow these steps to connect the SATA power cable:
- Locate an available SATA power connector from your PSU. These connectors are usually rectangular and have a flat L-shaped notch on one side.
- Take the SATA power cable and align the connector with the corresponding notch on the SSD.
- Ensure that the notch on the cable aligns with the notch on the SSD and the connector is properly oriented.
- Gently push the connector into the power port on the SSD until it fits snugly and securely. It should slide in smoothly without any excessive force.
- Double-check that the connection is secure and that there are no gaps between the connector and the port.
It’s important to note that the SATA power cable should only be inserted in one direction, as forcing it in the wrong way can damage the connector and the SSD.
Be mindful of cable management to avoid any loose or dangling cables that may obstruct airflow or interfere with other components. Tuck and secure the cables using cable ties or clips to maintain a clean and organized interior.
Once the SATA power cable is properly connected, proceed to the next step, where we will secure the case and prepare for powering on the computer with the newly installed SSD.
Step 7: Secure and Close the Case
Now that you have connected the necessary cables to your SSD, it’s time to secure and close the case of your desktop computer. This step ensures that all components are properly protected and that the system is ready for operation. Follow these steps to secure and close the case:
- Ensure that all cables are neatly organized and tucked away to prevent any interference with the components or fans.
- Carefully position the side panel back onto the case, aligning it with the edges and screw holes.
- Using the screws that you set aside when opening the case, securely fasten the side panel to the case. Make sure not to overtighten the screws to avoid damaging the case or the threads.
- Inspect the case to ensure that all screws are tightened and that there are no loose or protruding cables.
Double-check that the SSD is securely mounted, all cables are properly connected, and the case is closed and sealed. This will help prevent any potential damage or accidental disconnections during handling or movement.
Finally, clean the exterior of the case with a soft cloth to remove any fingerprint smudges or dust, giving your computer a professional and polished look.
Once you have secured and closed the case, you’re ready to power on your computer and check if the SSD is recognized by the system.
In the next step, we will power on the computer and verify the recognition of the newly installed SSD.
Step 8: Power On and Check for Recognition
With everything securely in place, it’s time to power on your computer and ensure that the newly installed SSD is recognized by the system. Follow these steps to power on and check for recognition:
- Reconnect the power cord to your desktop computer and plug it back into the wall outlet.
- If your computer has a power switch on the back of the case, flip it to the “on” position.
- Press the power button on the front of the computer to start it up.
- As the computer boots, pay attention to the initial startup screen or BIOS messages. Some computers display a brief message indicating the presence of a new storage device.
- Once the computer has finished booting into your operating system, open “Disk Management” or a similar utility to verify that the SSD is recognized.
- If the SSD is being recognized, you can proceed with formatting the drive and migrating your data, if desired.
- If, for any reason, the SSD is not recognized, double-check the connections and ensure that the power and data cables are securely connected.
- If the issue persists, consult the user manual for your SSD or visit the manufacturer’s website for troubleshooting guidance.
It’s worth noting that some operating systems may require additional steps to initialize and format the newly installed SSD. Consult the documentation or support resources for your specific operating system to ensure a smooth setup process.
Once you have confirmed that the SSD is recognized and functioning properly, congratulations! You have successfully installed an SSD in your desktop computer and can now enjoy improved performance, faster boot times, and quicker data transfers.
Remember to regularly backup your important data and keep your SSD firmware up to date to ensure optimal performance and longevity.
Conclusion
Installing a solid-state drive (SSD) in your desktop computer can significantly enhance its speed, performance, and overall user experience. With faster boot times, quicker data transfers, and improved reliability, an SSD is a valuable investment for any computer enthusiast or power user.
In this guide, we have walked you through the step-by-step process of installing an SSD in your desktop computer. Starting with powering down and disconnecting your computer, we moved on to opening the case and finding an available slot for the SSD. We then covered the process of mounting the SSD securely, connecting the SATA data cable, and providing power with the SATA power cable. After securing and closing the case, we powered on the computer and checked for the recognition of the newly installed SSD.
By following these steps and ensuring proper cable connections, you can successfully install an SSD in your desktop computer, giving it a significant performance boost. Remember to consult your computer’s user manual or the manufacturer’s website for specific instructions tailored to your system.
Now that you have completed the installation process, take some time to explore and enjoy the advantages of your new SSD. Experience the lightning-fast boot times, seamless file transfers, and improved overall responsiveness that the SSD brings to your computing experience.
Finally, don’t forget to regularly back up your data and keep your SSD firmware up to date to ensure its optimal performance and longevity. With proper care and maintenance, your SSD will continue to provide you with improved performance for years to come.
We hope that this guide has been helpful in assisting you with the installation of an SSD in your desktop computer. Enjoy the speed and efficiency that your new SSD brings to your computing experience!