Introduction
A solid state drive (SSD) is a crucial component for improving the performance and speed of your desktop computer. With no moving parts, SSDs offer faster data access and lower power consumption compared to traditional hard disk drives (HDDs).
If you’re looking to upgrade your desktop’s storage capabilities, installing an SSD is a relatively simple and cost-effective solution. In this guide, we will walk you through the step-by-step process of installing a solid state drive in a desktop computer.
Before we begin, it’s important to note that every desktop is different, so the specific steps may vary slightly depending on the model and configuration of your computer. However, the general principles outlined in this guide should apply to most desktop computers.
By following these instructions, you’ll be able to enjoy the benefits of increased speed, improved responsiveness, and enhanced reliability that come with using an SSD.
Now, let’s get started!
Step 1: Gather the necessary tools and materials
Before you begin installing a solid state drive (SSD) in your desktop computer, it’s important to gather all the necessary tools and materials to ensure a smooth and successful installation process. Here are the items you will need:
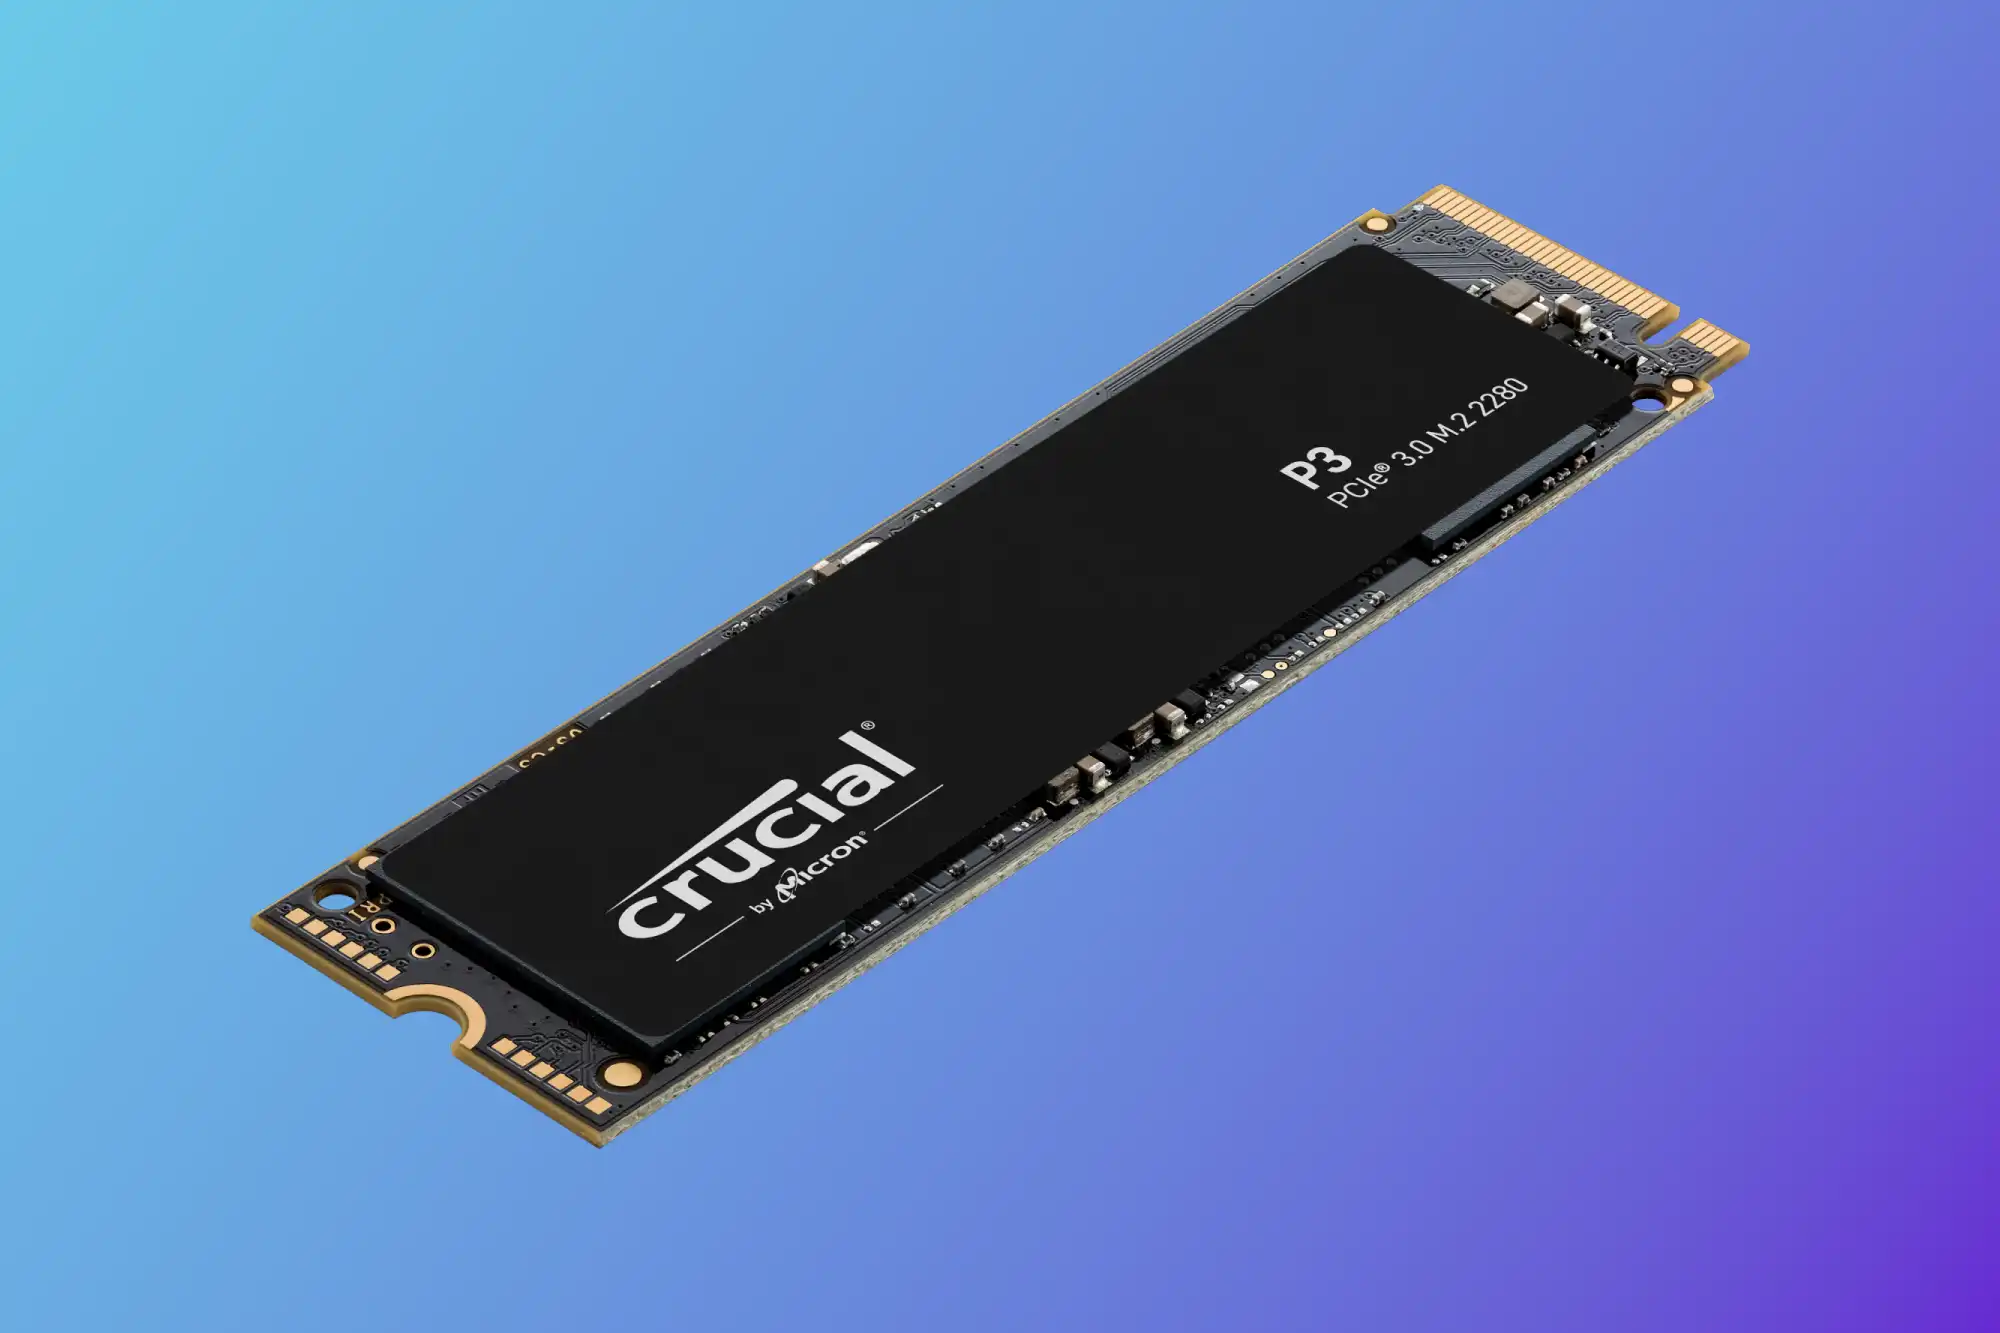
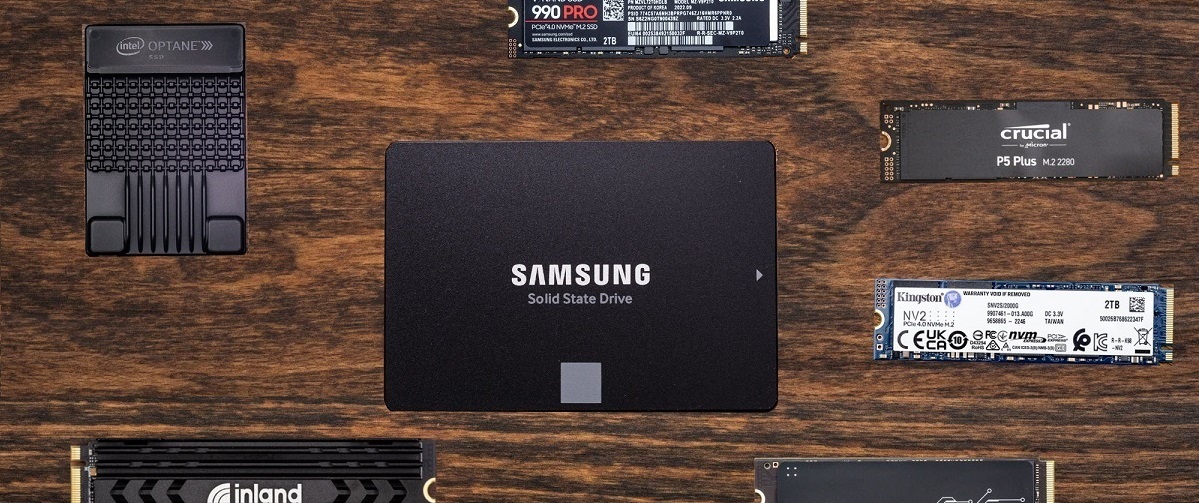
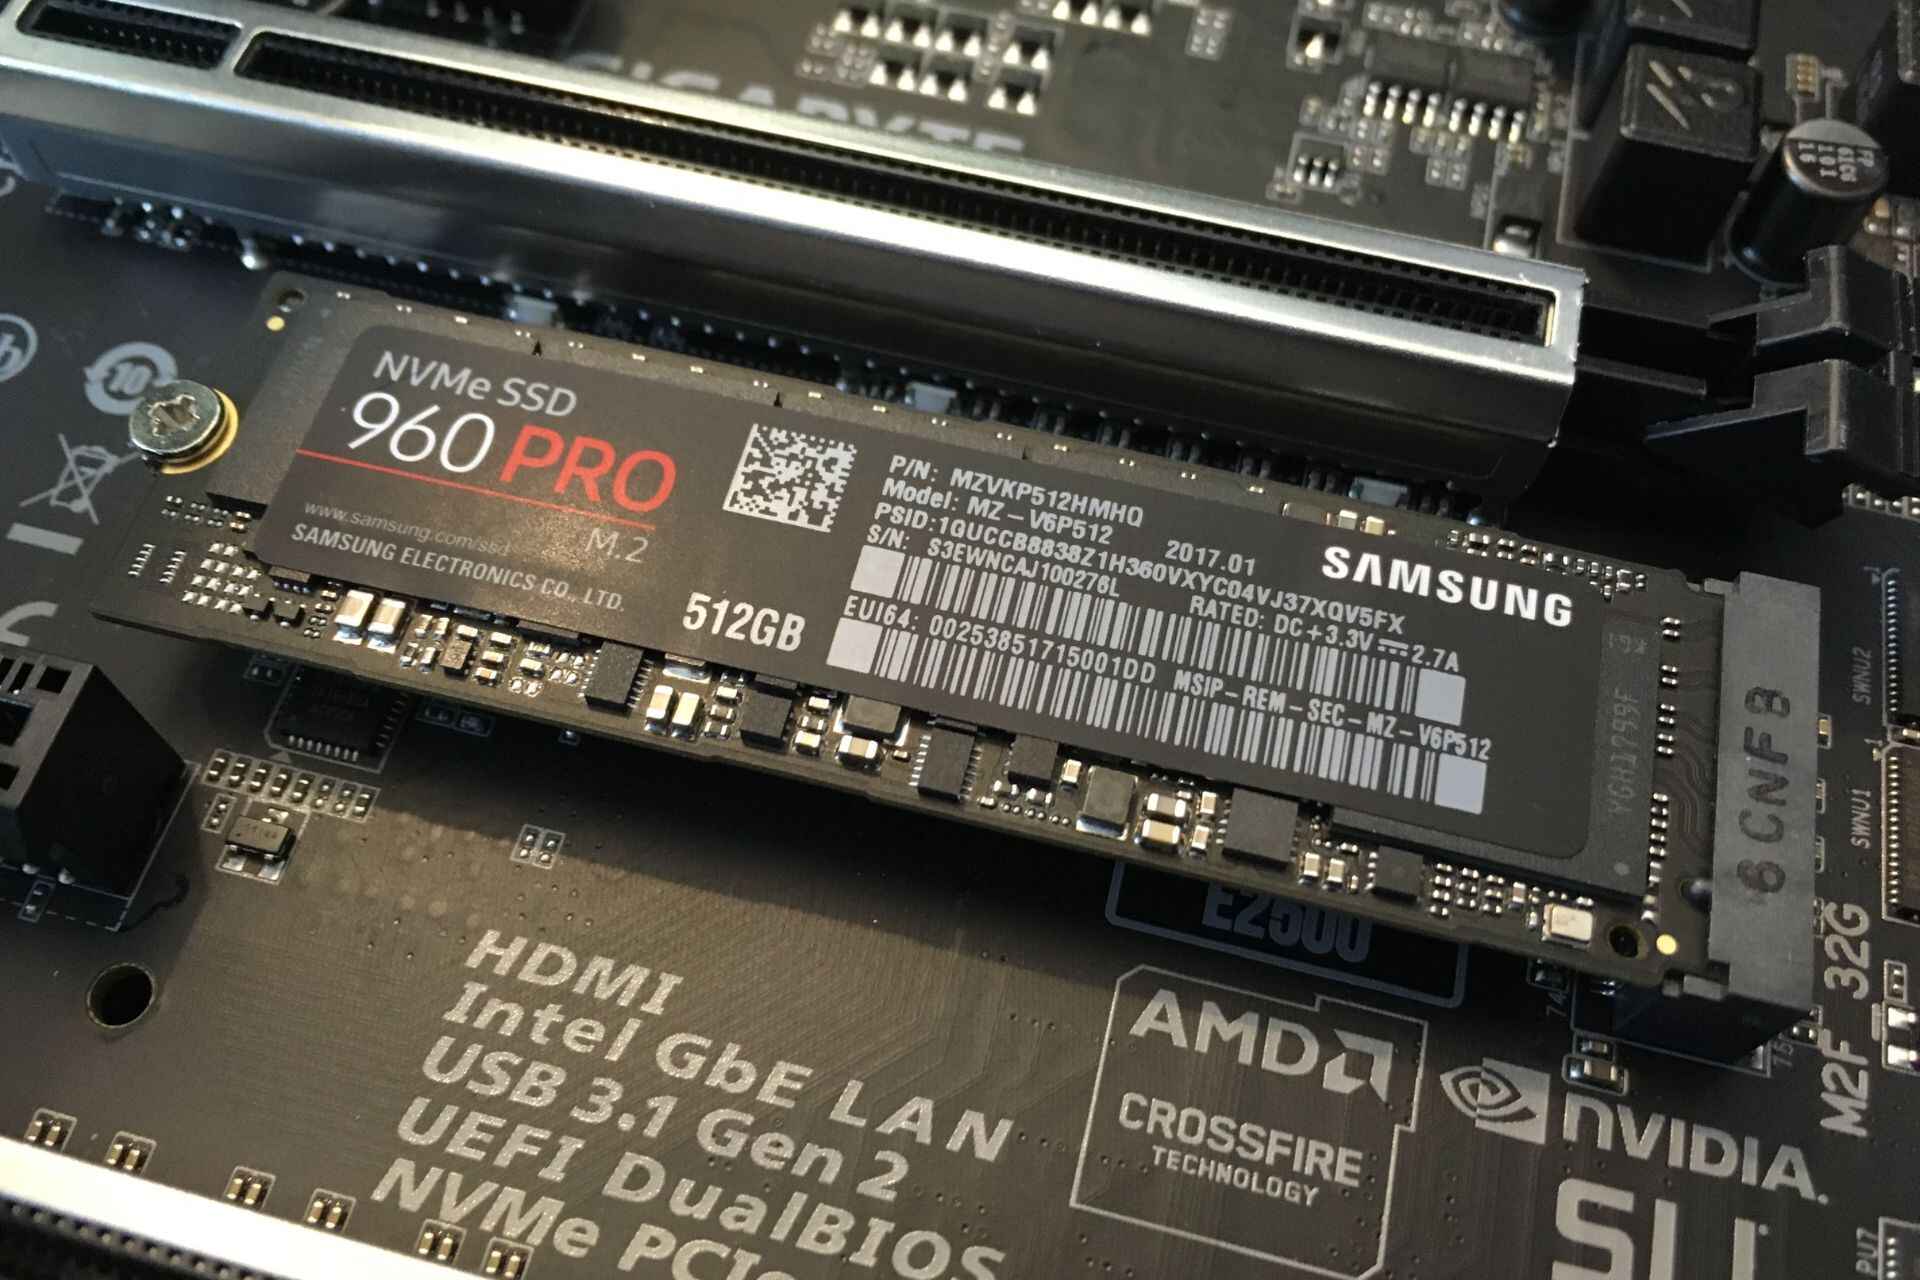
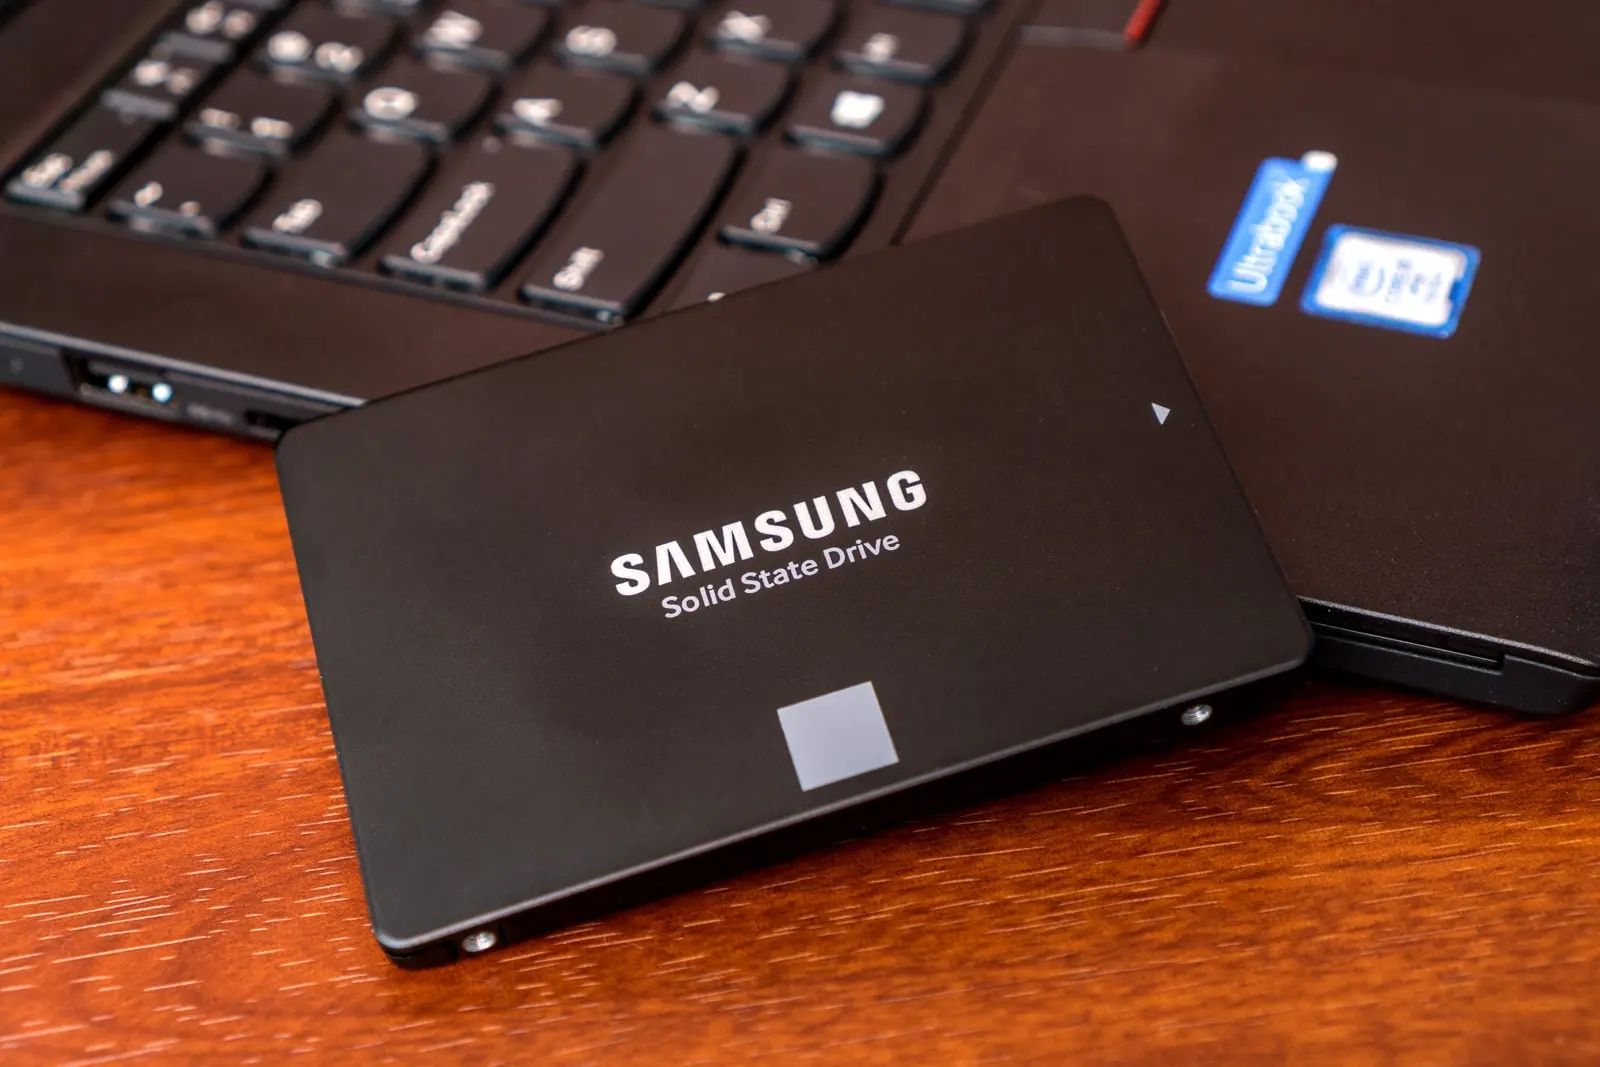
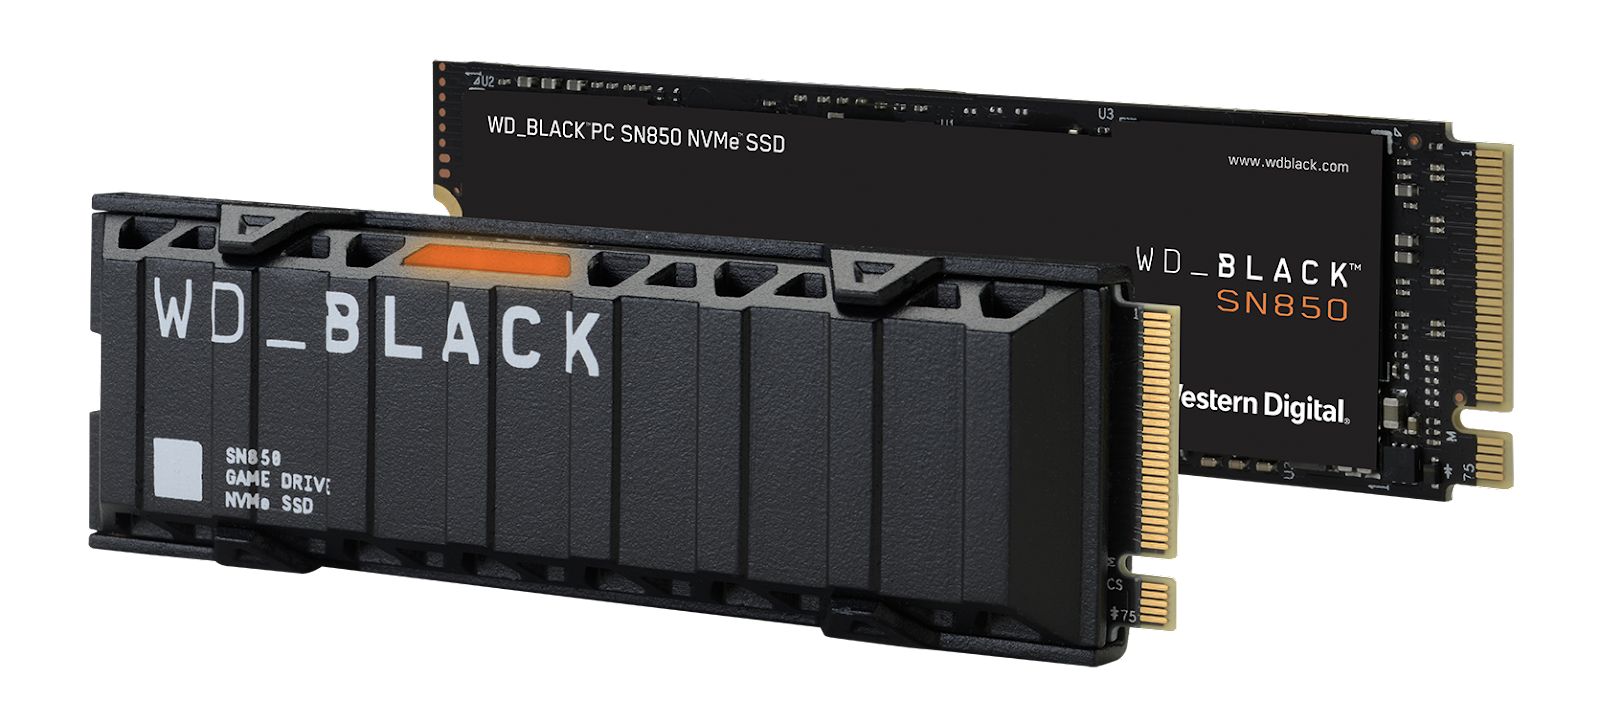
- SSD: Make sure you have a compatible SSD that meets your storage needs. Consider factors such as storage capacity and read/write speeds when choosing an SSD.
- SATA cable: Most SSDs use SATA (Serial ATA) connectors to connect to the motherboard. Ensure you have a SATA cable that is long enough to reach from the SSD to an available SATA port on the motherboard.
- Power cable: You will need a power cable that can connect to the SSD and an available power connector in your desktop.
- Screwdriver: Depending on your computer’s case, you may need a Phillips or a Torx screwdriver to remove the side panel and mount the SSD in the drive bay.
- Anti-static wristband (optional): While not absolutely necessary, using an anti-static wristband can help protect your components from static electricity during the installation process.
It’s always a good idea to gather all the tools and materials before you start the installation. This ensures that you have everything you need within reach and minimizes interruptions during the process.
Once you have all the necessary tools and materials, you’re ready to move on to the next step: powering down and unplugging your desktop computer.
Step 2: Power down and unplug your desktop
Before you begin the installation process, it’s important to power down your desktop computer and unplug it from the electrical outlet. This step is crucial to ensure your safety and prevent any damage to the components.
Follow these steps to power down and unplug your desktop:
- Save your work: Make sure to save any open files or important data before shutting down your computer. This will prevent any data loss or corruption.
- Close all applications: Close any running applications or programs to ensure a clean shutdown.
- Shut down the computer: Click on the Start menu and select the “Shutdown” option. Allow the computer to fully power down before proceeding.
- Unplug the power cord: Once the computer is shut down, reach behind your desktop and unplug the power cord from the electrical outlet. This step is important to avoid any electrical hazards.
It’s always a good practice to wait for a few minutes after unplugging the power cord to allow any residual electrical charge to dissipate. This extra precaution helps protect both you and your computer during the installation process.
With your desktop computer powered down and unplugged, you’re now ready to move on to the next step: removing the side panel of your desktop.
Step 3: Remove the side panel of your desktop
In order to access the internal components of your desktop computer, you’ll need to remove the side panel. This will allow you to install the solid state drive (SSD) with ease. Here’s how you can remove the side panel:
- Locate the screws: Look for the screws on the back of your desktop that are holding the side panel in place. These screws may be aligned vertically or horizontally, depending on the case design.
- Use a screwdriver: Once you’ve identified the screws, use a suitable screwdriver (Phillips or Torx) to unscrew them. Keep the screws in a safe place, as you will need them to secure the side panel later.
- Slide or lift the side panel: Once the screws are removed, you can slide or lift the side panel off the case. Some cases have a latch or release button that you need to press to release the panel. Refer to your computer’s manual if you’re unsure how to remove the side panel.
With the side panel removed, you’ll now have access to the internal components of your computer. Take a moment to familiarize yourself with the inside of the case, especially the motherboard and drive bays where you’ll be installing the SSD.
It’s important to handle the side panel with care to avoid any damage or scratches. Place the panel in a safe location where it won’t get in the way during the installation process.
Now that you’ve successfully removed the side panel, you’re ready to proceed to the next step: locating an available SATA port on the motherboard.
Step 4: Locate an available SATA port on the motherboard
Before you can connect your solid state drive (SSD) to your desktop computer, you need to find an available SATA port on the motherboard. SATA ports allow for the transfer of data between the SSD and the rest of the computer. Here’s how you can locate an available SATA port:
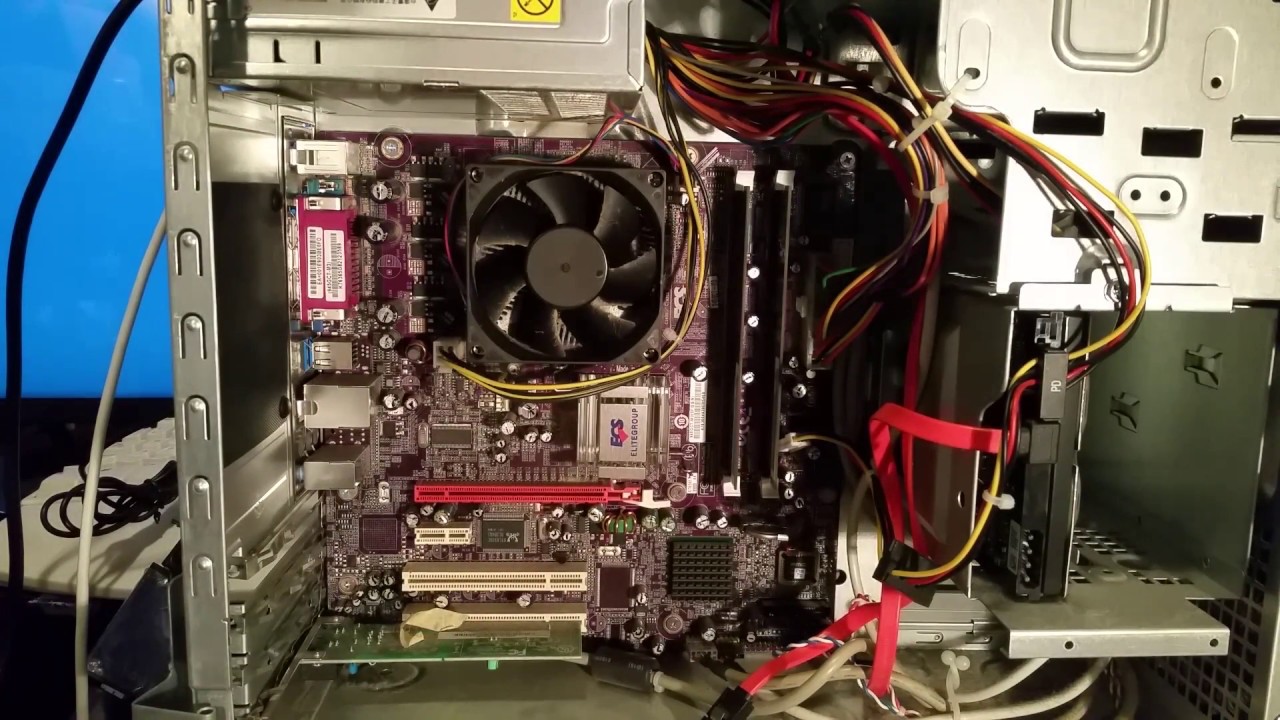
- Locate the motherboard: Look inside your desktop computer case and identify the main circuit board, which is known as the motherboard. It’s usually a large, flat, rectangular board that contains various components and connectors.
- Identify the SATA ports: On the motherboard, you’ll find a series of connectors that resemble small L-shaped slots. These are the SATA ports. They are typically grouped together and may be labeled as “SATA” or “SATA 3”. Each SATA port is capable of connecting a storage device like an SSD.
- Count the available ports: Take a moment to count the number of available SATA ports on the motherboard. You can visually identify if a port is available by looking for an empty or unoccupied slot.
In some cases, the SATA ports may be color-coded or labeled differently to indicate specific features or speeds. It’s important to refer to your motherboard’s manual or documentation to understand the layout and specifications of the SATA ports.
If you have multiple available SATA ports, consider selecting one that is easily accessible and doesn’t interfere with other components or cables. This will ensure a clean and organized installation.
Once you have located an available SATA port on the motherboard, you’re all set to proceed to the next step: connecting the SATA cable to the SSD and the motherboard.
Step 5: Connect the SATA cable to the SSD and motherboard
Now that you have located an available SATA port on the motherboard, it’s time to connect the SATA cable to both the solid state drive (SSD) and the motherboard. This will establish the data connection between the SSD and the rest of the computer. Here’s how you can do it:
- Locate the SATA ports on the SSD: Look for the SATA ports on the SSD itself. They are small rectangular connectors located on one side of the drive.
- Insert the SATA cable: Take the SATA cable and align the L-shaped connector with the corresponding L-shaped slot on the SSD. Gently push the cable into the slot until it is securely connected. Ensure that the connection is snug but not forced.
- Locate the SATA port on the motherboard: Refer back to the motherboard and find the SATA port that you identified in the previous step. It should be in close proximity to the SSD or nearby connectors.
- Connect the SATA cable to the motherboard: Align the L-shaped connector on the other end of the SATA cable with the corresponding L-shaped slot on the motherboard. Carefully insert the connector into the slot and ensure it is firmly seated.
It’s important to note that SATA cables have a specific orientation. The L-shaped connector should align with the L-shaped slot on both the SSD and the motherboard. Trying to force the connection in the wrong direction can cause damage to the connectors.
Once both ends of the SATA cable are securely connected, you have successfully established the data connection between the SSD and the motherboard. The next step will be to locate an available power connector in your desktop computer.
Step 6: Locate an available power connector in your desktop
To provide power to your solid state drive (SSD), you’ll need to find an available power connector within your desktop computer. This power connector will supply the necessary voltage for the SSD to operate properly. Here’s how you can locate an available power connector:
- Identify the power supply unit (PSU): Look inside your computer case and locate the power supply unit (PSU). It is a rectangular box typically positioned at the top or bottom of the case.
- Inspect the power cables: Examine the power cables coming out of the PSU. These cables provide power to various components within your computer, including hard drives, optical drives, and other peripherals.
- Look for the SATA power connectors: Most desktop PSUs have modular cables with SATA power connectors. These connectors have a distinctive L-shaped design with several pins inside the connector.
- Count the available connectors: Take a moment to count the number of available SATA power connectors. These connectors are often labeled and usually have multiple outlets to power multiple devices.
If you have multiple available SATA power connectors, choose one that is easily accessible and in close proximity to the SSD. This will ensure a neat and organized installation. Also, make sure to leave enough slack in the cable so that it can reach the SSD without tension or strain.
If you find that there are no available SATA power connectors, you may need to purchase a SATA power splitter or adapter. These accessories allow you to convert an existing power connector into multiple SATA power connectors, thereby providing additional connections for your SSD.
Once you have located an available power connector, you’re now ready to move on to the next step: connecting the power cable to the SSD.
Step 7: Connect the power cable to the SSD
With an available power connector identified, it’s time to provide power to your solid state drive (SSD). Connecting the power cable is essential for the proper functioning of the SSD. Here’s how you can do it:
- Locate the power connector on the SSD: On the side or end of the SSD, you’ll find a power connector that matches the power cable coming from your power supply unit (PSU).
- Align the power connector: Take the power cable and align the L-shaped connector with the corresponding slot on the SSD’s power connector. Ensure that the pins on both the cable and the SSD are aligned correctly.
- Connect the power cable: Once aligned, gently push the power cable’s connector into the SSD’s power connector. Ensure that it fits snugly and is securely connected. Do not force the connection.
It’s important to note that the power cable should only fit one way into the SSD’s power connector. Trying to force the connection in the wrong direction can result in damage to the connector pins.
Once the power cable is securely connected to the SSD, it will receive the necessary power to operate. With both the data and power connections in place, your SSD is now ready to be mounted in an available drive bay.
Please note that if you have multiple SSDs or other SATA devices, you will need to repeat the process of connecting the power cable for each device.
Now that you’ve successfully connected the power cable to the SSD, let’s move on to the next step: mounting the SSD in an available drive bay.
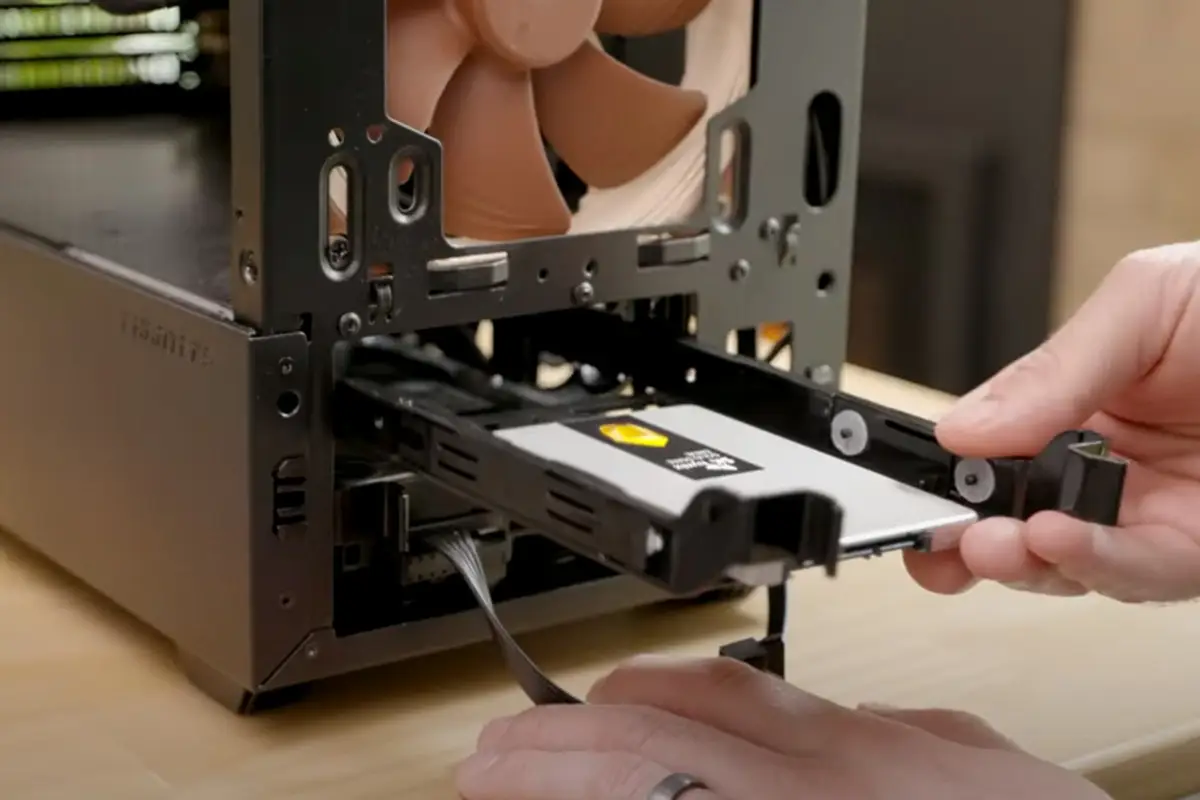
Step 8: Mount the SSD in an available drive bay
Now that you have connected the power and data cables to your solid state drive (SSD), it’s time to mount the SSD in an available drive bay in your desktop computer. Mounting the SSD securely will ensure its stability and prevent any unwanted movement. Here’s how you can mount the SSD:
- Locate an available drive bay: Look inside your computer case and identify an empty drive bay. Drive bays are slots specifically designed to hold storage devices like SSDs and hard drives. They are typically designed to be easily accessible and mountable.
- Prepare the SSD: If your SSD did not come pre-mounted in a caddy or bracket, you may need to attach it to one. Caddies or brackets help secure the SSD in the drive bay. Refer to your computer’s manual or the SSD’s instruction manual for specific mounting instructions.
- Align the SSD with the drive bay: Once your SSD is ready, align it with the drive bay in such a way that the connectors (data and power) are facing inside the case. Slide the SSD into the bay until it is fully inserted.
- Secure the SSD: Depending on your computer case, you may need to use screws or latches to secure the SSD in place. Consult your computer’s manual or the SSD’s manual for proper mounting techniques. Ensure that the SSD is firmly secured and does not move or shake when lightly tapped.
It’s essential to mount the SSD properly to prevent any damage to the drive or other components. Take care not to overtighten the screws or apply excessive force while securing the SSD.
Once the SSD is securely mounted in the drive bay, you can proceed to the next step: replacing the side panel of your desktop computer.
Step 9: Replace the side panel of your desktop
With the solid state drive (SSD) securely mounted in the drive bay, it’s time to put the side panel of your desktop computer back in place. Replacing the side panel will protect the internal components and ensure the overall integrity of your computer. Here’s how you can do it:
- Grab the side panel: Carefully pick up the side panel that you removed earlier. Make sure to hold it with both hands to avoid dropping or damaging the panel.
- Align the panel: Align the side panel with the computer case’s frame. There should be grooves or slots on the panel that match up with the corresponding hooks or latches on the case.
- Slide or press the panel into place: Slide or press the side panel gently but firmly until it fits snugly into the case. Ensure that all the hooks or latches engage properly, securing the panel in place.
- Secure the panel: If your case has screws to secure the side panel, use a screwdriver to tighten them. Make sure not to overtighten the screws, as this can damage the case or strip the threads.
Take a moment to inspect the side panel and ensure that it is properly aligned and securely attached to the case. The panel should sit flush with the case and there should be no gaps that could allow dust or debris to enter.
By replacing the side panel, you are not only protecting the components inside but also improving the overall airflow and cooling efficiency of your computer.
Now that the side panel is back in place, you’re ready for the final step: powering up your desktop computer and initializing the SSD.
Step 10: Power up your desktop and initialize the SSD
With the solid state drive (SSD) securely installed in your desktop computer, it’s time to power up your system and initialize the SSD. This step will ensure that the SSD is recognized by your operating system and ready for use. Here’s how you can do it:
- Reconnect the power cord: Plug the power cord back into the electrical outlet and ensure it is securely connected to the power supply unit (PSU) at the back of your computer.
- Power on your desktop: Press the power button on your desktop computer to turn it on. You should see the familiar boot-up sequence and hear the fans spinning.
- Access the BIOS/UEFI: During the boot process, you may need to enter the BIOS/UEFI settings. The specific key to access these settings varies depending on the manufacturer of your computer. Common keys include F2, Del, or Esc. Refer to your computer’s manual for instructions.
- Check for SSD detection: Once you’re in the BIOS/UEFI settings, navigate to the storage or drive configuration section. Ensure that the SSD is detected and listed as one of the connected devices. If it’s not detected, double-check the connections and consult your computer’s manual for troubleshooting steps.
- Save and exit the BIOS/UEFI: If the SSD is correctly detected, save any changes made in the BIOS/UEFI settings and exit. Your computer will proceed to boot up normally.
- Format and initialize the SSD: Once your computer has booted up, open the disk management utility in your operating system. Locate the SSD and format it to your desired file system (e.g., NTFS for Windows or APFS for macOS). This will prepare the SSD for use as a storage device.
After initializing the SSD, it will be ready for use. You can now enjoy the improved speed, efficiency, and reliability that come with using an SSD as your primary storage device.
Always ensure you have proper backups of your data and perform regular maintenance to keep your SSD running smoothly.
Congratulations! You have successfully installed and initialized your SSD in your desktop computer. Enjoy the enhanced performance and storage capabilities!
Conclusion
Installing a solid state drive (SSD) in your desktop computer is a relatively straightforward process that can greatly enhance its performance and storage capabilities. By following the step-by-step guide outlined in this article, you have successfully learned how to install an SSD in your desktop computer.
We started by gathering the necessary tools and materials, including the SSD, SATA cable, power cable, and screwdriver. We then proceeded to power down and unplug the desktop, remove the side panel, locate an available SATA port on the motherboard, and connect the SATA cable to both the SSD and motherboard. Next, we located an available power connector and connected the power cable to the SSD.
Afterwards, we mounted the SSD securely in an available drive bay and replaced the side panel of the desktop. Finally, we powered up the desktop and initialized the SSD by accessing the BIOS/UEFI and formatting the SSD in the operating system.
By following these steps, you have successfully incorporated an SSD into your desktop computer, which will provide faster data access, improved responsiveness, and enhanced reliability. Your computer will experience quicker boot times, faster application launches, and smoother multitasking.
Remember to regularly back up your data and perform routine maintenance to keep your SSD running optimally. Enjoy the increased speed and storage capacity that your new SSD brings!