Introduction
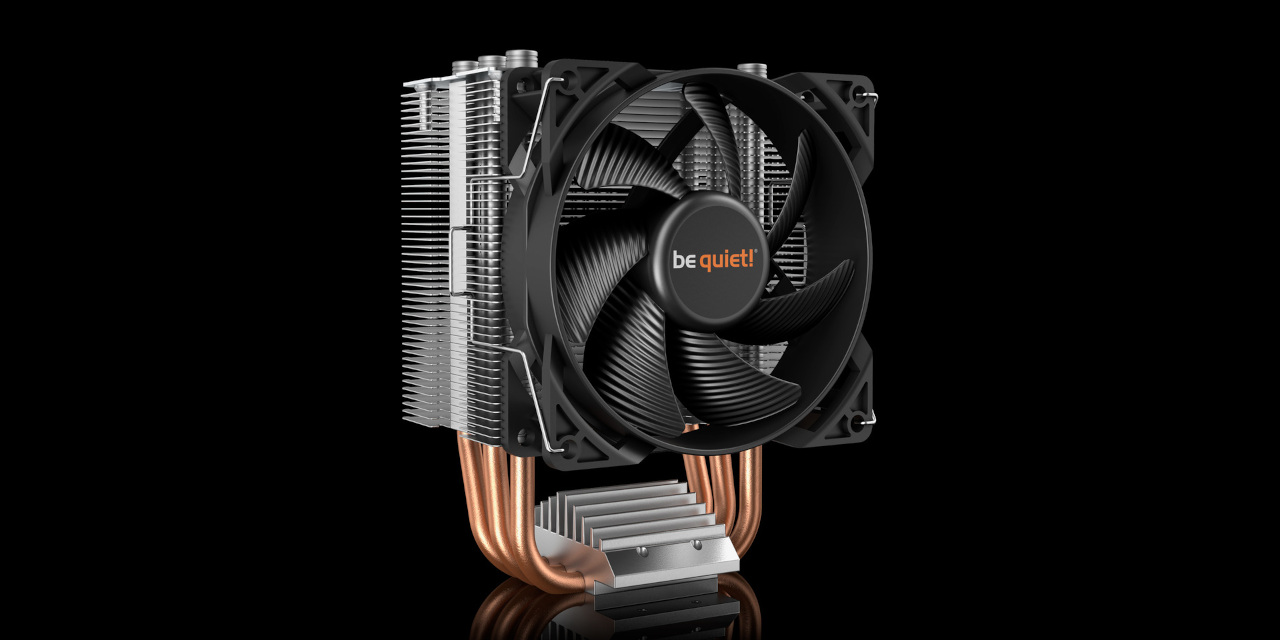
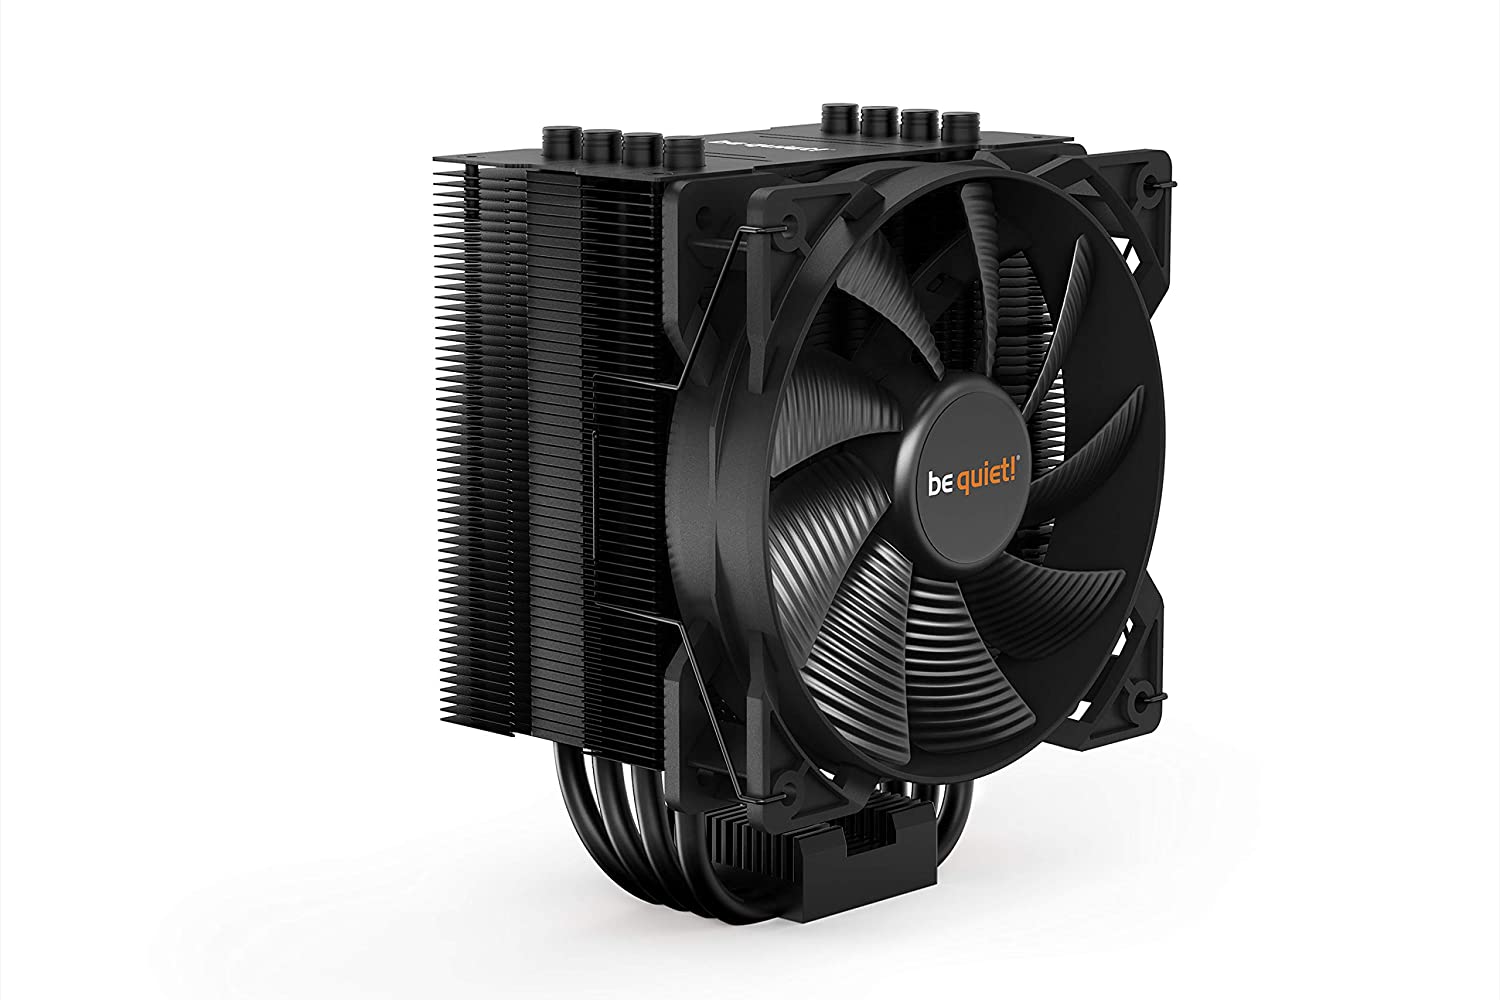
Installing a CPU cooler is a crucial step in building or upgrading a computer. A high-quality CPU cooler not only keeps your processor running at optimal temperatures but also extends its lifespan and ensures stable performance. One popular CPU cooler brand is Be Quiet, known for its excellent cooling capabilities and low noise levels.
In this guide, we will walk you through the step-by-step process of installing a Be Quiet CPU cooler. Whether you are a beginner or have some experience with computer hardware, this guide will provide you with the necessary instructions to successfully install your CPU cooler.
Before we begin, it is important to gather the necessary tools and materials. You will need a Phillips screwdriver, thermal paste, rubbing alcohol or thermal paste remover, a lint-free cloth, and of course, your Be Quiet CPU cooler and the motherboard it will be installed on.
It is also essential to ensure that you are working in a clean and static-free environment. Static electricity can damage electronic components, including your CPU and motherboard. Consider working on a non-conductive surface, such as a wooden table, and ground yourself by touching a metal object before handling any sensitive components.
Now that you are prepared, let’s dive into the installation process and get your Be Quiet CPU cooler up and running!
Gathering the Necessary Tools and Materials
Before you begin installing your Be Quiet CPU cooler, it is important to gather all the necessary tools and materials. Having everything you need in advance will ensure a smooth and efficient installation process. Here is a list of what you’ll need:
- Phillips screwdriver: This will be used to secure the CPU cooler to the motherboard.
- Thermal paste: Thermal paste is necessary as it helps to ensure proper heat transfer between the CPU and the cooler. Be Quiet CPU coolers typically come with pre-applied thermal paste, but it’s always a good idea to have some extra on hand in case you need to reapply or upgrade.
- Rubbing alcohol or thermal paste remover: This will be used to clean the surface of the CPU and cooler before applying the thermal paste.
- Lint-free cloth: A lint-free cloth is essential for wiping off any residue or dirt from the CPU and cooler surfaces.
- Be Quiet CPU cooler: Of course, you’ll need the Be Quiet CPU cooler itself. Make sure you have the correct model that is compatible with your motherboard socket.
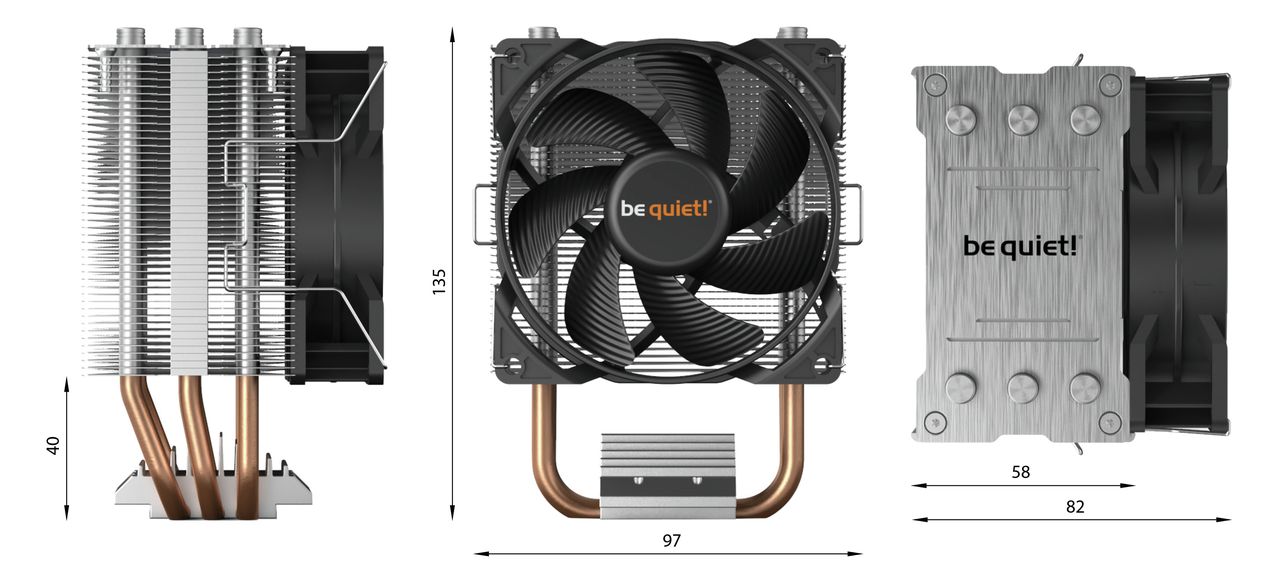
- Motherboard: You will need the motherboard that the CPU cooler will be installed on. Ensure that the motherboard is compatible with the CPU cooler, both in terms of socket and physical clearance.
By having all these tools and materials ready, you can avoid any delays or interruptions during the installation process. It is always better to be prepared and organized before diving into any hardware installation.
Preparing the Motherboard for Installation
Before installing the Be Quiet CPU cooler, it is important to properly prepare the motherboard to ensure a secure and effective installation. Follow these steps to get your motherboard ready:
- Power Off: Ensure that your computer is powered off and unplugged from the wall to avoid any electrical accidents.
- CPU Socket: Locate the CPU socket on your motherboard. This is where the CPU will be inserted. Familiarize yourself with the socket type and make sure it is compatible with your Be Quiet CPU cooler.
- CPU Retention Mechanism: Check the CPU retention mechanism on the motherboard. This mechanism is responsible for holding the CPU in place. Ensure that it is in the open position and ready to receive the CPU.
- CPU Socket Cover: Some motherboards come with a protective cover over the CPU socket. If this is the case for your motherboard, carefully remove the cover, ensuring not to touch the CPU socket or any pins on the motherboard.
- CPU Installation Area: Clear the area around the CPU socket on the motherboard. Remove any dust or debris using compressed air or a soft brush to ensure a clean installation.
- CPU Alignment: Take note of the CPU alignment notches on both the CPU and the socket. These notches should align correctly to ensure proper insertion.
Preparing the motherboard is a crucial step as it sets the foundation for a successful CPU cooler installation. By ensuring that the motherboard is clean, compatible, and ready to receive the CPU cooler, you are one step closer to efficiently cooling your processor for optimal performance.
Installing the CPU Cooler Brackets
Once you have prepared the motherboard, the next step in installing your Be Quiet CPU cooler is to attach the necessary brackets. These brackets will securely hold the cooler in place. Follow these steps to install the CPU cooler brackets:
- Refer to the Manual: Consult the user manual provided with your Be Quiet CPU cooler to identify the specific brackets required for your motherboard socket. Be sure to select the correct brackets as different motherboards may require different mounting mechanisms.
- Positioning the Brackets: Attach the brackets to the designated mounting holes around the CPU socket. Align them according to the instructions in the manual, ensuring they are firmly secured in place.
- Tightening the Screws: Using a Phillips screwdriver, tighten the screws on the brackets. Ensure that each screw is securely fastened, but be careful not to overtighten and damage the motherboard.
- Double-Check: Once all the screws are tightened, give the brackets a gentle wiggle to ensure they are firmly attached and do not move. This will help ensure the stability of the cooler when it is installed.
By following these steps, you will successfully install the necessary brackets for your Be Quiet CPU cooler. The brackets play a crucial role in holding the cooler securely in place, ensuring optimal cooling performance and preventing any unwanted movement or damage to the motherboard or CPU.
Applying Thermal Paste
Thermal paste is a vital component in the installation of a CPU cooler as it helps to facilitate proper heat transfer between the CPU and the cooler. Follow these instructions to apply thermal paste for your Be Quiet CPU cooler:
- Clean the CPU: Use a small amount of rubbing alcohol or thermal paste remover on a lint-free cloth to clean the surface of the CPU. Ensure that there is no residual thermal paste or debris that could interfere with the new application.
- Prepare the Thermal Paste: Squeeze a small amount of thermal paste onto the center of the CPU, approximately the size of a grain of rice. Avoid using excessive amounts, as this can lead to poor heat transfer and potential spillage.
- Spread the Paste: Using a clean finger or a plastic spatula, gently spread the thermal paste in a thin, even layer across the entire surface of the CPU. Make sure that the paste covers the entire CPU surface, but avoid creating a thick layer that may hinder heat transfer.
- Do Not Overspread: Keep in mind that excessive spreading or reapplying thermal paste multiple times can introduce air bubbles, affecting heat transfer. As long as you have a thin and even layer covering the CPU, further manipulation is unnecessary.
Proper application of thermal paste ensures efficient heat transfer, allowing the Be Quiet CPU cooler to effectively cool the processor. Remember to follow the manufacturer’s recommendations and instructions for applying thermal paste specific to your CPU and cooler.
Securing the CPU Cooler to the Motherboard
Now that you have applied thermal paste, it’s time to secure the Be Quiet CPU cooler to the motherboard. Proper installation of the cooler is essential for effective cooling and optimal performance. Follow these steps to securely attach the CPU cooler:
- Mounting the Cooler: Carefully align the CPU cooler with the brackets installed on the motherboard. Ensure that the cooler is placed directly over the CPU, lined up with the mounting holes, and the brackets are fitted through the corresponding holes on the cooler.
- Screwing the Cooler: Take your Phillips screwdriver and insert the screws provided into the mounting holes on the CPU cooler, through the brackets on the motherboard. Tighten the screws in a diagonal pattern, gradually applying equal pressure until they are securely fastened. Avoid overtightening, as it can damage the motherboard or cause uneven pressure distribution.
- Double-Check: Once the CPU cooler is attached, give it a gentle wiggle to ensure it is stable and properly secured. It should not move or come loose when lightly manipulated.
By following these steps, you will securely install the Be Quiet CPU cooler onto your motherboard. Proper attachment ensures the cooler maintains good contact with the CPU, allowing for efficient heat dissipation and optimal cooling performance.
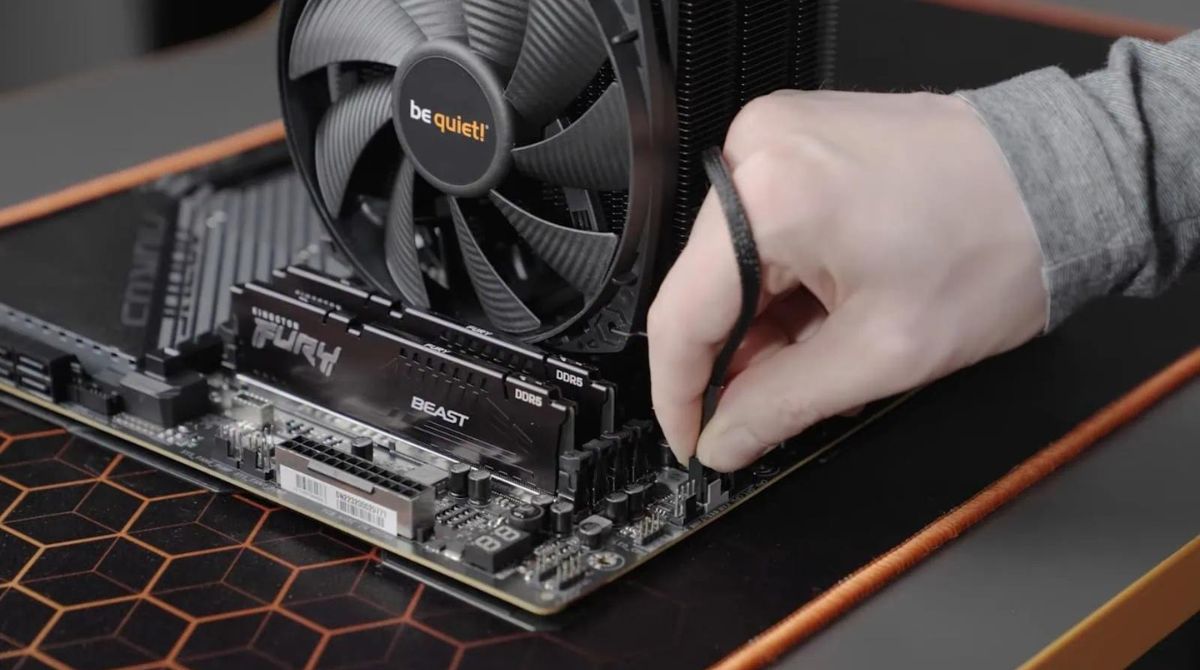
Connecting the Fan and Power Cables
Once the CPU cooler is securely attached, the next step is to connect the fan and power cables. This ensures that the fan is properly powered and able to cool the CPU effectively. Follow these steps to connect the necessary cables:
- Fan Cable: Locate the fan cable coming from the CPU cooler. This cable is responsible for providing power to the fan. Find the fan header on the motherboard, typically labeled “CPU_FAN” or something similar.
- Connecting the Fan Cable: Gently insert the fan cable into the appropriate fan header on the motherboard. Ensure that it is securely connected and the pins align correctly. You may need to exert a little pressure, but be cautious not to force it.
- Power Cable: Locate the power cable of the CPU cooler. This is the cable that provides power to the cooling unit itself. You will need to connect it to the corresponding power connector on the motherboard or power supply.
- Connecting the Power Cable: Insert the power cable into the designated power connector. Make sure it is firmly connected and secure.
Once the fan cable and power cable are connected, the CPU cooler is ready for operation. The fan will receive the necessary power to spin and effectively cool the CPU, ensuring high-performance and temperature control.
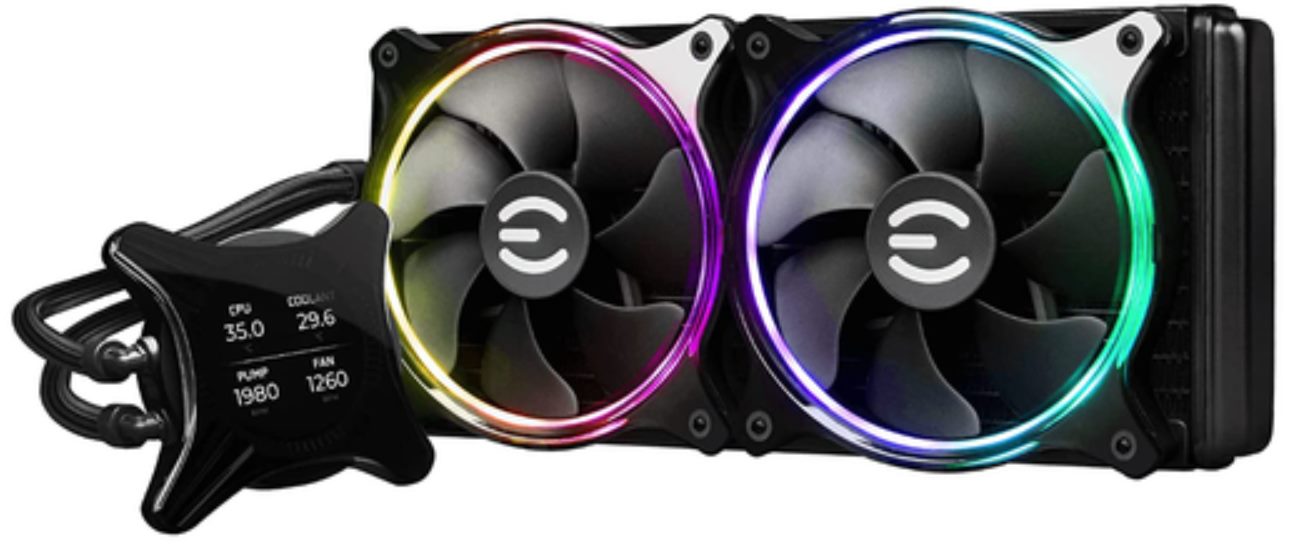
It’s important to note that some Be Quiet CPU coolers may have additional cables for advanced features, such as fan speed control or RGB lighting. Refer to the user manual for your specific CPU cooler to learn how to connect these additional cables if applicable.
Testing the Installation
After completing the installation of your Be Quiet CPU cooler, it’s essential to test its performance to ensure everything is functioning as expected. Follow these steps to test the installation:
- Power on your computer: Plug in the power cable and turn on your computer. Ensure that all the fans, including the CPU cooler fan, are spinning.
- Monitor temperature: Keep an eye on the temperature of your CPU. You can use monitoring software or the BIOS to check the CPU temperature. It should remain within safe limits, typically indicated by the manufacturer’s specifications.
- Monitor noise levels: Pay attention to the noise levels generated by the CPU cooler fan. Be Quiet coolers are known for their low noise levels, so ensure that it operates quietly and does not produce any unusual or loud noises.
- Run CPU-intensive tasks: To further test the CPU cooler’s performance, consider running CPU-intensive tasks such as gaming, video rendering, or stress tests. Monitor the temperature and ensure it remains stable even under heavy workload.
- Observe system stability: Monitor your system’s stability during extended usage. Ensure that your computer does not experience sudden shutdowns, blue screens, or other instability issues related to temperature or cooling.
By testing the installation, you can verify that the Be Quiet CPU cooler is effectively cooling your processor and maintaining proper temperature levels. If you notice any abnormal temperature readings, excessive noise, or system instability, it may indicate a problem with the installation. In such cases, double-check the installation steps and consult the user manual for troubleshooting guidance.
By thoroughly testing the CPU cooler’s performance, you can have peace of mind knowing that your processor is being cooled effectively and efficiently, leading to improved system performance and longevity.
Conclusion
Installing a Be Quiet CPU cooler is a crucial step in ensuring optimal cooling performance and the longevity of your processor. By following the step-by-step instructions in this guide, you have learned how to successfully install your CPU cooler.
From gathering the necessary tools and materials to preparing the motherboard, installing the brackets, applying thermal paste, securing the CPU cooler, and connecting the fan and power cables, each step plays a vital role in achieving efficient and effective cooling.
Testing the installation ensures that your Be Quiet CPU cooler is operating as intended. Monitoring temperature, noise levels, system stability, and performance during CPU-intensive tasks will help identify any issues and allow for necessary adjustments.
Remember, proper installation and maintenance of your CPU cooler are essential for maintaining optimal performance and extending the lifespan of your processor. Regularly clean the cooler, reapply thermal paste when necessary, and ensure adequate airflow within your computer case.
By effectively installing and maintaining your Be Quiet CPU cooler, you can enjoy improved CPU temperatures, quieter operation, and enhanced overall system performance for a smoother and more enjoyable computing experience.