Introduction
A CPU Fan Error is a common issue that many computer users may encounter. When you start up your computer, the system’s BIOS (Basic Input/Output System) performs a check on the hardware components to ensure everything is working properly. In the case of a CPU Fan Error, it means that the system is not detecting the spinning motion of the fan attached to the CPU (Central Processing Unit).
The CPU fan plays a critical role in keeping the processor cool and preventing overheating. Without proper cooling, the CPU can become damaged, leading to system crashes, performance issues, and potentially irreversible damage to your computer.
When a CPU Fan Error occurs, it is important to address the issue promptly to prevent any damage to your system. In this article, we will explore the possible causes of a CPU Fan Error and provide you with simple steps to ignore or resolve the error, ensuring the optimal functioning of your computer.
It is worth noting that while we provide guidelines on how to ignore the CPU Fan Error, it is always recommended to fix the issue rather than overlooking it. Ignoring the error for an extended period can lead to serious consequences, such as permanent damage to your CPU or motherboard.
What is a CPU Fan Error?
A CPU Fan Error is a warning message that appears during the boot process of your computer. It indicates that the computer’s BIOS is unable to detect the proper functioning of the CPU fan. The BIOS performs this check to ensure that the fan is spinning and actively cooling the CPU to prevent it from overheating.
When the CPU fan fails to spin or is not detected, it is considered an abnormal condition. The CPU can generate a significant amount of heat during operation, and the fan is responsible for dissipating this heat and maintaining a safe operating temperature. Without proper cooling, the CPU can quickly reach high temperatures, leading to reduced performance, system instability, and even permanent damage to the CPU.
Upon detecting a CPU Fan Error, the computer may display a warning message or prompt you to enter the BIOS setup utility. You may also notice abnormal CPU temperatures or hear unusual noises coming from the CPU fan.
It is essential to address a CPU Fan Error promptly to avoid any potential hardware damage and ensure the long-term stability and performance of your computer.
It is important to note that not all computers display a CPU Fan Error message, as it may depend on the motherboard and BIOS settings. However, even if your computer does not show an explicit error message, it is still vital to monitor the CPU fan’s operation and ensure it is working correctly to prevent potential overheating issues.
Causes of CPU Fan Error
There can be several reasons behind a CPU Fan Error. It is essential to identify the cause to effectively resolve the issue. Here are some common causes:
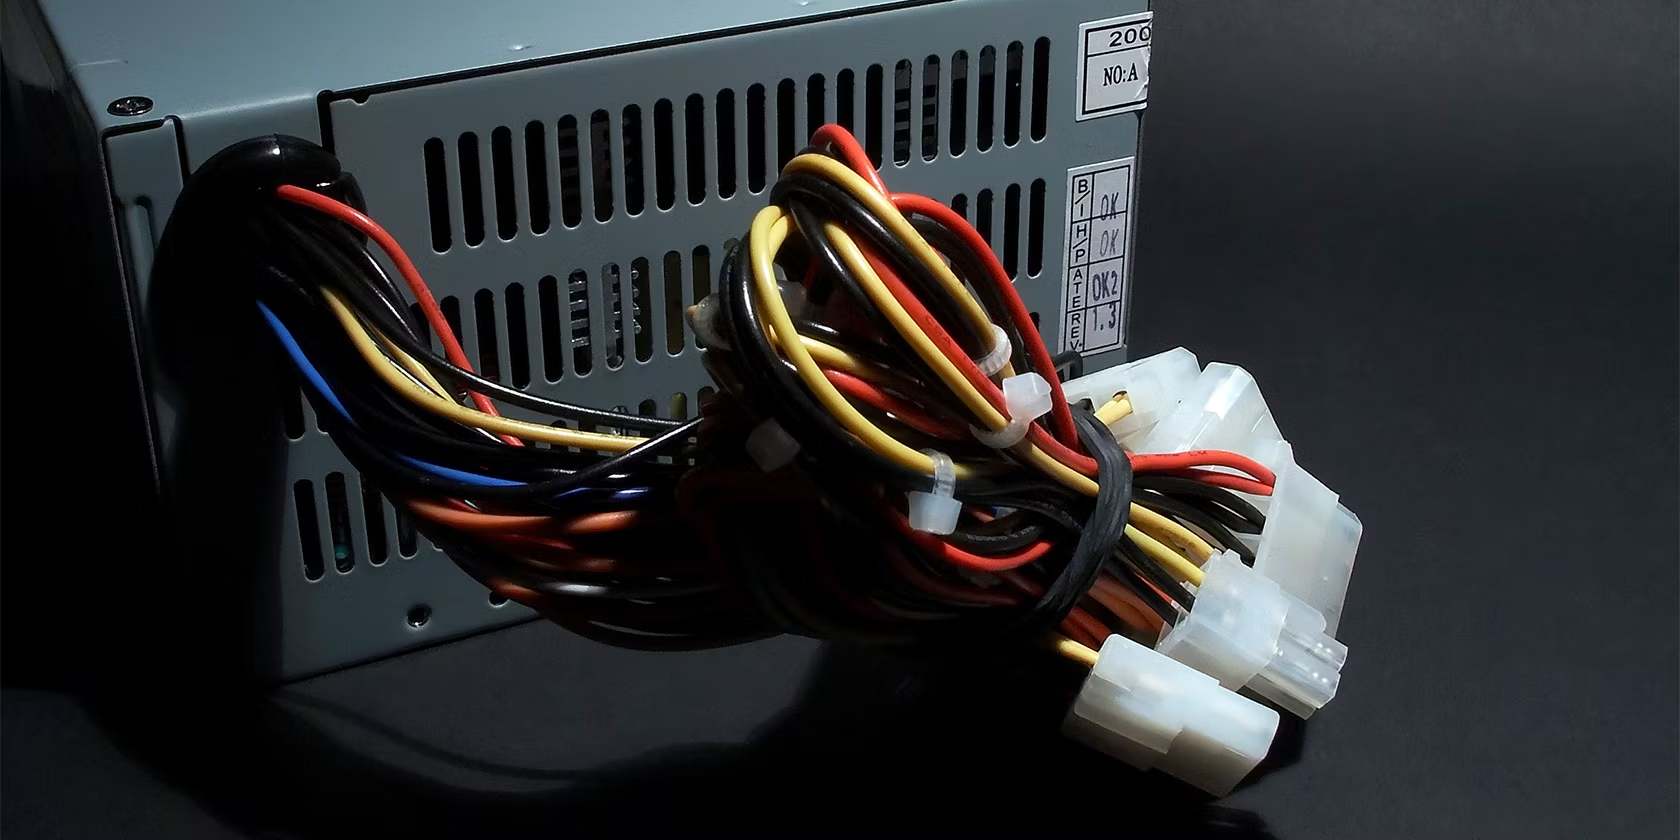
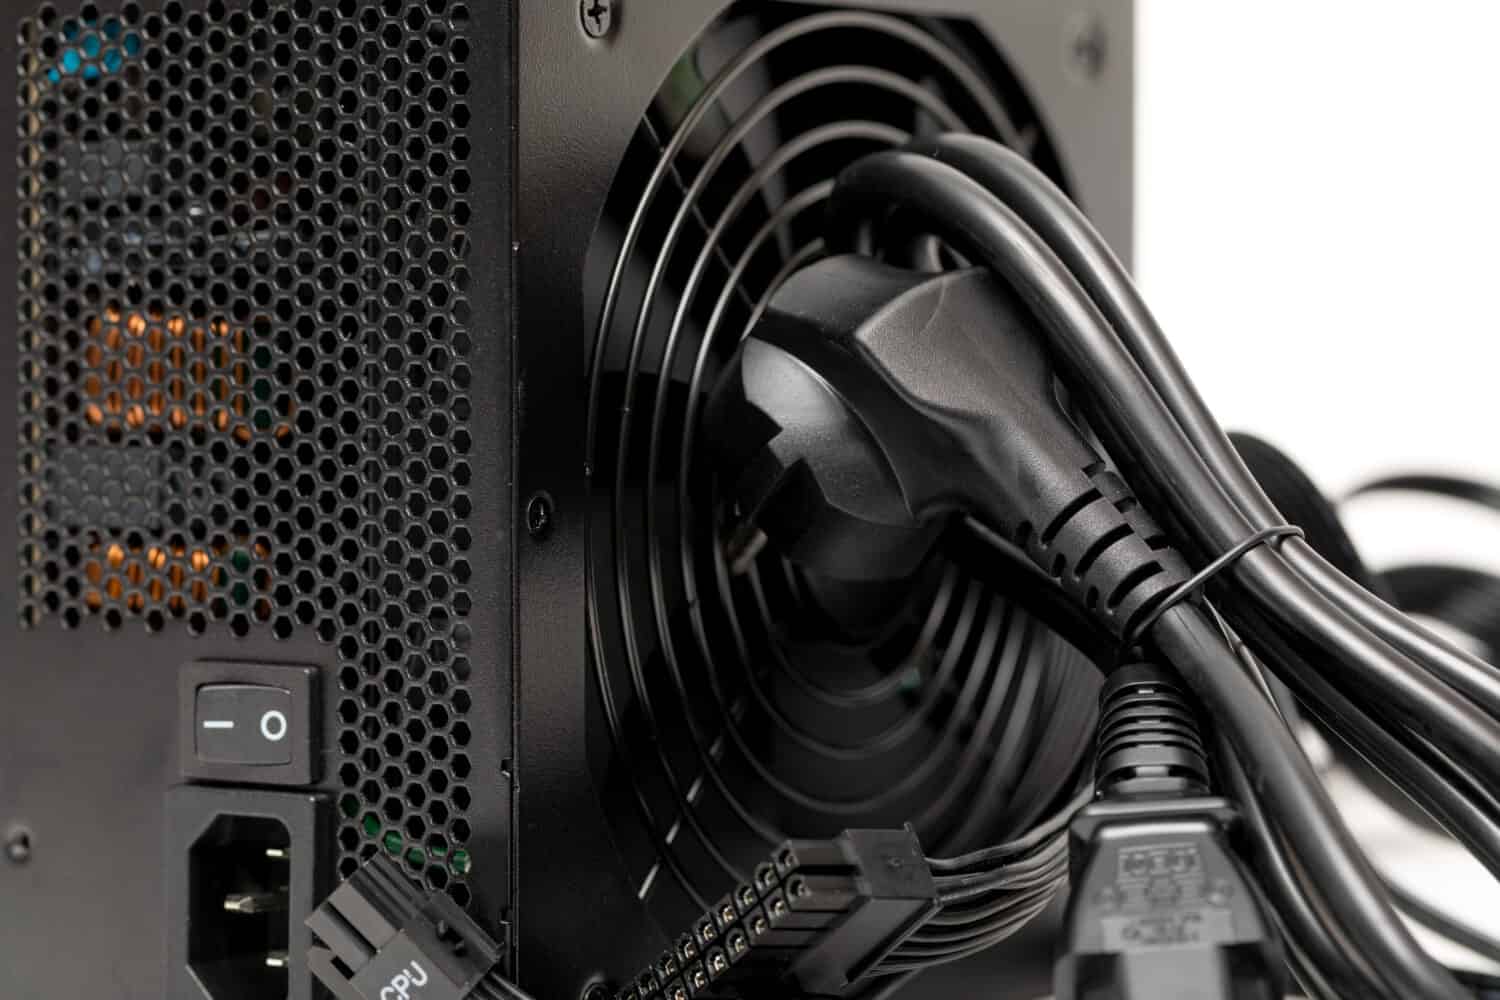
- Disconnected or Malfunctioning Fan: One of the primary reasons for a CPU Fan Error is a disconnected or malfunctioning fan. The fan may have become loose or disconnected from the motherboard, or it may have stopped working due to wear and tear.
- Incorrect BIOS Settings: Incorrect settings in the BIOS can also trigger the CPU Fan Error. The BIOS may have been set to an incorrect fan speed or threshold, causing it to display the error even if the fan is functioning correctly.
- Dusty or Clogged Fan: Accumulated dust and debris on the CPU fan blades or heat sink can restrict airflow, leading to overheating and triggering the CPU Fan Error. A clogged fan may also have difficulty spinning, resulting in the error message.
- Outdated BIOS or Firmware: An outdated or incompatible BIOS or firmware can cause compatibility issues with the CPU fan, resulting in the error. Updating the BIOS to the latest version can often resolve this problem.
- Faulty Fan Connector: The fan connector on the motherboard may be faulty or loose, preventing the proper detection and functioning of the CPU fan. A loose connection can lead to the CPU Fan Error message.
- Software Interference: Sometimes, third-party software or system monitoring utilities can interfere with the CPU fan settings, causing the error to appear. These programs may override the BIOS settings and prevent the fan from spinning at the required speed.
It is important to note that while these are common causes of a CPU Fan Error, there may be other underlying issues specific to your computer configuration. Identifying the cause of the error is crucial in implementing the appropriate solution.
How to Ignore CPU Fan Error
While ignoring a CPU Fan Error is not recommended, there may be certain situations where you need to bypass or temporarily ignore the error to access your computer. However, it is crucial to address the underlying issue causing the error as soon as possible to prevent any damage to your hardware. Here are some steps to temporarily ignore the CPU Fan Error:
- Check the BIOS settings: Access the BIOS setup utility by pressing the designated key during startup (usually Del, F2, or F10). Navigate to the Hardware Monitor section or a similar tab that displays CPU or fan settings. Look for options related to fan monitoring or CPU fan error detection and disable them. Save the changes and exit the BIOS.
- Update or reinstall the BIOS: If you are using an outdated or incompatible BIOS version, it can cause the CPU Fan Error. Visit the manufacturer’s website and download the latest BIOS update for your motherboard. Follow the instructions provided by the manufacturer to update or reinstall the BIOS.
- Clean the CPU fan and heat sink: Accumulated dust and debris can hinder the proper functioning of the CPU fan. Shut down your computer and unplug it from the power source. Open the computer case and carefully clean the fan blades and heat sink using compressed air or a soft brush. Make sure to remove any obstruction that may be hindering the fan’s rotation.
- Replace the faulty fan: If the CPU fan is faulty or not working despite cleaning and checking the connections, you may need to replace it. Contact the manufacturer or a computer hardware specialist to find a compatible replacement fan. Follow the manufacturer’s instructions to install the new fan securely.
- Use a fan control software: Some motherboards or third-party software offer utilities to control fan speed and settings. Install a reliable fan control software and adjust the fan speed to an optimal level. Ensure that the fan is running at an appropriate speed to cool the CPU effectively.
- Verify the fan connectors: Check the connectors between the fan and the motherboard. Ensure that they are securely connected and not loose. A loose connection can prevent the BIOS from detecting the fan’s operation, resulting in the error message.
- Monitor the temperature using software: Install a temperature monitoring software to keep an eye on the CPU temperature while temporarily ignoring the CPU Fan Error. This will help you ensure that the CPU is not overheating, and you can take appropriate measures if the temperature rises to dangerous levels.
Remember, it is essential to address the underlying issue causing the CPU Fan Error as soon as possible. Ignoring the error for an extended period can lead to serious consequences, such as permanent damage to your CPU or motherboard. Consult with a computer technician or contact the manufacturer’s support if you are unsure or uncomfortable performing any of the above steps.
Check the BIOS settings
One of the first steps to address a CPU Fan Error is to check the BIOS settings. The BIOS (Basic Input/Output System) is a firmware that initializes and controls the hardware components of your computer during the startup process. It also manages the settings related to the CPU fan. Follow these steps to check and potentially modify the BIOS settings:
- Restart your computer and continuously press the designated key to enter the BIOS setup utility. The key may vary depending on the motherboard manufacturer, but common keys include Del, F2, or F10. Refer to your computer’s manual or look for on-screen prompts during startup to determine the correct key to access the BIOS.
- Navigate through the BIOS menus using the arrow keys. Look for a section such as “Hardware Monitor” or “PC Health Status.” The exact name and location may vary depending on the BIOS version and motherboard manufacturer.
- Within the Hardware Monitor or PC Health Status section, locate the settings related to fan monitoring or CPU fan error detection. These settings may have different names, such as “CPU Fan Speed Control” or “CPU Fan Fail Warning.
- Review the current settings. Depending on the BIOS version, you may have the option to adjust the fan speed, disable fan speed detection, or set custom threshold values. Ensure that the settings are properly configured for your CPU fan to function correctly.
- If the CPU Fan Error persists even after adjusting the settings, you can try disabling the CPU fan error detection entirely. Keep in mind that disabling this feature will prevent the BIOS from alerting you about potential cooling issues.
- Save the changes and exit the BIOS setup utility. Restart your computer and observe if the CPU Fan Error message disappears. Monitor your CPU temperature and ensure that it remains within safe limits.
It is important to note that the BIOS menus and settings may vary depending on your computer’s motherboard and BIOS version. If you are unsure about making changes to the BIOS settings, it is recommended to consult your computer’s manual or seek assistance from a qualified technician.
Update or reinstall the BIOS
If you are experiencing a CPU Fan Error, updating or reinstalling the BIOS (Basic Input/Output System) can often resolve the issue. The BIOS is a firmware that controls the operation of your computer’s hardware components, including the CPU fan. Here are the steps to update or reinstall the BIOS:
- Visit the manufacturer’s website and navigate to the support or downloads section. Look for the BIOS updates specific to your computer’s model and operating system. Make sure to download the latest version available.
- Before proceeding with the BIOS update, it is crucial to ensure that your computer is connected to a stable power source. Any interruption during the update process can lead to irreversible damage to the motherboard.
- Create a backup of any important files or data on your computer. While the risk of data loss during a BIOS update is minimal, it is always recommended to take precautions.
- Run the downloaded BIOS update utility. Follow the on-screen instructions provided by the manufacturer to update the BIOS. This process may vary depending on the manufacturer and utility used.
- During the BIOS update, your computer may restart multiple times. Do not interrupt the process until it is complete. It is normal for the screen to go blank or display a progress bar during the update.
- After the BIOS update is complete, your computer will restart. Enter the BIOS setup utility using the designated key and verify that the CPU fan settings are properly configured. Make any necessary adjustments to ensure it is properly detected and functioning.
- If updating the BIOS does not resolve the CPU Fan Error, you can try reinstalling the BIOS. This process involves resetting the BIOS to its default settings. Refer to your computer’s manual or the manufacturer’s support website for instructions on how to perform a BIOS reset.
It is important to note that updating or reinstalling the BIOS should be done cautiously and only if necessary. Incorrectly flashing the BIOS can cause irreversible damage to your motherboard. If you are unsure about the BIOS update or installation process, it is recommended to seek assistance from a qualified technician or contact the manufacturer’s support for guidance.
Clean the CPU fan and heat sink
One of the reasons for a CPU Fan Error is the accumulation of dust and debris on the CPU fan and heat sink. Over time, this build-up can hinder the fan’s rotation and decrease its efficiency in cooling the CPU. Cleaning the CPU fan and heat sink can help resolve the error and improve the cooling performance. Here’s how you can clean them:
- Ensure your computer is shut down and unplugged from the power source. This will prevent any risk of electrical shock or damage to the components.
- Open your computer case by removing the side panels. Refer to your computer’s manual for guidance on how to safely access the internal components.
- Locate the CPU fan and heat sink. The fan is usually situated on top of the heat sink, which is a metal structure that helps dissipate the CPU’s heat.
- Use compressed air to blow away the dust and debris from the fan blades and the heat sink. Hold the can of compressed air upright and use short bursts to prevent moisture from being released onto the components.
- If there are stubborn dirt or debris, you can use a soft brush, such as a small paintbrush or a toothbrush, to gently remove them. Be careful not to apply excessive pressure or damage any delicate components.
- Carefully inspect the fan blades for any obstructions or damage. Ensure that the fan can rotate freely without any hindrance.
- Once you have cleaned the fan and heat sink, use the compressed air to blow away any loose dust or debris that may have settled inside your computer case.
- Replace the side panels of your computer case and ensure they are securely fastened.
- Power on your computer and observe if the CPU Fan Error message is resolved.
Regularly cleaning your CPU fan and heat sink can help prevent overheating issues and prolong the lifespan of your components. Consider incorporating this maintenance task into your computer care routine to ensure optimal performance and cooling efficiency.
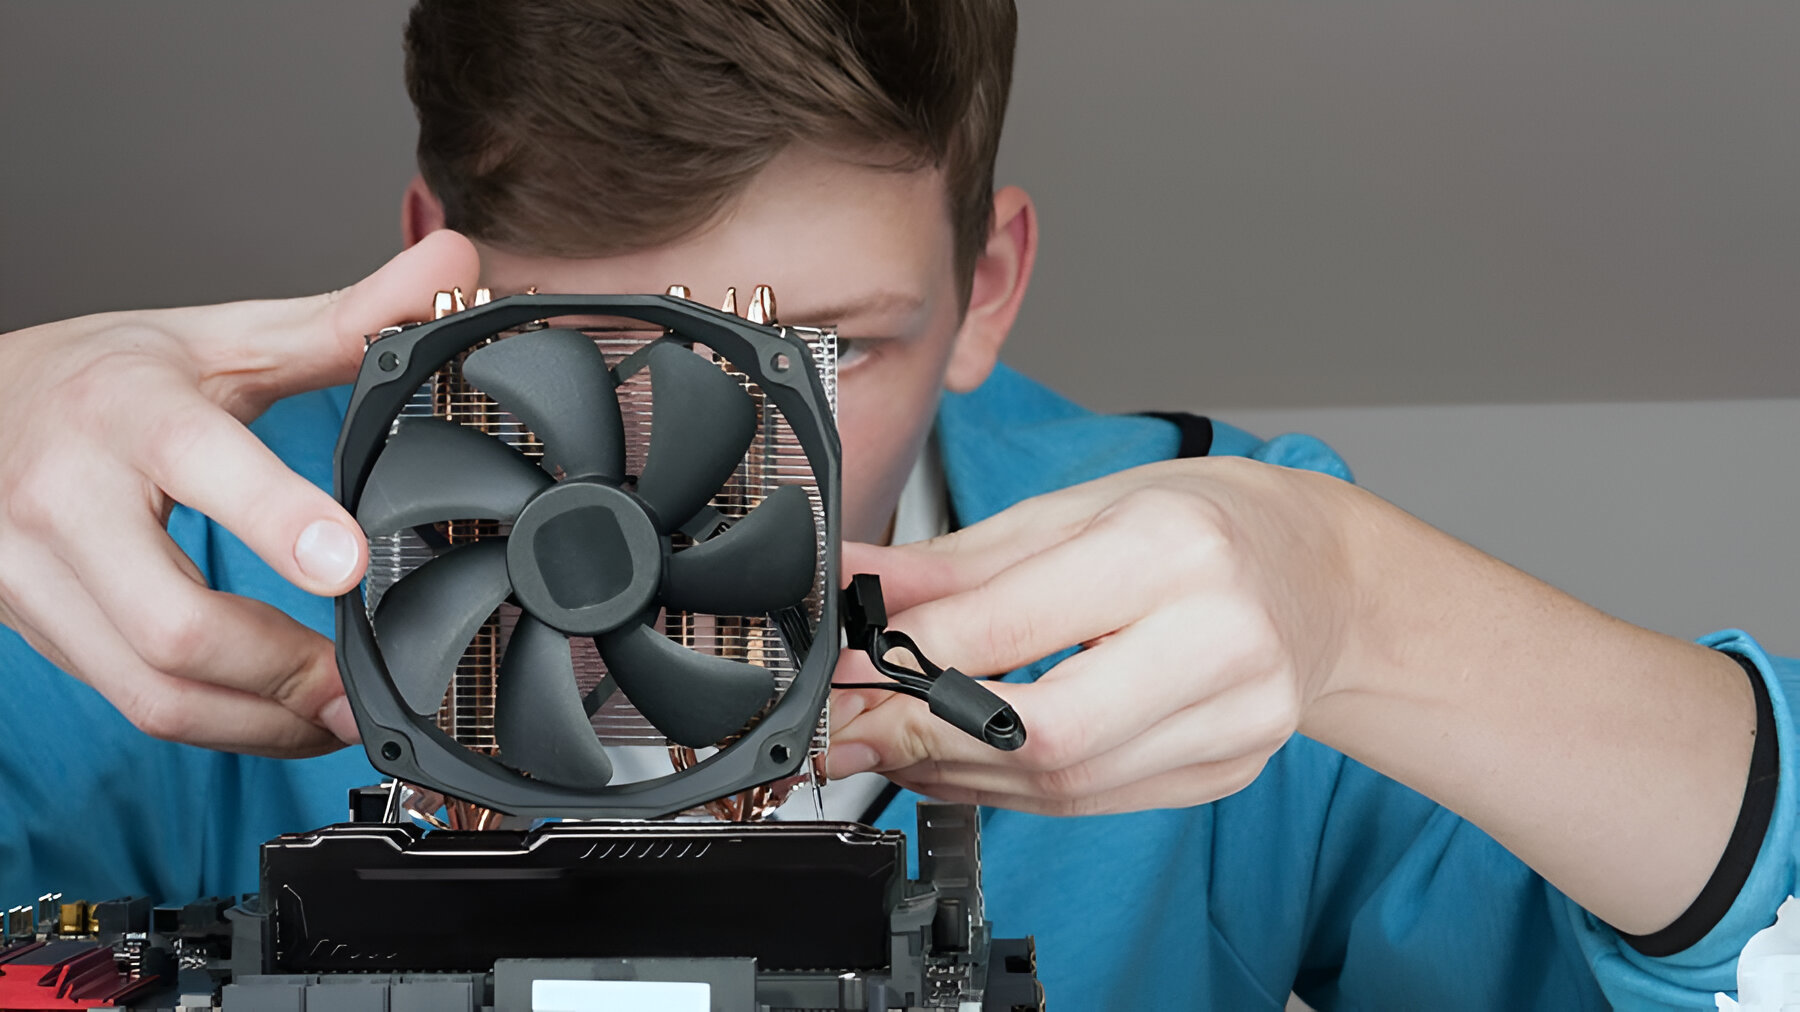
Replace the faulty fan
If cleaning the CPU fan does not resolve the CPU Fan Error, it is possible that the fan itself is faulty or no longer functioning properly. In such cases, replacing the faulty fan is necessary to ensure proper cooling of the CPU. Here’s how you can replace the CPU fan:
- Before beginning the process, ensure that your computer is shut down and unplugged from the power source to prevent any electrical accidents or damage.
- Open your computer case by removing the side panels. Refer to your computer’s manual for instructions on accessing the internal components safely.
- Locate the CPU fan, which is typically situated on top of the heat sink.
- Take note of the fan’s power connector and carefully disconnect it from the motherboard. Most fans have a small tab or latch that needs to be pressed or lifted to release the connector.
- Next, identify how the fan is secured to the heat sink. It may be held in place with screws, clips, or brackets. Carefully remove the fan from the heat sink, taking note of the attachment mechanism.
- If the fan is secured with screws, unscrew them using an appropriate screwdriver. If it is secured with clips or brackets, carefully release them to free the fan from the heat sink.
- Once the faulty fan is removed, compare it to the replacement fan to ensure compatibility. Check the fan’s size, power requirements, and mounting mechanism.
- Align the replacement fan with the heat sink and secure it using the appropriate screws, clips, or brackets. Ensure that the fan is firmly attached but not overly tightened, as it needs to rotate freely.
- Connect the power connector of the new fan to the motherboard, ensuring it is securely plugged in.
- Replace the side panels of your computer case and ensure they are securely fastened.
- Power on your computer and monitor the CPU temperature and fan speed to confirm that the replacement fan is functioning correctly.
It is important to choose a replacement fan that is compatible with your CPU and motherboard. Refer to your computer’s manual or consult the manufacturer’s website for information on compatible replacement fans. If you are unsure about replacing the fan yourself, it is recommended to seek assistance from a professional or a qualified technician.
Use a fan control software
If you are experiencing a CPU Fan Error, using a fan control software can be a helpful solution. Fan control software allows you to manually adjust the fan speed and control various aspects of the cooling system. Here’s how you can use a fan control software to address the CPU Fan Error:
- Research and choose a reliable fan control software that is compatible with your computer’s motherboard and operating system. There are several options available, such as SpeedFan, CAM, or MSI Afterburner, among others.
- Download and install the fan control software following the manufacturer’s instructions.
- Launch the fan control software and navigate to the fan control settings.
- Depending on the software, you may have the option to manually adjust the fan speed, set custom fan curves, or create temperature-based profiles. These settings may vary depending on the software you are using.
- Experiment with the fan control settings to find the optimal configuration for your CPU and system. Gradually increase or decrease the fan speed and monitor the CPU temperature to ensure it remains within safe limits.
- Save the changes in the fan control software and exit the program.
- Restart your computer and check if the CPU Fan Error message has disappeared. Monitor the CPU temperature to ensure it is adequately cooled.
Using a fan control software gives you more control over the cooling system and allows you to customize the fan speed to your specific needs. It can also help in situations where the CPU Fan Error persists even though the fan is functional.
It is important to note that while fan control software can provide a workaround for the CPU Fan Error, it is still crucial to address the underlying issue causing the error. Regularly monitor the CPU temperature and fan speed to ensure optimal cooling performance and take appropriate measures if any irregularities are detected.
Verify the fan connectors
If you are encountering a CPU Fan Error, it’s important to verify the connections between the fan and the motherboard. A loose or faulty connection can prevent the fan from being properly detected and cause the error message to appear. Here’s how you can verify the fan connectors:
- Ensure that your computer is turned off and unplugged from the power source to avoid any electrical mishaps.
- Open your computer case by removing the side panels. Refer to your computer’s manual for proper instructions on how to safely access the internal components.
- Locate the fan connectors on the motherboard. Typically, there is a dedicated CPU fan header nearby the CPU socket.
- Check if the connectors between the fan and the motherboard are securely attached. If they appear loose, gently push them in to ensure a secure connection. Some connectors have locks or latches that need to be engaged for a proper fit.
- If the connectors appear damaged or worn out, consider replacing them with new connectors or cables.
- Once you have ensured that the connectors between the fan and the motherboard are securely attached, close the computer case by reattaching the side panels.
- Power on your computer and monitor if the CPU Fan Error message reoccurs. Pay attention to the fan’s operation and check if it is spinning properly.
Verifying the fan connectors is a simple yet crucial step in addressing the CPU Fan Error. A loose or faulty connection can disrupt the communication between the fan and the motherboard, triggering the error message. Ensuring a secure and proper connection can help resolve the issue and restore the fan’s functionality.
If the CPU Fan Error persists after verifying the connectors, it is recommended to seek assistance from a professional or contact the manufacturer’s support for further troubleshooting and guidance.
Monitor the temperature using software
To effectively manage the CPU Fan Error, it is crucial to closely monitor the temperature of your CPU. By using temperature monitoring software, you can keep track of the CPU’s temperature and take appropriate actions if it exceeds safe limits. Here’s how you can monitor the temperature using software:
- Research and select a reliable temperature monitoring software that is compatible with your computer’s hardware and operating system. Some popular options include HWMonitor, Core Temp, and Real Temp, among others.
- Download and install the selected temperature monitoring software following the manufacturer’s instructions.
- Launch the temperature monitoring software. It will display real-time information about your CPU’s temperature and other relevant data such as fan speeds and voltage levels.
- Observe the CPU temperature under normal operating conditions. Take note of the temperature range in which the CPU remains within safe limits. Consult the CPU manufacturer’s specifications to determine the optimal temperature range for your CPU.
- If the temperature exceeds safe limits or shows significant fluctuations, it may indicate an underlying cooling issue. Check if the CPU fan is spinning properly and ensure that the fan speed is appropriate for cooling the CPU effectively.
- If necessary, adjust the fan speed using fan control software or by modifying the BIOS settings. You can increase the fan speed to enhance cooling performance or set up a custom fan curve based on temperature thresholds.
- Periodically monitor the temperature while running demanding tasks or during prolonged computer usage. This will enable you to identify any abnormal temperature spikes or cooling issues that need to be addressed.
- If the CPU Fan Error persists or the temperature remains excessively high despite adjusting the fan speed, consider seeking professional assistance to diagnose and resolve any underlying hardware issues.
Monitoring the CPU temperature using dedicated software allows you to stay vigilant and prevent the CPU from overheating. Regular monitoring ensures the effectiveness of your cooling system and helps maintain the long-term performance and stability of your computer.
Remember, if you notice consistently high temperatures or experience frequent CPU Fan Errors, it is crucial to address the underlying issue promptly to prevent damage to your CPU and other components.
Conclusion
A CPU Fan Error is an issue that should not be ignored as it can lead to severe consequences such as system instability, decreased performance, and potential damage to the CPU. While it may be tempting to temporarily ignore the error, it is important to address the root cause and take appropriate steps to resolve it.
In this article, we explored various methods to tackle the CPU Fan Error, including checking the BIOS settings, updating or reinstalling the BIOS, cleaning the CPU fan and heat sink, replacing a faulty fan, using a fan control software, verifying the fan connectors, and monitoring the temperature using software.
Each of these methods plays a crucial role in resolving the CPU Fan Error and ensuring proper cooling of the CPU. It is recommended to start with the simpler solutions, such as checking the BIOS settings and cleaning the fan and heat sink, before moving on to more advanced troubleshooting methods.
Remember, regular maintenance and monitoring of your computer’s cooling system can help prevent the CPU Fan Error from occurring in the first place. Cleaning the fan and heat sink periodically, ensuring proper connections, and monitoring the temperature are good practices to keep your computer running smoothly and efficiently.
If you encounter persistent CPU Fan Errors or if you are unsure about performing the troubleshooting steps yourself, it is always advisable to seek the assistance of a professional or contact the manufacturer’s support for further guidance.
By addressing the CPU Fan Error promptly and implementing the appropriate solutions, you can maintain the stability, performance, and longevity of your computer’s CPU, ensuring a smooth computing experience.