Introduction
Virtual reality (VR) has emerged as an exciting and immersive technology that allows you to experience a whole new world right from your iPhone. With the advancement of technology, the iPhone has become a powerful platform for exploring virtual reality. Whether you want to explore stunning landscapes, play thrilling games, or dive into educational experiences, the possibilities are endless with VR on your iPhone.
Virtual reality offers a unique and interactive experience by simulating a three-dimensional environment that you can explore and interact with. It creates a sense of presence, making you feel like you are physically present in a different place. With the help of VR apps and a compatible VR headset, you can dive into a virtual world that opens up endless possibilities for entertainment, education, and even productivity.
Thanks to the vast array of VR apps available on the App Store, getting started with virtual reality on your iPhone is easier than ever. These apps offer a wide range of experiences, from gaming and entertainment to educational and artistic content. Whether you’re an avid gamer, an art enthusiast, or simply curious about the possibilities of VR, there’s sure to be an app that suits your interests.
In this guide, we will walk you through the steps to get virtual reality on your iPhone. We’ll cover everything from checking if your iPhone is compatible with VR, to downloading VR apps, setting up your VR headset, and fine-tuning the settings for the best possible experience. By the end of this guide, you’ll be ready to dive into the exciting world of virtual reality right from your iPhone.
What is Virtual Reality?
Virtual Reality (VR) is a technology that creates a simulated, three-dimensional environment that users can interact with using special devices, such as VR headsets or goggles. It provides a highly immersive and interactive experience by stimulating the user’s senses of sight, sound, and sometimes even touch, to create a virtual world that feels realistic and interactive.
Virtual reality works by using computer-generated graphics and sensory inputs to create the illusion of being present in a different physical environment, whether it’s a fictional world, a historical era, or a realistic representation of a real-world location. Unlike traditional forms of media, such as movies or video games, virtual reality allows users to actively engage with the virtual environment, moving around, exploring, and interacting with objects or characters.
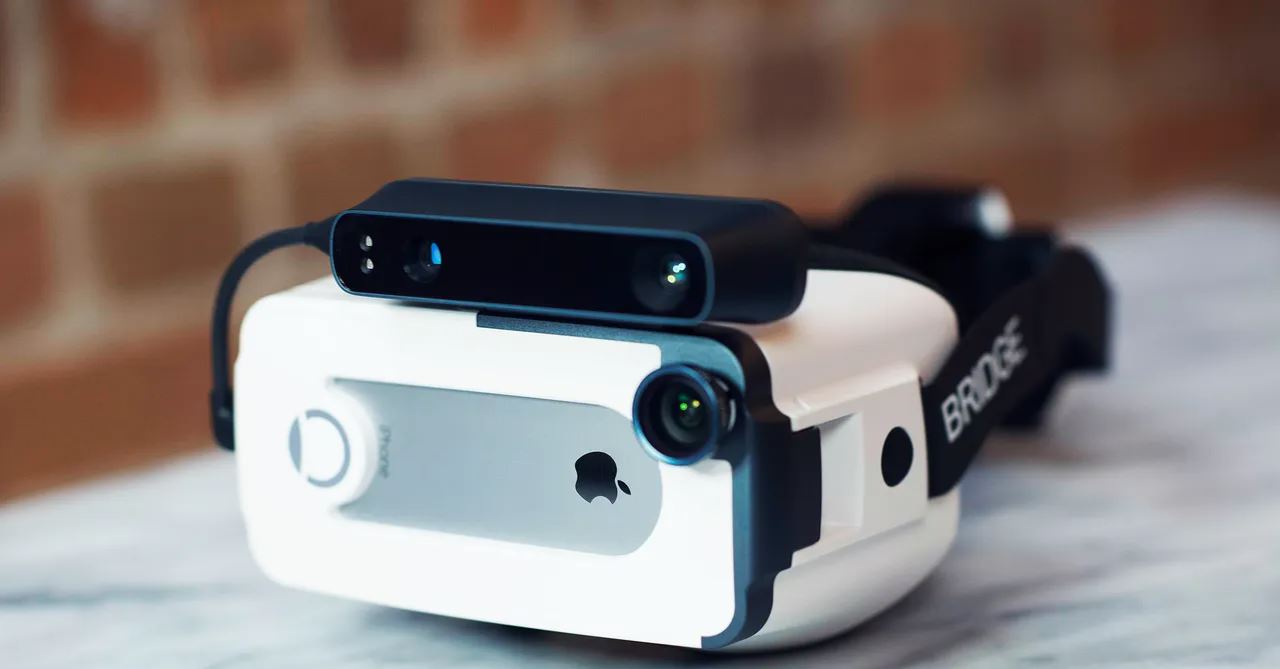
The technology behind virtual reality relies on a combination of hardware and software components. VR headsets, such as those compatible with the iPhone, are the primary hardware used to create a virtual reality experience. These headsets typically consist of a set of goggles or glasses that the user wears, which have built-in displays and sensors to track head movement and adjust the visuals accordingly.
Software plays a crucial role in virtual reality as well. VR apps and games are designed to provide immersive experiences that take full advantage of the capabilities of the VR hardware. These apps use complex algorithms and graphics rendering techniques to create realistic and interactive environments. They can range from simple games and experiences to more complex simulations, educational content, and even professional training tools.
Virtual reality has gained popularity in various fields, including entertainment, gaming, education, healthcare, and architecture, among others. It offers unique and exciting opportunities for storytelling, gaming experiences, training simulations, and even therapeutic applications. With advancements in technology, virtual reality is becoming more accessible and mainstream, allowing more people to experience its wonders.
The possibilities with virtual reality are continually expanding as developers and content creators explore innovative ways to harness its potential. From exploring the depths of the ocean to walking on the surface of Mars, virtual reality opens up a whole new world of possibilities that can be accessed right from your iPhone.
Virtual Reality Apps for iPhone
Thanks to the ever-growing app ecosystem, there is a wide variety of virtual reality apps available for iPhone users. These apps offer a range of immersive experiences, from captivating games to educational simulations and interactive storytelling. Here are some popular virtual reality apps that you can explore on your iPhone:
- Google Cardboard: Google Cardboard is a popular virtual reality platform that offers a range of VR apps compatible with iPhones. It allows you to transform your iPhone into a VR headset by using a simple cardboard viewer. With the Google Cardboard app, you can access a collection of VR experiences, games, and immersive videos.
- Within: Formerly known as VRSE, Within is a leading VR app that curates a wide selection of VR content from various genres. It features immersive storytelling experiences, documentaries, music videos, and more. Within offers high-quality VR experiences that transport you to different worlds and engage your senses.
- The VR Museum: If you’re interested in exploring art and history, The VR Museum is a must-try app. It allows you to travel back in time and visit famous museums, art galleries, and historical landmarks from around the world. You can admire famous artworks up close, explore virtual exhibitions, and learn about historical events in a highly immersive way.
- Wander: Wander is a unique VR app that lets you explore real-world locations using 360-degree panoramic images. With Wander, you can virtually visit landmarks and cities around the world, discovering new places and getting a sense of what it’s like to be there. It’s a fantastic app for those who have a passion for travel and want to experience different locations without leaving their homes.
- Resolution Games: If you’re a fan of gaming, Resolution Games offers a range of VR games for iPhone. From fun and casual experiences like Bait! and Angry Birds VR to more immersive games like Cook-Out: A Sandwich Tale and Blaston, Resolution Games has something for everyone. These games are designed to take full advantage of VR technology, providing an engaging and interactive gaming experience.
These are just a few examples of the many virtual reality apps available for iPhone. You can explore the App Store and discover even more apps that cater to your specific interests, whether it’s gaming, education, exploration, or entertainment.
Before downloading any VR app, make sure to check user reviews and ratings to ensure a positive experience. Additionally, ensure that your iPhone meets the requirements for running VR apps smoothly, as some apps may have specific hardware or software requirements.
With a wide range of virtual reality apps at your fingertips, you can unlock a whole new level of immersive experiences and explore the limitless possibilities of virtual reality right from your iPhone.
Step 1: Check if your iPhone is compatible with VR
Before diving into the world of virtual reality on your iPhone, it’s essential to check if your device is compatible with VR technology. Not all iPhones have the necessary hardware capabilities to provide a seamless VR experience. Here’s how you can determine if your iPhone is compatible:
- Check your iPhone model: VR technology requires a certain level of processing power and graphics capabilities. Older iPhone models may not meet these requirements. Generally, iPhones from the iPhone 6 and later are more likely to be compatible with VR. However, it’s always recommended to check the specific requirements of the VR apps you intend to use.
- Look for motion sensors: Virtual reality relies on motion tracking to provide an immersive experience. Check if your iPhone has built-in motion sensors, such as a gyroscope and an accelerometer. These sensors are crucial for accurately tracking your head movements and providing a realistic VR experience.
- Consider the screen size and resolution: The screen size and resolution of your iPhone can have an impact on the quality of the VR experience. Larger screens and higher resolutions generally offer a more immersive visual experience. However, even smaller screens can still provide a satisfactory VR experience.
- Check the iOS version: VR apps often require a specific iOS version to run smoothly. Ensure that your iPhone is running the latest iOS version and check if the VR apps you want to use are compatible with it.
If you’re unsure about the compatibility of your iPhone with VR, you can always refer to the device’s specifications on the Apple website or consult the specific VR app developers for more information.
It’s worth noting that while some older iPhone models might be compatible with VR, you may experience performance limitations or reduced visual quality compared to newer models. If you’re serious about exploring virtual reality, you might consider upgrading to a newer iPhone model with better hardware specifications for a more optimal VR experience.
Once you’ve determined that your iPhone is compatible with VR, you can proceed to the next steps of downloading VR apps, setting up a VR headset, and immersing yourself in the exciting world of virtual reality.
Step 2: Download a VR app from the App Store
Once you’ve confirmed that your iPhone is compatible with virtual reality, the next step is to download a VR app from the App Store. The App Store offers a wide variety of VR apps that cater to different interests and preferences. Here’s how you can download a VR app on your iPhone:
- Open the App Store: Locate and launch the App Store on your iPhone. The App Store icon is usually on the home screen.
- Search for VR apps: Use the search bar at the bottom of the App Store to search for “virtual reality” or specific VR apps you’re interested in. You can also explore the “Top Charts” and “Apps” categories to discover popular VR apps.
- Browse and choose an app: Take your time to browse through the results and read the descriptions, reviews, and ratings of different VR apps. Consider your interests and the type of VR experiences you’d like to explore. Once you’ve decided on an app, tap on it to view more details.
- Download the app: On the app details page, tap the “Get” or “Download” button. If the app is not free, it will display the price instead. Authenticate the download if prompted, such as entering your Apple ID password, using Touch ID, or Face ID.
- Wait for the download to complete: Once you’ve initiated the download, the app will start to download and install on your iPhone. Depending on the app’s size and your internet connection, it may take a few moments to complete.
- Launch the VR app: Locate the app on your home screen or in the App Library, and tap on its icon to launch it. Follow any initial setup instructions provided by the app, if applicable.
Remember, there are various VR apps available for different purposes, such as gaming, education, exploration, and more. Take your time to explore and try out different apps to find the ones that resonate with your interests and preferences.
It’s important to note that some VR apps may require additional accessories, such as a compatible VR headset, to fully enjoy the immersive experience. Ensure that you read the app’s requirements and any additional hardware recommendations before downloading the app.
Once you’ve downloaded a VR app, you’re one step closer to experiencing the exciting world of virtual reality on your iPhone. In the next steps, we’ll cover how to set up your VR headset and connect your iPhone to start exploring the virtual realms.
Step 3: Set up your VR headset
Setting up your VR headset is an important step in ensuring a comfortable and immersive virtual reality experience on your iPhone. Here’s how you can set up your VR headset:
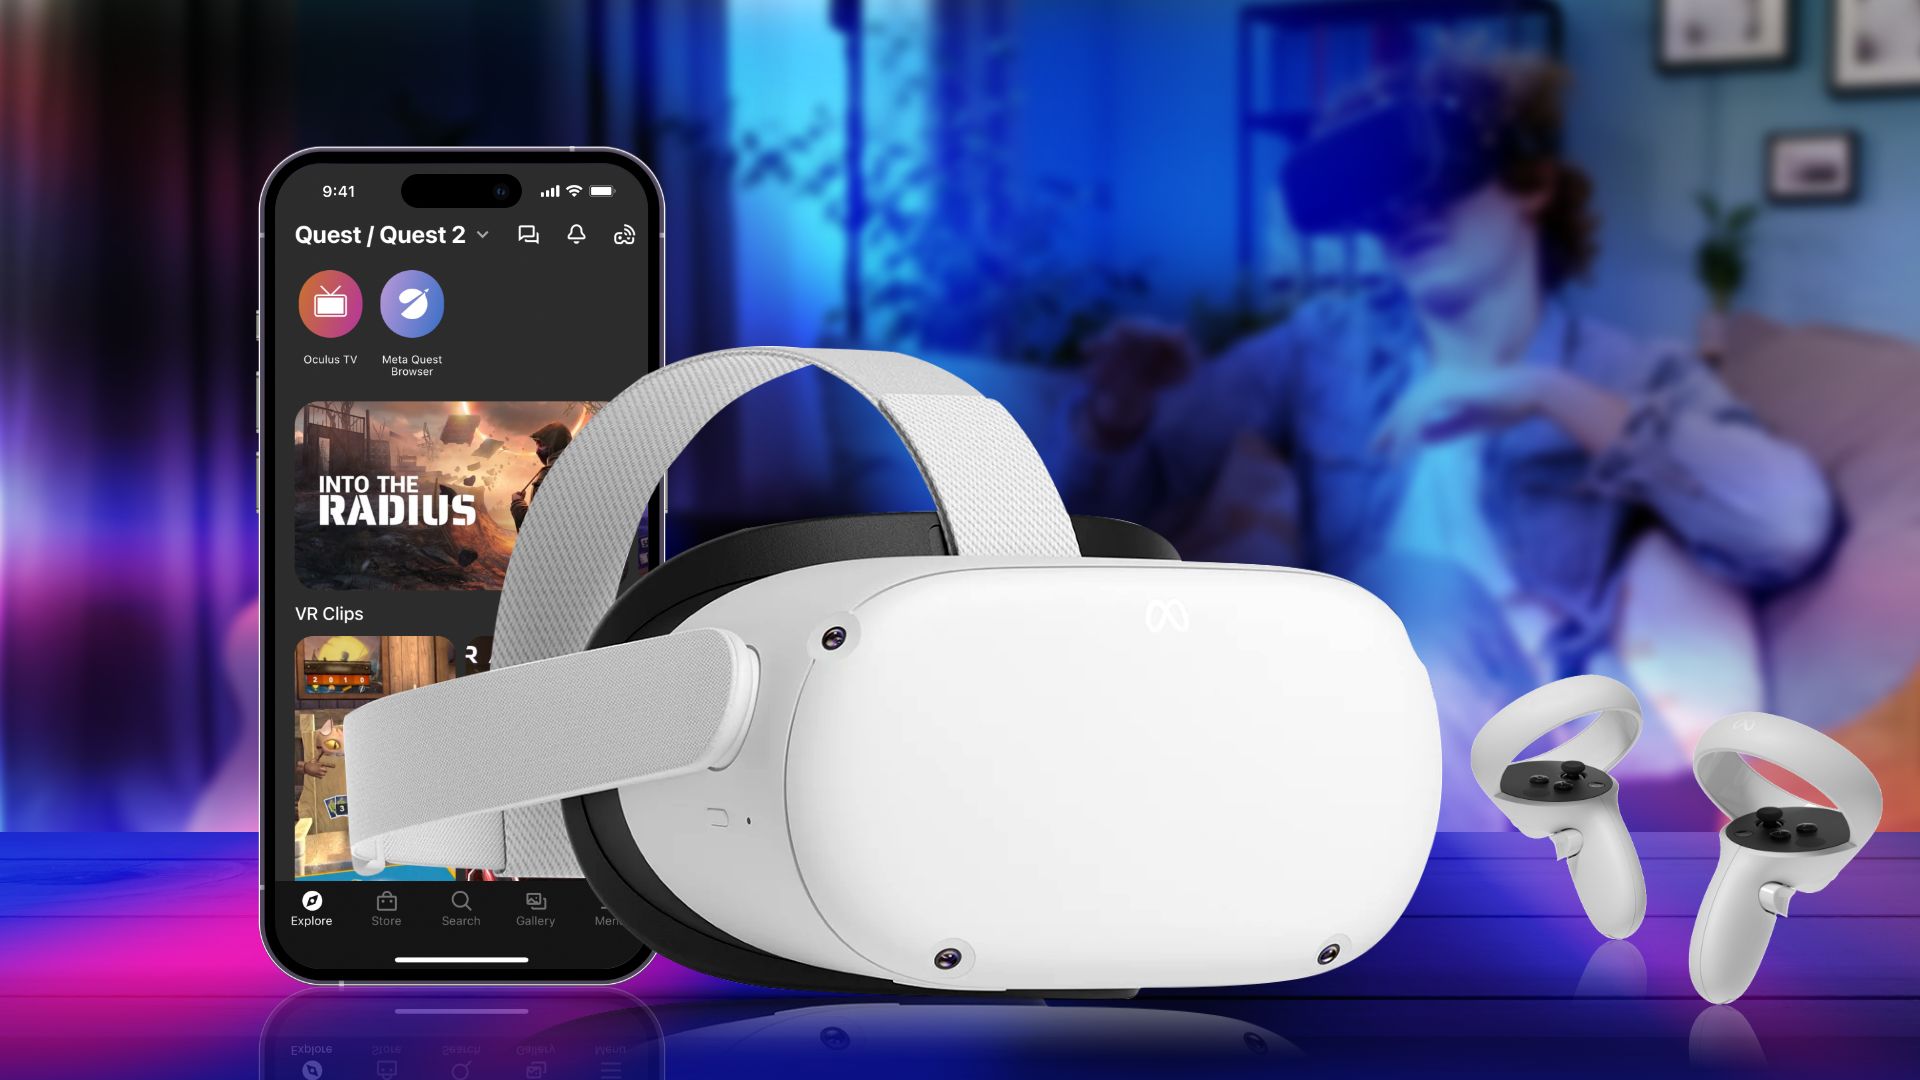
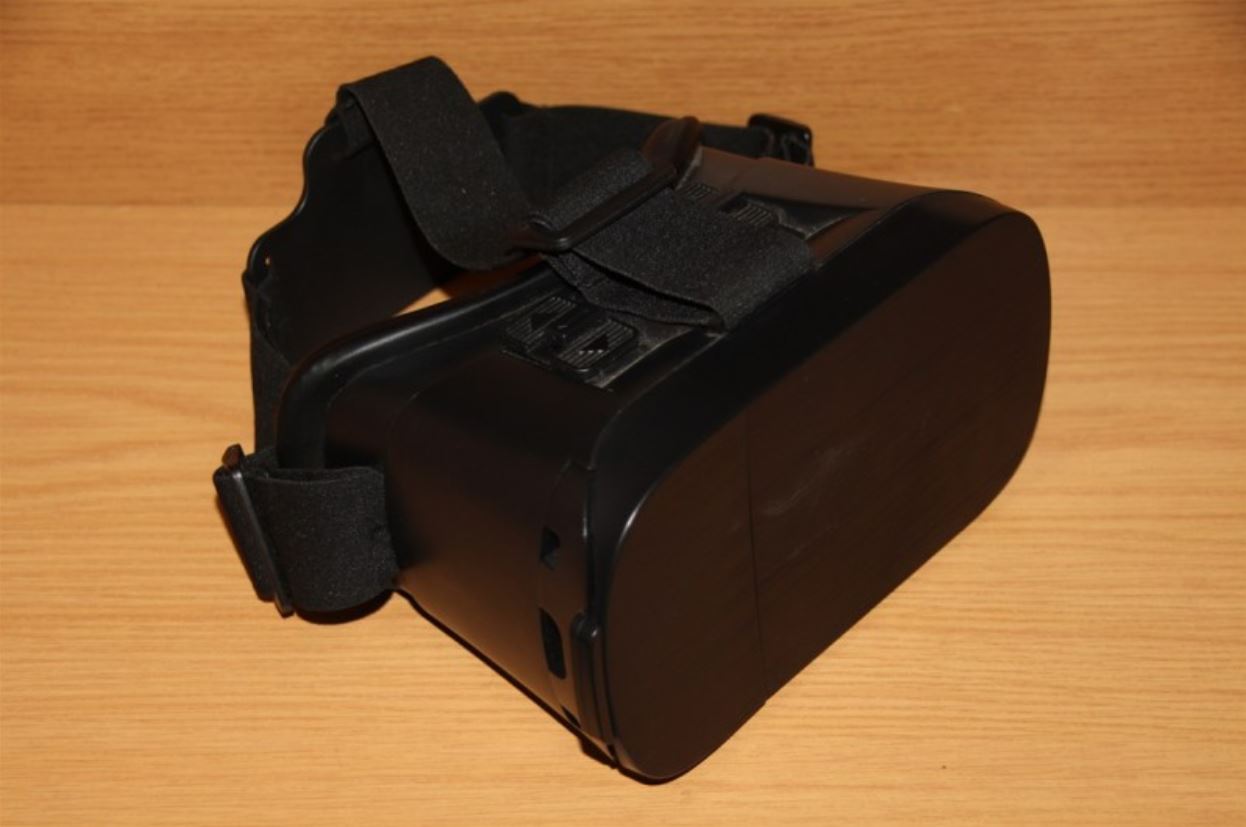
- Choose a compatible VR headset: There are several VR headsets available on the market that are compatible with iPhones. Popular options include Google Cardboard, Merge VR, and Oculus Go. Research and choose a headset that suits your needs and budget.
- Assemble the VR headset: Follow the manufacturer’s instructions to assemble your VR headset. Most headsets come with straps and adjustable features to secure the device on your head. Make sure it fits comfortably and securely before proceeding.
- Ensure a clear field of view: Adjust the lenses of your VR headset to match the distance between your eyes. This will help ensure a clear and focused view of the virtual environment. Follow the instructions provided by the manufacturer to achieve the optimal settings.
- Calibrate the sensors: Some VR headsets require sensor calibration for accurate motion tracking. Follow the instructions provided with your VR headset to perform any necessary calibration steps. This will help enhance the accuracy of the head tracking and improve the overall VR experience.
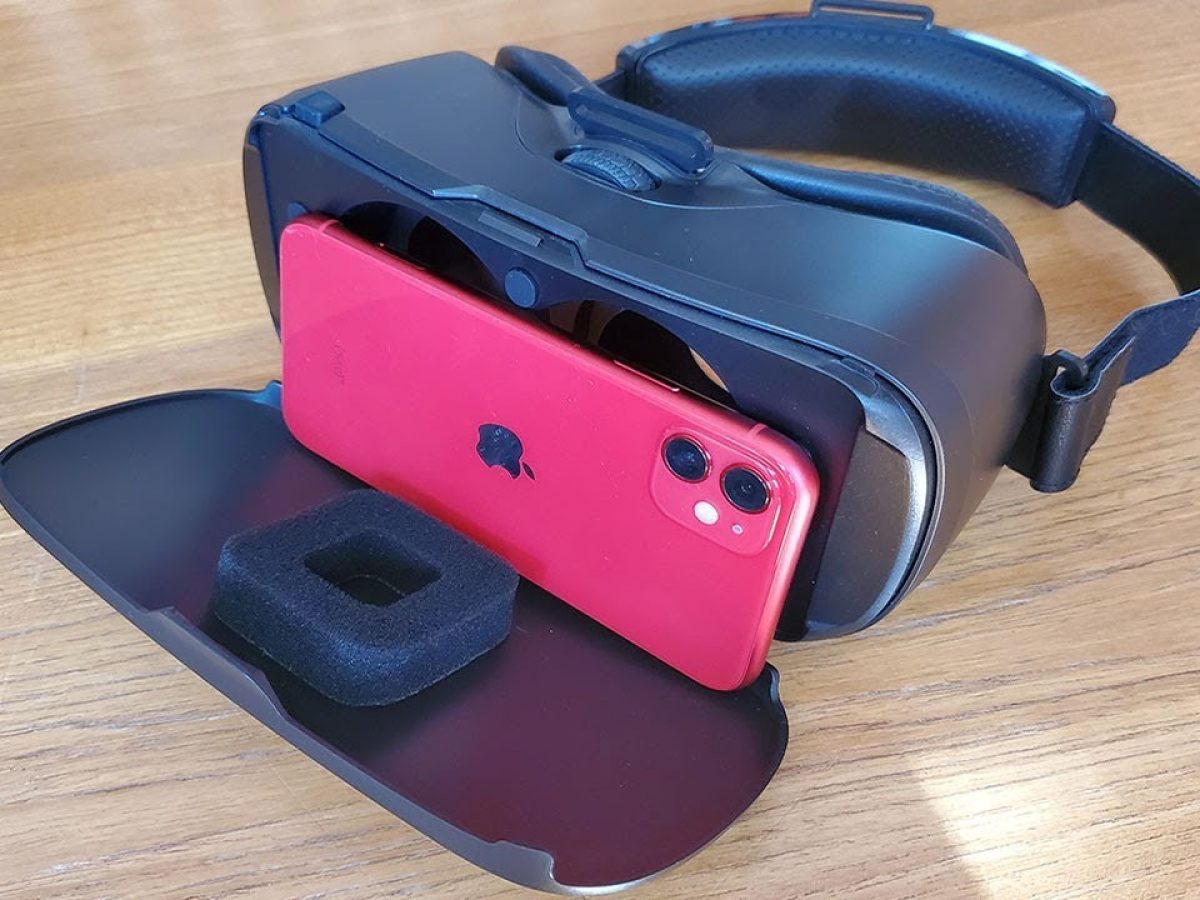
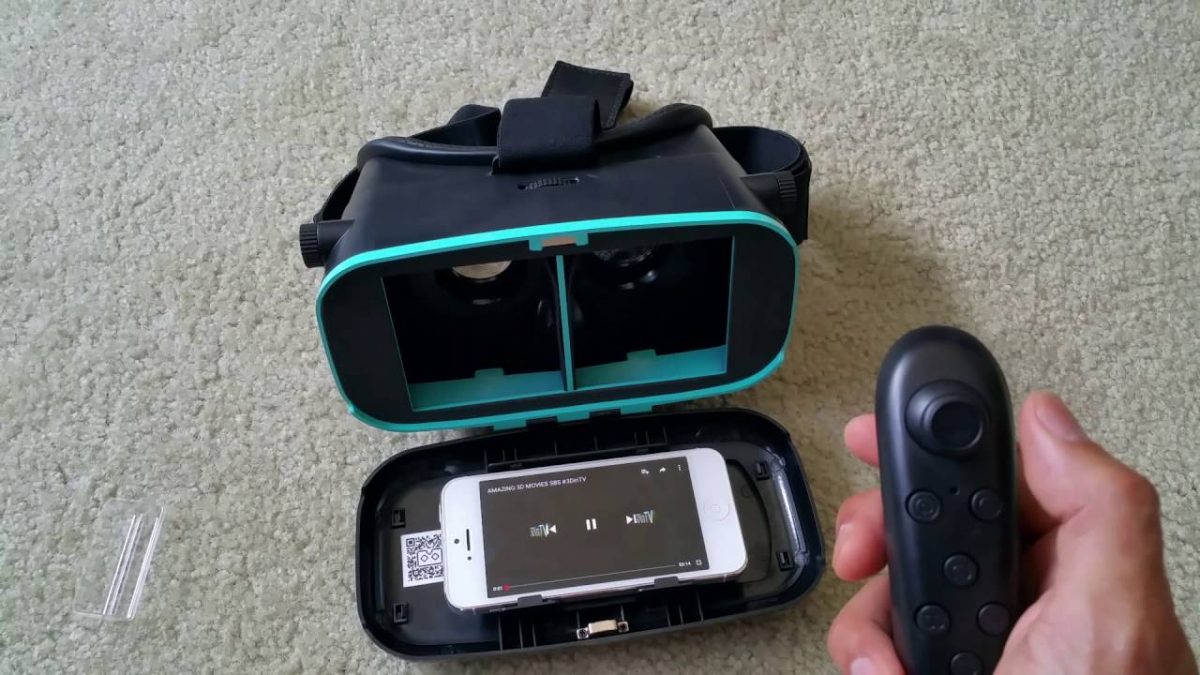
- Secure your iPhone: Place your iPhone securely in the designated slot or compartment of your VR headset. Make sure it is centered and secured to avoid any accidental falls or movement during usage. It’s a good practice to remove any protective casing from your iPhone before inserting it into the headset to ensure a proper fit.
- Adjust the straps: Adjust the straps of your VR headset to ensure a comfortable fit. The headset should be snug but not too tight, allowing you to wear it for an extended period without any discomfort. Take the time to adjust the straps and make necessary modifications before proceeding.
Once you have set up your VR headset and ensured a comfortable fit, you are ready to connect your iPhone and dive into the virtual reality world. The next step will guide you through the process of connecting your iPhone to the VR headset and preparing it for an immersive VR experience.
Step 4: Connect your iPhone to the VR headset
After setting up your VR headset, the next step is to connect your iPhone to the headset and prepare it for a virtual reality experience. Here’s how you can connect your iPhone to the VR headset:
- Open the VR app: On your iPhone, locate the VR app you downloaded and tap on its icon to launch it. Follow any initial setup instructions provided by the app.
- Connect the iPhone to the headset: Depending on the VR headset you are using, there are different ways to connect your iPhone. Some headsets require inserting your iPhone into a designated slot or compartment, while others may have a separate cable or connection mechanism. Follow the manufacturer’s instructions to securely connect your iPhone to the VR headset.
- Adjust the alignment: Once your iPhone is connected to the VR headset, adjust the alignment of your iPhone’s screen to ensure it is centered correctly within the headset lenses. This will help provide optimal visual clarity and minimize any distortions or blurriness.
- Secure the headset: Double-check that your iPhone is securely placed in the headset and properly secured. Ensure that it is stable and does not move or fall out during usage. This will help prevent any interruptions or accidents while you are immersed in the virtual reality experience.
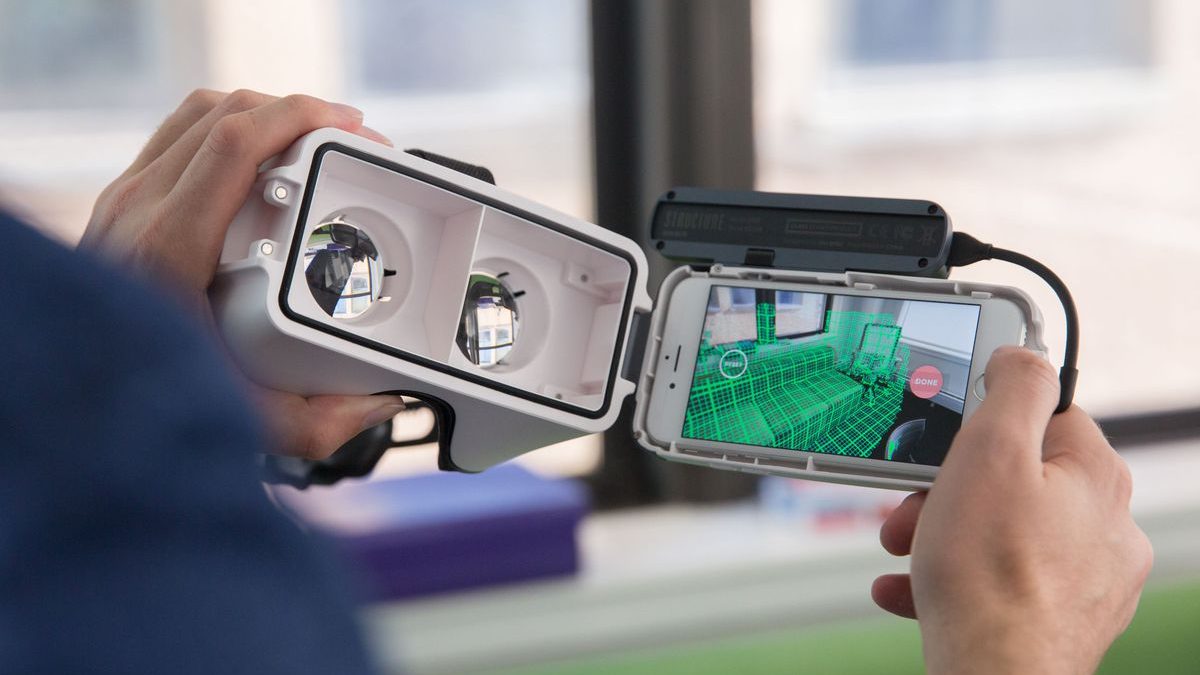
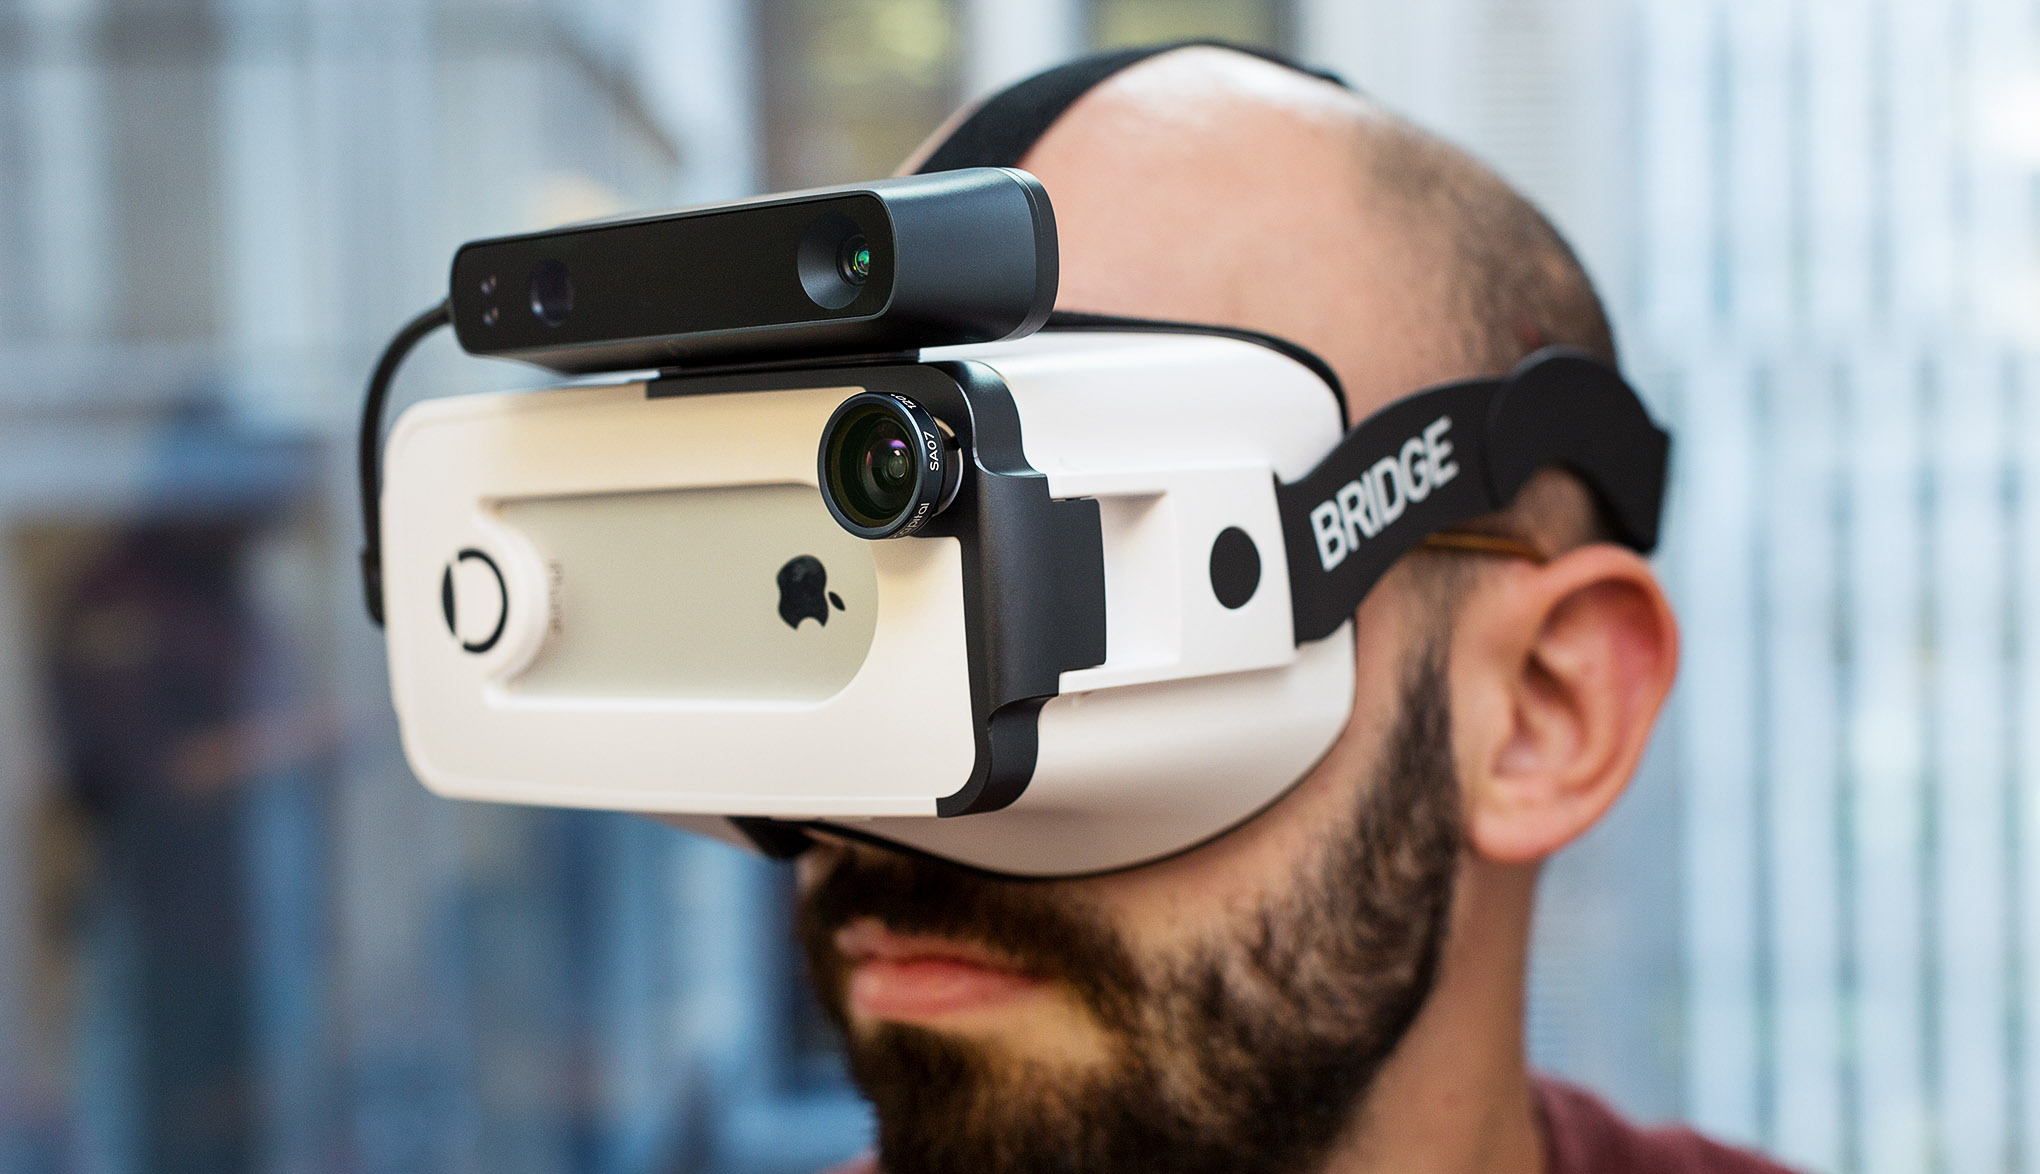
- Put on the VR headset: Carefully put on the VR headset, making sure it fits comfortably on your head. Adjust the straps if necessary to achieve a snug but comfortable fit. The headset should be positioned in a way that allows you to see the virtual environment clearly without any obstructions. Take a moment to adjust the headset and make any necessary modifications for optimal comfort.
- Start the VR app: Once you have the headset on and your iPhone is securely connected, navigate to the VR app on your iPhone and start it. Follow the on-screen instructions within the app to begin your virtual reality experience.
By connecting your iPhone to the VR headset, you are ready to immerse yourself in the virtual world. Enjoy exploring virtual environments, playing games, or engaging with interactive experiences right from the comfort of your own home.
Remember, always follow the manufacturer’s instructions for connecting and using your specific VR headset model. Different headsets may have unique features and requirements, so it’s important to familiarize yourself with the specific guidelines provided by the manufacturer.
In the next step, we will guide you through calibrating and adjusting the settings for an optimal VR experience on your iPhone.
Step 5: Calibrate and adjust settings for optimal VR experience
To ensure the best possible virtual reality experience on your iPhone, it’s essential to calibrate and adjust the settings within the VR app and on your iPhone itself. Here are some steps to help you calibrate and optimize the settings for an optimal VR experience:
- Follow in-app setup: When you launch the VR app, it may provide specific instructions for calibration and setup. Pay attention to any prompts or tutorials that guide you through the initial setup process. Follow these instructions carefully to ensure the best calibration and performance.
- Adjust the screen position: Within the VR app, there might be options to adjust the screen position. Some apps allow you to move the virtual screen closer or farther from your eyes, or to adjust the screen’s size and alignment. Make the necessary adjustments to achieve a clear and comfortable view of the virtual environment.
- Configure control settings: Some VR apps offer different control options, such as using a game controller or the iPhone’s built-in gyroscope for movement and interactions. Explore the app’s settings or options menu to configure control settings according to your preferences. Experiment with different control schemes to find what works best for you.
- Adjust visual settings: Within the VR app’s settings, there may be options to adjust visual settings, such as graphics quality, resolution, or brightness. Depending on your iPhone’s capabilities and personal preferences, you may want to fine-tune these settings to optimize the visuals and performance. However, keep in mind that higher graphics settings may require more processing power and may impact performance on older iPhone models.
- Consider comfort settings: Some VR apps offer comfort-oriented settings to mitigate motion sickness or discomfort during usage. These settings may include options to enable a static virtual environment, reduce motion blur, or limit artificial movements within the VR experience. Explore and enable these comfort settings if you experience any discomfort during VR usage.
- Take breaks and adjust as needed: Virtual reality experiences can be immersive and intense. It’s important to take regular breaks during usage to prevent eye strain and fatigue. If you encounter any issues or discomfort, such as eye strain or dizziness, consider adjusting the settings further or taking a longer break. Everyone’s tolerance to virtual reality varies, so it’s essential to listen to your body and adjust as needed.
Calibrating and adjusting the settings for your VR experience can significantly enhance your immersion and enjoyment. Take the time to explore different options and find the settings that provide the most comfortable and realistic experience for you.
Keep in mind that every VR app may have different settings and options available, so it’s important to familiarize yourself with the specific settings within each app. Experimenting with different settings and configurations will help you discover the perfect balance for a fantastic virtual reality experience on your iPhone.
In the next step, we’ll guide you on how to start exploring the vast world of virtual reality using your iPhone and VR headset.
Step 6: Start exploring virtual reality on your iPhone
Now that you have completed the setup and calibration steps, it’s time to start exploring the exciting world of virtual reality on your iPhone. Here’s how you can begin your VR experience:
- Choose an experience: Open your preferred VR app on your iPhone and select the experience or content you want to explore. Whether it’s a game, an educational simulation, a virtual tour, or a 360-degree video, choose something that interests you and aligns with your preferences.
- Get comfortable: Find a comfortable spot where you have enough space to move around if necessary. Sit or stand in a position that allows you to fully immerse yourself in the virtual environment without any physical obstacles or distractions.
- Secure your VR headset: Ensure that your VR headset is properly secured on your head and that the iPhone is securely attached. Adjust the straps if needed to achieve a comfortable and stable fit. This will help you fully focus on the virtual reality experience without any interruptions or discomfort.
- Follow on-screen instructions: Pay attention to any on-screen instructions or prompts within the VR app. Some experiences may require specific actions or movements to navigate or interact with the virtual world. Follow the instructions to fully immerse yourself in the VR experience.
- Explore and interact: Use the controls or gestures specified by the VR app to explore the virtual environment and interact with objects or characters. Move your head around to look in different directions and feel the sense of presence provided by the VR technology. Engage with the virtual world and let your curiosity guide you.
- Take breaks when needed: Virtual reality experiences can be intense and immersive, so it’s important to listen to your body and take breaks if you start to feel any discomfort or fatigue. Remove the VR headset and take a few moments to rest your eyes and regain your equilibrium before continuing your VR exploration.
- Try different experiences: Don’t limit yourself to just one VR app or experience. Explore different VR apps and try out various experiences to discover new adventures, games, educational content, or artistic creations. The world of virtual reality offers endless possibilities, so go ahead and expand your horizons.
With each VR experience, you’ll discover new and exciting aspects of virtual reality. Enjoy the immersive worlds, engage with interactive content, and let your imagination soar as you delve into the captivating realms of virtual reality right from your iPhone.
Remember to have fun, stay safe, and respect any guidelines or recommendations provided by the VR app developers. Embrace the wonder of virtual reality and let it transport you to extraordinary places, unlock thrilling experiences, and expand your perception of what’s possible.
Conclusion
Virtual reality has revolutionized the way we experience digital content, and with an iPhone, you have the power to dive into this immersive world right at your fingertips. In this guide, we have covered the steps to get virtual reality on your iPhone, from checking compatibility and downloading VR apps to setting up a VR headset, adjusting settings, and starting your VR exploration.
By following these steps, you can unlock a whole new level of entertainment, education, and creativity. Whether you’re exploring ancient wonders, engaging in thrilling games, or learning new skills through VR simulations, the possibilities are endless. Virtual reality on your iPhone allows you to escape the confines of the physical world and be transported to fascinating virtual realms.
However, it’s important to remember that virtual reality experiences can be intense and immersive. Take breaks when needed, listen to your body, and don’t forget to stay aware of your surroundings. It’s crucial to prioritize your safety and comfort while enjoying the wonders of virtual reality.
As technology advances, the world of virtual reality will continue to expand, offering even more immersive experiences and pushing the boundaries of what is possible. Keep an eye out for new VR apps, updates, and advancements that can further enhance your virtual reality journey on your iPhone.
So, go ahead and explore the vast collections of virtual reality experiences available on the App Store. Immerse yourself in captivating worlds, interact with virtual environments, and let your imagination take flight. Get ready to embark on a thrilling adventure right from the palm of your hand.