Introduction
Transitioning from traditional drawing tools to a drawing tablet can feel overwhelming for many artists. However, with some patience and practice, you can easily adapt to using a drawing tablet and unlock a whole new world of creative possibilities. In this article, we will explore some helpful tips and techniques to help you get used to drawing with a tablet.
As with any new skill, it’s important to start with the basics. Understanding how a drawing tablet works and the different functions it offers will be key to your success. Once you have a good grasp of the fundamentals, you can then dive into adjusting the tablet settings to suit your personal preferences.
Familiarizing yourself with drawing software and tools is also crucial. Knowing how to navigate the software and utilize different brushes and techniques will enable you to create stunning digital artwork. Additionally, practicing hand-eye coordination with the tablet and experimenting with pressure sensitivity and tilt will help you achieve more realistic and expressive drawings.
Building muscle memory through regular drawing exercises is another important aspect of getting used to a drawing tablet. By consistently working on your skills, you will improve your dexterity and control over the tablet, leading to better artwork. Additionally, utilizing shortcut keys and time-saving techniques can greatly enhance your workflow and make the drawing process more efficient.
It’s important to remember that adapting to a drawing tablet may come with its fair share of frustration. However, embracing the learning process and persevering through challenges will ultimately lead to growth and improvement. With time and practice, using a drawing tablet will become second nature, allowing you to fully explore your artistic potential.
In the following sections, we will delve deeper into each of these topics, providing practical tips and insights to help you become comfortable and proficient in using a drawing tablet. Let’s dive in!
Understanding the Basics of a Drawing Tablet
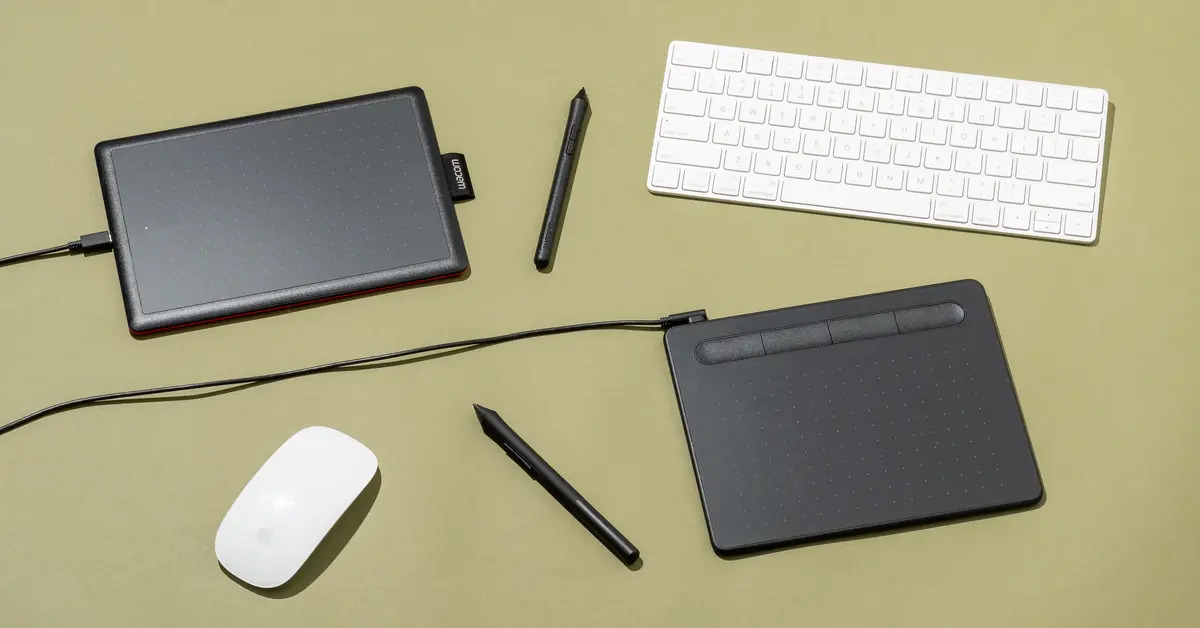
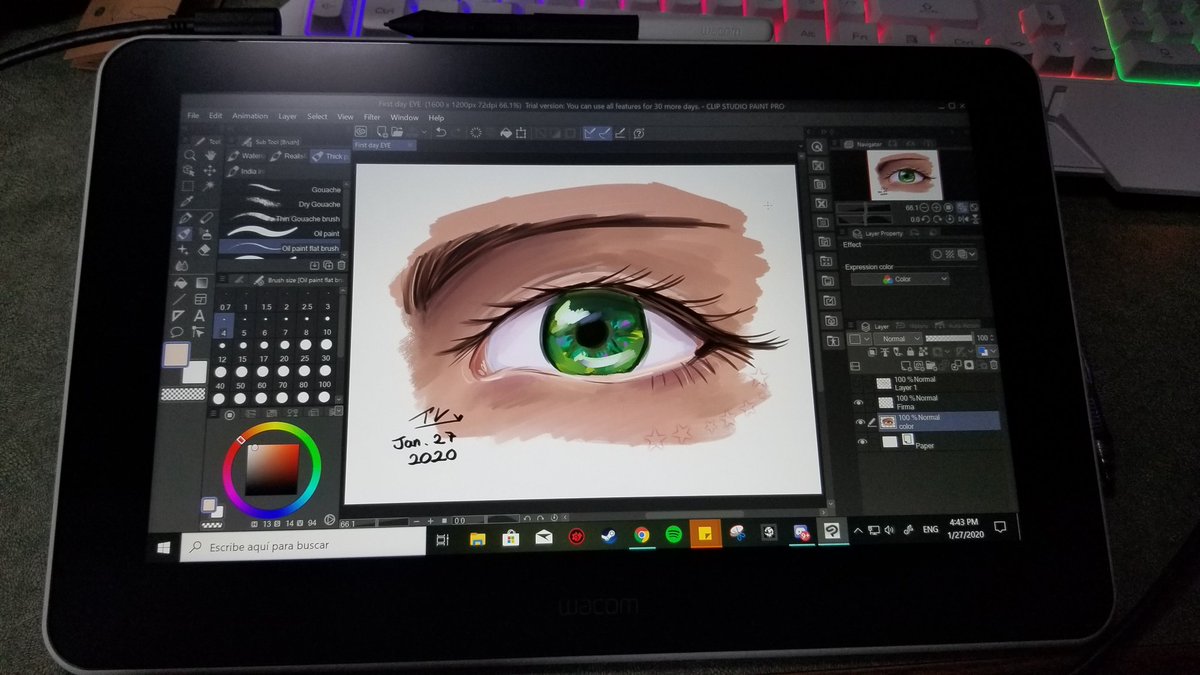
A drawing tablet, also known as a graphics tablet, is a versatile digital tool that allows artists to create artwork directly on a flat, pressure-sensitive surface using a stylus pen. It mimics the experience of drawing or painting on paper but offers enhanced capabilities and flexibility.
At the core of a drawing tablet is the active area, which is the part of the surface that detects and translates the movement of the stylus into digital information. This area is often accompanied by customizable shortcut keys and buttons that can be assigned to specific functions, making the creative process more efficient.
When choosing a drawing tablet, it’s important to consider the size of the active area. A larger active area provides more room to work and allows for longer, more sweeping strokes, while a smaller area may be more suitable for those with limited space or a preference for precision work.
One of the key features of drawing tablets is pressure sensitivity. This means that the tablet can detect and respond to the amount of pressure applied with the stylus, allowing for more expressive and varied line thicknesses in your artwork. Most tablets offer multiple levels of pressure sensitivity, ranging from 1024 to 8192 levels or more.
Another crucial aspect to consider is the tablet’s resolution, also known as its “lpi” (lines per inch). The higher the resolution, the smoother and more precise your strokes will appear on the screen. A higher resolution tablet is especially important for detailed artwork and intricate line work.
Connectivity is also a factor to consider. Drawing tablets typically connect to your computer via USB or wirelessly, using Bluetooth or Wi-Fi. Wireless tablets offer more freedom of movement and flexibility, but may have a slight lag compared to their wired counterparts.
Lastly, compatibility with drawing software is essential. Most drawing tablets are compatible with popular software such as Adobe Photoshop, Corel Painter, and Procreate. It’s important to ensure that the tablet you choose is compatible with the software you intend to use.
Understanding these basic components and features of a drawing tablet is the first step towards using it effectively. In the next section, we will explore how to adjust the tablet settings to suit your personal preferences and enhance your drawing experience.
Adjusting the Tablet Settings for Personal Preferences
Once you have familiarized yourself with the basics of a drawing tablet, the next step is to customize the tablet settings to meet your personal preferences and optimize your drawing experience. Every artist has different preferences when it comes to sensitivity, pen pressure, and other settings, so it’s important to tailor them to your specific needs.
Most drawing tablets come with software that allows you to adjust settings such as pen pressure sensitivity, tilt sensitivity, and screen mapping. Taking the time to fine-tune these settings will greatly improve the accuracy and responsiveness of the tablet.
Start by adjusting the pen pressure sensitivity. This setting determines how much pressure you need to apply to create thicker or thinner lines. Experiment with different levels of sensitivity until you find the one that feels most comfortable and natural to you. Remember that you can always adjust this setting later as your drawing style evolves.
Another important setting to consider is tilt sensitivity. This feature detects the angle at which the stylus is held and adjusts the brush stroke accordingly. Tilt sensitivity can add a new dimension to your artwork, allowing for more expressive and realistic shading and highlighting.
Screen mapping is another setting that should not be overlooked. This setting allows you to align the active area of the tablet with the corresponding area on your computer screen. Ensuring that the mapping is accurate will prevent any discrepancies between where you draw on the tablet and where it appears on the screen.
In addition to these primary settings, explore other options that your tablet software offers. You may find options to customize shortcut keys, adjust zoom levels, or enable touch gestures. These additional settings can greatly enhance your workflow and make your drawing process more efficient.
Remember that adjusting the tablet settings is not a one-time task. As you gain more experience using the tablet, you may find that certain settings need fine-tuning or that you want to explore new options. Be open to experimentation and don’t hesitate to modify the settings to suit your evolving artistic style and needs.
By taking the time to adjust the tablet settings to your personal preferences, you are setting yourself up for a more comfortable and enjoyable drawing experience. In the next section, we will delve into the process of familiarizing yourself with different drawing software and tools.
Familiarizing Yourself with Drawing Software and Tools
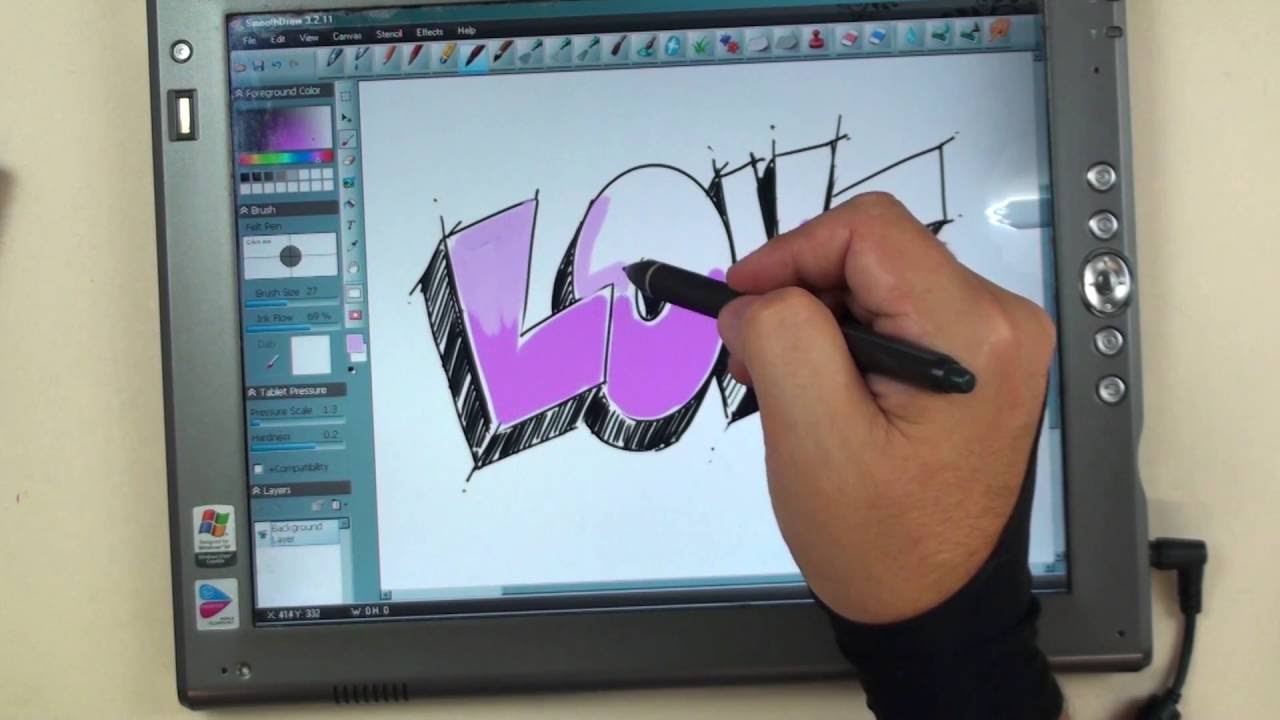
When using a drawing tablet, it’s essential to become familiar with drawing software and tools. This software provides a digital canvas where you can create and manipulate your artwork. Familiarizing yourself with the features and functions of different drawing software will help you unlock the full potential of your drawing tablet.
There are a variety of drawing software options available, ranging from industry-standard programs like Adobe Photoshop and Corel Painter to more specialized tools like Procreate and Clip Studio Paint. Each software has its own unique interface, tools, and capabilities, so it’s worth exploring different options to find the one that suits your needs and preferences.
Start by getting acquainted with the basic tools commonly found in drawing software, such as brushes, erasers, and selection tools. Learn how to change brush sizes, adjust opacity, and explore different brush types to achieve different effects in your artwork.
Layers are another fundamental aspect of digital drawing software. Understanding how to create and manipulate layers allows you to work on different elements of your artwork separately and make non-destructive edits. This flexibility is particularly useful in complex illustrations and digital paintings.
Additionally, many drawing software programs offer features like blending modes, brushes with customizable settings, and special effects filters. Take the time to explore these advanced tools and experiment with different techniques to create unique and eye-catching artwork.
Tutorials and online resources are valuable assets in familiarizing yourself with drawing software and tools. Many artists and software developers create tutorials and guides that cover a wide range of topics, from basic functions to advanced techniques. Taking advantage of these resources can help you quickly upskill and discover new creative possibilities.
As you become more proficient in using drawing software, consider customizing your workspace to streamline your workflow. Arrange your toolbars, palettes, and panels in a way that works best for you, allowing quick access to commonly used functions. This personalized setup will save you time and make your drawing process more efficient.
By investing time in exploring and familiarizing yourself with drawing software and tools, you will unlock endless possibilities for creative expression. In the next section, we will discuss techniques for improving hand-eye coordination with the drawing tablet.
Practicing Hand-Eye Coordination with the Tablet
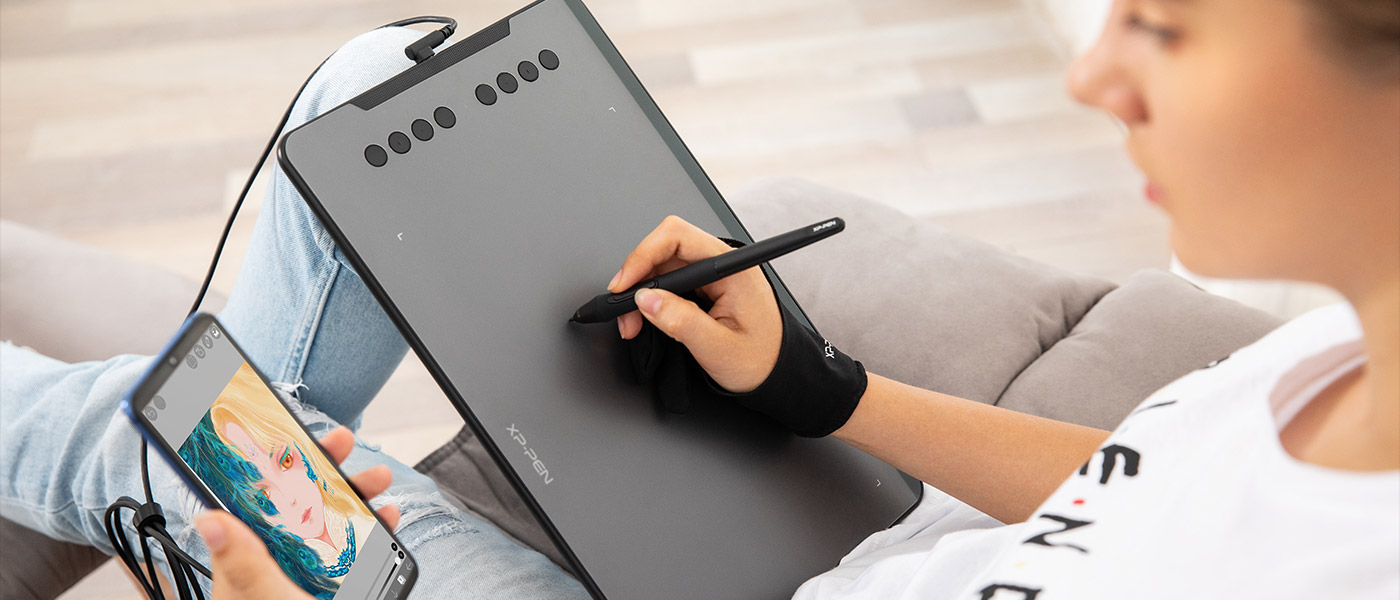
As you make the transition to using a drawing tablet, one of the key skills to develop is hand-eye coordination. Unlike traditional drawing tools, where you directly see your hand on the paper, drawing with a tablet requires you to look at the screen while your hand moves on the tablet’s surface. Practicing hand-eye coordination is essential to create precise and fluid strokes.
One effective way to improve hand-eye coordination is through regular drawing exercises. Start by tracing simple shapes or lines on the tablet’s surface. This will help you get a feel for the tablet’s sensitivity and allow you to establish a connection between your hand movements and the resulting marks on the screen. Gradually progress to more complex shapes and lines to further refine your hand-eye coordination.
Another exercise to enhance hand-eye coordination is drawing from reference images. Choose a reference image or a still life subject and attempt to replicate it on the tablet. Focus on capturing the lines, shapes, and proportions accurately. This exercise will improve your ability to translate what you see onto the tablet’s surface and train your hand-eye coordination in the process.
Gesture drawing is another technique that can help develop hand-eye coordination. Set a timer for short intervals, such as 30 seconds or 1 minute, and sketch quick, loose gestures of objects, figures, or scenes. Gesture drawing trains your hand to swiftly capture the essence of a subject, improving your ability to translate dynamic movements onto the tablet.
Practicing with different brush strokes and line variations is also beneficial for hand-eye coordination. Experiment with creating various types of lines, from thin and delicate to bold and expressive. This exercise will help you gain control over your stylus’ movements and develop a more confident and precise drawing technique.
It’s important to remember that hand-eye coordination is a skill that develops over time with practice. Be patient and persistent in your efforts, and dedicate regular drawing sessions to improve this essential skill. By continuously practicing hand-eye coordination exercises, you will gradually become more comfortable and proficient in using your drawing tablet.
In the next section, we will explore the different brushes and techniques that you can utilize to enhance your digital artwork.
Trying Out Different Brushes and Techniques
One of the advantages of using a drawing tablet is the ability to access a wide range of digital brushes and techniques, offering endless possibilities for creative expression. Experimenting with different brushes and techniques not only adds variety to your artwork but also helps you develop a unique artistic style.
Most drawing software comes with a selection of preset brushes, each with their own characteristics. Start by exploring the different brushes available in your software and experiment with their settings. Adjust parameters such as size, opacity, and flow to achieve different effects and textures in your artwork.
With a drawing tablet, you can emulate the look and feel of traditional art mediums such as pencils, pens, and paintbrushes. Try out different brush types to find the ones that best suit your preferences and desired artistic style. For example, a hard-edged brush may be ideal for crisp line work, while a soft and textured brush can create a more organic and painterly effect.
Don’t limit yourself to the default brushes – there are countless brush sets available online that you can download and install into your drawing software. These brush sets often offer unique textures, patterns, and specialty brushes that can add depth and creativity to your artwork.
In addition to exploring different brushes, it’s important to experiment with various techniques to enhance your artwork. For example, layering is a popular technique in digital art, where you can build up different elements and add depth by using multiple layers. This allows for non-destructive editing and easy adjustments to specific parts of your artwork.
Blending and smudging are techniques that can help create smooth transitions and gradients in your artwork. These techniques rely on brush opacity and pressure sensitivity to blend colors together, resulting in a more realistic and cohesive look.
Texturing is another technique that can add visual interest and realism to your digital art. There are brushes specifically designed for adding textures such as fur, foliage, or fabric. Experiment with different textures to find the ones that complement your style and subject matter.
As you continue to explore different brushes and techniques, take note of the ones that resonate with you and align with your artistic vision. Building a collection of go-to brushes and mastering specific techniques will enhance your artwork and make your creative process more efficient.
In the next section, we will delve into the importance of pressure sensitivity and tilt functionality in a drawing tablet.
Experimenting with Pressure Sensitivity and Tilt
One of the significant advantages of a drawing tablet is its ability to detect and respond to both pressure sensitivity and tilt, allowing for more expressive and dynamic digital artwork. Understanding how to utilize pressure sensitivity and tilt can greatly enhance your drawings and bring them to life.
Pressure sensitivity allows the tablet to respond to the amount of pressure applied with the stylus. By varying the pressure, you can create different line thicknesses and opacities, replicating the effect of traditional drawing tools such as pencils or brush pens. Experiment with light and heavy strokes to see the range of effects you can achieve.
Most drawing software allows you to customize the pressure sensitivity curve, adjusting how the tablet interprets the pressure applied. By fine-tuning this setting, you can personalize the way your tablet responds to your strokes, optimizing it for your preferred drawing style.
Tilt functionality is another feature found in many drawing tablets. It senses the angle at which the stylus is held and adjusts the brush stroke accordingly. Tilting the stylus can create variations in brush shape, allowing for more natural shading and highlighting techniques.
Take the time to experiment with different brush settings and the tilt functionality to discover the variety of effects you can achieve. Tilt the stylus at different angles to observe how it affects the brush stroke. Combining tilt with pressure sensitivity can result in even more nuanced and textured artwork.
Over time, you will develop a sense of how much pressure and tilt you need to create the desired effect. This familiarity will enable you to intuitively incorporate pressure sensitivity and tilt into your drawing process, enhancing the realism and expressiveness of your digital artwork.
Remember that not every brush or software may fully utilize the pressure sensitivity or tilt functionality. It’s essential to experiment with different brushes and software programs to find the ones that offer the level of control and responsiveness you desire.
By embracing pressure sensitivity and tilt functionality, you can add depth and dimension to your drawings, making them more visually engaging and captivating. In the next section, we will explore various drawing exercises and techniques to help you build muscle memory and improve your digital art skills.
Building Muscle Memory with Regular Drawing Exercises
Like any artistic skill, using a drawing tablet requires practice and repetition to build muscle memory. Muscle memory is the ability to perform movements or actions without conscious thought, allowing for greater precision and control. Regular drawing exercises can help you develop muscle memory specific to using a tablet, improving your overall digital art skills.
One of the most effective drawing exercises is sketching simple shapes and lines repeatedly. This exercise helps you train your hand to make smooth and confident strokes on the tablet’s surface. Start with basic shapes like circles, squares, and triangles, then gradually progress to more intricate lines and shapes. By repeating these exercises daily, you will notice a significant improvement in your ability to create clean and precise lines.
Another beneficial exercise is drawing from observation. Find objects, still life setups, or reference photos and spend time sketching them on your tablet. Pay attention to proportions, angles, and details. This exercise not only enhances your observational skills but also trains your hand to translate what you see onto the digital canvas with accuracy.
Life drawing exercises are also valuable in building muscle memory. Practice sketching dynamic poses, focusing on capturing the gesture and flow of the figure. These exercises help improve your ability to quickly and accurately depict movement and anatomy, ultimately enhancing your overall figure drawing skills.
Drawing exercises that specifically target your weakness areas can be beneficial as well. If you struggle with certain types of lines or strokes, dedicate time to practice those specific elements until you feel more comfortable and confident with them. This targeted approach allows you to focus on improving specific aspects of your digital drawing technique.
Engaging in regular drawing challenges or participating in online artistic communities can provide additional motivation and feedback. Joining art groups or communities where you can share your drawings and receive constructive criticism can help you identify areas for improvement and learn from fellow artists. Additionally, participating in drawing prompts or themed challenges can push you to try new techniques and subject matters, further diversifying your skillset.
Remember to warm up before each drawing session. Perform hand and wrist stretches to increase blood flow and prevent strain or fatigue while working with the tablet. Taking short breaks during long drawing sessions is also essential to rest your hand and avoid overexertion.
Consistency is key when it comes to building muscle memory. Dedicate regular time to drawing exercises, even if it’s just a few minutes each day. Over time, the repetitive movements and consistent practice will help you develop muscle memory specific to using a drawing tablet, allowing you to create digital artwork with greater precision and control.
In the next section, we will explore utilizing shortcut keys and time-saving techniques to optimize your workflow and enhance your productivity as a digital artist.
Utilizing Shortcut Keys and Time-Saving Techniques
As a digital artist, optimizing your workflow and maximizing productivity is key. Utilizing shortcut keys and time-saving techniques can significantly enhance your efficiency and allow you to focus more on the creative process. Learning and implementing these techniques will save you valuable time and streamline your digital art workflow.
Most drawing tablets come with programmable shortcut keys or buttons that can be customized to perform specific functions. Take the time to familiarize yourself with these keys and assign them to frequently used functions in your drawing software. Common shortcuts include undo/redo, brush size adjustment, and switching between tools. Customizing these shortcut keys to your preferred functions will save you from constantly searching through menus and increase your overall speed and efficiency.
In addition to hardware shortcuts, your drawing software may offer additional keyboard shortcuts that can speed up your workflow. Familiarize yourself with these keyboard shortcuts and practice incorporating them into your drawing process. Memorizing and utilizing these shortcuts will allow you to navigate through various functions of the software without having to rely heavily on menus or toolbars.
Another time-saving technique is the use of brushes or tools presets. Most drawing software allows you to save and organize custom brush or tool settings. Create and save presets for brushes with specific characteristics or tool settings that you frequently use. This eliminates the need to manually adjust each setting every time you need a specific brush or tool, allowing you to easily switch between brushes and maintain consistent settings throughout your artwork.
Take advantage of automatic actions and batch processing features in your drawing software. If you find yourself repeatedly applying the same adjustments or effects to multiple layers or files, explore options for automating these tasks. By setting up actions or utilizing batch processing, you can save significant time and effort when working on large projects or repetitive tasks.
Utilize the power of layer management to your advantage. Organizing your artwork into separate layers not only allows for non-destructive editing but also enables you to work on different elements of your composition more efficiently. Naming and grouping layers with descriptive labels helps you quickly identify and make adjustments to specific parts of your artwork.
Another technique to improve productivity is the use of templates. Create templates for common canvas sizes or specific projects that you frequently work on. These pre-set templates save you time on setting up the canvas and allow you to jump right into creating artwork.
Lastly, make use of plug-ins or scripts available for your drawing software. These external tools can automate certain tasks or provide additional functionalities that are not natively available. Explore the plug-in marketplaces and online communities to discover tools that can further enhance your workflow and productivity.
By incorporating these time-saving techniques and utilizing shortcut keys, you can significantly boost your efficiency as a digital artist. The time saved can be redirected towards exploring new creative ideas and refining your artwork. In the next section, we will discuss strategies for overcoming frustration and embracing the learning process of using a drawing tablet.
Overcoming Frustration and Embracing the Learning Process
Transitioning to a drawing tablet can be challenging and frustrating at times, especially if you’ve been accustomed to traditional drawing tools. However, it’s important to embrace the learning process and not let frustration hinder your progress. Here are some strategies to help you overcome frustration and make the most out of your journey with a drawing tablet.
First and foremost, be patient with yourself. Learning a new skill takes time and effort. Understand that it’s normal to face difficulties and make mistakes along the way. Rather than getting discouraged, view mistakes as valuable opportunities to learn and improve.
Set realistic expectations for yourself. Remember that you are embarking on a new creative journey, and it may take time to become proficient with a drawing tablet. Don’t compare your progress to others, but instead focus on your personal growth and progress.
Take breaks when frustration sets in. It’s important to step away from your tablet and give yourself some time to recharge. Go for a walk, engage in a different creative activity, or simply relax. Returning to your drawing with a fresh mindset can make a significant difference in your productivity and mood.
Seek support and advice from fellow artists who have experience with drawing tablets. Join online communities, forums, or social media groups where you can connect with others who are on a similar journey. Sharing frustrations and receiving guidance from those who have been through it can provide invaluable support and motivation.
Experiment with different techniques and approaches. Allow yourself to explore and play without the pressure of creating a masterpiece. Use your drawing tablet as a tool for experimentation and discovery. Trying out new brushes, effects, and styles can reignite your passion for art and help you overcome any creative blocks.
Engage in regular practice. Consistency is key to improving your skills with a drawing tablet. Set aside dedicated time for practice and commit to a routine. Even short, daily practice sessions can make a significant impact on your progress and familiarity with the tablet.
Celebrate small victories along the way. Recognize and appreciate the progress you make, no matter how small. It could be improving your line quality or mastering a new technique. Acknowledging your achievements boosts confidence and keeps you motivated to continue learning and growing.
Lastly, keep in mind that the journey of using a drawing tablet is an ongoing process. Embrace the learning curve and enjoy the experience of exploring new possibilities. Remember that every stroke and every artwork is an opportunity for growth and self-expression.
By adopting a positive mindset and persevering through challenges, you will overcome frustration and develop a strong foundation with your drawing tablet. In the concluding section, we will summarize the key points discussed in this article.
Conclusion
Transitioning to a drawing tablet may initially feel daunting, but with patience, practice, and perseverance, you can easily adapt and harness the full potential of this powerful artistic tool. Throughout this article, we have explored various strategies and techniques to help you get used to drawing with a tablet.
We began by understanding the basics of a drawing tablet, including its components, features such as pressure sensitivity and resolution, and compatibility with drawing software. Adjusting the tablet settings to suit your personal preferences was discussed, allowing you to customize the tablet to optimize your drawing experience.
Familiarizing yourself with drawing software and tools is crucial in effectively utilizing a drawing tablet. Becoming acquainted with different brushes, techniques, layers, and shortcuts enhances your creative process and unlocks new possibilities for expression.
Developing hand-eye coordination is essential in achieving precise and fluid strokes on the tablet’s surface. Through regular drawing exercises and practicing with various shapes, lines, and references, you can hone this crucial skill.
Experimenting with different brushes, pressure sensitivities, and tilt functionalities can elevate your digital artwork by adding depth, texture, and realism. Building muscle memory through regular drawing exercises trains your hand to execute strokes with accuracy and control.
Maximizing productivity by utilizing shortcut keys, time-saving techniques, and understanding software features streamlines your workflow, allowing you to focus more on the creative process and less on repetitive tasks.
Overcoming frustration and embracing the learning process is essential when adapting to a drawing tablet. By fostering patience, setting realistic expectations, seeking support, and embracing experimentation, you can navigate challenges and grow as an artist.
In conclusion, integrating a drawing tablet into your artistic toolkit opens up a world of new possibilities. With dedication and practice, you will become comfortable and proficient in using a drawing tablet, unleashing your creativity and producing amazing digital artwork.


