Introduction
Welcome to the world of digital art! If you have recently acquired a drawing tablet, congratulations! You are about to embark on an exciting journey of creativity and self-expression. Drawing with a tablet offers a whole new level of precision and versatility compared to traditional mediums.
Whether you are an experienced artist looking to transition from traditional art to digital, or a beginner with a passion for drawing, this guide will help you get started with your drawing tablet. We will walk you through the process of choosing the right tablet, setting it up, and getting familiar with the various tools and techniques involved.
As with any new creative endeavor, practice and patience are key. It may take some time to adjust to the digital medium and become comfortable with the pen tool and other features. However, with dedication and consistent effort, you will see gradual improvement in your digital drawing skills.
Throughout this guide, we will explore different aspects of drawing with a tablet, including understanding pressure sensitivity, utilizing brushes and tools, customizing shortcuts and settings, and troubleshooting common issues. By the end, you will have a solid foundation to continue exploring and honing your digital art skills.
Remember, the world of digital art has no limits. You can create stunning illustrations, realistic portraits, imaginative characters, and much more. Let your imagination run wild and embrace the endless possibilities that digital drawing offers. So, let’s jump in and unleash your creativity!
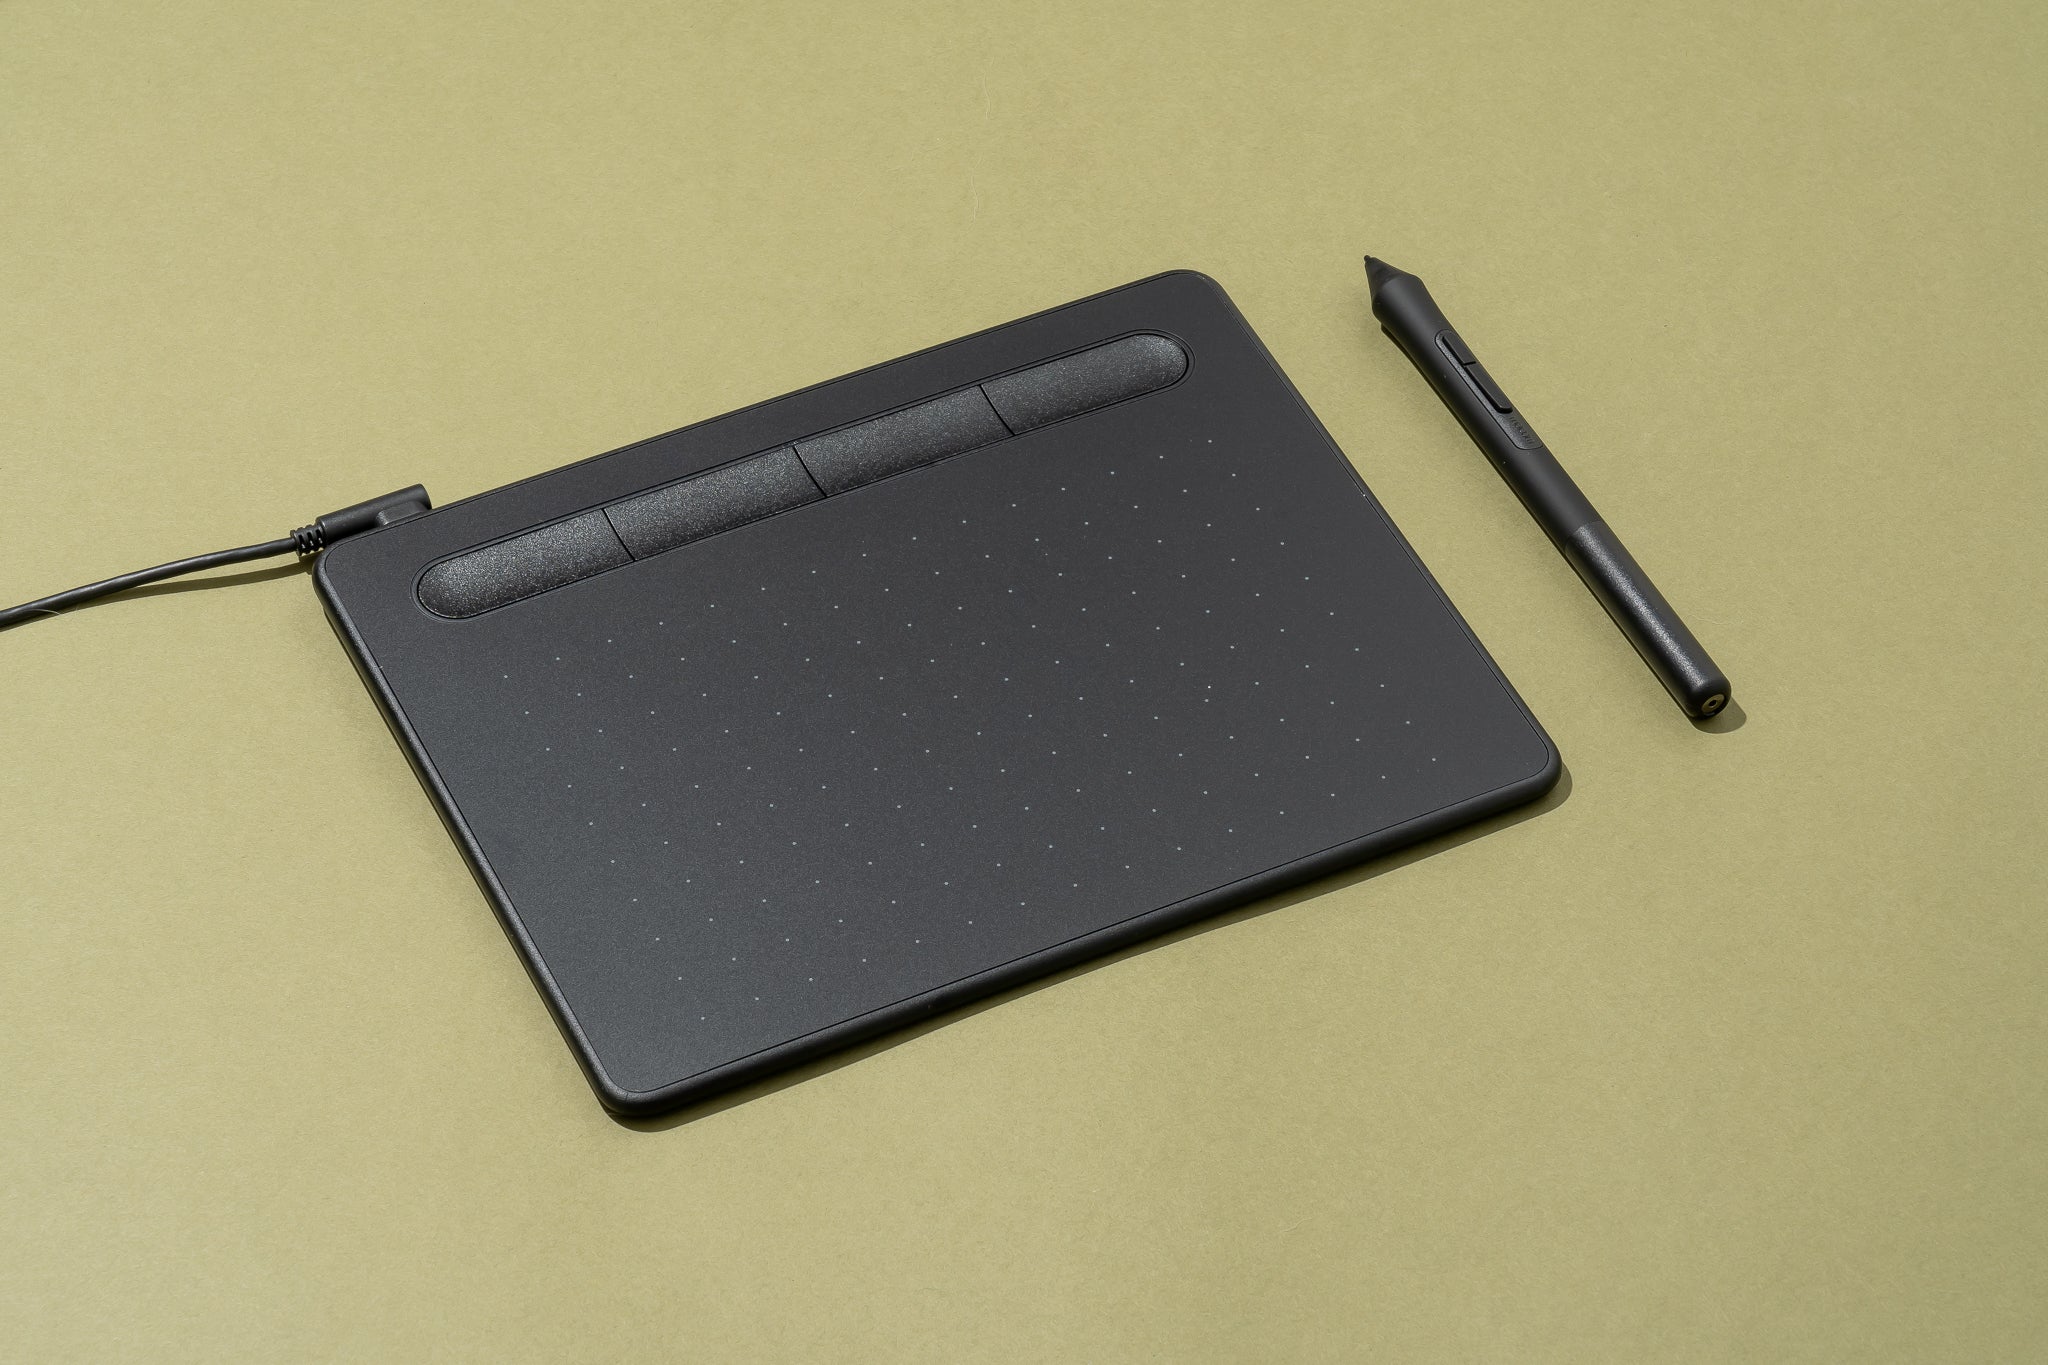
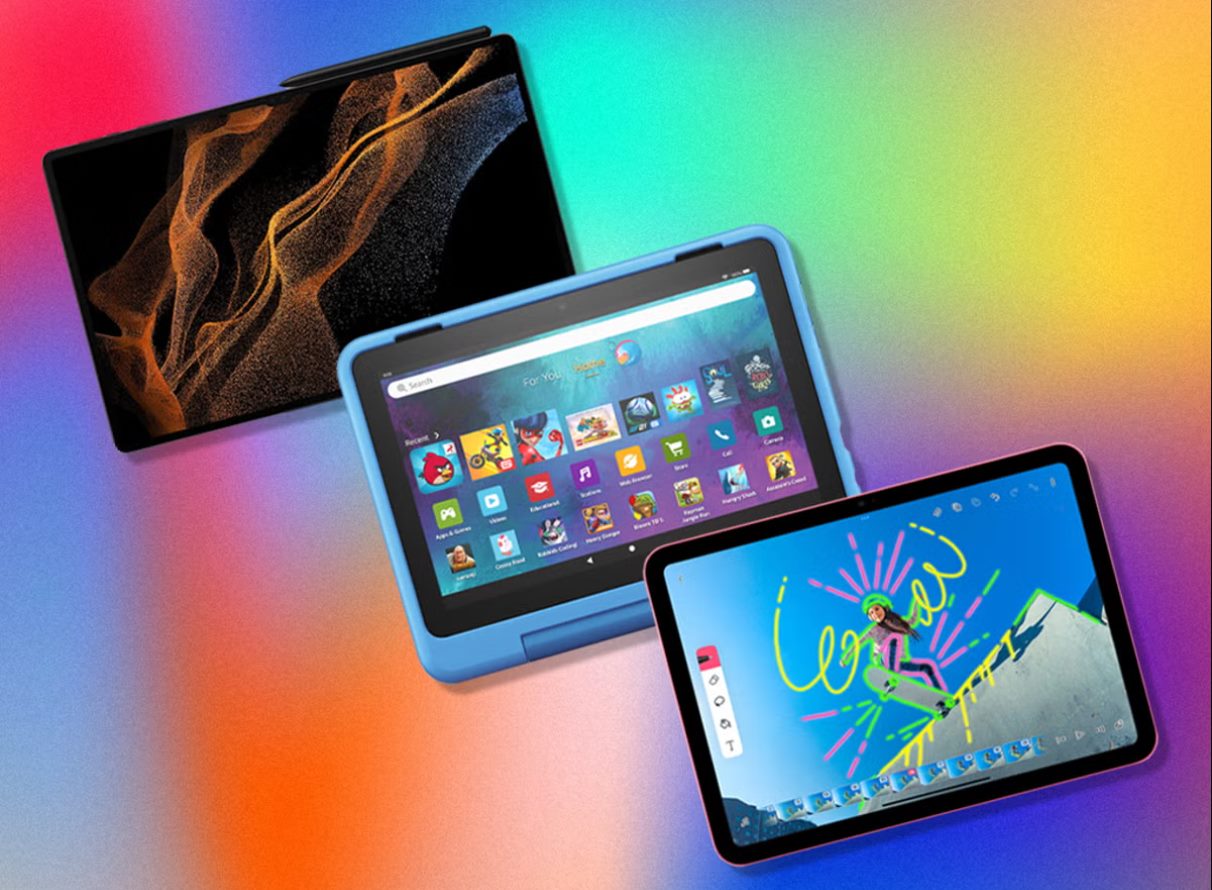
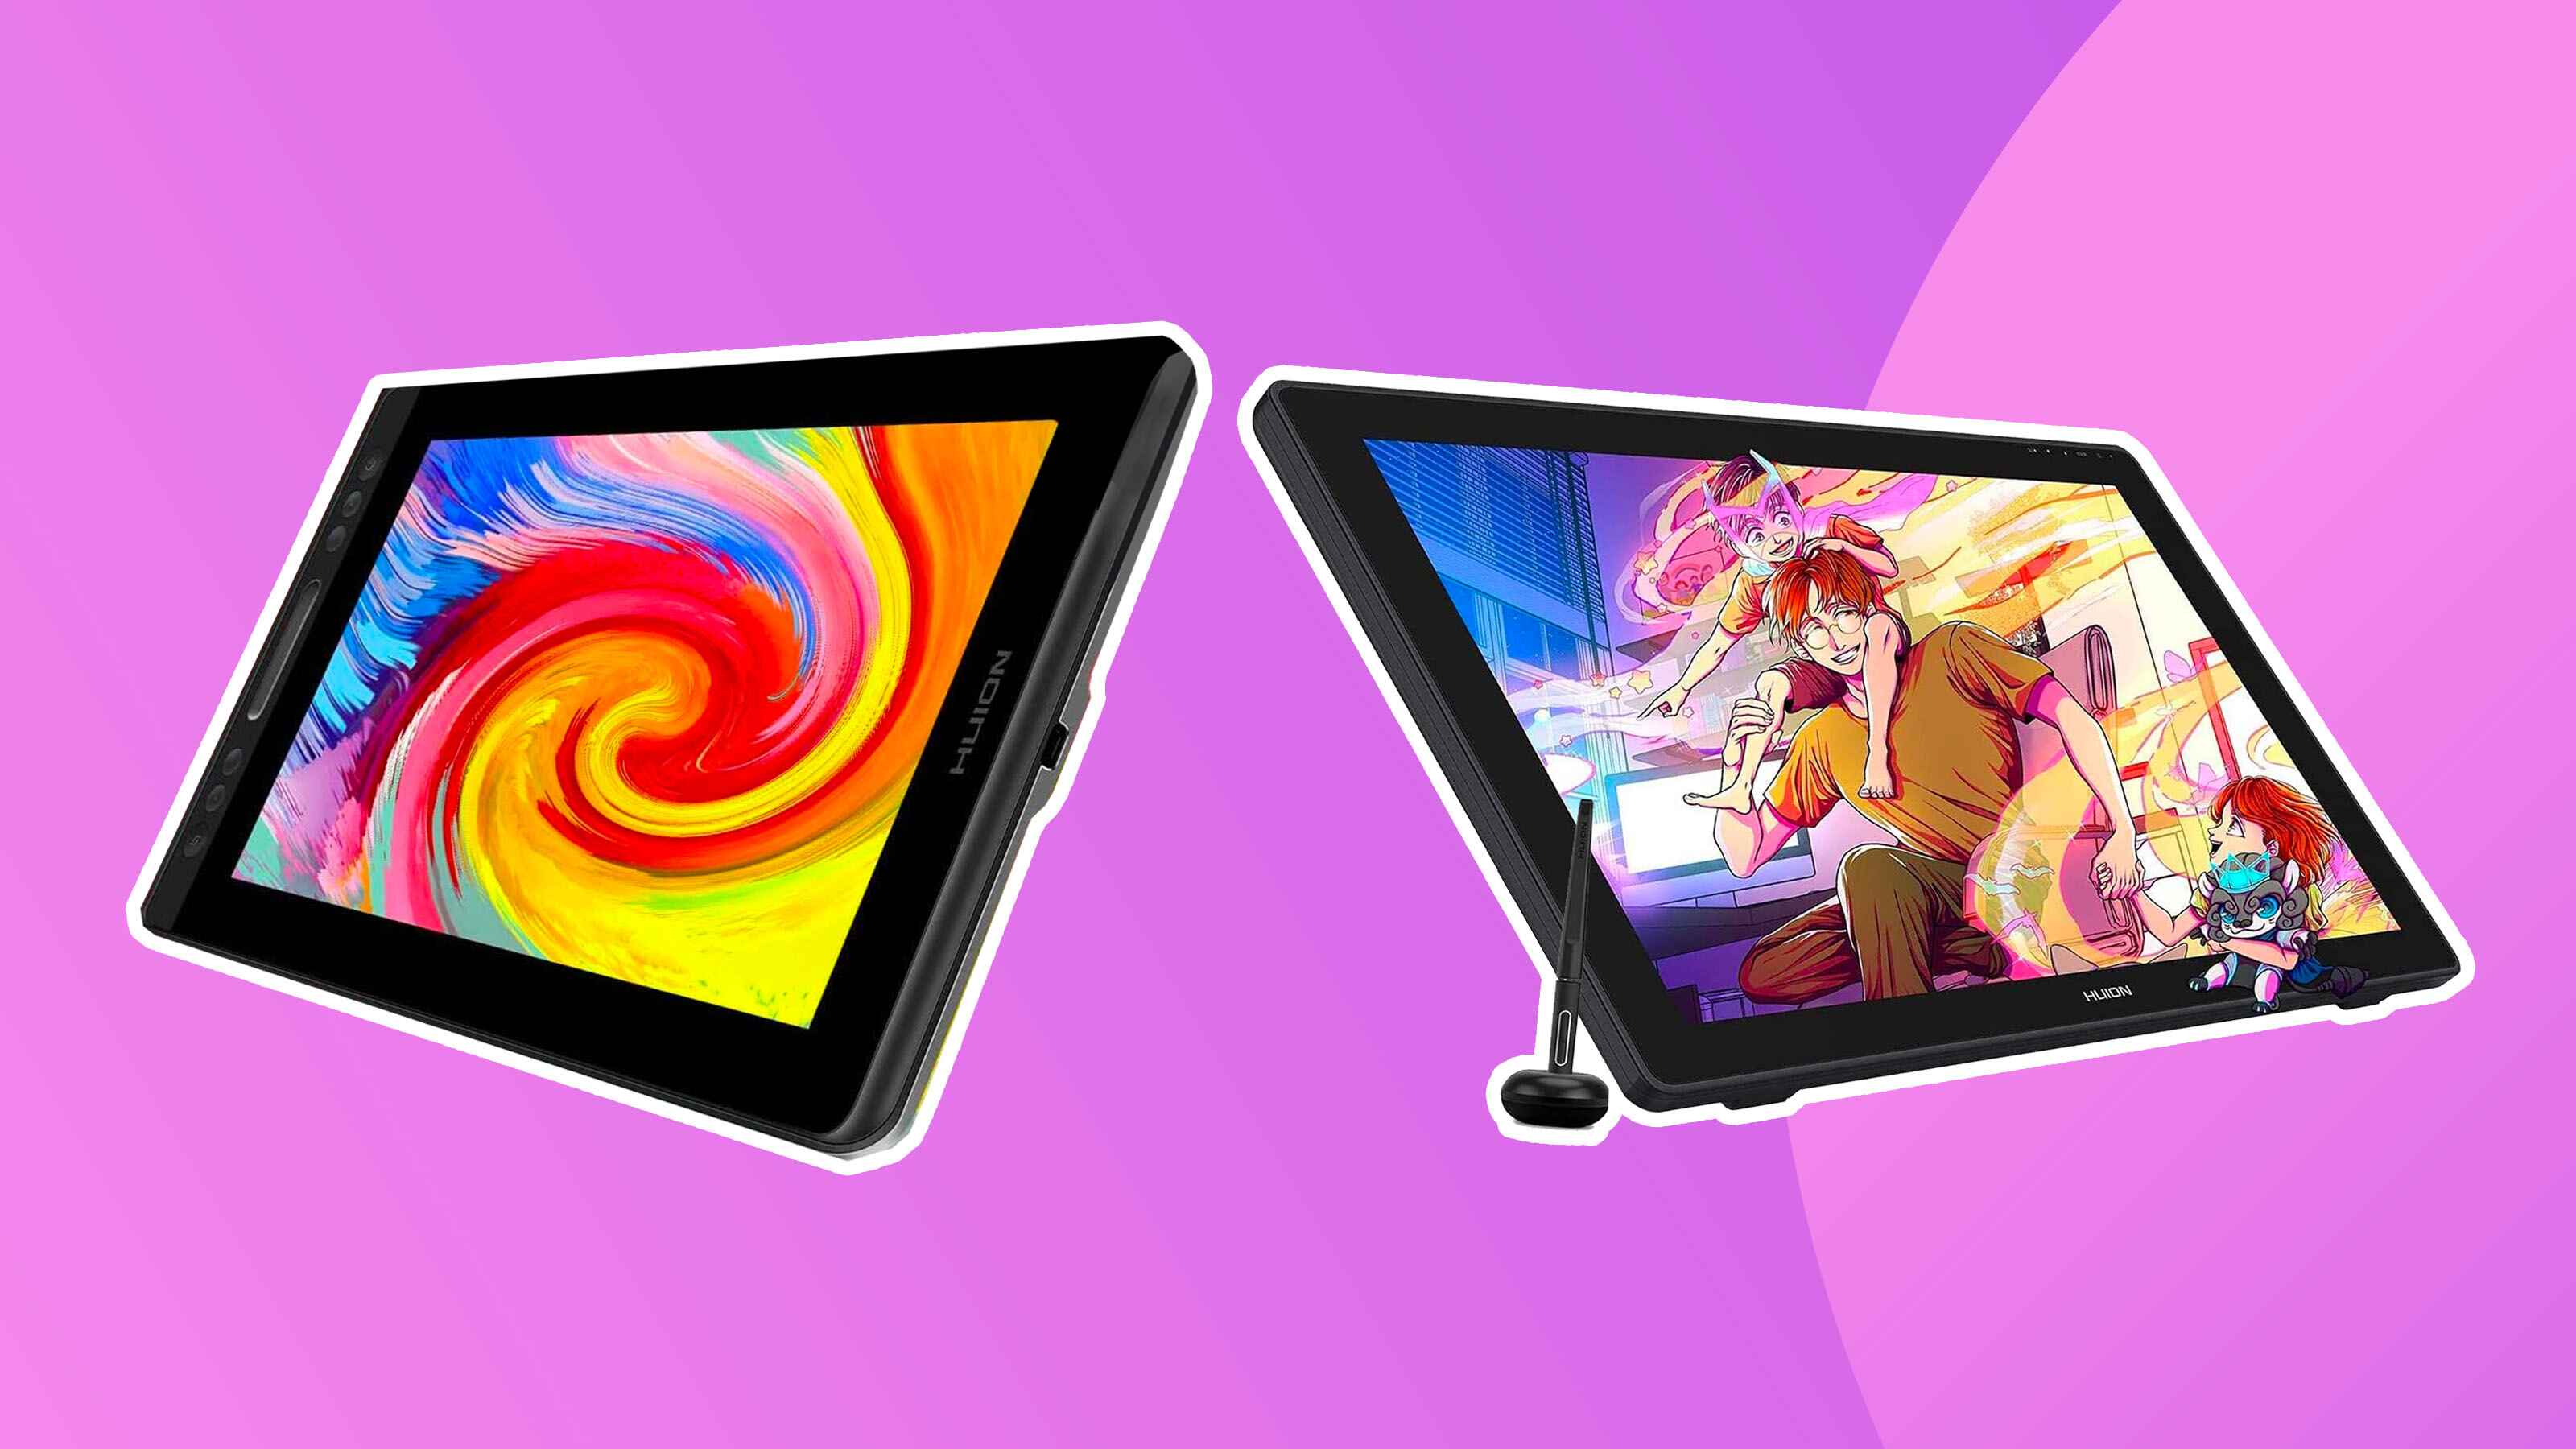
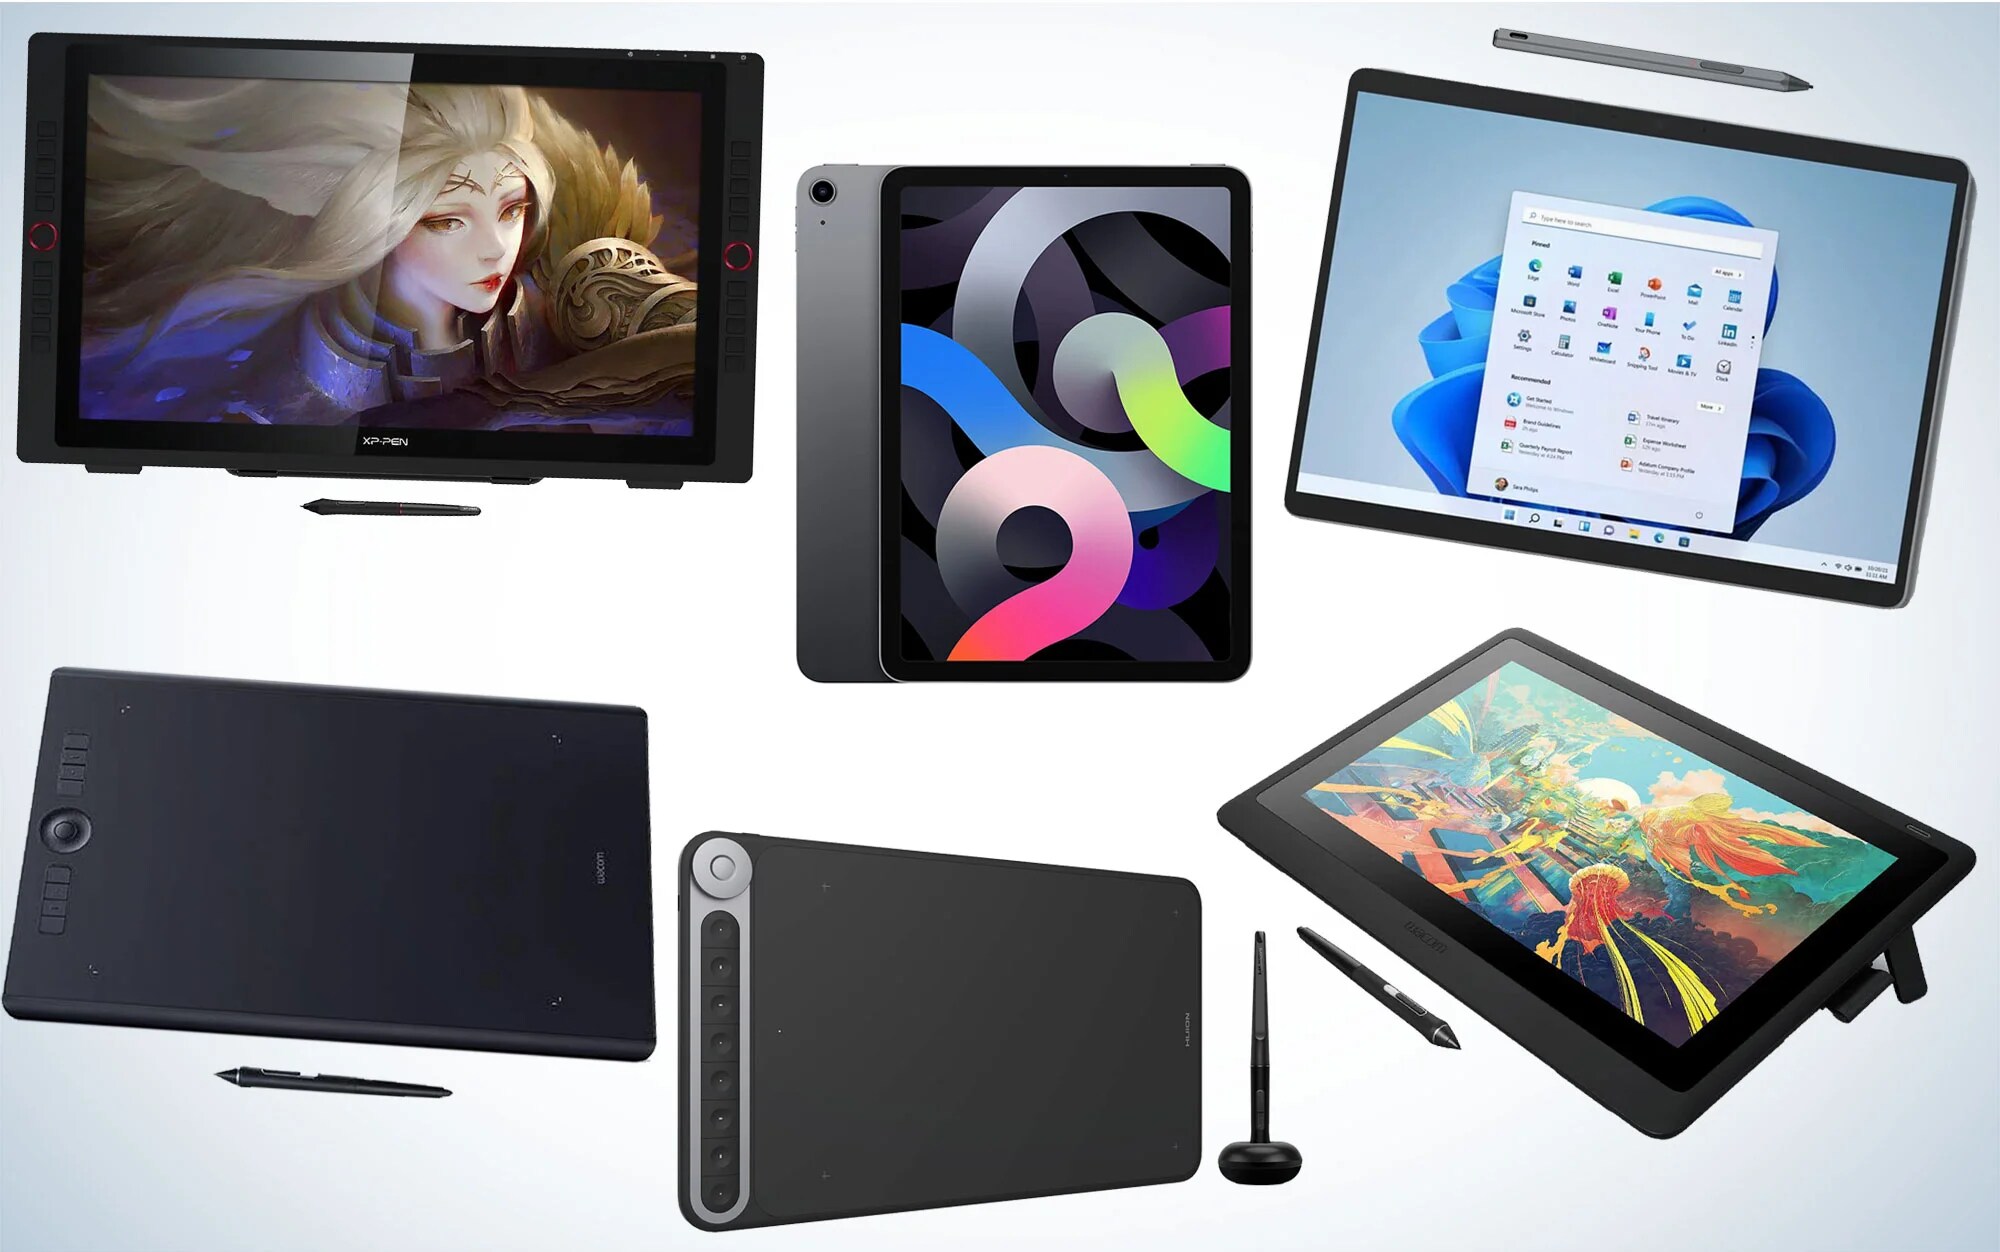
Choosing the Right Drawing Tablet
When it comes to choosing a drawing tablet, there are a few factors to consider to ensure that it meets your specific needs and fits your artistic style. Here are some key points to keep in mind:
1. Purpose and Budget: Think about your primary use for the tablet. Are you a professional artist looking for a high-end device, or are you just starting out and need something more affordable? Determine your budget and decide what features are essential for your art style.
2. Size and Portability: Consider the size of the tablet. Larger tablets offer more drawing area, which can be beneficial for intricate artwork, but they may be less portable. Smaller tablets are more compact and convenient for travel, but they offer less workspace. Choose the size that suits your preference and workspace.
3. Pressure Sensitivity: The pressure sensitivity of a tablet determines how accurately it can recognize and respond to different levels of pressure applied by the pen. Higher pressure sensitivity allows for more precise control over line thickness and opacity. Look for a tablet with at least 2048 levels of pressure sensitivity.
4. Connectivity and Compatibility: Make sure that the tablet you choose is compatible with your computer or device. Check for compatibility with your operating system (Windows, macOS, or Linux) and connection options (USB, Bluetooth, or wireless).
5. Brand and Reviews: Research different brands and read reviews from other artists to get an idea of the tablet’s performance and reliability. Look for tablets that have a good reputation within the artist community for their build quality and responsiveness.
6. Additional Features: Some tablets come with extra features like programmable buttons, tilt recognition, or touch capability. Consider whether these features are important for your workflow and artistic style.
Remember, the perfect tablet for one artist may not be the best fit for another. Take your time to research and compare different options before making a decision. If possible, try testing out tablets in person to see how they feel and respond to your drawing style.
Once you have chosen your drawing tablet, it’s time to set it up and prepare for your digital art journey. Let’s move on to the next section to learn how to set up your drawing tablet.
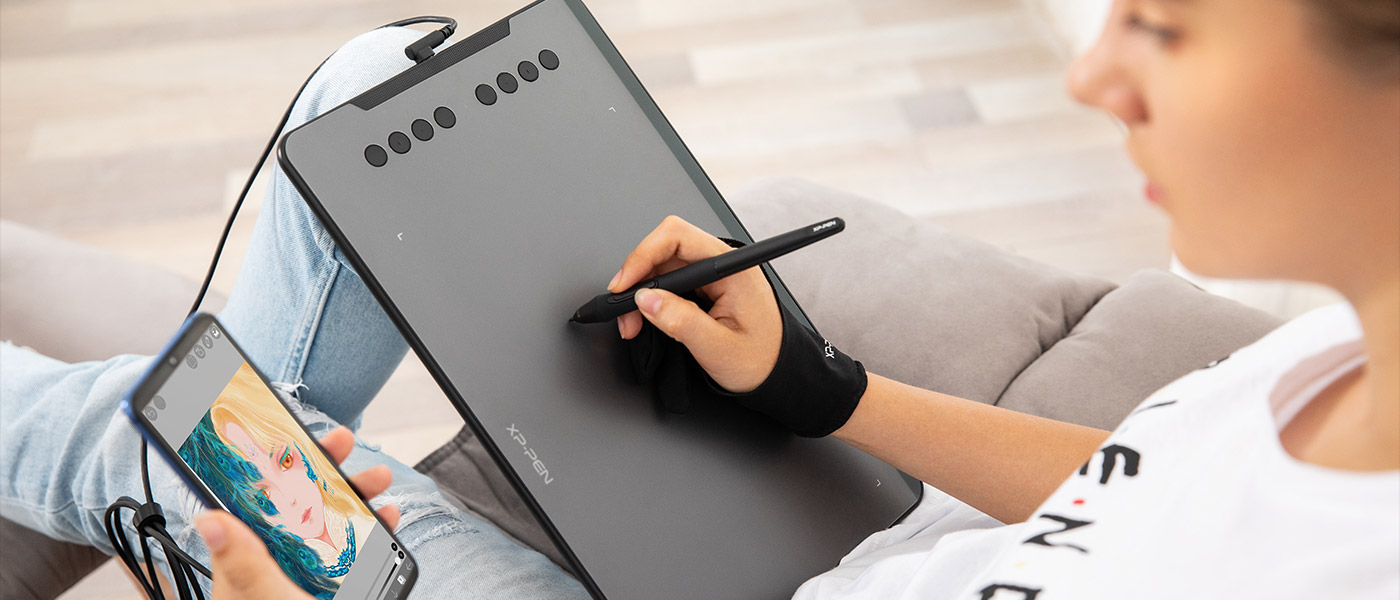
Setting up your Drawing Tablet
Now that you have your drawing tablet in hand, it’s time to set it up and get it ready for use. Follow these steps to set up your tablet:
1. Install Drivers: Most drawing tablets require drivers to be installed on your computer. These drivers ensure that your tablet communicates properly with your computer and enables all its features. Visit the manufacturer’s website and download the latest drivers for your tablet model and operating system.
2. Connect your Tablet: Connect your tablet to your computer using the provided USB cable or Bluetooth connectivity, depending on the tablet model. Ensure that the connection is secure and stable.
3. Calibrate the Pen: Some tablets allow you to calibrate the pen to ensure accurate tracking. Follow the instructions in the tablet’s manual to calibrate the pen. This step is essential for achieving precise and accurate strokes.
4. Configure Pen Pressure: Open the tablet’s software or driver settings and adjust the pen pressure sensitivity to your liking. Test different pressure levels to find the setting that feels natural and responsive to your drawing style.
5. Customize Shortcut Buttons: If your tablet has programmable shortcut buttons, take advantage of them by assigning commonly used functions or commands to these buttons. This can help streamline your workflow and make drawing more efficient.
6. Test your Tablet: Open your preferred drawing software and test your tablet to ensure that it is working correctly. Draw some lines with varying pressure to check if the pressure sensitivity is working as expected.
7. Adjust Display and Mapping: If your drawing tablet has an interactive display, make sure it is properly aligned with your computer screen. Adjust the mapping settings in the tablet driver software to synchronize the movement on the tablet with the cursor movement on the screen.
8. Experiment with Settings: Take some time to explore and experiment with the settings of your drawing tablet. Adjust the pen’s hover distance, click pressure, or other settings to suit your preferences and artistic workflow.
By following these steps, you will have your tablet set up and ready for your artistic endeavors. Now that your tablet is configured, it’s time to familiarize yourself with the pen tool and explore the various drawing techniques. Let’s move on to the next section to learn more about the pen tool and its functionalities.
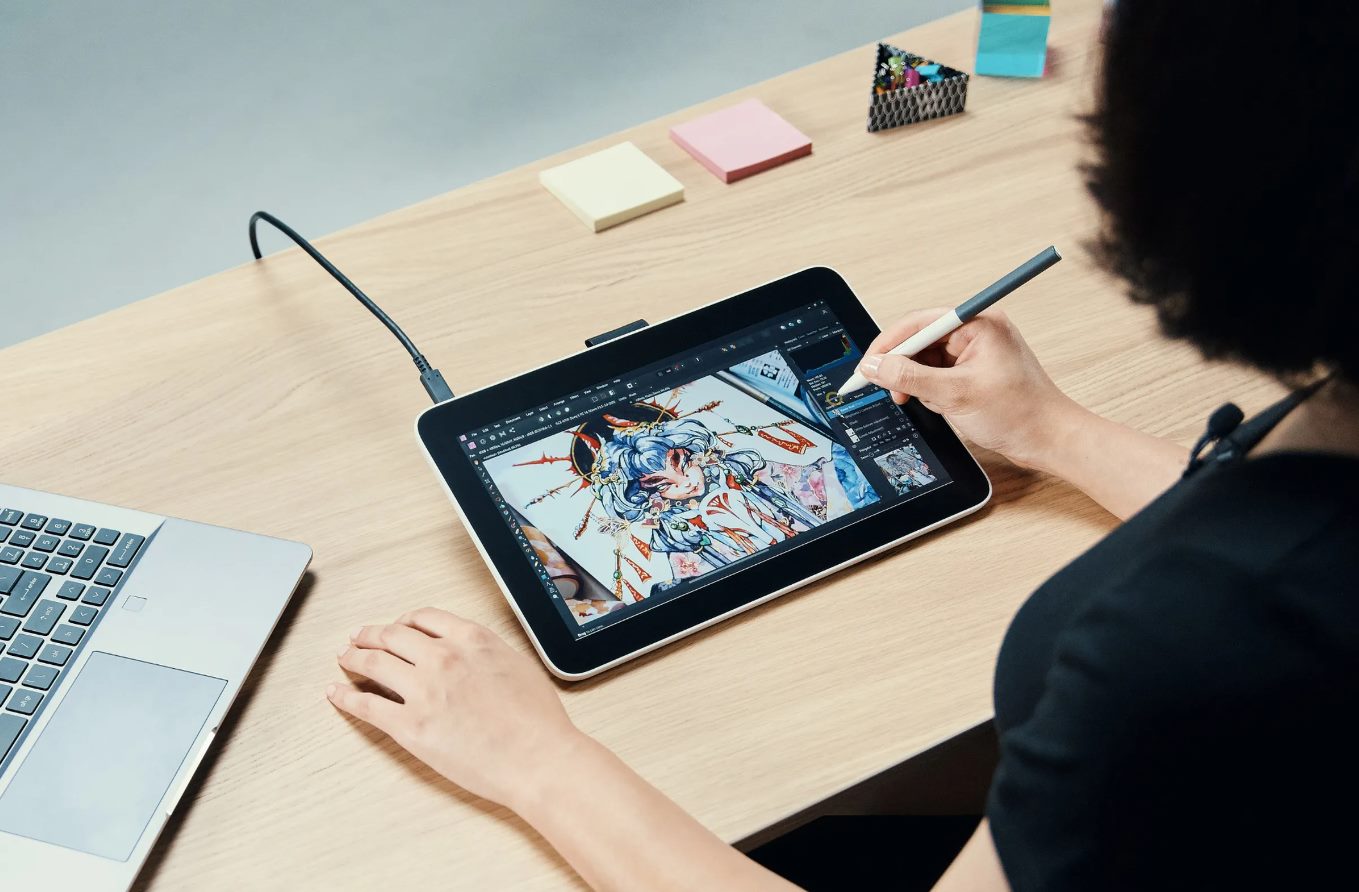
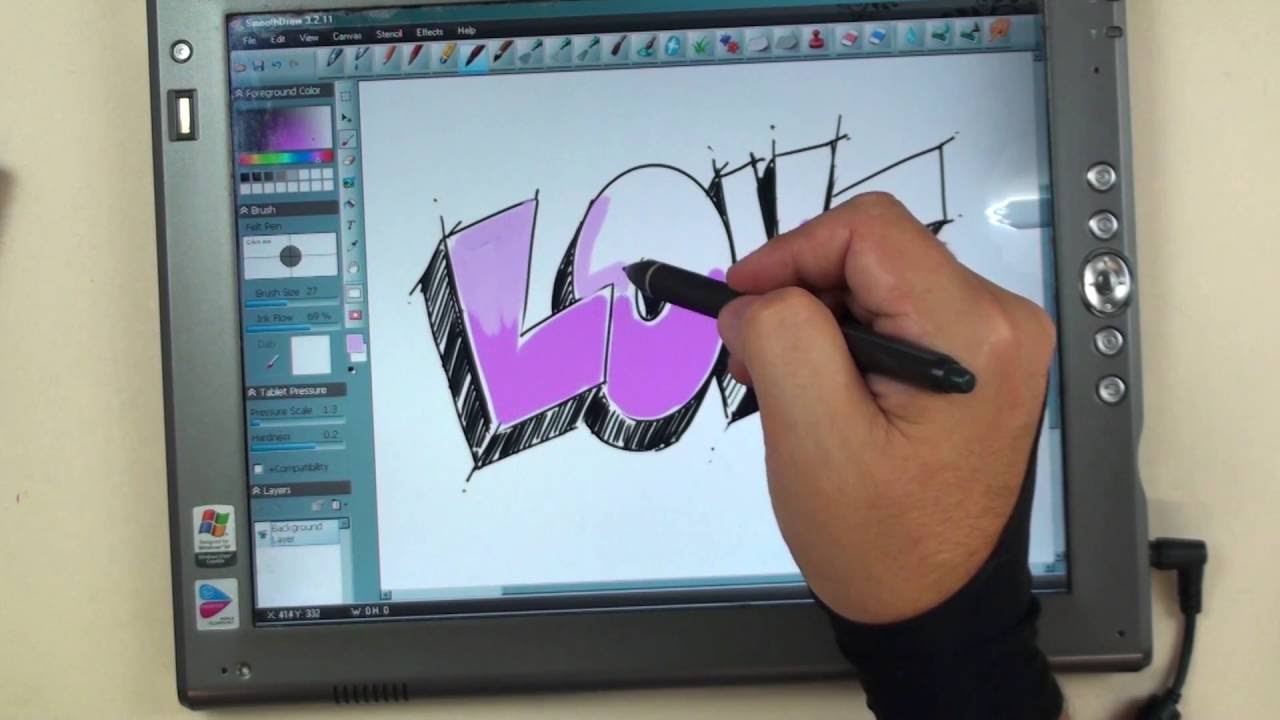
Getting Familiar with the Pen Tool
One of the fundamental tools you will be using with your drawing tablet is the pen tool. The pen tool allows you to create precise and smooth lines, giving you more control and accuracy in your artwork. Here are some key points to help you get familiar with the pen tool:
1. Grip and Positioning: Hold the pen comfortably, finding a grip that allows you to have control while reducing strain on your hand. Position your hand and tablet in a way that feels natural and enables smooth movement.
2. Pressure Sensitivity: Take advantage of the pressure sensitivity of your pen. Apply more pressure for thicker lines or lighter strokes for thinner lines. Practice varying pressure to achieve different line weights and textures.
3. Practice Basic Strokes: Start by practicing basic strokes on your tablet. Experiment with different directions, angles, and curves. This will help you build muscle memory and improve your hand-eye coordination.
4. Speed and Fluidity: Work on maintaining a consistent speed and fluidity while drawing. Avoid being too slow or too fast, as this can affect the quality of your lines. Practice smooth and controlled movements to create clean and precise strokes.
5. Layering and Building Up: Use layers in your drawing software to build up your artwork gradually. Start with rough sketches and gradually add detail and refinement. By working in layers, you can easily make adjustments without affecting the rest of your artwork.
6. Utilize Undo and Redo: Take advantage of the undo and redo functions in your drawing software. Mistakes happen, and these functions are there to help you correct them without starting over. Experiment and learn to use these features effectively.
7. Experiment with Brush Opacity and Flow: Adjust the opacity and flow settings of your brush to create different effects and textures. Lower opacity can create a more transparent and subtle stroke, while higher opacity can result in more solid and opaque lines.
8. Explore Brush Size and Shape: Experiment with different brush sizes and shapes to find the one that suits your desired style and artwork. Some brushes may be more suitable for creating fine details, while others may be better for shading or filling in larger areas.
9. Take Breaks and Rest: Drawing with a tablet can be physically demanding, especially during longer drawing sessions. Take regular breaks and stretch your hand and fingers to avoid strain or fatigue. It’s essential to take care of your physical well-being while drawing.
Remember, becoming familiar with the pen tool takes time and practice. Don’t be afraid to make mistakes and experiment with different techniques. As you continue to explore and practice, you will develop your own unique style and master the pen tool. So, keep drawing and enjoy the journey!
Understanding Pressure Sensitivity
One of the remarkable features of drawing tablets is their ability to detect and respond to varying levels of pressure applied by the pen. This feature is known as pressure sensitivity and plays a significant role in digital artworks. Here’s what you need to know about pressure sensitivity:
1. What is Pressure Sensitivity?
Pressure sensitivity refers to the tablet’s ability to recognize and interpret the amount of force applied to the pen. It allows artists to control the thickness, opacity, and texture of their strokes by adjusting the pressure on the tablet surface.
2. The Importance of Pressure Sensitivity
Pressure sensitivity adds a level of nuance and realism to digital artwork. It mimics the behavior of traditional art mediums like pencils, pens, and brushes, allowing artists to produce a wide range of effects and textures with a single tool.
3. Adjusting Pressure Sensitivity
Most drawing software allows you to customize the sensitivity of your pen. Higher sensitivity settings mean that minimal pressure will create lighter strokes, while stronger pressure will result in thicker lines. Experiment with different settings to find what works best for your drawing style.
4. Controlling Line Thickness and Opacity
Pressure sensitivity enables you to control the thickness of your lines. Applying more pressure creates thicker lines, lending weight and emphasis to certain areas of your artwork. Conversely, lighter pressure results in thinner lines, ideal for delicate details or subtle shading. You can also adjust the opacity of your brush with pressure, allowing for smooth transitions and gradual shading.
5. Enhancing Expressiveness
Pressure sensitivity empowers artists to express emotions and create dynamic art. By varying pressure while drawing, you can convey different intensities, textures, and gestures in your artwork. This expressive capability adds depth and personality to your digital creations.
6. Mastering Pressure Control
Achieving mastery over pressure control takes practice. Experiment with different pressure levels, strokes, and techniques to discover the full range of effects you can create. Over time, you will develop a natural feel for applying the right amount of pressure and using it to your advantage.
7. Compatibility with Software and Brushes
Ensure that the drawing software you use supports pressure sensitivity. Different programs and brushes may have varying degrees of responsiveness. Familiarize yourself with the options available in your preferred software to maximize the benefits of pressure sensitivity.
8. Embrace the Possibilities
Pressure sensitivity opens up a world of possibilities in digital art. It allows you to create dynamic illustrations, realistic shading, and subtle gradations. Embrace this feature, experiment with different techniques, and push the boundaries of your creativity.
Understanding and harnessing pressure sensitivity will significantly enhance your digital artwork. Take the time to explore this feature and practice it consistently to unlock new levels of artistic expression. Incorporate pressure sensitivity into your artistic toolkit and watch your creations come to life!
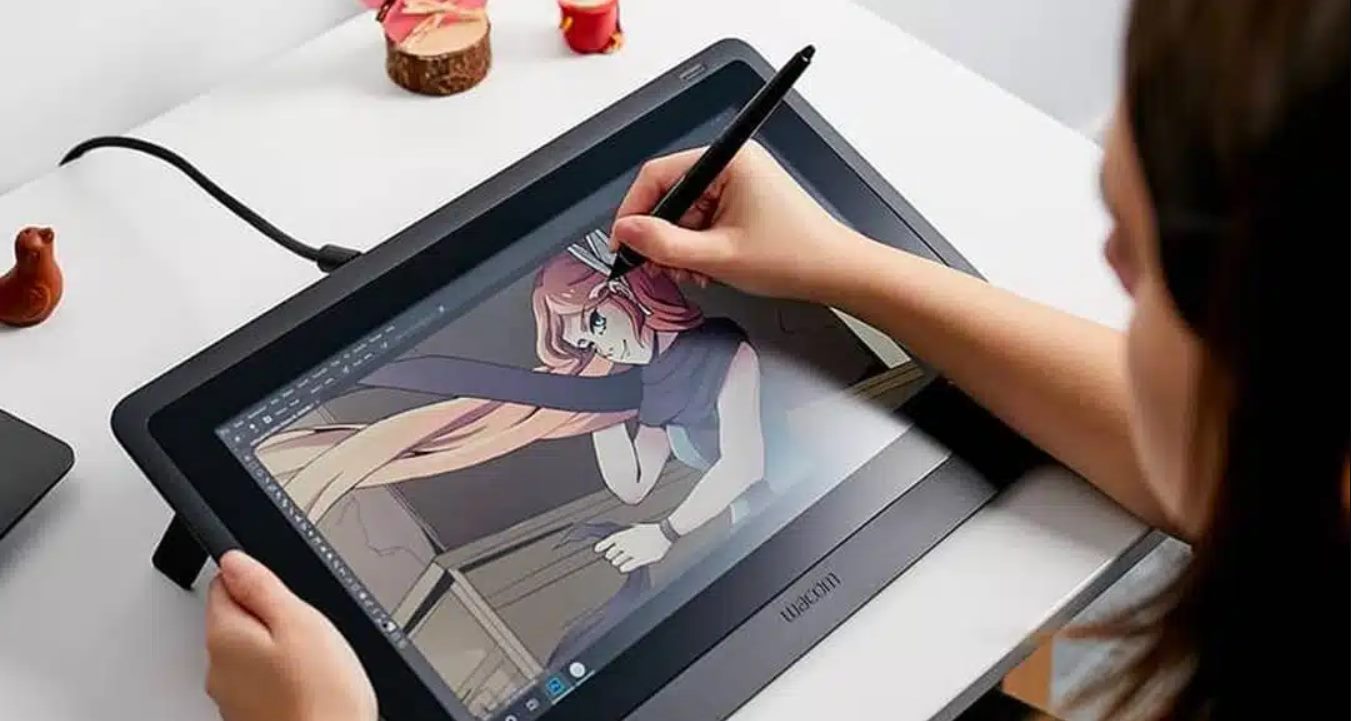
Utilizing Different Brushes and Tools
When it comes to digital drawing, the selection of brushes and tools at your disposal is vast and varied. Each brush offers unique characteristics that can enhance your artwork and help you achieve the desired effects. Here’s how you can make the most of different brushes and tools:
1. Experimentation is Key
Take the time to experiment with different brushes and tools available in your drawing software. Try out different brush shapes, textures, and settings to understand how they affect your strokes and the overall appearance of your artwork.
2. Basic Brushes
Start with a basic set of brushes provided by your drawing software. These brushes typically include a variety of pen, pencil, and paintbrush-like tools. Test each brush and understand how they behave with different pressure levels and strokes.
3. Specialty Brushes
Explore specialty brushes specifically designed for certain effects or textures, such as textured brushes, watercolor brushes, or charcoal brushes. These brushes can add depth, realism, and unique visual elements to your artwork.
4. Custom Brushes
Many drawing software programs allow you to create and customize your own brushes. Play around with the settings and create brushes tailored to your specific style. Custom brushes can be used to create signature elements or achieve specific effects unique to your artwork.
5. Brushes for Textures and Detail
Utilize brushes with textured tips or high levels of intricacy to add detailed textures to your artwork. These brushes are excellent for rendering fur, fabric, foliage, or other complex textures.
6. Blending and Smudging Tools
Blending and smudging tools simulate the effect of traditional tools like blending stumps or smudgy fingers. Use these tools to soften edges, create gradients, or blend colors seamlessly. They are especially useful for achieving smooth transitions in shading or creating subtle atmospheric effects.
7. Eraser Tools
Don’t forget about the eraser tools! Erasers can be used to refine edges, create highlights, or correct mistakes in your artwork. Experiment with different types of erasers, such as soft, hard, or textured erasers to achieve different effects.
8. Working with Layers and Opacity
Take advantage of layers and brush opacity settings to layer and build up your artwork. Lowering the opacity of your brush can create transparent and subtle strokes, while higher opacity levels yield more solid and opaque lines. This technique allows for greater control and flexibility during the creation process.
9. Dynamic Brushstrokes
Explore brush dynamics if your drawing software supports them. These settings allow you to create dynamic brushstrokes that respond to factors like pen pressure, velocity, and angle. With dynamic brushes, you can achieve more natural-looking strokes that mimic real-world traditional art tools.
Remember, there is no right or wrong brush to use in your artwork. The choice of brushes and tools depends on your artistic vision and the effects you want to achieve. Let your creativity guide you as you explore the vast world of brushes and tools available to you in the digital realm.
Customizing Shortcuts and Settings
Customizing shortcuts and settings in your drawing software is a valuable way to streamline your workflow and increase your efficiency as an artist. By adapting the software to fit your preferences, you can save time and focus more on the creative process. Here are some tips on how to customize shortcuts and settings:
1. Familiarize Yourself with Software Options
Take the time to explore the settings and options available in your drawing software. Get to know the different menus, panels, and configuration tools. This will give you a better understanding of what can be customized to suit your needs.
2. Analyze Your Workflow
Take a moment to evaluate your drawing process and identify repetitive actions or tasks that could be streamlined. This could include switching between certain tools, changing brush settings, or accessing specific menus. Understanding your workflow will help you determine the key areas to focus on when customizing shortcuts.
3. Customize Keyboard Shortcuts
Look for options that allow you to assign custom keyboard shortcuts to frequently used tools or functions. This can save you time by eliminating the need to search through menus or click through multiple panels. Assign shortcuts that are intuitive and easy to remember.
4. Assign Pen Buttons
Many drawing tablets come with pens that have programmable buttons. Take advantage of this feature by assigning common functions or tools to these buttons. This allows for quick and convenient access without having to reach for the keyboard or navigate menus.
5. Utilize Radial Menus or Pie Menus
Some drawing software offers radial menus or pie menus, which are circular menus that appear around the cursor when activated. These menus allow you to assign various tools or functions to specific sections, making them easily accessible without cluttering your workspace.
6. Customize Brush Presets
If your drawing software allows for it, create and save your own brush presets with the specific settings that you commonly use. This can include brush size, opacity, flow, and other parameters. Having customized brush presets readily available will save time and allow for more consistent results.
7. Adjust Canvas Rotation and Navigation
Some software allows for canvas rotation and navigation customization. This can be particularly useful if you prefer to work at a specific angle or have a specific rotation preference. Explore the options for rotating and navigating the canvas to find the settings that best suit your workflow.
8. Back Up Your Customizations
Once you have customized your settings and shortcuts to your liking, make sure to back up your configurations. This will ensure that you can easily transfer your settings to a new computer or recover them if they are accidentally reset.
Remember, customization is a personal journey. Everyone has different preferences and workflows, so experiment with different settings and configurations to find what works best for you. Continuously refine and tweak your customizations to optimize your drawing experience and increase your productivity.
Practicing Different Techniques
Improving your digital drawing skills requires consistent practice and experimentation with various techniques. By exploring different approaches and styles, you can broaden your artistic range and discover new ways to express yourself. Here are some techniques to practice and incorporate into your digital artwork:
1. Line Work and Contouring
Mastering clean and precise line work is essential in digital drawing. Practice creating smooth and confident lines using different pressures and stroke lengths. Experiment with contouring to add depth and dimension to your artwork, emphasizing the form and structure of your subjects.
2. Shading and Highlighting
Develop your skills in shading and highlighting to bring depth and realism to your artwork. Practice creating smooth transitions from light to shadow, and experiment with different techniques, such as hatching, cross-hatching, and stippling, to add texture and dimension to your drawings.
3. Color Theory and Blending
Gain an understanding of color theory and practice blending colors seamlessly in your artwork. Experiment with different color combinations, hues, and tones to create harmony and evoke the desired mood. Learn to use color gradients and blending modes to add depth and richness to your illustrations.
4. Composition and Perspective
Practice composing your artwork effectively by considering the rule of thirds, balance, and focal points. Experiment with different perspectives, such as one-point and two-point perspective, to create depth and achieve a realistic sense of space in your drawings.
5. Exploring Different Art Styles
Have fun exploring different art styles, such as realism, impressionism, manga, or cartoon. Take inspiration from artists you admire and practice emulating their techniques as a way to develop your own unique style.
6. Gesture Drawing
Gesture drawing involves capturing the basic essence, movement, and energy of a subject. Practice quick sketches of poses, figures, and objects to improve your ability to capture the gesture and draw with more spontaneity and fluidity.
7. Developing Textures
Experiment with creating different textures in your artwork. Practice rendering various surfaces, such as metal, fabric, wood, or skin, using different brush techniques and brush settings to add richness and realism to your drawings.
8. Digital Painting
Explore the world of digital painting by using brushes and tools to create more painterly and textured effects. Experiment with layering colors, blending modes, and different brush opacities to achieve a soft, blended look similar to traditional painting.
9. Continuous Learning and Exploration
Never stop learning and pushing your boundaries. Take online courses, attend workshops, seek feedback from fellow artists, and constantly challenge yourself to try new techniques and improve your skills. The more you explore and practice, the more your artwork will evolve.
Remember, practice is key to growth as an artist. Dedicate regular time to practice different techniques and make it a habit to incorporate them into your artwork. Embrace the journey of continual learning and experimentation, and you will see your digital drawing skills flourish.
Tips for Better Drawings
Improving your digital drawings involves honing your technical skills and developing your artistic eye. By incorporating these tips into your practice, you can enhance the quality and impact of your artwork:
1. Practice Regularly
Consistency is key. Set aside dedicated time for drawing on a regular basis. The more you practice, the more progress you will see in your skills and confidence as an artist.
2. Study Anatomy and Proportions
Understanding anatomy is crucial for creating realistic and believable figures. Study human and animal anatomy to develop a solid foundation. Practice sketching basic shapes and defining proportions accurately.
3. Observe and Analyze
Develop your observation skills. Study real-life objects, people, and photographs. Pay attention to details, forms, and lighting. Analyze how light interacts with surfaces and how shadows are cast. Apply these observations to add depth and realism to your drawings.
4. Seek Constructive Criticism
Don’t be afraid to seek feedback from other artists or mentors. Constructive criticism can provide valuable insights and help you identify areas for improvement in your artwork. Use feedback as an opportunity to grow and refine your skills.
5. Use Reference Images
Utilize reference images to enhance the accuracy and realism of your drawings. References can help you understand textures, lighting, and details that may be difficult to visualize from imagination alone. Remember to use reference images as a guide, not a template to copy verbatim.
6. Experiment with Different Perspectives
Don’t be afraid to explore different angles and viewpoints in your artwork. Experiment with unique and dynamic perspectives to add interest and depth to your compositions. This will help create a sense of immersion and engagement for the viewer.
7. Develop a Storytelling Element
Think beyond technical proficiency and focus on storytelling. Consider the narrative and emotions you want to convey through your artwork. Create a connection between your subject matter and the viewer by incorporating storytelling elements into your drawings.
8. Embrace Mistakes and Learn from Them
Don’t be discouraged by mistakes. Embrace them as valuable learning opportunities. Mistakes can lead to unexpected discoveries and help you grow as an artist. Analyze where you went wrong and find ways to improve in your future work.
9. Seek Inspiration, Not Replication
Instead of striving for exact replication, seek inspiration from other artists and styles. Emulate their techniques, but focus on incorporating your unique style and artistic interpretation. Find your own voice and create artwork that reflects your individuality.
10. Trust the Process
Creating artwork is a journey, and improvement takes time. Trust the process and enjoy the journey of growth. Embrace the ups and downs, the successes and failures. Each piece of artwork is an opportunity to learn and evolve as an artist.
Remember: practice, observation, and curiosity are the foundations of improving your digital drawings. By dedicating yourself to consistent learning and applying these tips, you will continue to progress and create compelling, impactful artwork.
Troubleshooting Common Issues
While working with a drawing tablet, you may encounter certain issues that can hinder your workflow. Here are some common issues that digital artists face and how to troubleshoot them:
1. Pen Lag or Delay
If you experience pen lag or delay, where there is a noticeable delay between your pen strokes and the corresponding lines appearing on the screen, try the following:
- Ensure that you have installed the latest drivers for your drawing tablet.
- Adjust the settings on your drawing software to reduce brush size or increase the responsiveness of the pen.
- Check if there are any background processes or applications consuming excessive system resources that may be causing performance issues.
2. Calibration Issues
If you are having trouble with accurate pen calibration, where the cursor position doesn’t align with the tip of the pen, follow these steps:
- Re-calibrate your pen using the calibration tool provided by your tablet’s software or driver settings.
- Make sure the tablet surface is clean and free from any debris that may interfere with the pen’s tracking.
- Check if there are any screen protectors or films on the tablet surface that may affect the pen’s accuracy. Consider removing them temporarily for calibration.
3. Pressure Sensitivity Not Working
If the pressure sensitivity of your drawing tablet is not functioning, try these troubleshooting steps:
- Ensure that you have installed the correct and up-to-date drivers for your tablet.
- Check if the pressure sensitivity settings are enabled in both your tablet’s driver software and your drawing software.
- Test the pen pressure sensitivity in other software or applications to determine if the issue is specific to your drawing software.
4. Cursor Offset
If you notice a cursor offset, where the cursor appears slightly displaced from the pen tip, try the following:
- Re-calibrate your pen to ensure that the tablet accurately detects the pen’s position.
- Check for any external factors, such as magnetic fields or other electronic devices, that may be interfering with the pen’s signal.
- Adjust the positioning of the tablet and ensure that it is properly aligned with your computer screen.
5. Driver Compatibility Issues
If you encounter driver compatibility issues, where the tablet does not work properly with your operating system, try the following:
- Visit the manufacturer’s website and download the latest drivers specifically designed for your operating system.
- Check for any known issues or driver updates related to your specific tablet model.
- Contact the manufacturer’s support team for assistance in resolving any driver compatibility issues.
6. Connectivity Problems
If you experience connectivity problems with your drawing tablet, such as intermittent disconnection or failure to connect, consider the following troubleshooting steps:
- Ensure that the USB or other connecting cables are securely plugged in and not damaged.
- Try connecting the tablet to different USB ports or using a different cable to rule out any connection-related issues.
- If using a wireless connection, ensure that the tablet is within range of the receiver, and the batteries (if applicable) are not low.
7. Unresponsive Buttons or Touch Strips
If the buttons or touch strips on your drawing tablet are unresponsive, try these steps:
- Check if the buttons are programmed correctly in your tablet’s driver settings.
- Verify that the buttons are not physically stuck or damaged. Clean them gently if necessary.
- Restart your drawing software to ensure that it recognizes the button inputs properly.
Remember, technical issues can occasionally arise with drawing tablets. If you continue to experience persistent problems, consult the manufacturer’s support resources or reach out to their customer service for assistance in resolving the issues specific to your tablet model.
Conclusion
Congratulations on completing this guide on drawing with a tablet! You now have a solid understanding of the essential aspects of using a drawing tablet and how to optimize your digital drawing experience. By choosing the right tablet, setting it up properly, familiarizing yourself with the pen tool, and utilizing different brushes and tools, you have laid a strong foundation for your digital art journey.
Remember, mastering digital drawing takes time, practice, and dedication. Continuously explore different techniques, experiment with various brushes and settings, and seek inspiration from other artists. Embrace the process of learning and growing as an artist, and don’t be afraid to step out of your comfort zone to develop your unique style.
Along the way, you may encounter challenges or technical issues with your tablet. However, armed with the troubleshooting tips we provided, you can overcome these obstacles and continue to create amazing artwork.
Ultimately, the key to improving your digital drawings is consistent practice and a passion for the art. Set aside regular time for drawing, explore new subjects and styles, and always seek ways to refine your skills. The more you draw, the more you will develop your artistic voice and create artwork that resonates with your audience.
Now, armed with all this knowledge, grab your drawing tablet and let your creativity soar. Embrace the possibilities that digital art offers and enjoy the limitless potential that lies before you. Keep pushing your boundaries, stay open to learning, and most importantly, have fun on your digital art journey!