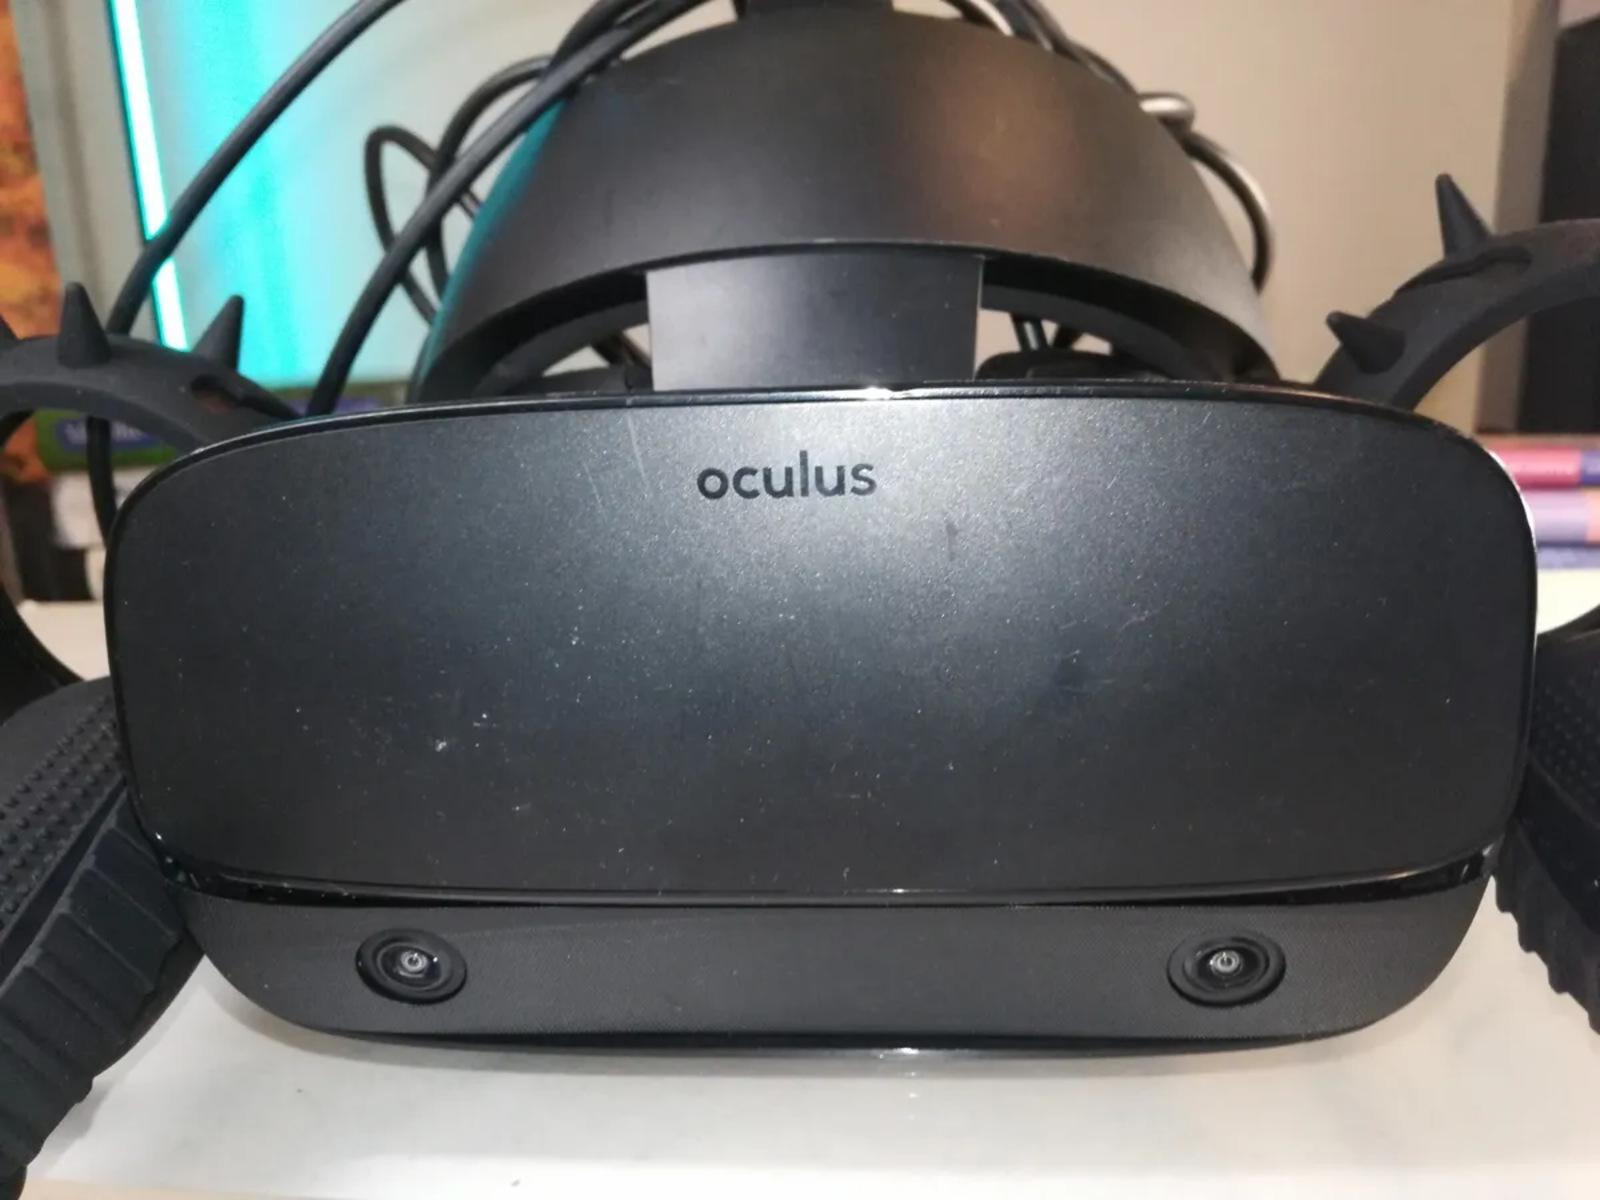
How To Set Up Oculus Rift S PC-Powered VR Gaming Headset
To set up Oculus Rift S, connect the headset's DisplayPort and USB 3.0 cables to your PC's discrete GPU and USB port, then download and install the Oculus software from www.oculus.com/setup, which will guide you through Guardian boundary setup and controller pairing. For a broader look at room-scale positioning and hardware options, see how to set up VR headset systems across different platforms. This complete walkthrough covers every step from checking system requirements to troubleshooting common failures, ensuring you get from unboxing to immersive VR gameplay in under 30 minutes.
System Requirements for Setting Up Oculus Rift S
Before you begin, verify your PC meets the minimum specifications, otherwise, the setup will fail or the experience will be unplayable. The required specs are: a 64-bit Windows 10 operating system (Windows 7 and 8.1 are no longer supported, so attempting to set up Oculus Rift S on those OS versions will not work), an Intel i3-6100 / AMD Ryzen 3 1200 (or greater) processor, NVIDIA GTX 1050Ti / AMD Radeon RX 470 (or greater) graphics card, 8GB RAM, one USB 3.0 port, and a DisplayPort 1.2 or Mini DisplayPort video output. Critically, HDMI-to-DisplayPort adapters are not supported for the Rift S due to insufficient bandwidth, you must use a native DisplayPort connection. Also note that the DisplayPort must come from a discrete GPU, not a motherboard's integrated graphics port, because the Rift S requires dedicated GPU processing to render VR at acceptable frame rates.
Unboxing and Physical Hardware Connections
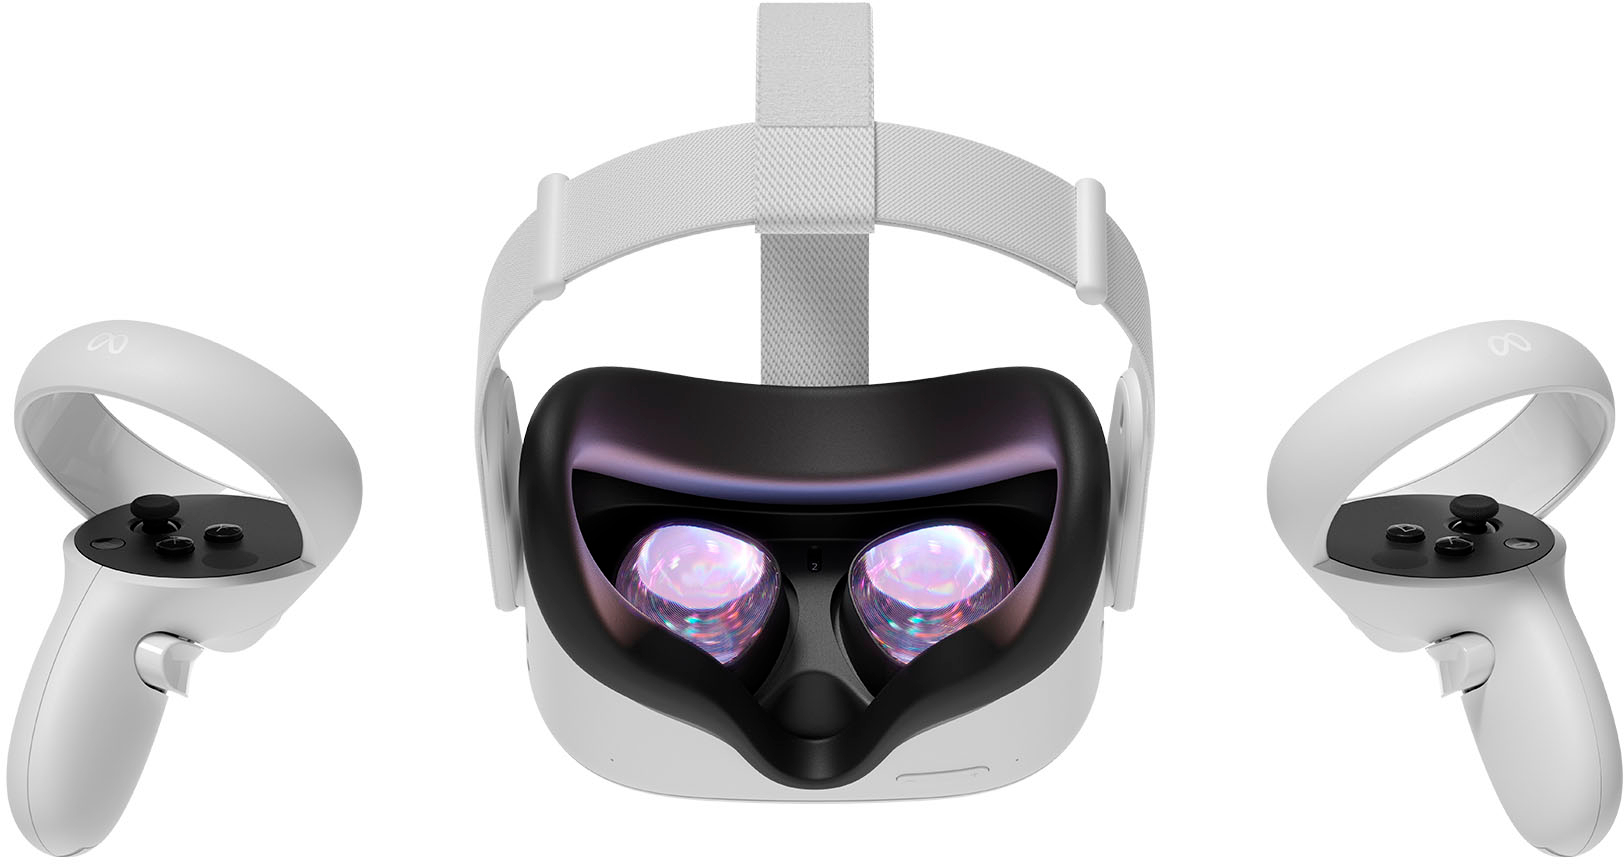
Open the box and you'll find the Rift S headset, two Touch controllers, a Mini DisplayPort to DisplayPort adapter, a USB 3.0 cable (attached to the headset), and a user manual. Identify each component before proceeding: the headset has a halo band with a fit wheel, a front visor with five tracking cameras, and a single cable that splits into DisplayPort and USB 3.0 connectors. The Touch controllers use AA batteries (included) and have a thumbstick, two face buttons (A/B and X/Y), a grip button, and a trigger. To connect, plug the DisplayPort end (or Mini DisplayPort using the included adapter) directly into your discrete GPU's DisplayPort 1.2 output, and plug the USB 3.0 connector into a USB 3.0 port on your PC (usually blue-colored). Ensure both connections are snug and free from obstructions.
Fitting the Headset and Adjusting IPD
Put on the headset and adjust the velcro top strap so the halo band rests comfortably on your head, with the front visor positioned over your eyes. Rotate the fit wheel on the back of the halo band to tighten the band until the headset feels secure but not uncomfortable, you should be able to shake your head without it slipping. Press the depth adjustment button on the bottom of the visor to move the lenses closer to or farther from your eyes; the ideal position is when you can see the full field of view without your eyelashes touching the lenses. Then, use the IPD slider on the bottom of the headset to adjust the distance between the lenses to match your interpupillary distance. Look at a text-heavy object in the headset and slide until text appears sharp and free of chromatic aberration.
Downloading and Installing the Oculus Software
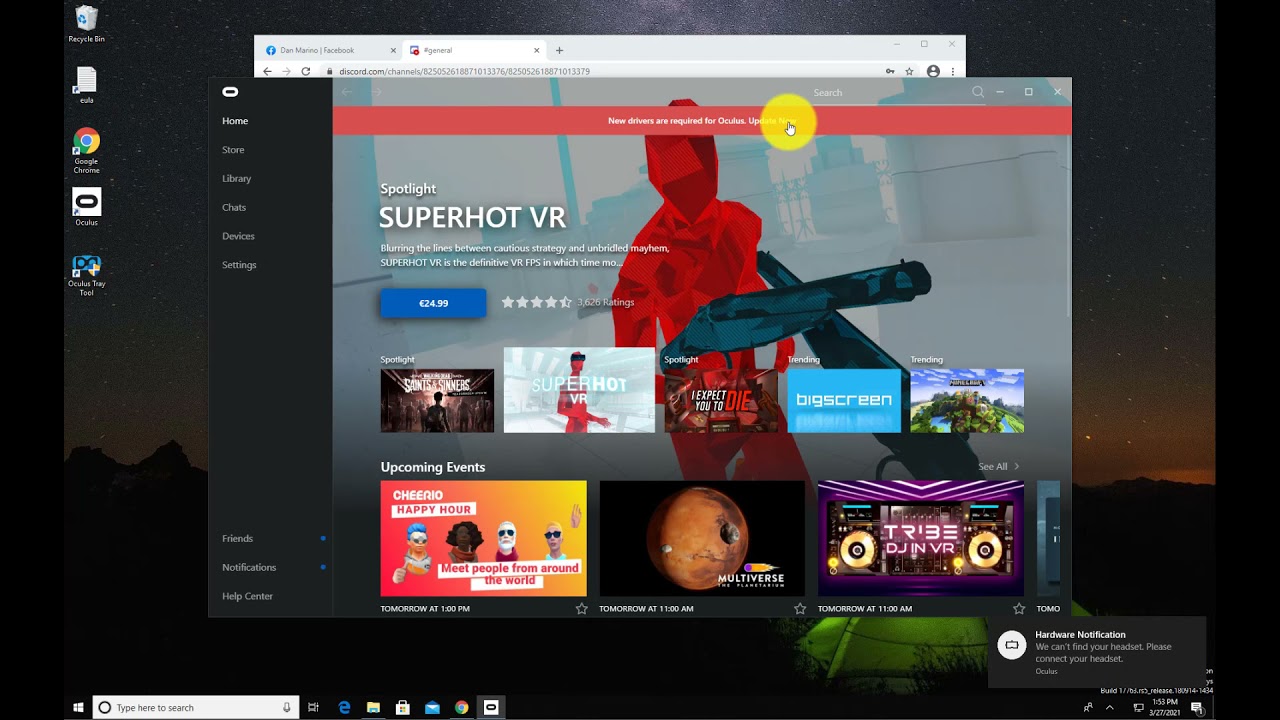
On your PC, open a web browser and navigate to www.oculus.com/setup. Once downloaded, open the file and click "Install Now" when prompted. The installer will download approximately 5GB of data, so ensure you have a stable internet connection. After installation, the app will ask you to create an Oculus account or log in with an existing Meta/Facebook account, follow the on-screen prompts to complete this step. If you haven't already, you can download the oculus app on PC directly to skip the web setup. The software will then detect your connected headset and begin the configuration process, which includes firmware updates and sensor initialization. Keep the headset connected throughout this process; the app will show a progress bar and prompt you to put on the headset when it's ready for the next stage.
Configuring the Guardian Play-Area Boundary
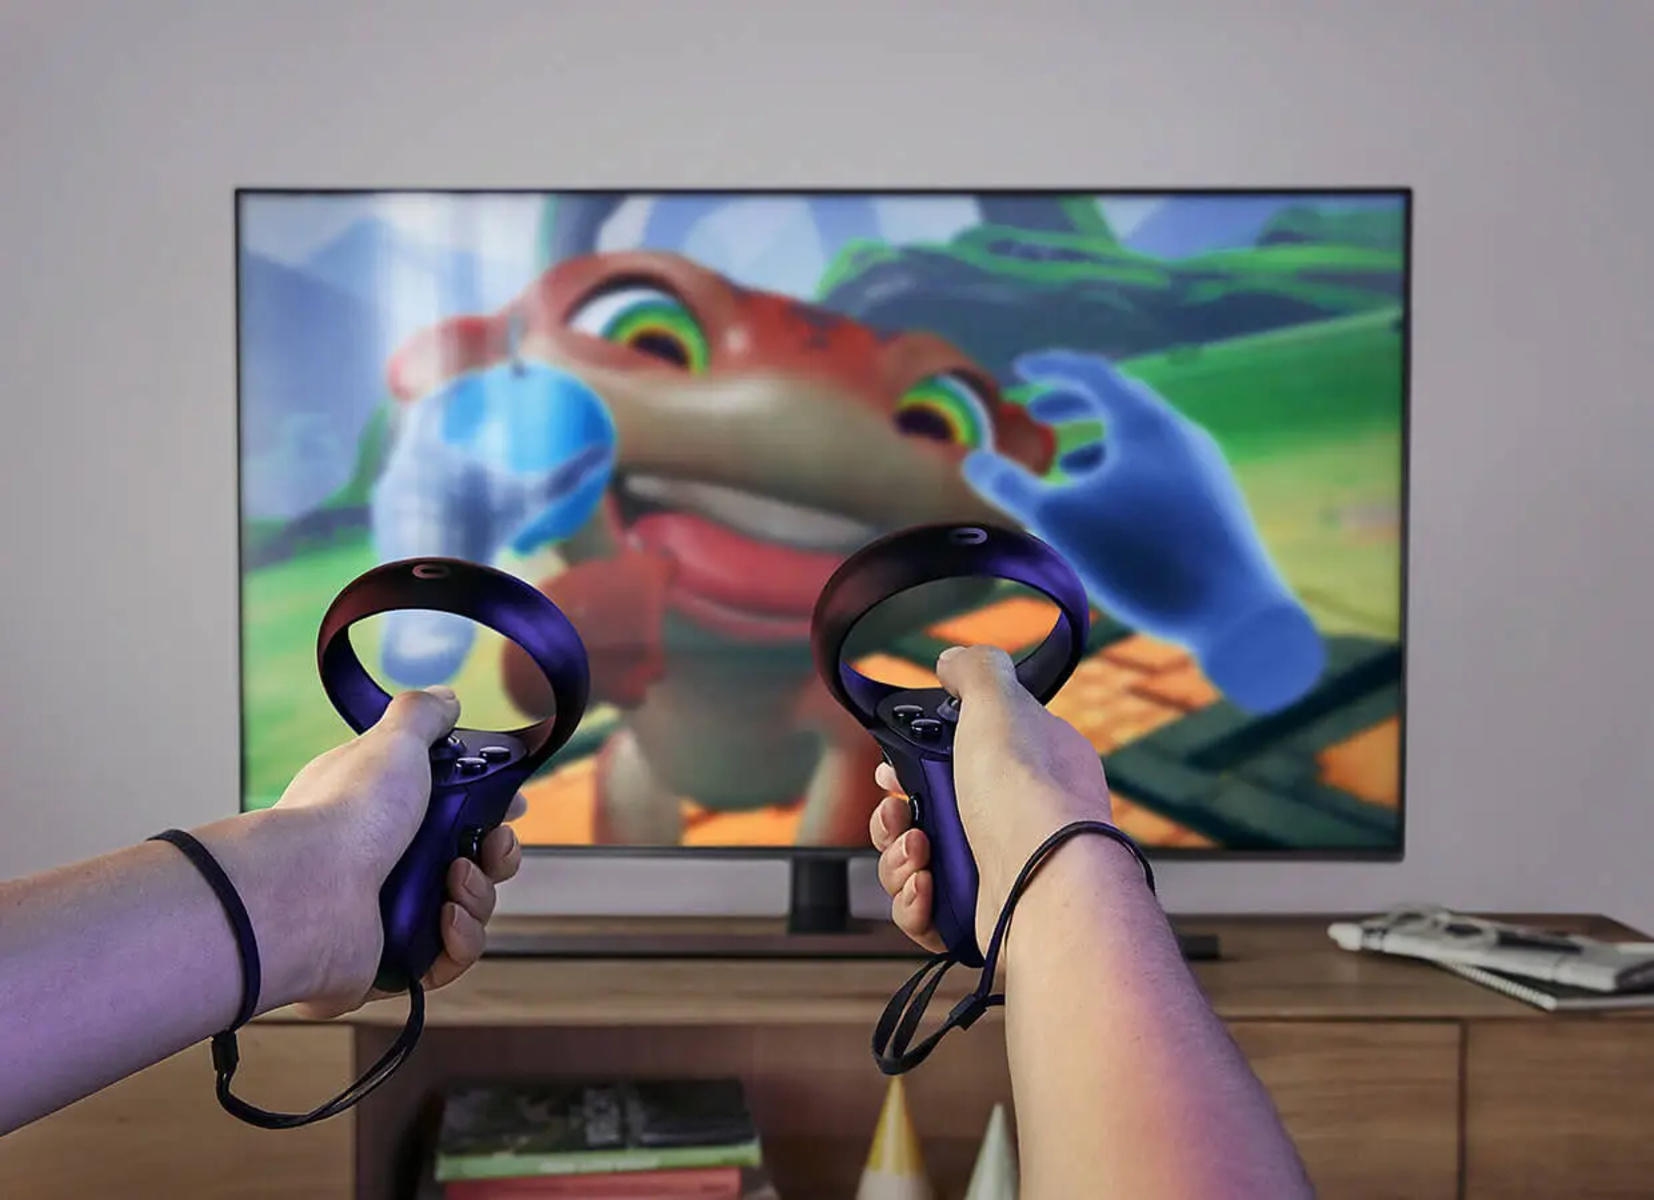
Inside the Oculus app on your PC, navigate to Devices in the left-hand menu, then click on the Headset image to open its settings. Select Guardian from the options, and click "Set Up Guardian." The app will instruct you to clear a space of at least 1.5m x 1.5m (5ft x 5ft) with no obstacles like furniture, pets, or sharp edges. With the Touch controllers in hand, you'll see a virtual grid in the headset, use the controllers to trace the perimeter of your play area on the floor, drawing a boundary that encloses your clear space. The app will guide you to "draw" the boundary by pointing a controller at the floor and pulling the trigger while walking the perimeter. Once closed, the Guardian system will display a virtual wall whenever you approach the edge, preventing you from hitting real-world objects.
Pairing and Syncing the Touch Controllers
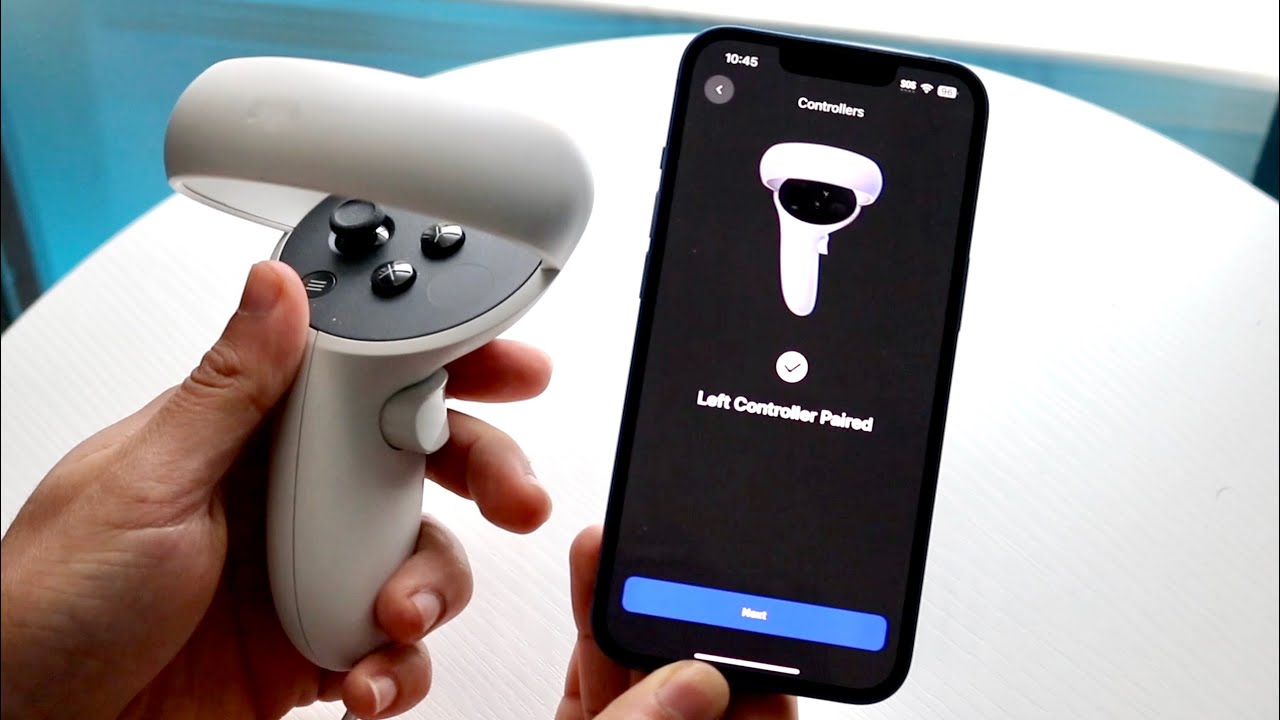
The Touch controllers pair automatically with the headset via its inside-out tracking cameras, just insert the included AA batteries and they should appear as "paired" in the Oculus app within seconds. If they don't pair automatically, power them on by pressing any button, then press and hold the Menu button (on the left controller) and the Y button (on the right controller) simultaneously for 2 seconds until the LED blinks. This manual pairing mode forces the controllers to re-sync with the headset. After pairing, verify the button layout by opening the Oculus menu (press the Oculus button on the right controller) and checking that the virtual hands move accurately and all buttons respond. The controllers have capacitive sensors that detect finger presence, so you can point, grab, and gesture naturally in VR, make sure your hands are within the headset's camera view (which covers a wide front-facing area) during use.
Adjusting Display, Audio, and Fit Settings
With the headset and controllers working, fine-tune your experience in the Oculus app's Settings menu. Under Audio, the Rift S has built-in spatial audio speakers that project sound without blocking ambient noise; you can adjust the volume in the app or via the volume rocker on the bottom of the headset. For fit, re-check the IPD slider and depth button to ensure the lenses are centered on your eyes, a misaligned headset causes blurriness and headaches. These adjustments directly impact visual clarity and immersion, so spend a few minutes dialing them in before launching any content.
Troubleshooting Common Rift S Setup Failures
If you encounter issues during setup, start by reseating the USB 3.0 and DisplayPort connections on both the headset and PC, loose cables are the most common cause of "no signal" errors. If the Guardian boundary isn't appearing or tracking is jittery, recalibrate Guardian by going to Devices > Headset > Guardian and re-tracing your play area; ensure the room is well-lit and free of reflective surfaces like mirrors or windows, which confuse the tracking cameras. For unresponsive controllers, force a re-pair by holding Menu + Y for 2 seconds (as described above). If the headset displays a black screen or disconnects intermittently, update your GPU drivers to the latest version from NVIDIA or AMD, and check for Oculus firmware updates in the app's Settings > About. Direct sunlight should be avoided during setup and play, it can damage the lenses and interfere with tracking. If you need to know how to reset a VR headset to factory defaults, go to Settings > Advanced in the Oculus app and select "Factory Reset", this wipes all data and restores the device to its original state, which resolves most persistent software issues. For persistent problems, visit Meta's official support page or the Oculus community forums for device-specific guidance.