Introduction
Welcome to the world of Roku, where you can stream your favorite movies, TV shows, and music directly to your TV. But what if you want to do more than just stream content from popular streaming services? What if you want to surf the web, check your email, or browse social media on your Roku device?
In this article, we will guide you through the process of getting on the internet with your Roku device. Whether you have the latest Roku model or an older one, we will show you the steps to connect your Roku device to the internet and access the web at your fingertips.
But before we dive into the steps, it’s important to note that Roku devices do not have built-in web browsers like traditional laptops or smartphones. However, there are alternative methods to get online on your Roku device, and we will explore them in this guide.
So, if you’re ready to unlock the full potential of your Roku device and explore the internet, let’s get started!
Step 1: Connect your Roku device to the internet
Before you can access the internet on your Roku device, you need to ensure that it is connected to a stable and reliable internet connection. Follow these steps to connect your Roku device to the internet:
- Connect your Roku device to your TV: Start by connecting your Roku device to your TV using an HDMI cable. Insert one end of the HDMI cable into the HDMI port on your Roku device, and the other end into an available HDMI port on your TV.
- Power up your Roku device: Connect the power adapter to your Roku device and plug it into a power outlet. Turn on your TV and select the appropriate HDMI input where your Roku device is connected.
- Pair the Roku remote: Once your Roku device is powered up, you may need to pair the Roku remote with your device. Follow the on-screen instructions to do this.
- Select the language and display type: On the initial setup screen, select your preferred language and display type. Use the remote to navigate through the options and make your selections.
- Connect to your network: On the next screen, your Roku device will scan for available wireless networks. Select your wireless network from the list. If your network is not being displayed, select “Scan again” to refresh the list. If you are using a wired connection, connect your Roku device to your router using an Ethernet cable.
Once you have successfully connected your Roku device to your network, you can proceed to the next step of setting up your wireless network connection.
Step 2: Set up your wireless network connection
Now that you have connected your Roku device to your TV and chosen your language and display preferences, it’s time to set up your wireless network connection. Follow these steps to get your Roku device connected to your home Wi-Fi network:
- Select your network: On the network setup screen, your Roku device will display a list of available networks. Scroll through the list and select your wireless network. If you don’t see your network, select “Scan again” to refresh the list.
- Enter your network password: If your wireless network is secured with a password, a screen will prompt you to enter your network password. Use the on-screen keyboard to enter your password. Pay attention to uppercase and lowercase letters and ensure you enter the password correctly.
- Connect to your network: After entering the correct network password, select “Connect” to establish a connection to your wireless network. Your Roku device will now attempt to connect to the network. This process may take a few moments.
- Wait for the connection confirmation: Once your Roku device successfully connects to the network, you will see a confirmation message on the screen. This message confirms that your Roku device is now connected to your wireless network and ready for the next step.
Setting up your wireless network connection is a crucial step in getting internet access on your Roku device. The connection allows your device to communicate with the router and gain access to the internet. With your network connection established, you can now proceed to the next step of entering the network password.
Step 3: Enter the network password
With your wireless network selected in the previous step, the next step in getting your Roku device connected to the internet is entering the network password. Follow these instructions to enter your network password:
- On the screen that appears after connecting to your wireless network, you will be prompted to enter your network password. This step is necessary if your wireless network is secured with a password.
- Using the on-screen keyboard, enter your network password. Take care to enter the correct characters, paying attention to uppercase and lowercase letters, as well as any special characters or numbers that may be part of your password.
- Once you have entered your network password, select “Connect” or a similar option to proceed. Your Roku device will then verify the password and attempt to establish a network connection.
- Wait for the connection confirmation. After a few moments, your Roku device will display a confirmation message indicating that it has successfully connected to your wireless network.
Entering the correct network password is crucial for accessing the internet on your Roku device. If you encounter any issues or are unsure of your network password, refer to your router’s documentation or contact your internet service provider for assistance. With the network password entered and the connection confirmed, you are one step closer to accessing the web on your Roku device.
Step 4: Verify the network connection on your Roku device
Once you have entered your network password and established a network connection on your Roku device, the next step is to verify the network connection. Follow these steps to ensure that your Roku device is properly connected to the internet:
- Navigate to the Roku home screen: Use the Roku remote to navigate to the home screen, also known as the Roku main menu. Press the Home button on your remote to do this.
- Check the network status: On the home screen, locate the Settings option and select it. In the Settings menu, select the Network option to access the network settings. Within the Network menu, you should see the status of your network connection. It should indicate that your Roku device is connected to the internet.
- Run a network connection test: To further verify your network connection, select the Network Connection Test option in the Network menu. This will run a test to check the strength and stability of your network connection. Allow the test to complete, and you will receive a report on the network status.
- Ensure a stable connection: In the network settings, you can also verify the signal strength of your wireless network. If the signal strength is poor or unstable, consider moving your Roku device closer to the router or using a Wi-Fi range extender to improve the connection.
Verifying the network connection on your Roku device is essential to ensure a seamless browsing experience. If you encounter any issues with the network connection test or if the status indicates a problem, you may need to troubleshoot your network settings or contact your internet service provider for assistance. With a verified network connection, you are ready to move on to the next step of updating your Roku software.
Step 5: Update your Roku software
Keeping your Roku software up to date is important for optimal performance and to ensure that you have the latest features and security patches. Follow these steps to update your Roku software:
- Navigate to the Roku home screen: Press the Home button on your Roku remote to go to the home screen.
- Access the settings: Using your remote, navigate to the settings option and select it. This will take you to the Roku settings menu.
- Select system: In the settings menu, scroll down and select the system option. This will open the system settings for your Roku device.
- Check for updates: Within the system settings, select the system update option. Roku will then check for any available software updates.
- Update the software: If a software update is available, you will be prompted to download and install it. Follow the on-screen instructions to proceed with the update. Keep in mind that the update process may take a few minutes, so be patient.
- Restart your Roku device: Once the software update is complete, it is recommended to restart your Roku device for the changes to take effect. You can do this by selecting the restart option in the system settings menu.
Updating your Roku software ensures that you have the latest features, bug fixes, and security enhancements. It is essential for a smooth and reliable internet browsing experience on your Roku device. By regularly checking for software updates and installing them promptly, you can make the most of your Roku device and enjoy all that it has to offer.
Step 6: Access the internet on your Roku device
Now that you have completed the initial setup and connected your Roku device to the internet, it’s time to explore the wonders of the web. While Roku devices do not have built-in web browsers, there are alternative methods to access the internet on your Roku device. Here are a few options:
1. Screen mirroring: If you have a compatible smartphone, tablet, or computer, you can use screen mirroring to display web content on your Roku device. Simply enable screen mirroring on your device and connect it to your Roku device. You can then navigate websites, check emails, or browse social media as you normally would on your device, with the content mirrored on your TV.
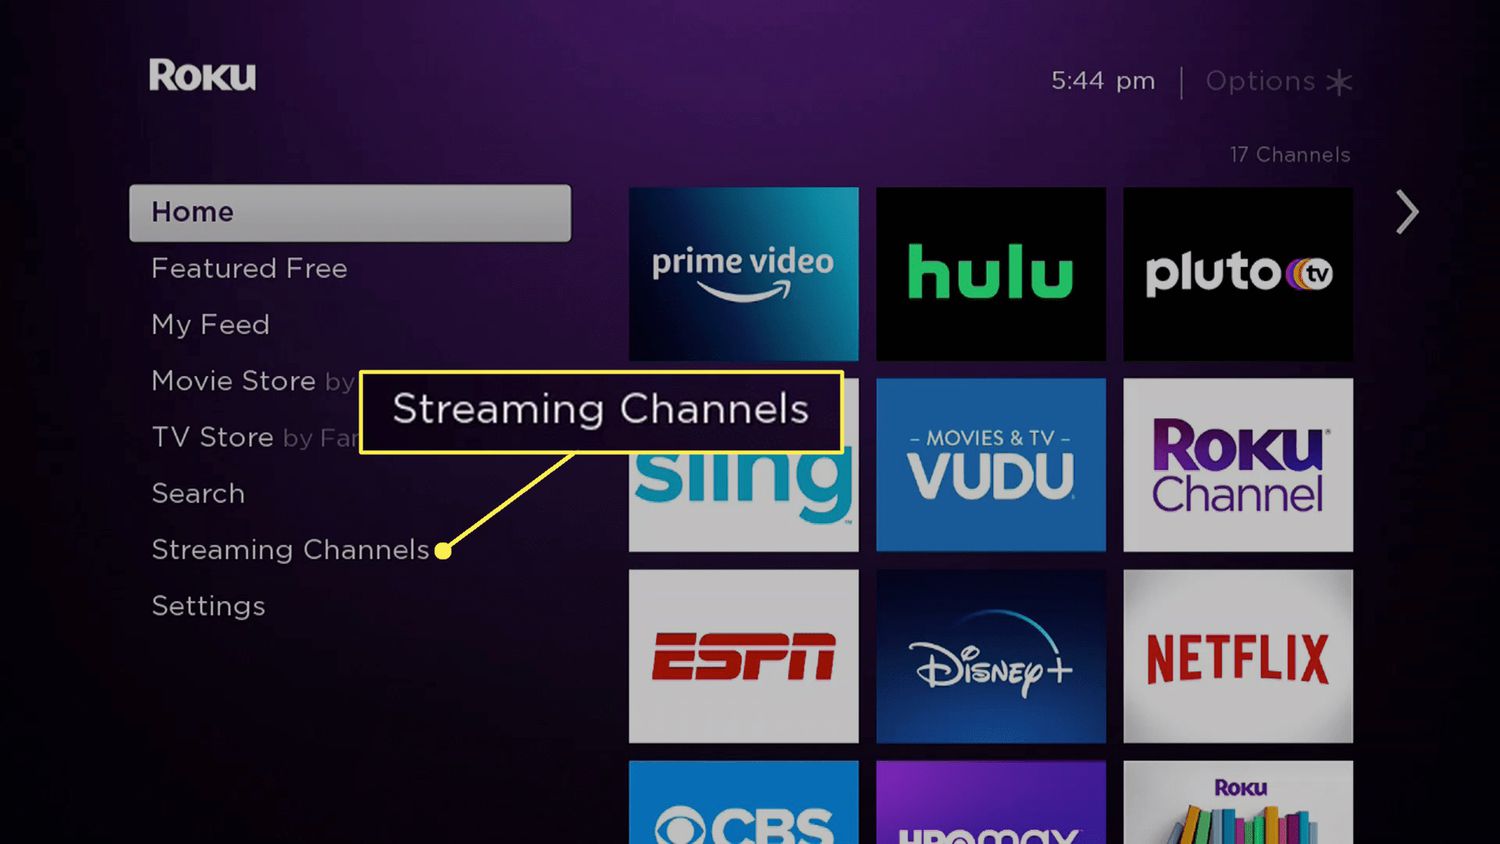
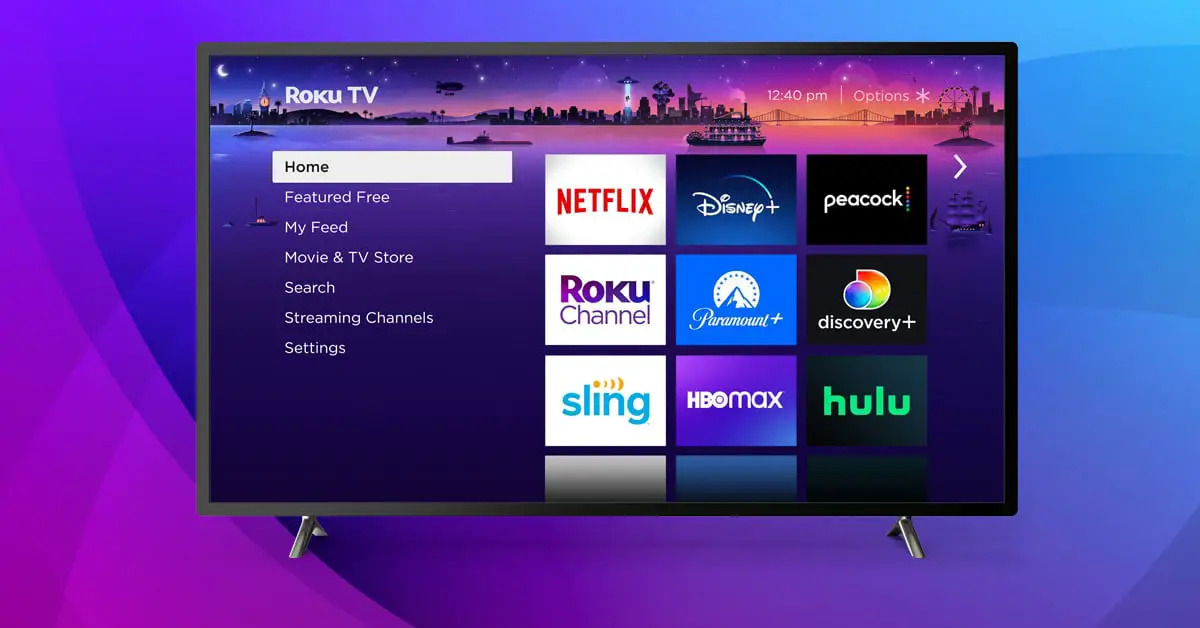
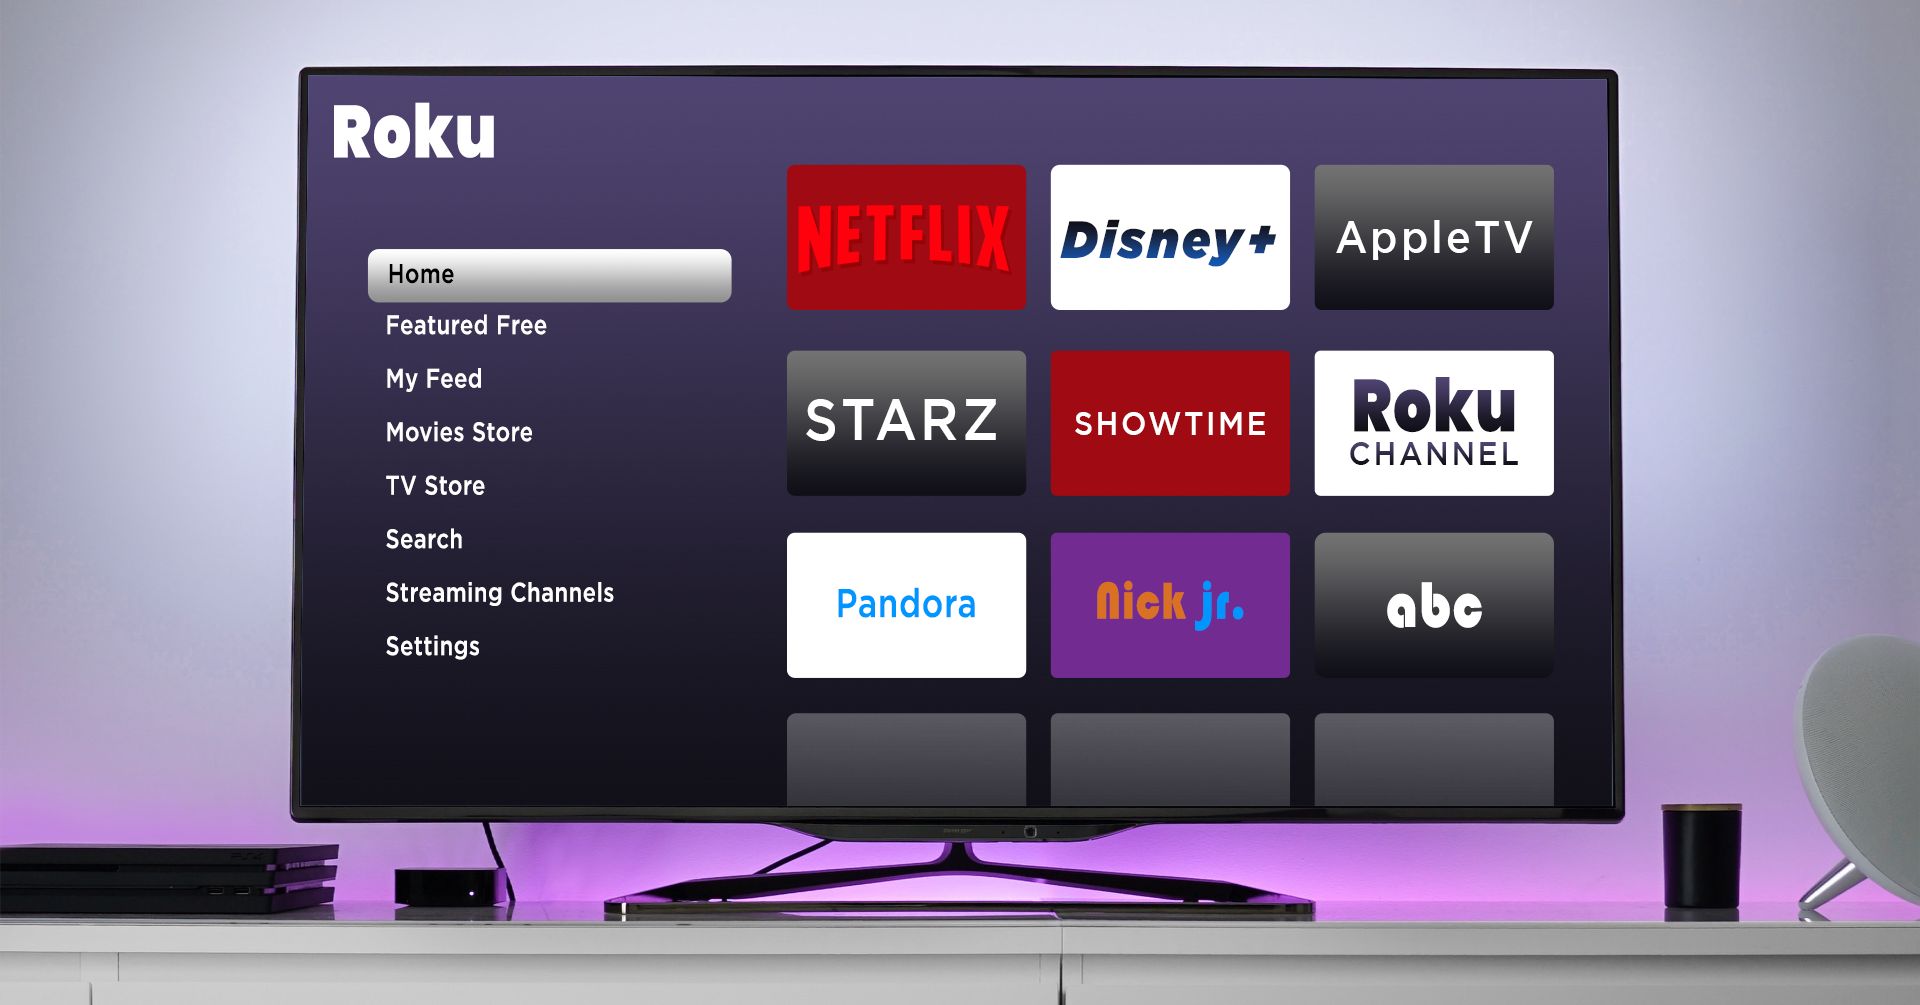
2. Streaming channels: Roku offers a variety of streaming channels, including popular ones like YouTube, Netflix, and Amazon Prime Video. While these channels primarily focus on video streaming, you can also find channels that offer web-like experiences, such as news, weather, and social media updates.
3. Roku apps: The Roku Channel Store features a wide range of apps that offer internet-like experiences on your Roku device. You can find apps for browsing the web, checking emails, or accessing specific websites. Simply search for the desired app in the Roku Channel Store and install it on your device.
4. Private channels: Roku also allows the installation of private channels, which are not listed in the official Channel Store. Some private channels offer browsing capabilities, allowing you to access the internet on your Roku device. To install a private channel, you will need the channel’s unique code or invitation link.
5. Virtual private network (VPN): If you have a VPN service, you can set it up on your router or directly on your Roku device to access region-restricted content or enhance your privacy while browsing the web. VPN services encrypt your internet connection and route it through servers located in different parts of the world.
With these options, you can enjoy an internet-like experience on your Roku device, opening up a world of possibilities beyond traditional streaming. Keep in mind that the availability and functionality of these options may vary, so explore and experiment to find the best solution for your needs.
Step 7: Troubleshooting common internet connection issues
While connecting your Roku device to the internet is usually a straightforward process, there may be times when you encounter connectivity issues. Here are some common troubleshooting steps to help you resolve any internet connection problems:
- Check your Wi-Fi signal: Make sure that your Roku device is within range of your wireless router. Walls, furniture, and other obstacles can weaken the Wi-Fi signal. If the signal strength is weak, consider moving your Roku device closer to the router or using a Wi-Fi range extender to improve the signal.
- Restart your devices: Sometimes, a simple restart can fix connectivity issues. Power off your Roku device, router, and modem. Wait for a few seconds, then turn them back on in the following order: modem, router, and Roku device. Allow them to boot up completely before attempting to reconnect.
- Check other devices: If multiple devices in your home are experiencing internet connectivity issues, the problem may be with your router or internet service. Restart your router and contact your internet service provider if necessary.
- Verify network settings: Ensure that your Roku device is connected to the correct Wi-Fi network and that the network password is entered correctly. Double-check the network name and password and re-enter them if needed.
- Reset your network settings: If you’re still experiencing connectivity issues, you can try resetting the network settings on your Roku device. Go to the Roku settings menu, select Network, and then choose “Set up connection” or “Wireless” to set up the network connection again.
- Update your router firmware: Check if there are any updates available for your router’s firmware. Keeping your router’s firmware up to date can often resolve compatibility issues and improve overall network performance.
- Contact Roku support: If you have tried the above troubleshooting steps and are still unable to connect to the internet on your Roku device, it may be necessary to contact Roku support for further assistance. They can provide specific guidance and help resolve any technical issues.
By following these troubleshooting steps, you can address common internet connection issues and get your Roku device back online. Remember, each network setup may vary, so adapt these steps accordingly to your specific situation. With a stable and reliable internet connection, you can enjoy all the streaming and online capabilities that your Roku device has to offer.
Conclusion
Congratulations! You have successfully learned how to get on the internet with your Roku device. By following the steps outlined in this guide, you have connected your Roku device to your wireless network, entered the network password, verified the network connection, updated the Roku software, and explored various methods to access the web on your device.
While Roku devices do not have built-in web browsers, you can still enjoy internet-like experiences through screen mirroring, streaming channels, Roku apps, private channels, and virtual private networks (VPNs). These alternatives provide you with the ability to browse websites, check emails, access social media, and enjoy a range of other online activities on your Roku device.
If you encounter any issues along the way, remember to refer to the troubleshooting section for common internet connection problems. By following the suggested troubleshooting steps, you can resolve most connectivity issues and ensure a smooth browsing experience on your Roku device.
Now that you have learned how to access the internet on your Roku device, feel free to explore and discover the wide range of streaming content and online services that are available. Use your device to stream your favorite movies and TV shows, catch up on news and sports, listen to music, and much more.
Thank you for choosing Roku to enhance your entertainment experience. Enjoy your time on the web with your Roku device and make the most of the endless streaming possibilities!