Introduction
Welcome to this guide on how to format an external hard drive in Windows 10. Whether you’ve just purchased a new external hard drive or are looking to reformat an existing one, formatting is an essential step to prepare the drive for use and optimize its performance.
Formatting an external hard drive in Windows 10 involves preparing the drive to store data, creating a file system, and configuring the allocation unit size. By formatting your external hard drive, you can ensure compatibility with Windows systems and eliminate any previous data or errors that might be present on the drive.
Before proceeding with the formatting process, it’s important to note that formatting will erase all data on the external hard drive. Therefore, make sure you have backed up any important files or documents beforehand. Additionally, ensure that you have a stable power source and a reliable USB connection to avoid interruptions during the formatting process.
In the following steps, you will learn how to connect the external hard drive to your computer, use the Windows Disk Management tool to format the drive, select the appropriate file system and allocation unit size, and safely eject the drive after formatting. Let’s get started!
Step 1: Connect the external hard drive to your computer
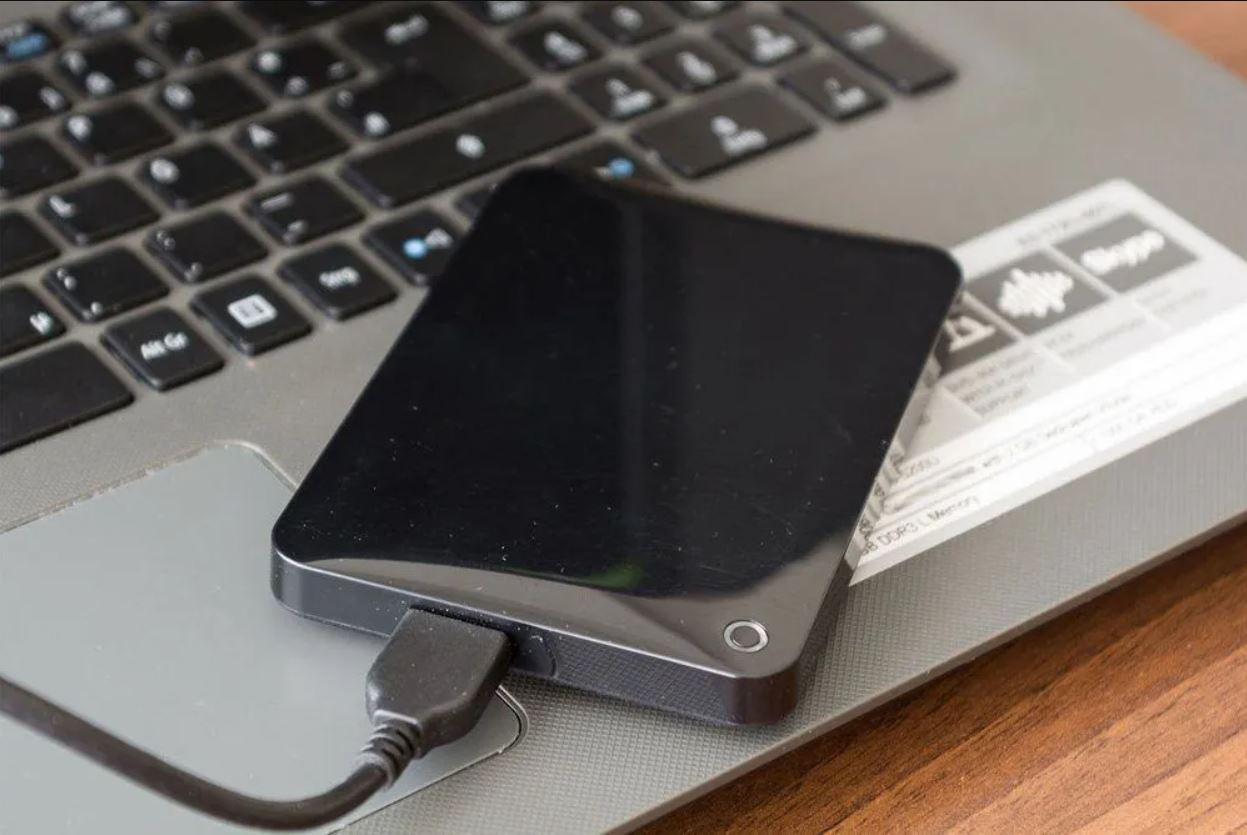
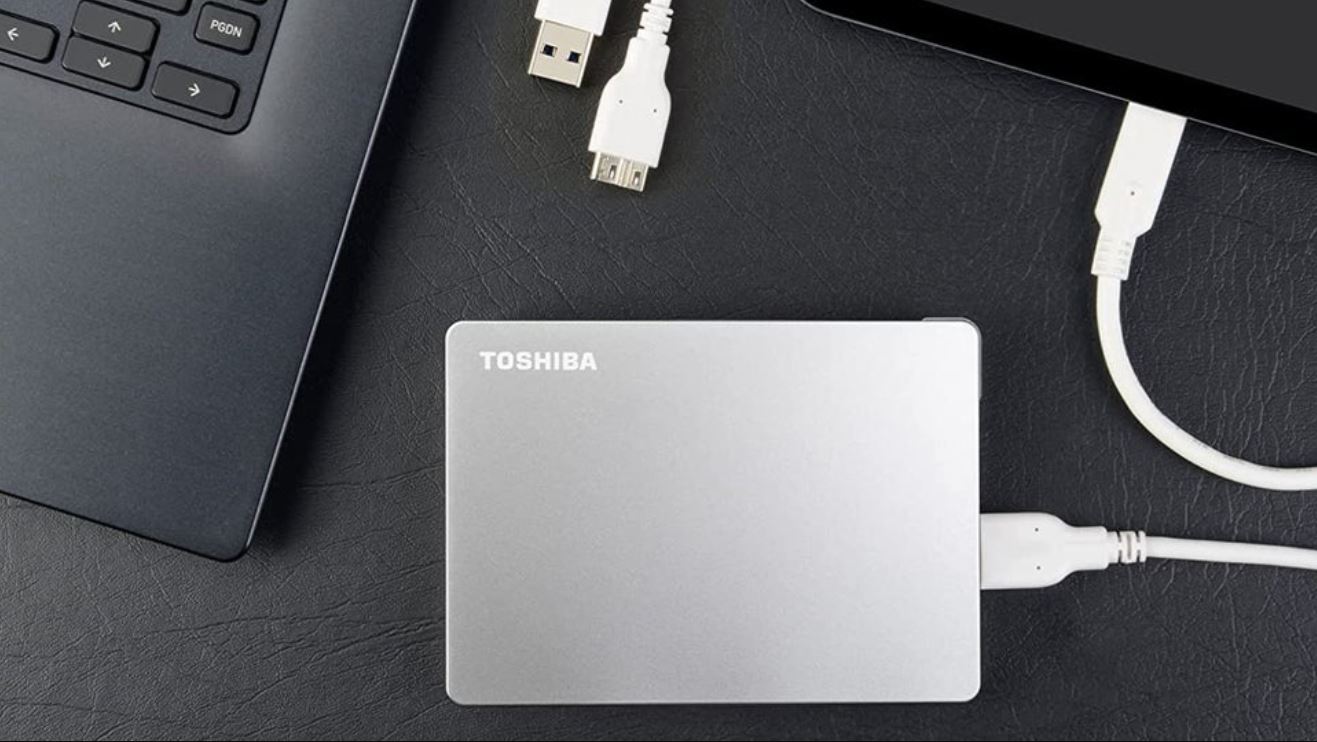
The first step in formatting an external hard drive is to connect it to your computer. Start by locating an available USB port on your computer and insert the USB cable from the external hard drive into the port. Ensure that the cable is securely connected.
Once the connection is made, your computer should detect the external hard drive automatically. You may hear a sound or see a notification pop-up indicating that a new device has been connected. Depending on your system settings, the external hard drive may appear as a new drive under “This PC” or “My Computer” in the file explorer.
If the external hard drive does not show up, there are a few troubleshooting steps you can follow:
- Try connecting the USB cable to a different USB port on your computer. Occasionally, certain USB ports may have issues or limitations.
- Check the USB cable for any damage or loose connections. Try using a different USB cable if available.
- If possible, test the external hard drive on another computer to verify if the issue is with the drive or your computer.
Once the external hard drive is successfully connected and detected by your computer, you’re ready to move on to the next step of formatting the drive using the Windows Disk Management tool.
Step 2: Open Windows Disk Management tool
After connecting the external hard drive to your computer, the next step is to open the Windows Disk Management tool. This tool allows you to manage and configure the storage devices connected to your computer.
To access the Disk Management tool, follow these steps:
- Right-click on the Start button or press the Windows key + X to open the Power User Menu.
- From the menu, select “Disk Management.” This will open the Disk Management window.
In the Disk Management window, you will see a list of all the storage devices connected to your computer, including the internal hard drive, external hard drives, and any other connected storage devices such as USB drives or memory cards. Each device will be represented by a rectangular box, with information about the device’s size, file system, and drive letter.
Take a moment to identify the external hard drive that you want to format. You can usually recognize it by its size or the allocated drive letter. Make sure you select the correct drive, as formatting the wrong drive can result in data loss.
If your external hard drive is not visible in the Disk Management window, it may be due to various reasons, such as incorrect connection or driver-related issues. In such cases, try the following troubleshooting steps:
- Disconnect and reconnect the external hard drive, ensuring a secure connection.
- Restart your computer and check if the drive appears in Disk Management.
- Update the drivers for your computer’s USB ports or try connecting the drive to a different computer.
Once you have successfully opened the Disk Management tool and identified the external hard drive, you’re now ready to proceed with formatting it in the following steps.
Step 3: Select the external hard drive
Now that you have opened the Windows Disk Management tool and can see the list of connected storage devices, it’s time to select the external hard drive that you want to format.
To select the correct external hard drive, follow these steps:
- In the Disk Management window, locate the external hard drive. Look for the drive that matches the size or allocated drive letter of your external hard drive.
- Right-click on the external hard drive in the list of devices. This will open a context menu with various options.
- From the context menu, select “Format.” This will open the Format window, where you can configure the formatting settings for the external hard drive.
Before proceeding with the formatting process, double-check that you have selected the correct drive. Formatting the wrong drive can lead to permanent data loss, so it’s crucial to be absolutely certain.
If you are unsure or want to verify the selected drive, you can cross-reference it with the drive’s details such as the size, manufacturer, or model, which should be displayed in the Disk Management window.
In scenarios where you have multiple external hard drives or other storage devices connected, it’s a good practice to double-check the drive’s details and corroborate it from other sources before proceeding.
Once you have confirmed the correct selection of the external hard drive in the Disk Management tool, you’re now ready to move on to the next step of formatting the drive.
Step 4: Format the external hard drive
Now that you have selected the external hard drive in the Windows Disk Management tool, it’s time to format it. Formatting the drive involves preparing it for use by creating a file system and configuring the allocation unit size.
To format the external hard drive, follow these steps:
- In the Format window, you will see various options to configure the formatting settings.
- First, select the desired file system for the external hard drive. Windows 10 supports two popular file systems, namely NTFS and FAT32. NTFS is recommended for most situations as it offers better security, file size limits, and performance. FAT32, on the other hand, is more compatible with other devices such as gaming consoles and certain media players.
- Next, specify the allocation unit size. The allocation unit size represents the smallest amount of disk space that can be allocated to store a file. The default allocation unit size is typically recommended for most users. However, if you plan to store large files on the external hard drive, you can choose a larger allocation unit size to optimize performance.
- Optionally, you can assign a volume label to the external hard drive. The volume label is a name that will be displayed when the drive is connected to a computer. It can help you identify the drive more easily, especially if you have multiple external hard drives.
- Lastly, you will see an option to perform a quick format or uncheck it for a full format. A quick format is faster but may not completely erase the existing data on the drive. If you want to ensure that all data is securely erased, it is recommended to uncheck the option for a full format. Keep in mind that a full format will take longer to complete.
Review your formatting selections and ensure that they match your requirements. Once you’re satisfied with the settings, click on the “Format” button to initiate the formatting process.
Keep in mind that formatting will erase all data on the external hard drive, so make sure to back up any important files before proceeding. Additionally, ensure that you have a stable power source and avoid disconnecting the external hard drive during the formatting process to prevent any potential data loss or damage.
Once the formatting process is complete, you can proceed to the next step to confirm the format.
Substep 4.1: Select the file system and allocation unit size
Within the formatting options for the external hard drive, one of the key decisions you need to make is selecting the file system and allocation unit size. These settings determine how the external hard drive will organize and allocate disk space to store files and folders.
To select the appropriate file system and allocation unit size, consider the following:
- File System: The two main file systems supported in Windows 10 are NTFS (New Technology File System) and FAT32 (File Allocation Table 32). NTFS is the default and recommended file system for most users due to its advanced features, including improved security, support for large file sizes, and robust error recovery capabilities. FAT32, on the other hand, offers better compatibility with other devices but has limitations on file size and security features.
- Allocation Unit Size: The allocation unit size, also known as the cluster size, determines the smallest amount of disk space that can be allocated to store a file. The default allocation unit size is usually recommended for most users, as it strikes a balance between efficient disk space usage and performance. However, if you plan to store large files on the external hard drive, such as high-resolution videos or large software installations, selecting a larger allocation unit size can improve performance by reducing file fragmentation.
When selecting the file system and allocation unit size, consider the primary use of the external hard drive and any specific compatibility requirements with other devices or systems. If you’re unsure, it’s generally safe to go with the default options of NTFS and the recommended allocation unit size.
Take a moment to review these settings and choose the file system and allocation unit size that best suits your needs. Once you have made your selections, you can move on to the next substep to choose a volume label for the external hard drive.
Substep 4.2: Choose a volume label (optional)
As you proceed with formatting the external hard drive, you have the option to assign a volume label to it. A volume label is a name that you can assign to the drive, which will be displayed when the drive is connected to a computer.
Assigning a volume label can be helpful, especially if you have multiple external hard drives or storage devices connected to your computer. It allows you to easily identify and differentiate the drives based on their assigned labels.
To choose a volume label for the external hard drive, follow these steps:
- In the format options window, locate the field that allows you to enter the volume label.
- Type in the desired name for the external hard drive. Make sure to choose a descriptive label that will help you recognize the contents or purpose of the drive.
Keep in mind that the volume label can contain letters, numbers, and certain special characters, but it should not exceed 32 characters in length. Avoid using any symbols or characters that may not be recognized by all operating systems or cause compatibility issues.
Assigning a volume label is optional, and if you do not wish to assign a label, you can simply leave the field blank or use the default label assigned by Windows.
Once you have chosen a volume label, proceed to the next substep to determine whether you want to perform a quick format or a full format of the external hard drive.
Substep 4.3: Perform a quick format or uncheck the option for a full format
In the formatting options for the external hard drive, you will find an option to perform either a quick format or a full format. This decision determines the extent to which the formatting process will erase the existing data on the drive.
Here’s what you need to know about the quick format and full format options:
- Quick Format: By default, the quick format option is often selected. A quick format is a convenient and time-efficient way to format the drive. It erases the file system and initializes the drive, but it does not perform a thorough scan or wipe of the sectors on the disk to fully erase the data. Instead, it marks the space as available for reuse. This option is suitable if you are formatting a new drive or if you are already confident that the existing data on the external hard drive is not recoverable or is not sensitive.
- Full Format: If you want to ensure that all the existing data on the external hard drive is securely erased, you can uncheck the option for a quick format, which will initiate a full format. A full format takes longer to complete as it performs a more thorough scan and check of the disk’s sectors, making it ideal when you want to prepare the drive for reuse or when you want to securely remove any sensitive or confidential information from the drive.
Consider the importance of the data on the external hard drive and your requirements for security and time when choosing between a quick format and a full format.
Once you have made your selection, review the other formatting settings, such as the file system, allocation unit size, and volume label, to ensure they align with your preferences. Finally, you can proceed to the next step to confirm the format and initiate the formatting process.
Step 5: Confirm the format
Before proceeding with the formatting process, it is crucial to double-check and confirm the format settings for the external hard drive. This step ensures that you have made the desired selections and are ready to initiate the formatting process.
To confirm the format, carefully review the following:
- The selected external hard drive: Verify that you have chosen the correct drive for formatting. Formatting the wrong drive can result in permanent data loss.
- File system and allocation unit size: Ensure that the chosen file system (such as NTFS or FAT32) and allocation unit size align with your needs and requirements.
- Volume label (optional): If you assigned a volume label, verify that it accurately represents the drive and is error-free.
- Formatting option: If you wish to perform a quick format, make sure the option is selected. If you want to initiate a full format for complete data erasure, ensure the option is unchecked.
Take the time to carefully review these settings and make any necessary adjustments before proceeding. It is better to double-check now than to encounter data loss or other issues later.
If you need to make any changes, you can go back to the previous steps to modify the format settings accordingly. Once you are confident that all the settings are correct, you can proceed to the next step to initiate the formatting process.
Remember that formatting will erase all the data on the external hard drive. Therefore, ensure that you have backed up any important files or documents before proceeding with the format. Once you have confirmed the settings and made the necessary preparations, you are ready to proceed to the next step to initiate the formatting process.
Step 6: Wait for the formatting process to complete
After confirming the format settings for the external hard drive, it’s time to initiate the formatting process. Once you click on the “Format” button, the system will start formatting the drive according to your chosen options.
During the formatting process, it is important to be patient and allow the system to complete the task. The time taken for formatting depends on various factors such as the size of the external hard drive, the chosen file system, and the speed of your computer.
While the formatting process is underway, it is advisable to avoid accessing or disconnecting the external hard drive, as this can disrupt the process and potentially lead to data loss or drive corruption.
On your screen, you might see a progress bar or an indicator that shows the formatting progress. Additionally, you may notice that the external hard drive is being accessed or that the drive LED is blinking, indicating activity.
It’s essential to note that the formatting process will erase all existing data on the external hard drive. Therefore, make sure you have made the necessary backups before proceeding, especially if there are any files or documents that you wish to keep.
While waiting for the formatting process to complete, you can use this time to attend to other tasks or take a moment for a short break. Once the formatting is finished, you can proceed to the final step of safely ejecting the external hard drive.
Keep in mind that the speed of the formatting process may vary, so it is normal for it to take some time. However, if the process seems to be taking exceptionally long or if any unusual error messages or issues arise, you should consider seeking further assistance or troubleshooting the problem.
Once the formatting process is complete, you can move on to the next step to safely eject the formatted external hard drive.
Step 7: Eject the external hard drive safely
After the formatting process is complete, it is important to safely eject the external hard drive from your computer before physically disconnecting it. Ejecting the drive ensures that all data is written and any active processes are completed, preventing potential data corruption or loss.
To safely eject the external hard drive, follow these steps:
- Locate the system tray in the taskbar, which is typically located at the bottom right corner of the screen.
- Click on the ‘Safely Remove Hardware and Eject Media’ icon. The icon may appear as a USB plug or a hardware device symbol.
- A list of connected devices will pop up. Identify the external hard drive from the list.
- Click on the external hard drive name and select ‘Eject’ or ‘Safely Remove’ to initiate the ejection process.
- Wait for the system to indicate that it is safe to remove the external hard drive. You may receive a notification or see a message on the screen.
- Once you receive the confirmation, carefully disconnect the USB cable from the computer’s USB port and safely remove the cable from the external hard drive, ensuring no force or sudden movement.
It is important to follow these steps to prevent potential damage to the external hard drive and ensure the integrity of your data. Abruptly disconnecting the drive without properly ejecting it can lead to data corruption or even physical damage to the drive.
After safely ejecting the external hard drive, you can store, transport, or use it as desired. Remember to label the drive or keep track of its assigned drive letter for easy identification in the future.
Congratulations! You have successfully formatted and safely ejected your external hard drive in Windows 10. Now, you can utilize the formatted drive for your storage needs, whether it’s for backups, file transfers, or expanding your available storage space.
Conclusion
Formatting an external hard drive in Windows 10 is a straightforward process that allows you to prepare the drive for use, optimize its performance, and ensure compatibility with your system. By following the steps outlined in this guide, you can confidently format your external hard drive and embark on a new journey of data storage and organization.
Remember to always back up any important files before proceeding with formatting, as the process will erase all existing data on the drive. Additionally, double-check the selected drive, formatting options such as file system and allocation unit size, and any other settings to avoid any unintended consequences.
Throughout the formatting process, it is crucial to exercise caution and patience. Allow the system ample time to complete the formatting, and avoid disconnecting the external hard drive before safely ejecting it.
With your freshly formatted external hard drive, you can now confidently store and manage your files, create backups, and securely transfer data. Whether you’re using the external hard drive for personal use or business purposes, formatting ensures optimal performance and reliable storage.
Remember to keep your external hard drive safe, protected from physical damages, and properly labeled for easy identification. Regularly check for firmware updates or other maintenance requirements to keep your drive in optimal condition for uninterrupted usage.
By following the steps outlined in this guide, you have gained the knowledge and skills to format an external hard drive in Windows 10. Utilize this newfound expertise to keep your data organized, secure, and readily accessible whenever you need it.
Happy formatting!