Introduction
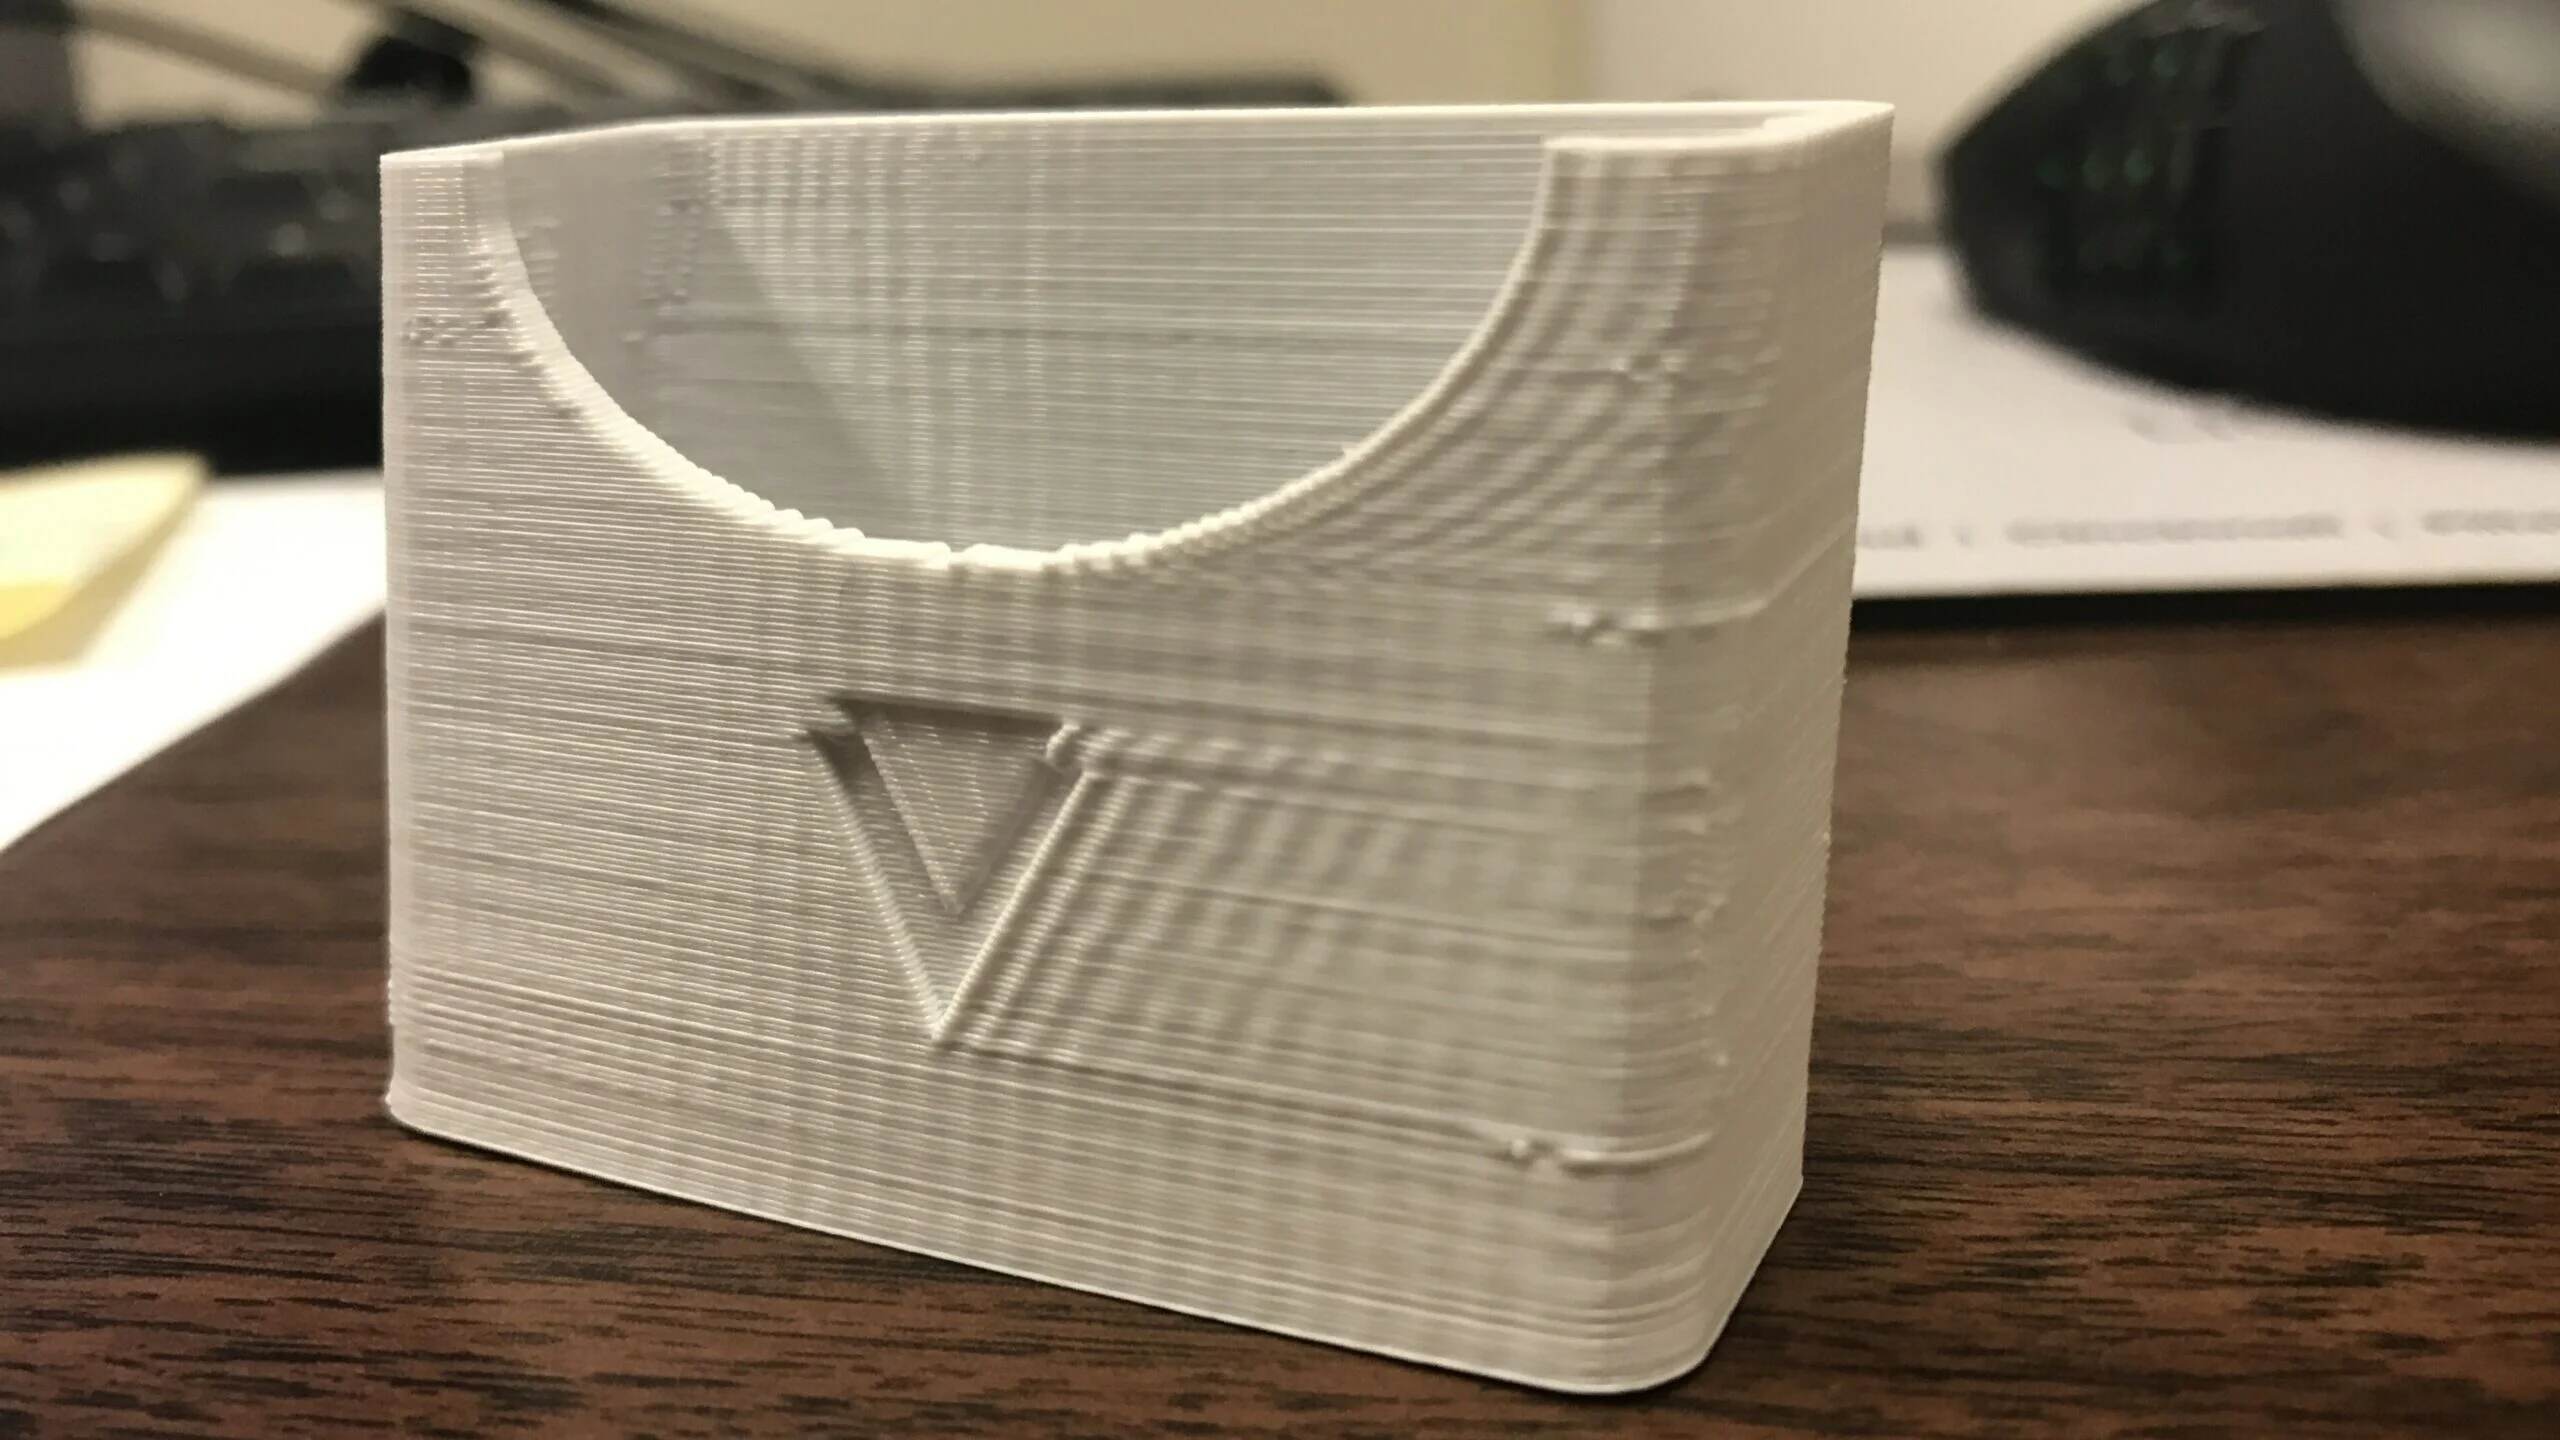
Welcome to the world of 3D printing, where you can bring your designs to life with the click of a button. However, sometimes even the best 3D printers can produce less-than-perfect prints, characterized by a phenomenon known as “ringing.” If you’ve noticed ghosting, wavy patterns, or irregularities on the surfaces of your prints, don’t worry – you’re not alone. Ringing is a common issue that can be caused by various factors, including mechanical problems, improper print settings, or software issues.
In this guide, we will delve into the causes of ringing in 3D printers and provide you with step-by-step instructions on how to fix it. Whether you’re an experienced maker or just starting your 3D printing journey, this article will equip you with the knowledge and techniques to eliminate those unwanted artifacts and achieve impeccable prints.
Before we dive into the solutions, it’s important to understand what causes ringing in the first place. Ringing, also known as “ghosting” or “vibration artifacts,” occurs when the movement of the printer’s mechanical components, such as the print head or the build plate, creates unintended vibrations that result in visible defects on the printed object. These defects often appear as faint ripples or waves, most noticeable in areas of the print where sudden changes in direction or sharp corners occur.
While ringing may seem like a complex issue, the good news is that it can usually be resolved by addressing a few common issues and making adjustments to your printer’s settings. So, let’s get started and take a closer look at the potential causes of ringing in 3D printers!
Causes of Ringing in 3D Printers
Understanding the root causes of ringing in 3D printers is crucial for effectively addressing and fixing the issue. While it can be caused by a combination of factors, let’s explore some common culprits:
1. Mechanical issues: Unstable or loose mechanical components can lead to vibrations that manifest as ringing in your prints. This could include loose belts, worn-out bearings, or misaligned rods. It’s important to regularly inspect and maintain your printer’s mechanical components to ensure they are in good working condition.
2. Print settings: Incorrect print settings can also contribute to ringing. Rapid and abrupt changes in speed or direction can create mechanical stress and vibrations. Additionally, high acceleration and jerk settings can exacerbate the issue. Adjusting these settings to optimize the print speed and movement can help minimize ringing.
3. Calibration: Improper calibration of the printer can lead to ringing. Calibration refers to aligning the printer’s various elements, such as the Z-axis, extruder, and bed leveling. Inaccurate calibration can result in uneven movements and vibrations, leading to ringing in prints.
4. Components: The quality and condition of certain components in your 3D printer can contribute to ringing. For example, a poorly designed or worn-out extruder can cause vibrations. Upgrading or replacing these components with higher-quality alternatives can help reduce ringing.
5. Software settings: The settings in your slicer software can also impact print quality and ringing. Parameters such as infill pattern, layer height, and retraction settings can affect the overall stability of the print. Understanding and finetuning these settings can help minimize ringing artifacts.
By identifying the root causes, you can effectively address and fix ringing in your 3D prints. Now, let’s move on to the step-by-step solutions to help you eliminate ringing and achieve flawless prints.
Step 1: Check for Mechanical Issues
The first step in fixing ringing in your 3D prints is to inspect and address any potential mechanical issues that may be causing vibrations. Here are some important checks to perform:
1. Tighten loose belts: Loose belts can cause excessive vibrations during print movements. Check the belts responsible for moving the print head and bed and tighten them if necessary. Ensure they are properly tensioned without being overly tight.
2. Examine bearings and rods: Worn-out or misaligned bearings and rods can contribute to vibrations. Carefully examine these components and replace any that show signs of wear or damage. Ensure the rods are properly aligned and lubricated to reduce friction and vibrations.
3. Stabilize the frame: Structural instability can result in unwanted vibrations. Ensure that the frame of your 3D printer is sturdy and securely assembled. If necessary, reinforce weak areas or add additional supports to minimize vibrations.
4. Vibration dampening: Consider adding vibration-dampening materials, such as silicone pads or rubber grommets, to areas where vibrations are commonly generated. These materials absorb and dissipate vibrations, reducing their impact on the prints.
5. Check the extruder: The extruder is responsible for feeding filament into the printer. A poorly designed or worn-out extruder can cause vibrations. Consider upgrading to a high-quality extruder if necessary.
6. Level the build plate: An unlevel or warped build plate can contribute to uneven movements and vibrations during printing. Ensure the build plate is properly leveled and adjusted according to your printer’s specifications.
By checking for and addressing any underlying mechanical issues, you can significantly reduce the chances of ringing in your 3D prints. Once you’ve addressed potential mechanical issues, it’s time to move on to the next step: adjusting your print settings.
Step 2: Adjust Print Settings
After checking for and resolving any mechanical issues, the next step in fixing ringing in your 3D prints is to adjust your print settings. Optimizing these settings can help minimize vibrations and achieve smoother prints. Here are some key adjustments to consider:
1. Print speed: High print speeds can introduce vibrations and ringing artifacts. Lowering the print speed can reduce the stress on the printer’s components and minimize the chances of ringing. Experiment with different speeds to find the optimal balance between print quality and speed.
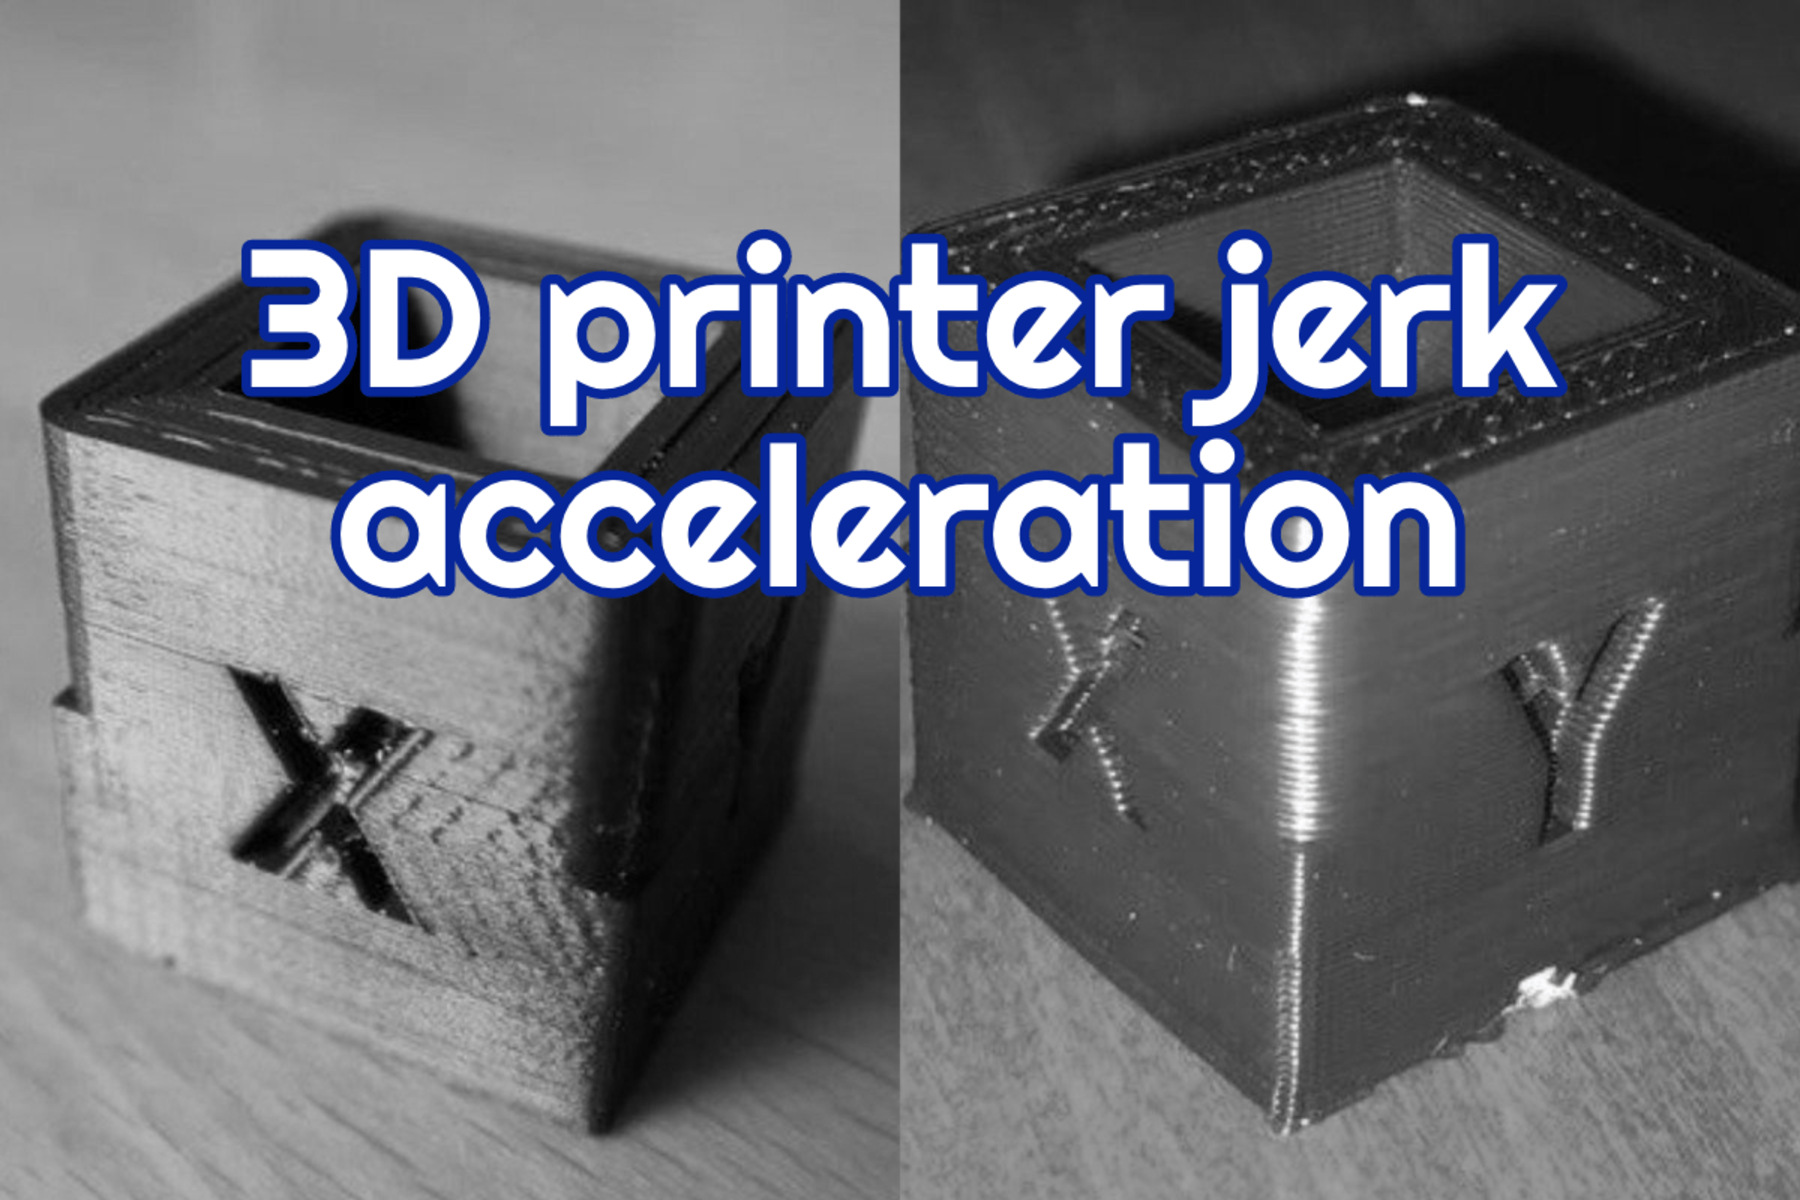
2. Acceleration and jerk settings: High acceleration and jerk settings can cause sudden changes in direction and speed, leading to vibrations and ringing. Gradually reducing these settings can help mitigate the issue. Adjust these parameters in your printer’s firmware or slicer software and monitor the effects on print quality.
3. Layer height: Finer layer heights can result in smoother prints with reduced vibrations. However, printing at extremely low layer heights may significantly increase the print time. Experiment with different layer heights to find the sweet spot that balances print quality and efficiency.
4. Infill percentage and pattern: The choice of infill pattern and percentage can impact the overall stability of the print. Consider using infill patterns that provide better internal support, such as honeycomb or gyroid. Additionally, adjusting the infill percentage can help control vibrations and ringing artifacts.
5. Retraction settings: Incorrect retraction settings can lead to stringing and vibrations. Optimize the retraction distance and speed to minimize the oozing of filament and reduce the chances of ringing. Test different retraction settings to find the optimal values for your specific printer and filament.
6. Cooling settings: Proper cooling is essential to maintain the stability of the printed layers. Inadequate cooling can lead to heat-related vibrations and ringing. Ensure that your printer’s cooling fan is functioning correctly and adjust the cooling settings in your slicer software if necessary.
Remember, each printer and filament combination may require different settings to achieve optimal results. It’s essential to experiment and fine-tune these settings based on the specific characteristics of your printer and the filament you are using. After adjusting the print settings, proceed to the next step: calibrating your printer.
Step 3: Calibrate the Printer
Calibrating your printer is a crucial step in eliminating ringing and ensuring accurate and precise prints. Proper calibration involves aligning various components of the printer to optimize its performance. Here are some key areas to focus on when calibrating:
1. Bed leveling: Uneven bed leveling can result in inconsistent print adhesion and movement, leading to vibrations and ringing. Use a reliable leveling method, such as manual leveling or assisted bed leveling, to ensure the bed is perfectly level across all areas.
2. Z-axis calibration: Improper Z-axis calibration can cause variations in layer heights and result in a wavy or uneven print surface. Follow your printer’s instructions to calibrate the Z-axis, ensuring accurate and precise layer heights throughout the print.
3. Extruder calibration: A poorly calibrated extruder can result in under or over-extrusion, leading to irregular print quality and vibrations. Use calibration tools or software to fine-tune the extruder steps-per-mm value to ensure accurate filament feeding.
4. Temperature calibration: Inconsistent printing temperatures can affect the flow and adhesion of the filament, resulting in vibrations and ringing. Use a temperature calibration tower to determine the optimal temperature for your specific filament and adjust accordingly.
5. Retraction calibration: Incorrect retraction settings can contribute to stringing and vibrations. Perform retraction calibration tests to determine the ideal retraction distance and speed for your printer and filament combination.
6. Print bed adhesion: Poor adhesion can lead to filament movement and vibrations. Use appropriate adhesion methods, such as adhesive sprays or properly calibrated heated beds, to ensure strong initial layer adhesion and prevent shifts during the print.
Regularly calibrating your printer is essential to maintain consistent print quality and prevent ringing issues. By diligently following the calibration procedures specific to your printer, you can minimize vibrations and achieve better print results. Once your printer is properly calibrated, proceed to the next step: upgrading or replacing components.
Step 4: Upgrade or Replace Components
If you’ve followed the previous steps and are still experiencing ringing in your 3D prints, it may be time to consider upgrading or replacing certain components of your printer. Upgrading or replacing these components can help improve the overall stability and performance of your printer. Here are some areas to focus on:
1. Extruder: A high-quality extruder can greatly reduce vibrations and improve filament feeding consistency. Consider upgrading to a more reliable and robust extruder model to minimize ringing issues.
2. Print bed: An upgraded print bed with enhanced rigidity and improved leveling mechanisms can provide better stability during printing. Look for options with higher build plate materials, advanced leveling systems, or even heated bed upgrades to reduce ringing.
3. Bearings and rods: Worn-out or low-quality bearings and rods can contribute to vibrations and ringing. Consider replacing them with higher-quality components that offer smoother movement and reduced friction.
4. Stepper motors: Upgrading stepper motors with higher torque or precision can lead to smoother and more accurate movements, reducing vibrations and ringing. Look for stepper motors suitable for your printer model and ensure proper compatibility.
5. Dampeners: Installing vibration dampeners can help further reduce the effects of vibrations. These rubber or silicone pads or feet can absorb and dampen vibrations, resulting in cleaner and more precise prints.
6. Controller board: Upgrading your printer’s controller board to a more advanced model can provide better control over the printer’s movements and reduce the chances of ringing. Look for boards with improved processing power and firmware compatibility.
Upgrading or replacing components can be a more advanced and time-consuming step, but it can have a significant impact on improving the overall performance of your printer. Research and choose components that are compatible with your printer model, and carefully follow the installation instructions provided by the manufacturer.
After upgrading or replacing components, assess the impact it has on reducing ringing. If the issue persists, move on to the next step: utilizing supports and brims.
Step 5: Utilize Supports and Brims
When dealing with intricate or complex 3D prints that are more susceptible to ringing, utilizing supports and brims can help minimize the impact of vibrations. Here’s how you can make use of these features:
1. Supports: Supports are structures added to the print to provide stability and prevent overhanging features from sagging or deforming during the printing process. By adding supports to areas of the print that are prone to vibrations, you can help maintain the structural integrity and reduce ringing artifacts.
2. Brims: A brim is a thin, flat extension added to the base of a print that increases its adhesion to the print bed. By increasing the contact area between the print and the bed, brims provide additional stability during the printing process. This can help minimize vibrations and reduce the chances of ringing.
When utilizing supports and brims, consider adjusting the settings in your slicer software to customize their placement and density based on the specific requirements of your print. It’s important to strike a balance between providing adequate support and ensuring easy removal of supports after printing.
Remember to carefully remove the supports and brims after printing, using appropriate tools to avoid damaging the print. Take the necessary precautions to clean up the print and ensure its surface is smooth and free from any residual support material.
By utilizing supports and brims strategically, you can increase the stability of your prints and reduce the impact of vibrations, ultimately minimizing the occurrence of ringing in your 3D prints. If ringing is still evident, proceed to the next step: fine-tuning the printer’s acceleration and jerk settings.
Step 6: Fine-tune Printer’s Acceleration and Jerk Settings
Adjusting the acceleration and jerk settings of your printer can have a significant impact on reducing ringing and enhancing print quality. Acceleration refers to how quickly the printer reaches its maximum speed, while jerk refers to the sudden changes in speed and direction during printing. Here’s how you can fine-tune these settings:
1. Acceleration: High acceleration values can cause sudden movements and vibrations in the printer, leading to ringing. Gradually reducing the acceleration setting can help mitigate these vibrations and improve print quality. However, it’s important to find the right balance that maintains smooth movement without compromising print speed.
2. Jerk: Jerk settings control the speed at which the printer changes direction. Higher jerk values can result in more abrupt movements, increasing the chances of ringing. Lowering the jerk setting can help reduce vibrations and improve the overall stability of the print. Experiment with different jerk settings to find the optimal value for your printer.
To adjust acceleration and jerk settings, access the firmware configuration of your printer. Consult your printer’s manual or online resources for instructions specific to your printer model. It’s crucial to make incremental changes while monitoring the effects on print quality to avoid compromising on the overall performance of the printer.
Additionally, consider adjusting the print speeds for different movements, such as infill, outer walls, or support structures. Lowering the print speed for specific movements can help further reduce vibrations and ringing artifacts. Experiment with different speed settings to find the right balance for your prints.
By fine-tuning the acceleration and jerk settings of your printer, you can reduce vibrations and ringing, leading to cleaner and smoother prints. If ringing is still noticeable, proceed to the final step: optimizing slicer software settings.
Step 7: Optimize Slicer Software Settings
The final step in your journey to eliminate ringing in your 3D prints is to optimize the settings in your slicer software. The slicer software translates your 3D model into instructions for the printer, including layer thickness, print speed, and other parameters. Here’s how you can optimize these settings:
1. Layer height: Adjusting the layer height can have an impact on print quality and ringing. Consider using a smaller layer height for finer details, as this can help smooth out the appearance of waves caused by ringing. However, keep in mind that using a smaller layer height will increase the print time.
2. Infill density and pattern: The infill density and pattern also affect the stability of the print. Increasing the density or using a stronger infill pattern can enhance the overall strength and reduce the chances of ringing. Experiment with different infill settings to find the right balance between strength and print time.
3. Retraction settings: Retraction settings control the amount and speed at which the filament is pulled back to prevent oozing. Incorrect retraction settings can contribute to stringing and vibrations. Fine-tune these settings to minimize stringing, which can lead to ringing artifacts.
4. Print temperature: Proper temperature control is crucial to ensure proper filament flow and adhesion. Adjust the print temperature according to the recommendations provided by the filament manufacturer. Proper temperature control can help reduce the likelihood of vibration-related issues, including ringing.
5. Print speed: Varying print speeds can affect ringing, especially in areas where there are sudden changes in direction or sharp corners. Experiment with different print speeds to find the optimal balance between print quality and speed, keeping in mind the potential impact on ringing.
6. Cooling settings: Cooling plays a vital role in minimizing ringing by solidifying the printed layers and reducing heat-related vibrations. Optimize the cooling settings in your slicer software to ensure adequate cooling for each layer. This can help improve print quality and reduce the chances of ringing.
Remember to save and apply the optimized settings in your slicer software for future prints. Regularly monitor the print quality and make adjustments as needed to continue minimizing ringing and achieving high-quality prints.
By diligently optimizing the slicer software settings, you can fine-tune the printing process and minimize the occurrence of ringing, resulting in improved print quality and greater satisfaction with your 3D prints.
Conclusion
Congratulations! You have reached the end of this guide on fixing ringing in 3D printers. We have explored various causes of ringing, ranging from mechanical issues to print settings and software configurations. By following the steps outlined in this guide, you can significantly reduce or even eliminate ringing in your 3D prints.
Remember, addressing ringing requires a systematic approach that involves checking for mechanical issues, adjusting print settings, calibrating the printer, upgrading or replacing components, utilizing supports and brims, fine-tuning acceleration and jerk settings, and optimizing slicer software settings.
By meticulously inspecting and addressing mechanical issues, adjusting print settings to optimize speed and stability, ensuring precise calibration, upgrading components where needed, strategically using supports and brims, fine-tuning acceleration and jerk settings, and optimizing slicer software settings, you can achieve cleaner and smoother prints with minimal ringing artifacts.
Keep in mind that resolving ringing may require some experimentation and trial and error. It’s important to be patient and persistent in implementing the changes and fine-tuning your printer’s settings. With time and practice, you will develop a better understanding of your printer’s behavior and be able to achieve exceptional print quality.
Now that you have the knowledge and techniques to fix ringing in your 3D prints, go ahead and apply these steps to achieve stunning and flawless prints that showcase your creativity and precision. Happy printing!


