Introduction
Welcome to the world of Windows 10, where organization and efficiency are key. If you’ve ever found yourself running out of storage space or experiencing a slow system performance, chances are there are some large files taking up valuable disk space on your computer. But fear not! In this article, we will explore various methods to help you locate those large files on your Windows 10 system.
Windows 10 is a feature-packed operating system that comes with built-in tools and utilities to make file management easier. Whether you’re a casual user who wants to free up some disk space or a power user looking to optimize system performance, finding and managing large files is an essential task.
By identifying and removing large files, you can create more storage space on your computer, improve system performance, and have a clutter-free digital experience. In the following sections, we will delve into four different methods to help you find those pesky big files.
Before we jump in, it’s important to note that the methods covered in this article are specific to Windows 10. While some techniques may be similar for previous Windows versions, the steps and interface may vary. Whether you’re a tech-savvy user or a novice, these methods are designed to be user-friendly and accessible to all.
Are you ready to reclaim your precious storage space? Let’s dive right in and discover how to find large files on your Windows 10 system!
Why is it important to find large files on Windows 10?
In today’s digital age, we rely heavily on our computers for various tasks, from work and entertainment to storing precious memories. However, over time, our storage space becomes cluttered with large files that can hinder system performance and limit available disk space. Here are a few reasons why it’s important to find and manage large files on your Windows 10 system:
1. Free up valuable disk space: Large files, such as high-resolution videos, software installation files, or large collections of photos, can quickly eat up storage space on your computer. By identifying and removing these files, you can free up valuable disk space for new files and applications.
2. Improve system performance: When your computer’s storage is almost full, it can significantly impact system performance. Large files can cause your computer to run slower, resulting in longer boot times, lagging applications, and delayed file access. By removing unnecessary large files, you can optimize your system’s performance and enjoy a faster and more responsive experience.
3. Organize your files: Having a cluttered system with scattered large files can make it difficult to find the files you need when you need them. By identifying and organizing large files, you can create a more structured and organized file system, making it easier to locate and manage your files efficiently.
4. Preserve data integrity: It’s crucial to keep track of large files, especially when it comes to important documents or irreplaceable files. By regularly checking and managing large files, you can ensure the integrity and safety of your data. This includes creating backups and deleting any unnecessary duplicates or outdated large files.
5. Reducing security risks: Large files can also pose potential security risks. Storing sensitive or confidential information in large files increases the chances of unauthorized access or data breaches. By managing and securing your large files, you can minimize these security risks and protect your valuable data.
By taking the time to locate and manage large files on your Windows 10 system, you can optimize your computer’s performance, create more available storage space, organize your files effectively, preserve data integrity, and enhance overall system security. In the following sections, we will explore various methods to help you efficiently find and deal with those large files.
Method 1: Using File Explorer
File Explorer is a built-in file management tool in Windows 10 that allows you to navigate and manage your files and folders. Using File Explorer is one of the simplest and most convenient ways to find large files on your Windows 10 system. Here’s how:
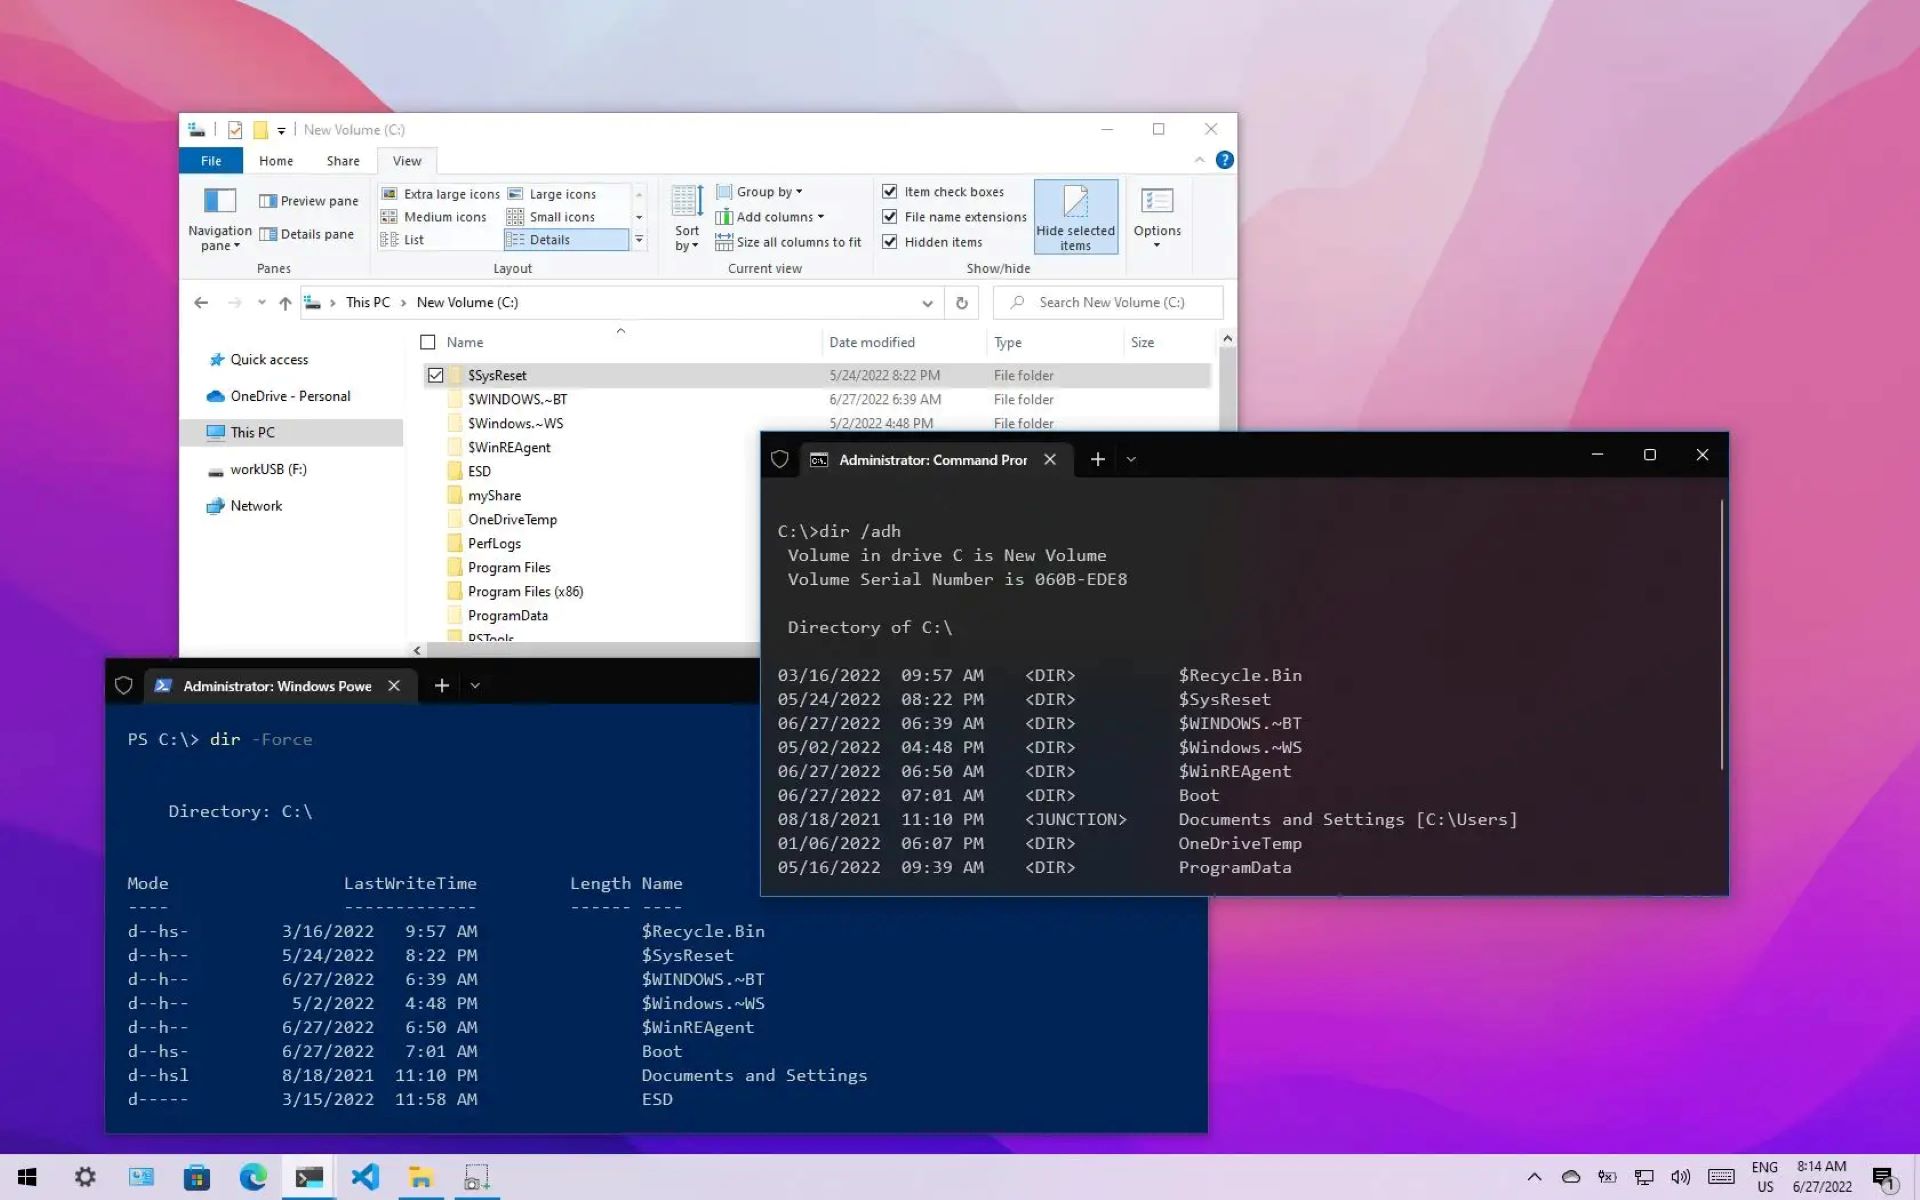
Step 1: Open File Explorer by clicking on the folder icon on your taskbar or by pressing the Windows key + E on your keyboard.
Step 2: Once File Explorer is open, navigate to the drive or folder you want to search for large files.
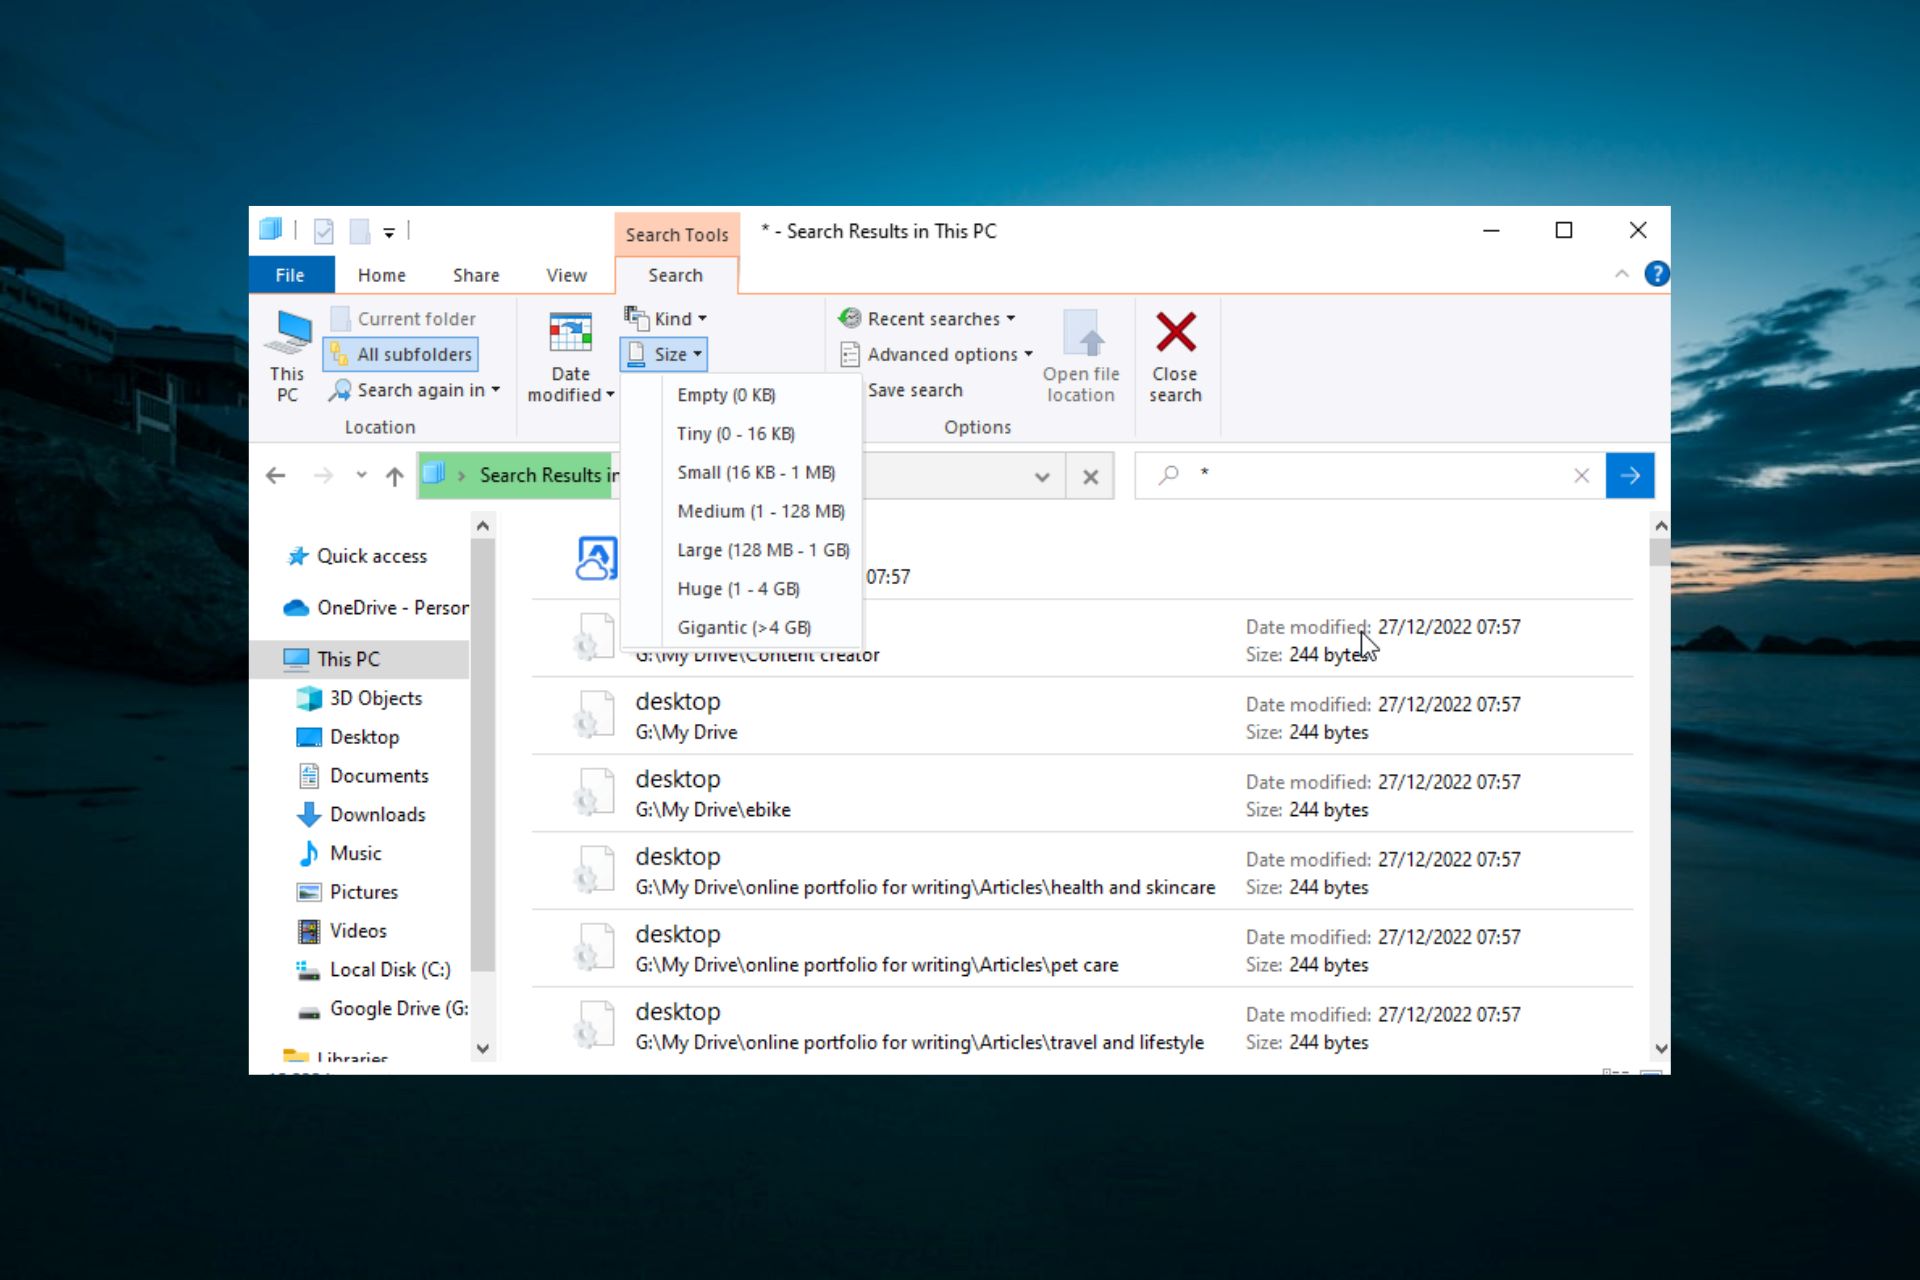
Step 3: In the upper-right corner of the File Explorer window, you will see a search box. Click on it and type in “size:gigantic” (without the quotes). This will display all files on the selected drive or folder that are categorized as ‘gigantic’ or larger in size.
Step 4: File Explorer will now show a list of files that meet the size criteria you entered. You can sort the files by size to identify the largest ones easily.
Step 5: Review the list of large files and decide which ones you want to delete or move to another location. To delete a file, right-click on it and select “Delete.” To move a file, right-click on it, select “Cut,” navigate to the desired location, and then right-click and select “Paste.”
Step 6: Repeat the process for other drives or folders if needed.
Using File Explorer is a quick and straightforward method to find large files on your Windows 10 system. However, it does require manual inspection to determine which files to delete or move. If you have a large number of files or are looking for a more automated approach, consider using the other methods we will explore in the following sections.
Method 2: Using Disk Cleanup
Windows 10 provides a useful built-in tool called Disk Cleanup, which can help you find and delete unnecessary files, including large files that are taking up valuable disk space. Here’s how to use Disk Cleanup to locate large files:
Step 1: Press the Windows key + S on your keyboard to open the search bar. Type “Disk Cleanup” and click on the search result that appears.
Step 2: Once Disk Cleanup is open, it will prompt you to select the drive you want to clean up. Choose the drive where you suspect large files are located, and then click “OK.”
Step 3: Disk Cleanup will analyze the selected drive and present you with a list of file categories to clean. Scroll down and click on “Clean up system files.”
Step 4: Disk Cleanup will re-scan the drive and provide you with additional options to clean. Scroll down and check the box next to “Large Files” to include them in the cleanup process. You can also select other file categories you want to clean. Click “OK” to proceed.
Step 5: Disk Cleanup will now calculate how much space you can free up by deleting the selected file categories, including large files. Once the calculation is complete, you will see a list of files with their respective sizes.
Step 6: Review the list of large files and select the ones you want to delete. You can further customize the selection by clicking on the “View Files” button next to the large file category. This will open a File Explorer window showing the files for you to review.
Step 7: Once you’ve finalized your selection, click on the “OK” button in the main Disk Cleanup window to start the cleanup process. Disk Cleanup will delete the selected files, including the large ones, freeing up valuable disk space in the process.
Disk Cleanup is an effective method for finding and removing large files on your Windows 10 system. It provides a simple and automated approach to clean up unnecessary files and create more storage space. However, keep in mind that the large files selected for deletion will be permanently removed, so ensure you double-check your selection before proceeding.
Method 3: Using PowerShell
If you’re comfortable using the command-line interface, PowerShell can be a powerful tool to find large files on your Windows 10 system. PowerShell provides advanced scripting capabilities that can help you search for and manage large files efficiently. Here’s how to use PowerShell to locate large files:
Step 1: Press the Windows key + S on your keyboard to open the search bar. Type “PowerShell” and click on the search result that appears to launch PowerShell.
Step 2: Once PowerShell opens, type the following command and press Enter: Get-ChildItem -Path C:\ -Recurse -File | Where-Object {$_.Length -ge 1GB}
Step 3: The command above will search the C:\ drive (you can replace it with the desired drive letter or directory) and recursively find all files with a size of 1GB or larger. PowerShell will display a list of files that meet the criteria.
Step 4: Review the list of large files and decide which ones you want to delete or move. To delete a file, use the Remove-Item command followed by the file path. To move a file, use the Move-Item command followed by the file path and the destination directory.
Step 5: Repeat the process for other drives or directories if needed, by changing the path in the command accordingly.
Using PowerShell gives you a greater level of control and flexibility over the file search process. It allows you to customize the search criteria and perform more complex file management tasks. However, please exercise caution when using PowerShell as it provides powerful features that can permanently delete or modify files on your system.
If you’re not comfortable with the command-line interface, don’t worry! There are alternative methods we will explore in the following section that provide a more user-friendly and interactive approach to finding large files on your Windows 10 system.
Method 4: Using Third-Party Software
If you prefer a more user-friendly and automated approach to finding large files on your Windows 10 system, third-party software can be a great option. There are several reliable and feature-rich applications available that specialize in file management and diagnostics. Here’s how to use third-party software to locate large files:
Step 1: Research and choose a reputable third-party software that suits your needs. Look for features such as advanced search capabilities, customizable filters, intuitive user interface, and reliable scanning algorithms.
Step 2: Download and install the chosen software. Follow the installation instructions provided by the software manufacturer.
Step 3: Launch the software and navigate to the file scanning or file management section. The exact steps may vary depending on the software you choose.
Step 4: Configure the scanning options according to your preferences. This may include selecting specific drives or folders to scan, setting file size thresholds, or defining file types to include or exclude.
Step 5: Initiate the scanning process. The software will search through the selected locations and identify large files based on the configured criteria.
Step 6: Once the scan is complete, the software will present you with a list of large files. You can typically sort the files by size or other attributes, preview the files, and perform various file management actions.
Step 7: Review the list of large files and choose the appropriate action for each file. The software may provide options to delete, move, compress, or organize the files automatically.
Step 8: Repeat the process if needed, scanning different drives or folders to ensure you locate and manage all large files on your Windows 10 system.
By using third-party software, you can benefit from more advanced scanning algorithms, enhanced search capabilities, and intuitive user interfaces. These applications are often designed to simplify the process of finding and managing large files, making it a convenient option for users of all levels of technical expertise.
Remember to choose reputable software from trusted sources, read reviews, and ensure compatibility with your Windows 10 system to avoid any potential compatibility issues or security risks.
Conclusion
Managing large files on your Windows 10 system is crucial for maintaining optimal performance, organizing your data, and maximizing available storage space. Whether you choose to use built-in tools like File Explorer and Disk Cleanup or opt for more advanced methods like PowerShell or third-party software, there are various approaches to help you locate and deal with those space-consuming files.
File Explorer provides a simple and manual way to find large files by using its search capabilities and sorting options. Disk Cleanup offers an automated and comprehensive system cleanup process, including the removal of large files. PowerShell empowers you with advanced search capabilities and scripting capabilities for a more customized approach. Third-party software options provide user-friendly interfaces, advanced search algorithms, and additional features to simplify the file management process.
Remember to exercise caution when deleting or moving files, especially large ones. Double-check your selection and consider creating backups of important files to avoid unintentional data loss. Additionally, regularly reviewing and managing large files can help you maintain an organized and clutter-free digital environment.
Choose the method or combination of methods that best suits your needs and preferences. Whether you’re a tech-savvy user or a novice, these methods are designed to make the process of finding large files on your Windows 10 system more accessible and efficient.
By taking the time to locate and manage large files, you can optimize system performance, create more available storage space, organize your files effectively, preserve data integrity, and enhance overall system security. So, roll up your sleeves, start exploring, and regain control over your Windows 10 system!