Introduction
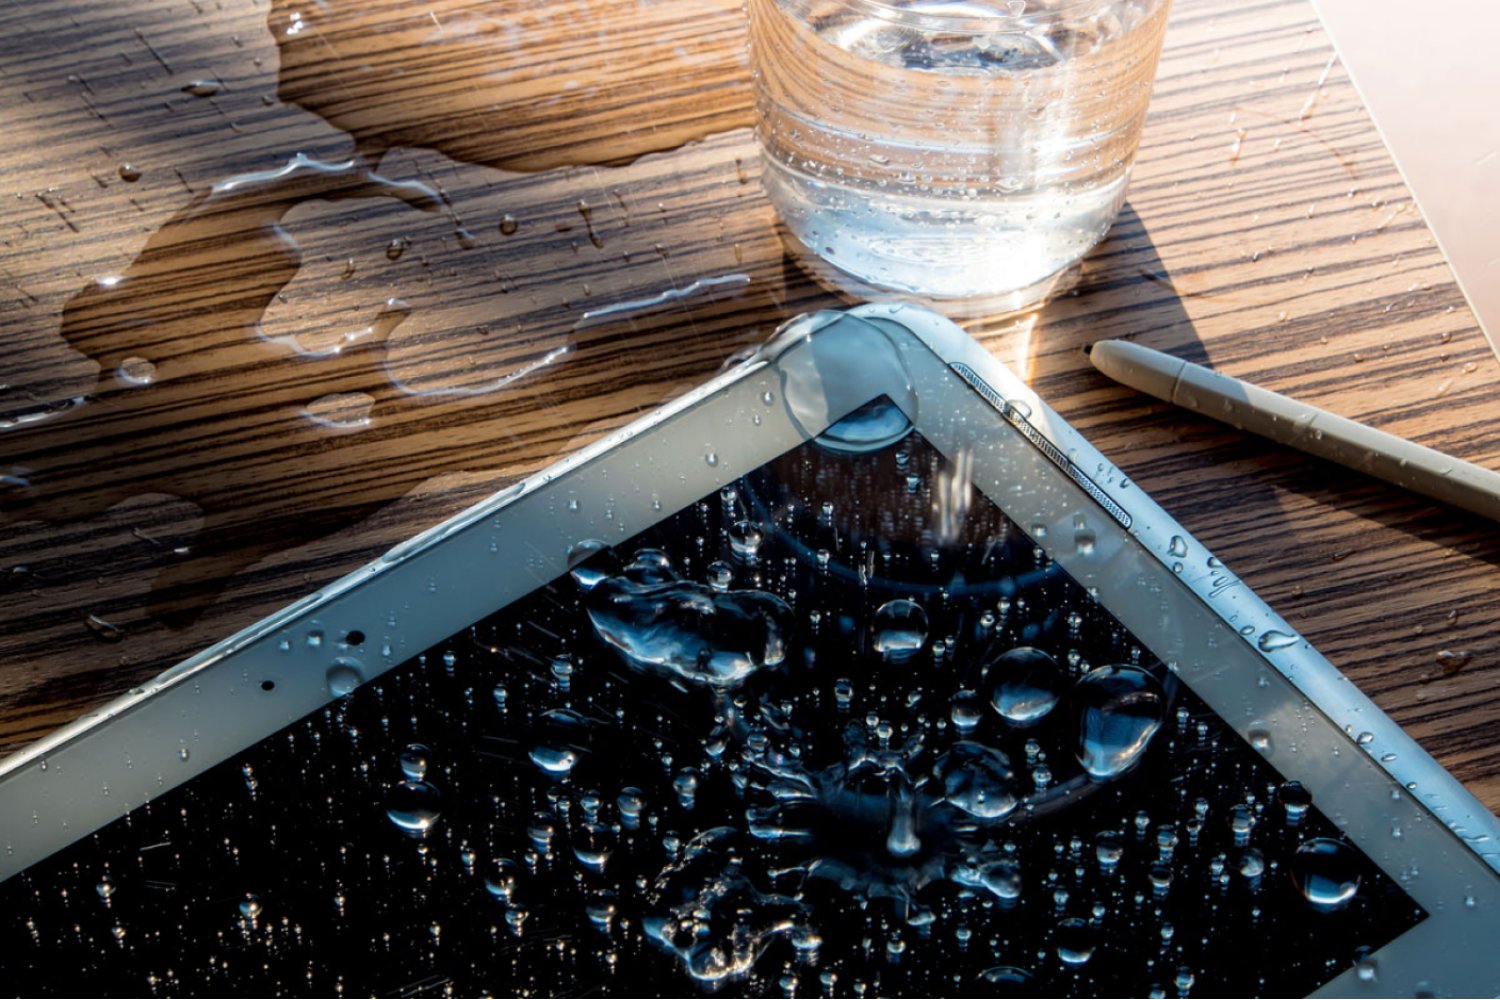
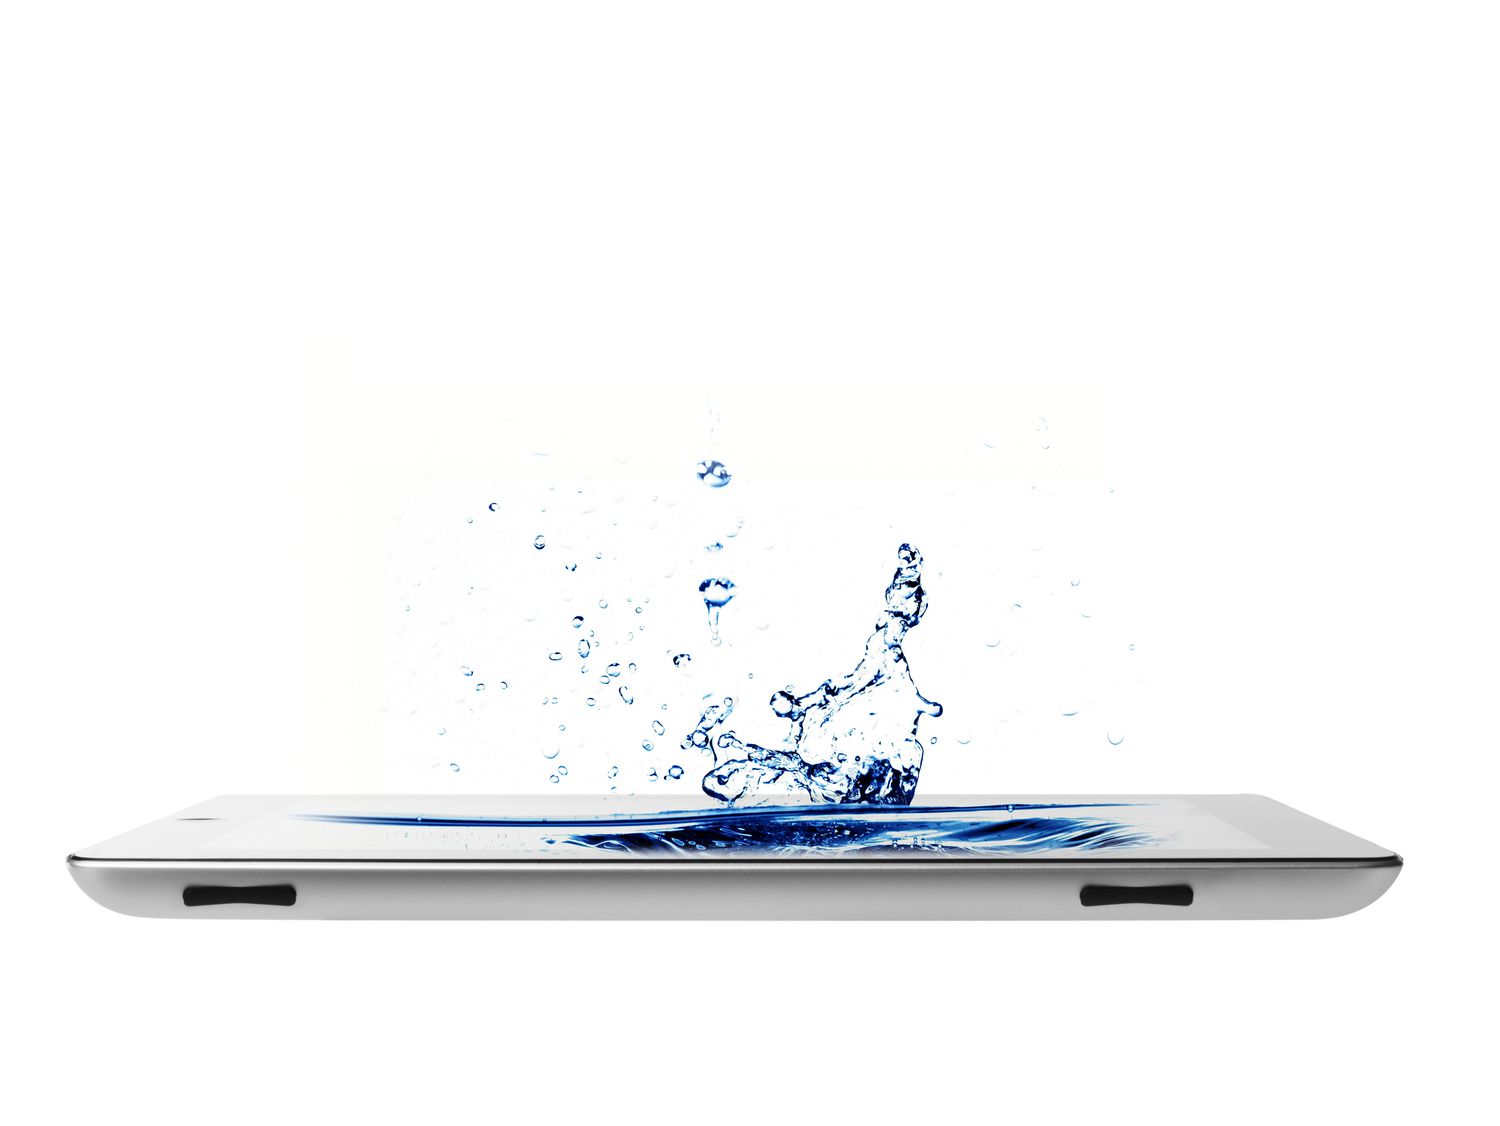
Welcome to our guide on how to dry out a tablet. Accidents happen, and if your tablet has come into contact with water or any other liquid, it’s important to act quickly to prevent any damage. Water damage can cause the tablet to malfunction, and if left untreated, it can lead to irreversible issues.
In this article, we will outline several methods to effectively dry out your tablet and restore it to working condition. From turning off the tablet to using silica gel packets and rice, we will provide you with step-by-step instructions to help you salvage your device.
It is crucial to note that time is of the essence when dealing with liquid damage. The longer the liquid remains inside the tablet, the higher the chances of permanent damage. So, without further ado, let’s dive in and learn how to dry out a tablet!
Before we begin, it’s important to mention that these methods are applicable for water damage caused by minor spills or accidents. If your tablet has been submerged in water for an extended period or exposed to corrosive liquids, it is recommended to take it to a professional for repair.
Assess the Situation
The first step in drying out your tablet is to assess the situation. Quickly evaluate the extent of the liquid damage to determine the best course of action for restoring your device.
Start by identifying the type of liquid that came into contact with your tablet. Water is generally less damaging compared to other liquids, such as soda or coffee, which can leave residue and potentially corrode internal components. If the liquid was anything other than water, it’s important to follow the steps outlined in this guide promptly.
Next, check if your tablet is still turned on. If it is, immediately turn it off to prevent any electrical short circuits that may further damage the device. If the tablet has already shut off due to the liquid exposure, do not attempt to turn it on again until it is completely dry.
Inspect the ports, such as the charging port and headphone jack, for any signs of liquid. If you notice any moisture, gently wipe it off using a soft cloth or tissue paper. It’s crucial to remove any external accessories, such as cases or screen protectors, as they can trap moisture and hinder the drying process.
Lastly, take a moment to breathe and avoid panicking. Remaining calm will help you make rational decisions and take the necessary steps to dry out your tablet effectively.
Remember, every liquid incident is unique, and understanding the extent of the damage will guide your approach to drying out the tablet. With the situation properly assessed, let’s move on to the next step: turning off the tablet.
Turn Off the Tablet
Once you have assessed the situation and determined that your tablet has come into contact with liquid, the next step is to turn it off immediately. Turning off the tablet is crucial as it prevents any electrical current from flowing through the device, reducing the risk of short circuits and further damage.
To turn off the tablet, press and hold the power button until a menu or power options appear on the screen. Select the “Power Off” or “Shut Down” option to initiate the shutdown process. Depending on the tablet model, you may need to slide a switch or hold the power button for a longer duration to power it off completely.
If the tablet is unresponsive or the touch screen is not functioning properly due to the liquid exposure, you can also force a shutdown by holding down the power button for about 10-15 seconds. This action will force the tablet to power off, regardless of its current state.
It’s important to refrain from attempting to turn on the tablet after it has been exposed to liquid. The moisture can cause internal components to short circuit, causing further damage. So, ensure the tablet is completely powered off and proceed to the next step of the drying process.
By taking the immediate action of turning off the tablet, you are helping to minimize the risk of additional damage and increasing the chances of a successful drying process. With the tablet switched off, we can now move on to the next step: removing any external accessories.
Remove Any External Accessories
After turning off your tablet, the next step in the drying process is to remove any external accessories that may hinder or trap moisture. This includes cases, screen protectors, and any other attachments that may be covering the device.
Removing these external accessories is essential because they can potentially trap moisture and impede the drying process. If left on, they can create a moist environment around the tablet, prolonging the time it takes for the device to dry and increasing the risk of damage to its internal components.
To remove a case or cover, gently pry it off the tablet using your fingers or a small tool if necessary. Take care not to apply excessive force, as this could cause additional damage to the tablet or the accessory itself.
If you have a screen protector installed, carefully peel it off from one of the corners, making sure to go slowly to avoid any damage to the tablet’s screen. If the screen protector does not easily come off or leaves behind any residue, you can use isopropyl alcohol and a microfiber cloth to clean the screen gently. However, ensure that the tablet is completely dry before applying alcohol or cleaning agents.
By removing external accessories, you create a better environment for the tablet to dry efficiently. This step allows air to circulate freely around the device, promoting the evaporation of any moisture that may be present. With the external accessories removed, we can now proceed to the next step: wiping off any excess water from the tablet.
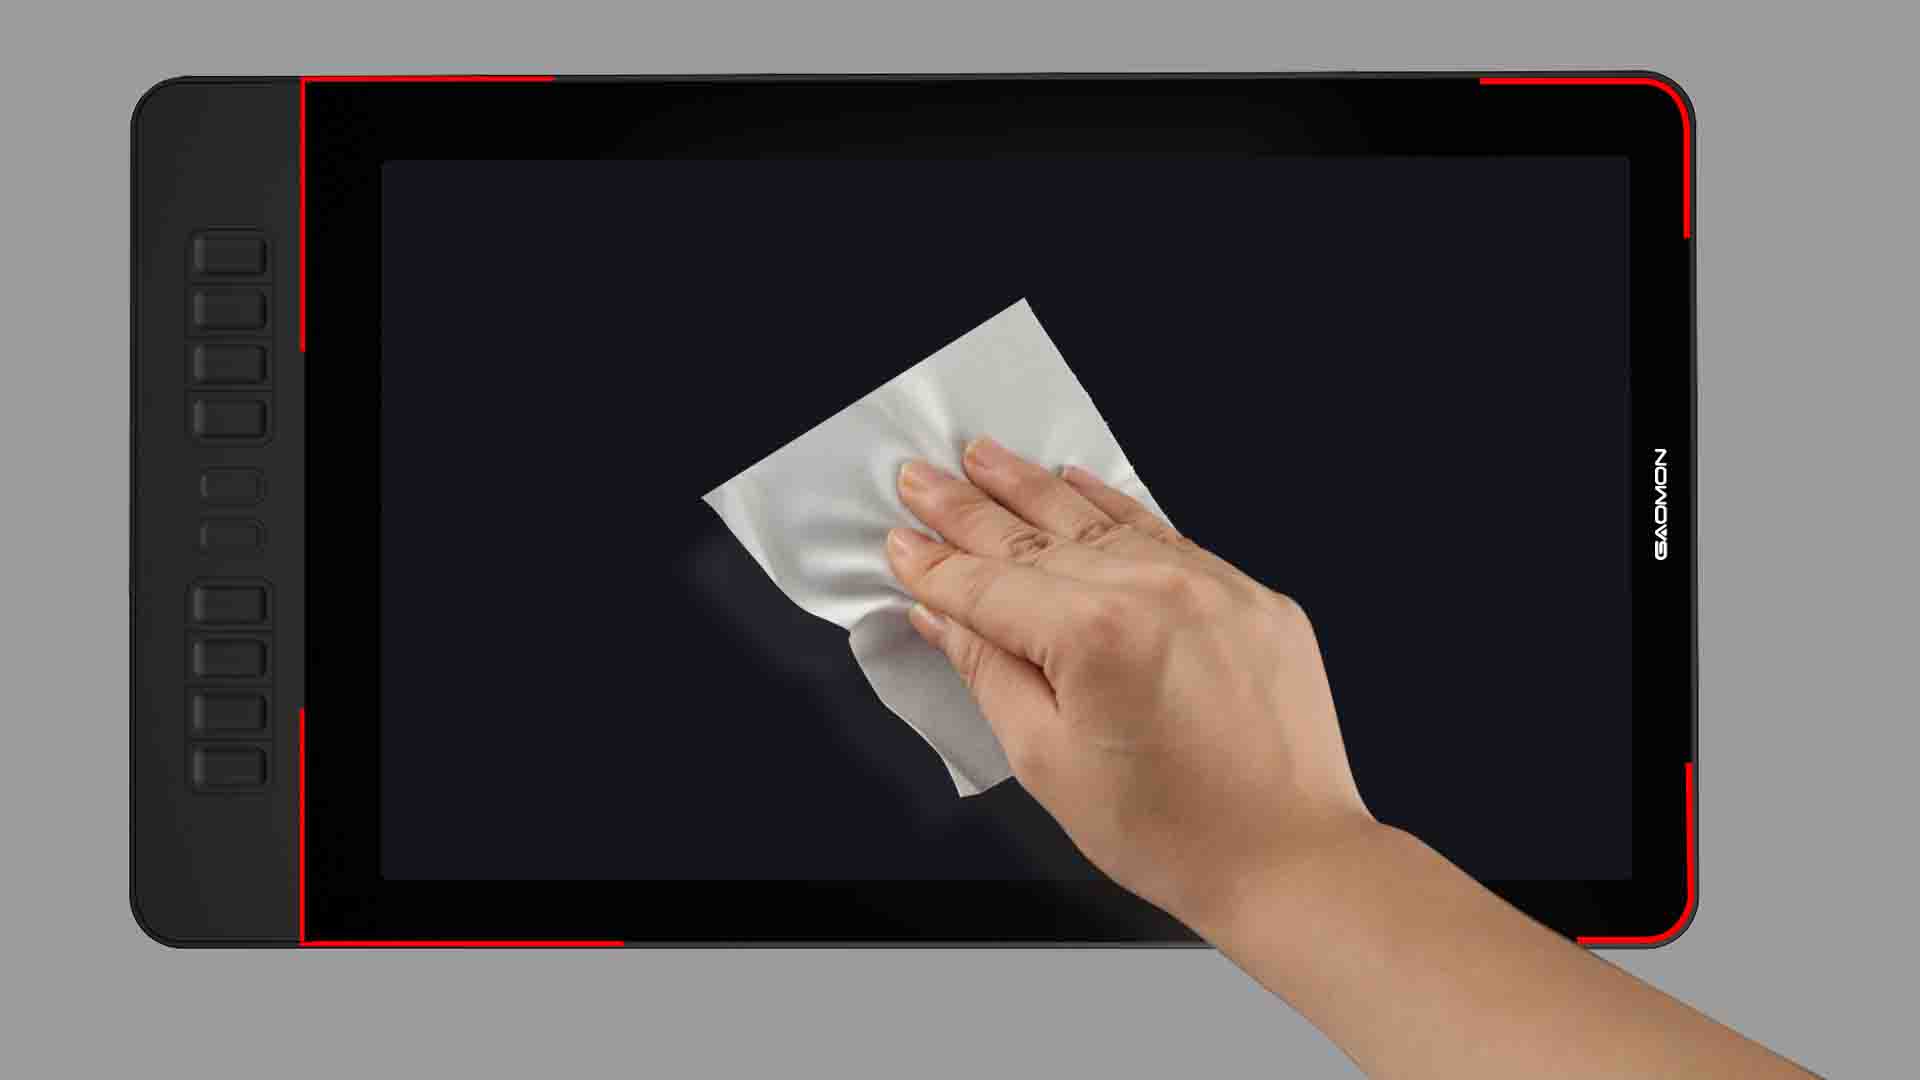
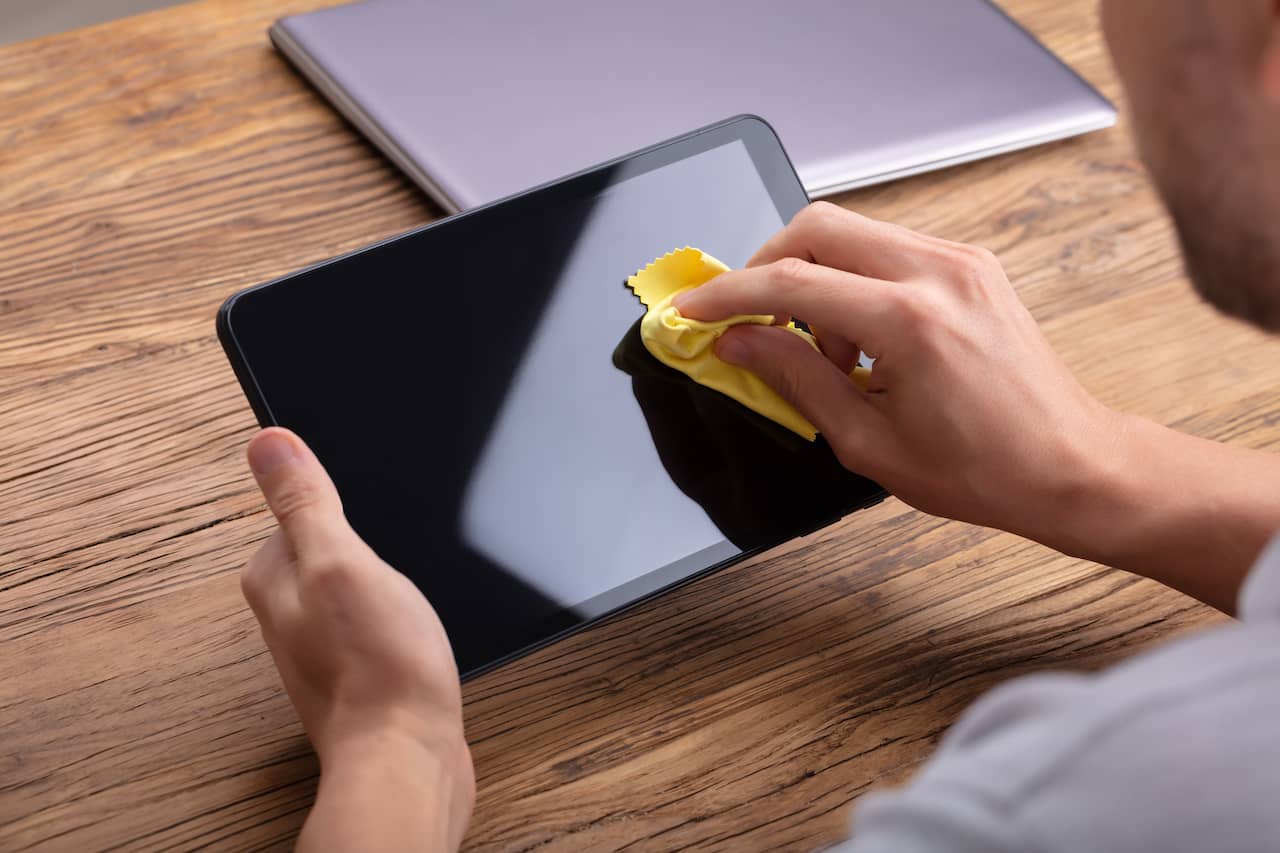
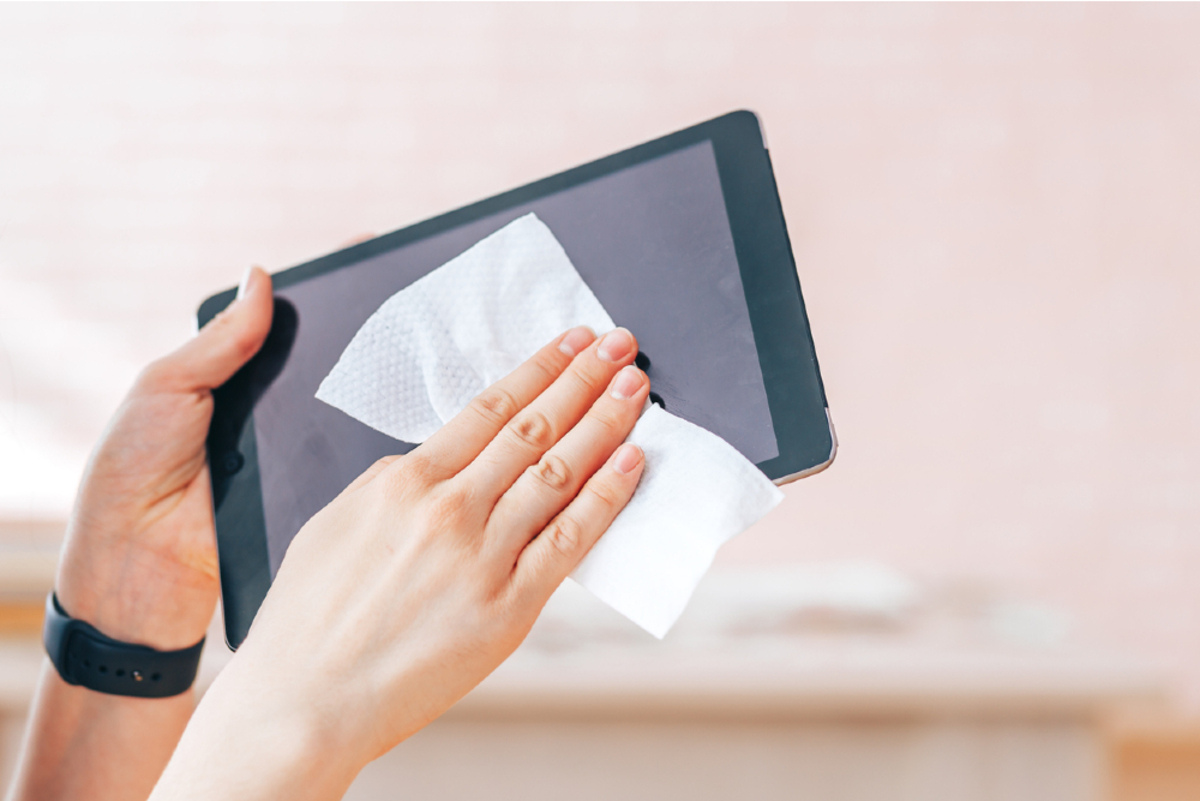
Wipe Excess Water
Once you have removed any external accessories from your tablet, it’s time to wipe off any excess water that may be present on the surface. This step is essential in preventing water from seeping further into the device and causing damage to its internal components.
Start by using a soft, lint-free cloth or absorbent paper towel to gently dab and wipe the surface of the tablet. Be sure to pay attention to all areas, including the screen, buttons, and edges. Avoid applying excessive pressure or rubbing vigorously, as this can push the water deeper into the device or scratch the screen.
If the liquid that came into contact with your tablet was anything other than water, such as soda or coffee, it’s essential to be extra cautious. These liquids can leave sticky residue or stains, making it necessary to clean the surface thoroughly. Dampen a cloth with clean water or isopropyl alcohol (at least 70% concentration) and gently wipe the affected areas to remove any residue.
It’s important to note that while wiping off excess water is necessary, this step alone may not be sufficient to completely dry the tablet. The goal here is to remove as much visible moisture as possible before moving on to the next drying methods.
Remember to be gentle and patient throughout the wiping process. Rushing or using harsh materials can potentially cause more harm than good. Once you have wiped off as much excess water as possible, it’s time to move on to the next step: utilizing silica gel packets to aid in the drying process.
Use Silica Gel Packets
One effective method to aid in the drying process is to utilize silica gel packets. Silica gel is a desiccant that absorbs moisture, making it an ideal solution for drying out your tablet.
You may have encountered silica gel packets before in shoeboxes, electronic packaging, or other products. These small packets contain tiny silica beads that work to extract moisture from the surrounding environment.
To use silica gel packets, follow these steps:
- Ensure that your tablet is powered off and all external accessories have been removed.
- Take a few silica gel packets and place them in a sealable plastic bag.
- Gently place your tablet inside the bag, ensuring that it is well surrounded by the silica gel packets.
- Seal the bag tightly to prevent any moisture or air from getting in.
- Leave the bag undisturbed for at least 24 to 48 hours. The silica gel packets will gradually absorb the moisture from your tablet.
It’s important to note that the effectiveness of silica gel packets may vary based on the extent of the liquid damage and the size of your tablet. Larger tablets may require more silica gel packets to ensure thorough drying. Additionally, ensure that the silica gel packets are in good condition and have not been previously exposed to moisture.
After the specified time has passed, carefully remove your tablet from the bag. Use a soft cloth or paper towel to wipe away any residual moisture before powering it on. It’s recommended to wait a few hours or even overnight before attempting to turn on the tablet to ensure that all moisture has been completely absorbed.
Using silica gel packets can be an effective method for drying out your tablet, especially when combined with other drying techniques. However, if you do not have access to silica gel packets, don’t worry. There are alternative methods that you can try, such as using rice, which we will discuss in the next section.
Rice Method
If you don’t have access to silica gel packets, an alternative method for drying out your tablet is the rice method. Many people have found success using rice as a natural desiccant to absorb moisture.
Here’s how you can use the rice method:
- Ensure that your tablet is turned off and all external accessories have been removed.
- Take a container or a sealable plastic bag that is large enough to accommodate your tablet.
- Fill the container or bag with uncooked rice, ensuring that there is enough rice to fully surround the tablet.
- Gently place your tablet in the container or bag, completely submerging it in the rice.
- Seal the container or bag tightly to prevent any moisture or air from getting in.
- Leave the tablet in the rice for at least 24 to 48 hours. The rice will work to absorb the moisture from your tablet.
It’s important to note that the rice method is not as effective as using silica gel packets, as rice grains do not have the same absorbing properties. However, it can still help in removing some moisture from your tablet.
After the recommended time has passed, carefully remove your tablet from the rice. Use a soft cloth or paper towel to wipe away any residual rice or moisture before attempting to power it on. Just like with the silica gel packets, it’s best to wait a few hours or even overnight before turning on the tablet to ensure that any remaining moisture has evaporated.
While the rice method is widely popular for drying out electronics, it’s important to know that it may not be as effective as other methods. It is still recommended to explore additional drying techniques to ensure the best chance of restoring your tablet to working condition.
Next, we will discuss another method that involves using a vacuum cleaner to remove moisture from your tablet.
Use a Vacuum Cleaner
Another method to aid in drying out your tablet is to use a vacuum cleaner. The suction power of a vacuum cleaner can help remove any residual moisture that may be trapped inside the device.
Here’s how you can use a vacuum cleaner to dry out your tablet:
- Ensure that your tablet is turned off and all external accessories have been removed.
- Select a vacuum cleaner with a small brush attachment or a nozzle that has a gentle suction capability.
- Gently place the nozzle or brush attachment near the ports, buttons, and other openings of your tablet.
- Turn on the vacuum cleaner and create a gentle suction around the tablet’s openings without making direct contact with the device.
- Move the nozzle or brush attachment around to cover all areas of the tablet, paying close attention to the areas where liquid may have entered.
- Continue the process for a few minutes to ensure any trapped moisture is being drawn out.
It’s important to use a gentle suction and avoid applying too much pressure or making direct contact with the tablet’s surface. Excessive suction force or contact can potentially damage the device.
While using a vacuum cleaner can help remove moisture, it may not be as effective as other methods. Some moisture may still remain inside the tablet, especially in hard-to-reach areas. Therefore, it is recommended to combine this method with other drying techniques for the best results.
As always, it’s essential to wait for a sufficient amount of time before attempting to power on the tablet again. This allows any remaining moisture to evaporate fully. After waiting, you can proceed with the next step: placing the tablet in a dry environment.
Place in a Dry Environment
After utilizing different drying techniques like silica gel packets, the rice method, and a vacuum cleaner, the next step is to place your tablet in a dry environment. This step further aids in the evaporation of any remaining moisture and helps ensure a successful drying process.
Find a location with low humidity and good airflow. Ideally, choose a room with proper ventilation and away from any sources of moisture, such as a bathroom or kitchen. A dry and well-ventilated area will help expedite the drying process and reduce the risk of moisture-related damage.
Here are some tips for placing your tablet in a dry environment:
- Find a clean and flat surface where you can safely lay your tablet. Avoid placing it on surfaces that may expose it to potential hazards, such as liquids or excessive heat.
- If you have access to it, you can make use of a dehumidifier to reduce the humidity in the room. This can help speed up the drying process by creating a drier environment.
- Ensure that the tablet is not exposed to direct sunlight or heat sources, such as radiators or heaters. High temperatures can be detrimental to the device and may cause further damage.
- Leave your tablet in the dry environment for at least 24 to 48 hours. This duration allows sufficient time for any remaining moisture to evaporate completely.
During this time, it’s crucial to refrain from attempting to power on the tablet or checking its functionality. Patience is key, as rushing the process can lead to further damage. Give the tablet ample time to dry thoroughly before proceeding.
Once the recommended time has passed, you can proceed to the next step: testing the tablet to see if it has fully recovered.
Do Not Use Heat Sources
When drying out your tablet, it’s important to avoid using heat sources as a means to expedite the process. While it may be tempting to use hairdryers, ovens, or other heat-producing devices, exposing your tablet to excessive heat can cause more harm than good.
Here’s why you should refrain from using heat sources:
Potential Damage: Exposing your tablet to high temperatures can damage its internal components. Heat can warp or melt delicate parts, leading to permanent malfunctioning or even complete failure of the device.
Risk of Overheating: Electronic devices like tablets are designed to operate within specific temperature ranges. Excessive heat can cause the device to overheat, disrupting its normal operation and resulting in further damage.
Moisture Trapping: Using heat sources can create a warm and humid environment, which can cause moisture to evaporate more slowly. As a result, this can prolong the drying process and provide an opportunity for moisture to be trapped inside the tablet, leading to potential corrosion and damage.
Uneven Heating: Heat from external sources may not distribute evenly across the tablet, causing certain areas to be subjected to higher temperatures than others. This can result in uneven drying and further damage to specific areas of the device.
Manufacturer Recommendations: Tablet manufacturers generally advise against using heat sources for drying purposes. They provide specific guidelines for dealing with liquid damage, and deviating from these recommendations can void warranties or make it more difficult to obtain support or repairs if needed.
It’s best to rely on the methods discussed earlier, such as utilizing desiccants like silica gel packets, rice, vacuum cleaners, and placing the tablet in a dry environment. These methods are safer, more effective, and minimize the risk of additional damage to your tablet.
Following these precautions will help ensure the best chance of successfully drying out your tablet and restoring it to working condition.
Next, let’s move on to the testing phase to check if your tablet has fully recovered.
Test the Tablet
After allowing your tablet sufficient time to dry in a dry environment, it’s time to perform a test to check if it has fully recovered from the liquid damage. Testing the tablet will help determine if all the components are functioning properly and if there are any lingering issues that need to be addressed.
Here are a few steps to test your tablet:
- Start by visually inspecting the tablet for any visible signs of damage, such as cracks, discoloration, or malfunctioning buttons. If you notice any issues, it may be necessary to seek professional assistance for repair.
- Reconnect any necessary external accessories, such as chargers or headphones, and ensure they are functioning correctly.
- Power on the tablet by pressing and holding the power button. Observe if the device boots up normally and if the screen displays correctly.
- Check the touch screen responsiveness by swiping, tapping, and entering text to ensure that it is working properly.
- Test the sound capabilities by playing audio or videos and checking if the speakers or headphone jack output sound as expected.
- Connect to Wi-Fi or mobile data and test the internet connectivity by visiting websites or streaming content.
- Open various apps and perform common tasks to assess the overall performance and responsiveness of the tablet.
- Monitor the battery life to ensure it charges properly and can hold a charge without draining excessively fast.
It’s essential to thoroughly test the tablet across different functions and features that you typically use in your everyday activities. This will help identify any remaining issues and give you an idea of whether the tablet has fully recovered.
If you notice any persisting problems or unusual behavior during the testing phase, it may be necessary to seek professional assistance from a technician or contact the manufacturer for further guidance.
On the other hand, if the tablet functions well and shows no signs of damage or malfunction, congratulations! You have successfully dried out your tablet and restored it to working condition.
Remember to continue taking preventive measures to protect your tablet from future liquid damage, such as using protective cases and avoiding exposure to liquids in the first place.
With the tablet tested and confirmed to be in good working order, you can now enjoy using it as you normally would.
Conclusion
Accidents happen, and when your tablet comes into contact with liquid, acting quickly is crucial to prevent damage. By following the steps outlined in this guide, you can effectively dry out your tablet and restore it to full functionality.
We started by assessing the situation and understanding the type of liquid damage. Turning off the tablet and removing any external accessories were our next steps to minimize the risk of further damage. Wiping off excess water and utilizing desiccants like silica gel packets or rice helped in absorbing moisture.
We advised against using heat sources and recommended placing the tablet in a dry environment, allowing it ample time to dry naturally. Finally, we emphasized the importance of testing the tablet after the drying process to ensure it has fully recovered.
If, despite following these methods, your tablet continues to have issues or does not function properly, it may be necessary to contact a professional technician or the manufacturer for additional support.
Remember, prevention is always better than a cure. Taking preventive measures like using protective cases, avoiding liquids near your tablet, and being cautious with handling can reduce the chances of future liquid damage.
We hope that this guide has been helpful and that you have successfully dried out your tablet. With your device back in working condition, you can now resume enjoying all its features and functionalities.
Thank you for reading, and we wish you the best of luck in your tablet drying endeavors!