Introduction
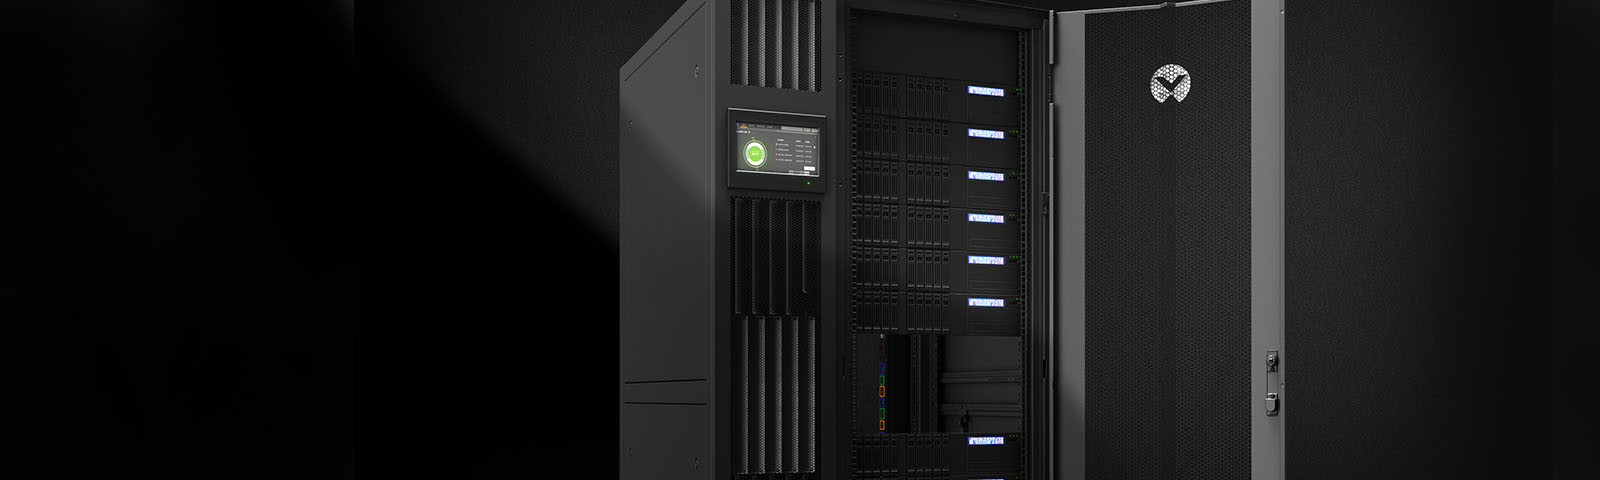
Have you ever found yourself in a situation where you need to dismantle a server rack? Whether it’s for repairs, upgrades, or simply relocating the equipment, knowing the proper steps to dismantle a server rack is vital. In this article, we will guide you through the process, ensuring that you have the necessary information to complete the task efficiently and safely.
Dismantling a server rack may seem like a daunting task, especially for those who are unfamiliar with server hardware. However, with the right guidance and a systematic approach, it can be a straightforward process. By following the steps outlined in this article, you will be able to dismantle a server rack without any hassle.
Before we delve into the specific steps, it is important to emphasize the importance of safety. Always ensure that you are wearing appropriate protective gear, such as gloves and safety glasses, to protect yourself from any potential hazards. Additionally, make sure to power off all equipment and unplug any connected cables before beginning the dismantling process.
Now that we have covered the basics, let’s dive into the step-by-step guide on how to dismantle a server rack.
Step 1: Preparations
Before you start dismantling the server rack, it’s important to make some preparations to ensure a smooth and efficient process. Here are the key tasks to complete in this step:
- Assess the situation: Take a moment to assess the server rack and its surroundings. Look for any potential obstacles or hazards that may impede the dismantling process. Ensure that you have enough space to safely move and store the server units.
- Gather the necessary tools: Make sure you have the proper tools on hand to dismantle the server rack. This typically includes screwdrivers, pliers, and cable management tools. Having the right tools readily available will save you time and minimize the risk of damaging any equipment.
- Take inventory: Before you start disconnecting and removing the server units, it’s essential to take inventory of what is currently installed in the rack. Create a clear record of the number and type of servers, as well as any other devices connected. This will help you keep track of the equipment and ensure that everything is properly reassembled.
- Label cables and connections: Server racks can be a labyrinth of cables, and it’s crucial to avoid confusion when reconnecting them later. Use labels or markers to identify cables and their corresponding ports. This will save you time and frustration during the reinstallation process.
By completing these preparations, you’ll be well-prepared and organized for the dismantling process. Taking the time to assess the situation, gather the necessary tools, and label cables will significantly streamline the work ahead and ensure a smooth transition throughout the entire process.
Step 2: Power Off and Unplug
One of the first and most crucial steps in dismantling a server rack is to power off all equipment and unplug any connected cables. This ensures the safety of both the person performing the dismantling and the equipment itself. Here’s how to proceed:
- Shut down the servers: Begin by properly shutting down each server unit. Follow the manufacturer’s instructions or use the appropriate software to gracefully power off the servers. This is important to avoid any data corruption or damage to the hardware.
- Unplug power cords: Once the servers have been shut down, locate the power cords connected to each server and unplug them from the power outlets. Take care to remove any redundant power cables as well. Keep the power cords organized and set them aside in a safe place to avoid tangling or misplacement.
- Disconnect network cables: Next, disconnect the network cables from each server unit. These cables are typically connected to Ethernet ports on the back of the servers. Gently unplug the cables and set them aside for later reinstallation. If there are cable management systems in place, use them to keep the cables organized.
- Remove other connected cables: In addition to network cables, servers may have other peripheral cables, such as USB, video, or audio cables, connected to them. Disconnect these cables as well, taking note of their locations and any specific connection requirements.
By meticulously powering off and unplugging the server units, you ensure a safe and organized dismantling process. Properly shutting down the servers, unplugging the power cords, and disconnecting network and peripheral cables prevent any accidental damage and make it easier to handle the equipment in subsequent steps.
Step 3: Remove Network and Cables
With the servers powered off and unplugged, the next step in dismantling a server rack is to remove the network and cables connected to the server units. This ensures a seamless disconnection and makes it easier to handle the equipment. Follow these steps to accomplish this:
- Identify cable connections: Take a moment to identify the different cables connected to each server unit. This includes Ethernet cables, fiber optic cables, and any other network-related connections.
- Remove cable ties or clips: If there are cable ties or clips holding the cables in place, gently remove them using pliers or cable management tools. Take care not to damage the cables while doing so.
- Disconnect network cables: Start by disconnecting the Ethernet cables from the Ethernet ports on the servers. Hold the Ethernet connector firmly and pull it straight out to avoid bending or damaging the pins. If there are multiple cables, take note of their locations for reinstallation later.
- Disconnect fiber optic cables (if applicable): If your server rack has fiber optic connections, carefully unplug the fiber optic cables from the transceiver ports. Fiber optic cables require delicate handling, so make sure to gently unplug them to avoid any damage.
- Label and organize cables: As you disconnect each cable, use labels or markers to indicate their purpose and specific server unit connections. This will come in handy during the reinstallation process, ensuring the correct cables are connected to the appropriate servers.
- Secure and store the cables: Once all the cables are disconnected, neatly coil each cable and use cable ties or Velcro straps to secure them. Keep the cables organized and store them in a safe place to prevent tangling and ensure easy accessibility when reassembling the server rack.
By carefully removing the network and cables connected to the server units, you ensure a methodical and organized dismantling process. Taking the time to identify connections, disconnect cables properly, and label and store them will save you valuable time and frustration when it’s time to reassemble the server rack.
Step 4: Remove Server Units
Once the network and cables have been disconnected, the next step in dismantling a server rack is to remove the server units. Removing the server units requires careful handling to prevent any damage. Here’s how to proceed:
- Assess the weight and size: Before removing any server unit, assess its weight and size. Some servers can be quite heavy and may require assistance or proper lifting equipment. Take note of any servers that may need special handling.
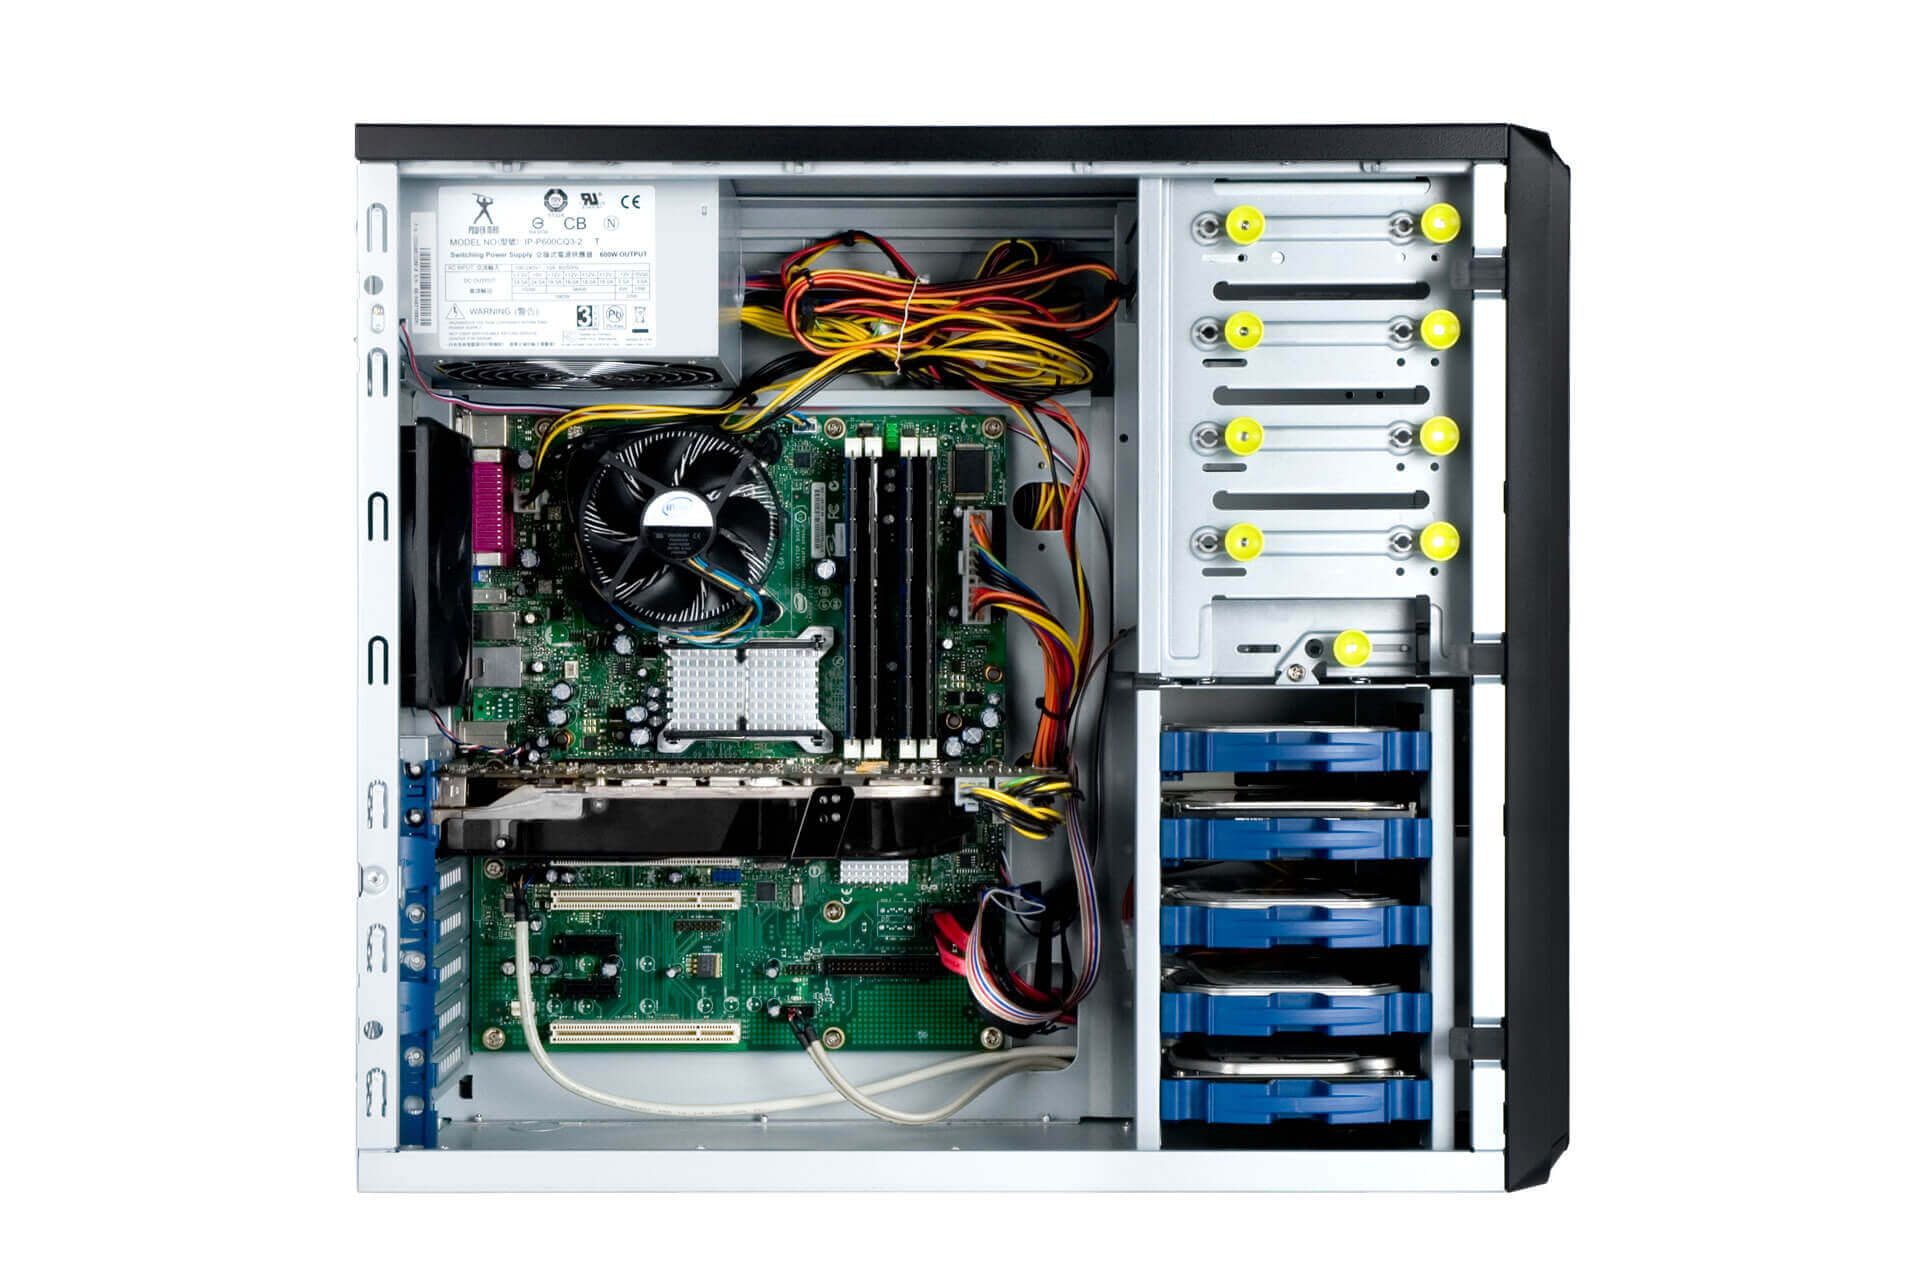
- Open the server unit: Most server units have side panels that can be easily opened. Locate the screws or latches holding the side panels in place and remove them. Carefully slide or lift the side panel to open up the server unit.
- Disconnect internal cables: Inside the server unit, you will find various internal cables connecting the hardware components. Take note of their locations and gently disconnect them. It’s important to be cautious and avoid applying excess force that may damage the connectors or cables.
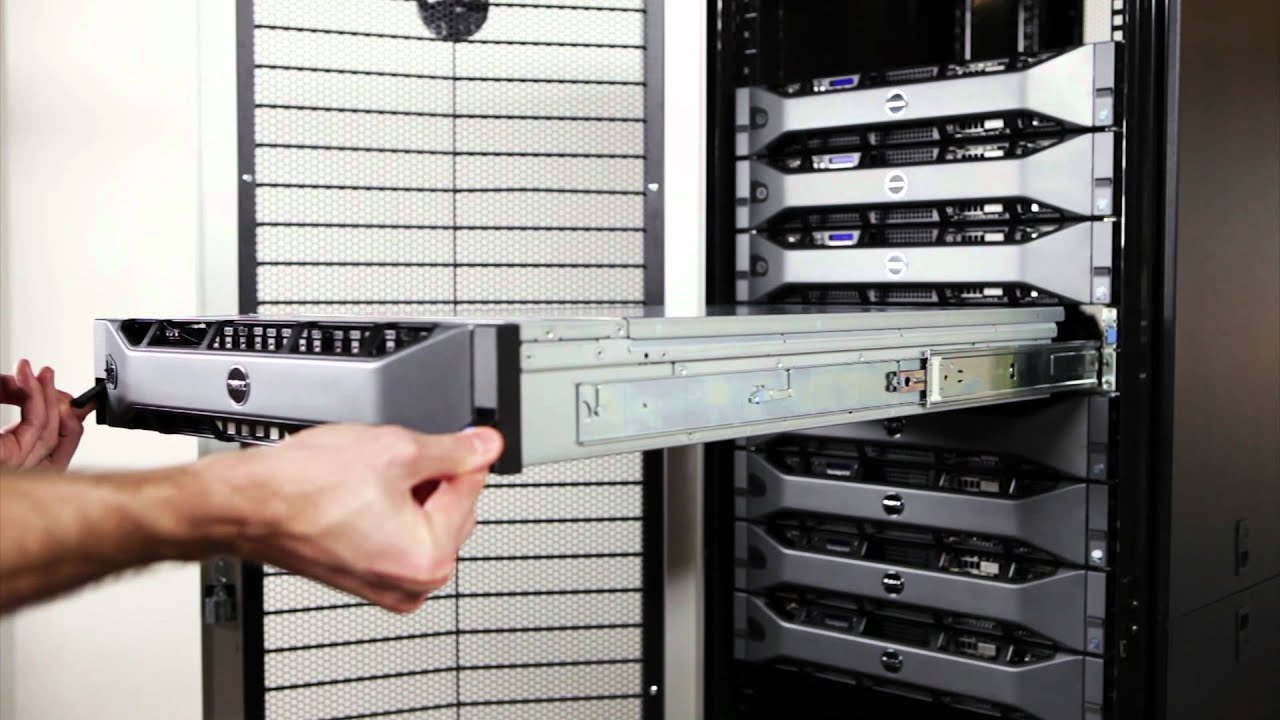
- Remove the server unit from the rack: With the cables disconnected, carefully slide the server unit out of the rack. If needed, use your other hand to support the server unit to ensure a stable and controlled removal.
- Place the server unit in a safe location: Once the server unit is removed from the rack, place it in a designated area where it will be safe from any potential damage. Ensure that the surface is stable and can support the weight of the server unit.
- Repeat for each server unit: Repeat the same steps for each server unit in the rack. Take your time and handle each unit with care, ensuring that all internal cables are properly disconnected before removing them from the rack.
By following these steps, you can safely and systematically remove each server unit from the rack. Remember to assess the weight, open the server unit, disconnect internal cables, remove it from the rack, and place it in a secure location. Taking the time to handle each server unit carefully will minimize the risk of damage and make the reassembly process much smoother.
Step 5: Unscrew Rack Mounts
After removing the server units, the next step in dismantling a server rack is to unscrew the rack mounts. The rack mounts secure the server units in place and need to be removed before disassembling the rack itself. Here’s how to proceed:
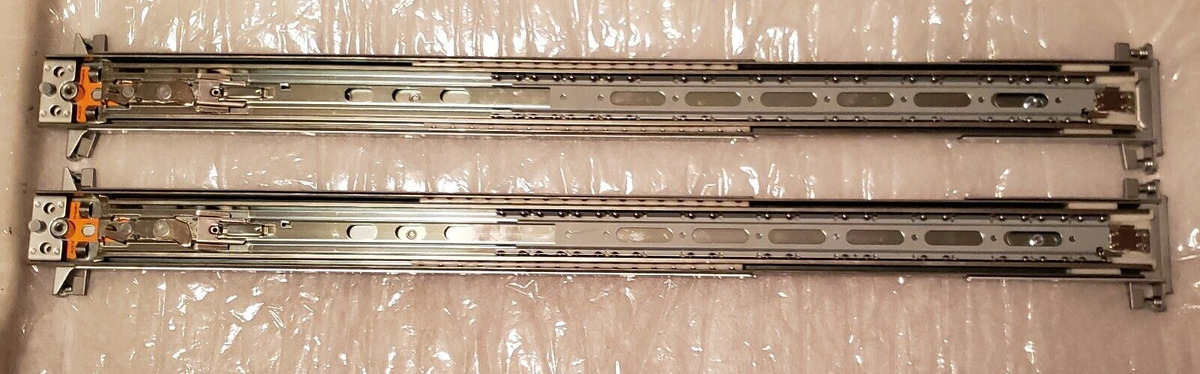
- Identify the rack mounts: Locate the screws or bolts that secure the rack mounts to the server rack. These are typically found on the front and rear vertical beams of the rack.
- Prepare the necessary tools: Gather the appropriate screwdriver or wrench that fits the screws or bolts used to secure the rack mounts.
- Start unscrewing: Begin by unscrewing the screws or bolts from the front vertical beams of the rack. Use the proper tool and apply steady pressure to loosen and remove them. Set the screws or bolts aside in a safe place to avoid misplacement.
- Remove the rack mounts: Once the screws or bolts are completely removed, carefully slide the rack mounts out of the vertical beams. Take note of any additional clips or attachments that may need to be released to fully remove the rack mounts.
- Repeat for all rack mounts: Proceed to unscrew and remove all the rack mounts from the server rack following the same process. Ensure that each rack mount is safely stored to prevent loss or damage.
By unscrewing the rack mounts, you are one step closer to completely dismantling the server rack. Remember to identify the rack mounts, gather the necessary tools, unscrew the screws or bolts, remove the rack mounts, and repeat the process for all mounts in the rack. Properly removing the rack mounts will facilitate the disassembly of the rack frames in the next step.
Step 6: Disconnect Power Supply Unit
With the rack mounts removed, the next step in dismantling a server rack is to disconnect the power supply unit (PSU). The PSU provides power to the server units and needs to be disconnected before further disassembly. Here’s how to proceed:
- Locate the power supply unit: Identify the location of the PSU within the server rack. It is typically located at the rear of the rack or mounted on the rack frames.
- Turn off the PSU: Locate the power switch or button on the PSU and turn it off to ensure no power is flowing to the server units.
- Unplug the power cords: Disconnect the power cables connected to the PSU. These cables are typically thick and have a distinct plug end that fits into the PSU. Gently unplug the cables, taking care not to tug on them excessively.
- Disconnect any internal cables: Inside the server rack, there may be internal cables connecting the PSU to the server units or other components. Identify these cables and disconnect them according to their respective connectors. Handle the cables with care to avoid damage to the connectors.
- Remove the power supply unit: Once all cables are disconnected, you can safely remove the PSU from the rack. Depending on the mounting mechanism, you may need to unscrew it or release any latches or clips securing it in place.
- Store the power supply unit: Properly store the PSU in a secure location, ensuring it is protected from any damage or extreme temperatures. Keep any screws or mounting accessories together with the PSU for easy reassembly.
By following these steps, you can safely disconnect and remove the power supply unit from the server rack. Remember to turn off the PSU, unplug the power cords, disconnect any internal cables, remove the PSU from the rack, and store it properly. Taking the time to carefully handle the PSU will minimize the risk of damage and simplify the remaining disassembly steps.
Step 7: Remove Side Panels
Once the power supply unit is disconnected, the next step in dismantling a server rack is to remove the side panels. The side panels provide access to the internal components of the rack and need to be removed before further disassembly. Here’s how to proceed:
- Identify the side panels: Take a moment to locate the side panels of the server rack. There are usually two side panels, one on each side, that can be easily removed.
- Prepare the necessary tools: Gather the appropriate screwdriver or tools that are required to remove the screws or latches holding the side panels in place.
- Start removing screws or latches: Carefully remove the screws or release the latches securing the side panels. Take note of the locations of the screws or latches on the rack to ensure a systematic removal process.
- Slide or lift the side panels: After the screws or latches are removed, slide or lift the side panels to detach them from the server rack. If there are any clips or additional attachments, release them to fully remove the side panels.
- Set aside the side panels: Once the side panels are successfully removed, place them in a safe location to avoid any damage. You may want to keep the screws or latches with the side panels for convenience during reassembly.
By removing the side panels of the server rack, you gain easy access to the internal components and further facilitate the disassembly process. Remember to identify the side panels, prepare the necessary tools, remove the screws or latches, slide or lift the side panels, and carefully set them aside. Properly removing the side panels will make it easier to take apart the rack frames in the next step.
Step 8: Take Apart Rack Frames
The final step in dismantling a server rack is to take apart the rack frames. This involves disassembling the vertical beams, horizontal bars, and any remaining components that hold the rack together. Follow these steps to complete the process:
- Identify the rack frame components: Take a moment to identify the different components that make up the rack frame, such as the vertical beams, horizontal bars, and brackets.
- Remove screws or bolts: Begin by removing any screws or bolts that secure the vertical beams to the base or any other supporting structure. Use the appropriate tools and ensure a systematic approach to avoid any confusion or misplacement of screws.
- Slide out the vertical beams: After removing the screws or bolts, carefully slide out the vertical beams from the base or brackets. If needed, you may need to disengage any clips or attachments holding them in place.
- Unbolt the horizontal bars: Locate the screws or bolts that hold the horizontal bars in place. Unscrew or unbolt them, paying attention to any additional brackets or supports that may be attached. Remove the horizontal bars one by one, ensuring proper handling to prevent any damage.
- Disassemble remaining components: Once the vertical beams and horizontal bars are removed, check for any remaining components, such as cable management panels or shelves. Remove them according to their respective attachment mechanisms.
- Store the disassembled components: Properly store all the disassembled components in a secure location, ensuring that the screws, bolts, and other small parts are kept together. This will make the reassembly process more efficient and less prone to missing parts.
By taking apart the rack frames, you complete the dismantling process of the server rack. Remember to remove screws or bolts, slide out the vertical beams, unbolt the horizontal bars, disassemble any remaining components, and store everything properly. Taking the time to disassemble the rack frames with care will ensure that the components are preserved for future use or disposal.
Conclusion
Dismantling a server rack may seem like an intimidating task, but by following the proper steps, it can be a manageable and straightforward process. From preparing for the dismantling to taking apart the rack frames, each step plays a crucial role in ensuring a smooth and successful disassembly.
Starting with the necessary preparations, such as assessing the situation, gathering tools, and labeling cables, sets the foundation for an organized dismantling process. Powering off and unplugging the equipment, disconnecting network and cables, and removing the server units ensure a safe and methodical approach.
Unscrewing the rack mounts, disconnecting the power supply unit, removing the side panels, and taking apart the rack frames complete the dismantling process. Each step requires careful handling and attention to detail to prevent any damage to the equipment or the rack itself.
By following these steps, you can confidently dismantle a server rack, whether it’s for repairs, upgrades, or relocation. Remember to exercise caution, wear appropriate protective gear, and use the necessary tools to ensure your safety throughout the process.
When it comes time to reassemble the server rack, refer back to the notes, labels, and inventory you made during the dismantling process. This will help you reconnect the cables correctly, reinstall the server units, and rebuild the rack frames without any confusion or mistakes.
With proper knowledge and adherence to these steps, you have the skills to dismantle a server rack effectively. Always take your time, approach each step systematically, and prioritize safety to ensure a successful dismantling process.