Introduction
Welcome to this guide on how to delete pictures on your Samsung tablet. Whether you want to clear up storage space, organize your photo library, or simply get rid of unwanted pictures, deleting photos from your tablet is a simple process that can be done in a few different ways. In this article, we will explore various methods to help you delete pictures with ease.
Your Samsung tablet offers a range of options for deleting pictures, so you can choose the method that best suits your needs. You can delete individual pictures, remove multiple pictures at once, delete pictures from specific albums or apps, and even permanently delete photos from the trash folder. Additionally, if you want to free up more storage space by removing temporary pictures, we will show you how to clear the cache.
Deleting pictures is a great way to keep your tablet organized and ensure that you only keep the photos that are important to you. By periodically removing unnecessary pictures, you can optimize your tablet’s storage capacity and enjoy a smooth and efficient user experience.
Before we dive into the various methods for deleting pictures on your Samsung tablet, it’s important to note that the specific steps may vary slightly depending on the model and operating system of your tablet. However, the overall process should be similar across most Samsung tablets. Now, let’s explore the multiple methods available for deleting pictures on your device.
Method 1: Deleting Individual Pictures
If you have a few specific pictures that you want to delete from your Samsung tablet, this method is perfect for you. Follow these simple steps to delete individual pictures:
- Open the Gallery app on your Samsung tablet. It is usually represented by an icon that resembles a square grid of thumbnails.
- Navigate to the specific album containing the picture you wish to delete. If the picture is not in an album, you can find it in the “Camera” or “All Photos” section.
- Browse through the pictures until you find the one you want to delete. Tap on the picture to open it in full view.
- Once the picture is open, locate the trash bin icon or the delete option. This may be represented by three dots or an icon with a trash bin. Tap on it.
- A confirmation message will appear asking if you want to delete the picture. Verify that you have selected the correct picture and tap “Delete” to confirm.
- The picture will be moved to the trash folder, where it will be stored temporarily before being permanently deleted.
Deleting individual pictures is a straightforward process that allows you to quickly remove specific photos from your tablet. This method is ideal when you only want to delete a few pictures and need the flexibility to choose which ones to remove. Now that you know how to delete individual pictures, let’s explore how to delete multiple pictures at once.
Method 2: Deleting Multiple Pictures at Once
If you have a large number of pictures that you want to delete from your Samsung tablet, deleting them individually can be time-consuming. Luckily, your tablet offers a convenient method to delete multiple pictures at once. Follow these steps to delete multiple pictures efficiently:
- Open the Gallery app on your Samsung tablet.
- Navigate to the specific album or section where the pictures you want to delete are located.
- Look for the “Select” or “Edit” option. This may be represented by a checkbox or a pencil icon. Tap on it.
- Now, you can select multiple pictures by tapping on each one. Selected pictures will be highlighted or marked with a checkbox.
- Once you have selected all the pictures you want to delete, locate the trash bin icon or the delete option. It’s usually located at the top or bottom of the screen. Tap on it.
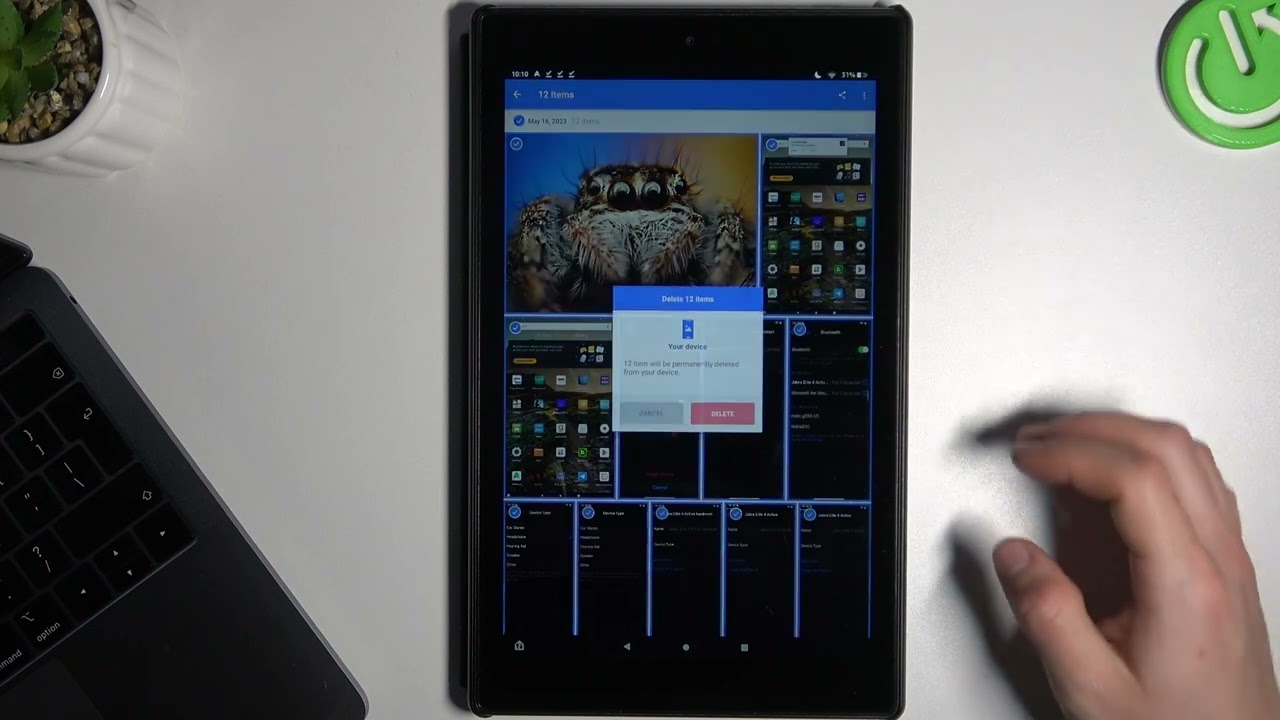
- A confirmation message will appear, asking if you want to delete the selected pictures. Verify that you have chosen the correct pictures and tap “Delete” to confirm.
- The selected pictures will be moved to the trash folder and will be deleted permanently after a set period of time.
The ability to delete multiple pictures at once is a time-saving feature that allows you to quickly clear up space on your tablet. This method is particularly useful when you have many pictures to delete or if you want to remove an entire album. Now that you know how to delete multiple pictures, let’s move on to the next method, which is deleting pictures from a specific album.
Method 3: Deleting Pictures from an Album
If you want to delete pictures from a specific album on your Samsung tablet, you can use this method. Follow these steps to remove pictures from an album:
- Launch the Gallery app on your Samsung tablet.
- Navigate to the specific album from which you want to delete pictures.
- Open the album and browse through the pictures until you find the ones you want to delete.
- Touch and hold on the first picture you want to delete. This will activate the multi-select mode and allow you to select multiple pictures at once.
- While still holding the first picture, tap on the other pictures you want to delete. Selected pictures will be highlighted or marked with a checkbox.
- Once you have selected all the pictures you want to delete, look for the trash bin icon or the delete option. Tap on it.
- A confirmation message will appear, asking if you want to delete the selected pictures. Confirm your choice by tapping “Delete”.
- The selected pictures will be moved to the trash folder and will be deleted permanently after a set period of time.
Deleting pictures from a specific album allows you to keep your photo library organized and remove unwanted photos easily. Whether it’s a vacation album or a collection of screenshots, this method lets you selectively delete pictures from specific albums on your Samsung tablet. Now that you know how to delete pictures from an album, let’s move on to the next method, which involves deleting pictures from a specific app.
Method 4: Deleting Pictures from a Specific App
If you have pictures that are stored within a specific app on your Samsung tablet, you can delete them directly from that app. Here’s how to delete pictures from a specific app:
- Open the app on your Samsung tablet that contains the pictures you want to delete. Examples of such apps might include your Social Media apps, Messaging apps, or other third-party photo apps.
- Navigate to the section or album within the app where the pictures you want to delete are located.
- Browse through the pictures until you find the ones you want to delete.
- Tap and hold on the first picture you want to delete, which will activate the selection mode.
- While still holding the first picture, tap on the other pictures you want to delete. Selected pictures may be highlighted or marked with a checkbox, depending on the app.
- Once you have selected all the pictures you want to delete, look for the trash bin icon, delete option, or any other indicator that represents deleting. Tap on it.
- A confirmation message will appear, asking if you want to delete the selected pictures. Review your selection and tap “Delete” to confirm.
- The selected pictures will be deleted from within the specific app.
Deleting pictures from a specific app allows you to manage your photos directly within the app itself, keeping your picture library organized without the need to navigate through the general photo gallery. This method is especially useful when you want to remove pictures from a particular app without affecting your overall photo library. Now that you know how to delete pictures from a specific app, let’s move on to the next method, which involves permanently deleting pictures from the trash folder.
Method 5: Deleting Pictures Permanently from the Trash
When you delete pictures on your Samsung tablet, they are initially moved to the trash or recycle bin folder. This folder acts as a temporary storage for deleted pictures in case you change your mind. However, if you want to free up storage space and permanently delete these pictures, follow these steps:
- Open the Gallery app on your Samsung tablet.
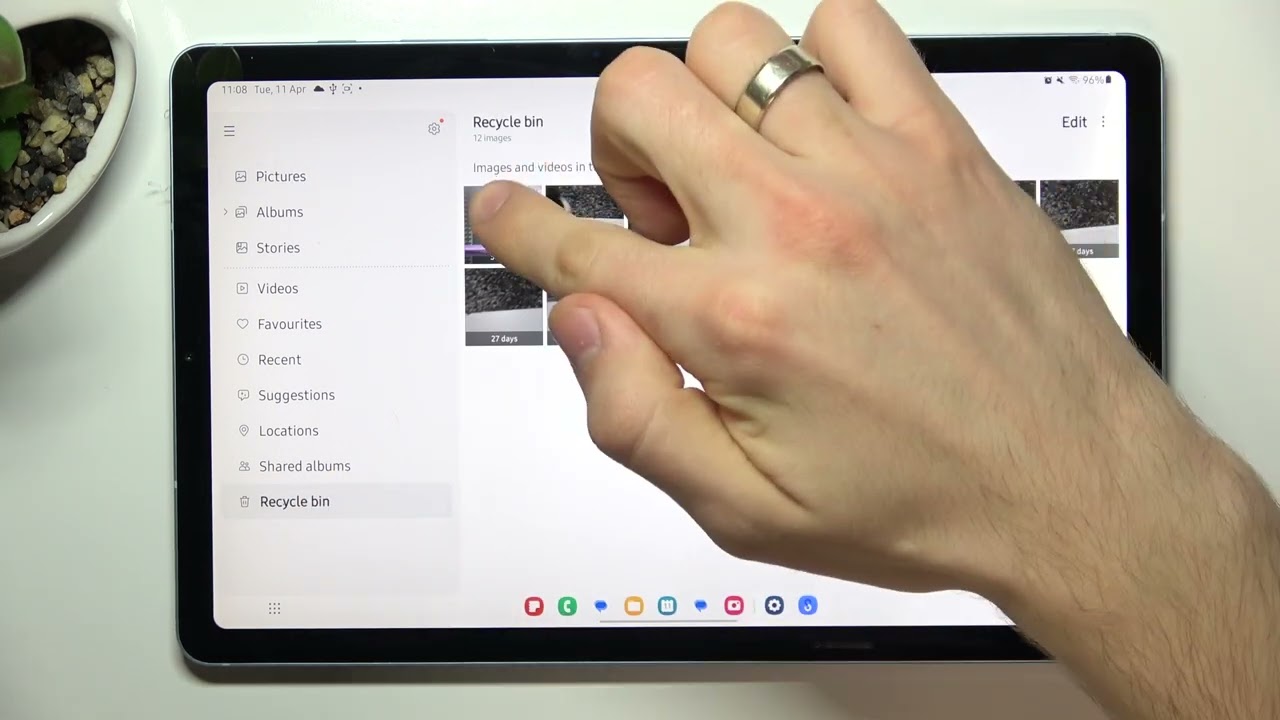
- Look for the “Trash” or “Recycle Bin” option. It is usually located in the side menu or at the bottom of the screen. Tap on it.
- You will see a list of the pictures that are currently in the trash folder.
- Tap and hold on the first picture you want to permanently delete. This will activate the selection mode.
- While still holding the first picture, tap on the other pictures you want to permanently delete. Selected pictures will be highlighted or marked with a checkbox.
- Once you have selected all the pictures you want to permanently delete, look for the delete or trash bin icon. Tap on it.
- A confirmation message will appear, reminding you that these pictures will be permanently deleted. Make sure you have selected the correct pictures, and then tap “Delete”.
- The selected pictures will be permanently deleted from your Samsung tablet and cannot be recovered.
By following this method, you can reclaim storage space on your tablet by permanently deleting pictures from the trash folder. However, it’s important to note that once you delete pictures from the trash folder, they cannot be restored. Therefore, ensure that you have selected the right pictures before permanently deleting them. Now that you know how to delete pictures from the trash folder, let’s move on to the next method, which involves clearing the cache to delete temporary pictures.
Method 6: Clearing the Cache to Delete Temporary Pictures
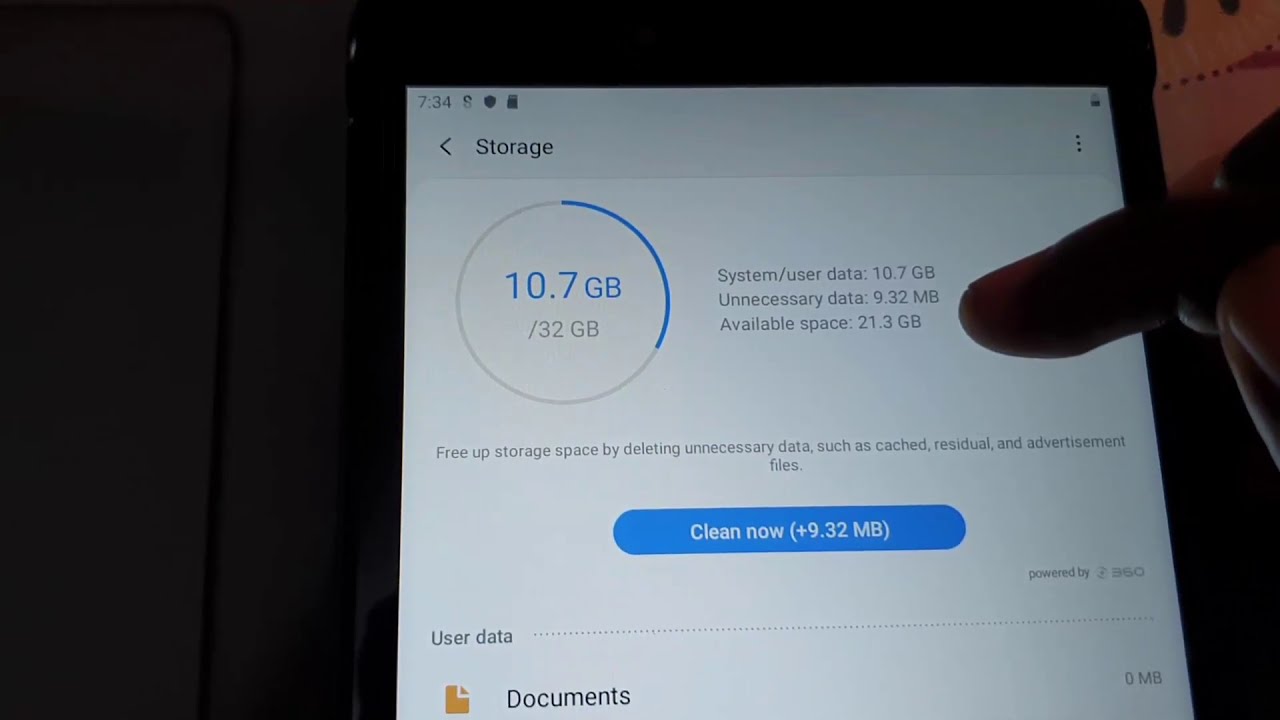
Over time, your Samsung tablet may accumulate “temporary” pictures that are stored in the cache. These temporary pictures are created when you view or edit photos, and they can take up valuable storage space. To delete these temporary pictures and free up storage on your tablet, you can clear the cache. Here’s how:
- Open the Settings app on your Samsung tablet.
- Scroll down and tap on “Apps” or “Applications”.
- Look for the Gallery app or any other photo-related apps that you frequently use.
- Tap on the specific app to access its settings.
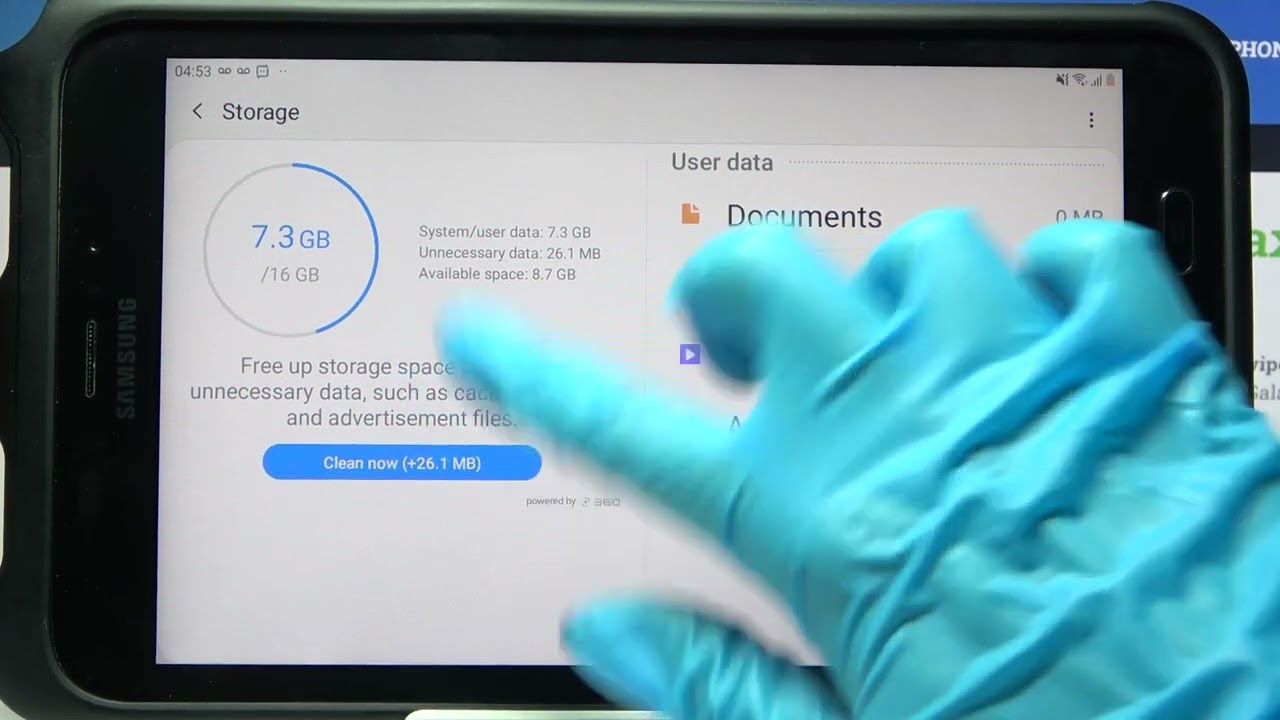
- Inside the app settings, look for the “Storage” or “Storage & cache” option. Tap on it.
- Depending on your version of Android, you may see options such as “Clear cache” or “Clear storage”. Tap on the appropriate option to clear the cache.
- A confirmation message may appear, warning you that this action will delete temporary data. Confirm your choice by tapping “OK” or “Clear cache”.
- The cache for the selected app will be cleared, including any temporary pictures stored within it.
Clearing the cache is an effective way to delete temporary pictures and free up storage space on your Samsung tablet. By removing these temporary files, you can optimize the performance of your device and ensure that only necessary pictures are taking up storage. Now that you know how to clear the cache to delete temporary pictures let’s summarize the methods we have covered.
Conclusion
Managing and deleting pictures on your Samsung tablet is a straightforward process with several convenient methods available. Whether you want to delete individual pictures, remove multiple pictures at once, delete pictures from specific albums or apps, permanently delete pictures from the trash, or clear the cache to remove temporary pictures, you have the flexibility to choose the method that suits your needs.
Deleting pictures allows you to organize your photo library, free up storage space, and ensure that you only keep the pictures that are important to you. With the step-by-step instructions provided in this guide, you can easily navigate the Gallery app and other apps on your Samsung tablet to delete pictures with ease.
Remember to exercise caution when deleting pictures, especially when using the “permanent delete” methods. Always double-check your selection before confirming the deletion to avoid accidentally deleting pictures that you want to keep.
By regularly managing and deleting pictures on your Samsung tablet, you can optimize your device’s performance and storage capacity, ensuring that you have a smooth and enjoyable user experience. So go ahead and start organizing your photo library by removing unwanted or unnecessary pictures today!


