Introduction
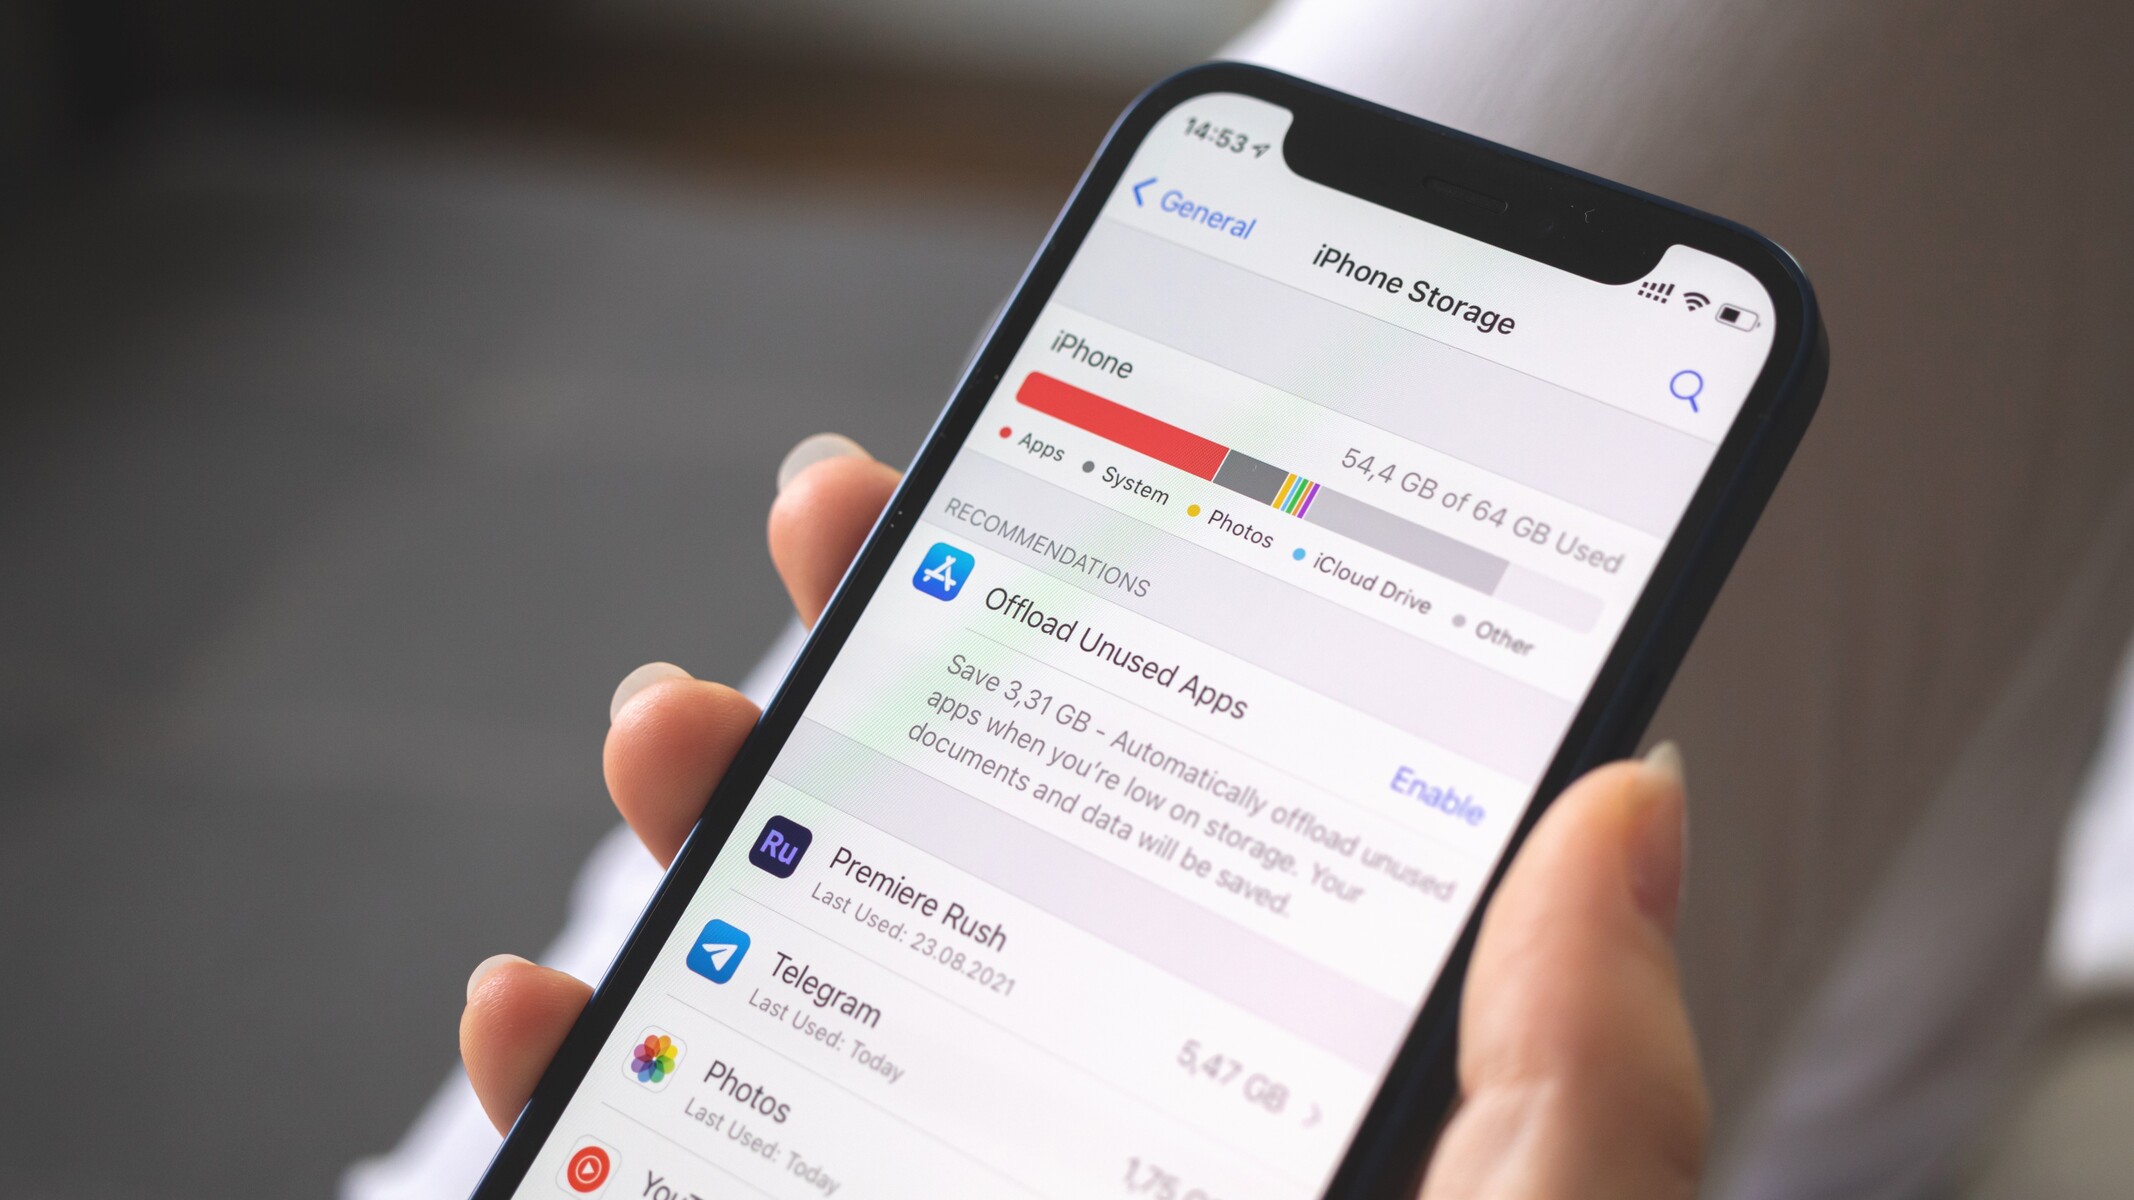
Welcome to our guide on how to delete apps on your smartphone. Over time, we tend to accumulate numerous apps on our devices, some of which we no longer use or need. These unused apps not only clutter up our screen but also consume valuable storage space and can potentially slow down the performance of our smartphones.
In this article, we will walk you through the step-by-step process of deleting apps on both Android and iOS devices. Whether you have an iPhone, an Android smartphone, or even a tablet, this guide will help you regain control over your device by removing unnecessary apps.
Clearing out your app collection can bring a host of benefits. By removing apps you no longer use, you can free up storage space, improve battery life, and even boost your device’s overall performance. So, whether you’re looking to declutter your home screen or optimize your smartphone’s performance, this guide is here to assist you.
Now, let’s dive into the step-by-step instructions on how to delete apps on your smartphone.
Step 1: Locate the App Icon
The first step in deleting an app from your smartphone is locating the app icon on your device’s home screen or app drawer. The process may vary slightly depending on whether you have an Android or iOS device, but the overall concept remains the same.
If you own an Android device, navigate to your home screen or app drawer by swiping up or tapping on the app drawer icon. Once you’re on the home screen or app drawer, take a moment to familiarize yourself with the layout and organization of your apps. Look for the app you wish to delete – it should be represented by an icon that corresponds to its purpose or brand.
For iOS users, finding the app icon is relatively straightforward. On your iPhone or iPad, locate the app on your home screen. Icons on iOS devices are typically arranged in a grid-like pattern, making it easy to identify the app you want to remove. If you have multiple home screens, swipe left or right to locate the app icon.
It’s important to note that if the app you want to delete is located within a folder on your home screen, you’ll need to open the folder to access the app icon. Simply tap on the folder to display its content, and then proceed to locate the specific app icon within the folder.
Once you have located the app icon on your device’s home screen or app drawer, you are now ready to move on to the next step, which involves pressing and holding the app icon to initiate the deletion process.
Step 2: Press and Hold the App Icon
After successfully locating the app icon on your smartphone’s home screen or app drawer, the next step is to press and hold the app icon. This action will activate the app management options, allowing you to proceed with deleting the app.
For Android users, press and hold the app icon you wish to delete. You will notice that the app icon becomes slightly larger and a menu or options panel will appear on the screen. This menu may vary depending on your device’s manufacturer or the Android version you are using, but it typically offers app-specific actions such as “Uninstall,” “Remove,” or a trash bin icon.
If you’re using an iOS device, press and hold the app icon on your home screen. After a brief moment, the icons on your screen will start to wiggle, and an “X” button will appear at the top left corner of each app icon. This “X” button is the delete option for iOS devices, and it allows you to remove the app from your device.
It’s important to mention that some pre-installed system apps may not have the option to be uninstalled or deleted, as they are essential for the functioning of your device. In such cases, the delete option may be grayed out, or you may not see it at all. However, you can still disable or hide these system apps to declutter your device’s home screen.
Once you have pressed and held the app icon, and the app management options are displayed on your screen, you are ready to move on to the next step: deleting the app.
Step 3: Delete the App
Now that you have accessed the app management options by pressing and holding the app icon on your smartphone, it’s time to delete the app from your device. The process may slightly differ between Android and iOS devices, but overall, it remains a straightforward and intuitive procedure.
If you’re using an Android device, after pressing and holding the app icon, look for the “Uninstall,” “Remove,” or trash bin icon on the options panel. Tap on this option to initiate the app deletion process. A confirmation pop-up message will appear, asking if you want to uninstall or delete the app. Review the message and make sure you want to proceed with the deletion. If you’re certain, tap “OK” or “Uninstall” to delete the app.
iOS users, after pressing and holding the app icon until the icons start to wiggle, look for the “X” button at the top left corner of the app icon. Tap the “X” button to trigger the deletion process. A pop-up message will appear, asking for confirmation to delete the app. Read the message carefully and ensure you want to proceed with the deletion. If you’re certain, tap “Delete” to remove the app from your device.
It’s important to note that when you delete an app from your smartphone, you will also remove all associated data and settings. This means that any saved information within the app, such as game progress or login credentials, will be permanently deleted along with the app. Make sure to back up any important data before proceeding with the deletion.
Once you have confirmed the deletion of the app, the operating system will handle the removal process. Depending on the size of the app and the speed of your device, it may take a few seconds to complete the deletion. You’ll typically see a progress bar indicating the removal process.
Now that you’ve successfully deleted the app, you can move on to the next step, which involves organizing your remaining apps to keep your smartphone neat and tidy.
Step 4: Confirm Deletion
After initiating the deletion process by tapping on the appropriate option, whether it’s “Uninstall,” “Remove,” or tapping the “X” button, a confirmation prompt will appear on your screen. This step ensures that you intentionally want to delete the app from your smartphone and helps prevent accidental deletions.
When the confirmation prompt appears, it’s important to review the information carefully before proceeding. Take a moment to double-check if you have selected the correct app for deletion and consider any associated data or settings that will be permanently removed along with the app.
In the confirmation prompt, you’ll typically see a message asking if you want to uninstall or delete the app. On Android devices, you may also be asked to confirm that you understand the consequences of the deletion. For iOS devices, the prompt will usually ask if you want to delete the app and all of its data.
If you’re sure about deleting the app, go ahead and tap the “OK,” “Uninstall,” or “Delete” button, depending on the wording in the confirmation prompt. By confirming the deletion, you give your device the go-ahead to remove the app and any associated files from your smartphone’s storage.
It’s worth noting that if you change your mind or accidentally tap the delete option, you can always cancel the deletion process by tapping outside the confirmation prompt or pressing the home button (for Android devices). On iOS devices, the app deletion process can be canceled by pressing the home button or, if your device has one, the cancel button on the side.
Once the deletion is confirmed, the app will be removed from your device, and you will be brought back to your home screen or app drawer, depending on your device. Congratulations! You have successfully deleted an app from your smartphone.
Now that you’ve confirmed the deletion of the app, let’s move on to the final step: organizing your remaining apps to keep your smartphone visually appealing and clutter-free.
Step 5: Organizing Your Apps
Now that you’ve successfully deleted the unwanted app from your smartphone, it’s a great time to organize your remaining apps to ensure easy access and a clutter-free home screen or app drawer.
One way to organize your apps is by creating folders. This allows you to group similar apps together, making it easier to find and access them. To create a folder on both Android and iOS devices, simply press and hold an app icon, then drag it onto another app icon. This action will create a folder and automatically suggest a name based on the category of the apps inside. You can customize the folder name as needed.
Once you have created a folder, you can drag and drop other relevant apps into it. For example, you can create a “Social Media” folder and put all your social media apps inside. Similarly, you can create folders for games, productivity apps, or any other category that suits your needs.
Another way to organize your apps is by rearranging them on your home screen or app drawer. Both Android and iOS devices allow you to move app icons to different locations on the screen. By tapping and holding an app icon, you can drag it to a new position. This gives you the flexibility to arrange your apps in a way that makes navigation more intuitive and efficient.
You can also consider removing any unnecessary widgets or shortcuts from your home screen. Widgets are useful for getting quick access to information or performing specific actions, but having too many can clutter your screen. Identify the widgets you use the most and keep those, while removing the ones you rarely or never use.
Lastly, regularly review the apps on your smartphone and delete any that you no longer need or use. This will help keep your device clean and organized, making it easier to find the apps you use regularly.
By implementing these organization techniques, you can maintain a visually appealing and clutter-free interface on your smartphone, improving your overall user experience.
Congratulations! You have successfully deleted an app from your smartphone and organized your remaining apps.
Conclusion
Deleting apps on your smartphone is a simple yet effective way to declutter your device, free up storage space, and improve its overall performance. By following the step-by-step process outlined in this guide, you can confidently delete unwanted apps from both Android and iOS devices.
Throughout this guide, we covered the steps involved in deleting apps, including locating the app icon, pressing and holding the app icon to access app management options, confirming the deletion, and organizing your remaining apps. These steps are applicable to most smartphones and provide a consistent approach to app removal.
Remember to carefully review the confirmation prompts before proceeding with the deletion, as this action is irreversible, and any associated data or settings will be permanently removed. If you accidentally delete an app, don’t worry! You can always reinstall it from the app store.
Furthermore, organizing your apps after deleting the unnecessary ones enhances the usability of your smartphone. Utilize folders and rearrange app icons to create a personalized and clutter-free home screen or app drawer that suits your needs and preferences.
Regularly reviewing and deleting unused apps will help you maintain a clean and efficient device, allowing you to make the most of your smartphone’s capabilities. Not only will you have a visually appealing interface, but you’ll also have more storage space for new apps, photos, or videos.
We hope this guide has been helpful in guiding you through the process of deleting apps on your smartphone. By taking the time to manage your apps, you can optimize your device’s performance and enjoy a seamless mobile experience.
Now, go ahead and apply these steps to declutter your smartphone, and enjoy a cleaner, more organized device!


