Introduction
Welcome to the world of mesh networks, where reliable, seamless internet connectivity is within your reach. In today’s digital age, having a stable and robust internet connection is essential for both work and leisure activities. However, certain areas of your home or office may experience weak Wi-Fi signals or dead zones, causing frustration and hindered productivity.
A mesh network is a solution to this problem, providing a network infrastructure that extends the coverage and improves the reliability of your wireless connection. With a mesh network, you can create a network that blankets your entire space, eliminating dead zones and ensuring a consistent and strong Wi-Fi signal throughout.
In this article, we will walk you through the process of creating a mesh network using two routers. This setup will help you overcome Wi-Fi limitations and provide you with a seamless internet experience. Whether you want to optimize the internet connection in your home, office, or any other space, this guide will equip you with the knowledge to set up your own mesh network.
Before we delve into the technical steps, let’s explore the benefits of using a mesh network and discuss the requirements for creating one with just two routers.
What is a Mesh Network?
A mesh network is a type of wireless network infrastructure that consists of multiple interconnected devices, known as nodes or access points, that work together to provide seamless coverage and reliable internet connectivity. Unlike traditional Wi-Fi setups where a single router is responsible for transmitting signals, a mesh network distributes the load across multiple devices, resulting in improved performance and coverage.
In a mesh network, each node communicates with other nodes within the network, creating a self-healing and self-optimizing network. This means that if one node fails or encounters an issue, the other nodes automatically reroute the data to ensure uninterrupted connectivity. This dynamic routing capability is one of the key advantages of a mesh network.
Mesh networks are highly flexible and scalable, making them suitable for a wide range of environments, from small apartments to large office spaces. Additionally, mesh networks can support a high number of devices simultaneously, making them ideal for homes or workplaces with numerous connected devices.
One of the standout features of a mesh network is the ability to extend the Wi-Fi coverage area without sacrificing performance. By strategically placing nodes throughout your space, the network eliminates dead zones and ensures a strong and consistent signal strength in every corner.
Mesh networks are also known for their easy setup and management. Many modern routers and mesh network systems come with user-friendly mobile apps that guide you through the installation process and offer convenient management features. With just a few steps, you can have your mesh network up and running, providing seamless internet connectivity to all your devices.
In the next section, we will explore the various benefits of using a mesh network in more detail.
Benefits of Using a Mesh Network
Mesh networks offer several advantages over traditional Wi-Fi setups. Let’s explore some of the key benefits:
- Extended Coverage Area: One of the primary advantages of a mesh network is the ability to extend the Wi-Fi coverage area. By strategically placing multiple nodes throughout your space, the network ensures a strong and consistent signal in every room, eliminating dead zones.
- Improved Performance: With a mesh network, the load is distributed among multiple nodes, resulting in improved performance. This means that even if you have numerous devices connected to the network, you’ll experience minimal lag and faster internet speeds.
- Seamless Roaming: Mesh networks offer seamless roaming, allowing your device to effortlessly switch between nodes as you move around your space. This means you won’t experience any interruptions or drops in the Wi-Fi signal when transitioning from one area to another.
- Self-Healing Network: In a mesh network, if one node fails or encounters an issue, the network automatically reroutes the data through alternative paths. This self-healing capability ensures that your internet connection remains uninterrupted even if there’s a problem with one of the nodes.
- Easy Setup and Management: Setting up a mesh network is typically straightforward, with many systems providing user-friendly mobile apps that guide you through the process. These apps also offer convenient management features, allowing you to monitor and control your network settings with ease.
- Scalability: Mesh networks are highly scalable, meaning you can easily expand your network by adding additional nodes as needed. Whether you want to cover more rooms, floors, or even an outdoor area, you can adapt your mesh network to meet your specific requirements.
- Enhanced Security: Many mesh networks come equipped with advanced security features, such as encryption and firewall protection. These built-in security measures help safeguard your network and protect your data from unauthorized access.
By leveraging the benefits of a mesh network, you can create a reliable, high-performing wireless network that caters to the demands of your home, office, or any other space.
Now that we understand the advantages of using a mesh network, let’s move on to the requirements for creating a mesh network with just two routers.
Requirements for Creating a Mesh Network with Two Routers
Before you begin setting up a mesh network with two routers, it’s important to ensure that you have the necessary requirements in place. Here’s what you’ll need:
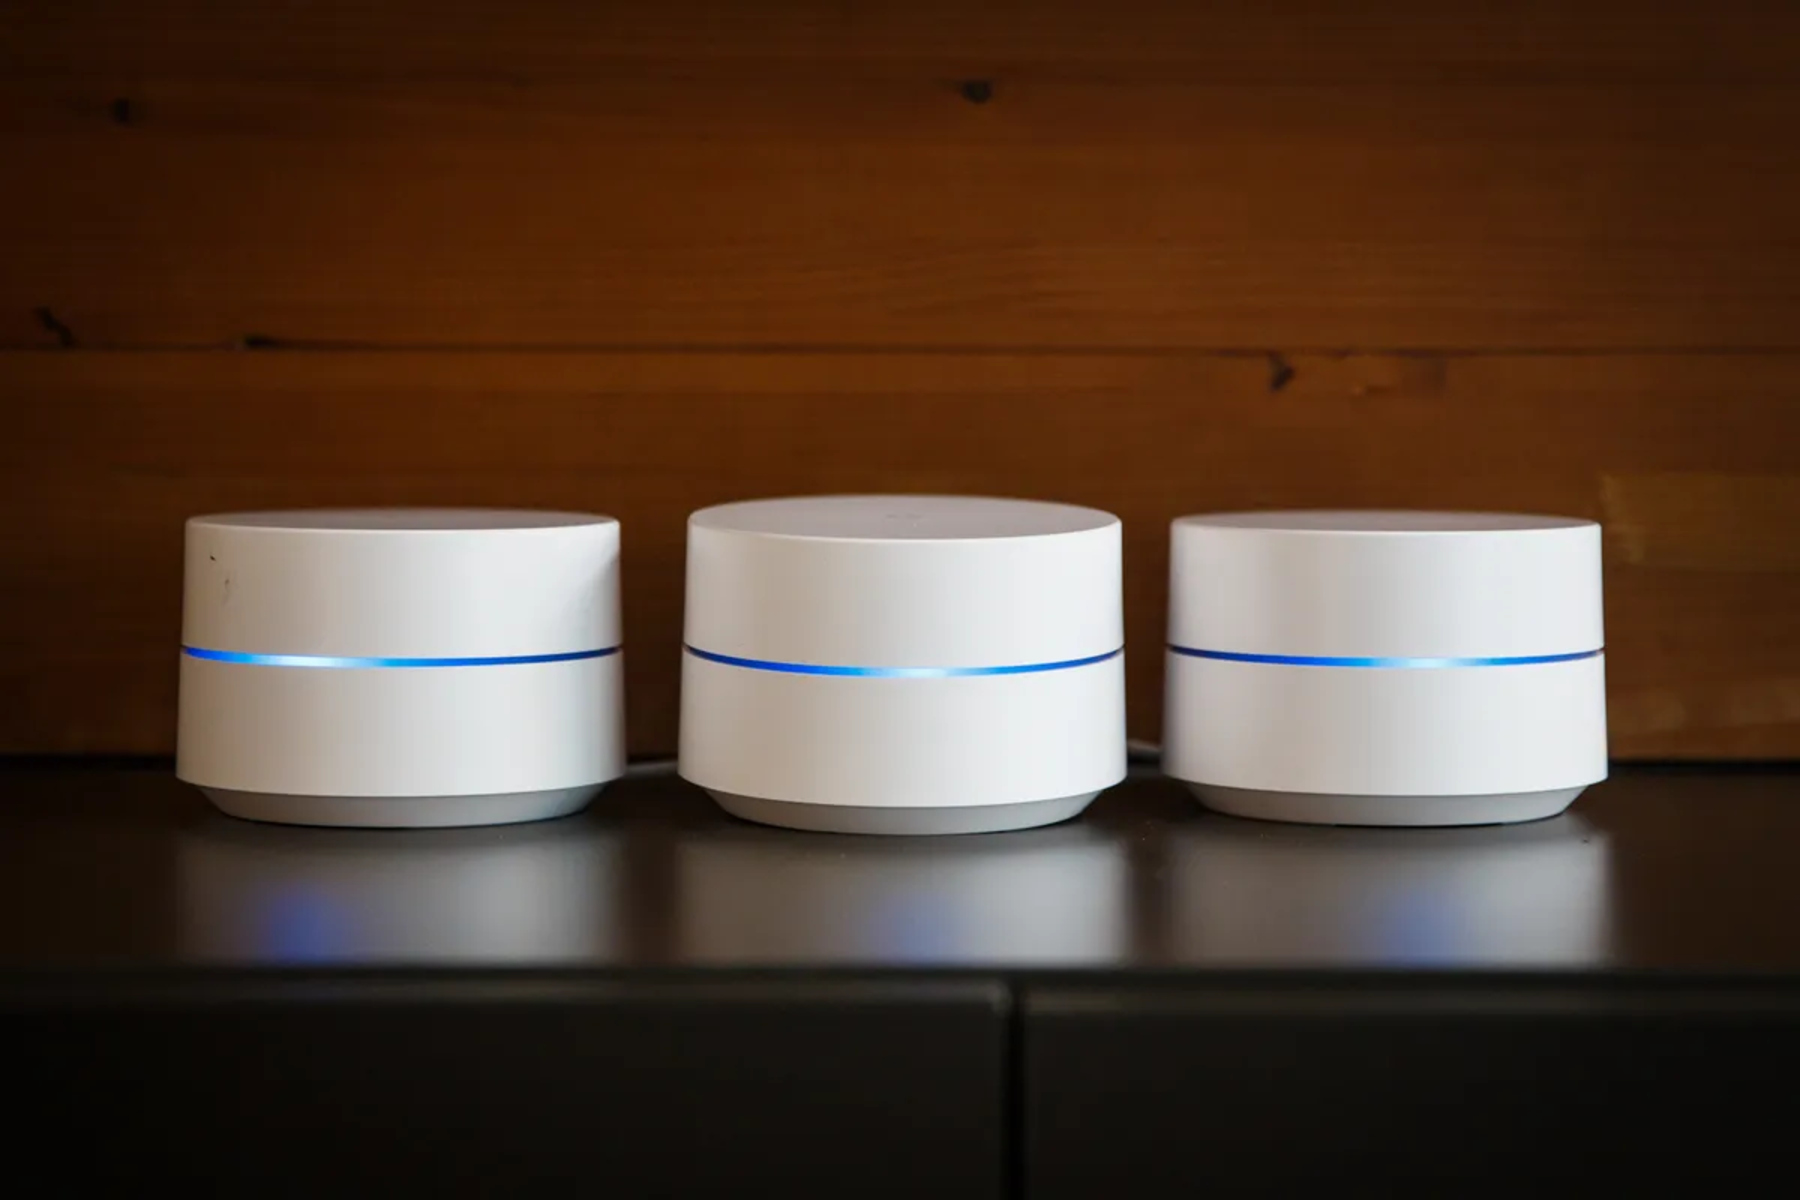
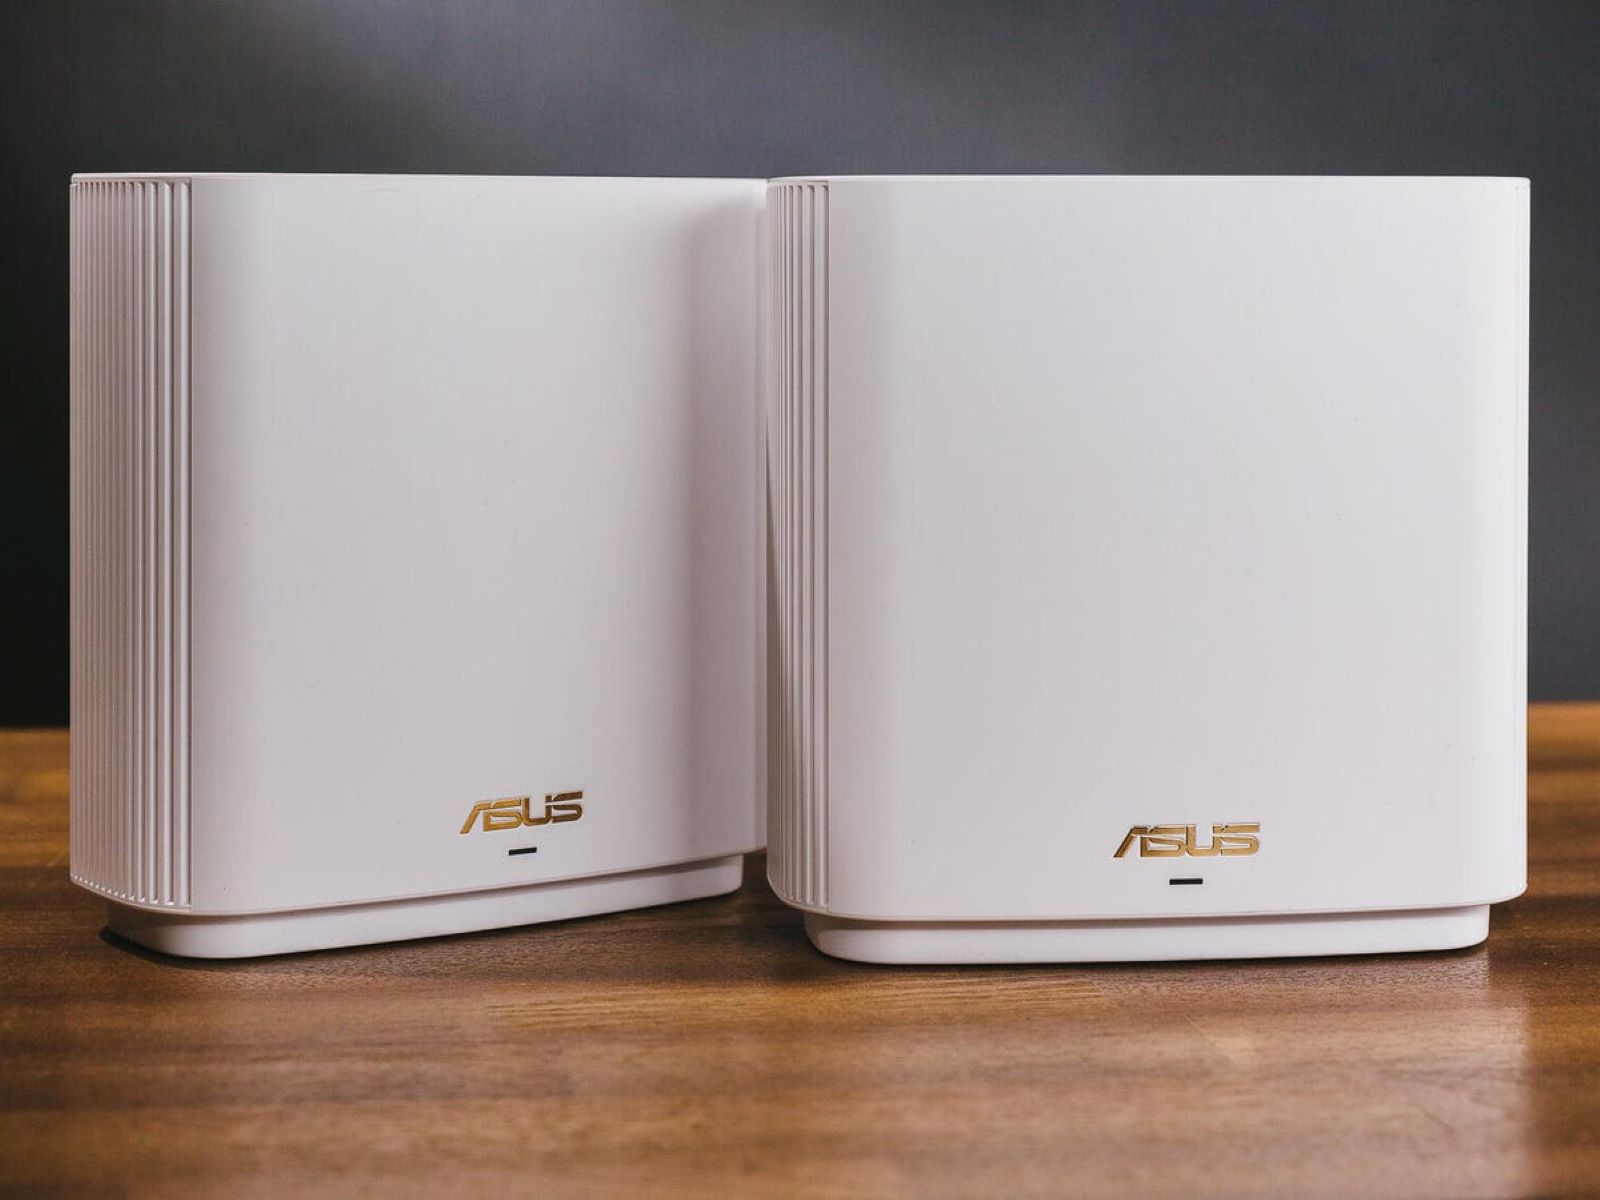
- Two Compatible Routers: Select two routers that are capable of creating a mesh network. These routers should support mesh networking functionality and have the necessary features to communicate with each other.
- Strong Internet Connection: A stable and reliable internet connection is essential for creating and using a mesh network. Make sure that your primary router is connected to a reliable broadband internet source.
- Ethernet Cables: You’ll need Ethernet cables to connect your routers. Ensure that you have long enough cables to connect the primary router to the modem and to connect the two routers together.
- Power Outlets: Ensure that you have adequate power outlets available near the locations where you plan to install the routers. Each router will require its own power source.
- Device with Web Browser: To configure the routers, you’ll need a device (such as a laptop or smartphone) with a web browser. This will allow you to access the routers’ web-based setup interface.
- Patience and Persistence: Setting up a mesh network with two routers may require some troubleshooting and configuration adjustments. Patience and persistence are key, especially if you encounter any issues along the way.
By ensuring that you have these requirements in place, you’ll be well-prepared to proceed with the setup process. In the next section, we’ll guide you through the steps of choosing the right routers for your mesh network.
Step 1: Choosing the Right Routers
Choosing the right routers is crucial for creating a successful mesh network. Here are some factors to consider when selecting your routers:
- Mesh Networking Compatibility: Ensure that the routers you choose are specifically designed for mesh networking. These routers are equipped with the necessary features to seamlessly communicate with each other and create a mesh network.
- Brand and Model: Opt for routers from reputable brands that have a strong track record in delivering reliable networking solutions. Additionally, check for models that have positive reviews and ratings, indicating their performance and reliability.
- Specs and Features: Evaluate the specifications and features of the routers. Look for routers that support the latest Wi-Fi standards (such as 802.11ac or 802.11ax), have ample coverage range, and offer sufficient processing power to handle your network demands.
- Scalability: Consider the scalability of the routers. Look for routers that allow you to add additional nodes or expand the network if needed. This flexibility is important if you plan to extend your mesh network in the future.
- User-Friendly Setup: Check if the routers offer a user-friendly setup process. Some routers come with mobile apps that guide you through the installation and configuration steps, making the setup process easier and more accessible for beginners.
- Budget: Set a budget for your mesh networking project and choose routers that align with your financial constraints. Keep in mind that while quality routers may come with a higher price tag, they offer better performance and reliability, ensuring a smoother network experience.
By considering these factors, you can narrow down your options and choose the routers that best meet your needs. It’s recommended to do thorough research, read customer reviews, and compare different models before making a final decision. The right routers will greatly contribute to the overall performance and stability of your mesh network.
Now that you have an understanding of the factors to consider when selecting routers, let’s move on to configuring the primary router in the next section.
Step 2: Configuring the Primary Router
Once you have chosen the right routers for your mesh network, the next step is to configure the primary router. Follow these steps to set up the primary router:
- Connect the router to your modem: Use an Ethernet cable to connect the WAN (Wide Area Network) port on the primary router to the Ethernet port on your modem. This will establish the internet connection for your network.
- Power on the router: Plug the primary router into a power outlet and turn it on. Wait for the router to boot up and establish a connection with your modem.
- Access the router’s web-based setup interface: Open a web browser on a device that is connected to the same network and enter the default IP address of the router in the browser’s address bar. You can find the default IP address in the router’s documentation or on the manufacturer’s website.
- Log in to the router: Enter the router’s default username and password, which can also be found in the documentation. If you have changed the login credentials previously, use the updated information.
- Configure basic settings: Once logged in, you will have access to the router’s web-based interface. Here, you can configure basic settings such as the network name (SSID) and password. Set these according to your preferences and ensure that they are secure.
- Enable mesh networking functionality: Look for the mesh networking or mesh mode setting in the router’s interface. Enable this setting to allow the router to function as the primary node in the mesh network.
- Save and apply the settings: After configuring the necessary settings, save and apply the changes. The router will likely reboot to apply the new settings.
Once you have completed these steps, the primary router is configured and ready to establish the mesh network with the secondary router. In the next section, we will guide you through connecting the secondary router to the primary router.
Step 3: Connecting the Secondary Router to the Primary Router
Now that you have configured the primary router, it’s time to connect the secondary router to the primary router. Follow these steps to establish the connection:
- Place the secondary router: Determine the optimal location for the secondary router. It should be positioned within range of the primary router and in a location that helps extend the Wi-Fi coverage to the desired area.
- Connect the secondary router: Use an Ethernet cable to connect one of the LAN (Local Area Network) ports on the primary router to the WAN port on the secondary router. This will establish a wired connection between the two routers.
- Power on the secondary router: Plug the secondary router into a power outlet and turn it on. Wait for the router to boot up and establish a connection with the primary router.
- Access the secondary router’s web interface: Open a web browser on a device connected to the primary router’s network and enter the secondary router’s IP address in the browser’s address bar. You can find the IP address in the secondary router’s documentation or on the manufacturer’s website.
- Log in to the secondary router: Enter the login credentials for the secondary router. If you haven’t made any changes, you can often find the default username and password in the documentation.
- Configure the secondary router: In the secondary router’s web interface, navigate to the network settings and configure the necessary parameters. Ensure that the network name (SSID) and password match those of the primary router to create a seamless mesh network.
- Disable DHCP on the secondary router: In the network settings, disable the DHCP (Dynamic Host Configuration Protocol) server on the secondary router. This will prevent any conflicts between the two routers and ensure a smooth operation of the mesh network.
- Save and apply the settings: After configuring the secondary router, save and apply the changes. The router may reboot to implement the new settings.
Once these steps are completed, the secondary router is successfully connected to the primary router, establishing a mesh network. In the next section, we will guide you through the process of configuring the secondary router to work seamlessly within the mesh network.
Step 4: Configuring the Secondary Router
After successfully connecting the secondary router to the primary router, the next step is to configure the secondary router to work seamlessly within the mesh network. Follow these steps to configure the secondary router:
- Access the secondary router’s web interface: Open a web browser on a device connected to the secondary router’s network and enter the router’s IP address in the browser’s address bar. The IP address can be found in the router’s documentation or on the manufacturer’s website.
- Log in to the secondary router: Enter the login credentials for the secondary router. If you haven’t made any changes, you can often find the default username and password in the documentation.
- Configure the wireless settings: In the secondary router’s web interface, navigate to the wireless settings. Here, you need to ensure that the network name (SSID) and password match those of the primary router. This will ensure that all devices connected to the mesh network can seamlessly roam between the two routers.
- Disable DHCP on the secondary router: Still in the secondary router’s web interface, locate the DHCP settings and disable the DHCP server. This prevents any conflicts with the primary router and ensures that IP addresses are properly assigned within the network.
- Configure any additional settings: Depending on the specific features and options available in your secondary router’s web interface, you may want to configure additional settings, such as port forwarding, parental controls, or guest network setup. Set these according to your preferences and needs.
- Save and apply the settings: After configuring the secondary router, save and apply the changes. The router may reboot to implement the new settings.
Once these configuration steps are completed, the secondary router is now configured to function effectively within the mesh network. It will work in conjunction with the primary router to extend the coverage area and provide seamless connectivity throughout your space.
Now that you have both routers properly configured and connected, it’s time to test and ensure that the mesh network is functioning as desired. In the next section, we will guide you through the process of testing the mesh network.
Step 5: Testing the Mesh Network
After setting up and configuring your mesh network with two routers, it’s important to test the network to ensure that it is functioning as expected. Here are some steps you can take to test and evaluate the performance of your mesh network:
- Check Wi-Fi signal strength: Move around your space and check the Wi-Fi signal strength in different areas. Ensure that the signal remains strong and consistent, without any sudden drops or weak spots.
- Test internet speed: Use an internet speed testing tool to measure the download and upload speeds of your network. Compare the results to the expected speeds provided by your internet service provider (ISP).
- Connect multiple devices: Connect multiple devices, such as smartphones, laptops, and tablets, to the mesh network simultaneously. Ensure that all devices are able to connect without any issues and experience a stable internet connection.
- Roaming test: Move between different areas within your space while connected to the mesh network. Monitor how quickly and seamlessly your devices switch between the primary and secondary routers without any interruptions or dropouts.
- Streaming and gaming: Test streaming services and online gaming on devices connected to the mesh network. Evaluate the performance and stability of these activities to ensure that they are smooth and lag-free.
- Identify dead zones: Walk around your space and identify any areas where the signal strength is weak or non-existent. These dead zones may indicate areas that are not adequately covered by the mesh network, and you may need to reposition or add additional nodes to improve coverage.
By conducting these tests, you can assess the performance and coverage of your mesh network. If any issues or areas of improvement are identified during testing, you can take steps to address them, such as adjusting router positions, adding more nodes, or fine-tuning network settings.
With the mesh network successfully tested and optimized, you can now enjoy the benefits of a seamless and reliable internet connection throughout your home or office.
Congratulations! You have successfully created a mesh network with two routers. Enjoy the expanded coverage, improved performance, and hassle-free connectivity that your mesh network provides.
Conclusion
Creating a mesh network with two routers is a fantastic way to extend the coverage and enhance the performance of your Wi-Fi network. By following the steps outlined in this guide, you can overcome the limitations of traditional routers and eliminate Wi-Fi dead zones in your home or office.
A mesh network offers a range of benefits, including extended coverage, improved performance, seamless roaming, self-healing capabilities, and easy setup and management. With the right routers and proper configuration, you can create a reliable and robust mesh network that caters to your specific needs.
Remember to choose routers that are compatible with mesh networking and offer the necessary features to create a seamless network. Properly configuring the primary and secondary routers, ensuring consistent wireless settings, and disabling DHCP on the secondary router are crucial steps for achieving optimal performance.
Testing the mesh network is an essential step to ensure its effectiveness. Check Wi-Fi signal strength, test internet speed, connect multiple devices, evaluate roaming capabilities, and identify any dead zones that may require adjustments or additional nodes.
By following these steps and taking the time to properly set up and test your mesh network, you can enjoy a reliable, high-performing, and seamless internet experience throughout your space.
Now that you’re armed with the knowledge to create a mesh network with two routers, go ahead and transform your Wi-Fi experience. Embrace the power of a mesh network and enjoy enhanced connectivity in every corner of your home or office.