Introduction
Welcome to the world of IoT, where endless possibilities exist for connecting devices, gathering data, and creating innovative applications. The Internet of Things (IoT) is revolutionizing the way we live and interact with the world around us. From smart homes and wearables to industrial sensors and autonomous vehicles, IoT is impacting every aspect of our daily lives.
In this article, we will guide you through the process of creating an IoT app, from understanding the basics to deploying it in the real world. Whether you are a developer looking to build your first IoT app or a business owner aiming to leverage IoT technology, this comprehensive guide will provide you with a solid foundation.
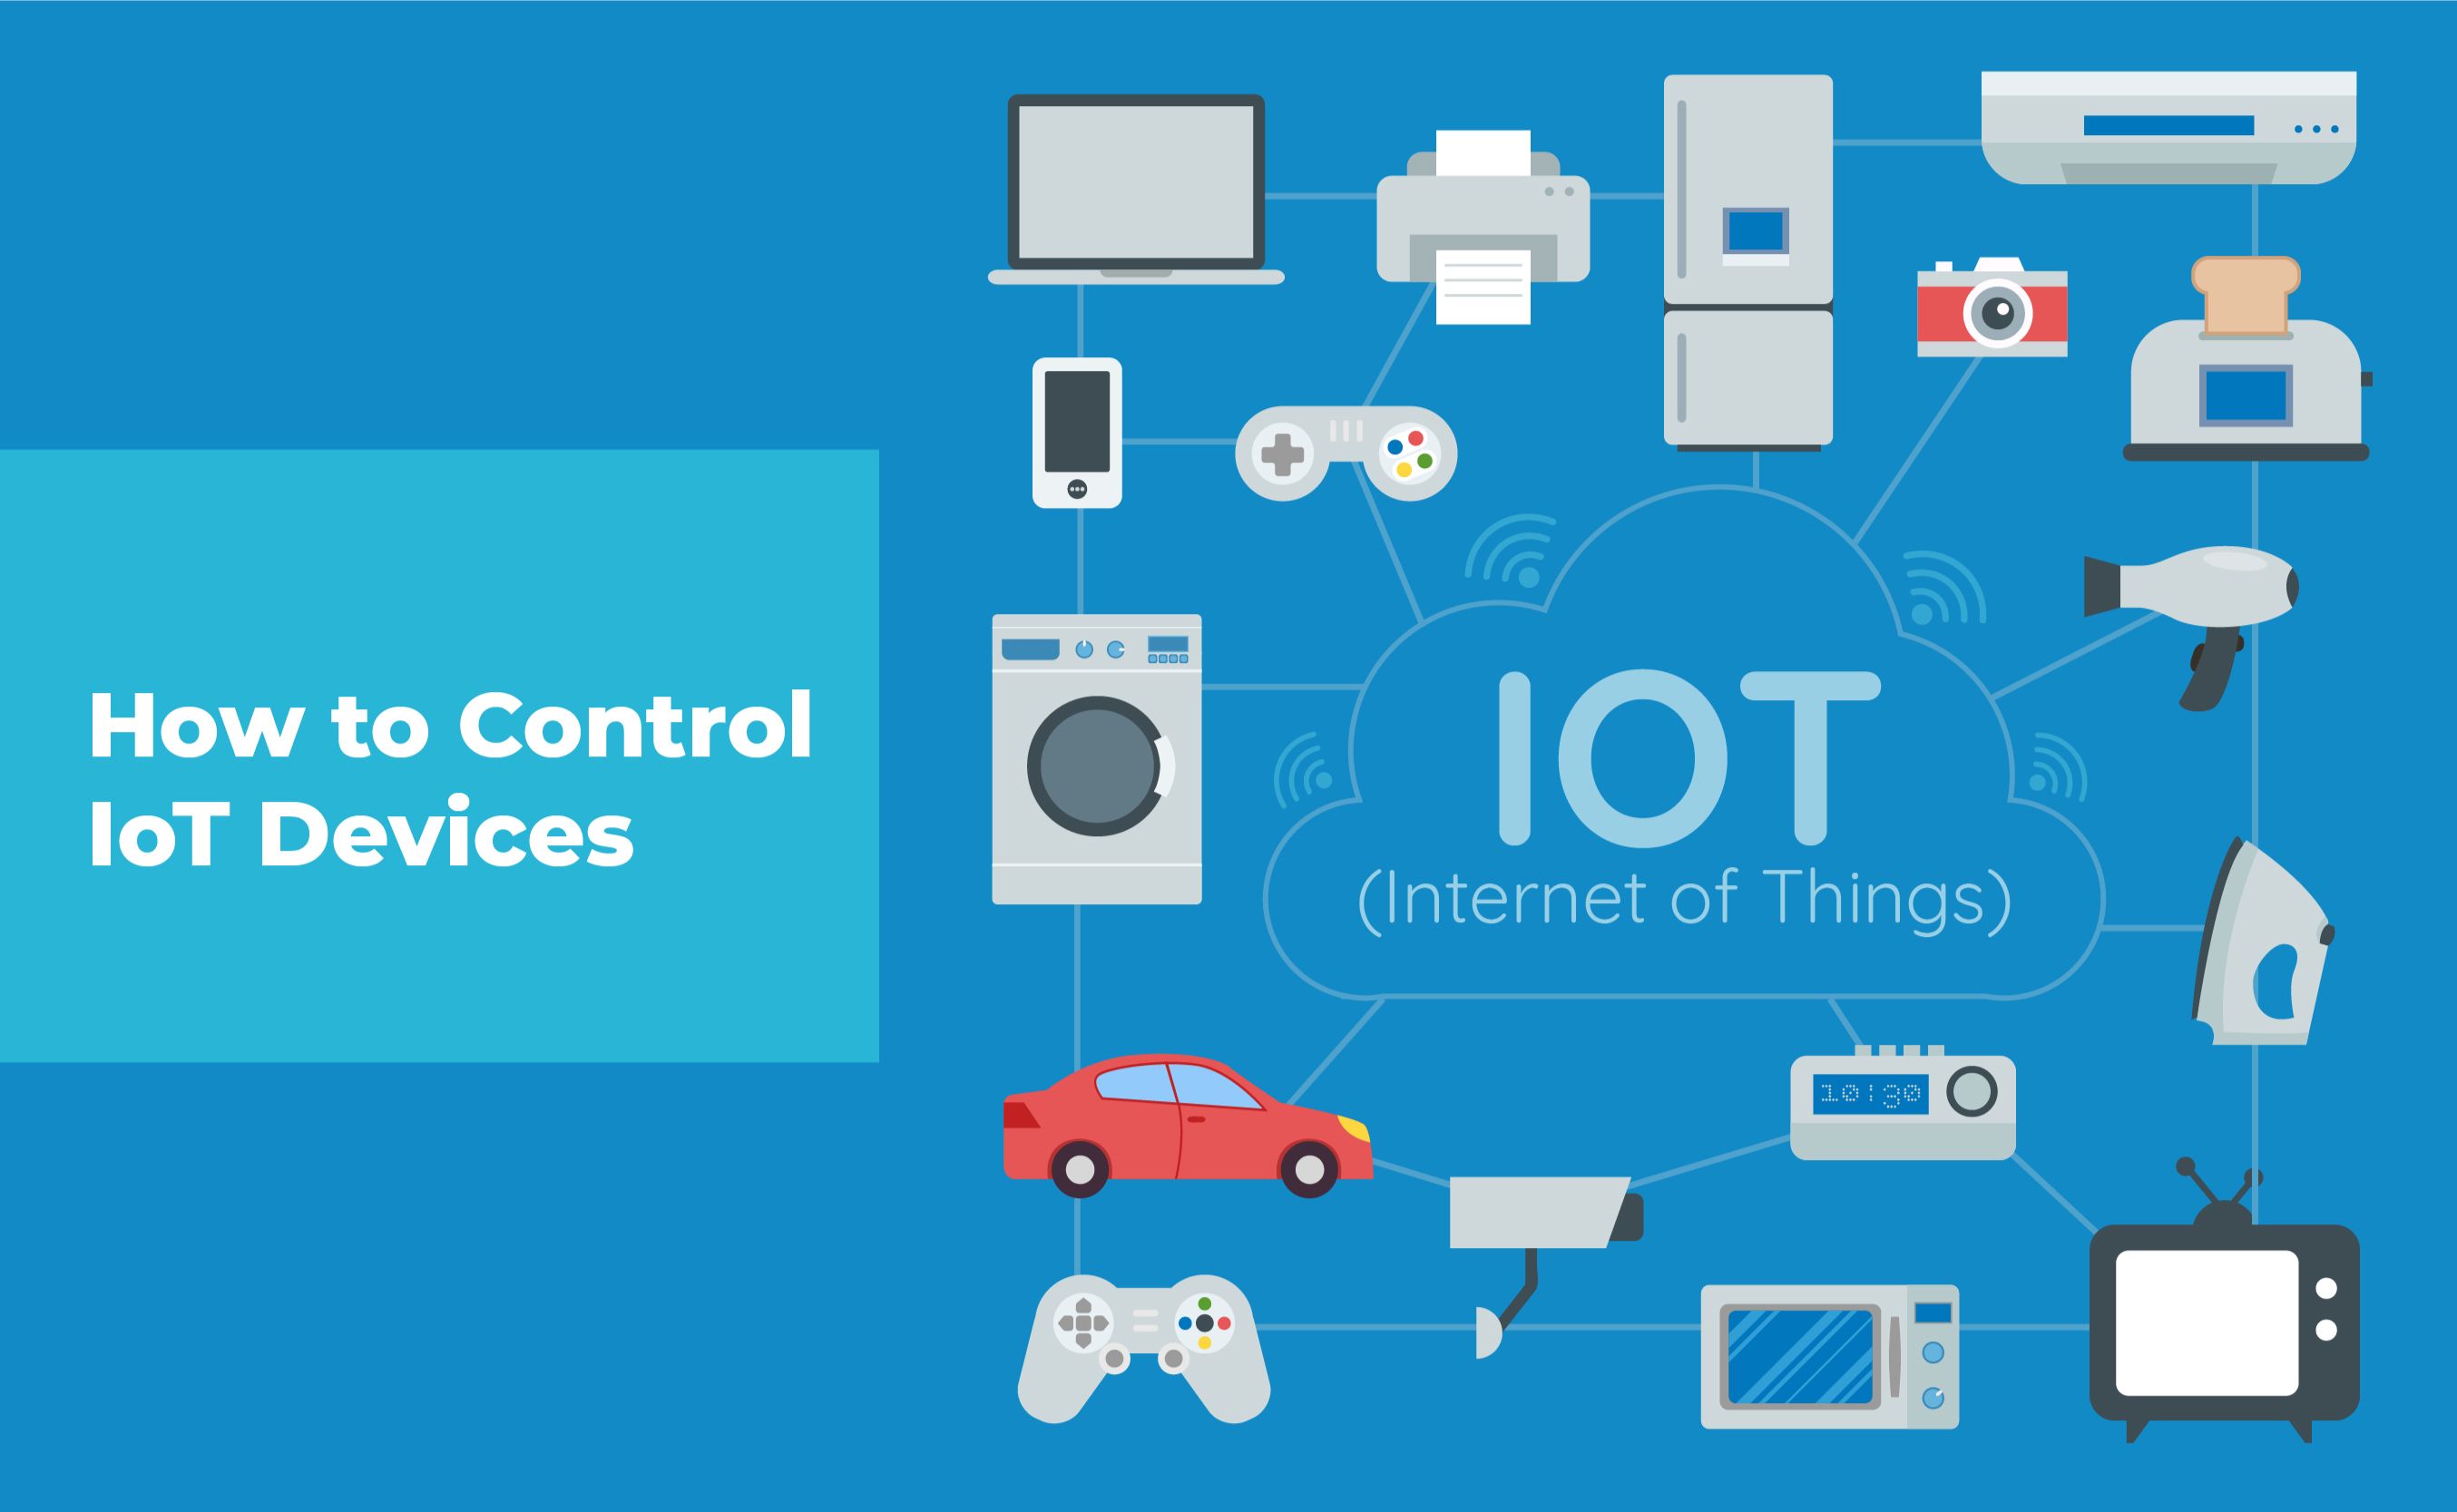
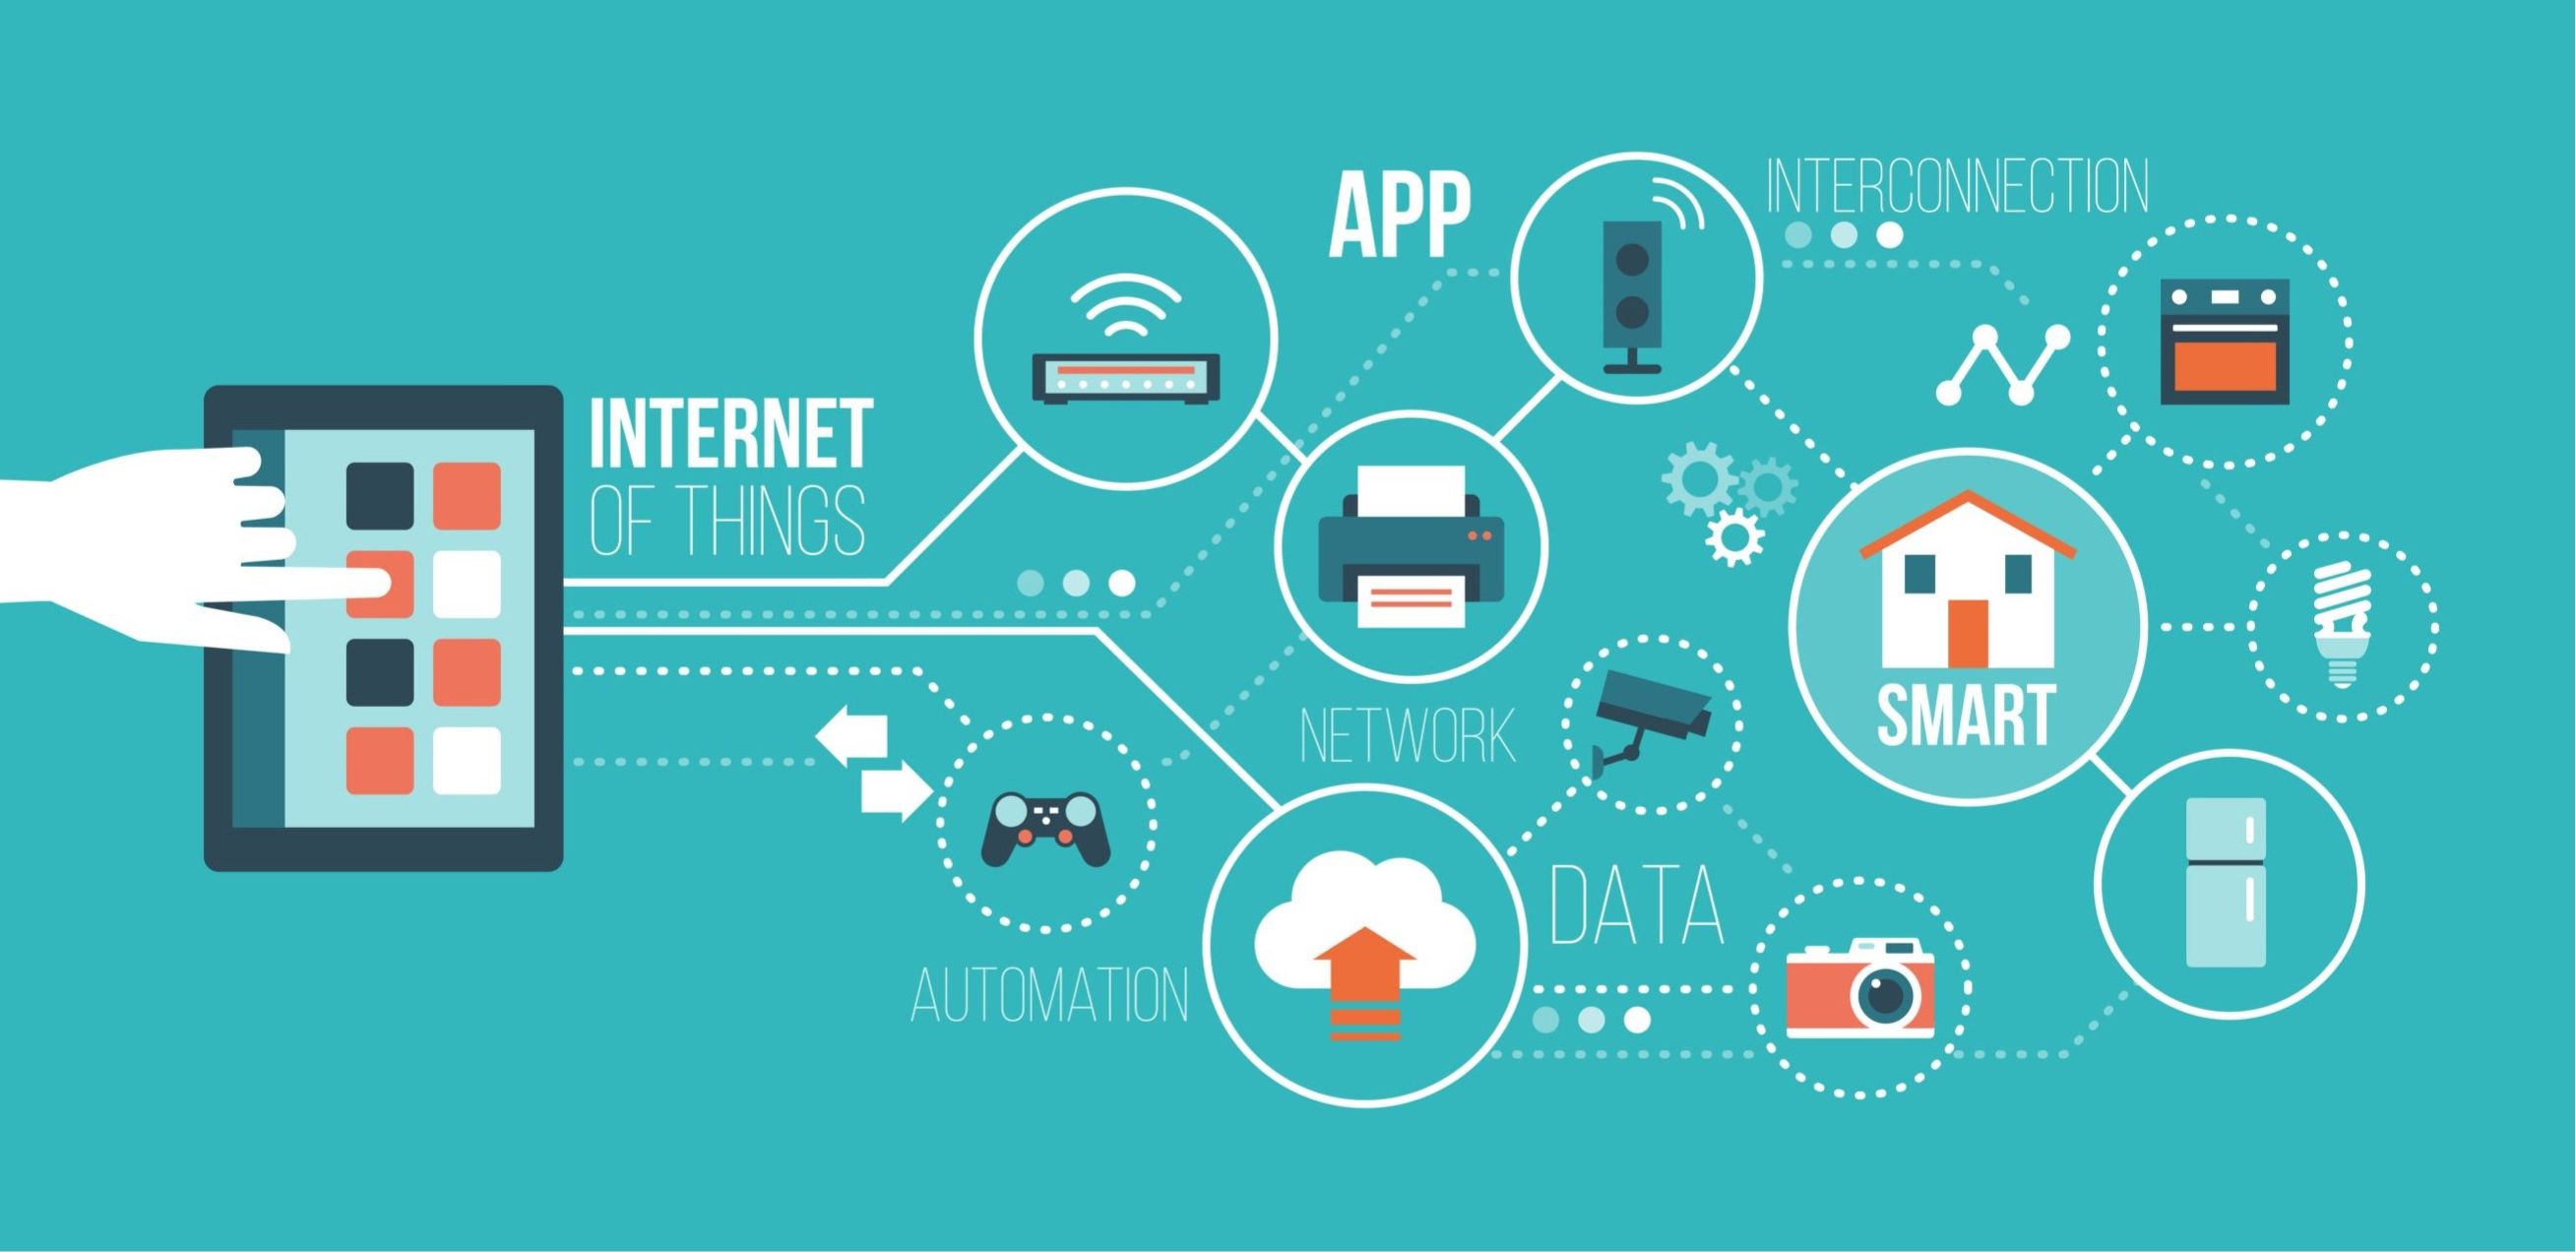
Before diving into the technicalities, let’s briefly explore what IoT is all about. IoT refers to the network of physical objects embedded with sensors, software, and connectivity, allowing them to exchange data and interact with their environment. These objects, often referred to as “things,” can range from everyday household devices like thermostats and refrigerators to industrial machinery and infrastructure.
The power of IoT lies in its ability to collect and analyze data from various sources, enabling better decision-making, automation, and optimization. Imagine being able to monitor and control your home security system remotely or analyze data from sensors to improve energy efficiency in your office building. The possibilities are endless.
Creating an IoT app involves several interconnected stages, ranging from choosing the right platform and planning your app’s functionality to designing a user-friendly interface and implementing automation and control features. Throughout this guide, we will dive deep into each of these stages and provide practical tips and techniques to ensure a successful app development process.
Now that you have a basic understanding of IoT and its potential, it’s time to roll up your sleeves and embark on the exciting journey of creating your own IoT app. So, without further ado, let’s get started!
Understanding IoT
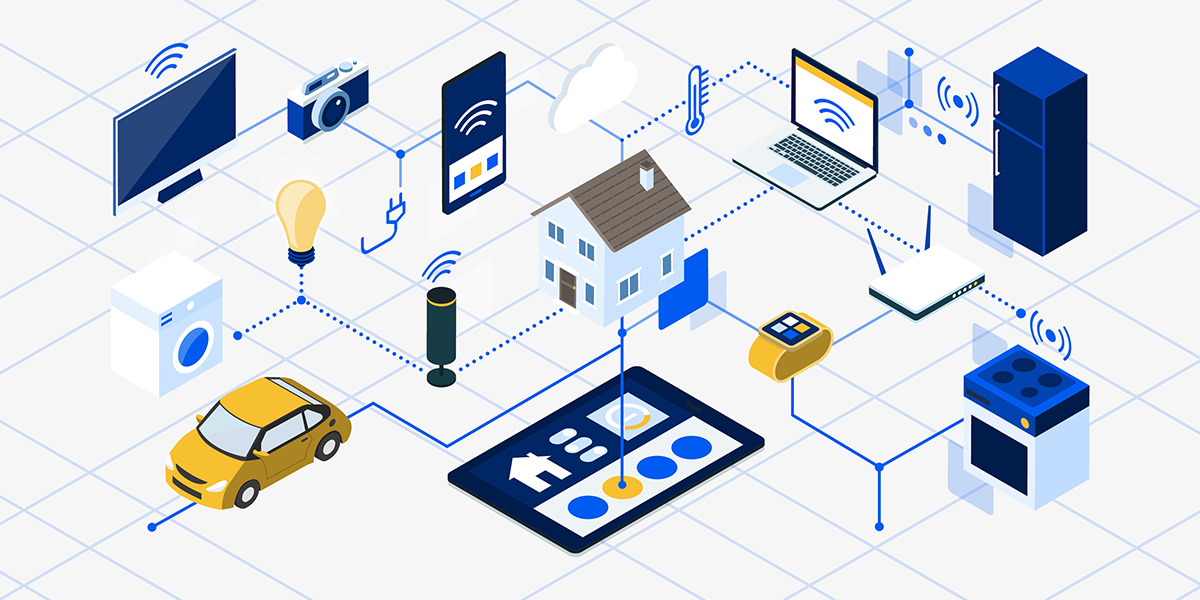
Before diving into the technical aspects of creating an IoT app, it is crucial to have a solid understanding of what IoT is all about. IoT, or the Internet of Things, refers to the network of interconnected physical objects that are embedded with sensors, software, and connectivity. These objects, often referred to as “things,” can be anything from household devices, such as smart thermostats and security cameras, to industrial machinery and infrastructure.
The main idea behind IoT is to enable these “things” to collect, exchange, and utilize data to provide valuable insights and automate processes. Through the power of connectivity, IoT devices can communicate with each other and with cloud-based platforms, allowing for real-time data analysis and control. This connectivity can be achieved through various means, including Wi-Fi, Bluetooth, cellular networks, and more.
One of the key features of IoT is the ability to gather data from the physical environment through sensors. These sensors can measure various parameters such as temperature, humidity, motion, light, and more. By capturing this data, IoT devices can provide valuable insights and enable intelligent decision-making.
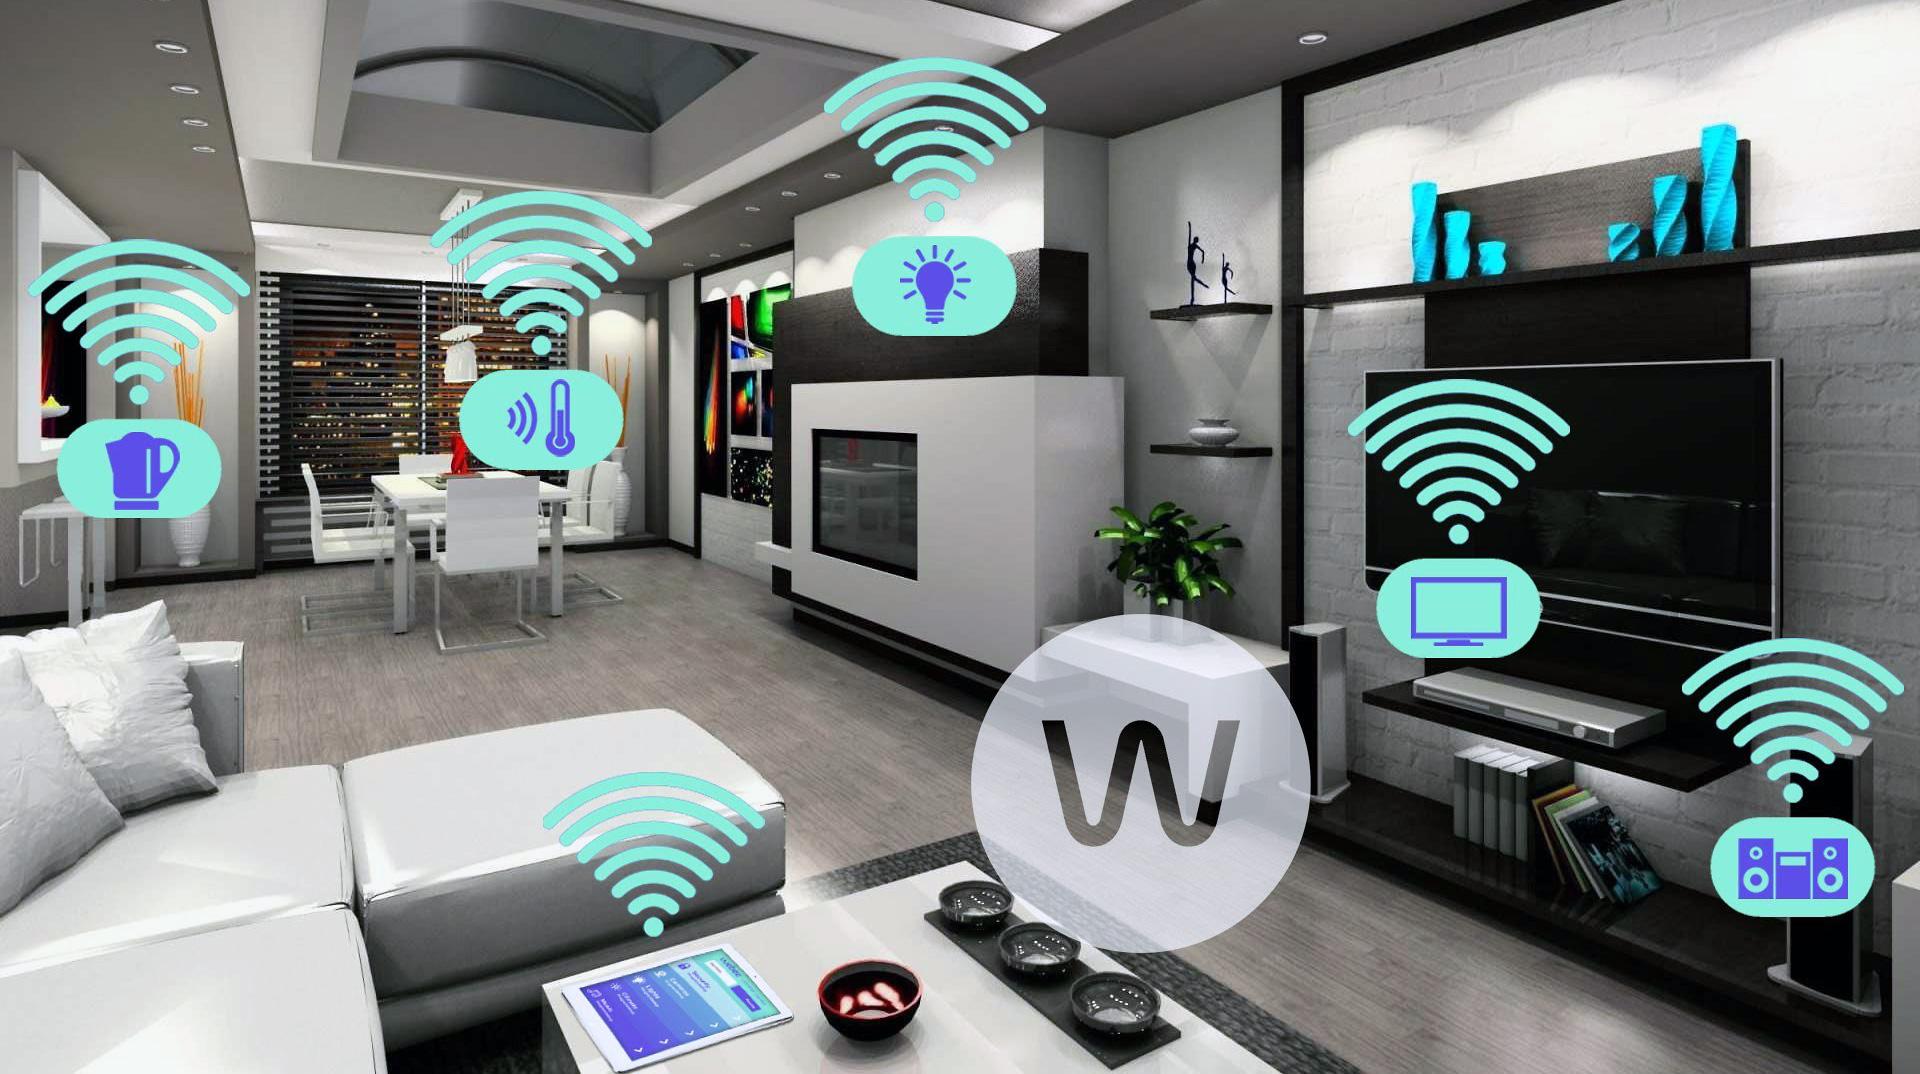
Moreover, IoT enables remote monitoring and control, allowing users to access and interact with their devices from anywhere in the world. For example, you can adjust your home’s temperature while being away or receive alerts if there is a security breach in your office building. This level of control and accessibility is a significant advantage of IoT.
Furthermore, IoT opens up new possibilities for automation and optimization. By analyzing data from multiple sensors and devices, IoT platforms can identify patterns, make predictions, and automate routine tasks. For instance, an IoT app can adjust the lighting and temperature in a room based on occupancy and ambient conditions, leading to energy savings and improved comfort.
As the number of connected devices continues to grow, the potential of IoT expands exponentially. The applications of IoT are vast and diverse, ranging from smart homes and cities to healthcare, agriculture, transportation, and more. By leveraging the power of IoT, businesses and individuals can gain valuable insights, improve efficiency, and enhance the overall quality of life.
In the next section, we will explore how to choose the right IoT platform for your app development needs. Remember, understanding the underlying principles and concepts of IoT is crucial to build successful and impactful IoT applications.
Choosing the Right Platform
When it comes to developing an IoT app, choosing the right platform is crucial. An IoT platform acts as the foundation for your app, providing the necessary tools and infrastructure to connect, manage, and leverage IoT devices and data. With a wide range of platforms available, it’s important to consider several factors before making a decision.
The first factor to consider is scalability. You want a platform that can handle a growing number of devices and data as your app expands. Ensure that the platform has the capability to support the expected scale and can handle the potential increase in traffic and data storage requirements. Scalability is crucial to prevent bottlenecks and ensure a smooth user experience.
Another important consideration is security. As IoT involves the exchange of sensitive data and control of physical devices, it’s essential to choose a platform with robust security measures. Look for features such as end-to-end encryption, secure device authentication, and data privacy protocols. A secure platform will protect your app and the data it handles from potential vulnerabilities and unauthorized access.
Interoperability is another key factor to consider. IoT involves a wide range of devices, protocols, and technologies. Ensure that the platform you choose supports the devices and protocols you plan to integrate with your app. Look for compatibility with popular IoT standards such as MQTT, CoAP, and RESTful APIs. This will ensure seamless communication and interoperability between your app and the connected devices.
Furthermore, consider the analytics and data management capabilities of the platform. IoT generates vast amounts of data that can provide valuable insights. Look for a platform that offers robust data analytics tools to process and analyze this data effectively. The platform should provide data visualization capabilities, real-time monitoring, and the ability to create custom dashboards and reports.
Additionally, evaluate the development tools and APIs provided by the platform. The platform’s development environment should be developer-friendly and offer easy integration with popular programming languages and frameworks. Look for comprehensive documentation, sample code, and developer communities that can provide support and speed up the development process.
Lastly, consider the cost and pricing model of the platform. Some platforms charge based on the number of devices or data storage, while others have a subscription-based model. Evaluate your budget and the projected usage of your app to determine the most cost-effective option.
Overall, choosing the right IoT platform requires careful consideration of scalability, security, interoperability, analytics capabilities, development tools, and cost. Take the time to research and compare different platforms to find the one that best fits your app development needs.
In the next section, we will explore the process of planning your IoT app, including defining goals, identifying user requirements, and creating a roadmap for development.
Planning Your App
Before you start developing your IoT app, it’s essential to have a well-defined plan in place. Planning your app helps you clarify your goals, identify user requirements, and create a roadmap for development. This stage sets the foundation for a successful and efficient app development process.
The first step in planning your app is defining its goals and objectives. Ask yourself what you want to achieve with your app. Are you looking to solve a particular problem or provide a specific service? Understanding the purpose and goals of your app will guide your decisions throughout the development process.
Next, identify your target audience and their unique requirements. Who will be using your app and what features will be most valuable to them? Conduct market research and gather feedback to gain insights into user preferences and needs. This information will help you prioritize features and create a more user-centric app.
Once you have a clear understanding of your goals and target audience, create a detailed roadmap for development. Break down the development process into smaller tasks and set realistic timelines for each milestone. Consider factors such as research, design, implementation, testing, and deployment. A well-structured roadmap helps you stay organized and ensures a smoother development process.
During the planning stage, also consider the necessary hardware and software components for your app. Identify the IoT devices and sensors you will be integrating with, as well as the platforms and frameworks required for development. Ensure that you have access to the necessary resources and tools to implement your app effectively.
Additionally, think about the data flow within your app. How will data be collected from sensors? How will it be processed and stored? Consider the best practices for data management and ensure that your app can handle the expected data load. This includes considerations for data encryption, data storage, data backup, and data privacy.
Another important aspect to consider during the planning stage is scalability. Anticipate future growth and design your app in a way that allows for easy scaling. This includes choosing a platform that can handle a growing number of devices and implementing a scalable architecture that can accommodate increased traffic and data storage requirements.
Lastly, consider potential challenges and risks that may arise during app development and operation. Identify possible bottlenecks, security vulnerabilities, and compatibility issues. Developing contingency plans and mitigating risks early on can save time and effort in the long run.
In summary, planning your IoT app is a critical step that sets the direction for development. Define your goals, understand your target audience, create a detailed roadmap, consider hardware and software requirements, manage data flow, plan for scalability, and address potential challenges. By investing time and effort in the planning stage, you are setting yourself up for a smoother and more successful app development journey.
Designing the User Interface
The user interface (UI) design of your IoT app plays a crucial role in ensuring a seamless and intuitive user experience. A well-designed UI enhances usability, increases user engagement, and ultimately leads to higher adoption and satisfaction. When designing the user interface for your IoT app, consider the following factors:
1. Keep it Simple and Intuitive: Aim for a clean and straightforward interface that is easy for users to navigate. Avoid cluttering the screen with unnecessary elements and prioritize essential features and information. Use familiar icons and intuitive gestures to ensure a seamless user experience.
2. Consistency: Maintain consistency in the design elements throughout your app. This includes using consistent color schemes, typography, buttons, and layout across different screens and functionalities. Consistency helps users quickly understand and navigate your app.
3. Responsiveness: Ensure that your UI design adapts to different screen sizes and resolutions. As IoT apps are often accessed from various devices such as smartphones, tablets, and smart TVs, responsiveness is crucial for delivering a consistent and user-friendly experience across platforms.
4. Visual Hierarchy: Use visual hierarchy to prioritize and guide users’ attention to important elements. This can be achieved through varying font sizes, colors, and spacing. Highlight key information and actions to help users easily understand and interact with your app.
5. Feedback and Confirmation: Provide visual feedback to users when they perform actions or interact with elements. This includes displaying loading indicators, success or error messages, and confirmation prompts. Feedback enhances the user’s understanding of the app’s response and builds confidence in their interactions.
6. Accessibility: Design your app with accessibility in mind to ensure usability for all users. Consider factors such as font size, color contrast, and support for screen readers. By making your app accessible, you can reach a wider audience and provide an inclusive experience.
7. User Testing and Iteration: Conduct user testing throughout the design process to gather feedback and identify areas for improvement. Observe how users interact with your app and listen to their feedback to make informed design decisions. Iteration based on user testing helps refine the UI design and ensures a user-centric experience.
8. Branding: Incorporate your brand identity into the UI design to establish a consistent brand image. Use colors, typography, and visual elements that align with your brand guidelines. Branding helps create a memorable and cohesive user experience.
Remember, the UI design of your IoT app should not only be visually appealing but also functional and intuitive. Strive for a balance between aesthetics and usability to create a delightful user experience.
In the next section, we will explore how to collect data from sensors and integrate it into your IoT app.
Collecting Data from Sensors
Collecting data from sensors is a fundamental aspect of IoT app development. Sensors provide valuable information about the physical environment and enable your app to make data-driven decisions. When collecting data from sensors, consider the following steps:
1. Sensor Selection: Choose the appropriate sensors based on the specific requirements of your IoT app. Sensors are available for measuring various parameters such as temperature, humidity, motion, light, pressure, and more. Consider the accuracy, range, and compatibility of the sensors with your IoT platform.
2. Data Acquisition: Connect the sensors to your IoT devices and establish a means of data acquisition. This can be done using wired or wireless connections, depending on the type of sensors and devices you are using. Ensure that the data acquisition process is reliable and that the sensors are calibrated correctly.
3. Data Processing: Once the data is acquired from the sensors, it needs to be processed and prepared for further analysis. This may involve filtering out noise, converting raw sensor data into meaningful units, and applying algorithms to derive useful insights. The data processing stage is crucial to ensure the accuracy and reliability of the collected data.
4. Data Storage: Determine how and where you will store the collected sensor data. This can be done locally on the IoT device or sent to a cloud-based storage solution. Consider factors such as data retention period, scalability, and security. Ensure that the chosen storage solution can handle the expected data volume and provides appropriate access control mechanisms.
5. Data Transmission: Decide how and when the collected data will be transmitted to the cloud or centralized server. This can be done in real-time or at regular intervals, depending on your app’s requirements and connectivity availability. Ensure that the data transmission process is reliable and secure, especially if sensitive or critical data is involved.
6. Data Validation: Implement mechanisms to validate and verify the integrity and accuracy of the collected sensor data. This may involve comparing data from multiple sensors, checking for outliers, or applying statistical analysis techniques. Validating the data ensures that your app makes informed decisions based on reliable and trustworthy information.
7. Handling Data Loss: Account for potential data loss scenarios, such as connectivity issues or sensor failures. Implement mechanisms to handle and recover from data loss situations. This may include data buffering, automatic retries, or redundant sensor configurations. Handling data loss ensures the continuity of your app’s functionality and prevents data gaps.
8. Data Security: Protect the collected sensor data from unauthorized access and ensure data confidentiality. Implement encryption techniques to secure the data both during transmission and storage. Use secure authentication mechanisms to prevent unauthorized access to the sensors and IoT devices.
By following these steps, you can effectively collect and manage data from sensors for your IoT app. Remember to consider sensor selection, data acquisition, processing, storage, transmission, validation, data loss handling, and data security to ensure the accuracy, reliability, and security of the collected sensor data.
In the next section, we will explore how to send the collected data to the cloud for further analysis and processing.
Sending Data to the Cloud
Once data is collected from sensors, the next step in IoT app development is to send it to the cloud. Cloud-based storage and processing enable efficient data analysis, scalability, and accessibility. Sending data to the cloud involves several key steps:
1. Data Communication: Choose an appropriate communication protocol to transfer data from your IoT devices to the cloud. Common protocols include MQTT, HTTP, or CoAP. Consider factors such as bandwidth, latency, and reliability to select the most suitable protocol for your app’s requirements.
2. Data Formatting: Ensure that the collected data is properly formatted to comply with the selected communication protocol and the data storage format in the cloud. This may involve converting the data into JSON, XML, or other structured formats. Proper formatting ensures seamless data transfer and compatibility with cloud-based systems.
3. Establishing Connection: Set up a secure and reliable connection between your IoT devices and the cloud platform. This may involve configuring SSL/TLS certificates or using authentication mechanisms such as API keys or tokens. A secure connection prevents unauthorized access and ensures data integrity during transmission.
4. Data Transmission: Send the formatted data to the cloud using the established connection. Consider the frequency of data transmission based on the nature of your IoT application and the requirements for real-time or batch processing. Implement mechanisms to handle intermittent connectivity or data loss during transmission.
5. Cloud-based Storage: Select an appropriate cloud storage solution to store the transmitted data. Cloud storage services like Amazon S3, Google Cloud Storage, or Azure Blob Storage are commonly used for this purpose. Consider factors such as data retention requirements, scalability, redundancy, and access control policies when choosing a storage solution.
6. Data Processing and Analytics: Leverage the cloud platform’s capabilities for data processing and analysis. Cloud-based services like Amazon IoT Analytics or Google Cloud IoT Core provide tools for real-time or batch data processing, applying machine learning algorithms, and generating meaningful insights. Utilize these services to extract valuable information from your collected data.
7. Data Security and Privacy: Implement security measures to protect the transmitted data while it’s in transit and at rest in the cloud. This includes encryption techniques, secure access controls, and monitoring for any unauthorized access attempts. Comply with relevant regulations and best practices to ensure data privacy and user confidence.
8. Monitoring and Maintenance: Regularly monitor the data transmission process and cloud infrastructure for any issues or anomalies. Implement proper error handling mechanisms and conduct periodic maintenance and updates to keep your data flow smooth and uninterrupted.
By following these steps, you can effectively send data from your IoT devices to the cloud for storage, processing, and analysis. This allows you to leverage the scalability, flexibility, and advanced capabilities of cloud-based platforms to derive meaningful insights from your IoT data.
In the next section, we will delve into managing data on the server side and explore techniques for efficient data storage, retrieval, and organization.
Managing Data on the Server
Managing data on the server side is a critical aspect of IoT app development. Efficient data storage, retrieval, and organization are key to effectively utilize the vast amount of data collected from IoT devices. When it comes to managing data on the server, consider the following steps:
1. Data Storage: Choose an appropriate database system to store your IoT data. Relational databases like MySQL or PostgreSQL are commonly used for structured data, while NoSQL databases like MongoDB or Cassandra are suitable for handling large volumes of unstructured or semi-structured data. Consider factors such as scalability, performance, and ease of data querying when selecting a database system.
2. Data Schema: Define a proper data schema that represents the structure and relationships of your IoT data. This ensures data consistency and enables efficient data retrieval and analysis. Determine the necessary fields, data types, and hierarchical relationships between different entities in your data schema.
3. Data Normalization: Normalize your data to eliminate redundancy and improve data integrity. This involves breaking down data into smaller, atomic units and creating logical relationships between them. Normalization reduces data duplication and improves data storage efficiency.
4. Data Indexing: Implement indexing on the database fields that are frequently used for data retrieval. Indexing improves the speed and efficiency of queries by creating a data structure that allows for faster lookup and retrieval. Factors such as cardinality and the nature of data queries should be considered when deciding which fields to index.
5. Data Partitioning: If your IoT app generates large amounts of data, consider partitioning or sharding the data across multiple servers or databases. This distributes the data load and improves performance and scalability. Partitioning can be based on factors such as time-based intervals, geographical regions, or any other logical criteria.
6. Data Compression: Apply data compression techniques to reduce data storage requirements and optimize bandwidth usage. Compression algorithms, such as gzip or zlib, can significantly reduce the size of data streams without compromising data integrity. This is particularly important when dealing with high-frequency or large-sized data streams.
7. Data Backup and Disaster Recovery: Implement regular data backup strategies and disaster recovery plans to protect your data from potential loss or corruption. This involves scheduling automated backups, maintaining redundant copies of data, and testing the recovery process. Prepare for unforeseen events to ensure the continuity of your app’s data management.
8. Data Privacy and Compliance: Ensure that your data management practices comply with privacy regulations and industry standards. Implement appropriate security measures such as encryption, access controls, and auditing to protect the confidentiality and integrity of your data. Comply with data privacy regulations and provide clear consent mechanisms for data collection and storage.
By following these steps, you can effectively manage the data collected from IoT devices on the server side. This allows you to efficiently store, retrieve, and organize your IoT data, enabling robust data analysis, insights generation, and informed decision-making.
In the next section, we will explore techniques for analyzing and visualizing your IoT data to derive meaningful insights and facilitate decision-making.
Analyzing and Visualizing Data
Analyzing and visualizing data is a crucial step in deriving meaningful insights from the vast amount of data collected by IoT devices. By leveraging data analysis techniques and visual presentation, you can uncover patterns, trends, and correlations that enable informed decision-making. When it comes to analyzing and visualizing IoT data, consider the following steps:
1. Data Exploration: Start by exploring your IoT data to understand its characteristics and structure. Use descriptive statistics, such as mean, median, and standard deviation, to gain insights into the data distribution. Identify any outliers or missing values that may affect the analysis. Visualize summary statistics using charts and graphs to get an initial understanding of the data.
2. Data Cleaning: Cleanse the data by removing outliers, correcting errors, and handling missing data. Outliers can significantly impact analysis results, while missing data can introduce biases. Apply appropriate data cleaning techniques, such as imputation or removal, to ensure high data quality before performing further analysis.
3. Data Mining: Utilize data mining techniques to uncover hidden patterns and relationships in your IoT data. Apply statistical analysis, machine learning algorithms, or data clustering techniques to identify trends, anomalies, or predictive models. This can provide valuable insights into the behavior of your IoT devices and the larger system they operate within.
4. Real-Time Analysis: If real-time analysis is required, implement streaming analytics techniques to process and analyze data as it is generated by your IoT devices. This enables immediate action based on real-time insights. Use tools and platforms that can handle high-velocity data streams and perform real-time computations efficiently.
5. Data Visualization: Present your IoT data in visual formats to enhance understanding and facilitate decision-making. Utilize charts, graphs, and dashboards to communicate trends, patterns, and key metrics effectively. Choose visualization techniques that align with the characteristics of your data and the specific insights you want to convey to stakeholders.
6. Interactive Visualizations: Implement interactive elements in your visualizations to enable users to explore data from different angles and drill down into specific details. Use interactive controls, filters, and zooming capabilities to enhance user engagement and customization. Interactive visualizations empower users to interact with the data and discover their own insights.
7. Customized Reports: Generate customized reports based on the analyzed data to communicate insights to stakeholders effectively. Reports can include data summaries, key findings, visualizations, and recommendations. Tailor the reports to the specific needs and requirements of different stakeholders, such as executives, operations teams, or decision-makers.
8. Advanced Analytics: Consider implementing advanced analytics techniques such as predictive modeling, anomaly detection, or optimization algorithms to further enhance the value derived from your IoT data. These techniques can help identify future trends, detect abnormalities, or optimize system performance based on data-driven insights.
By following these steps, you can effectively analyze and visualize your IoT data to gain deeper insights and support informed decision-making. The combination of data analysis techniques and visualizations empowers your organization to uncover valuable information, optimize operations, and drive positive outcomes based on the wealth of data collected by your IoT devices.
In the next section, we will explore techniques for implementing automation and control features in your IoT app.
Implementing Automation and Control
One of the key benefits of IoT is the ability to automate processes and enable control of devices and systems remotely. By implementing automation and control features in your IoT app, you can enhance efficiency, convenience, and responsiveness. When it comes to implementing automation and control, consider the following steps:
1. Identify Automation Opportunities: Analyze your IoT data and system functionality to identify processes or tasks that can be automated. Look for repetitive, time-consuming, or error-prone tasks that can benefit from automation. This could include scenarios such as adjusting lighting based on occupancy, optimizing energy usage, or automatically triggering actions based on sensor readings.
2. Define Rules and Triggers: Create rules and triggers that will initiate automated actions based on predefined conditions or events. For example, if a temperature sensor detects an abnormal increase in temperature, it can trigger an alert or automatically turn on a cooling system. Define thresholds, schedules, and dependencies for smooth automation workflows.
3. Implement Logic and Algorithms: Code the logic and algorithms necessary to carry out the automated actions. Use programming languages and frameworks suitable for your app’s requirements. This can involve analyzing real-time sensor data, applying decision-making algorithms, or invoking APIs to interact with connected devices or external systems.
4. Integration with Devices and Systems: Integrate your app with IoT devices, systems, or other external platforms to execute automated actions. Ensure that the necessary APIs, protocols, or frameworks are used for seamless integration. This can involve coordinating and orchestrating actions across multiple devices or systems to achieve the desired automation functionality.
5. User-defined Automation: Provide flexible automation options that allow users to customize and define their own automation rules. This empowers users to tailor the app’s behavior to their specific needs and preferences. Enable user-friendly features such as drag-and-drop rule builders or natural language processing to simplify the process of creating custom automation workflows.
6. Remote Control Capability: Enable users to remotely control IoT devices or systems through the app. Implement user interfaces that allow users to interact with connected devices, set preferences, and monitor the status of automated processes. Provide real-time feedback and notifications to keep users informed about the execution and outcomes of their control actions.
7. Error Handling and Redundancy: Implement error handling mechanisms to gracefully handle exceptions or failures during automated processes. This includes logging, error recovery, and fallback mechanisms to ensure the app’s reliability and prevent critical errors. Consider implementing redundancy or failover measures to ensure continuity in case of system failures or connectivity issues.
8. Continuous Improvement: Regularly monitor and analyze the performance of your automated processes. Collect feedback from users, gather analytics data, and conduct performance testing to identify areas for improvement. Use the insights gained to refine and optimize your automation and control features over time.
By following these steps, you can effectively implement automation and control features in your IoT app. Automating processes and enabling remote control enhances efficiency, optimizes resource utilization, and provides a seamless and convenient user experience.
In the next section, we will explore techniques for testing and debugging your IoT app to ensure its stability and reliability.
Testing and Debugging Your App
Testing and debugging are critical stages in IoT app development to ensure the stability, reliability, and performance of your application. Thorough testing helps identify and resolve any issues or bugs that may impact the functionality of your app. When testing and debugging your IoT app, consider the following steps:
1. Unit Testing: Start by conducting unit tests on individual components or functions of your app. This involves testing each unit in isolation to validate its functionality and behavior. Use testing frameworks and tools suitable for your programming language to automate the testing process and ensure consistency.
2. Integration Testing: Once individual components are tested, perform integration tests to verify the interactions and compatibility between different modules of your app. This ensures that the different parts of your app work together seamlessly. Test data flow, API integrations, and interdependencies to identify any issues related to communication or interoperability.
3. System Testing: Conduct comprehensive system tests to evaluate the overall functionality and performance of your IoT app. This involves simulating real-world scenarios and user interactions to verify the app’s behavior under different conditions. Test edge cases, handle potential exceptions, and validate the app’s response to unexpected situations.
4. Performance Testing: Evaluate the performance of your app by conducting performance tests. Measure response times, resource utilization, and scalability to ensure that your app can handle the expected workload. Simulate high data traffic scenarios to identify potential performance bottlenecks and optimize your app accordingly.
5. Security Testing: Assess the security of your app by conducting security tests. Identify and address vulnerabilities or potential attack vectors, such as unauthorized access, data breaches, or injection attacks. Test authentication mechanisms, encryption, and data privacy protocols to ensure the confidentiality and integrity of your app’s data.
6. Field Testing: Deploy your app in real-world environments or use test environments that closely mimic the intended operational conditions. Gather feedback from users or testers who interact with your app in these environments. This provides valuable insights about usability, reliability, and any potential issues that may arise in the field.
7. Debugging: When issues or bugs are identified during testing, utilize effective debugging techniques to pinpoint the root causes. Use logging, error tracking tools, and debugging tools provided by your development environment to trace and identify issues. Fix bugs, optimize code, and retest to ensure that the app functions as intended.
8. Continuous Testing: Implement continuous testing practices throughout the development process to catch issues early and maintain the quality of your app. Incorporate automated testing into your continuous integration and deployment pipelines. This allows you to detect potential issues as soon as changes are made to the code and ensure that updates are error-free.
By following these steps, you can effectively test and debug your IoT app, ensuring that it meets the desired functional and performance requirements. Thorough testing and debugging contribute to a high-quality app that delivers a seamless user experience and operates reliably in different situations.
In the next section, we will explore techniques for deploying your IoT app and making it available for users to access and utilize.
Deploying Your App
Deploying your IoT app involves making it available for users to access and utilize. It’s a crucial step that ensures your app is accessible, secure, and scalable. When deploying your IoT app, consider the following steps:
1. Hosting Environment: Select a suitable hosting environment for your app based on your specific needs. This can include cloud-based platforms such as Amazon Web Services (AWS), Google Cloud, or Microsoft Azure, or on-premises hosting infrastructure. Evaluate factors such as scalability, security, and cost to determine the most appropriate hosting solution.
2. App Containerization: Containerize your app using containerization platforms such as Docker. Containerization provides a lightweight and portable way to package your app and its dependencies. It simplifies deployment across multiple environments and ensures consistency in app behavior regardless of the underlying infrastructure.
3. Infrastructure Configuration: Set up the necessary infrastructure components for your app to run effectively. This includes configuring networks, servers, databases, storage systems, and any other required resources. Automate the infrastructure provisioning process using infrastructure-as-code tools like Terraform or CloudFormation.
4. Deployment Automation: Implement robust deployment automation processes to streamline the deployment of your app. Utilize continuous integration and continuous deployment (CI/CD) pipelines to automate the build, testing, and deployment stages. This helps maintain consistency, reduces manual effort, and enables faster and more efficient deployments.
5. Security Considerations: Implement security measures to protect your deployed app. This includes using secure protocols for data transmission, enabling firewall rules, implementing access controls, and regularly updating and patching the software components of your app. Perform security audits and vulnerability scans to identify potential risks and mitigate them.
6. Scaling and Performance: Set up mechanisms to monitor and scale your app based on demand. Implement auto-scaling capabilities to automatically adjust resources based on traffic patterns or other defined metrics. Optimize the performance of your app by optimizing queries, caching data, and utilizing content delivery networks (CDNs) for faster content delivery.
7. Monitoring and Logging: Incorporate monitoring and logging tools to track the performance, usage, and health of your deployed app. Use logging frameworks to collect and analyze logs, and implement monitoring solutions to track key metrics and enable proactive detection of issues. This helps identify and resolve potential problems before they impact users.
8. User Acceptance and Feedback: Solicit user acceptance and feedback after deploying your app. Encourage users to provide feedback, report any issues, or suggest improvements. This valuable feedback helps you identify user needs, enhance app features, and address potential usability or functional shortcomings.
By following these steps, you can effectively deploy your IoT app in a secure, scalable, and efficient manner. Deploying your app prepares it for real-world use, ensuring that it is accessible to users and operates reliably.
In the next section, we will conclude our guide and summarize key takeaways from the entire IoT app development process.
Conclusion
Congratulations! You have now reached the end of our comprehensive guide on creating an IoT app. We’ve covered essential stages of the app development process, from understanding IoT to deploying your app in the real world.
Throughout this guide, we explored the fundamental concepts of IoT and how it connects devices, gathers data, and enables automation. We discussed the importance of choosing the right platform for your app and the factors to consider in the planning stage, such as defining goals and identifying user requirements.
We delved into designing a user interface that is intuitive, visually appealing, and responsive across various devices. We also covered the process of collecting data from sensors and sending it to the cloud for further analysis and processing.
Managing data on the server side was explored, including data storage, data schema, and implementing indexing and partitioning techniques. We then discussed the significance of analyzing and visualizing data to derive meaningful insights and support decision-making.
Implementing automation and control features in your app allows for increased efficiency and convenience, while testing and debugging ensure the stability and reliability of your app. Lastly, we covered the deployment process, including choosing a hosting environment, automation, security considerations, and scalability.
By following these steps and considering the best practices highlighted throughout the guide, you are well-equipped to embark on your IoT app development journey. Remember, it’s crucial to continue learning and staying updated with the latest trends and technologies in the rapidly evolving field of IoT.
We hope this guide has provided you with valuable insights and practical knowledge to build successful and impactful IoT apps. Embrace your creativity, harness the power of connectivity, and create innovative experiences that make a difference. Best of luck with your IoT app development endeavors!