Introduction
Welcome to the world of Slack! If you’re looking to improve collaboration and communication within your team or organization, Slack is the perfect platform for you. With its user-friendly interface and powerful features, Slack has become a go-to tool for countless teams worldwide.
One of the key features of Slack is the ability to create groups, which allow team members to collaborate effectively and efficiently. Whether you want to create a group for a specific project, department, or interest, Slack makes it easy to bring people together and streamline communication.
In this guide, we will walk you through the process of creating a group on Slack. From logging in to inviting members and adjusting group settings, we’ll cover all the steps you need to follow to get your group up and running. But before we jump into the steps, let’s take a moment to understand why creating a group on Slack can benefit your team.
By creating a group on Slack, you can centralize communication related to a specific topic or project, eliminating the need for endless email chains and scattered conversations. Group members have access to a shared space where they can exchange messages, share files, and collaborate on tasks in real-time.
Moreover, creating a group on Slack promotes transparency and inclusivity within your team. It ensures that everyone has access to the same information and can participate in discussions, regardless of their role or location. This fosters a sense of unity and strengthens the overall team dynamics.
Additionally, creating a group on Slack allows you to easily manage permissions and control who has access to specific conversations and files. This ensures that sensitive information remains secure and only accessible to the intended audience.
Now that we’ve highlighted the benefits of creating a group on Slack, let’s dive into the step-by-step process of setting up your very own group. So, let’s get started by logging in to Slack!
Step 1: Logging in to Slack
Before you can create a group on Slack, you need to make sure you have an account and are logged in. If you’re already registered on Slack, simply open your preferred web browser and navigate to the Slack website.
Once you’re on the Slack homepage, locate the “Sign in” button at the top right corner of the screen. Click on it to proceed to the login page.
On the login page, enter your email address or username and password associated with your Slack account. If you don’t remember your password, you can click on the “Forgot your password?” link and follow the instructions to reset it.
After entering your credentials, click on the “Sign in” button to log in to your Slack account.
If you’re new to Slack and don’t have an account yet, you’ll need to sign up before you can log in. To sign up, click on the “Get started for free” button on the Slack homepage.
On the sign-up page, you’ll be prompted to enter your email address and create a password for your account. Once you’ve entered the required information, click on the “Create Account” button.
Slack will then send you a confirmation email to verify your email address. Open the email and click on the provided link to complete the verification process.
Once you’ve successfully logged in or signed up for an account and completed the verification process, you’re now ready to move on to the next step: creating your Slack group.
Step 2: Navigating to the “Create a Group” page
After logging in to your Slack account, you’ll need to navigate to the page where you can create a group. To do this, follow the steps outlined below.
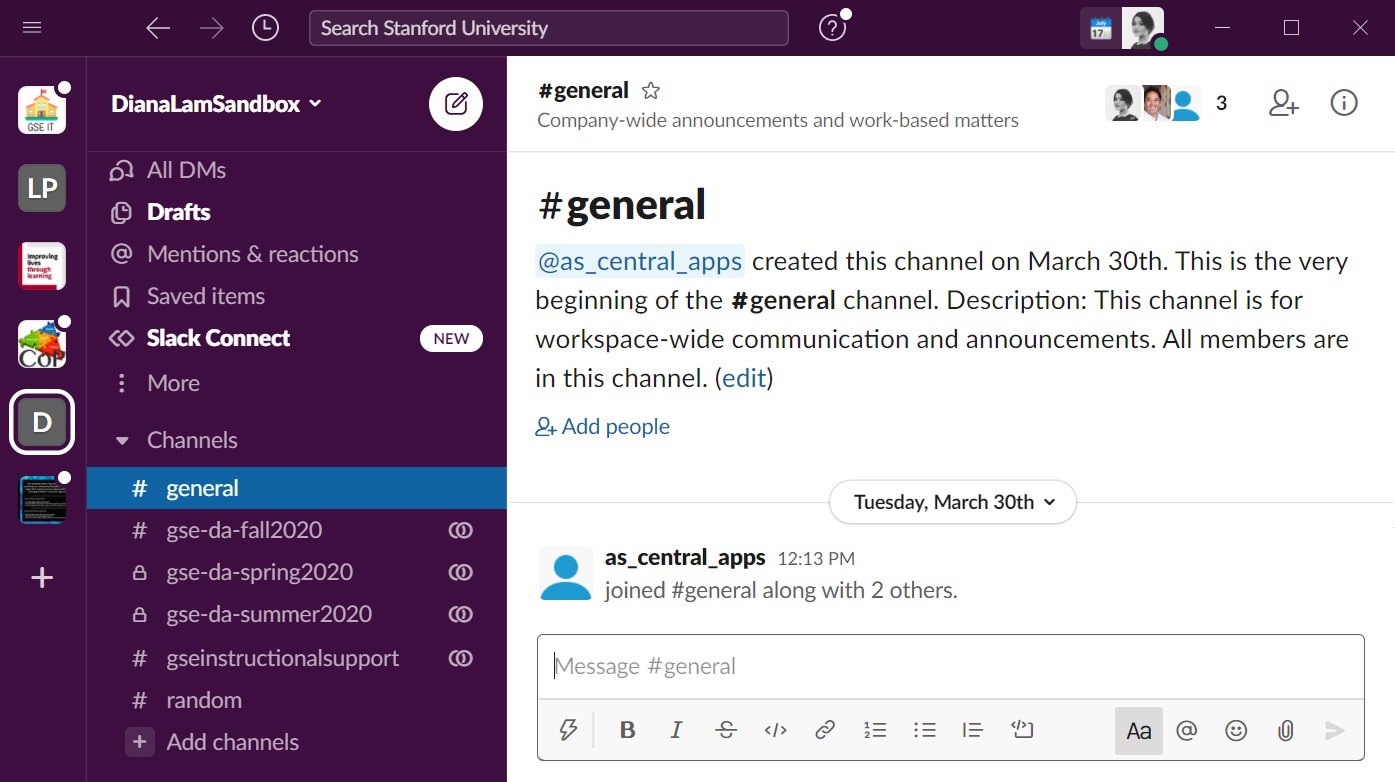
1. Once logged in, you’ll be directed to your Slack workspace. This is the main hub where you can access all your channels, conversations, and settings.
2. On the left side of the screen, you’ll see a sidebar that displays various options and menus. Locate the “Channels” section and click on the “More” option (represented by three horizontal dots) next to it.
3. A dropdown menu will appear with several options. Look for and click on the “Browse channels” option.
4. This will take you to the “Channels” page, where you can explore different channels and groups within your workspace.
5. At the top of the page, you’ll see a search bar. Enter “Create a group” or a related keyword in the search bar and press Enter.
6. The search results will display relevant options and suggestions. Look for the “Create a group” option and click on it.
7. You will now be redirected to the “Create a group” page, where you can provide details and set up your new group.
It’s important to note that the navigation steps may vary slightly depending on your Slack workspace’s layout and interface. However, the core concept remains the same: you need to access the “Create a group” page to proceed with setting up your new group.
Now that you’ve successfully reached the “Create a group” page, it’s time to move on to the next step: naming your group.
Step 3: Naming your group
Now that you’ve reached the “Create a group” page, it’s time to give your group a name. The group name will help identify and distinguish your group from others within your Slack workspace. Follow the steps below to name your group.
1. On the “Create a group” page, you’ll see a text field labeled “Group Name.” Click on this field to activate it.
2. Type in a unique and descriptive name for your group. It can be related to the project, department, or interest that the group represents.
3. As you type, you’ll notice a live preview of how your group’s URL will look. Slack automatically generates a URL based on your group name, making it easier for members to access it.
4. Remember to keep the group name concise, clear, and easy to understand. Avoid using generic names or acronyms that might confuse others within your workspace.
5. Slack provides a character limit for group names, so ensure that your chosen name meets the requirements. If necessary, you may need to make adjustments or find alternative names that fit within the limit.
6. Once you’re satisfied with the group name, click on the “Next” or “Create Group” button to proceed to the next step.
It’s worth noting that the group name can be changed later if needed. However, it’s best to choose a name that accurately represents your group from the beginning to avoid confusion and the need for frequent changes.
Now that you’ve successfully named your group, it’s time to move on to the next step: inviting members to your group.
Step 4: Inviting members to your group
Once you’ve named your group, it’s time to invite members to join and collaborate within your Slack group. Follow the steps below to invite members to your group.
1. On the “Create a group” page, you’ll see an option to invite members to your group. Look for the “Invite Members” section or button and click on it.
2. A new window or dialogue box will appear, allowing you to enter the email addresses of the individuals you want to invite to your group. You can invite multiple members at once by separating their email addresses with commas.
3. Alternatively, you can click on the “Share an invitation link” option to generate a unique invitation link. This link can be shared with individuals who want to join your group, allowing them to join directly without needing an invitation email.
4. If desired, you can also add a personal message or brief description to the invitation to provide additional context or instructions for the invitees.
5. Once you’ve added the email addresses or generated the invitation link and added a personal message (if desired), click on the “Send Invitations” or “Invite” button.
6. The invitations will be sent, and the invited individuals will receive an email notification or access to the invitation link. They can then join your group by following the instructions provided in the invitation email or by clicking on the invitation link.
7. As the group creator or admin, you have the ability to manage and control the group’s membership. You can remove or add members, assign roles, and adjust permissions as needed to ensure smooth collaboration within your group.
Inviting members to your group allows you to build a collaborative environment with the right people involved. It enables seamless communication, file sharing, and collaboration among group members, creating a productive and cohesive team dynamic.
Now that you’ve successfully invited members to your group, it’s time to move on to the next step: adjusting group settings.
Step 5: Adjusting group settings
Now that you’ve created your Slack group and invited members to join, it’s time to fine-tune the group settings to best suit your team’s needs. Follow the steps below to adjust the settings for your group.
1. On the group’s main page, navigate to the settings menu. Look for the gear icon or the “Settings” option, usually located in the top-right corner of the group interface. Click on it to access the group settings.
2. Within the group settings, you’ll find various options to personalize and configure your group. These options may include notification preferences, member permissions, channel creation permissions, and more.
3. Review the available settings and adjust them according to your preferences. For example, you can choose how members receive notifications, whether it’s via email or in-app notifications. You can also decide who has the ability to create new channels or invite new members to the group.
4. Take advantage of other customization options, such as setting a group icon or logo and adding a group description. These visual and textual elements help identify and provide information about your group to members and visitors.
5. Additionally, explore advanced settings such as integrating other apps, setting up automation tools, or configuring external integrations to further enhance your group’s functionality and productivity.
6. As the group administrator, it’s essential to regularly review and adjust the settings as needed to ensure the group operates smoothly and aligns with your team’s requirements and goals.
Remember that each group within Slack can have unique settings, allowing you to tailor the experience to each specific group’s needs within your workspace. By adjusting the settings accordingly, you can optimize collaboration and communication within your Slack group.
Now that you’ve successfully adjusted the settings for your group, you’re one step closer to fostering effective teamwork and productivity.
Conclusion
Congratulations! You’ve successfully created a group on Slack and learned how to navigate the essential steps of setting up your group. By following the steps outlined in this guide, you can create a collaborative environment where team members can communicate, share files, and work together effectively.
Creating a group on Slack offers numerous benefits, such as centralizing communication, promoting transparency, and streamlining collaboration. With a dedicated group, you can bring people together based on specific projects, departments, or interests, allowing for focused discussions and efficient teamwork.
Remember to choose a meaningful and descriptive name for your group, as it will help identify and differentiate it within your Slack workspace. Inviting members to join ensures that the right people are involved and can actively contribute to the group’s objectives.
By adjusting the group settings, you can customize the experience to fit your team’s needs, ensuring smooth communication and efficient workflow. Take advantage of the various options available, such as notification preferences, member permissions, and customization features, to tailor the group to your requirements.
As you continue to use Slack and your group, regularly review and update the settings and adapt them as needed to optimize collaboration and productivity. Additionally, explore advanced features and integrations to further enhance the capabilities of your group.
With your new Slack group set up and ready to go, you’re all set to foster effective teamwork, streamline communication, and drive your projects forward. Embrace the power of Slack and harness its features to facilitate seamless collaboration within your team or organization.
So, what are you waiting for? Start creating your Slack group and experience the benefits of efficient teamwork and communication today!