Introduction
In the ever-evolving world of technology, virtualization has become an essential tool for businesses and individuals alike. Creating a virtual machine allows you to run multiple operating systems on a single physical machine, providing flexibility, efficiency, and cost savings. If you’re using Windows Server 2012, you’re in luck, as it comes equipped with the powerful Hyper-V virtualization platform.
In this article, we will walk you through the process of creating a virtual machine in Windows Server 2012. Whether you’re a system administrator or a tech-savvy individual looking to set up virtual environments for testing or development purposes, this step-by-step guide will help you get started.
Before we dive into the details, it’s important to note that creating a virtual machine requires some prerequisites. You’ll need a machine running Windows Server 2012 with adequate hardware resources, such as sufficient CPU capacity, memory, and disk space. Additionally, it’s recommended to have a basic understanding of networking concepts and familiarity with the Windows Server operating system.
Now, let’s explore the steps involved in creating a virtual machine in Windows Server 2012. We’ll start by installing the Hyper-V role, configuring the Hyper-V settings, creating a virtual switch, and finally, creating and configuring the virtual machine. We’ll also cover the process of installing an operating system on the virtual machine and managing virtual machines in Windows Server 2012.
By the end of this guide, you will have the knowledge and skills to create and manage virtual machines, allowing you to harness the power of virtualization in your Windows Server 2012 environment. So, let’s get started with the first step: installing the Hyper-V role.
Prerequisites for Creating a Virtual Machine
Before you can create a virtual machine in Windows Server 2012, it’s important to ensure that you have met certain prerequisites. These requirements will ensure that you have the necessary hardware, software, and knowledge to successfully create and manage virtual machines.
1. Hardware Requirements: To create a virtual machine, you’ll need a machine running Windows Server 2012 with adequate hardware resources. The specific requirements will depend on the operating system and applications you plan to run on the virtual machine. Ensure that your machine has sufficient CPU capacity, memory, and disk space to accommodate the virtual machine’s needs.
2. Operating System: As the name suggests, Windows Server 2012 is the recommended operating system for creating virtual machines. Ensure that your machine is running a licensed version of Windows Server 2012 with the necessary updates and patches installed.
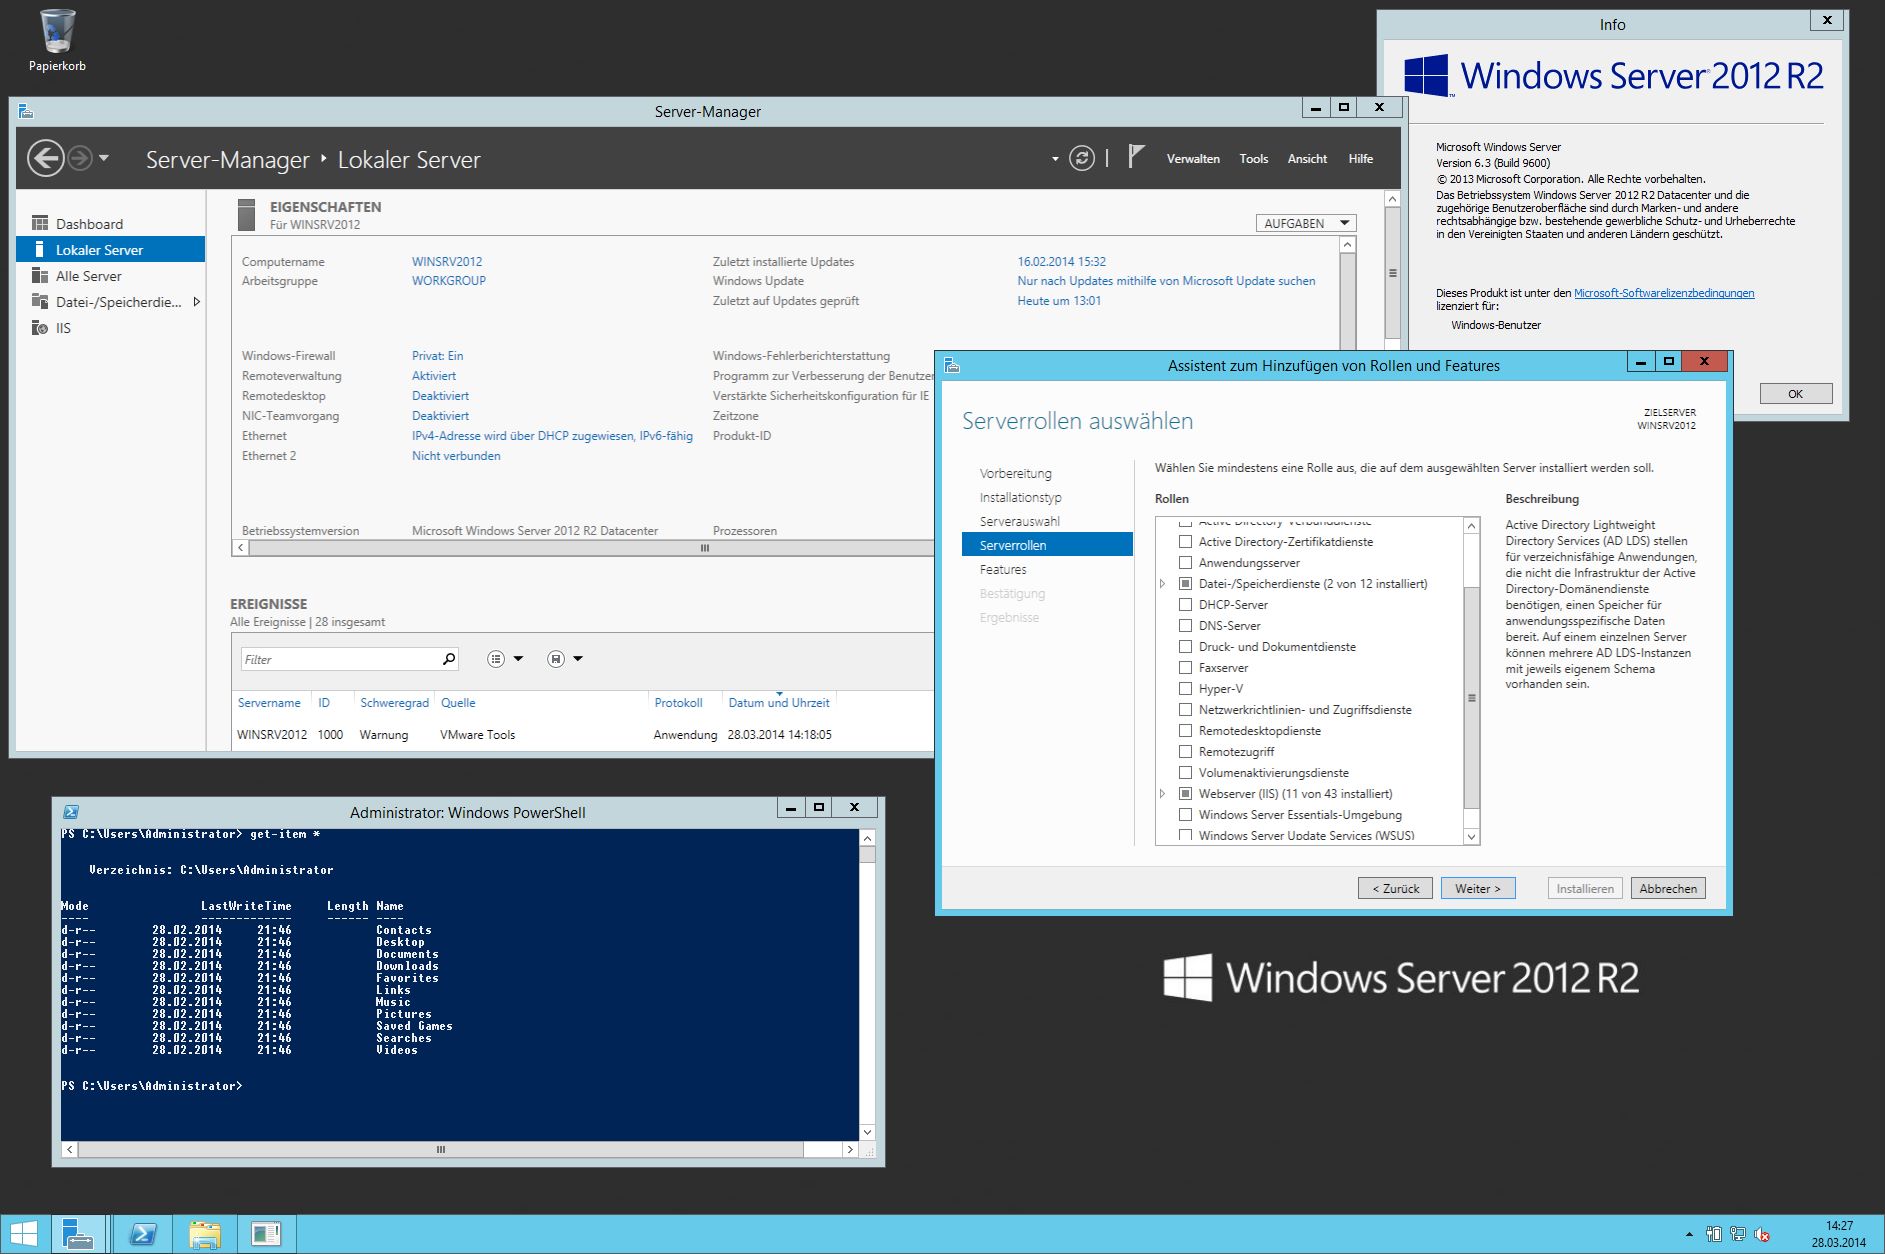
3. Hyper-V Role: Hyper-V is the virtualization platform included with Windows Server 2012. Before creating a virtual machine, you need to install the Hyper-V role on your server. This can be done easily through the Server Manager tool, which can be accessed from the Start menu. Once the Hyper-V role is installed, you’ll have the necessary tools and features to create and manage virtual machines.
4. Network Configuration: Virtual machines require network connectivity to function properly. Ensure that your server is connected to a network and has a valid IP address assigned. Additionally, you’ll need to configure a virtual switch, which will serve as the connection point between the virtual machine and the external network. This can be done during the Hyper-V configuration process, which we’ll cover in the upcoming steps.
5. Familiarity with Windows Server: While not a strict prerequisite, having a basic understanding of Windows Server concepts and functionality will be beneficial when it comes to creating and managing virtual machines. This includes knowledge of the Windows Server interface, networking concepts, and basic system administration tasks.
By ensuring these prerequisites are met, you’ll be well-prepared to embark on the journey of creating and managing virtual machines in Windows Server 2012. In the next section, we’ll guide you through the process of installing the Hyper-V role, which is the first step in creating virtual machines.
Step 1: Installing the Hyper-V Role
The first step in creating a virtual machine in Windows Server 2012 is to install the Hyper-V role. The Hyper-V role provides the necessary tools and features for virtualization, allowing you to create and manage virtual machines on your server. Follow these steps to install the Hyper-V role:
- Open the Server Manager tool by clicking on the Start menu and selecting Server Manager.
- In the Server Manager window, click on the Manage menu and select Add Roles and Features. This will open the Add Roles and Features Wizard.
- On the Before You Begin page, click Next to proceed.
- On the Select Installation Type page, leave the default option (“Role-based or feature-based installation”) selected and click Next.
- On the Select Destination Server page, choose the server on which you want to install the Hyper-V role and click Next. If you have multiple servers, ensure that you select the appropriate one.
- On the Select Server Roles page, scroll down and locate the Hyper-V role. Check the box next to Hyper-V to select it.
- When prompted with the Add Features dialog, click Add Features to include the required features for Hyper-V. Then, click Next to proceed.
- On the Select Features page, you can choose to include any additional features that you require. Review the list and make any necessary selections, or leave the default options as they are. Then, click Next.
- On the Hyper-V page, you can review more information about the role and its features. Take a moment to review this information, and when you’re ready, click Next.
- On the Create Virtual Switches page, you can choose to create a virtual switch, which will provide network connectivity for your virtual machines. Select the appropriate options based on your network configurations, and click Next.
- On the Confirm Installation Selections page, review your selections. If everything looks correct, click Install to begin the installation process.
- Wait for the installation to complete. You may be asked to restart the server after the installation finishes. If prompted, go ahead and restart the server.
Congratulations! You have successfully installed the Hyper-V role on your Windows Server 2012. In the next step, we will guide you through the process of configuring the Hyper-V settings, which will allow you to fine-tune various options for virtualization.
Step 2: Configuring Hyper-V Settings
After installing the Hyper-V role, the next step in creating a virtual machine in Windows Server 2012 is to configure the Hyper-V settings. This will allow you to customize various options and optimize the performance of your virtual machines. Follow these steps to configure the Hyper-V settings:
- Open the Hyper-V Manager by clicking on the Start menu and searching for “Hyper-V Manager”. Click on the search result to open the Hyper-V Manager.
- In the Hyper-V Manager window, click on the server name in the left-hand pane to expand the server’s options.
- Click on the “Hyper-V Settings” link in the right-hand column. This will open the Hyper-V Settings dialog box.
- On the left-hand side of the Hyper-V Settings dialog box, you will see several categories of settings. Click on each category to explore and customize the options based on your requirements.
- Within the “Virtual Hard Disks” category, you can change the default location where virtual hard disks are stored. This can be useful if you want to separate the virtual machine files from the operating system files.
- In the “Virtual Machines” category, you can specify the location where virtual machine configuration files are stored. This can be helpful for organizational purposes or if you have multiple storage locations.
- Under the “Live Migrations” category, you can configure options related to live migration, including the maximum number of simultaneous live migrations and the authentication protocol to be used.
- Explore other categories, such as “Physical GPUs” and “NUMA Spanning”, to customize advanced settings for specific scenarios or hardware configurations.
- Once you have completed customizing the Hyper-V settings, click OK to save the changes.
Configuring the Hyper-V settings allows you to fine-tune various options and optimize the performance of your virtual machines. By customizing settings related to storage, virtual machine locations, live migration, and more, you can ensure that your virtual environment is tailored to your specific requirements.
In the next step, we will discuss how to create a virtual switch, which will provide network connectivity for your virtual machines. Stay tuned!
Step 3: Creating a Virtual Switch
After configuring the Hyper-V settings in Windows Server 2012, the next step in creating a virtual machine is to create a virtual switch. A virtual switch is a software-based networking component that provides connectivity between virtual machines and the external network. Follow these steps to create a virtual switch:
- Open the Hyper-V Manager by clicking on the Start menu and searching for “Hyper-V Manager”. Click on the search result to open the Hyper-V Manager.
- In the Hyper-V Manager window, click on the server name in the left-hand pane to expand the server’s options.
- Click on the “Virtual Switch Manager” link in the right-hand column. This will open the Virtual Switch Manager.
- In the Virtual Switch Manager window, you will see different types of virtual switches available. Select the type of virtual switch that best fits your network configuration. Some common types include External, Internal, and Private.
- If you choose an External virtual switch, select the network adapter that you want the virtual switch to be connected to in the “External network” section. This will provide connectivity between the virtual machines and the external network.
- Specify a name for the virtual switch in the “Virtual Switch Name” field.
- Choose whether to enable or disable the “Allow management operating system to share this network adapter” option. Enabling this option allows the host operating system to use the same network adapter as the virtual machines.
- Click Apply to create the virtual switch. You may be prompted to confirm the action.
- Once the virtual switch is created, click OK to close the Virtual Switch Manager.
Creating a virtual switch is a crucial step in providing network connectivity to your virtual machines. Whether you choose an External, Internal, or Private virtual switch, it’s essential to select the appropriate network adapter and configure the necessary settings to ensure seamless communication between the virtual machines and the external network.
In the next step, we will delve into the process of actually creating a virtual machine. Stay tuned for step 4!
Step 4: Creating a Virtual Machine
Now that you have configured the Hyper-V settings and created a virtual switch, it’s time to create a virtual machine in Windows Server 2012. A virtual machine acts as a self-contained computer system within your physical server, allowing you to run multiple operating systems and applications concurrently. Follow these steps to create a virtual machine:
- Open the Hyper-V Manager by clicking on the Start menu and searching for “Hyper-V Manager”. Click on the search result to open the Hyper-V Manager.
- In the Hyper-V Manager window, click on the server name in the left-hand pane to expand the server’s options.
- Click on the “New” dropdown menu in the right-hand column and select “Virtual Machine”. This will open the New Virtual Machine Wizard.
- On the Before You Begin page, click Next to proceed.
- On the Specify Name and Location page, enter a name for your virtual machine in the “Name” field. Choose a location where you want to store the virtual machine files, or leave the default location. Click Next.
- On the Specify Generation page, choose the generation of the virtual machine based on the capabilities you require. For most scenarios, Generation 2 is recommended. Click Next.
- On the Assign Memory page, specify the amount of memory to allocate to the virtual machine. Drag the slider or enter a value manually. Click Next.
- On the Configure Networking page, choose the virtual switch that you created in step 3. This will provide network connectivity to the virtual machine. Click Next.
- On the Connect Virtual Hard Disk page, select the option to create a new virtual hard disk. Specify the size and location for the virtual hard disk. Click Next.
- On the Installation Options page, choose whether to install an operating system later or install one now. Select the appropriate option and click Next.
- Review the summary on the Summary page and click Finish to create the virtual machine.
Congratulations! You have successfully created a virtual machine in Windows Server 2012. This virtual machine can now be customized and used to run various operating systems and applications. In the next step, we will cover how to configure the virtual machine settings to optimize its performance and functionality.
Step 5: Configuring Virtual Machine Settings
Now that you have created a virtual machine in Windows Server 2012, the next step is to configure its settings. By customizing the virtual machine’s settings, you can optimize its performance and functionality to meet your specific requirements. Follow these steps to configure virtual machine settings:
- Open the Hyper-V Manager by clicking on the Start menu and searching for “Hyper-V Manager”. Click on the search result to open the Hyper-V Manager.
- In the Hyper-V Manager window, click on the server name in the left-hand pane to expand the server’s options.
- Click on the virtual machine name in the left-hand pane to select it. This will display the virtual machine’s settings in the right-hand pane.
- Click on the “Settings” link in the right-hand column. This will open the settings for the selected virtual machine.
- Within the settings, you can customize various aspects of the virtual machine, such as its hardware configuration, integration services, and management options.
- In the “Hardware” section, you can change the assigned memory, add or remove virtual network adapters, adjust the number of virtual processors, and modify other hardware settings based on the virtual machine’s requirements.
- The “Integration Services” section allows you to enable or disable integration features that enhance the virtual machine’s performance and compatibility with the host server. Examples of integration services include time synchronization, enhanced session mode, and data exchange.
- Explore other sections, such as “Management” and “Security”, to configure advanced settings related to virtual machine management, backup, and security.
- Once you have completed configuring the virtual machine’s settings, click OK to save the changes.
Configuring the virtual machine’s settings is important for optimizing its performance, managing its resources, and ensuring compatibility with the host server. By customizing options related to hardware, integration services, and management, you can tailor the virtual machine to meet your specific needs and provide an optimal environment for running applications and operating systems.
In the next step, we will explore how to install an operating system on the virtual machine. Stay tuned for step 6!
Step 6: Installing an Operating System on the Virtual Machine
Now that you have configured the settings for your virtual machine in Windows Server 2012, it’s time to install an operating system on it. The operating system is the software that allows the virtual machine to run applications and perform various tasks. Follow these steps to install an operating system on the virtual machine:
- Ensure that you have the installation media or ISO file for the operating system you want to install. This could be a Windows Server ISO file or another supported operating system.
- Open the Hyper-V Manager by clicking on the Start menu and searching for “Hyper-V Manager”. Click on the search result to open the Hyper-V Manager.
- In the Hyper-V Manager window, click on the server name in the left-hand pane to expand the server’s options.
- Click on the virtual machine name in the left-hand pane to select it. This will display the virtual machine’s settings in the right-hand pane.
- Click on the “Connect” button in the right-hand column. This will open a virtual machine console window.
- Click on the “Start” button in the virtual machine console window to power on the virtual machine.
- Once the virtual machine starts, it will boot from the installation media or ISO file. Follow the on-screen instructions to install the operating system.
- During the installation process, you may need to provide information such as the product key, language, and region settings.
- After the installation is complete, the virtual machine will restart, and you will be prompted to log in to the operating system.
- Once you have logged in, you can further customize the operating system settings based on your requirements.
- Ensure that you install any necessary drivers or updates for the operating system to optimize its performance within the virtual machine.
- Once the operating system is installed and configured, you can start using the virtual machine to run applications and perform various tasks.
Installing an operating system on the virtual machine is a crucial step in transforming it into a functioning computer system. By following these steps and providing the necessary information during the installation process, you will be able to create a virtual machine with a fully operational operating system that can be used for various purposes.
In the next step, we will discuss how to manage virtual machines in Windows Server 2012. Stay tuned for step 7!
Step 7: Managing Virtual Machines
After creating and installing an operating system on your virtual machine in Windows Server 2012, it’s important to know how to effectively manage and maintain it. Managing virtual machines involves tasks such as starting, stopping, and configuring their settings. Follow these steps to manage virtual machines in Windows Server 2012:
- Open the Hyper-V Manager by clicking on the Start menu and searching for “Hyper-V Manager”. Click on the search result to open the Hyper-V Manager.
- In the Hyper-V Manager window, you will see a list of virtual machines under the server name in the left-hand pane.
- To start a virtual machine, right-click on its name and select “Start”. The virtual machine console window will open, and the virtual machine will begin running.
- To stop a virtual machine, right-click on its name and select “Turn Off”. This will gracefully shut down the virtual machine.
- To restart a virtual machine, right-click on its name and select “Restart”. The virtual machine will shut down and then start up again.
- To access the settings of a virtual machine, right-click on its name and select “Settings”. This will open the settings window for the selected virtual machine, allowing you to modify its configuration.
- Within the settings window, you can customize the virtual machine’s hardware, integration services, management options, and more.
- Other management tasks include exporting and importing virtual machines, taking snapshots to capture the current state of a virtual machine, and configuring high availability.
- It’s important to regularly monitor the performance and resource usage of your virtual machines to ensure optimal performance. The Hyper-V Manager provides tools for monitoring and managing virtual machine resources.
By effectively managing your virtual machines, you can ensure their smooth operation, allocate resources efficiently, and respond to changing requirements. Regularly monitoring their performance and making necessary adjustments will help maintain the stability and availability of your virtualized environment.
With these steps, you now have the knowledge to create, configure, and manage virtual machines in Windows Server 2012. Virtualization offers numerous benefits, including increased flexibility, resource utilization, and cost savings. Whether you’re a system administrator or an individual user, harnessing the power of virtual machines will greatly enhance your computing experience.
Conclusion
In this guide, we have explored the process of creating, configuring, and managing virtual machines in Windows Server 2012. By following the steps outlined in each section, you can harness the power of virtualization to run multiple operating systems and applications on a single physical server. Here’s a recap of the key steps covered:
- Install the Hyper-V role, which provides the foundation for virtualization.
- Configure Hyper-V settings to customize options and optimize performance.
- Create a virtual switch to provide network connectivity to virtual machines.
- Generate a virtual machine and configure its settings to meet your requirements.
- Install the operating system on the virtual machine to transform it into a fully functional computer system.
- Manage virtual machines by starting, stopping, and configuring their settings as needed.
By successfully creating and managing virtual machines, you can enjoy benefits such as increased flexibility, improved resource utilization, and cost efficiency. Whether you’re a system administrator responsible for maintaining virtualized environments or an individual user exploring the world of virtualization, Windows Server 2012 provides a powerful platform for creating and managing virtual machines.
Remember to regularly monitor the performance and resource usage of your virtual machines to ensure optimal operation. The Hyper-V Manager offers tools for monitoring and managing resources, allowing you to make adjustments as necessary. By effectively managing virtual machines, you can maintain the stability and availability of your virtualized environment.
Virtualization is a fundamental technology in today’s rapidly evolving IT landscape. With Windows Server 2012, you have the tools and knowledge to harness the power of virtual machines, unlocking new possibilities for testing, development, and efficient resource utilization. So, go ahead and leverage the flexibility and efficiency of virtualization on your Windows Server 2012 environment by creating virtual machines and enjoying their benefits.