Introduction:
There’s nothing quite like sinking your teeth into a perfectly cooked ear of corn on the cob. The sweet, juicy kernels bursting with flavor can instantly transport you to a summer cookout or a cozy family dinner. If you’re a fan of this classic side dish, you’re in luck! With the help of an electric pressure cooker, you can easily and quickly cook corn on the cob to perfection.
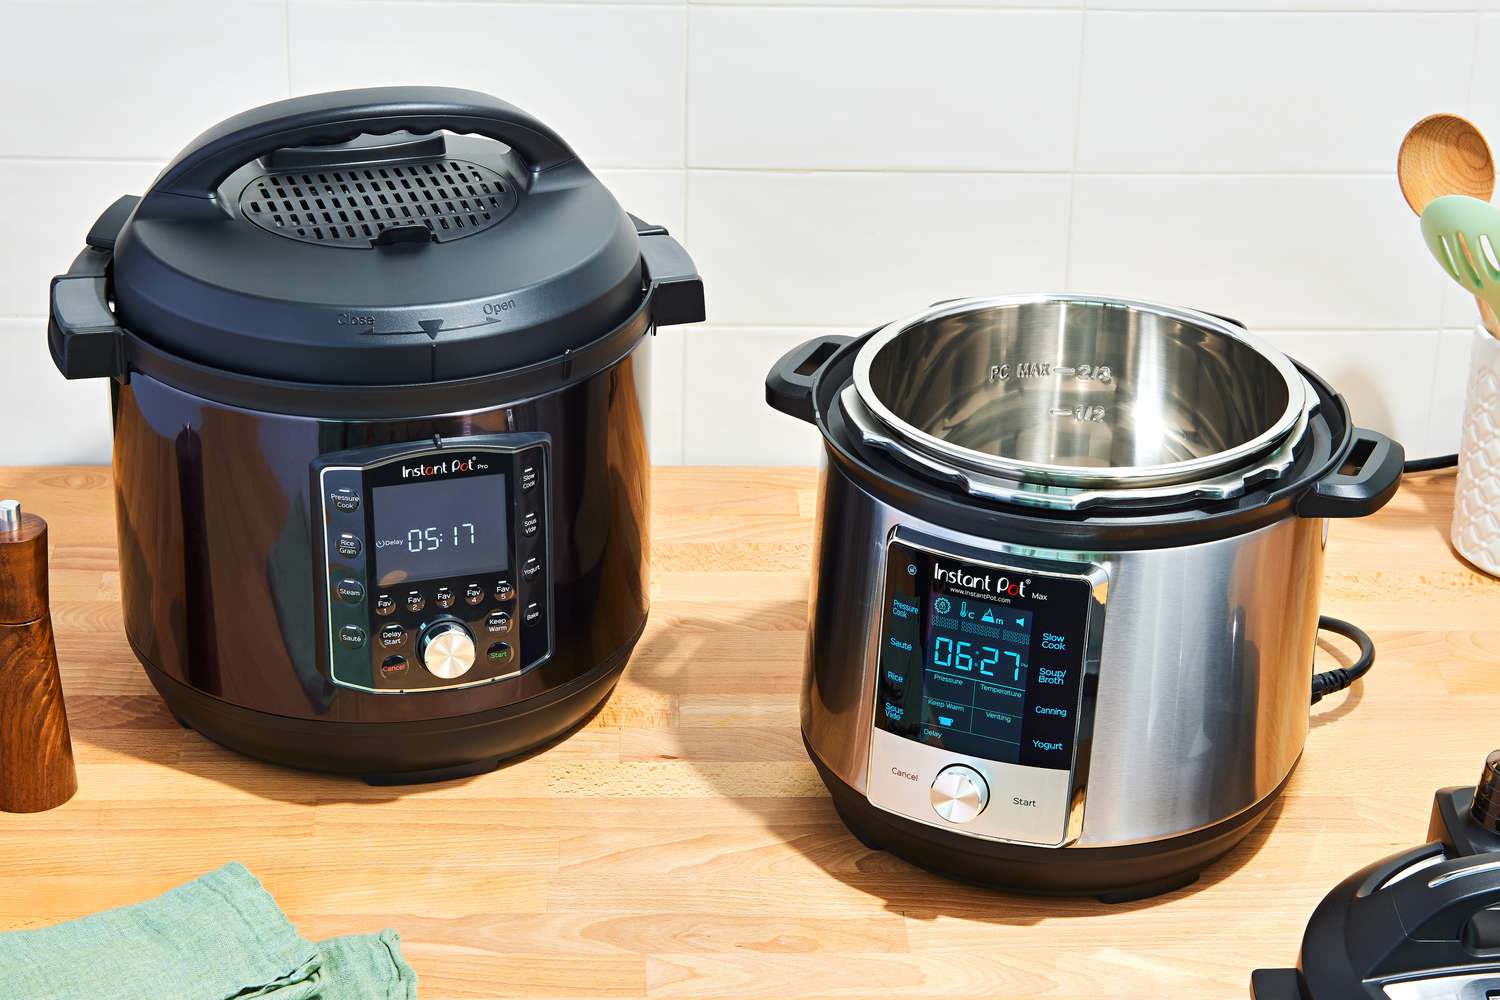
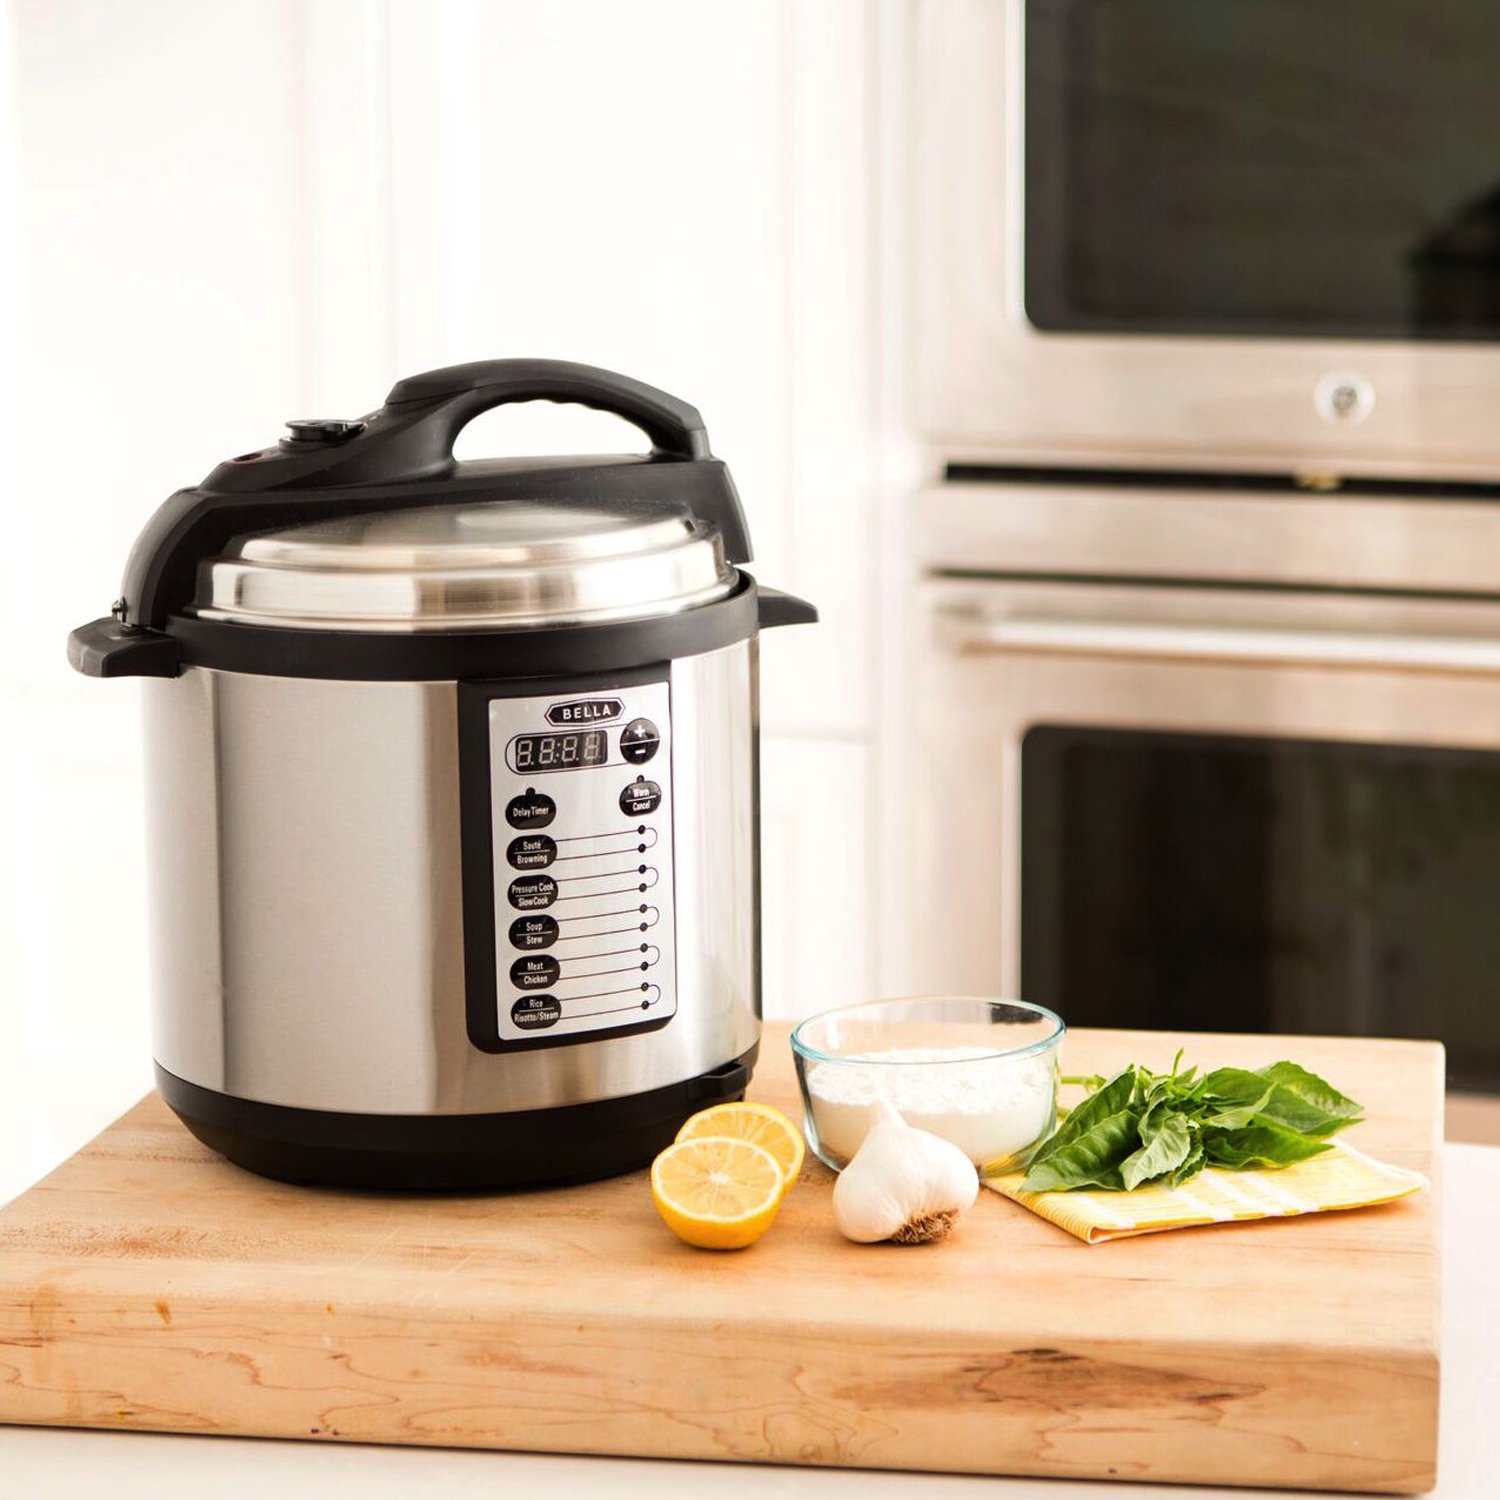
Electric pressure cookers have gained popularity in recent years for their ability to cook food faster and more efficiently than traditional methods. They’re a convenient kitchen tool that can help you save time and energy while still producing delicious results. And when it comes to cooking corn, an electric pressure cooker is a game-changer.
In this article, we’ll guide you through the process of cooking corn on the cob in an electric pressure cooker. We’ll share tips on choosing the right corn, preparing it for cooking, and utilizing your pressure cooker effectively. By following these steps, you’ll be able to enjoy tender and flavorful corn on the cob in no time.
So, if you’re ready to elevate your corn on the cob game and make the most of your electric pressure cooker, let’s dive in and discover the secrets to creating this mouthwatering dish.
Choosing the Right Corn:
When it comes to cooking corn on the cob, selecting the right ears of corn is crucial. Here are a few tips to help you choose the perfect corn for your electric pressure cooker:
- Freshness is key: Look for corn with bright green husks and plump, moist kernels. Avoid ears with wilted husks or kernels that appear dry or discolored.
- Size matters: Opt for ears of corn that are medium-sized, as they tend to cook more evenly and retain their sweetness.
- Check for ripeness: Gently peel back a small section of the husk to check the condition of the kernels. They should be tightly packed and plump, with a milky appearance.
- Consider the variety: Sweet corn varieties, such as yellow, white, or bi-colored corn, are ideal for cooking on the cob. They have a higher sugar content, resulting in a sweeter and more flavorful end product.
It’s worth mentioning that if you have access to local farmers’ markets or farm stands, you’ll often find the freshest and most flavorful corn there. Supporting local farmers not only ensures quality but also allows you to connect with the community and enjoy the freshest produce available.
By carefully selecting the right ears of corn, you’ll set yourself up for success when it comes to cooking them in the electric pressure cooker. Remember, fresh and tasty corn is the foundation for a delicious corn on the cob experience!
Preparing the Corn:
Before cooking corn on the cob in your electric pressure cooker, it’s essential to properly prepare the corn for optimal results. Follow these steps to ensure your corn is ready to be cooked to perfection:
- Husk and remove silk: Start by removing the outer husk of the corn. Peel back the layers until you expose the kernels. Next, remove any remaining silk strands by running your hands or a vegetable brush along the cob.
- Trim the ends: Once the husk and silk are removed, trim the ends of the corn to create a flat surface. This will help ensure even cooking and prevent any charred or undercooked spots.
- Rinse and pat dry: Rinse the corn under cool water to remove any lingering dirt or debris. Then, pat it dry using a clean kitchen towel or paper towels.
Now that the corn is prepped and ready, it’s time to move on to the next steps of cooking it in the electric pressure cooker. By taking the time to properly prepare the corn, you’ll remove any impurities and ensure a clean and tasty end result.
Preparing the Pressure Cooker:
Before you start cooking the corn on the cob in your electric pressure cooker, it’s important to prepare the cooker itself. Follow these steps to ensure your pressure cooker is ready for the corn:
- Add liquid: Many electric pressure cookers require a certain amount of liquid to build pressure and prevent burning. Check the instructions for your specific model, but as a general guideline, adding 1 cup of water or vegetable broth to the cooker should be sufficient.
- Insert trivet: Place the metal trivet that came with your pressure cooker into the bottom of the pot. This will elevate the corn, preventing it from sitting directly in the liquid and promoting even cooking.
- Adjust cooking time: Refer to the manual or recipe guidelines for the recommended cooking time for corn on the cob in your electric pressure cooker. Adjust the cooking time accordingly to achieve the desired level of tenderness.
Once the pressure cooker is properly prepared, you’re ready to move on to the next exciting step of cooking the corn on the cob. By following these preparation steps, you’ll ensure that your electric pressure cooker is set up for success and that your corn will cook to perfection.
Cooking the Corn on the Cob:
Now that you have prepared the corn and the pressure cooker, it’s time to start cooking! Follow these steps to cook the corn on the cob in your electric pressure cooker:
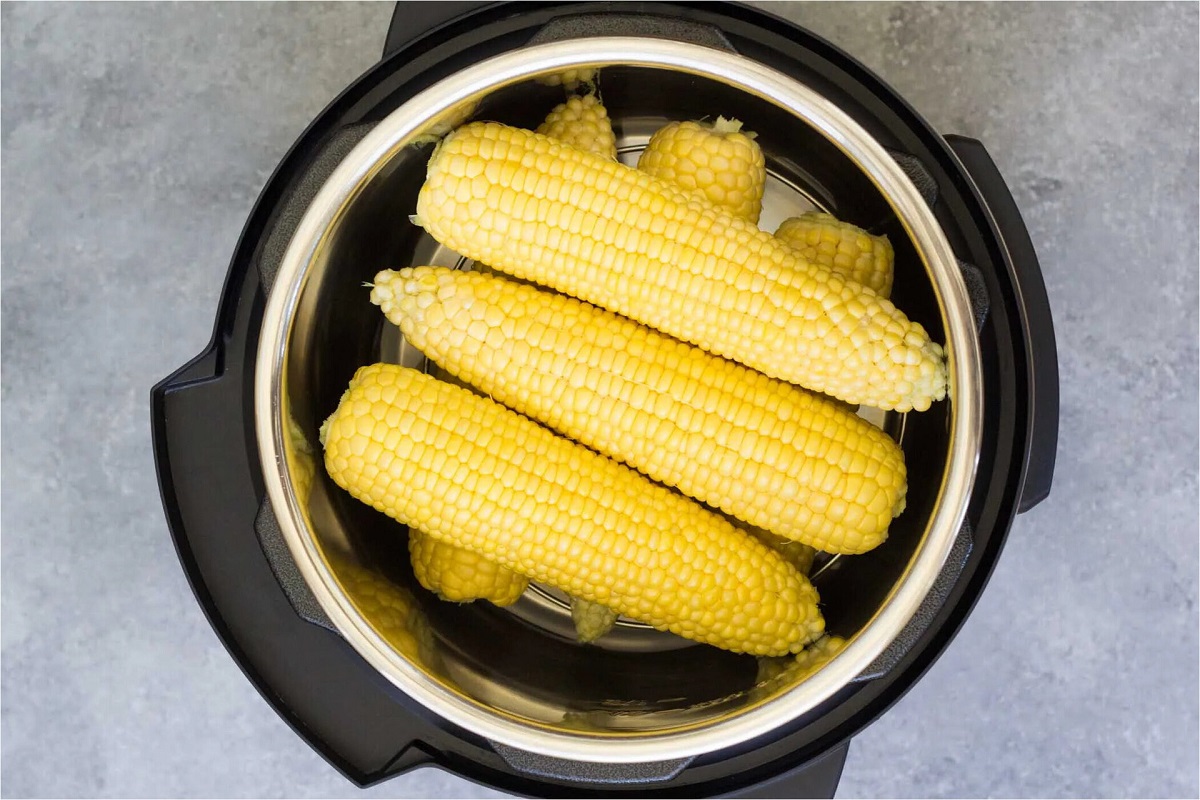
- Place the corn on the trivet: Carefully place the prepared corn on the metal trivet inside the pressure cooker. Arrange the corn in a single layer, and make sure it’s not overcrowded.
- Close and lock the lid: Securely close the lid of the pressure cooker and make sure it’s properly locked in place. This is crucial to build the necessary pressure for cooking the corn.
- Select the cooking mode: Depending on your electric pressure cooker model, choose the appropriate cooking mode for corn on the cob. This can be a preset function or a manual setting.
- Set the cooking time: Adjust the cooking time based on your recipe or the recommended guidelines. Generally, cooking corn on the cob in an electric pressure cooker takes around 2-3 minutes on high pressure.
- Start cooking: Press the start button on your electric pressure cooker to begin the cooking process. The cooker will take some time to build pressure, and then it will start cooking the corn on the cob.
- Allow for natural pressure release: Once the cooking time is complete, allow the pressure to release naturally for a few minutes. This helps to ensure that the corn stays tender and juicy.
It’s important to note that the cooking time may vary slightly depending on the size and freshness of the corn, as well as the specific model of your electric pressure cooker. Be sure to refer to your pressure cooker’s manual or recipe guidelines for precise instructions.
Now that the corn is cooked to perfection, it’s time to release the pressure and get ready to enjoy this delicious side dish.
Releasing the Pressure:
After the corn has finished cooking in the electric pressure cooker, it’s important to safely release the pressure before opening the lid. Here are the steps to follow for a safe pressure release:
- Natural pressure release: Allow the pressure to release naturally by leaving the pressure cooker untouched for about 5-10 minutes. During this time, the pressure inside the cooker will gradually decrease on its own.
- Manual pressure release: If you’re short on time, you can perform a manual pressure release. Carefully turn the pressure release valve from the sealing to the venting position using a long utensil or the handle of a spoon. Be cautious as the steam will forcefully release from the valve.
- Wait for the float valve: After releasing the pressure, wait for the float valve on the lid to fully drop. This is an indicator that all the pressure has been released, and it’s safe to open the lid.
- Safety first: Before opening the lid, ensure that all the pressure inside the cooker has been fully released. You can check this by gently pushing down on the float valve to ensure it doesn’t pop back up. Once confirmed, it’s safe to open the lid.
Remember, releasing the pressure is an essential step to avoid any accidents and ensure your safety. Always follow the specific instructions provided by your electric pressure cooker’s manual for your particular model.
Now that the pressure has been released safely, it’s time to serve and enjoy the delicious corn on the cob that you’ve cooked in your electric pressure cooker.
Serving and Enjoying:
Now that your corn on the cob is cooked to perfection, it’s time to serve and enjoy this delightful side dish. Here’s how you can make the most of your corn on the cob:
- Season to taste: Before serving, you can enhance the flavor of the corn by adding a touch of butter, salt, and pepper. You can also get creative with various seasonings like chili powder, garlic powder, or grated Parmesan cheese.
- Garnish and decorate: For an eye-catching presentation, you can garnish the corn on the cob with freshly chopped herbs like parsley or cilantro. You can also sprinkle some paprika or lime juice for an added burst of flavor.
- Pair with other dishes: Corn on the cob complements a wide range of dishes. Serve it alongside grilled meats, roasted vegetables, or even as part of a summer picnic spread. It’s a versatile side dish that can elevate any meal.
- Enjoy the experience: Eating corn on the cob is a tactile and interactive experience. Use your hands or corn holders to hold the cob and savor each juicy bite. The sweet kernels will melt in your mouth, providing a burst of summer flavor.
Whether it’s a backyard barbecue, a family gathering, or a casual weeknight dinner, corn on the cob is a crowd-pleaser that brings a sense of nostalgia and joy to the table. Enjoy it while it’s hot, and relish the simple pleasures that this classic dish has to offer.
So, grab a napkin, dive into the deliciousness, and indulge in the delightful experience of enjoying freshly cooked corn on the cob from your electric pressure cooker.