Introduction
Welcome to the delicious world of barbecue chicken! If you’re a fan of juicy, flavorful chicken with a smoky, charred exterior, then you’re in the right place. In this guide, we’ll show you how to cook barbecue chicken in an electric pressure cooker.
Using an electric pressure cooker to cook barbecue chicken is a fantastic way to enjoy this classic dish without having to fire up the grill or spend hours tending to it. The pressure cooker locks in the moisture, ensuring that your chicken turns out tender and succulent every time. Plus, it significantly reduces the cooking time, allowing you to satisfy your cravings in a fraction of the time.
Whether you’re a beginner in the kitchen or a seasoned pro, this method is simple and straightforward. All you need is your electric pressure cooker, some high-quality chicken, a few flavorful seasonings, and a little bit of patience. In no time, you’ll be enjoying a mouthwatering plate of homemade barbecue chicken that rivals any you’ve had at a restaurant.
Before we dive into the cooking process, let’s talk about choosing the right chicken and the importance of proper preparation. By selecting the right chicken and giving it some love before cooking, you’ll set yourself up for barbecue chicken success. So, let’s get started!
Choosing the right chicken
When it comes to cooking barbecue chicken, selecting the right type of chicken is key to achieving the best results. Here are a few tips to help you choose the perfect chicken for your electric pressure cooker:
- Consider the cuts: When it comes to barbecue chicken, you have several options for cuts. You can choose bone-in, skin-on pieces like thighs or drumsticks, which are excellent for retaining moisture and flavor. Alternatively, you can opt for boneless, skinless chicken breasts if you prefer a leaner option. Ultimately, it’s a matter of personal preference.
- Look for quality: To ensure the tastiest barbecue chicken, it’s important to choose high-quality chicken. Look for chicken that is fresh, with no signs of discoloration or unpleasant odor. If possible, opt for organic or free-range chicken, which tends to have better texture and flavor.
- Size matters: Keep in mind the size of the chicken pieces you plan to cook in the pressure cooker. If you’re using larger pieces, like whole chicken thighs, they may require a longer cooking time. Conversely, smaller pieces like chicken wings or drumettes will cook more quickly. Adjust your cooking time accordingly to ensure that the chicken is fully cooked and tender.
- Consider your preferences: Do you prefer white meat or dark meat? Do you enjoy the flavor and tenderness of chicken with the skin on? Understanding your preferences will help you choose the right type of chicken for barbecue chicken in the electric pressure cooker. Experiment with different cuts and variations to find your favorite.
Once you’ve selected the perfect chicken, it’s time to move on to the next step: preparing the chicken for cooking. So, let’s learn how to properly prepare the chicken before it hits the electric pressure cooker.
Preparing the chicken
Preparing the chicken for cooking is an essential step in ensuring the best results when making barbecue chicken in an electric pressure cooker. Here’s how to properly prepare the chicken:
- Trim excess fat: Start by trimming any excess fat from the chicken pieces. While some fat adds flavor, too much can lead to greasy results. Use a sharp knife to carefully remove any visible fat, being mindful not to remove too much of the skin, as it helps retain moisture and adds flavor.
- Rinse and pat dry: Rinse the chicken pieces under cold running water to remove any impurities. Pat them dry with paper towels to remove excess moisture. Dry chicken will help the seasonings adhere better and ensure a crispy exterior.
- Marinate (optional): While not necessary, marinating the chicken can add extra flavor and tenderness. If you have the time, consider marinating the chicken in your favorite barbecue sauce or marinade for a few hours or overnight. This step allows the flavors to penetrate the meat, resulting in a more delicious end result.
- Bring to room temperature: Before cooking, allow the chicken to come to room temperature. This helps ensure even cooking and avoids any temperature shock when placing the chicken into the electric pressure cooker.
By following these simple steps, you’ll have well-prepared chicken ready to be seasoned for the ultimate barbecue flavor. In the next section, we’ll explore the art of seasoning your chicken for that perfect barbecue taste.
Seasoning the chicken
Seasoning the chicken is where the magic happens to infuse it with delicious flavors that will make your barbecue chicken truly memorable. Here’s how to season your chicken for that perfect barbecue taste:
- Salt and pepper: Start with a generous sprinkle of salt and pepper on both sides of the chicken pieces. This simple duo provides a foundation of flavor and enhances the natural taste of the meat.
- Barbecue rub: Apply a layer of your favorite barbecue rub to the chicken pieces for an extra kick of flavor. The rub can be store-bought or homemade, and typically includes a blend of spices like paprika, garlic powder, onion powder, cumin, and brown sugar. Massage the rub into the chicken, making sure to coat all sides evenly.
- Additional seasonings: Feel free to customize your seasoning by adding additional spices or herbs. Smoked paprika, cayenne pepper, thyme, or oregano can add depth and complexity to the flavor profile. Adjust the amount of these seasonings based on your personal preference for heat and flavor.
- Oil or butter: Drizzle a bit of oil or melt some butter and brush it onto the chicken pieces. This step helps create a flavorful crust and promotes browning during the cooking process.
- Let it rest: After seasoning, allow the chicken to rest for about 15 minutes. This resting time allows the flavors to meld together and penetrate the meat.
Remember, the amount of seasoning needed may vary depending on the quantity of chicken you’re cooking. Feel free to adjust the quantities of each seasoning to suit your taste preferences. Once your chicken is perfectly seasoned, it’s time to move on to the next step: preheating the electric pressure cooker.
Preheating the electric pressure cooker
Preheating the electric pressure cooker before adding the chicken helps ensure even cooking and optimal results. Here’s how to preheat your electric pressure cooker:
- Remove the lid: Start by removing the lid from the pressure cooker and set it aside.
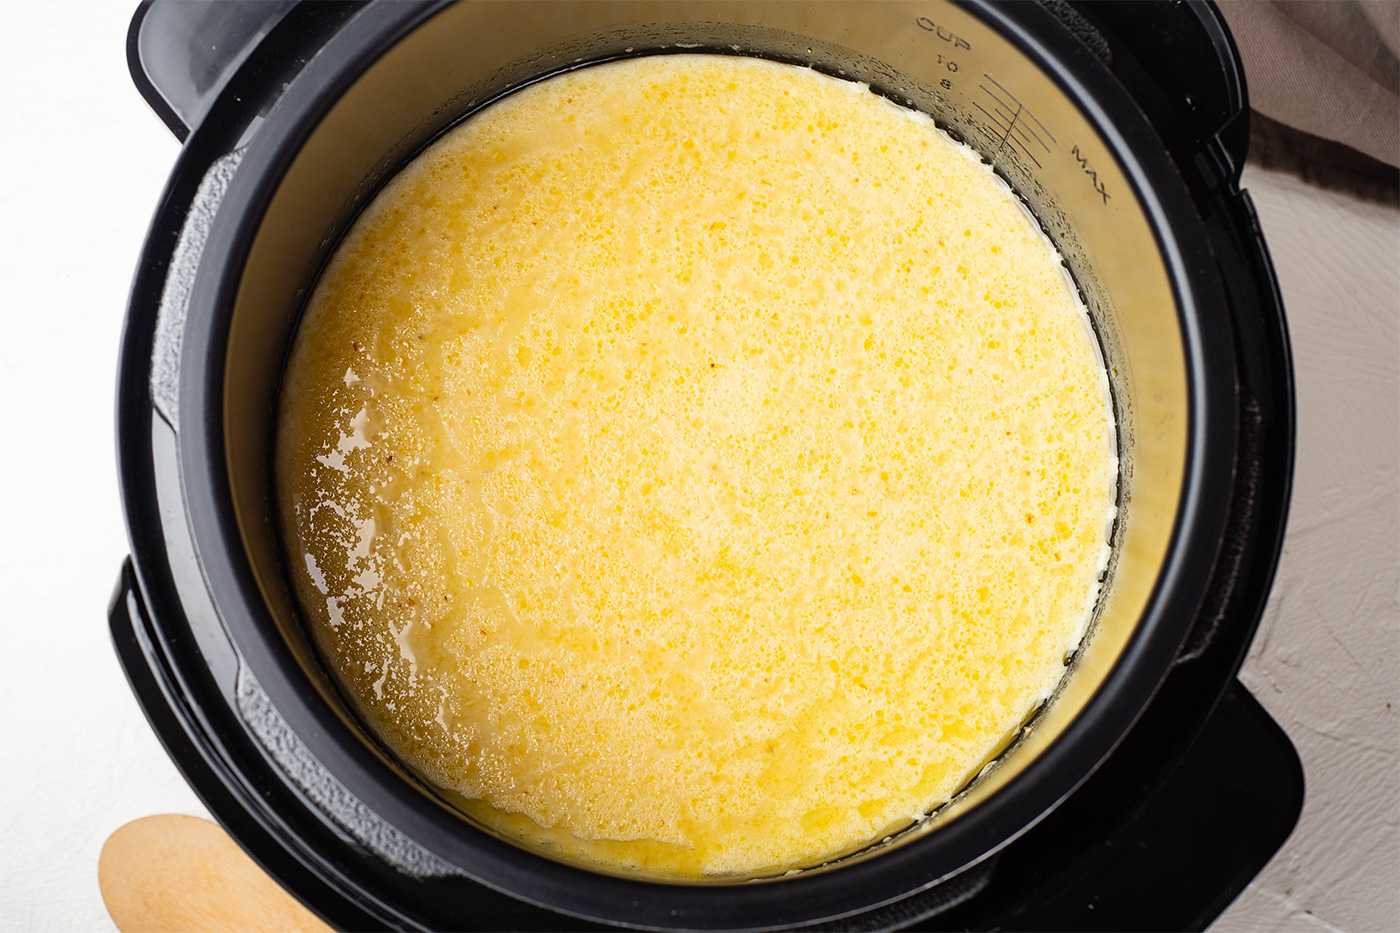
- Add liquid: Pour about 1 cup of water or chicken broth into the bottom of the pressure cooker. The liquid creates the necessary steam for pressure cooking and helps prevent the chicken from sticking to the bottom.
- Place the metal trivet: Insert the metal trivet or a steamer rack into the pressure cooker. This elevates the chicken above the liquid, allowing it to cook in the steam.
- Close and lock the lid: Securely close the lid of the electric pressure cooker and ensure it is properly locked in place. This ensures a tight seal and maintains the pressure during cooking.
- Select the preheat function: Many electric pressure cookers have a preheat or sauté function. Select this function and set the cooking time to a few minutes. Preheating will help bring the pressure cooker up to the desired temperature before adding the chicken.
- Allow for preheating: Once you start the preheat function, the pressure cooker will begin to heat up. Allow it to reach the desired temperature, usually indicated by a beep or indicator light. This process typically takes a few minutes.
Preheating your electric pressure cooker ensures that the cooking process starts at the right temperature, which helps to lock in flavors and cook the chicken evenly. With the pressure cooker preheated and ready to go, it’s time to add the liquid and chicken to the pot for cooking.
Adding liquid and chicken to the pot
Now that your electric pressure cooker is preheated, it’s time to add the liquid and chicken to the pot. This step is crucial for creating a moist and tender barbecue chicken. Here’s how to do it:
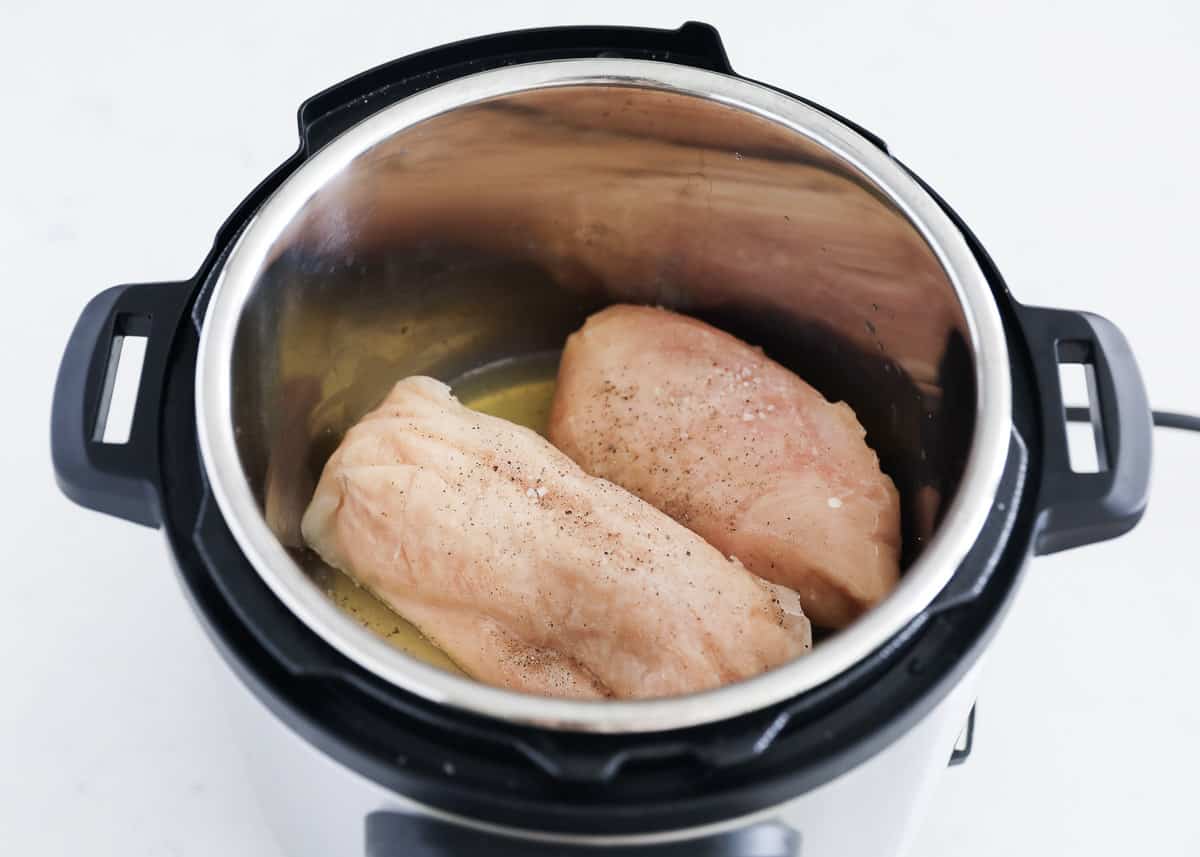
- Pour liquid: Carefully pour the liquid of your choice into the preheated electric pressure cooker. This can be water, chicken broth, or a combination of both. The liquid helps create the steam needed for pressure cooking and adds moisture to the chicken.
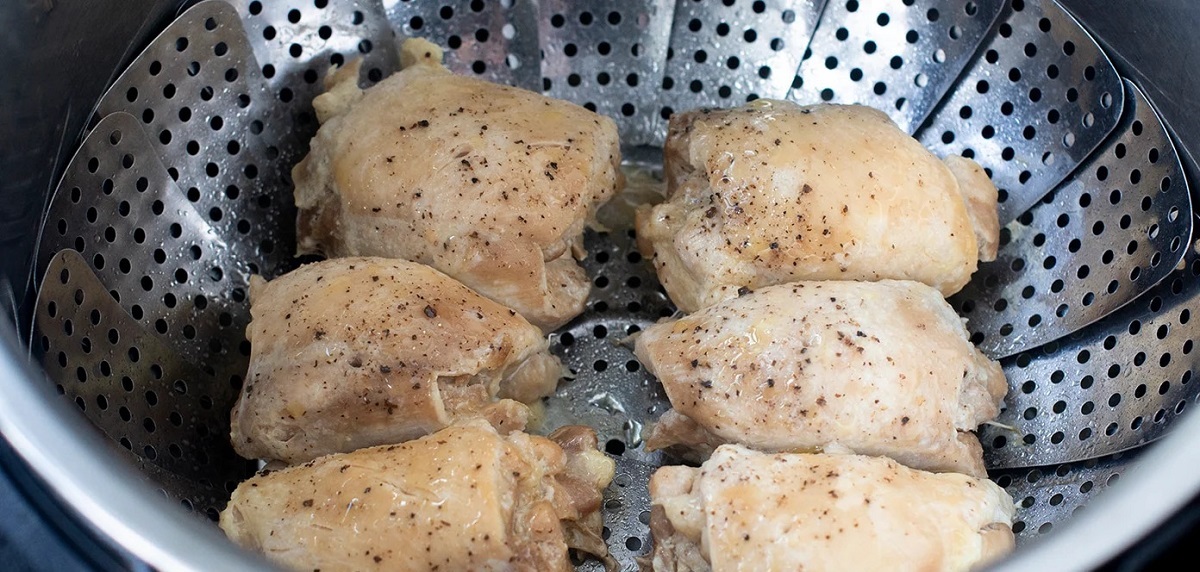
- Place the chicken: Gently place the seasoned chicken pieces onto the metal trivet or steamer rack inside the pressure cooker. Make sure they are arranged in a single layer and not overcrowded. Overcrowding can hinder proper cooking and result in unevenly cooked chicken.
- Secure the lid: Once the chicken is in the pot, securely lock the lid of the electric pressure cooker in place. Double-check that it is properly sealed to prevent any steam from escaping during cooking.
- Select the cooking mode: Depending on your electric pressure cooker model, choose the appropriate cooking mode. Most models have a “poultry” or “meat” setting, which is ideal for cooking chicken. If your pressure cooker allows manual settings, set the cook time according to the size and type of chicken pieces being cooked.
- Start the cooking process: Press the start button on your electric pressure cooker to begin the cooking process. The cooker will start building pressure, and the chicken will begin to cook in the steam created by the liquid.
It’s important to follow the manufacturer’s instructions regarding the recommended cooking time for different cuts and sizes of chicken. Cooking times may vary, but as a general guideline, bone-in chicken pieces usually require about 8-10 minutes of cooking time, while boneless chicken breasts may need around 6-8 minutes.
Once the chicken is cooked to perfection, the next step is to release the pressure. Depending on the recipe you’re following, you can choose between natural release and quick release methods.
Cooking the chicken
With the liquid and chicken in the electric pressure cooker, it’s time to let the magic happen and cook the chicken to tender perfection. Here’s what you need to know about cooking the chicken in the electric pressure cooker:
- Start the cooking process: Once you have locked the lid and selected the appropriate cooking mode, start the cooking process on your electric pressure cooker. The cooker will begin to build pressure, and the chicken will start cooking in the steam generated by the liquid.
- Monitor the cooking time: Keep an eye on the cooking time as the chicken cooks. The cooking time will depend on the size and type of chicken pieces you are using. Consult your pressure cooker’s manual or recipe guidelines for specific cooking times.
- Avoid overcooking: Be mindful not to overcook the chicken as it can lead to dry and rubbery meat. Cooking times provided are typically a guideline, so it’s important to check the chicken for doneness before proceeding. Use a meat thermometer to ensure the internal temperature reaches a minimum of 165°F (74°C) for safe consumption.
- Follow recipe variations: Depending on the recipe or method you’re following, there may be additional steps or variations for cooking the chicken. For example, some recipes might include a browning step before pressure cooking, while others may call for adding sauce or glaze after cooking. Follow the specific instructions in your chosen recipe to achieve the desired results.
- Take caution with quick release: If you are using the quick release method to release the pressure, exercise caution. Hot steam will be released, so keep your hands and face away from the vent. It’s always best to follow the manufacturer’s instructions for your specific electric pressure cooker.
Once your chicken is fully cooked, tender, and reaches a safe internal temperature, it’s time to release the pressure and add the finishing touches to your juicy barbecue chicken.
Natural release vs. quick release
After cooking the chicken in the electric pressure cooker, you have two options for releasing the built-up pressure: natural release and quick release. Let’s take a closer look at each method:
Natural release:
Natural release is the process of allowing the pressure inside the cooker to decrease naturally without any intervention. After the cooking time is complete, you’ll simply turn off the heat and let the pressure naturally release over a period of time. The time it takes for the pressure to dissipate naturally can vary depending on the size of the pressure cooker and the amount of food inside. Typically, it takes about 10 to 15 minutes for the pressure to fully release.
Natural release is recommended for dishes that benefit from additional cooking time. It allows the flavors to meld together, and it helps the chicken become even more tender and juicy.
Quick release:
Quick release, also known as manual release, involves manually releasing the pressure immediately after the cooking time is complete. This method is achieved by flipping the pressure release valve to release the steam. However, exercise caution when using this method, as the hot steam can cause burns.
Quick release is ideal for when you want to stop the cooking process quickly or when the recipe calls for it. It is commonly used for food items that are more time-sensitive or delicate, such as vegetables or seafood.
When deciding between natural release and quick release, consider the recipe you’re following and the desired outcome. Some recipes may specify which method to use, while others may allow you to choose based on personal preference and time constraints.
Regardless of the method you choose, always follow the manufacturer’s instructions for your specific electric pressure cooker model to ensure safe and proper pressure release.
Now that the pressure is released, it’s time to add the finishing touches to your delicious barbecue chicken.
Finishing touches
With the pressure released from the electric pressure cooker, your barbecue chicken is almost ready to be enjoyed. However, a few finishing touches can elevate the flavor and presentation of the dish. Here are some ideas for adding those final touches:
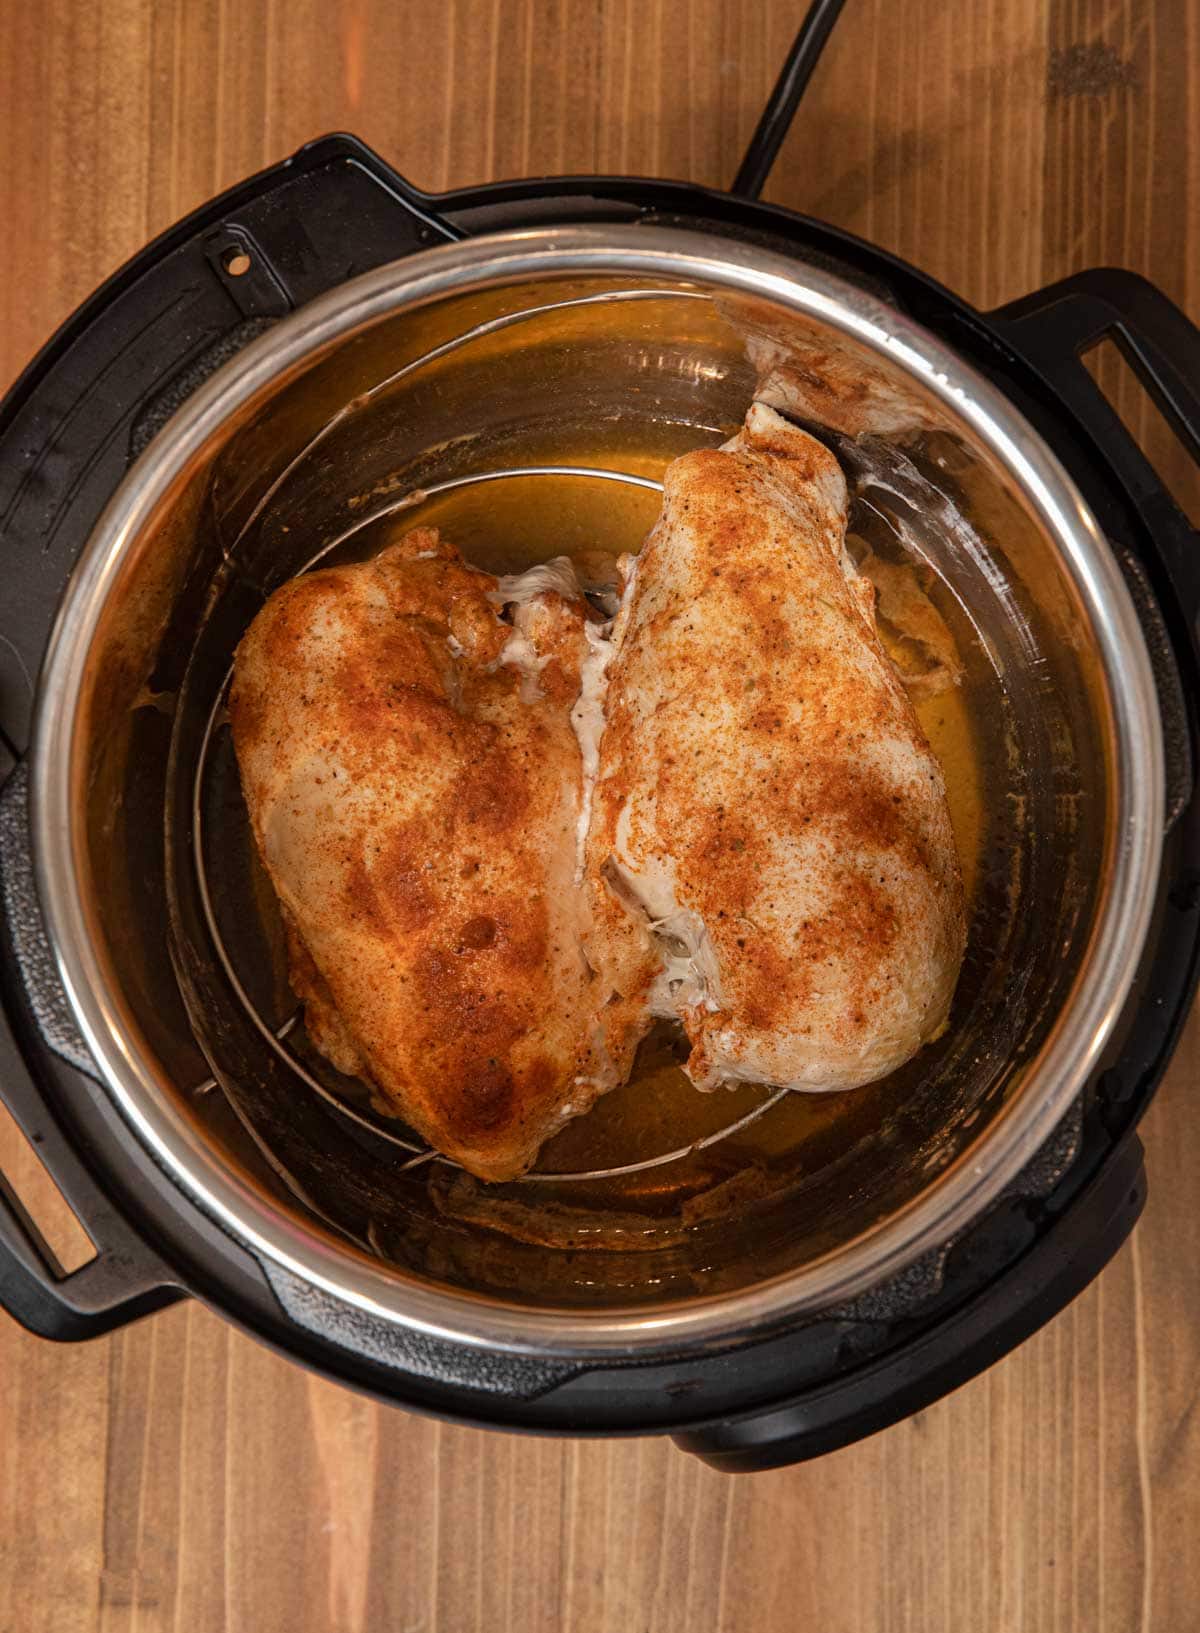
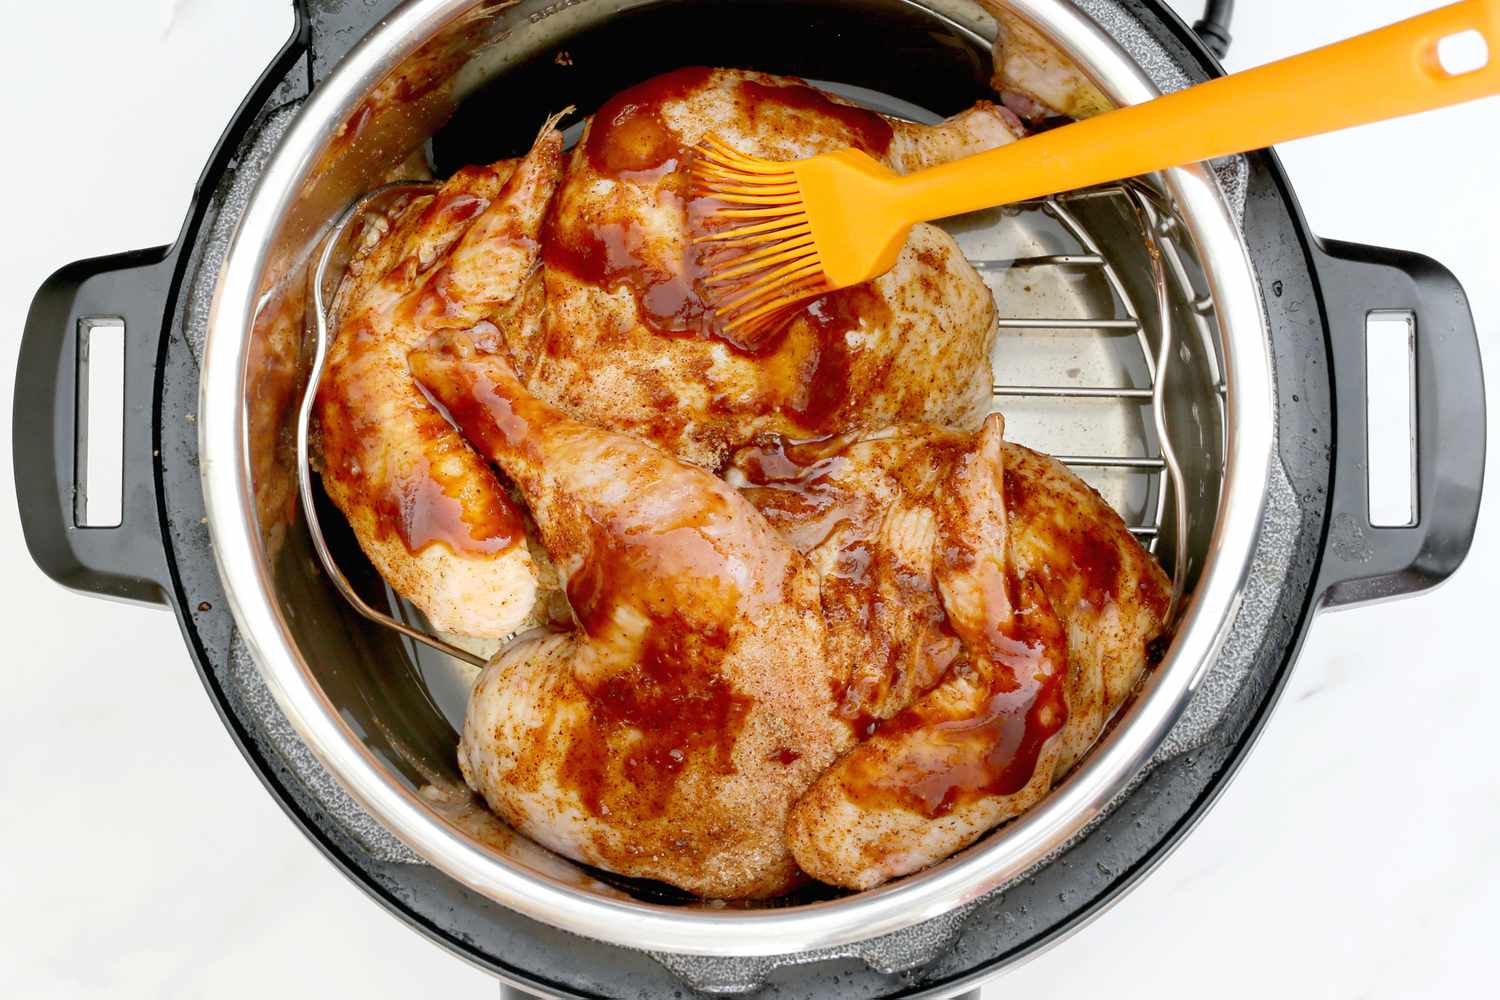
- Glaze or sauce: If you desire a saucier barbecue chicken, you can brush the cooked chicken pieces with your favorite barbecue sauce or glaze. Return the chicken to the pressure cooker and select the sauté function for a few minutes to allow the sauce to thicken and coat the chicken. This adds a tasty and glossy finish.
- Broil for crispiness: For an extra crispy and charred exterior, you can transfer the cooked chicken to a baking sheet and broil it in the oven for a few minutes. Keep a close eye on it to prevent burning, and flip the chicken halfway through for even browning.
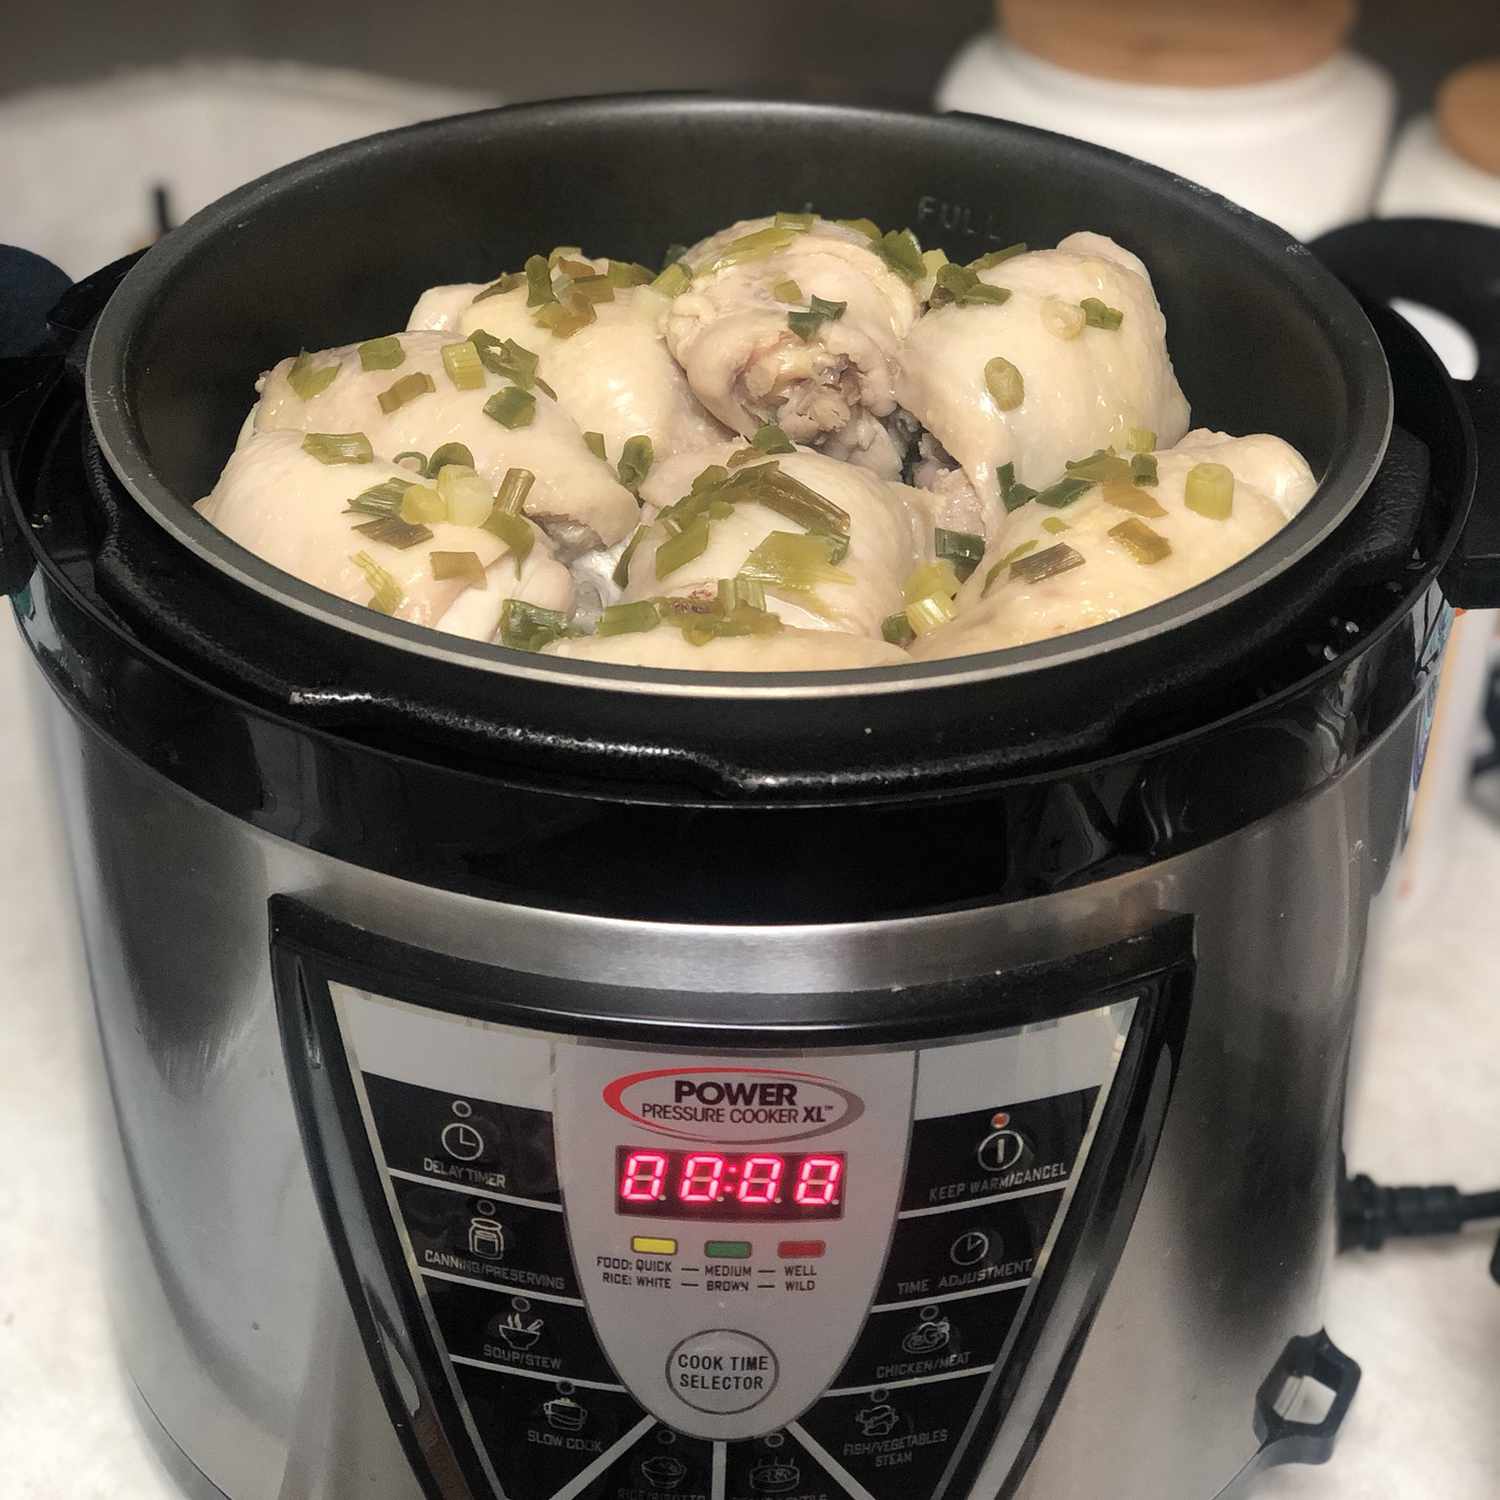
- Garnish: Add a touch of freshness and color to your barbecue chicken by garnishing it with chopped fresh herbs like cilantro or parsley. Alternatively, you can sprinkle some toasted sesame seeds, sliced green onions, or a squeeze of lemon or lime juice for a burst of brightness.
- Rest before serving: Allow the cooked chicken to rest for a few minutes before serving. This rest time allows the juices to redistribute throughout the meat, ensuring moist and flavorful bites.
- Sides and accompaniments: Consider serving your barbecue chicken with tasty side dishes like grilled corn, coleslaw, baked beans, or a fresh green salad. These accompaniments can complement the flavors of the barbecue chicken and complete the meal.
Remember, the finishing touches are an opportunity to customize the dish to your preferences. Feel free to get creative and add your own flair to make the barbecue chicken truly your own.
Now that your barbecue chicken is perfectly seasoned, cooked, and garnished, it’s time to serve it up and enjoy the mouthwatering flavors you’ve created.
Serving and enjoying your barbecue chicken
The moment has arrived to savor and relish your deliciously cooked barbecue chicken. Here are some tips for serving and enjoying your barbecue chicken:
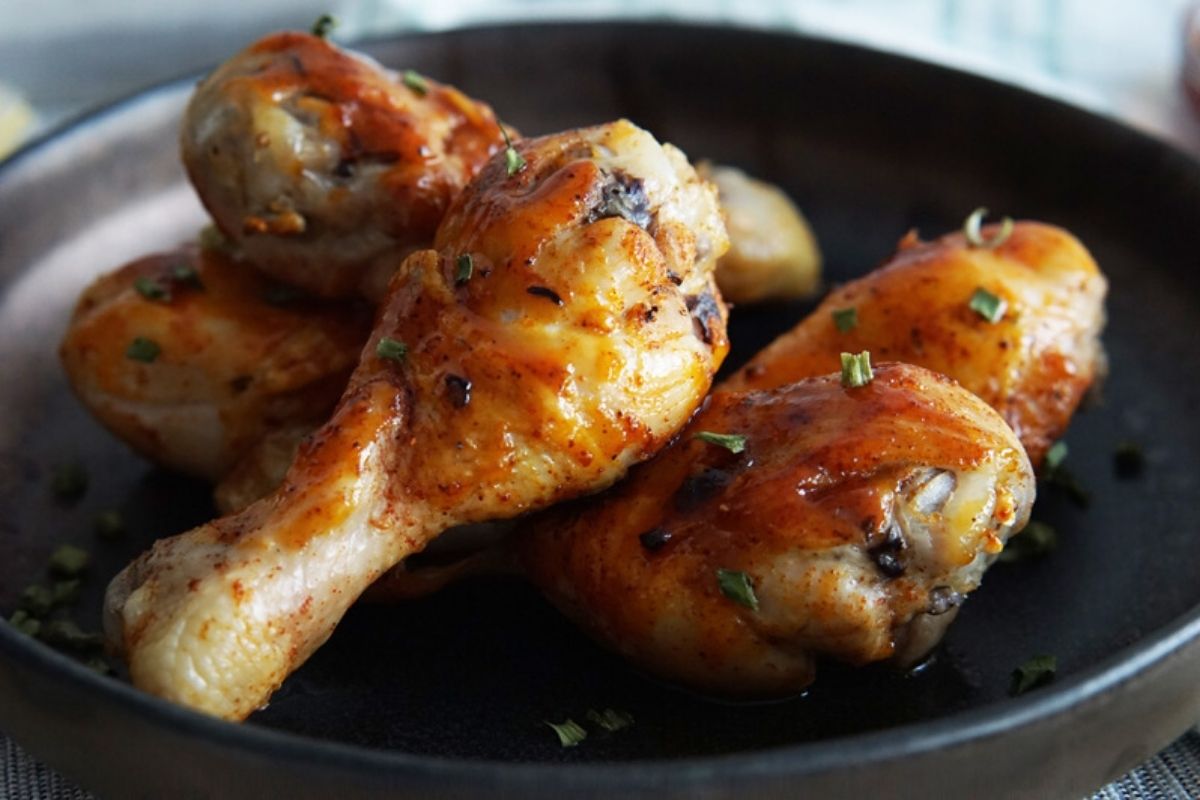
- Plating: Arrange the barbecue chicken on a serving platter or individual plates. Place the chicken pieces with care, making sure to showcase their enticing color and texture.
- Serving suggestions: Enhance the meal by pairing your barbecue chicken with a variety of side dishes. Consider options like cornbread, mashed potatoes, grilled vegetables, or a fresh salad. These accompaniments will round out the flavors and textures to create a satisfying and well-balanced meal.
- Drizzle or dip: For an extra burst of flavor, drizzle some extra barbecue sauce over the chicken or serve it on the side for dipping. This adds an additional layer of tanginess and richness to each bite.
- Garnish: Sprinkle some chopped fresh herbs, such as parsley or cilantro, over the plated chicken. This adds a vibrant pop of color and a touch of freshness to the dish.
- Enjoying the flavors: Take the time to appreciate the aroma and flavors of the barbecue chicken. Relish the combination of succulent meat, smoky char, and the savory-sweet balance of the seasonings. Let your taste buds revel in the tender and juicy chicken that you’ve perfectly cooked in the electric pressure cooker.
- Storage and leftovers: If you have any leftovers, allow the chicken to cool completely before storing it in an airtight container in the refrigerator. The barbecue chicken can be re-heated and enjoyed for a day or two after the initial cooking.
Now that your barbecue chicken is plated and ready to be devoured, gather your loved ones around the table, and indulge in the delightful flavors and aromas. Whether it’s a casual weeknight dinner or a weekend gathering, this homemade barbecue chicken is sure to be a hit!