Introduction
When it comes to cooking a delicious and juicy turkey breast, an electric pressure cooker can be your secret weapon. The pressure cooker locks in moisture and flavors, resulting in a tender and flavorful turkey breast that will impress your family and friends.
Whether you’re cooking for a holiday gathering or simply craving a hearty turkey meal, this guide will provide you with step-by-step instructions on how to cook a turkey breast in an electric pressure cooker. With a few key tips and techniques, you’ll be able to achieve the perfect turkey breast every time.
Before we dive into the details, it’s important to note that using an electric pressure cooker is not only convenient but also saves time. Unlike traditional oven-roasting methods, a pressure cooker significantly reduces cooking time while still producing flavorful and succulent results.
Now, let’s get started on the journey to cooking a mouthwatering turkey breast in your electric pressure cooker. We’ll cover everything from choosing the right turkey breast to seasoning options, cooking times and temperatures, and finally, the essential steps for carving and serving.
By the end of this guide, you’ll have the knowledge and confidence to create a juicy and tender turkey breast that will have everyone at the table asking for seconds.
Choosing the Right Turkey Breast
When it comes to cooking a turkey breast in an electric pressure cooker, selecting the right cut of meat is crucial. Here are a few factors to consider when choosing your turkey breast:
- Fresh or Frozen: You can use either fresh or frozen turkey breast for this recipe. If using frozen, make sure to thaw it according to the package instructions before cooking.
- Bone-In or Boneless: Both bone-in and boneless turkey breasts can be cooked in an electric pressure cooker. Bone-in breasts tend to have more flavor, while boneless breasts are easier to carve.
- Size: Consider the size of your electric pressure cooker when selecting the turkey breast. Make sure it will fit comfortably without overcrowding the cooker.
- Quality: Look for turkey breasts that are labeled as “natural” or “organic” for the best quality and flavor. These options tend to be free from antibiotics and raised in more humane conditions.
- Skin-On or Skinless: Decide whether you prefer to cook your turkey breast with the skin on or removed. Keep in mind that leaving the skin on will add extra moisture and flavor to the meat.
- Pre-Brined or Unbrined: Some turkey breasts come pre-brined, which can add flavor and juiciness to the meat. If you prefer to brine the turkey breast yourself, choose an unbrined option.
It’s important to choose a turkey breast that suits your preferences and cooking needs. Take your time to select a high-quality cut, and make sure it’s the right size and type for your electric pressure cooker. With the right turkey breast, you’re off to a great start in creating a delicious and satisfying meal.
Preparing the Turkey Breast
Before we begin the actual cooking process, it’s important to properly prepare the turkey breast. Follow these steps to ensure that your turkey breast is ready for the electric pressure cooker:
- Thawing: If you’re using a frozen turkey breast, make sure to thaw it completely before cooking. Thawing in the refrigerator is the safest method and allows for even thawing. Allow approximately 24 hours of thawing time for every 4-5 pounds of turkey breast.
- Trimming: Inspect the turkey breast and trim any excess fat or skin. This will help prevent excessive grease in the cooking liquid and create a more appealing final result.
- Patting Dry: Use paper towels to pat the turkey breast dry. Removing excess moisture from the surface of the meat will enhance browning during cooking.
- Tying: If you have a bone-in turkey breast, consider tying it with kitchen twine to keep it compact and evenly shaped during cooking. This will help ensure even cooking and a juicier end result.
- Marinating (Optional): If you desire additional flavor, you can marinate the turkey breast prior to cooking. Choose a marinade that complements your desired flavor profile and follow the instructions for marinating times.
- Brining (Optional): For an extra juicy and tender turkey breast, you can also choose to brine it beforehand. Brining involves soaking the turkey breast in a flavored saltwater solution to lock in moisture. Follow a brine recipe and allow the turkey breast to soak for the recommended time.
By properly preparing the turkey breast, you are setting a solid foundation for a delicious and well-cooked final result. Take the time to ensure your turkey breast is thawed, trimmed, and appropriately seasoned according to your preference. With these steps complete, you’re ready to move on to the next stage of the cooking process.
Seasoning and Flavoring Options
One of the joys of cooking a turkey breast in an electric pressure cooker is the versatility in seasoning and flavoring options. Here are some ideas to enhance the taste of your turkey breast:
- Classic Seasoning: For a traditional turkey flavor, you can’t go wrong with a simple blend of salt, pepper, garlic powder, and dried herbs like thyme, rosemary, and sage. Rub the seasoning mixture generously over the entire surface of the turkey breast.
- Mediterranean Twist: Elevate your turkey breast with Mediterranean flavors by seasoning it with a mix of olive oil, lemon juice, garlic, oregano, and a hint of smoked paprika. This blend infuses the meat with a tangy and aromatic taste.
- Spicy Kick: If you prefer a bit of heat, create a spicy rub using ingredients like chili powder, cumin, cayenne pepper, and a dash of smoked paprika. Adjust the spice level to your liking and give your turkey breast a fiery kick.
- Asian Fusion: Give your turkey breast an Asian-inspired flair by marinating it in a mixture of soy sauce, ginger, garlic, honey, and sesame oil. This combination will add a sweet and savory taste to the meat.
- Fruit Infusion: For a touch of sweetness, consider adding fruit flavors to your turkey breast. Squeeze some fresh citrus juice such as orange or lemon over the meat, or create a glaze using ingredients like honey, maple syrup, or cranberry sauce.
- Herb Butter: Another way to infuse flavor into the turkey breast is by using herb butter. Mix softened butter with chopped fresh herbs like parsley, thyme, and rosemary, then gently spread the mixture under the turkey’s skin for a moist and aromatic result.
Experiment with different seasoning and flavoring options to create a turkey breast that suits your palate and culinary preferences. Don’t be afraid to get creative and tailor the seasonings to your tastes. Remember, the seasoning is a key component in elevating the overall flavor of the turkey breast, so be generous and evenly distribute the seasonings before cooking.
Now that your turkey breast is well-seasoned and ready to go, let’s move on to the next steps of using the electric pressure cooker to cook it to perfection.
Using the Electric Pressure Cooker
Now that your turkey breast is seasoned and ready, it’s time to harness the power of your electric pressure cooker to achieve a succulent and flavorful result. Follow these steps for using the electric pressure cooker:
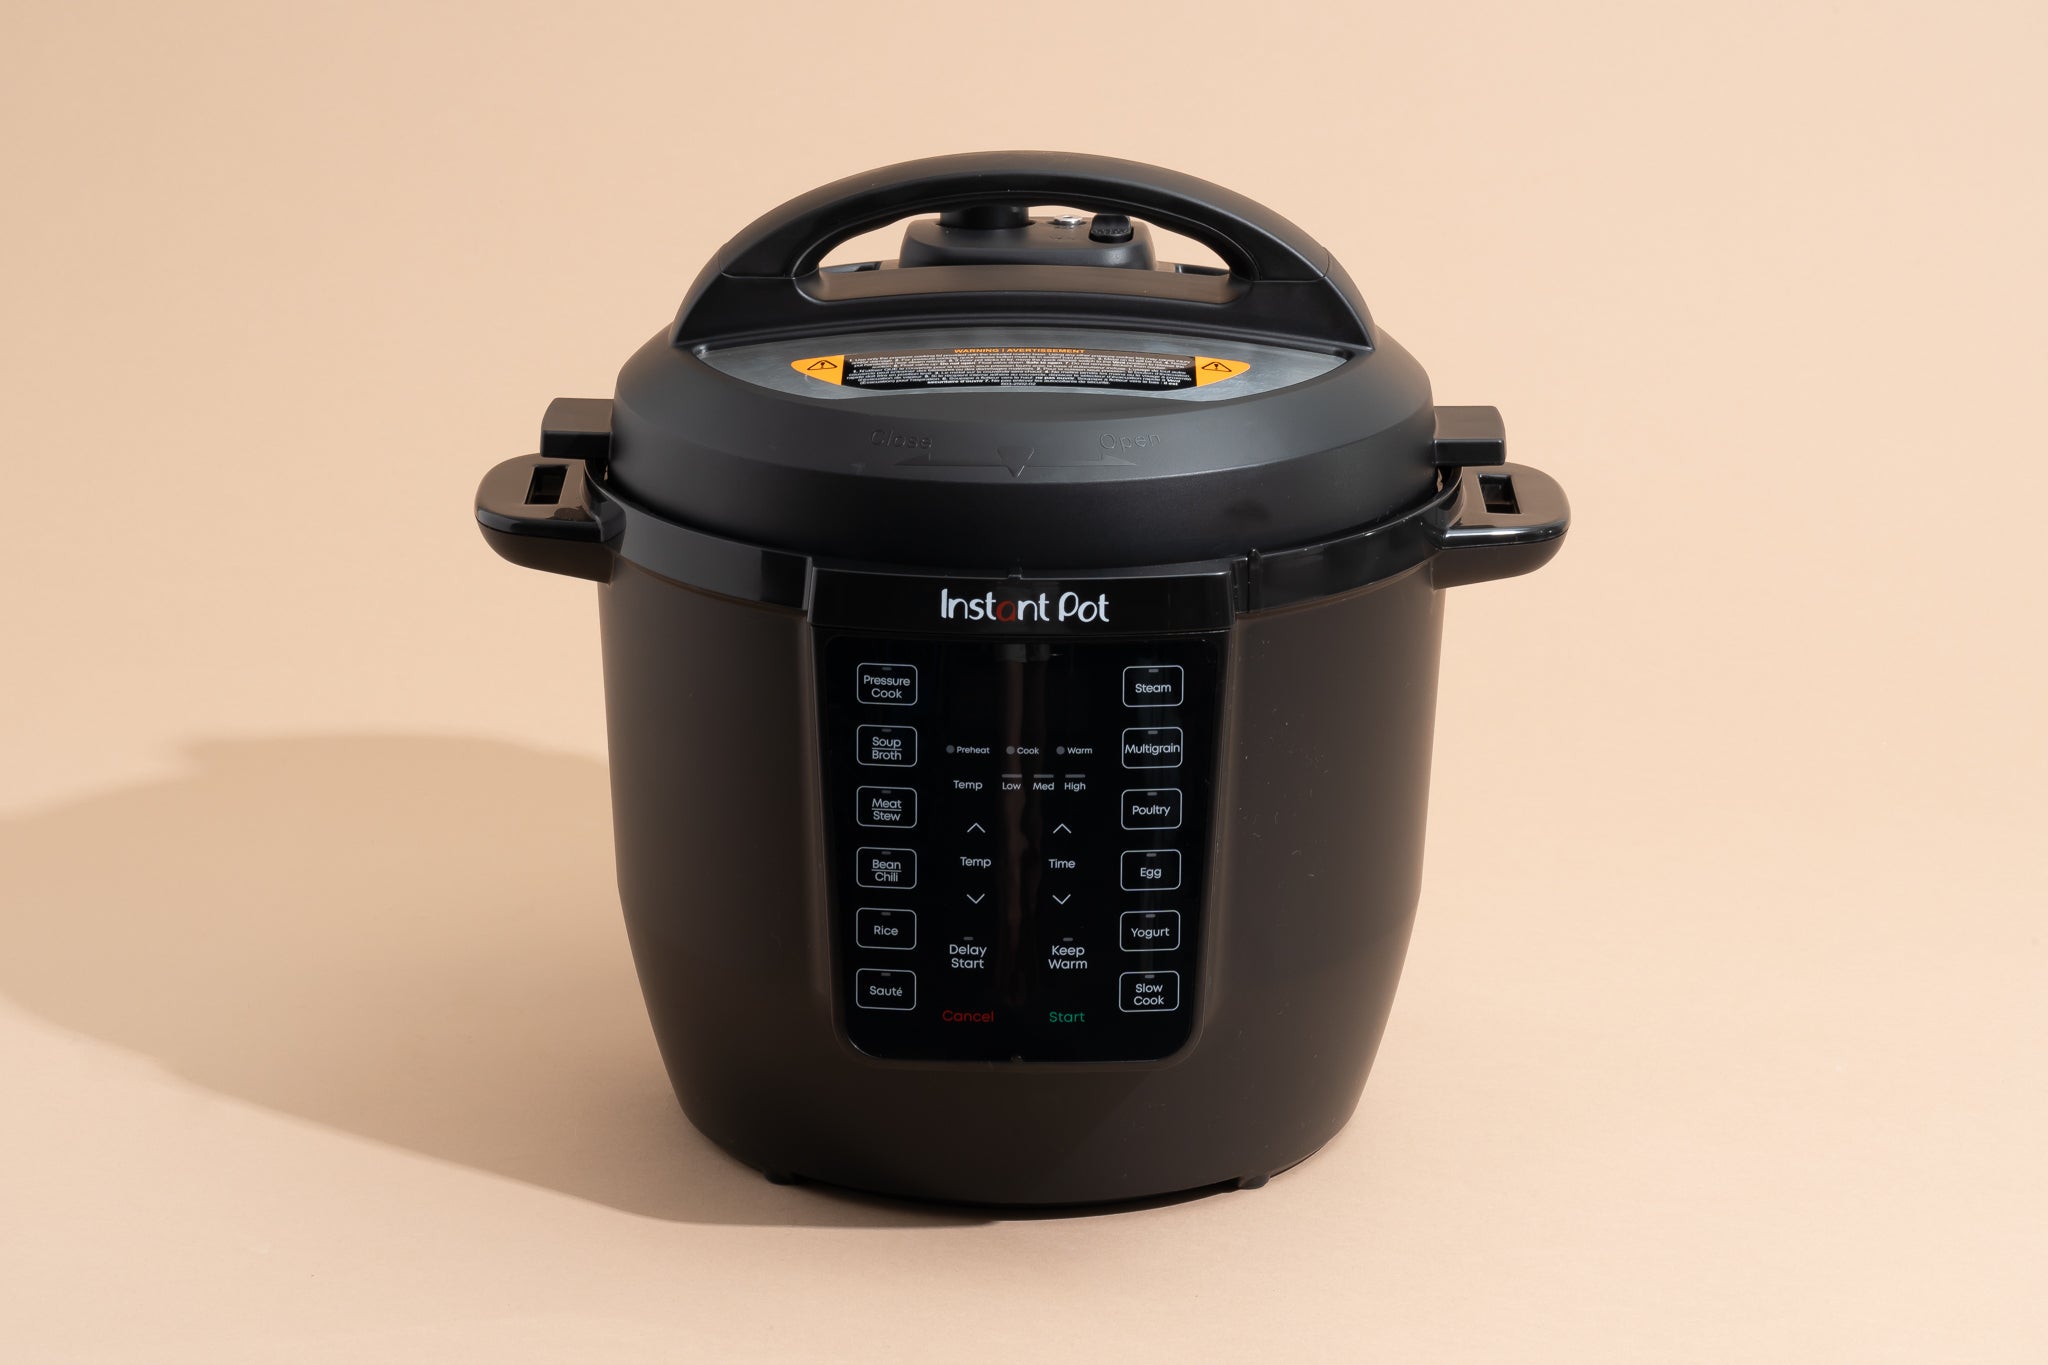
- Preheating: Begin by preheating your electric pressure cooker. Some models have a specific preheat function, while others may require you to set it to the “Saute” mode. Heat a tablespoon of cooking oil in the pot.
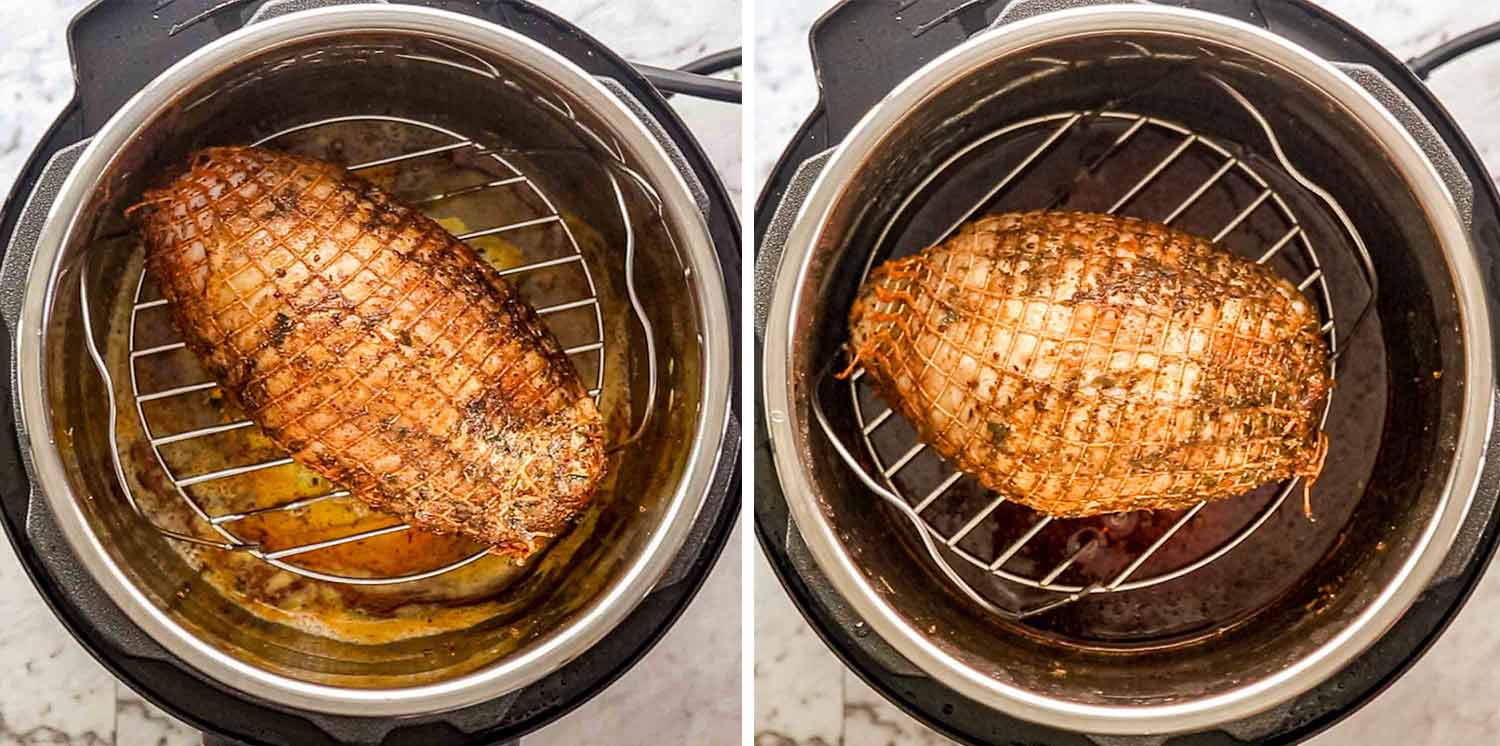
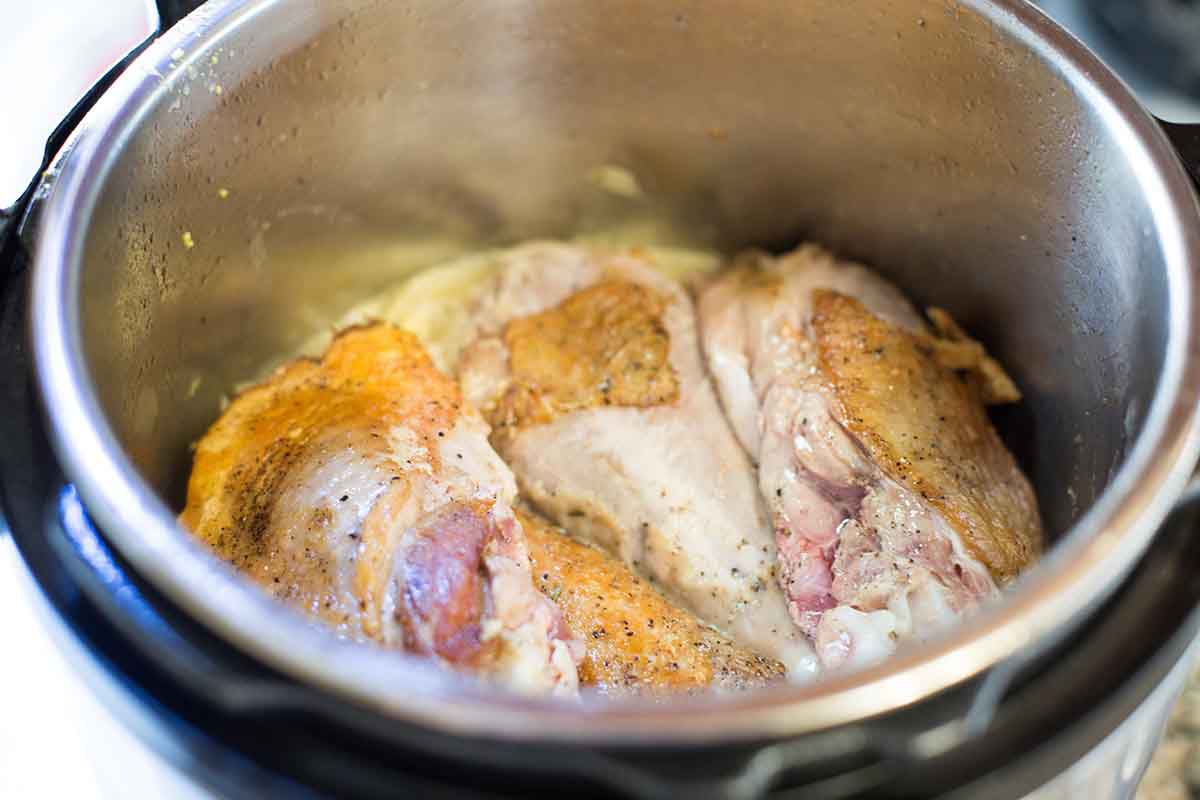
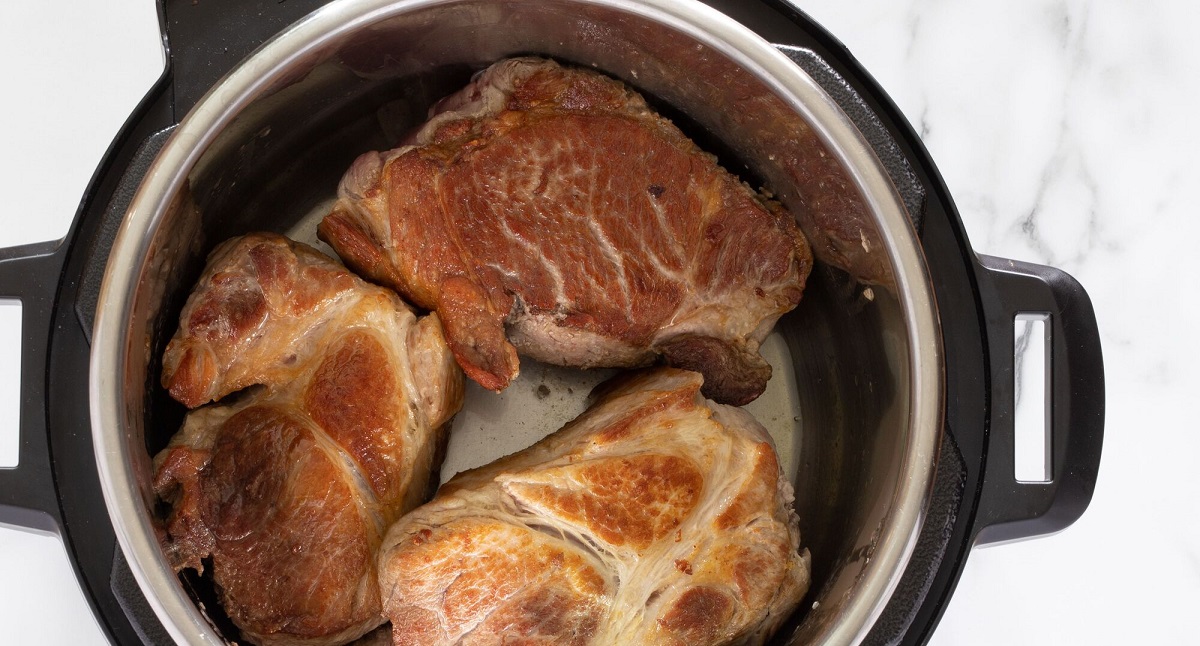
- Searing (Optional): For extra flavor and a golden-brown exterior, consider searing the turkey breast before pressure cooking. Place the turkey breast in the preheated cooker and sear each side for a couple of minutes until browned. This step is optional but highly recommended.
- Adding Liquid: Add liquid to the pressure cooker, such as chicken broth, vegetable broth, or even water. This liquid will create steam and pressure, cooking the turkey breast under high pressure.
- Placing the Turkey Breast: Carefully place the seasoned turkey breast into the pressure cooker, ensuring that it’s not overcrowded and allowing space for the steam to circulate.
- Locking the Lid: Securely lock the lid onto the pressure cooker, making sure the pressure release valve is set to the sealed position. This ensures that pressure will build up during cooking.
- Selecting the Cooking Mode: Choose the appropriate cooking mode on your electric pressure cooker. Most models have a “Manual” or “Pressure Cook” mode where you can adjust the cooking time.
- Setting the Cooking Time: Set the cooking time according to the weight and thickness of the turkey breast. As a general guideline, cook bone-in turkey breast for 6-8 minutes per pound and boneless turkey breast for 4-6 minutes per pound.
- Starting the Cooking Process: Once you’ve set the cooking time, start the pressure cooking process by pressing the appropriate button on your electric pressure cooker. The cooker will begin to build pressure and cook the turkey breast.
- Pressure Release: After the cooking time is complete, you have two options for releasing pressure: natural release and quick release. For a more tender and moist turkey breast, allow the pressure to release naturally for about 10-15 minutes. For a quicker release, carefully turn the pressure release valve to the venting position using a long utensil.
Using the electric pressure cooker ensures that your turkey breast cooks quickly and evenly, resulting in a moist and delectable main dish. Once the pressure has been released, it’s time to check for doneness and proceed with the final steps of resting, carving, and serving your perfectly cooked turkey breast.
Cooking Time and Temperature
When cooking a turkey breast in an electric pressure cooker, it’s important to ensure that it reaches a safe internal temperature to guarantee it’s fully cooked. Here are some general guidelines for cooking time and temperature:
The recommended cooking time for a turkey breast in an electric pressure cooker depends on the weight and thickness of the meat. As a rule of thumb, cook bone-in turkey breasts for 6-8 minutes per pound and boneless turkey breasts for 4-6 minutes per pound.
It’s crucial to use a meat thermometer to check the internal temperature of the turkey breast. The thickest part of the breast should reach an internal temperature of 165°F (75°C). This temperature ensures that the turkey breast is safe to eat and is moist and tender.
Keep in mind that the cooking time and temperature can vary depending on your specific electric pressure cooker model. Always refer to the manufacturer’s instructions and guidelines for cooking times and temperature recommendations.
Remember, the cooking time may also be affected by the thickness and shape of the turkey breast. If possible, choose a turkey breast that is relatively uniform in shape to ensure even cooking. If the turkey breast is unevenly thick, you may need to adjust the cooking time accordingly or slightly rotate the breast during cooking.
By following these time and temperature guidelines and using a meat thermometer to check for doneness, you can be confident in achieving a perfectly cooked turkey breast with the electric pressure cooker. Now that you’re aware of how long to cook the turkey breast, let’s discuss the different methods of pressure release.
Natural Release vs. Quick Release
After the cooking time is complete, there are two methods for releasing the pressure in your electric pressure cooker: natural release and quick release. Each method has its advantages and is suitable for different cooking scenarios. Let’s explore both options:
Natural Release: This method involves allowing the pressure in the cooker to naturally dissipate over a period of time. After the cooking time is complete, turn off the heat and let the pressure cooker sit undisturbed. The pressure will slowly decrease on its own, which can take around 10-15 minutes or more depending on the size of the turkey breast.
Natural release is ideal for foods that require additional cooking time or for delicate cuts of meat like turkey breast. It allows for a slower and more gradual release of pressure, which helps to retain the moisture and tenderness of the meat. This method also helps to avoid sputtering or splattering of hot liquid when opening the cooker.
Quick Release: In contrast to natural release, quick release involves manually releasing the pressure from the cooker immediately after the cooking time is complete. To perform a quick release, carefully turn the pressure release valve to the venting position using a long utensil, such as tongs or the handle of a wooden spoon.
Quick release is best suited for recipes where you want to halt the cooking process quickly or when cooking time is critical. It rapidly brings the pressure down within a few minutes, allowing you to remove the turkey breast from the pressure cooker without any further cooking. However, it’s important to exercise caution when performing a quick release as hot steam will forcefully escape from the valve.
When determining whether to use natural release or quick release, consider the recipe’s requirements and your personal preferences. Natural release generally yields more tender and moist results, while quick release offers convenience and time efficiency.
Regardless of the method you choose, always ensure that the pressure has been completely released before attempting to open the pressure cooker. This can be confirmed by checking the pressure release valve to ascertain if no more steam is escaping.
Now that you’re familiar with both natural release and quick release, it’s time to check if the turkey breast is fully cooked and ready for serving. Let’s move on to the next step of checking for doneness.
Checking for Doneness
Ensuring that your turkey breast is cooked to perfection is crucial for both safety and taste. Here are some methods to check for doneness:
Using a Meat Thermometer: The most accurate way to determine if your turkey breast is cooked is by using a meat thermometer. Insert the thermometer into the thickest part of the breast, making sure it does not touch bone. The internal temperature should reach 165°F (75°C) for the turkey breast to be fully cooked and safe to eat. If the temperature hasn’t quite reached this point, return the breast to the pressure cooker and cook for an additional few minutes.
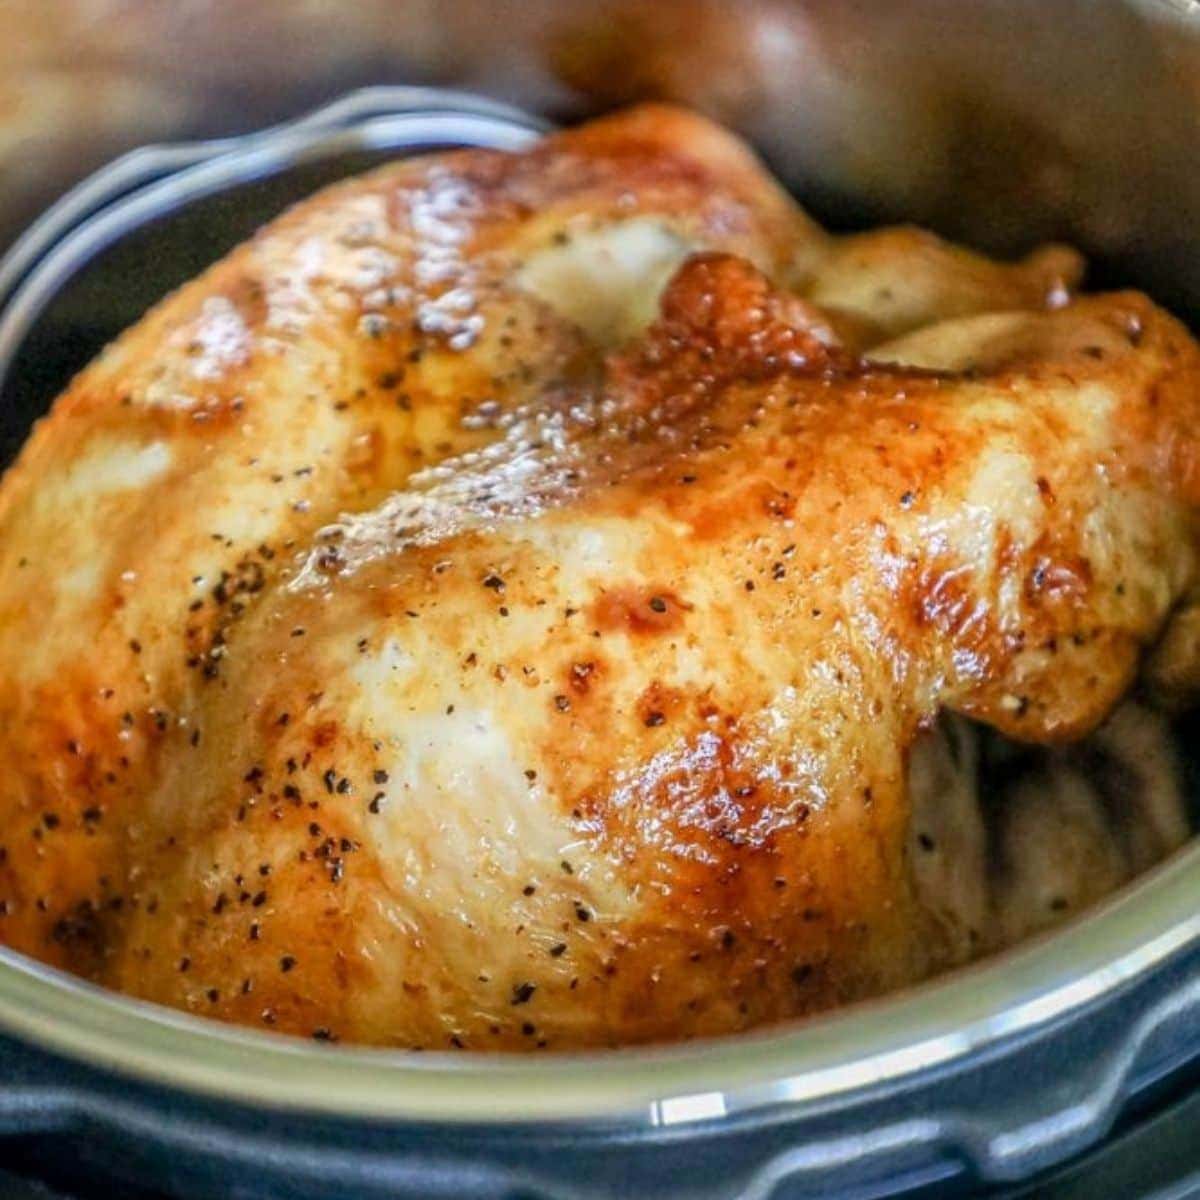
Visual Inspection: Another way to check for doneness is by visually inspecting the turkey breast. The meat should be opaque and white throughout, with no traces of pink. The juices should run clear when pierced with a knife or skewer. However, visual inspection alone may not always be reliable, as the color of cooked turkey meat can vary due to factors like seasoning and brining.
Texture and Feel: Carefully press down on the turkey breast using tongs or a fork. It should feel firm and spring back slightly when touched. If it feels too soft or rubbery, it may need additional cooking time. The texture of the cooked breast should be tender and juicy, with the meat easily pulling apart or slicing without resistance.
Resting Period: After the turkey breast is cooked, it’s essential to allow it to rest for around 5-10 minutes before carving. This resting period allows the juices to redistribute throughout the meat, resulting in a more flavorful and tender turkey breast.
By utilizing these methods, you can determine whether your turkey breast is fully cooked and safe to serve. Remember, it’s always better to slightly overcook the turkey breast than to undercook it, as safety is paramount.
Now that you’ve confirmed the doneness of the turkey breast, let’s move on to the final steps of resting, carving, and serving your delicious creation.
Resting the Turkey Breast
Resting the turkey breast after cooking is an essential step that ensures the meat remains juicy and tender. Follow these guidelines to properly rest your turkey breast:
1. Transfer to a Cutting Board: Carefully remove the cooked turkey breast from the electric pressure cooker and transfer it to a clean cutting board. Use tongs or a large carving fork to handle the hot meat.
2. Tent with Foil: Loosely tent the turkey breast with aluminum foil. This creates a warm and cozy environment for the meat to rest, allowing the juices to redistribute throughout the turkey. The foil helps to retain heat and prevent the meat from cooling too quickly.
3. Rest for at Least 10-15 Minutes: Let the turkey breast rest for a minimum of 10-15 minutes. This resting period allows the muscle fibers to relax and the juices to be reabsorbed, resulting in a more flavorful and tender meat.
4. Avoid Cutting Immediately: Resist the temptation to carve into the turkey breast right after cooking. Cutting into the turkey too soon can cause the meat to dry out, as the juices have not had a chance to redistribute. Patience during the resting period will be rewarded with a moist and flavorful turkey breast.
5. Keep Warm if Needed: If you’re not ready to serve immediately after resting, you can keep the turkey breast warm by tenting it with foil or placing it in a low-temperature oven (around 200°F or 95°C). However, avoid leaving it in the oven for too long, as it may continue cooking and become dry.
Resting the turkey breast is a crucial step in the cooking process that ensures optimal results. The resting period allows the flavors to meld and the moisture to be retained, giving you a tender and succulent turkey breast for carving and serving.
Now that you’ve allowed the turkey breast to rest, it’s time for the final steps of carving and serving your delicious creation. Let’s move on to the next section!
Carving and Serving
Carving and serving the turkey breast is an exciting moment that marks the culmination of your cooking journey. Follow these steps to carve and serve your perfectly cooked turkey breast:
1. Remove Foil: Carefully remove the foil tenting the turkey breast and set it aside.
2. Locate and Follow the Grain: Locate the direction of the grain, which refers to the muscle fibers in the turkey breast. Carving against the grain will result in more tender slices. Identify the grain by looking for the lines running along the meat.
3. Start with the Breast Side Up: Begin by placing the cooked turkey breast on its breast side, so the skin is facing up. This positioning makes it easier to carve uniform slices.
4. Remove the Skin (Optional): If desired, peel off the turkey skin before carving. Some individuals prefer to have skinless slices, while others relish the crispy texture of the skin. It’s a matter of personal preference.
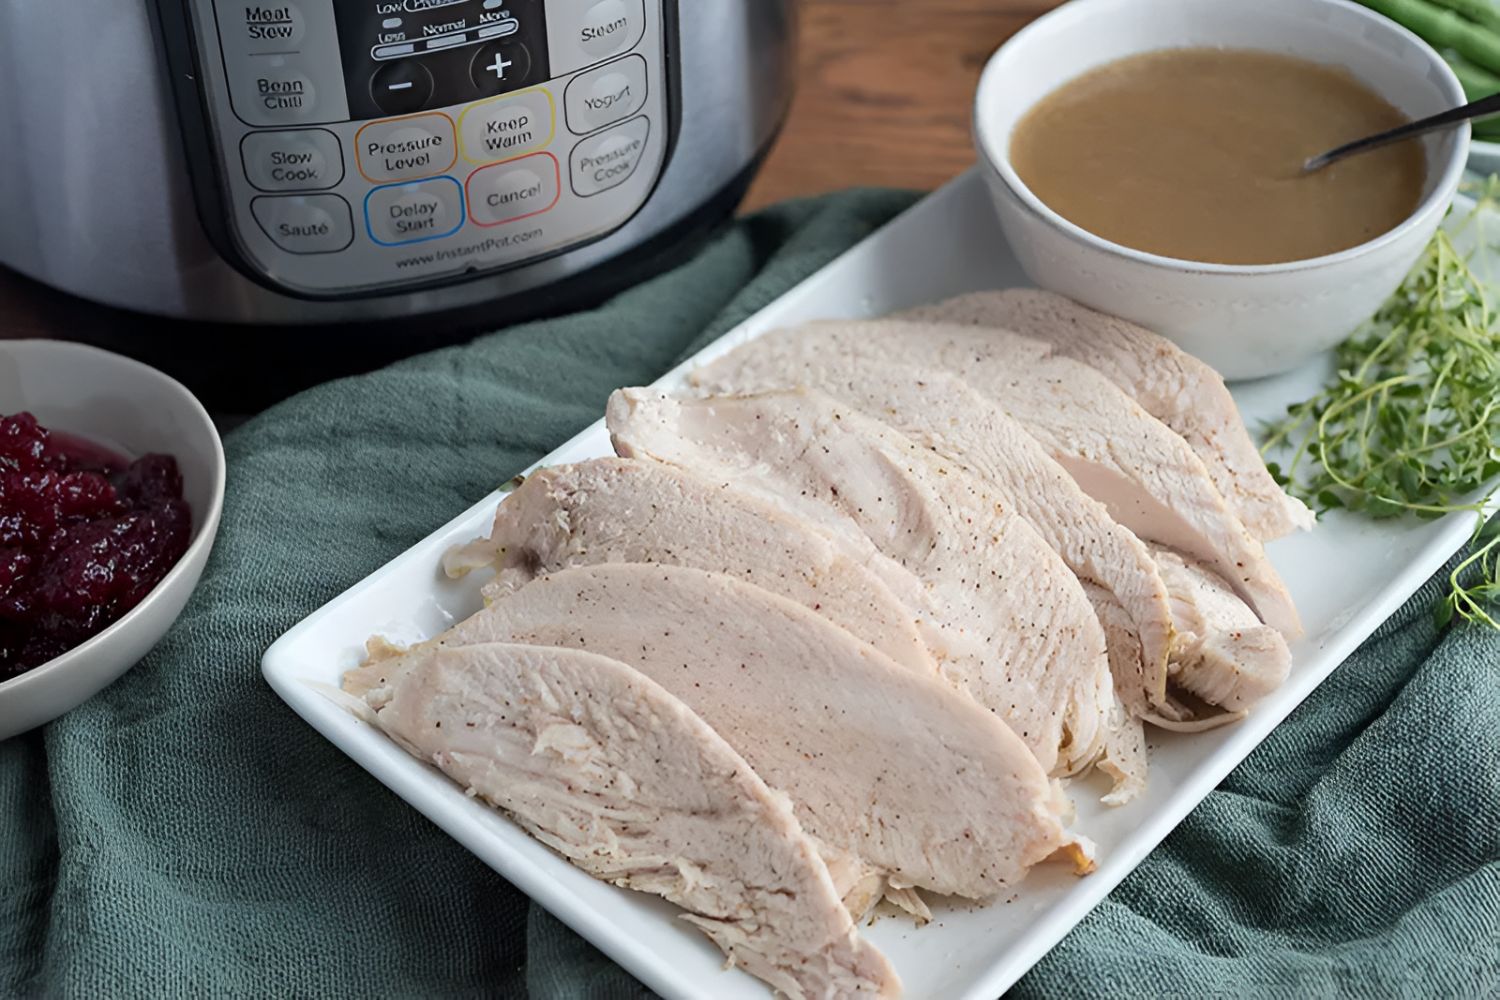
5. Carve Thin Slices: Using a sharp carving knife, slice the turkey breast across the grain into thin, consistent slices. This ensures that each piece is tender and easy to eat. If you encounter any resistance while carving, check if you’re cutting against the grain and adjust accordingly.
6. Arrange on a Platter: Gently transfer the carved turkey breast slices to a serving platter, arranging them in an attractive and appetizing manner.
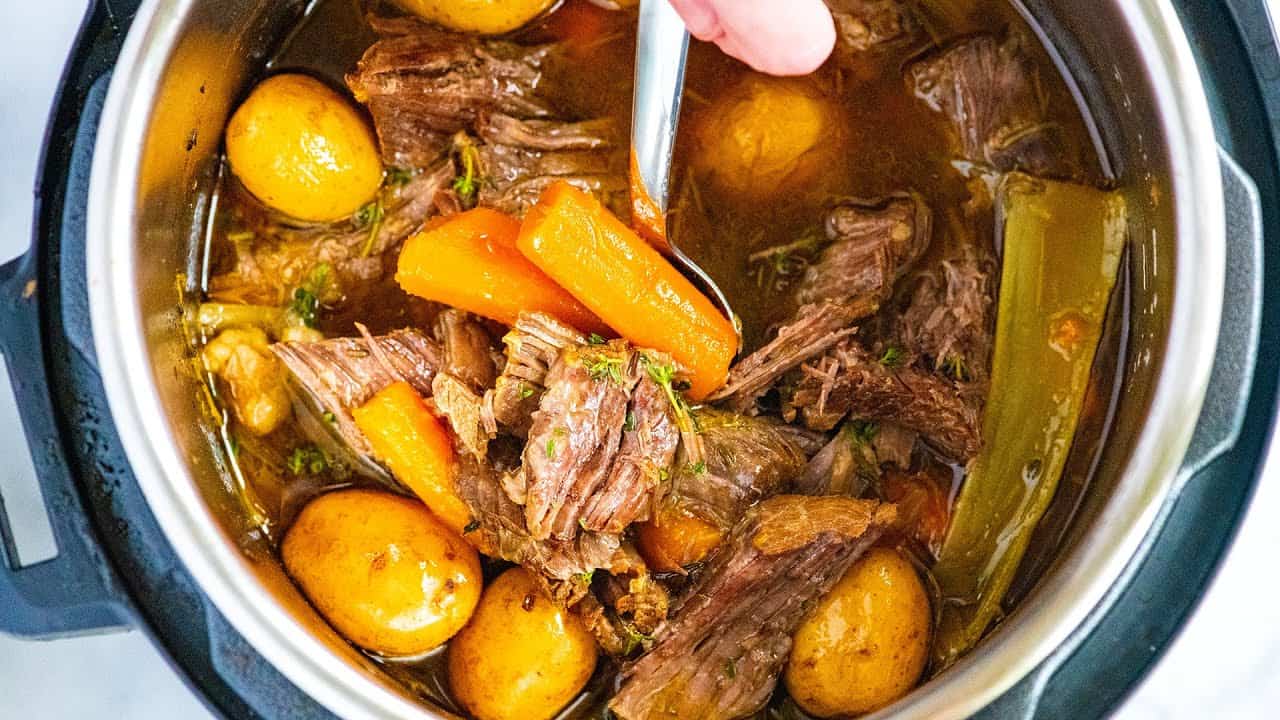
7. Serve and Enjoy: Your beautifully carved turkey breast is now ready to be served! Accompany it with your favorite sides, such as mashed potatoes, roasted vegetables, cranberry sauce, or gravy. Make sure to provide carving utensils and serving spoons to your guests.
Remember, carving is a skill that improves with practice. Don’t be discouraged if your first attempts aren’t perfect – what matters most is the delicious and tender turkey breast you’ve prepared with love and care.
Now that you’ve successfully carved and served your flavorful turkey breast, it’s time for everyone to enjoy the fruits of your labor. Sit back, savor the moment, and bask in the well-deserved compliments!
Tips and Precautions
Now that you’re familiar with the process of cooking, resting, carving, and serving a turkey breast in an electric pressure cooker, here are some additional tips and precautions to keep in mind:
1. Use a Trivet: Placing a trivet, also known as a steamer rack, on the bottom of the pressure cooker can prevent the turkey breast from sticking and scorching.
2. Don’t Overcrowd: Avoid overcrowding the electric pressure cooker. Make sure there is enough space for the steam to circulate around the turkey breast. If necessary, cook the turkey breast in batches when dealing with larger cuts.
3. Safety First: Always follow the manufacturer’s instructions and guidelines for operating your electric pressure cooker. Ensure that the lid is properly locked and the pressure release valve is closed and sealed before starting the cooking process.
4. Adjust Seasonings: Feel free to adjust the seasonings and flavors according to your taste preferences. Don’t be afraid to experiment with different herbs, spices, and marinades to create a custom flavor profile.
5. Customize Cooking Time: Cooking times may vary depending on the size, thickness, and even the brand of your electric pressure cooker. It’s essential to adjust the cooking time accordingly to achieve the desired doneness of the turkey breast.
6. Brining Benefits: Consider brining the turkey breast for added moisture and flavor. If you choose to do so, make sure to rinse off the brine before seasoning and cooking the turkey breast.
7. Keep an Eye on Liquid Levels: Ensure that there is an adequate amount of liquid in the pressure cooker to create steam and maintain sufficient pressure. Add more liquid if needed, but avoid overfilling the cooker beyond the recommended capacity.
8. Practice Proper Hygiene: Maintain proper food safety practices during the entire cooking process. Wash your hands, utensils, and surfaces regularly, and avoid cross-contamination with raw poultry.
9. Experiment with Side Dishes: Enhance the turkey breast meal by pairing it with a variety of delicious side dishes. Consider classics like stuffing, cranberry sauce, roasted vegetables, or even a green salad.
10. Enjoy the Leftovers: Don’t forget that leftover turkey breast can be used in various culinary creations. From sandwiches and wraps to soups and salads, you can get creative with how you enjoy the remaining turkey.
By following these tips and taking necessary precautions, you’ll ensure a successful and enjoyable cooking experience with your electric pressure cooker. Have fun exploring different flavors and discovering your favorite methods and seasonings.
Now that you’re equipped with all the knowledge and guidance necessary, it’s time to turn on your electric pressure cooker, prepare a delicious turkey breast, and impress your loved ones with your culinary skills. Happy cooking!
Conclusion
Congratulations on mastering the art of cooking a turkey breast in an electric pressure cooker! This guide has provided you with all the essential steps, tips, and precautions to ensure a delicious and successful outcome every time.
By carefully choosing the right turkey breast, properly preparing and seasoning it, using the electric pressure cooker correctly, and checking for doneness, you’re well on your way to creating a mouthwatering centerpiece for any meal.
Remember, the electric pressure cooker offers convenience and efficiency, significantly reducing cooking time while still producing tender and flavorful turkey breast. The versatility of flavors and seasonings allows you to customize your turkey to match your preferences, whether you prefer classic herbs and spices or bold and fiery flavors.
Always prioritize safety by following the instructions of your electric pressure cooker model and ensuring that the turkey breast reaches the appropriate internal temperature for doneness. Use a meat thermometer to check for accurate results.
Lastly, don’t forget to let the turkey breast rest before carving to ensure optimal moisture and tenderness. The resting period allows the meat to settle, ensuring juicy and succulent slices when serving.
So, gather your loved ones, carve and serve the perfectly cooked turkey breast with your favorite side dishes, and savor the flavors and memories shared around the table. Enjoy the fruits of your labor and celebrate your culinary success!
Thank you for choosing this guide as your resource for cooking a turkey breast in an electric pressure cooker. We hope it has been informative, inspiring, and helpful in your culinary adventures. Happy cooking!