Introduction
Are you looking to upgrade your TV antenna to HDMI for better quality and reception? Many people are making the switch from traditional TV antennas to HDMI to enjoy high-definition picture and sound. Converting your TV antenna to HDMI is a relatively simple process that can greatly enhance your viewing experience.
In this guide, we will walk you through the steps of how to convert your TV antenna to HDMI. You’ll learn what materials you’ll need, how to check your TV’s compatibility, how to connect the antenna to the TV, and how to scan for channels. By the end of this guide, you’ll be able to enjoy your favorite TV shows and channels in crystal-clear high definition.
Before we begin, it’s important to note that not all TVs are compatible with HDMI. You’ll need to check your TV’s specifications to ensure that it has an HDMI input. If your TV is not HDMI-compatible, unfortunately, you won’t be able to convert your antenna to HDMI. However, most modern TVs have an HDMI input, so chances are you’ll be able to make the switch.
Now, let’s dive into the step-by-step process of converting your TV antenna to HDMI and boost your TV-viewing experience.
Step 1: Gather the necessary materials
Before you begin converting your TV antenna to HDMI, it’s essential to gather all the required materials. Having everything at hand will streamline the process and prevent any unnecessary delays. Here’s a list of the items you’ll need:
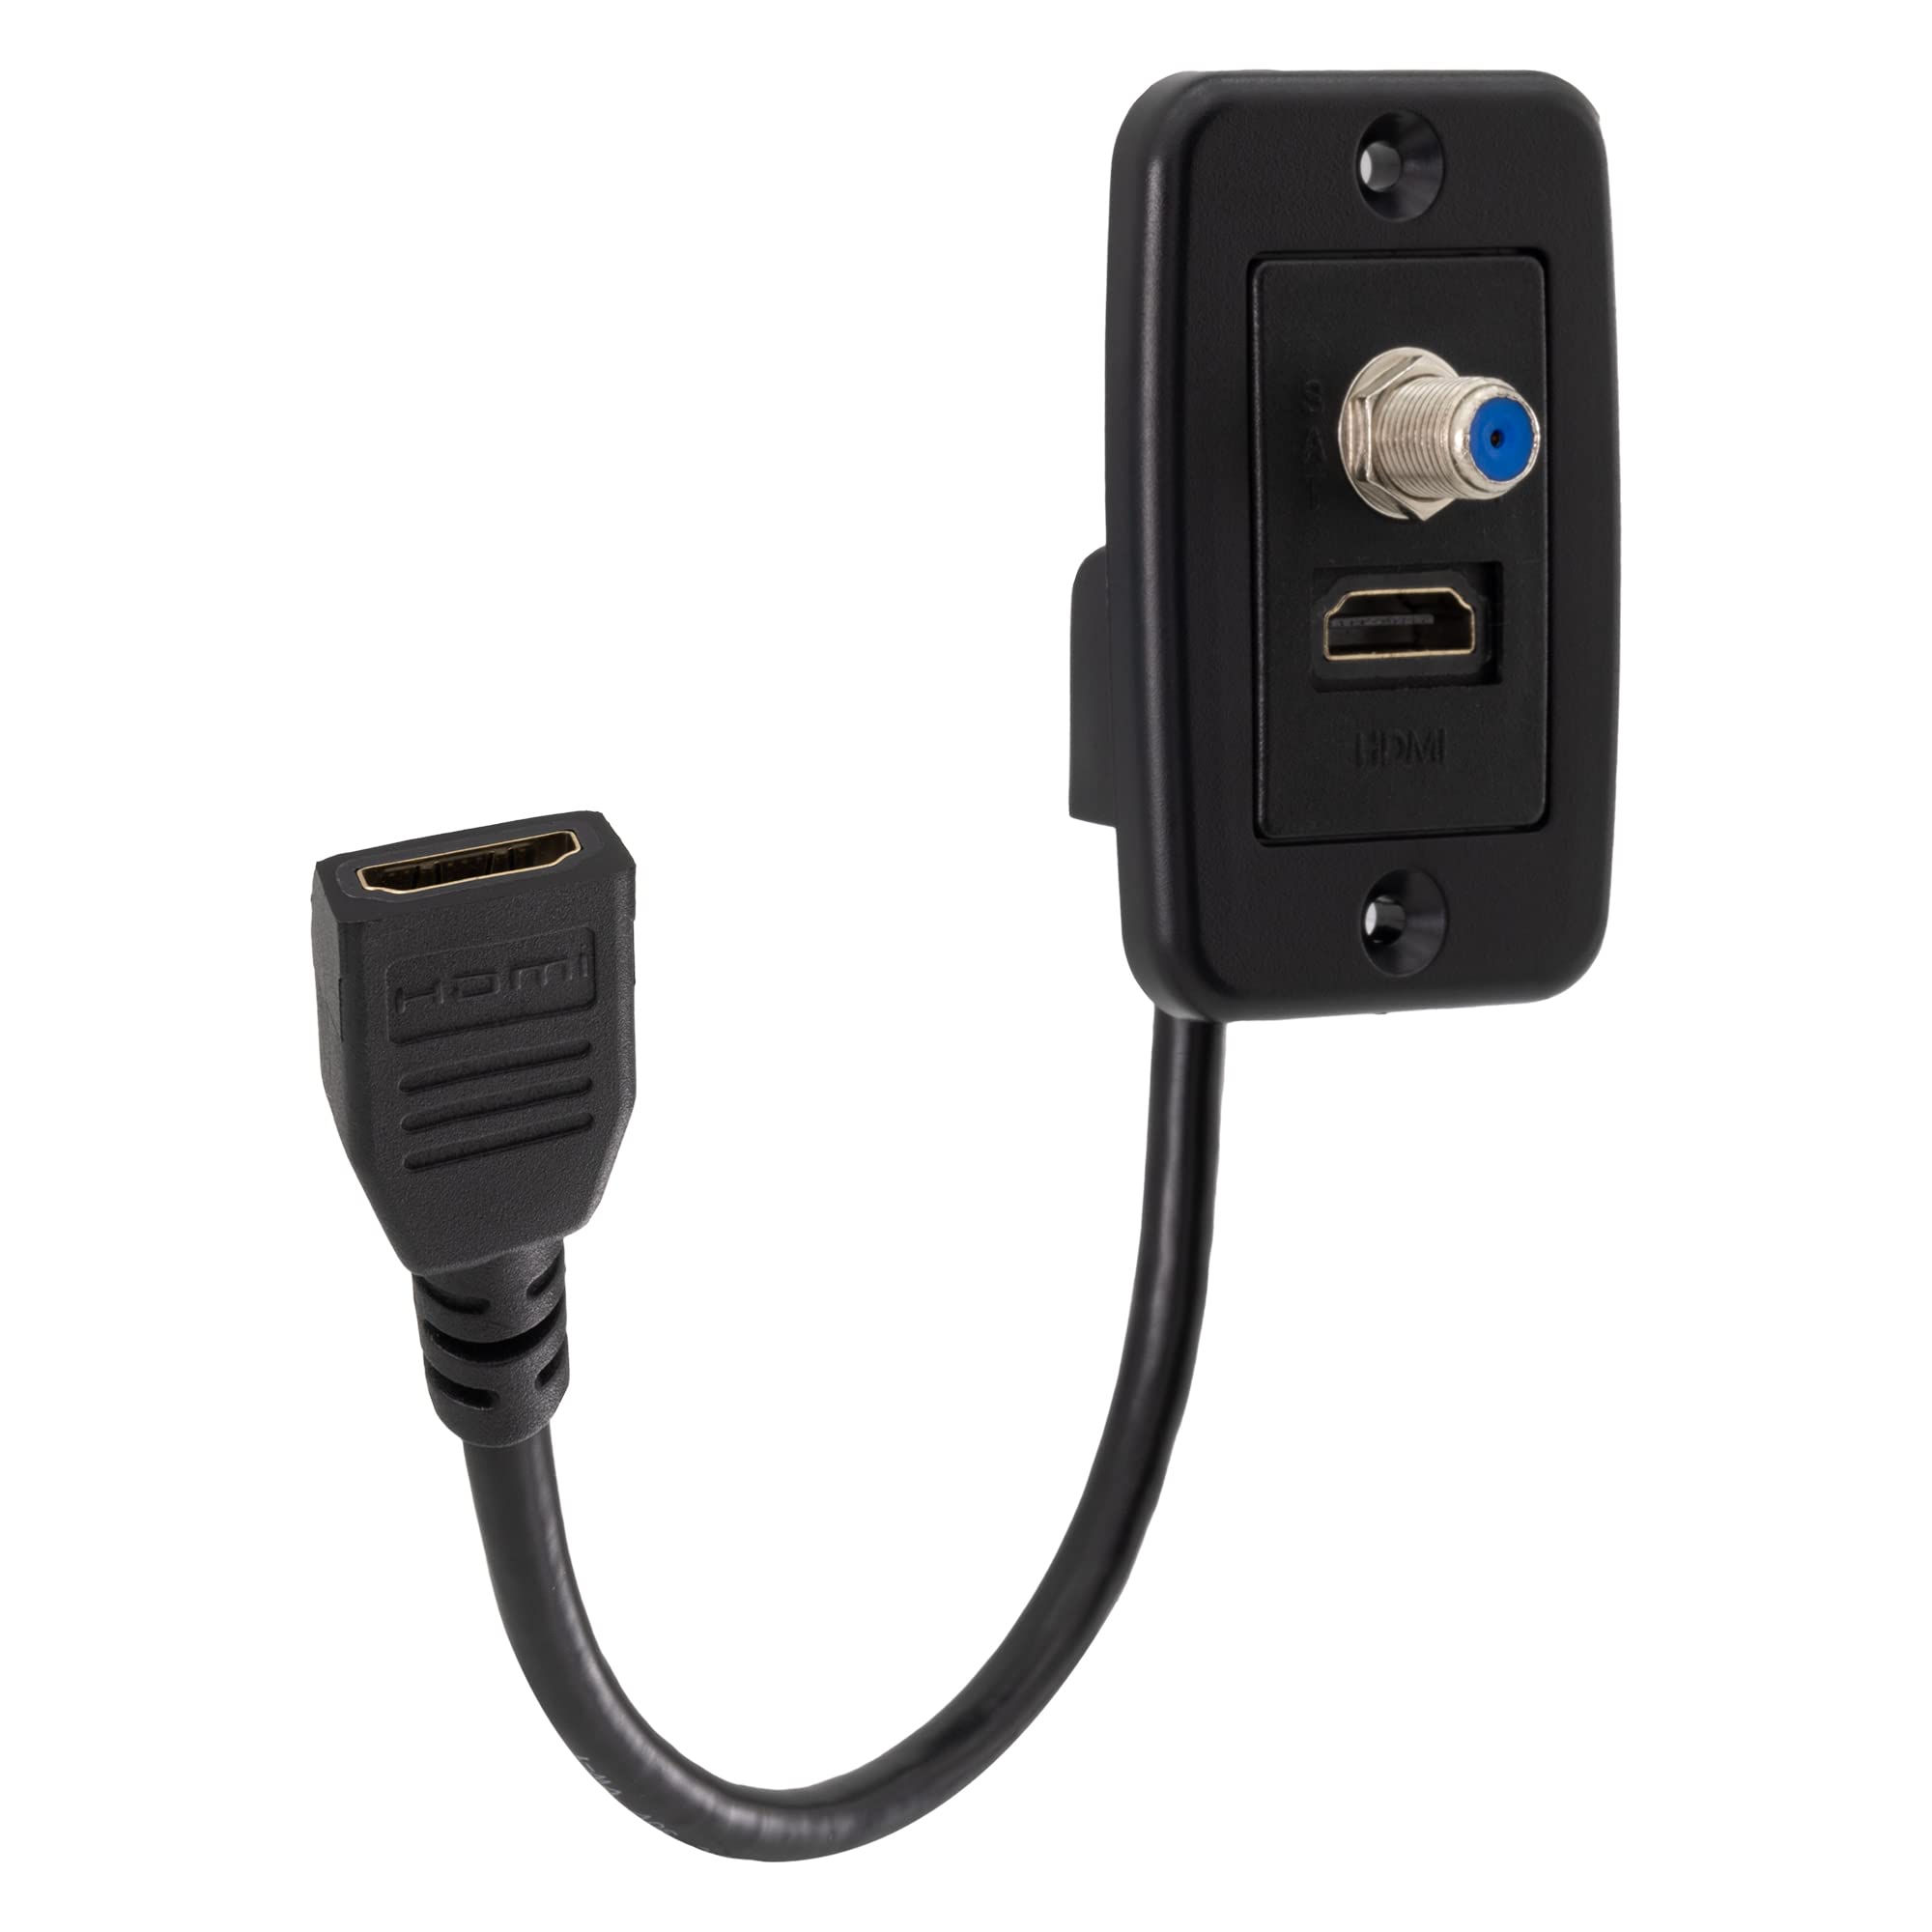
- TV Antenna: Ensure you have a functioning TV antenna designed for over-the-air broadcasting. If you already have one installed, you can use it for the HDMI conversion process.
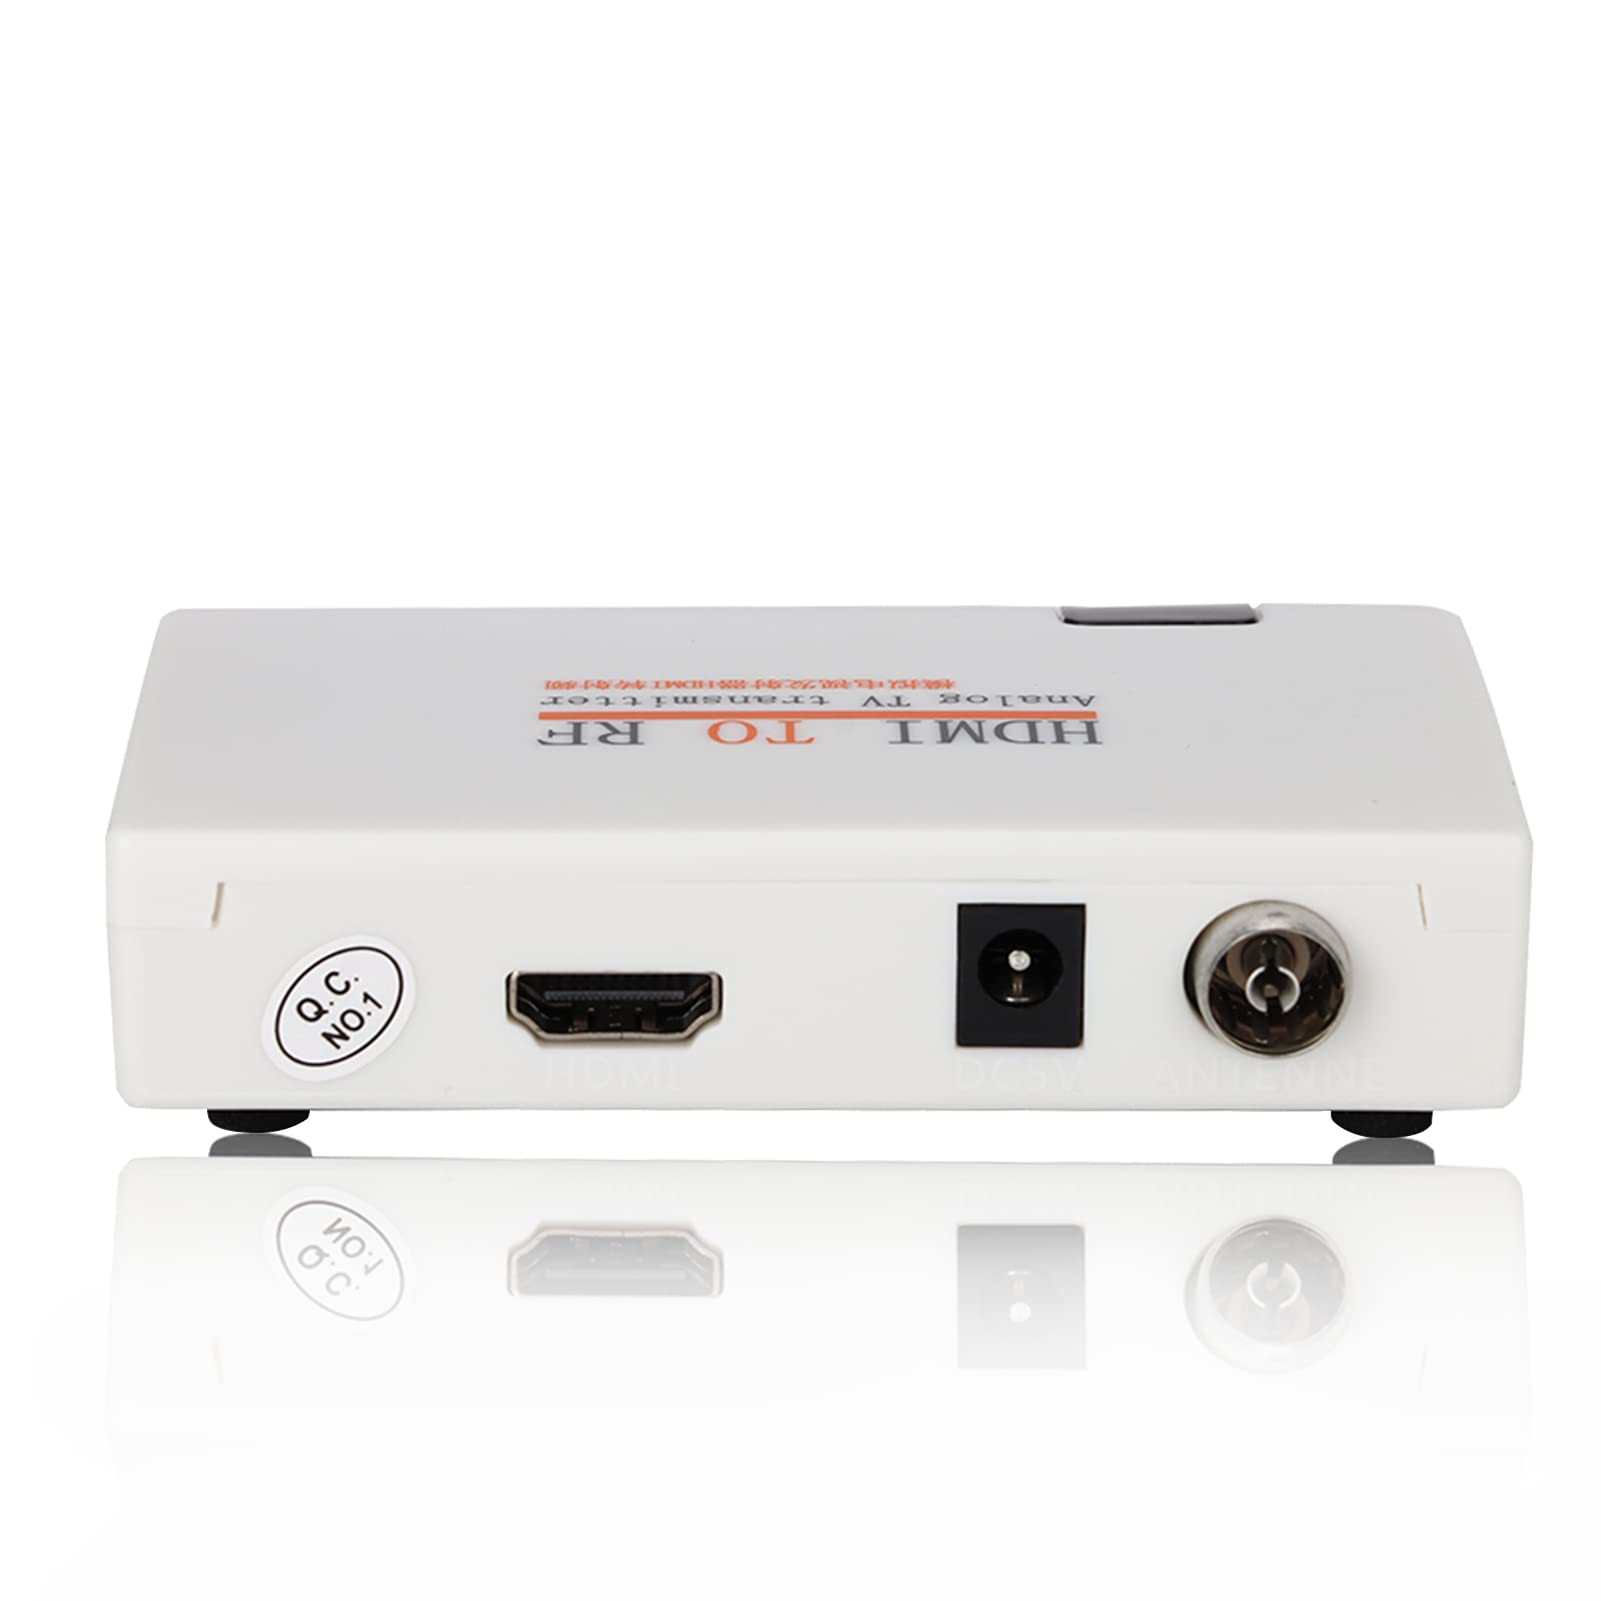
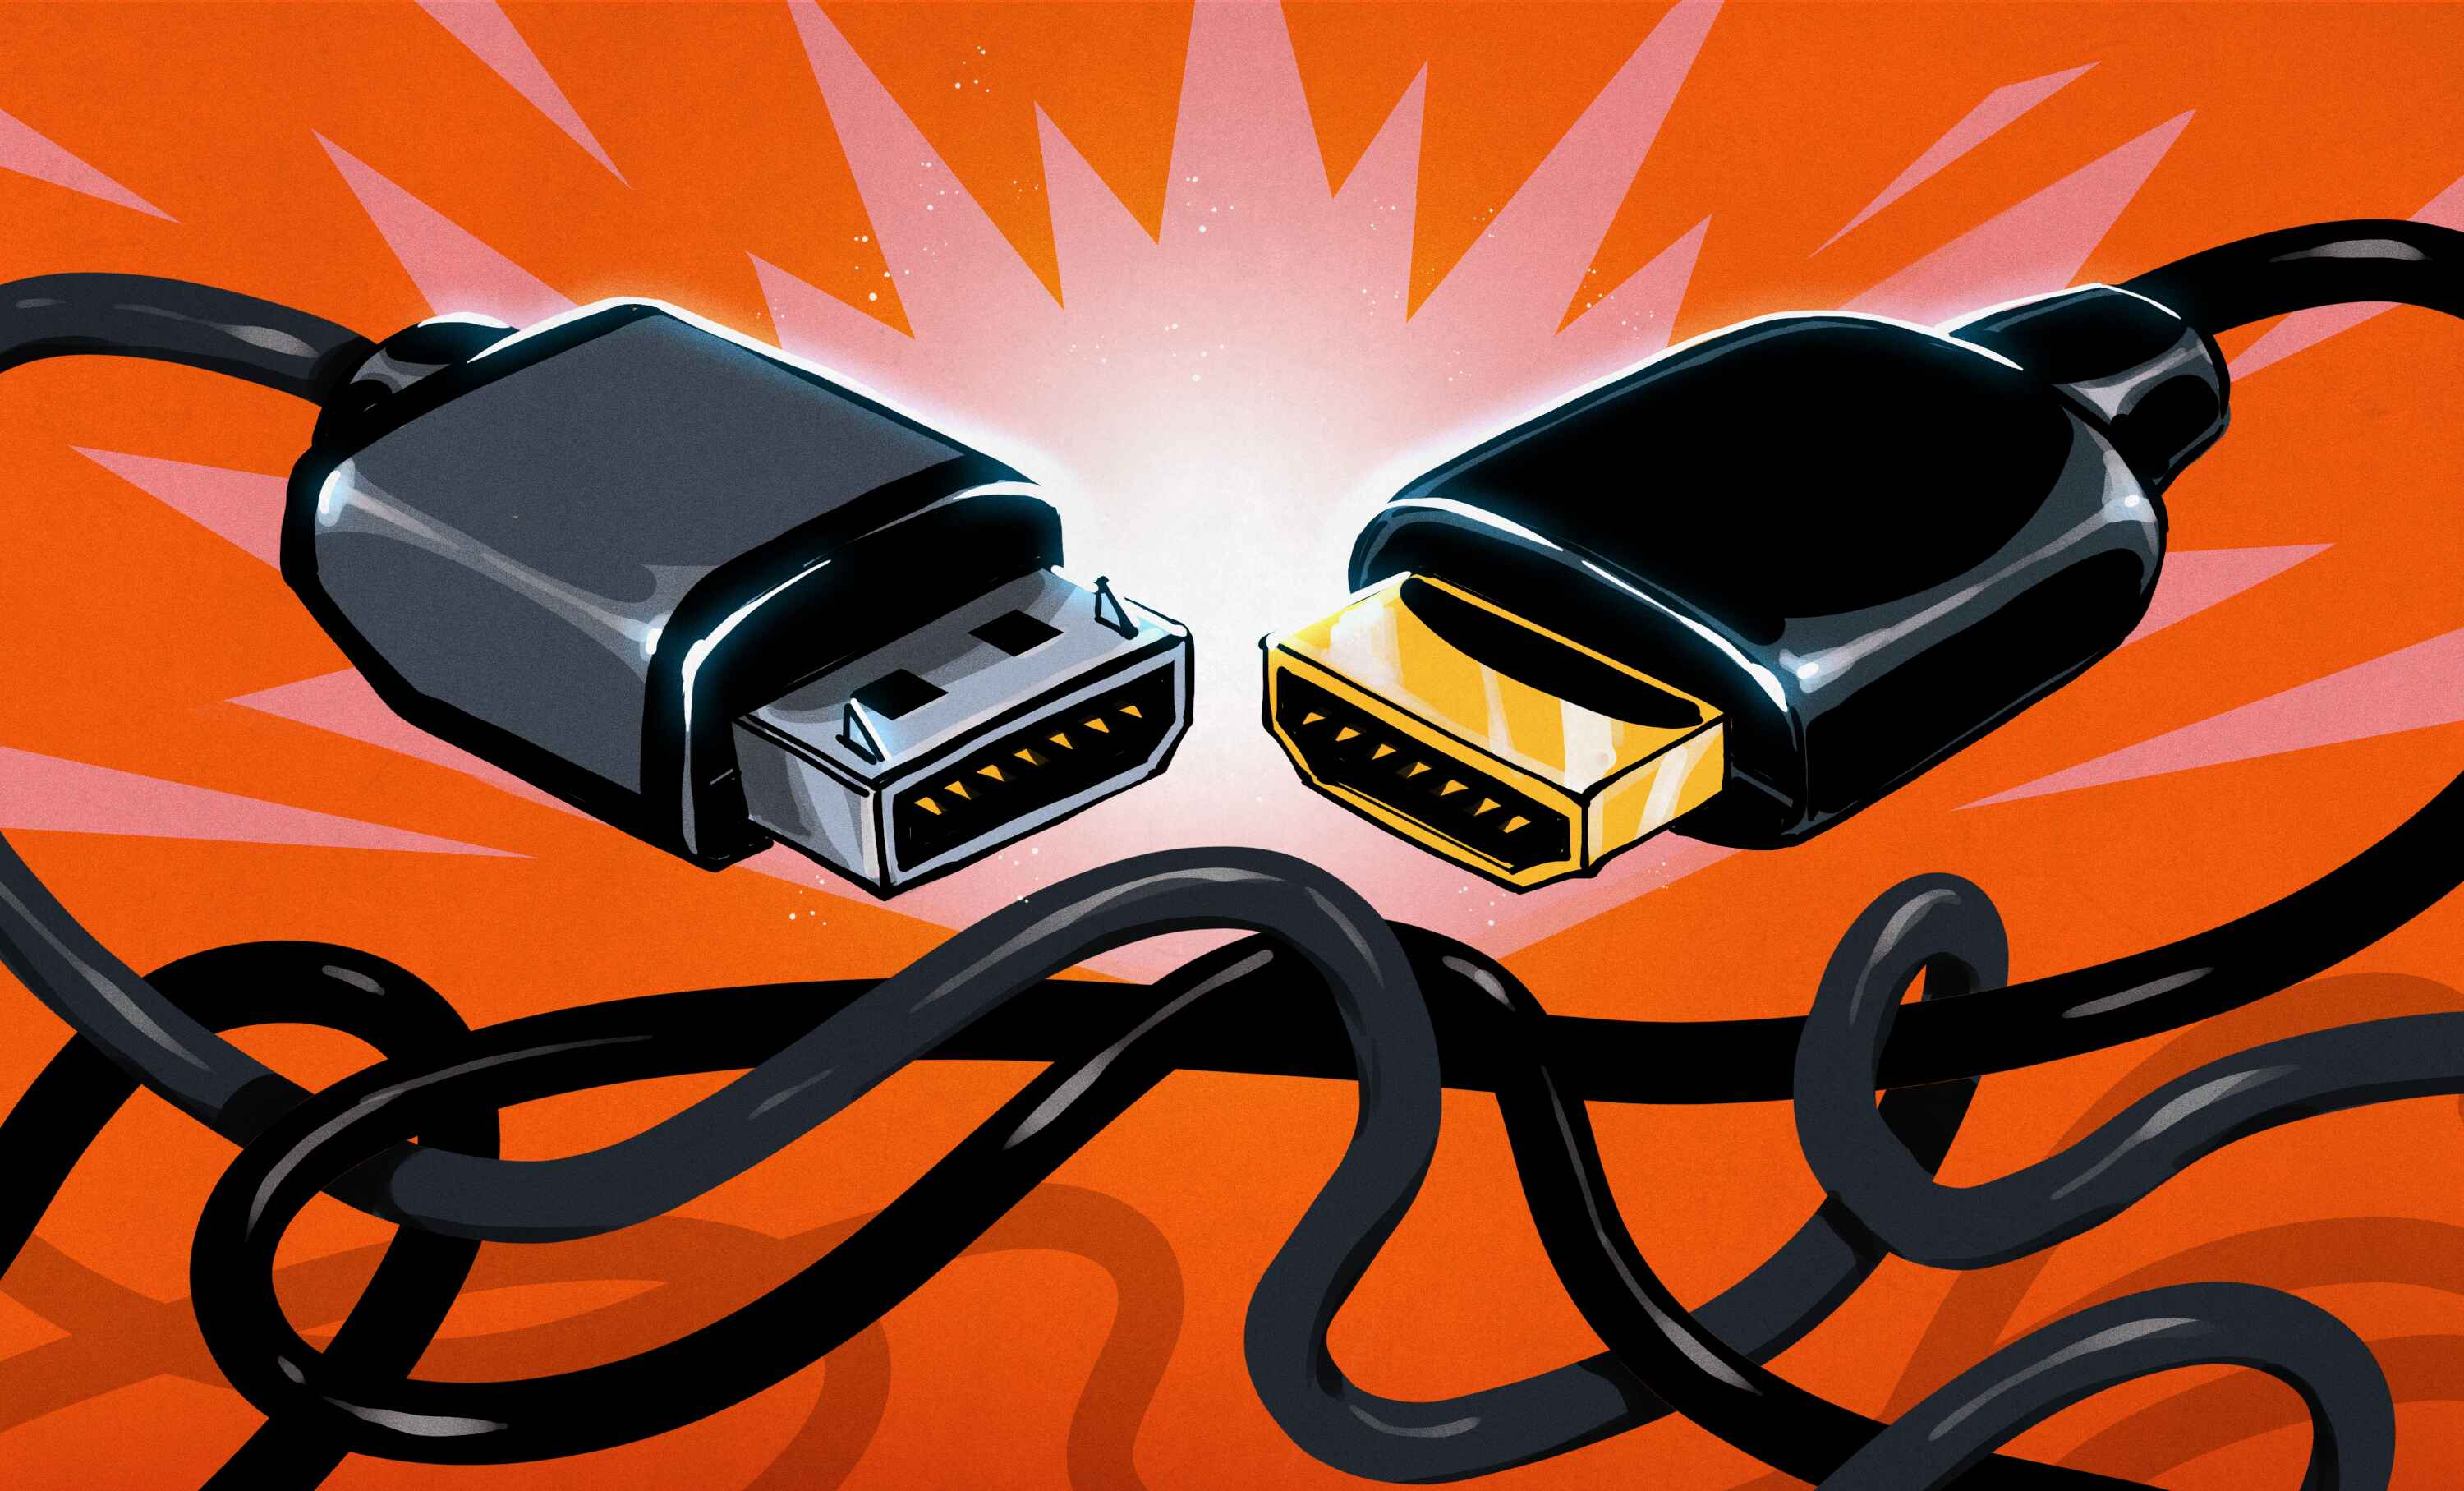
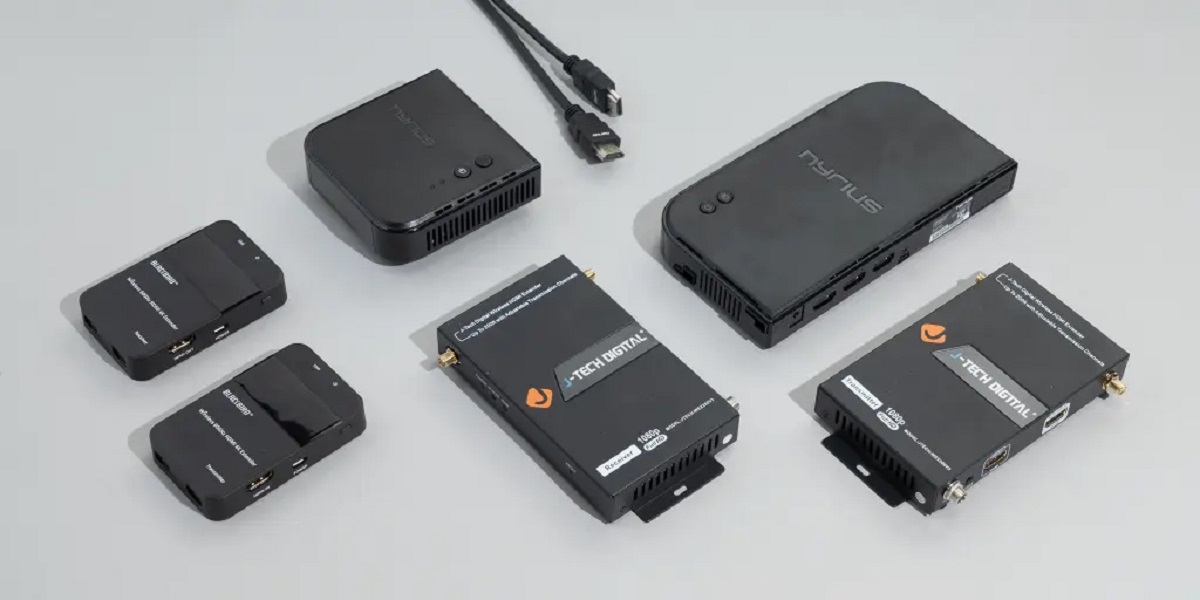
- HDMI Converter: Purchase an HDMI converter that is compatible with your TV and antenna. This device will facilitate the conversion from the antenna’s analog signal to a digital HDMI signal, ensuring optimal video and audio quality.
- HDMI Cable: You’ll need an HDMI cable to connect the TV antenna to the HDMI converter. Ensure that the cable is long enough to reach the converter without any tension.
- Power Source: Depending on the HDMI converter, you might need a power source to operate it. This power source could be a USB port on your TV or an electrical outlet nearby.
- Remote Control: Some HDMI converters come with a remote control for easier operation. Check if your converter includes one and ensure you have the necessary batteries.
Once you have gathered all the necessary materials, you’ll be well-prepared for the next steps in converting your TV antenna to HDMI. Remember to double-check that you have the correct HDMI converter for your specific TV and antenna setup. Having the right equipment will ensure a smooth and successful conversion process.
Step 2: Check your TV’s compatibility
Before you proceed with converting your TV antenna to HDMI, it’s crucial to ensure that your TV is compatible with the HDMI input. Most modern TVs come with HDMI ports, but it’s always a good idea to double-check. Here’s how you can verify your TV’s compatibility:
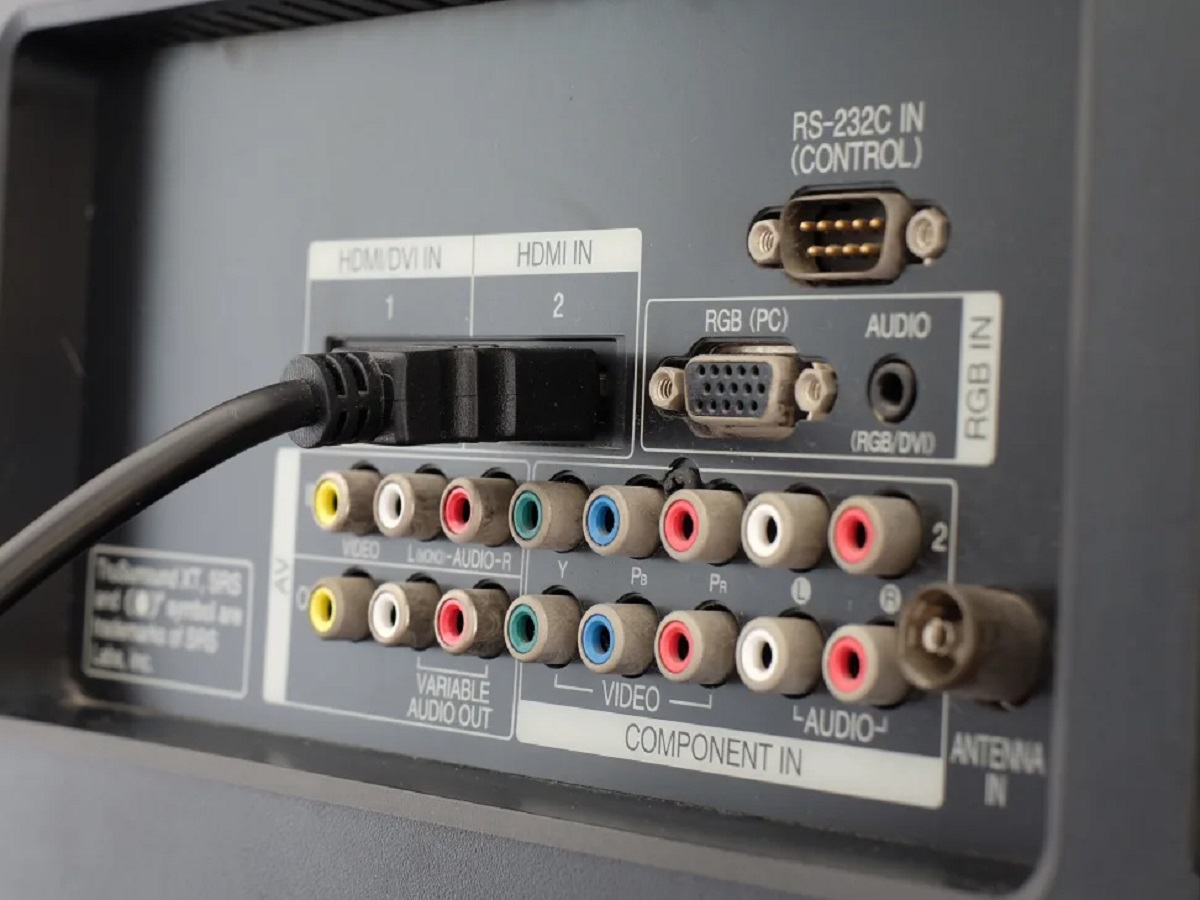
- Locate the HDMI ports: Examine the back or side of your TV to find the HDMI ports. These ports are usually labeled as “HDMI 1,” “HDMI 2,” etc. Take note of which HDMI port you will be connecting the HDMI converter to.
- Consult the TV manual: If you still have the TV’s manual, refer to it to confirm if HDMI connectivity is supported. Look for any specific notes or instructions related to HDMI connections.
- Research the TV model online: If you no longer have the manual, search for your TV model online. Visit the manufacturer’s website or check reliable technology forums to find information about HDMI compatibility for your specific TV.
- Contact customer support: If you’re unable to find the necessary information, reach out to the TV’s customer support. They will be able to assist you and confirm whether your TV supports HDMI connections.
Verifying your TV’s compatibility beforehand will save you time and ensure that the subsequent steps of the conversion process proceed smoothly. If your TV does not have an HDMI port, unfortunately, you won’t be able to convert your TV antenna to HDMI. However, there may be alternative solutions available, such as using a set-top box or a different TV with HDMI capabilities.
Once you have confirmed that your TV is compatible with HDMI, you can proceed to the next step of connecting your TV antenna to the HDMI converter.
Step 3: Connect the antenna to the TV
Now that you have verified your TV’s compatibility with HDMI, it’s time to connect the antenna to the TV. Follow these steps to ensure a proper and secure connection:
- Locate the coaxial cable from your TV antenna. This cable will typically have a screw-on connector.
- Identify the coaxial input port on your TV. It is usually labeled as “ANT IN” or something similar.
- Insert the coaxial cable’s screw-on connector into the coaxial input port on your TV. Rotate the connector clockwise to ensure a secure connection.
- If your TV has multiple coaxial input ports, make sure you connect the cable to the correct one and take note of which input port it is connected to.
Once the antenna is securely connected to your TV’s coaxial input port, you’ve completed the initial step of the conversion process. Now, it’s time to move on to setting up your TV’s input source.
Step 4: Set up your TV’s input source
After connecting the antenna to your TV, it’s important to set up the correct input source to receive the signal. Follow these steps to configure your TV’s input source:
- Turn on your TV and grab the remote control.
- Look for a button on the remote labeled “Input,” “Source,” or something similar. Press that button to access the input source menu.
- Using the arrow keys on the remote, navigate through the input source options until you find the one corresponding to the HDMI port you have connected the HDMI converter to.
- Once you have selected the correct HDMI input source, press the “Enter” or “OK” button on the remote to confirm your selection.
By setting the appropriate input source, you are telling your TV to recognize the HDMI connection and display the content from the antenna. If you have connected the HDMI converter to multiple HDMI ports, repeat the steps to select the correct input source for the desired port.
At this point, your TV is ready to receive the digital signal from the antenna through the HDMI converter. However, before you can start watching your favorite channels, you need to scan for available channels. This will ensure that you receive all the available over-the-air broadcasts in your area.
Step 5: Scan for channels
Now that you have set up the input source for your TV, it’s time to scan for channels. The scanning process will allow your TV to detect and store all the available over-the-air channels that your antenna can receive. Follow these steps to scan for channels:
- Access the TV’s menu either through the remote control or the TV’s on-screen display.
- Navigate to the “Channel” or “Settings” menu using the arrow keys on the remote.
- Look for an option like “Channel Scan,” “Auto-tune,” or “Auto Program,” and select it.
- Choose the “Antenna” or “Air” option as the source for the channel scan.
- Start the channel scan. It may take a few minutes for your TV to scan and detect all the available channels.
During the channel scan, your TV will search for both digital and analog channels. However, since you have converted your TV antenna to HDMI, you will only receive and store digital channels for optimal picture and sound quality. Once the scan is complete, your TV will display a list of detected channels.
Take note that the number of channels you receive may vary depending on your location and the strength of the over-the-air signals in your area. Some channels may require a stronger signal or a more advanced antenna to be received. If you are not satisfied with the number of channels you receive, you can consider upgrading your antenna or adjusting its positioning for better reception.
Now that you have successfully scanned for channels, you’re ready to enjoy your favorite TV shows and programs in high definition. However, before you start watching, it’s essential to adjust the picture and sound settings for the best viewing experience.
Step 6: Adjust the picture and sound settings
After scanning for channels, it’s important to fine-tune the picture and sound settings on your TV for optimal viewing and listening pleasure. Adjusting these settings will help you achieve the best possible picture quality and audio experience. Here’s how you can do it:
- Access the TV’s menu or settings using the remote control or on-screen display.
- Navigate to the “Picture” or “Display” settings in the menu.
- Adjust the settings such as brightness, contrast, color, sharpness, and backlight according to your preference. You may refer to your TV’s user manual for recommended settings or use your own judgment for the desired picture quality.
- Once you have made the necessary adjustments, save the settings and exit the menu.
- Next, navigate to the “Sound” or “Audio” settings in the TV’s menu.
- Adjust the settings like volume, bass, treble, and balance to create a balanced and immersive audio experience.
- Save the sound settings and exit the menu.
By adjusting the picture and sound settings, you can ensure that the content you watch through your converted TV antenna to HDMI provides a visually stunning and sonically immersive experience. Experiment with the settings to find the perfect balance that suits your preferences and enhances your overall enjoyment.
It’s worth noting that different TVs have different menus and options for adjusting picture and sound settings. Refer to your specific TV’s user manual if you need further guidance or assistance in navigating the settings menu.
With the picture and sound settings adjusted, you can now sit back, relax, and enjoy your favorite shows, movies, and live broadcasts with crystal-clear visuals and impressive audio quality.
Conclusion
Congratulations! You have successfully learned how to convert your TV antenna to HDMI, allowing you to enjoy high-definition picture and sound quality. By following the step-by-step process outlined in this guide, you have acquired the knowledge and skills to enhance your TV-viewing experience.
Throughout this guide, we covered everything from gathering the necessary materials to adjusting picture and sound settings. It’s important to ensure that your TV is compatible with HDMI, connect the antenna properly, set up the correct input source, scan for channels, and fine-tune the picture and sound settings.
Remember, the quality and number of channels you receive may vary based on your location and the strength of the over-the-air signals in your area. If you encounter any issues, consider upgrading your antenna or adjusting its positioning for better reception.
By converting your TV antenna to HDMI, you have unlocked the potential for a better TV-viewing experience. Enjoy watching your favorite shows, movies, and live broadcasts with improved clarity, sharpness, and audio immersion. Stay up-to-date with the latest news, sports events, and entertainment right from the comfort of your home.
We hope this guide has been helpful in assisting you with the process of converting your TV antenna to HDMI. If you have any further questions or need additional support, consult your TV’s user manual or reach out to the manufacturer’s customer support.
Now, sit back, relax, and enjoy the fantastic world of high-definition entertainment that awaits you!