Introduction
Connecting your 3D printer to Cura, one of the most popular slicing software tools, is an essential step in the 3D printing process. Cura allows you to prepare 3D models for printing by adjusting settings and generating the instructions, or G-code, that your printer needs to create the desired object. In this guide, we will walk you through the steps of connecting your 3D printer to Cura to streamline your workflow and start bringing your ideas to life.
Cura, developed by Ultimaker, is a free and open-source software that offers powerful features for both beginners and experienced users. It supports a wide range of 3D printers and provides a user-friendly interface, making it an excellent choice for anyone looking to dive into the world of 3D printing. Whether you are an engineering enthusiast, an artist, or a hobbyist, Cura simplifies the entire printing process and ensures high-quality and accurate prints.
In this comprehensive guide, we will cover everything from installing Cura on your computer to configuring your printer settings, loading 3D models, adjusting print settings, slicing the model, and finally, sending the print file to your 3D printer directly from Cura. By following these steps, you will be able to leverage the full potential of your 3D printer and unleash your creativity.
So, let’s get started on this exciting journey to connect your 3D printer to Cura and unlock the possibilities of turning your virtual designs into tangible objects.
Step 1: Install Cura
Before you can connect your 3D printer to Cura, you need to install the software on your computer. Follow these steps to get Cura up and running:
- Visit the official Cura website (https://ultimaker.com/software/ultimaker-cura) and navigate to the download page.
- Choose the appropriate version of Cura for your operating system (Windows, Mac, or Linux) and click on the download button to save the installation file.
- Once the download is complete, locate the installation file and double-click on it to start the installation process.
- Follow the on-screen instructions to install Cura. Make sure to read and accept the license agreement.
- Once the installation is complete, launch Cura to begin setting up your 3D printer.
Cura is known for its user-friendly interface, making it easy for beginners to navigate the software. Once you have successfully installed Cura, you are ready to move on to the next step and connect your 3D printer.
It’s worth mentioning that Cura receives regular updates, so it’s a good idea to check for updates periodically. This ensures that you have the latest features and optimizations for a smooth and efficient printing experience.
Now that you have Cura installed, let’s move on to the next step and connect your 3D printer.
Step 2: Connecting Your 3D Printer to Cura
Now that you have Cura installed on your computer, it’s time to connect your 3D printer to the software. Follow these steps to establish the connection:
- Ensure that your 3D printer is powered on and connected to your computer either via USB or over the local network, depending on the connectivity options available.
- Launch Cura on your computer.
- Click on the ‘Connect’ button located in the upper-right corner of the Cura interface. This opens the ‘Connect to Printer’ dialog box.
- In the ‘Connect to Printer’ dialog box, select the appropriate connection type based on how your printer is connected to your computer (USB or network).
- If you are connecting via USB, select the correct serial port from the drop-down menu. Cura automatically detects connected printers, so you might see the name of your printer listed in the drop-down menu. If not, ensure that your printer is properly connected and powered on.
- If you are connecting over the local network, click on the ‘Add Printer’ button to search for available printers on your network. Cura should detect your printer automatically. Select your printer from the list.
- Once you have selected the appropriate connection type and your printer, click on the ‘Connect’ button in the dialog box.
- If the connection is successful, you will see a notification confirming the connection. Your 3D printer is now connected to Cura, and you are ready to start configuring settings and preparing your models for printing.
It’s important to note that the steps to connect your 3D printer may vary slightly depending on the printer model and the specific version of Cura you are using. However, the general process remains the same.
With your printer successfully connected to Cura, let’s move on to the next step and configure your printer settings.
Step 3: Configuring Printer Settings in Cura
After connecting your 3D printer to Cura, the next step is to configure the printer settings to ensure proper communication and optimal print results. Follow these steps to configure the printer settings in Cura:
- In Cura, click on the ‘Settings’ menu at the top of the interface and select ‘Printer’ from the drop-down menu. This opens the printer settings panel.
- Select your printer model from the list of available printers. If your printer is not listed, click on the ‘Add Printer’ button and follow the prompts to add your specific printer model.
- In the printer settings panel, you will find various options to configure, such as printer size, print bed dimensions, nozzle diameter, and more. These settings should match the specifications of your 3D printer.
- Take note of any specific printer features or capabilities and adjust the settings accordingly. For example, if your printer has a heated bed, make sure to enable the option in the settings.
- Once you have configured the printer settings, click on the ‘Close’ button to save the changes.
Configuring the printer settings correctly is crucial for achieving accurate prints and avoiding potential issues during the printing process. Make sure to refer to your 3D printer’s documentation or manufacturer’s website for precise details about the settings specific to your printer model.
With the printer settings properly configured, you are one step closer to bringing your 3D models into Cura and preparing them for printing. In the next step, we will explore how to load a 3D model into Cura.
Step 4: Loading a 3D Model into Cura
Now that you have configured your printer settings in Cura, it’s time to load a 3D model into the software so you can start preparing it for printing. Follow these steps to load a 3D model into Cura:
- Click on the ‘Open File’ button in the top-left corner of the Cura interface. Alternatively, you can go to the ‘File’ menu and select ‘Open File’.
- Navigate to the location where your 3D model file is saved and select it. Cura supports various file formats, including .stl, .obj, .3mf, and more.
- Once you have selected the file, Cura will load the 3D model into the workspace. You will see a visual representation of the model on the virtual build plate.
- Take a moment to inspect the model in the workspace. You can use the mouse to rotate, pan, and zoom in or out to get a better view of the model’s details.
Cura provides additional features to further optimize and customize your 3D model before printing. You can scale, rotate, or mirror the model, as well as make minor adjustments to its orientation on the build plate.
It’s important to ensure that the 3D model fits within the build volume of your printer and is positioned correctly for optimal printing results. Make any necessary adjustments using the available tools and options in Cura.
Once you are satisfied with the placement and orientation of the 3D model, you are ready to move on to the next step and adjust the print settings in Cura to fine-tune the printing process.
Step 5: Adjusting Print Settings in Cura
After loading your 3D model into Cura, it’s time to adjust the print settings to optimize the printing process and achieve the desired results. Follow these steps to adjust the print settings in Cura:
- On the right side of the Cura interface, you will find the print settings panel. This panel contains various options and parameters that you can tweak to customize the print quality, speed, and other aspects of the printing process.
- Start with the ‘Quality’ section, where you can choose the desired layer height, initial layer thickness, and other parameters related to the level of detail and surface finish you want to achieve.
- Move on to the ‘Shell’ and ‘Infill’ settings, which control the thickness of the outer shell layers and the infill pattern and density, respectively. Adjust these parameters based on the strength and structural requirements of the printed object.
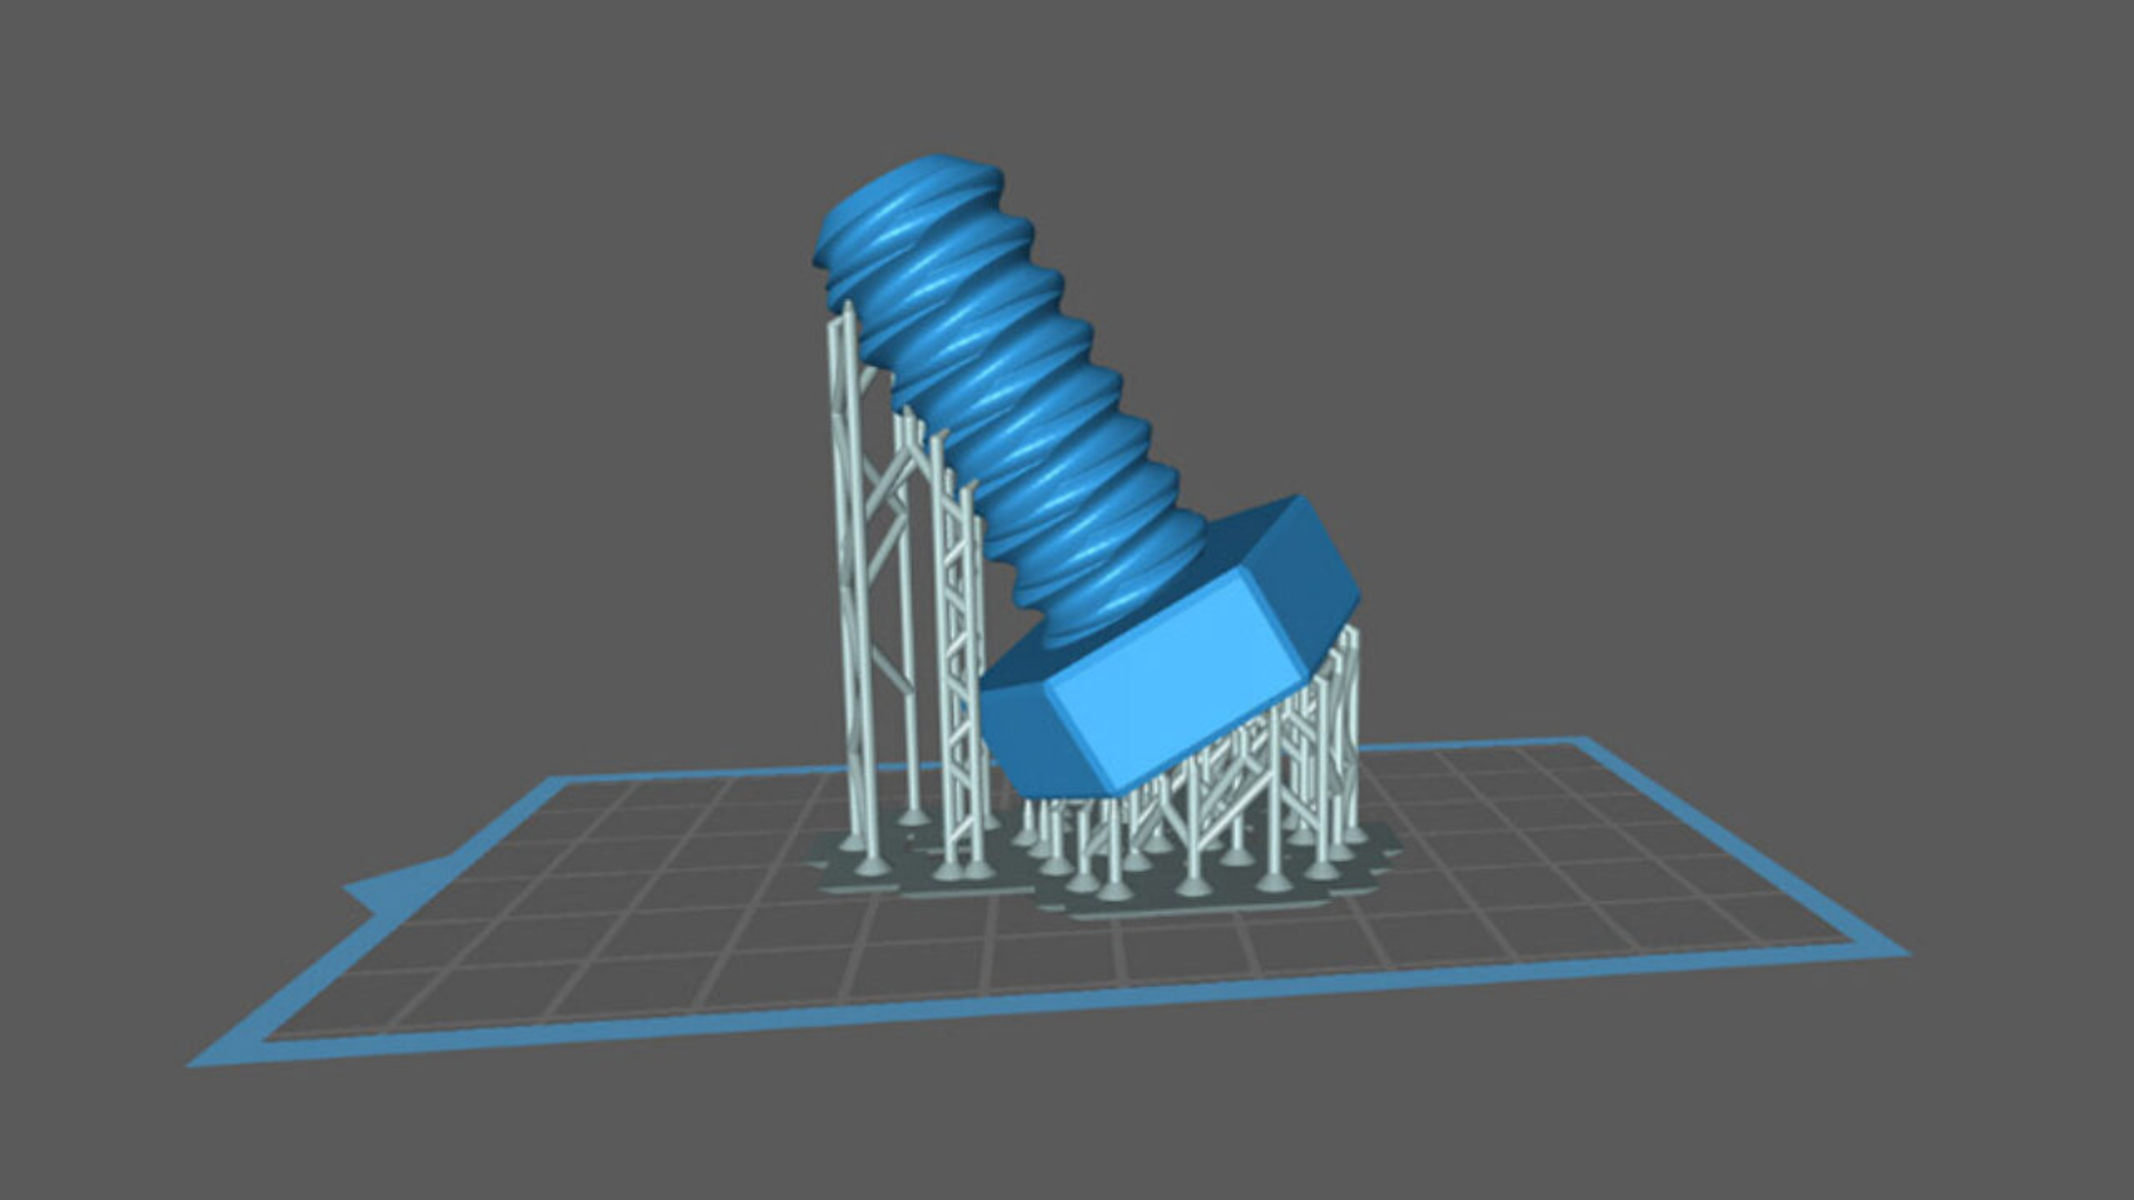
- Explore other sections, such as ‘Support’, ‘Adhesion’, and ‘Cooling’, depending on your specific printing needs. These sections contain settings related to support structures, bed adhesion, and cooling techniques to enhance print quality and reduce potential issues.
- As you adjust the settings, keep an eye on the estimated printing time and material usage displayed in the bottom-left corner of the interface. Fine-tuning the settings can impact both of these factors.
Experimenting with different settings can help you optimize the print quality and efficiency for your specific 3D printer and model. Cura provides default settings that work well in most cases, but don’t hesitate to make adjustments based on your preferences and requirements.
Once you have adjusted the print settings to your satisfaction, you are ready for the next step: slicing the model in Cura to generate the instructions that your printer will use for printing.
Step 6: Slicing the Model in Cura
After adjusting the print settings in Cura, the next step is to slice the 3D model. Slicing refers to the process of converting the 3D model into a series of 2D layers, which are then translated into instructions, or G-code, that your 3D printer understands. Follow these steps to slice the model in Cura:
- Ensure that your 3D printer is still connected to Cura. If not, follow Step 2 to establish the connection.
- Click on the ‘Slice’ button located in the top-right corner of the Cura interface. This initiates the slicing process.
- Cura will analyze your model and calculate the toolpaths, layer heights, printing speeds, and other parameters based on the settings you have configured.
- You will see a progress bar indicating the slicing progress. The time it takes to slice the model depends on the complexity and size of the model, as well as the processing power of your computer.
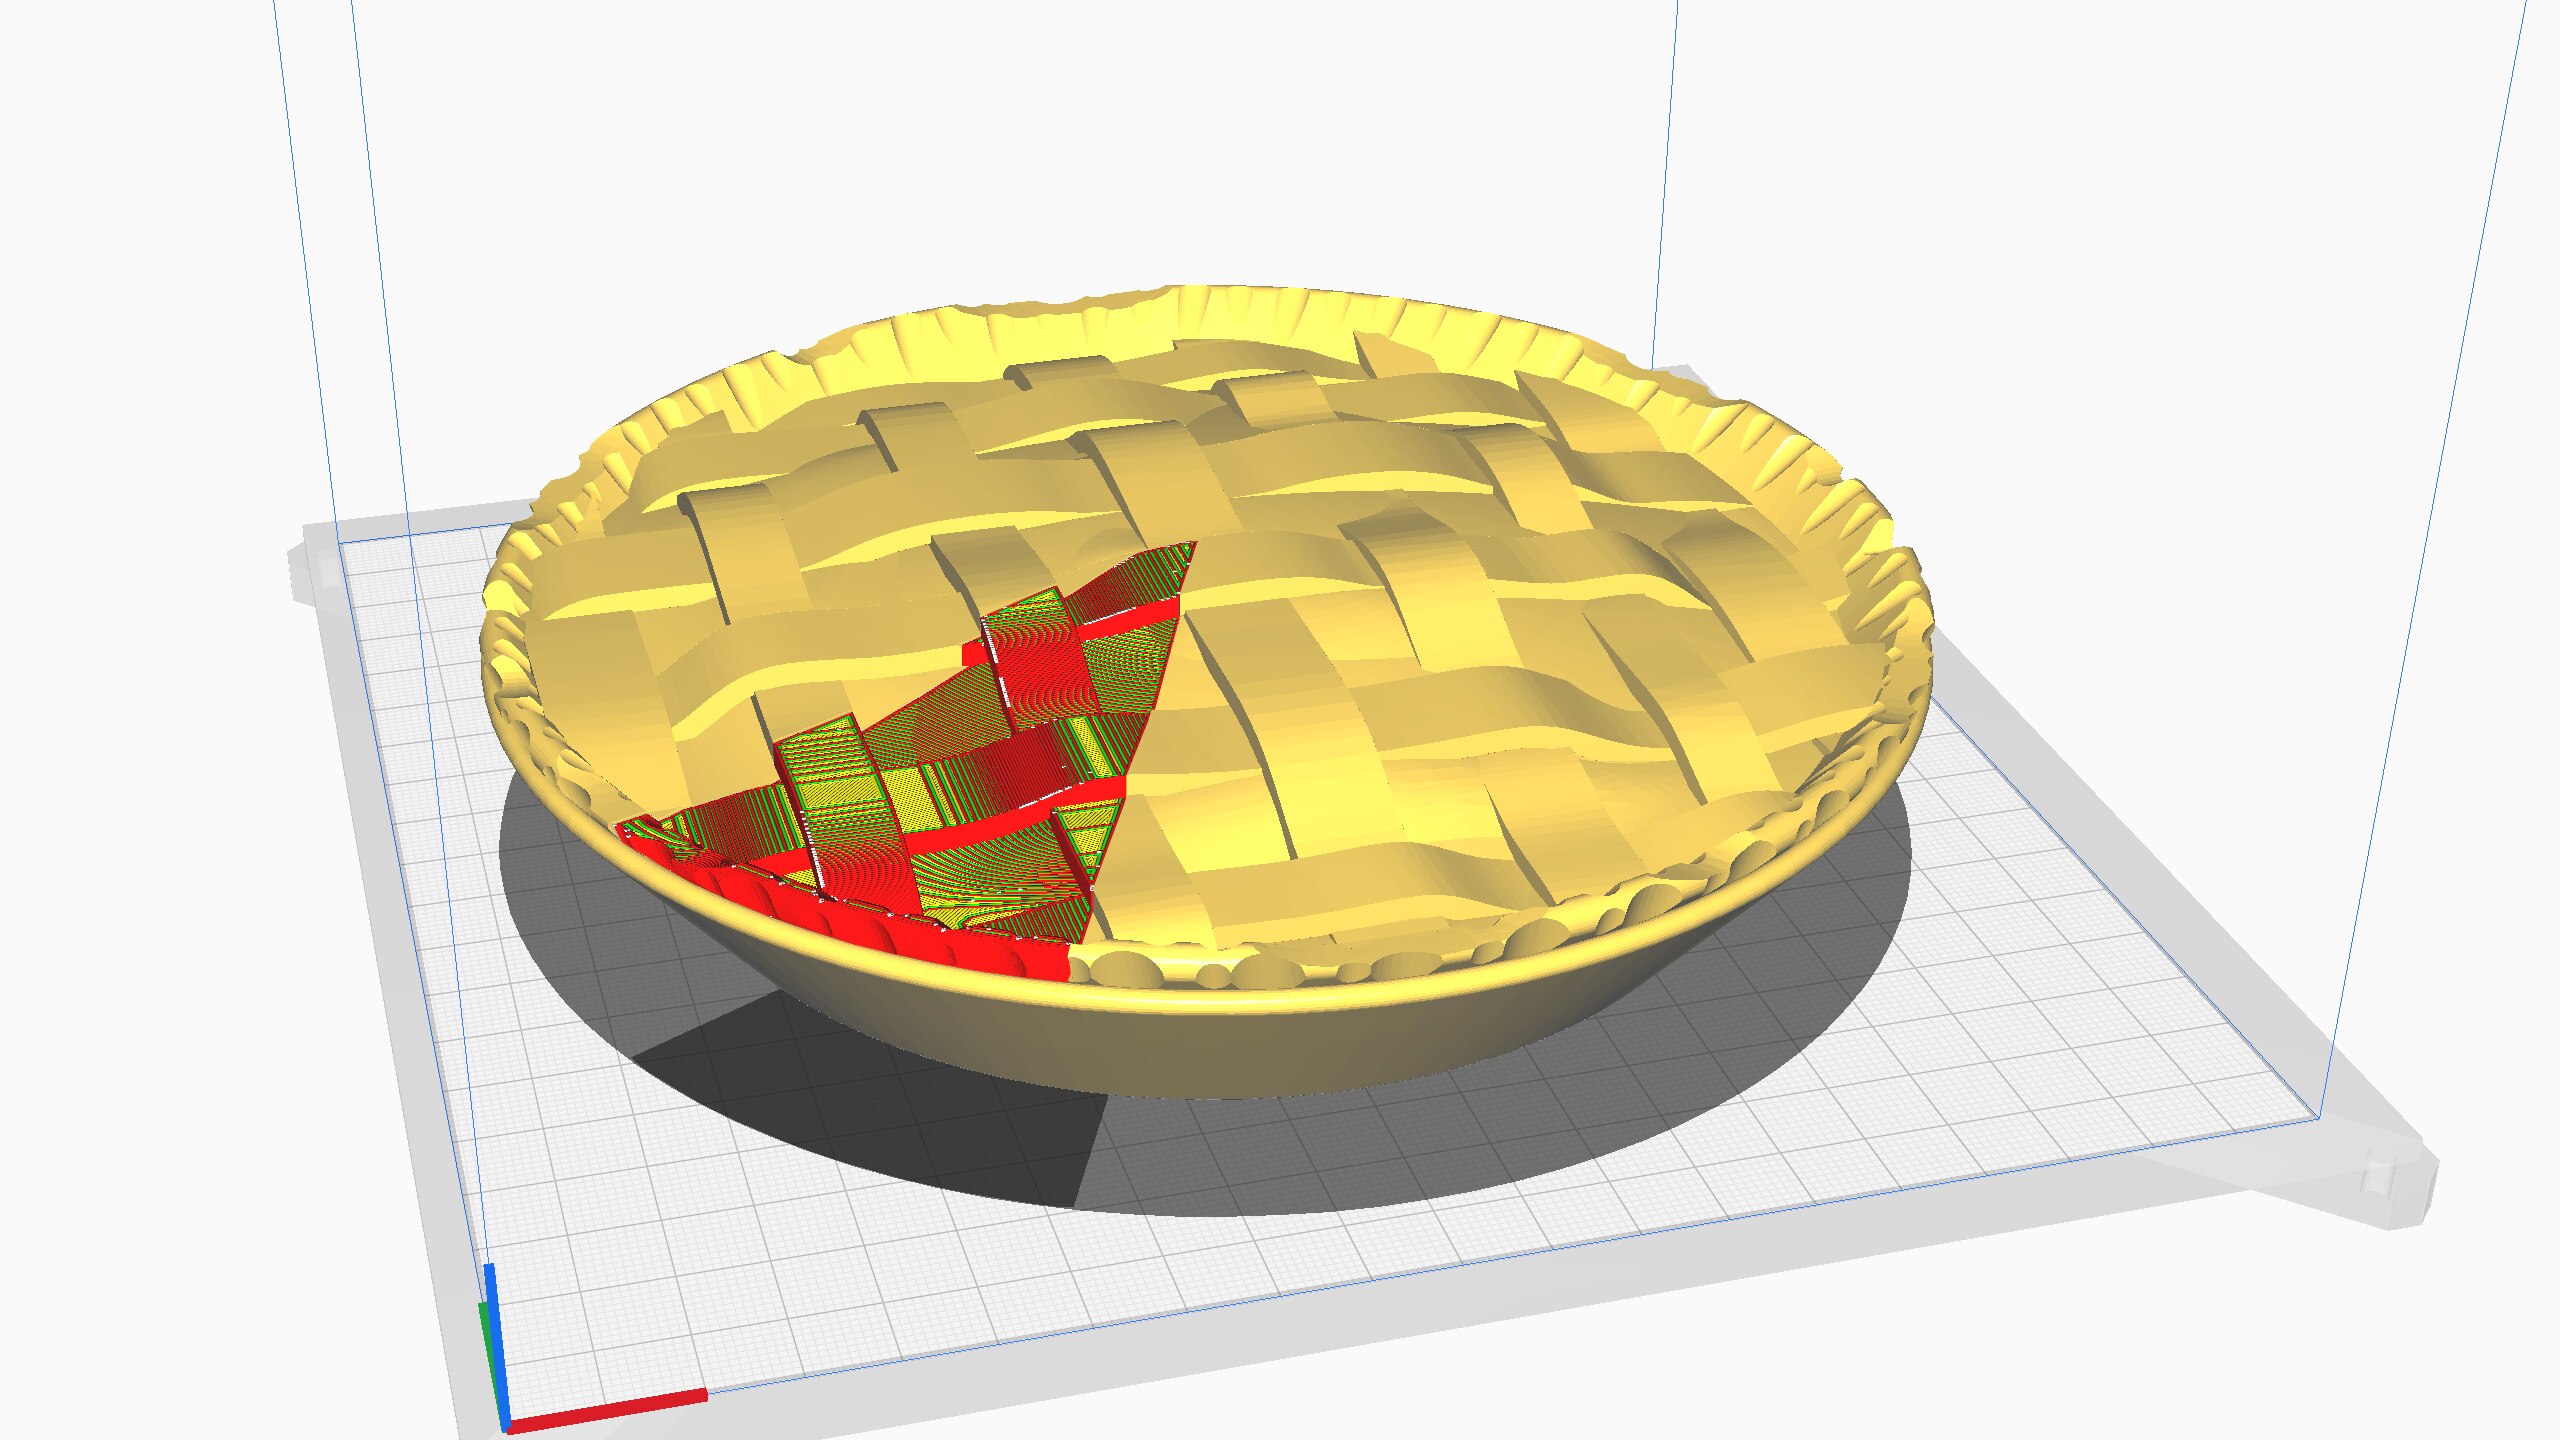
- Once the slicing is complete, you will see a preview of the sliced model in the Cura interface. Each layer will be displayed, allowing you to inspect the toolpaths and detect any potential issues.
Take some time to review the sliced model in the preview mode. This is a critical step as it helps to identify any slicing errors, such as gaps, overlapping layers, or undesirable support structures. Make any necessary adjustments to the settings if you notice any issues.
With the model successfully sliced, you are now ready for the final step: sending the print file from Cura to your 3D printer. This process allows your printer to execute the instructions generated during slicing and bring your 3D model to life.
Step 7: Sending the Print File to Your 3D Printer from Cura
After slicing your 3D model in Cura, the final step is to send the print file to your 3D printer. This allows your printer to execute the instructions generated during slicing and start the printing process. Follow these steps to send the print file from Cura to your 3D printer:
- Ensure that your 3D printer is still connected to Cura. If not, follow Step 2 to establish the connection.
- Click on the ‘Save to Removable Disk’ button located in the top-right corner of the Cura interface. This saves the print file to a removable storage device, such as an SD card.
- Eject the removable storage device from your computer and insert it into your 3D printer. Make sure to follow your printer’s instructions for inserting and positioning the storage device correctly.
- On your 3D printer’s interface or menu, navigate to the option to load or print the file from the removable storage device. The exact steps can vary depending on your printer model. Consult your printer’s documentation if you are unsure.
- Select the print file you saved from Cura. Your printer will start processing the file and warm up the necessary components (such as the extruder and heated bed) for printing.
- Once your printer is ready, it will begin printing the 3D model layer by layer, following the instructions provided by the sliced print file.
- Monitor the printing progress and make sure to adhere to any recommended guidelines or safety precautions for the specific material you are using.
- Once the printing is complete, carefully remove the printed object from the build plate. Clean and post-process the print as necessary to achieve the desired finish.
Congratulations! You have successfully sent the print file from Cura to your 3D printer and completed the entire process of connecting, configuring, loading, adjusting, slicing, and printing your 3D model.
Remember, 3D printing is a continuous learning process, and each print can provide valuable insights and opportunities for improvement. Experiment with different settings, materials, and techniques to unleash your creativity and achieve even better results in your future prints.
Conclusion
Connecting your 3D printer to Cura is an essential step in the 3D printing process that allows you to unleash your creativity and bring your ideas to life. We have covered the step-by-step process of installing Cura, connecting your 3D printer, configuring printer settings, loading a 3D model, adjusting print settings, slicing the model, and finally, sending the print file to your 3D printer.
Cura, with its user-friendly interface and powerful features, simplifies the entire 3D printing workflow. From beginner hobbyists to experienced professionals, Cura offers the tools and flexibility needed to achieve high-quality prints and customize the printing process to suit individual needs.
Remember to regularly check for updates to Cura to ensure you have access to the latest features and enhancements. Additionally, consult your 3D printer’s documentation for specific details and recommendations regarding printer settings and materials.
As you dive into the world of 3D printing, don’t be afraid to experiment and iterate. Each print presents an opportunity to learn and improve your skills. By mastering the process of connecting your 3D printer to Cura, you are well on your way to creating unique and impressive objects.
Now that you have the knowledge and tools at your disposal, it’s time to let your creativity soar. Start exploring the endless possibilities of 3D printing and bring your imagination to life!


