Introduction
Welcome to this guide on how to connect WiFi on your Toshiba Ultrabook. In today’s digital age, having a reliable and seamless internet connection is essential for staying connected and getting work done on-the-go. Whether you’re a student, a professional, or simply someone who enjoys browsing the web, learning how to connect your Toshiba Ultrabook to WiFi is a crucial skill.
Toshiba Ultrabooks are sleek and lightweight laptops that offer excellent performance and portability. Equipped with advanced wireless network adapters, they can easily connect to WiFi networks, allowing you to access the internet from virtually anywhere. Whether you’re at home, in a coffee shop, or traveling, connecting to WiFi ensures that you can stay connected and productive.
In this guide, we will walk you through the steps to connect WiFi on your Toshiba Ultrabook. From checking your wireless network adapter to entering the network password, we will cover every aspect of the process. Additionally, we will provide troubleshooting tips to help you overcome common WiFi connection issues, ensuring a smooth and uninterrupted online experience.
Before we begin, it’s important to note that the exact steps may vary slightly depending on the specific model of your Toshiba Ultrabook and the operating system you are using. However, the general process remains the same across most devices. With that said, let’s dive into the details of connecting WiFi on your Toshiba Ultrabook.
Step 1: Check the wireless network adapter
Before you can connect to a WiFi network on your Toshiba Ultrabook, it’s essential to ensure that your wireless network adapter is enabled and functioning properly. The network adapter is the hardware component that allows your device to establish a wireless connection.
To check the status of your wireless network adapter, follow these steps:
- Start by clicking on the Start menu or pressing the Windows key on your keyboard.
- Next, type “Device Manager” in the search bar and click on the corresponding result.
- In the Device Manager window, expand the “Network adapters” category by clicking on the arrow next to it.
- Look for an entry named “Wireless Network Adapter” or something similar. Ensure that the adapter is not disabled or flagged with any warnings or errors.
If your wireless network adapter is disabled or has any issues, you will need to enable it or troubleshoot the problem before proceeding. Right-click on the adapter and select the appropriate option from the context menu. If you encounter any errors or are unable to resolve the issue, it may be helpful to consult the user manual or contact Toshiba’s customer support for further assistance.
Once you have verified that your wireless network adapter is functioning correctly, you can proceed to the next step of connecting to a WiFi network on your Toshiba Ultrabook.
Step 2: Turn on the WiFi
Now that you’ve confirmed that your wireless network adapter is working correctly, the next step is to turn on the WiFi feature on your Toshiba Ultrabook. Once enabled, your device will search for available WiFi networks in the vicinity.
To turn on the WiFi feature, follow these simple steps:
- Locate the WiFi icon in the system tray, typically found in the bottom-right corner of your screen. It looks like a series of curved bars or a set of concentric arcs.
- Right-click on the WiFi icon and select “Open Network & Internet settings”.
- In the settings window, click on the “WiFi” tab or section.
- Look for a toggle switch or button that says “WiFi” or “Wireless.” Make sure it is set to the “On” position. If it is already on, you can proceed to the next step.
By turning on the WiFi feature, your Toshiba Ultrabook is now ready to detect and connect to available WiFi networks. However, it’s important to note that if the WiFi switch or button is in the “Off” position, you won’t be able to see any networks or connect to them.
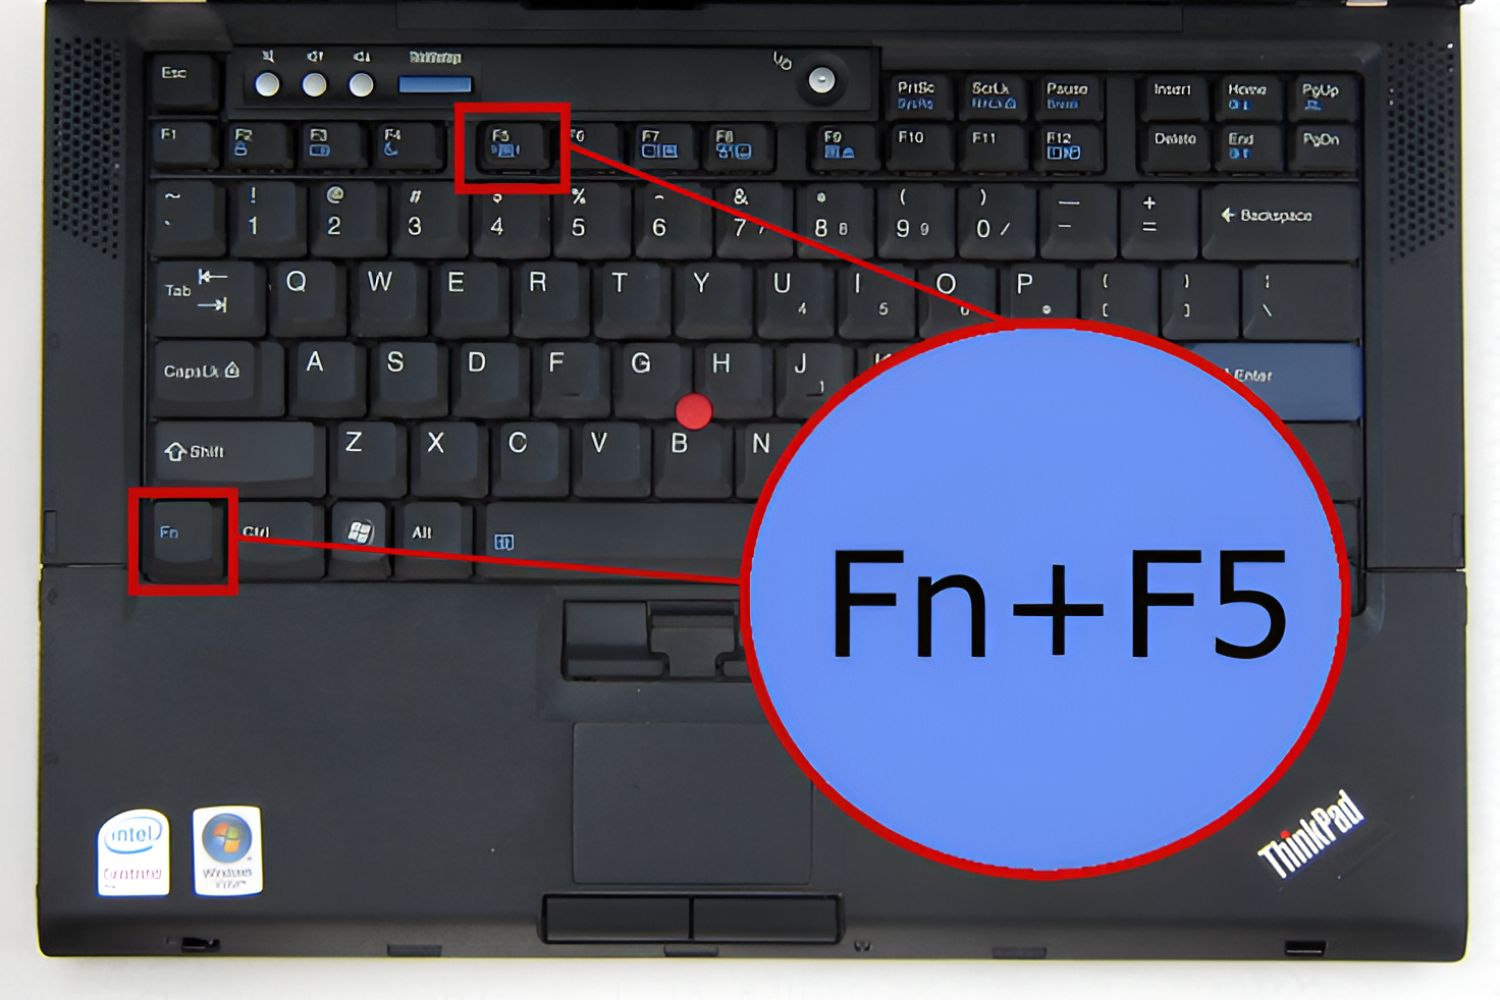
In some cases, your Toshiba Ultrabook may also have a physical switch or button to enable or disable WiFi. If this is the case, make sure the switch or button is in the “On” position to enable the WiFi functionality.
With the WiFi turned on, you’re now ready to proceed to the next step and find available networks to connect to on your Toshiba Ultrabook.
Step 3: Find available networks
With the WiFi feature enabled on your Toshiba Ultrabook, it’s time to find and view the list of available WiFi networks in your vicinity. This will allow you to select the network you want to connect to. Follow these steps to find available networks:
- In the system tray, locate the WiFi icon, typically found in the bottom-right corner of your screen. It may appear as a series of curved bars or concentric arcs.
- Left-click on the WiFi icon to open the network menu. A list of available WiFi networks will be displayed.
- Take a moment to allow the list to populate. The networks will be listed by their network names (SSID).
- Review the list to see if the network you want to connect to is visible. Pay attention to the network’s signal strength, security type (WPA, WPA2, etc.), and whether it is an open network or requires a password.
- If the network you want to connect to is not listed, try moving closer to the WiFi source or restarting your Toshiba Ultrabook to refresh the network list.
It’s worth noting that some networks may be hidden and won’t appear in the list. If you know the name (SSID) of a hidden network you want to connect to, select the “Connect to a hidden network” option, usually available in the network menu. You will then be prompted to enter the network’s name and other necessary information.
Once you have identified and selected the network you want to connect to, you’re almost ready to establish a connection. However, if the network is secured with a password, you will need to provide the passphrase or network key to proceed. In the next step, we’ll cover how to connect to a network and enter the password on your Toshiba Ultrabook.
Step 4: Connect to a network
After finding the WiFi network you want to connect to on your Toshiba Ultrabook, it’s time to establish a connection. Follow these steps to connect to a network:
- In the network menu, click on the name of the network you want to connect to. If the network is secured, a prompt will appear asking for the network password.
- If the network is an open network without any security, your Toshiba Ultrabook will automatically connect to it. You can skip to the next step.
- If the network is secured, enter the network password in the provided field. Make sure to enter the password correctly, as it is case-sensitive.
- After entering the password, click on the “Connect” or “Join” button to establish a connection to the selected network.
- Your Toshiba Ultrabook will attempt to connect to the network. Depending on the network’s security and authentication settings, it may take a few moments to establish a connection.
- Once the connection is established, a notification will appear confirming the successful connection to the WiFi network.
Congratulations! You are now connected to the WiFi network on your Toshiba Ultrabook. You can now enjoy seamless internet access and all the benefits that come with it. Remember to secure your connection by only connecting to trusted and secure networks, especially when dealing with sensitive information.
It’s worth noting that once you have successfully connected to a network on your Toshiba Ultrabook, it will automatically connect to that network whenever it is in range. However, if you want to connect to a different network, simply repeat the steps outlined above to select and connect to a new WiFi network.
In the next step, we’ll provide some troubleshooting tips to help you overcome common WiFi connection issues that you may encounter while using your Toshiba Ultrabook.
Step 5: Enter the network password
If you are connecting to a secured WiFi network on your Toshiba Ultrabook, you will need to enter the network password or passphrase to establish a connection. The network password ensures that only authorized users can access the network. Here’s how to enter the network password:
- When you select a secured network from the available networks list, a prompt will appear asking for the network password.
- Type the network password in the provided field. Take note that passwords are case-sensitive, so ensure that you enter it correctly. If you are unsure about the password, you can ask the network owner or administrator for assistance.
- Double-check the password for any errors before proceeding to connect. Making a mistake while entering the password will result in a failed connection attempt.
- After entering the correct network password, click on the “Connect” or “Join” button to establish a connection to the network.
- Your Toshiba Ultrabook will now attempt to connect to the network using the provided password. It may take a few moments to establish a secure connection, so be patient.
- Once the connection is successfully established, you will receive a notification confirming the connection to the WiFi network.
Keep in mind that the network password is set by the network administrator or the owner of the network. If you are connecting to a public WiFi network, such as a coffee shop or airport hotspot, the network password is typically provided by the establishment. For home networks, you can find the password on the back or bottom of the wireless router or in the network configuration settings.
It’s crucial to ensure that you are connecting to secure networks and not sharing the network password with unauthorized individuals. Protecting your WiFi connection will help safeguard your personal information and ensure a safe online experience.
Now that you have successfully entered the network password, you can enjoy a secure and reliable WiFi connection on your Toshiba Ultrabook. If you encounter any issues during the password entry or connection process, consult the troubleshooting section or reach out to Toshiba support for assistance.
Troubleshooting common WiFi connection issues
While connecting to WiFi on your Toshiba Ultrabook is usually a smooth process, you may encounter some common issues that can disrupt your connection. Here are some troubleshooting tips to help you overcome these WiFi connection problems:
- Make sure your WiFi adapter is turned on and enabled. Verify that the physical WiFi switch on your device is in the “On” position. Check the network settings on your Toshiba Ultrabook to ensure that the WiFi feature is not disabled.
- Ensure that you are within range of the WiFi network. The signal strength decreases as you move further away from the router. If you are having trouble connecting, try moving closer to the WiFi source.
- Restart your Toshiba Ultrabook and reboot your wireless router. Sometimes, a simple restart can resolve connectivity issues by resetting the network settings.
- Check if the WiFi network is working properly. Disconnect and reconnect other devices to the network to determine if the issue is isolated to your Toshiba Ultrabook or the network itself.
- Verify the network password. Double-check that you entered the correct password for the WiFi network. Remember that passwords are case-sensitive, so capitalization matters.
- Update your wireless network drivers. Outdated or incompatible drivers can cause connectivity issues. Visit the Toshiba website to download and install the latest wireless network drivers for your specific model.
- Disable third-party antivirus or firewall software temporarily. Sometimes, security software can interfere with WiFi connections. Temporarily disabling them can help identify if they are causing the issue.
- Reset your network settings. If none of the above steps work, you can try resetting the network settings on your Toshiba Ultrabook. Go to the network settings menu and select the option to reset the network. Keep in mind that this will remove all saved WiFi network profiles, so you will need to reconnect to networks afterward.
If you continue to experience WiFi connection issues even after trying these troubleshooting steps, it may be a hardware or compatibility issue. In such cases, contacting Toshiba customer support or seeking assistance from a qualified technician is recommended.
By following these troubleshooting tips, you can resolve common WiFi connection issues and enjoy a reliable internet connection on your Toshiba Ultrabook.
Conclusion
In this guide, we have explored the steps to connect WiFi on your Toshiba Ultrabook. By checking the wireless network adapter, enabling the WiFi feature, finding available networks, connecting to a network, and entering the network password, you can establish a secure and reliable internet connection on your device.
We also discussed some common troubleshooting tips to help you overcome WiFi connection issues that you may encounter during the process. Remember to check your WiFi adapter, ensure you are within range of the network, restart your devices, verify network passwords, update drivers, and consider disabling antivirus or firewall software if necessary.
Having a stable WiFi connection is crucial in today’s interconnected world, whether you’re working, studying, or simply enjoying online activities. With the steps outlined in this guide, you can confidently connect your Toshiba Ultrabook to WiFi networks and stay connected wherever you go.
If you face any persistent issues or have specific questions about your Toshiba Ultrabook model, don’t hesitate to reach out to Toshiba’s customer support for further assistance. They have a team of experts ready to help you resolve any technical concerns you may have.
Now that you have the knowledge and tools to connect your Toshiba Ultrabook to WiFi, go ahead and experience the convenience and productivity that a reliable internet connection can bring. Stay connected, explore the online world, and make the most of your Toshiba Ultrabook’s capabilities.
Thank you for using our guide, and we hope it has been helpful in assisting you with connecting WiFi on your Toshiba Ultrabook!


