Introduction
Connecting a virtual machine to a network is an essential step in maximizing the capabilities of your virtual environment. Whether you are setting up a virtual lab, testing software, or running virtual servers, establishing network connectivity is crucial for seamless communication with other machines, the internet, and local resources.
By successfully connecting your virtual machine to a network, you can easily share files, transfer data, access remote resources, and perform a variety of other network-dependent operations. This not only enhances the functionality of your virtual machine but also allows you to simulate real-world network scenarios.
However, configuring network settings for a virtual machine can be daunting, especially for those who are new to virtualization. With a multitude of network adapter options, virtual network types, and potential connectivity issues, it’s important to have a clear understanding of the process.
In this guide, we will walk you through the steps to connect a virtual machine to a network. Starting with an explanation of virtual machine networking, we will gradually delve into the specifics of configuring network settings, choosing the right network adapter, and troubleshooting common network connectivity issues.
Whether you are using popular virtualization platforms like VMware, VirtualBox, or Hyper-V, or even cloud-based solutions like AWS or Azure, this guide applies universally and will help you establish network connectivity for your virtual machines.
Prerequisites
Before proceeding with the process of connecting a virtual machine to a network, there are a few prerequisites that need to be met. Ensuring that you have the following elements in place will help streamline the configuration process and ensure a successful connection:
1. Virtualization Software: You will need virtualization software installed on your computer or server. This could be VMware Workstation, VirtualBox, Hyper-V, or any other virtualization platform that supports virtual machine creation and management.
2. Operating System: Ensure that both the host operating system and virtual machine operating system are installed and up to date. This will ensure compatibility and allow for the smooth functioning of the virtual machine.
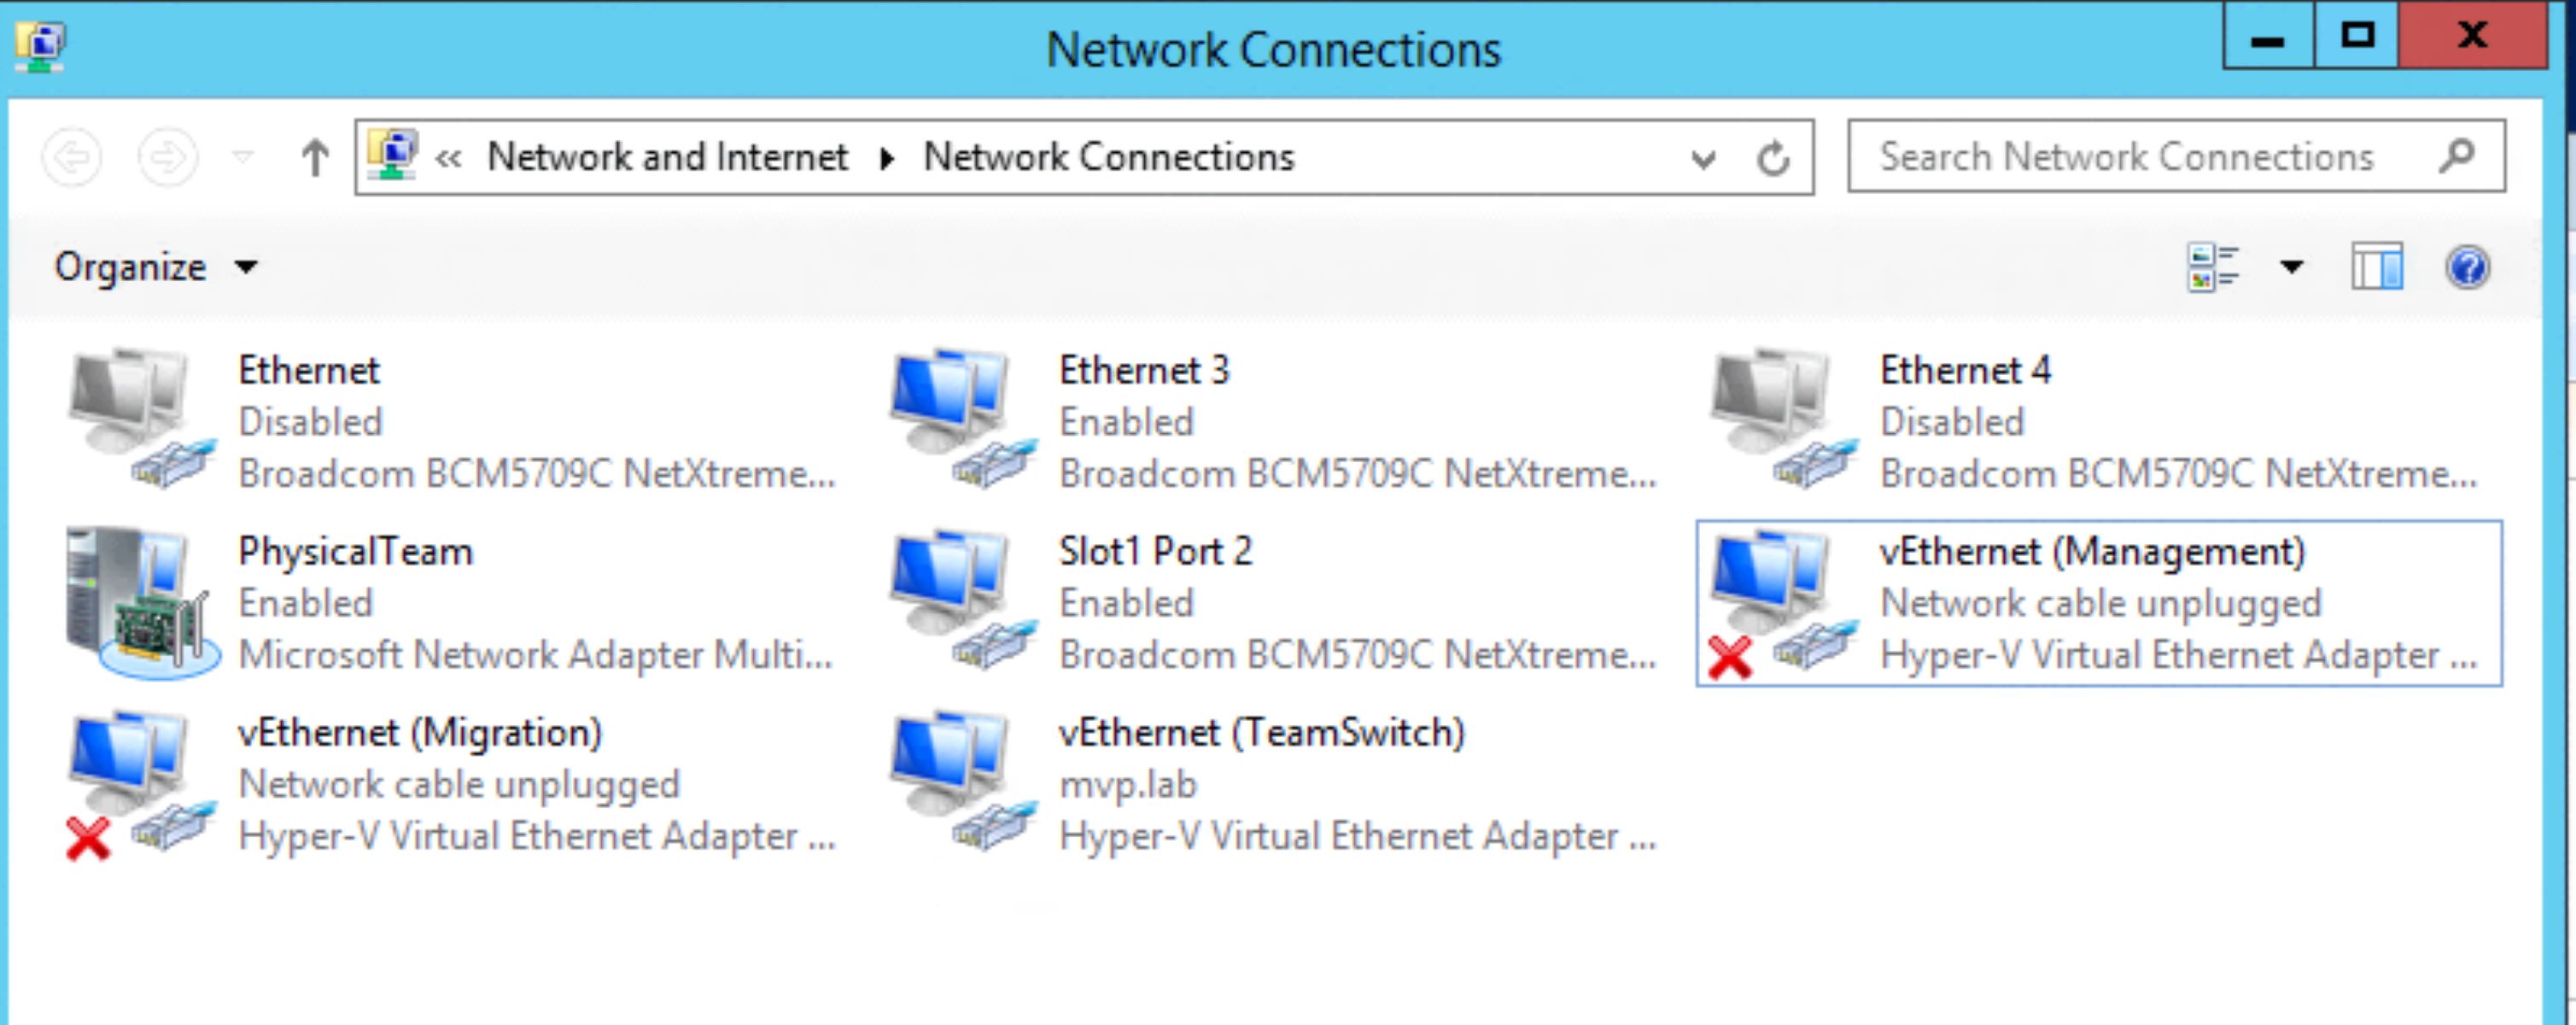
3. Available Network Interfaces: Make sure that your host machine has one or more available network interfaces, such as Ethernet or Wi-Fi. These interfaces will be used to connect the virtual machine to the network.
4. Network Configuration Knowledge: Familiarize yourself with basic network concepts, such as IP addressing, subnetting, DNS, and DHCP. Having a good understanding of these concepts will help you configure network settings effectively.
5. Admin Access: Ensure that you have administrative access to both the host machine and the virtual machine. This will enable you to make the necessary configuration changes and manage network settings.
6. Network Information: Gather relevant network information, such as the IP address range, subnet mask, gateway address, and DNS server addresses. This information will be required during the network configuration process.
By fulfilling these prerequisites, you will be well-prepared to connect your virtual machine to a network. This will ultimately enable seamless network communication and access to resources from both the virtual machine and the host machine.
Step 1: Understanding Virtual Machine Networking
Before proceeding with the configuration process, it’s essential to have a clear understanding of how virtual machine networking works. Virtual machine networking involves establishing a connection between the virtual machine and the physical network, allowing communication with other machines, the internet, and local resources. This connection is facilitated through virtual network adapters and virtual network types.
Virtual Network Adapters:
In a virtualization environment, each virtual machine requires a virtual network adapter to connect to the network. This adapter acts as a bridge between the virtual machine and the physical network interface of the host machine. Virtualization platforms typically provide different types of virtual network adapters, such as bridged, NAT, host-only, or internal adapters. Each adapter type has its own characteristics and use cases.
Bridged Adapter:
A bridged adapter allows the virtual machine to directly connect to the host network interface. With a bridged adapter, the virtual machine gets its own unique IP address on the network and can communicate with other machines as if it were a physical device. This is useful when you want the virtual machine to have full network access and be treated as a separate entity on the network.
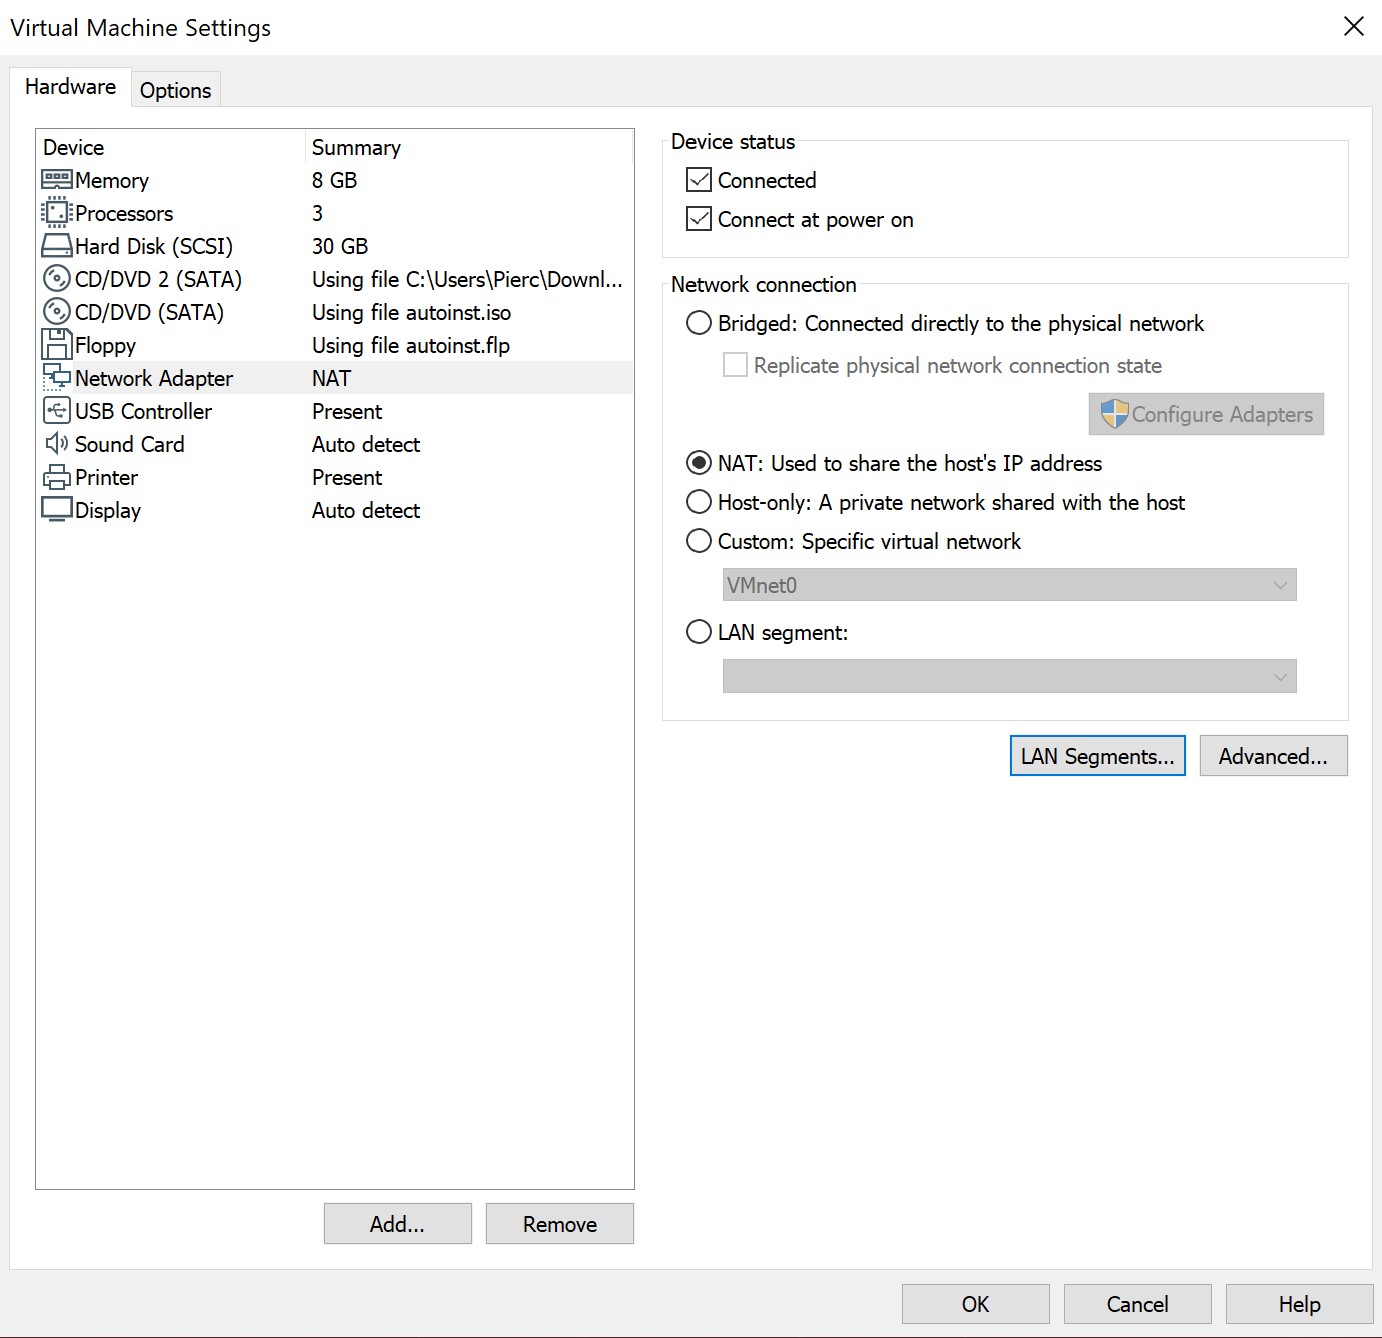
NAT Adapter:
A NAT (Network Address Translation) adapter allows the virtual machine to share the host machine’s IP address for network communication. This means that the virtual machine is assigned an IP address from a local subnet created by the virtualization software. The host machine acts as a mediator, translating the network traffic between the virtual machine and the physical network. NAT adapters are commonly used when you want to give the virtual machine internet connectivity but restrict direct network access.
Host-only Adapter:
A host-only adapter allows the virtual machine to communicate with the host machine and other virtual machines on a private network. However, it does not provide direct access to the external network or the internet. This adapter type is useful for creating isolated environments for testing or development purposes.
Internal Adapter:
An internal adapter allows communication between virtual machines on an internal network within the virtualization environment. However, it does not provide access to the external network or the host machine. Internal adapters are ideal for setting up virtual networks and simulating complex network configurations.
Virtual Network Types:
In addition to the types of virtual network adapters, virtualization platforms also offer different virtual network types. These network types define the level of connectivity and isolation for the virtual machine.
Understanding virtual machine networking is crucial for configuring the network settings correctly. By selecting the appropriate virtual network adapter and understanding the different network types, you can establish the desired level of network connectivity for your virtual machine. In the following steps, we will guide you through the process of configuring network settings and connecting your virtual machine to the network.
Step 2: Configuring Network Settings in the Virtual Machine
Once you have a clear understanding of virtual machine networking and the different types of virtual network adapters, it’s time to configure the network settings within the virtual machine. The specific steps may vary slightly depending on the virtualization platform you are using, but the overall process remains similar.
Follow these steps to configure network settings in your virtual machine:
1. Power on the Virtual Machine: Start your virtual machine and ensure that it is powered on and running.
2. Access the Network Settings: Depending on the virtualization platform, navigate to the network settings of the virtual machine. This can usually be found in the settings or configuration options for the virtual machine.
3. Choose the Network Adapter: Select the appropriate network adapter for your virtual machine based on your requirements. If you need full network access and want the virtual machine to be treated as a separate entity on the network, choose the bridged adapter. If you want internet connectivity but restricted network access, choose the NAT adapter. For isolated environments or internal network communication, opt for the host-only or internal adapter.
4. Configure IP Address Settings: Depending on the selected network adapter, you may need to configure the IP address settings for the virtual machine. If you’re using a bridged adapter, you may choose to obtain an IP address automatically via DHCP, or manually assign a static IP address. For NAT or host-only adapters, the IP address settings are typically managed by the virtualization software.
5. Set DNS Server Addresses: Specify the DNS server addresses that the virtual machine should use for name resolution. This can be obtained from your network administrator or internet service provider.
6. Save and Apply the Network Settings: Once you have configured the network settings according to your requirements, save the changes and apply them to the virtual machine.
7. Test Network Connectivity: After applying the network settings, it’s important to test the network connectivity of the virtual machine. Ensure that the virtual machine can communicate with other machines on the network, access shared resources, and establish an internet connection if needed.
By following these steps, you can configure the network settings within your virtual machine and establish the desired network connectivity. The next step is connecting the virtual machine to the host network, which we will explain in the following section.
Step 3: Choosing the Right Network Adapter
When connecting your virtual machine to a network, it is crucial to select the appropriate network adapter to meet your specific requirements. The choice of network adapter will determine the level of network connectivity and isolation for your virtual machine. Let’s explore the different network adapter options and when to use each:
1. Bridged Adapter:
A bridged adapter allows the virtual machine to directly connect to the host network interface. It gets its own unique IP address on the network and is treated as a separate device. This adapter is suitable when you need full network access for the virtual machine, enabling it to communicate with other machines on the network, access shared resources, and establish internet connectivity.
2. NAT Adapter:
A NAT (Network Address Translation) adapter enables the virtual machine to share the host’s IP address for network communication. The virtual machine is assigned an IP address from a local subnet, and the host machine acts as a mediator, translating the network traffic between the virtual machine and the physical network. This adapter is useful when you want to provide internet connectivity to the virtual machine while restricting direct network access.
3. Host-only Adapter:
A host-only adapter allows the virtual machine to communicate with the host machine and other virtual machines on a private network. However, it does not provide access to the external network or the internet. This adapter type is suitable for creating isolated environments for testing or development purposes, where you need communication between virtual machines without external network connectivity.
4. Internal Adapter:
An internal adapter enables communication between virtual machines on an internal network within the virtualization environment. It doesn’t provide access to the external network or the host machine. This type of adapter is ideal for setting up virtual networks and simulating complex network configurations where you need communication between multiple virtual machines within a closed environment.
When choosing the right network adapter, consider the specific requirements of your virtual machine. If you need full network access, the bridged adapter is most suitable. For internet connectivity with restricted network access, the NAT adapter is a good choice. If you want an isolated environment for testing, the host-only adapter provides the necessary privacy. And if you require virtual machine-to-virtual machine communication, the internal adapter is the most appropriate.
Ultimately, the choice of network adapter will depend on your specific needs and the desired network configuration for your virtual machine. Keep in mind the level of connectivity, isolation, and security you require, and select the network adapter accordingly.
Step 4: Connecting to the Host Network
After configuring the network settings and selecting the appropriate network adapter for your virtual machine, the next step is connecting the virtual machine to the host network. This allows the virtual machine to communicate with other devices on the network and access shared resources. Follow these steps to connect your virtual machine to the host network:
1. Bridged Adapter:
If you have chosen the bridged adapter, the virtual machine will be connected directly to the host network interface. In this case, the virtual machine will obtain an IP address from the same network as the host machine. This enables the virtual machine to have full network access and be treated as a separate device on the network. Ensure that the host network interface is connected and has an active internet connection for the virtual machine to access external resources.
2. NAT Adapter:
If you have opted for the NAT adapter, the virtual machine will share the host machine’s IP address for network communication. The NAT adapter works by creating a virtual network within the host machine, and the virtual machine gets an IP address from this local subnet. In this configuration, the virtual machine can access the internet, but its network traffic is translated by the host machine. Ensure that the host machine has an active internet connection and the necessary network services are enabled for the virtual machine to access external resources.
3. Host-only Adapter:
If you have selected the host-only adapter, the virtual machine will be connected to a private network within the virtualization environment. The host machine acts as a bridge between the virtual machines on the host-only network. This configuration allows communication between the virtual machine and the host machine, as well as between virtual machines. However, the virtual machine will not have direct access to the external network or the internet. Verify that the host and virtual machines are configured within the same host-only network and can communicate with each other.
4. Internal Adapter:
In the case of an internal adapter, the virtual machine is connected to an internal network that is isolated from the host machine and the external network. Virtual machines within this internal network can communicate with each other but cannot access the host machine or the external network. Ensure that the virtual machines are configured with the same internal network and can establish communication with each other.
Connecting your virtual machine to the host network allows for seamless communication with other devices on the network and access to shared resources. It’s important to verify the network connectivity of the virtual machine by testing its ability to communicate with other machines and access both local and internet resources.
By following these steps, you can successfully connect your virtual machine to the host network, enabling it to fully participate in the network environment and perform network-dependent tasks.
Step 5: Troubleshooting Network Connectivity Issues
While connecting your virtual machine to a network, you may encounter network connectivity issues that can hinder communication with other devices or accessing network resources. In this step, we will discuss common network connectivity issues that may arise and how to troubleshoot them effectively:
1. Incorrect Network Configuration:
Double-check the network configuration of the virtual machine, including the network adapter type, IP address settings, subnet mask, default gateway, and DNS server addresses. Ensure that they match the requirements of your network environment. Incorrect configuration can lead to connectivity problems, such as inability to obtain an IP address, incorrect network routing, or DNS resolution issues.
2. Firewall Restrictions:
Firewalls, both on the host machine and the virtual machine, can block network traffic and prevent proper communication. Check the firewall settings and ensure that they are configured to allow the necessary network traffic. You may need to create exceptions or open specific ports to enable communication between the virtual machine and other devices on the network.
3. Network Driver Issues:
Ensure that the network drivers are installed and up to date on both the host machine and the virtual machine. Outdated or malfunctioning drivers can cause connectivity problems. Check the manufacturer’s website for the latest network drivers compatible with your virtualization platform and host operating system.
4. Network Adapter Connection Issues:
Verify that the network adapter is properly connected and enabled within the virtualization software. If the adapter is not functioning correctly, try disabling and re-enabling it. Additionally, check the physical connections if you are using a physical network interface on the host machine.
5. IP Address Conflicts:
Ensure that the assigned IP address of the virtual machine does not conflict with other devices on the network. IP address conflicts can lead to connectivity issues. Use tools like IP scanner or check with your network administrator to identify any conflicting IP addresses and resolve the conflict by assigning a unique IP address to the virtual machine.
6. Network Service Availability:
If you are having trouble accessing specific network resources or services, such as file shares or printers, ensure that the services are running and accessible on the network. Troubleshoot any issues with the network services on the network devices or servers hosting those services.
By systematically addressing these common network connectivity issues, you can identify and resolve any obstacles that may be preventing your virtual machine from establishing proper network communication. Always remember to test the network connectivity after troubleshooting to ensure that the issues have been resolved.
If the problem persists, consult the documentation and support resources specific to your virtualization platform for further assistance in troubleshooting network connectivity issues.
Conclusion
Configuring network connectivity for a virtual machine is a crucial step in maximizing its functionality and ensuring seamless communication with other devices and resources on the network. By understanding virtual machine networking, selecting the appropriate network adapter, and configuring network settings, you can successfully connect your virtual machine to the host network.
Throughout this guide, we discussed the various steps involved in connecting a virtual machine to a network. We covered the prerequisites for the process, including having the necessary virtualization software, an operating system installed, available network interfaces, and network configuration knowledge.
We then delved into the specific steps, starting with understanding virtual machine networking, choosing the right network adapter, configuring network settings within the virtual machine, and connecting the virtual machine to the host network. We also highlighted the importance of troubleshooting common network connectivity issues that may arise during the process.
By following these steps and troubleshooting guidelines, you can ensure successful network connectivity for your virtual machine, allowing it to function seamlessly within the network environment, access shared resources, interact with other devices, and perform network-dependent tasks.
Remember to refer to the documentation and support resources provided by your virtualization platform for platform-specific instructions and assistance in configuring network connectivity for your virtual machines.
With the right network configuration, your virtual machine can harness the power of the network and provide you with an optimal virtualization experience.