Introduction
Welcome to our guide on how to connect a video camera to a smart TV. If you have captured precious memories on your video camera and want to enjoy them on a larger screen, connecting it to your smart TV is a great option. Whether you shot a family vacation, a wedding, or any other special event, watching your videos on a big screen can bring the moments to life.
Connecting a video camera to a smart TV may seem complicated, but with the right equipment and a few simple steps, you’ll be able to enjoy your videos in no time. This guide will walk you through the process, ensuring a seamless connection between your camera and TV.
Before we dive into the steps, let’s take a moment to discuss the equipment you’ll need. First and foremost, you’ll need your video camera and a smart TV with the necessary input ports. Additionally, make sure you have the appropriate cables to connect the two devices.
Now that you have the basic understanding, let’s move on to the step-by-step instructions. We’ll start by checking the ports on your camera and TV to ensure compatibility. Then, we’ll guide you through the process of connecting the cables. Once the physical connection is established, we’ll show you how to select the correct input on your TV and set up your camera.
If you encounter any issues along the way, don’t worry! We’ll provide troubleshooting tips to help you address common problems. By the end of this guide, you’ll have your video camera connected to your smart TV, ready to relive your favorite moments on a larger screen.
What Equipment Do You Need?
Before you begin connecting your video camera to your smart TV, it’s important to ensure you have the necessary equipment. Here’s a list of items you’ll need:
- Video Camera: Of course, you’ll need a video camera to connect to your smart TV. Make sure it has the capability to output video signal and that it is functioning properly.
- Smart TV: You’ll need a smart TV with the necessary input ports to connect your video camera. Most modern smart TVs have HDMI, USB, or composite video inputs.
- Cables: The type of cables you need will depend on the ports available on your video camera and smart TV. Common cables include HDMI cables, USB cables, and composite video cables. Check the ports on both devices to determine the appropriate cables.
- Power Adapters: Some video cameras may require a power adapter to connect to an external power source. Make sure you have the appropriate power adapter if needed.
- Remote Control: While not essential, having a remote control for your smart TV can make it easier to navigate and control playback of your videos.
It’s important to ensure that all the equipment is in good working condition before you begin the setup process. If any of the items are faulty or missing, you may need to replace or purchase them before proceeding.
Once you have gathered all the necessary equipment, you’re ready to move on to the next steps of connecting your video camera to your smart TV.
Step 1: Check the Ports on Your Camera and TV
The first step in connecting your video camera to your smart TV is to check the ports on both devices. This is crucial to ensure compatibility and determine the type of cables you’ll need for the connection.
Start by examining your video camera. Look for ports such as HDMI, USB, or composite video output. These are the most common ports found on video cameras. Take note of which ports are available.
Next, turn your attention to your smart TV. Locate the input ports on the back or side of the TV. Look for HDMI, USB, or composite video inputs. Modern smart TVs often have multiple input options, so be sure to identify the correct input ports for your video camera.
Once you have identified the port types on both your camera and TV, determine if they match. For example, if your camera has an HDMI output, ensure that your TV has an HDMI input. If the ports do not match, you may need an adapter or a different type of cable to establish a connection.
It’s important to mention that HDMI is the preferred method of connecting a video camera to a smart TV, as it provides high-quality audio and video signals in a single cable. However, if your camera does not have an HDMI output, you may need to use a different type of cable, such as USB or composite video, depending on the available ports.
By checking the ports on both your camera and TV, you’ll have a clear understanding of what cables or adapters you’ll need for the connection. With this information in hand, you can move on to the next step of connecting the cables.
Step 2: Connect the Cables
Now that you have identified the ports on your video camera and smart TV, it’s time to connect the cables and establish a physical connection between the two devices.
First, locate the appropriate cables based on the ports you identified in Step 1. If your camera and TV both have HDMI ports, an HDMI cable is the simplest and most convenient option. HDMI cables transmit high-definition audio and video signals in a single cable.
If your camera has a USB port and your TV has a USB input, you can use a USB cable to establish a connection. USB cables are commonly used for data transfer, and depending on your camera and TV, they may be capable of transmitting both audio and video signals.
If your camera has composite video output and your TV has composite video input, you’ll need composite video cables. These cables have yellow, red, and white connectors. The yellow connector is for video, while the red and white connectors are for audio.
Once you have the appropriate cables, connect one end of the cable to the corresponding port on your video camera. Make sure to align the connectors properly to avoid damaging the ports. Then, connect the other end of the cable to the matching port on your smart TV.
If you are using HDMI or USB cables, they should easily fit into the ports without much force. For composite video cables, ensure that the yellow connector is plugged into the yellow video input, while the red and white connectors are inserted into the corresponding audio inputs.
After connecting the cables, double-check that they are securely attached at both ends. Loose connections can result in a loss of video or audio signals.
With the cables properly connected, you have established a physical connection between your video camera and smart TV. In the next step, we will guide you on how to select the correct input on your TV to view the video feed from your camera.
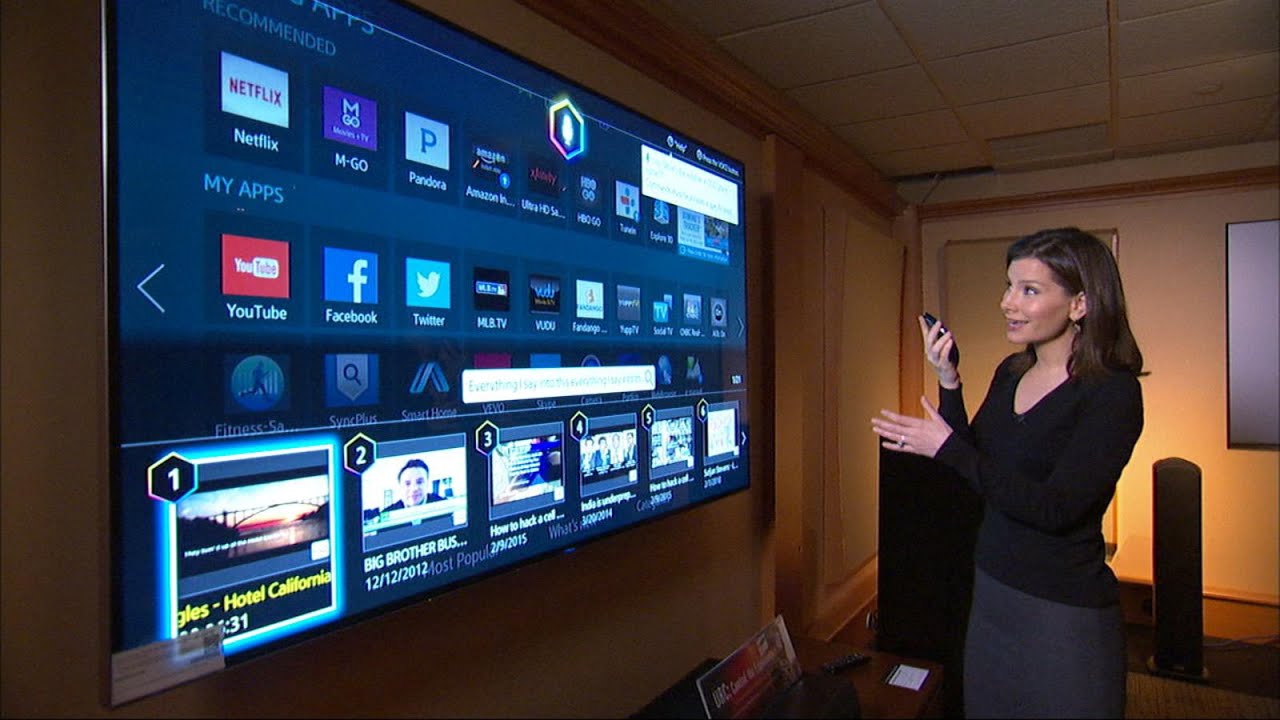
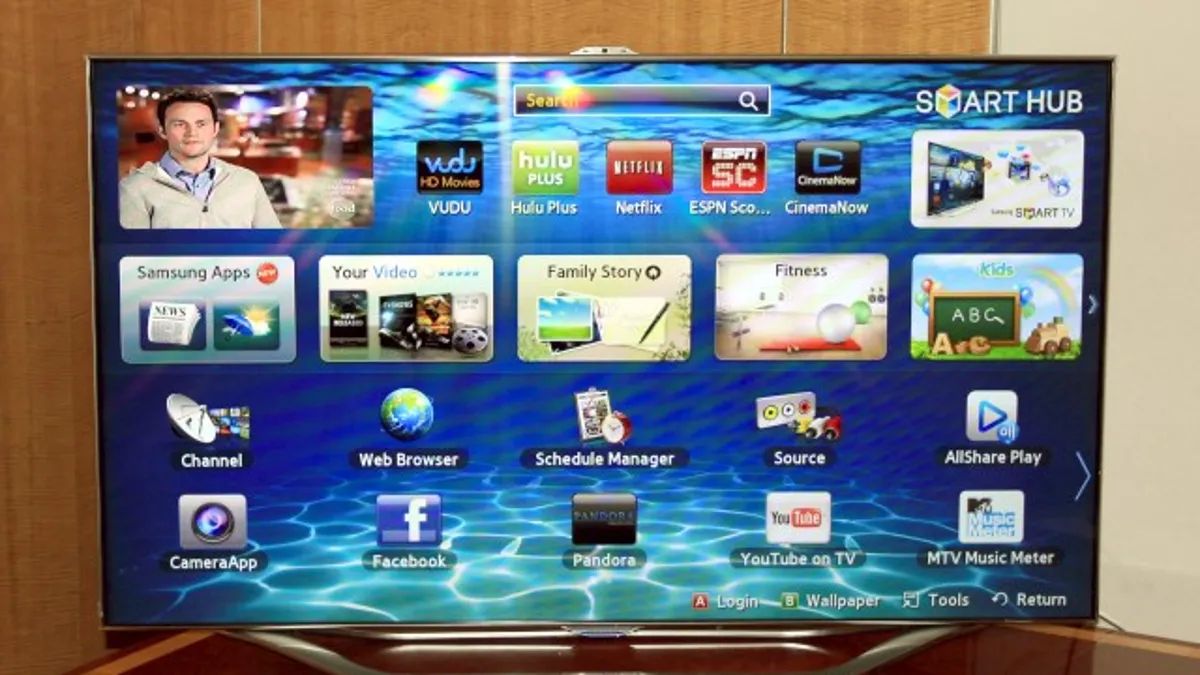
Step 3: Select the Correct Input on Your TV
Now that you have connected the cables between your video camera and smart TV, it’s time to select the correct input on your TV to display the video feed from your camera.
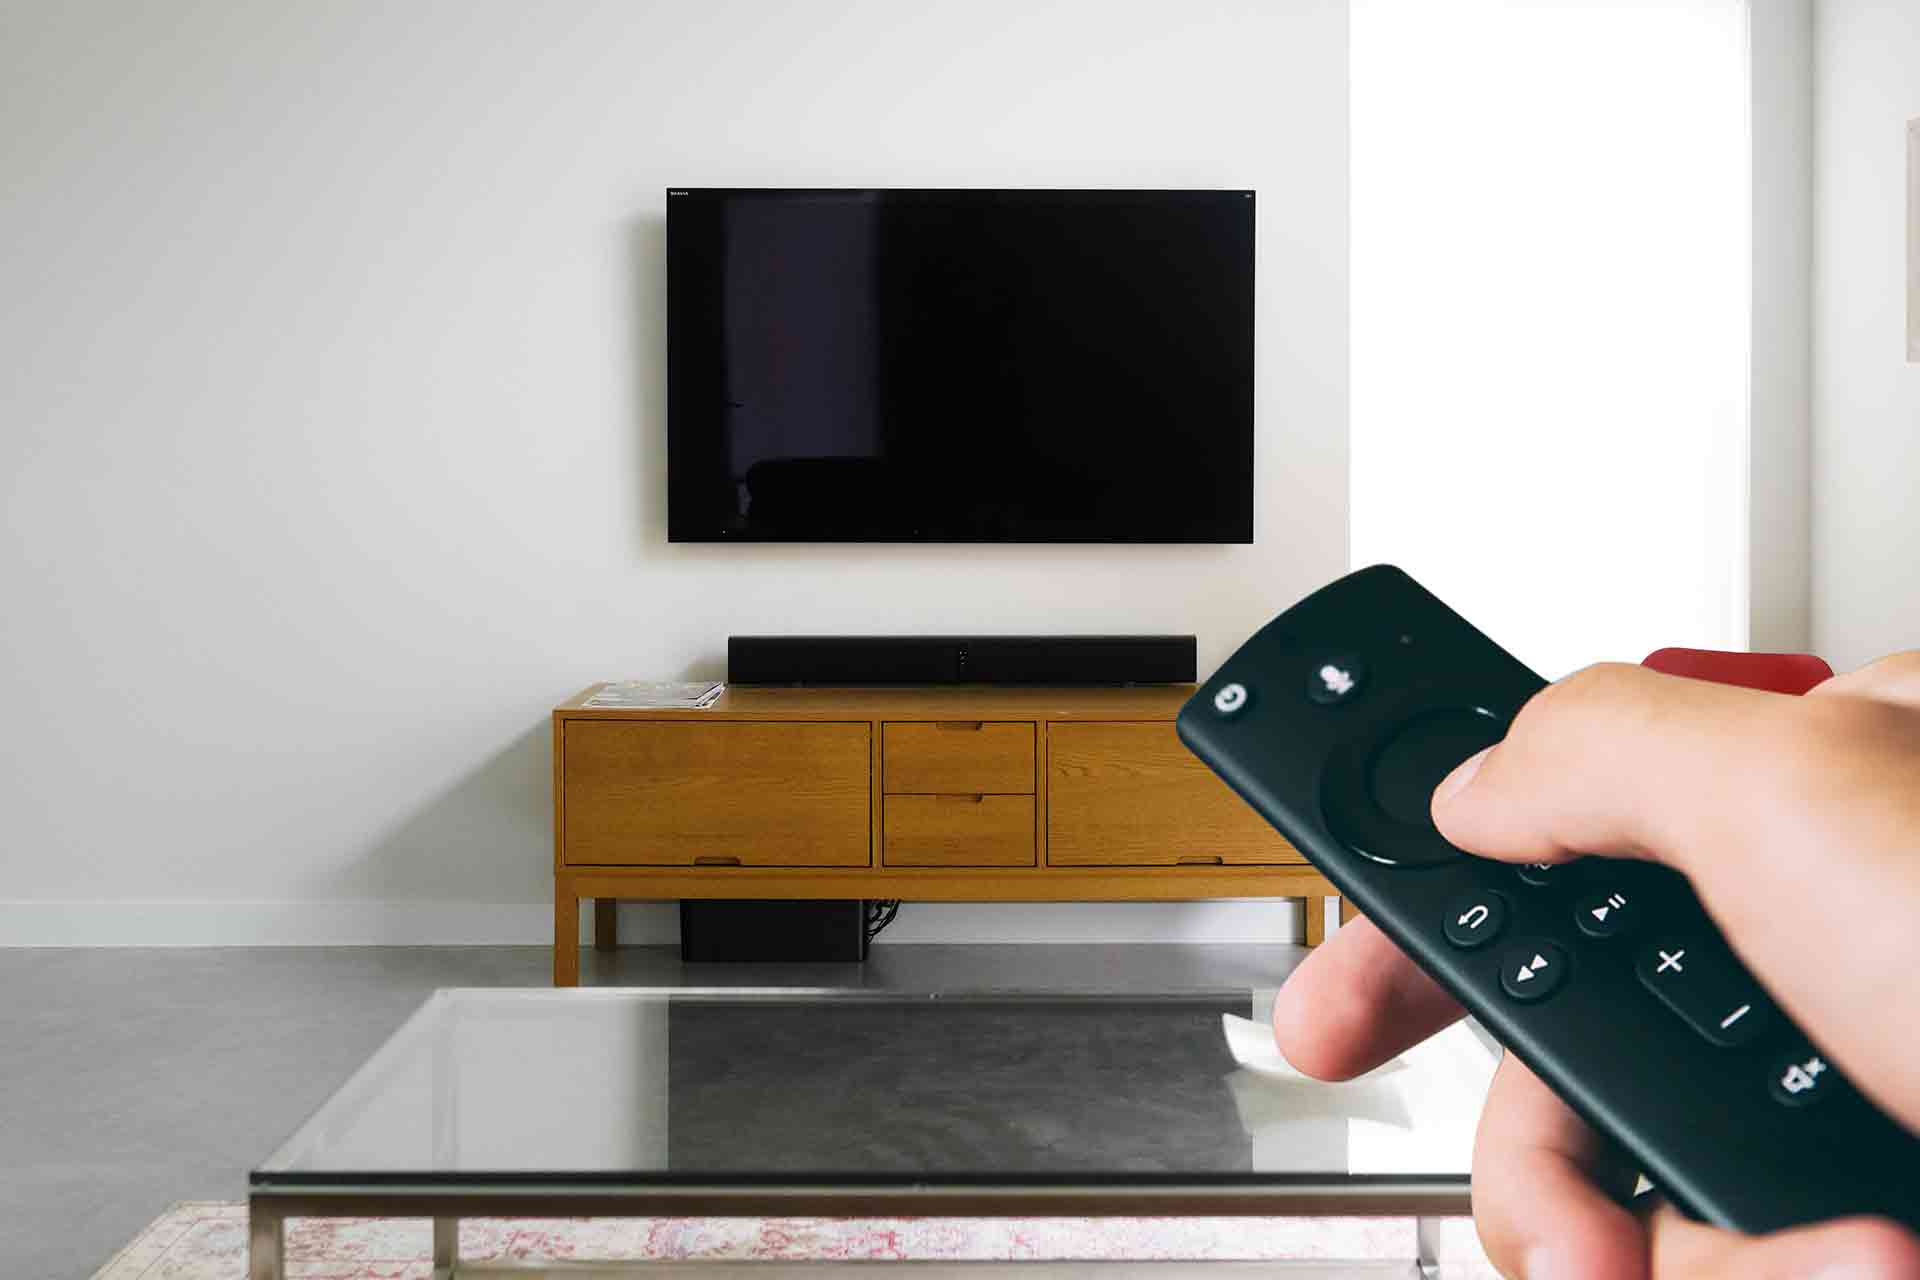
Start by turning on your smart TV and grabbing the TV remote control. Look for a button or menu option that corresponds to “Input” or “Source”. Press that button to access the input/source menu.
In the input/source menu, you should see a list of available input options. These options may be labeled as HDMI, USB, AV, or something similar, depending on your TV model.
Using the arrow keys on your TV remote control, navigate to the input option that matches the port you used to connect your video camera. For example, if you connected your camera via HDMI, select the HDMI input from the list.
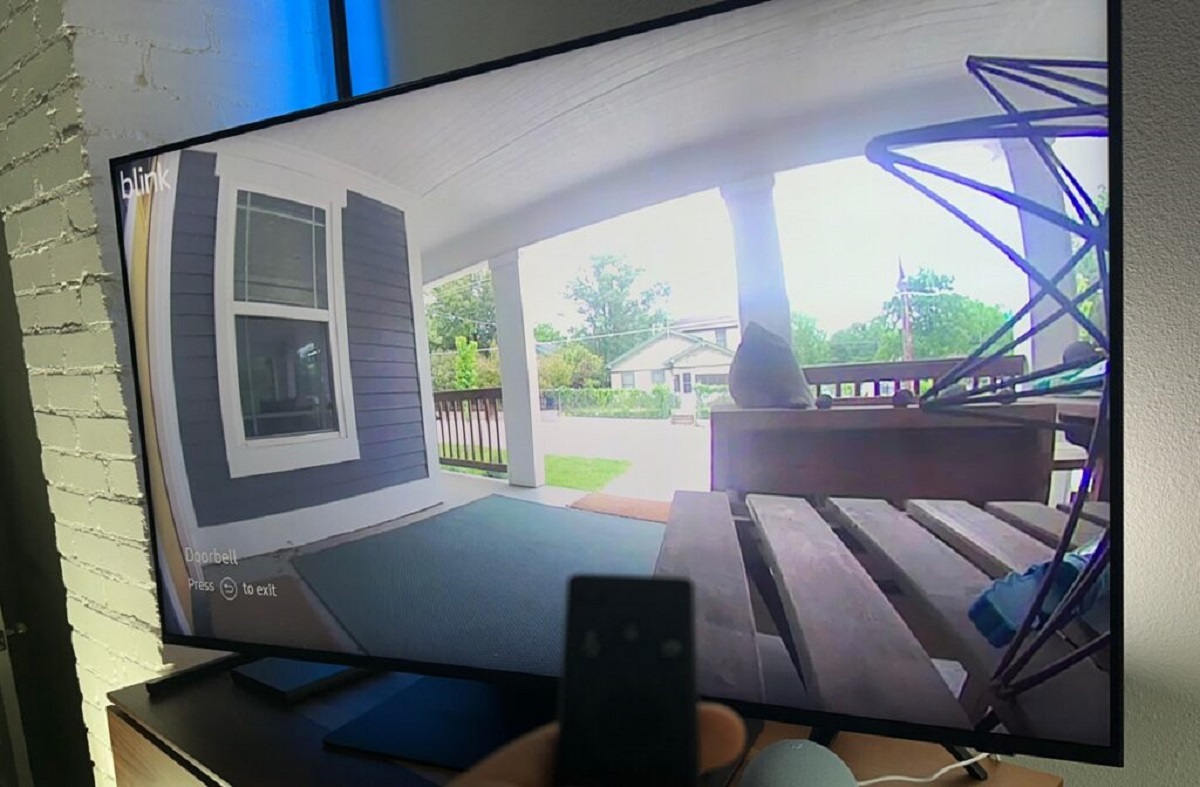
Once you have selected the correct input, your smart TV will switch to that input and display the video feed from your camera. You should now be able to see your videos on the big screen.
If you don’t immediately see the video feed on your TV, don’t panic. Make sure that your camera is powered on and properly connected to the TV. Also, ensure that you chose the right input option and that the cables are securely connected.
In some cases, you may need to manually switch the video camera to “Playback” or “Viewing” mode to enable the video output signal. Consult your camera’s user manual for instructions on changing modes.
If you are still unable to see the video feed on your TV, refer to the troubleshooting tips in the next section for possible solutions.
Once you have successfully selected the correct input on your TV and can see the video feed from your camera, you’re ready to move on to the next step of setting up your camera for playback.
Step 4: Set Up Your Camera
Now that you have established a connection between your video camera and smart TV, it’s time to set up your camera for playback. This step ensures that your camera is ready to display your videos on the TV screen.
Start by turning on your video camera and accessing the playback or viewing mode. Refer to your camera’s user manual for specific instructions on how to do this as it can vary depending on the camera model.
Once in the playback mode, you may see a live feed from your camera on the camera’s own display. However, the main goal is to get that video feed to display on your smart TV.
Navigate through your camera’s menu settings to find the option to enable video output or external display. This option may be labeled as “TV output”, “HDMI output”, or similar. Select this option to enable the camera to send the video feed to your connected TV.
In some cases, you may have the option to customize the display settings, such as aspect ratio or resolution. Adjust these settings according to your preference or leave them at default if you’re unsure.
Once you have made the necessary settings adjustments, exit the menu on your camera and ensure that it is still connected to your smart TV.
Now, you should be able to select and play the desired videos on your camera, and they will be displayed on the smart TV screen. Use the playback controls on your camera to navigate through your videos and enjoy them on the bigger display.
Remember, different camera models may have varying settings and options, so consult your camera’s user manual if you encounter any difficulties or need further guidance on how to set up the camera for playback.
With your camera properly set up, you are now ready to relive your cherished memories on the big screen of your smart TV.
Troubleshooting Tips
While connecting your video camera to your smart TV is usually a straightforward process, you may encounter some common issues along the way. Here are a few troubleshooting tips to help you resolve any problems you may face:
- No video or audio: If you’re not seeing any video or hearing any audio on your TV, double-check that all cables are securely connected at both ends. Make sure the input on your TV is correctly selected, and that your camera’s playback mode is enabled. Test different HDMI ports or try using a different cable to rule out any potential issues.
- Poor video quality: If the video quality on your TV appears blurry or distorted, ensure that you are using a high-quality HDMI cable. If available, try adjusting the settings on your camera and TV to improve the video output. Additionally, check if your camera’s resolution settings match the capabilities of your smart TV.
- No signal or unsupported format: In some cases, your smart TV may not recognize or support the video format of your camera. Verify that your camera’s output format is compatible with your TV specifications. If not, you may need to convert the video files to a compatible format using video conversion software.
- Interference or loss of signal: If you are experiencing interference or a loss of signal, ensure that there are no other electronic devices causing interference in close proximity to your camera or TV. Additionally, keep the cables away from power cords or any other potential sources of electrical interference.
- No power or battery drain: If your camera is not powering on or the battery is draining quickly, check that your camera is connected to a power source and that the battery is charged. If using an adapter, make sure it is the correct one for your camera and that it is functioning properly.
If you have tried these troubleshooting tips and are still experiencing issues, consult the user manuals for both your camera and smart TV for further guidance. Additionally, reaching out to the manufacturer’s customer support can provide additional assistance tailored to your specific devices.
By troubleshooting common issues, you’ll be able to overcome any challenges and enjoy the benefits of connecting your video camera to your smart TV.
Conclusion
Connecting your video camera to a smart TV opens up a whole new world of possibilities for enjoying and sharing your captured memories on a larger screen. In this guide, we have walked you through the step-by-step process of connecting your camera to your TV, from checking the ports to setting up the camera and troubleshooting common issues.
By ensuring you have the necessary equipment, checking the ports on both your camera and TV, and connecting the appropriate cables, you have established a physical connection between the two devices. Then, by selecting the correct input on your TV and setting up your camera for playback, you can relish in the joy of seeing your videos come to life on the big screen.
If you encounter any challenges or unexpected issues, the troubleshooting tips provided in this guide will help you overcome them and ensure a successful connection. Remember, each camera and TV model may have unique settings and requirements, so consult the user manuals for specific instructions if needed.
Now that you have learned how to connect your video camera to a smart TV, it’s time to gather your video camera, grab your TV remote control, and embark on a journey of reliving your cherished memories on the grand stage of your smart TV.
Enjoy the magic of seeing your videos come to life on the bigger screen, immersing yourself in the sights and sounds of those special moments. Connect, play, and create lasting memories with the connection between your video camera and smart TV.