Introduction
Connecting to a Wi-Fi network has become an essential part of our daily lives, whether it’s at home, the office, or a coffee shop. With Windows 10, the process of connecting to Wi-Fi has become easier and more user-friendly than ever before. In this guide, we will walk you through the steps to connect to a Wi-Fi network on your Windows 10 device.
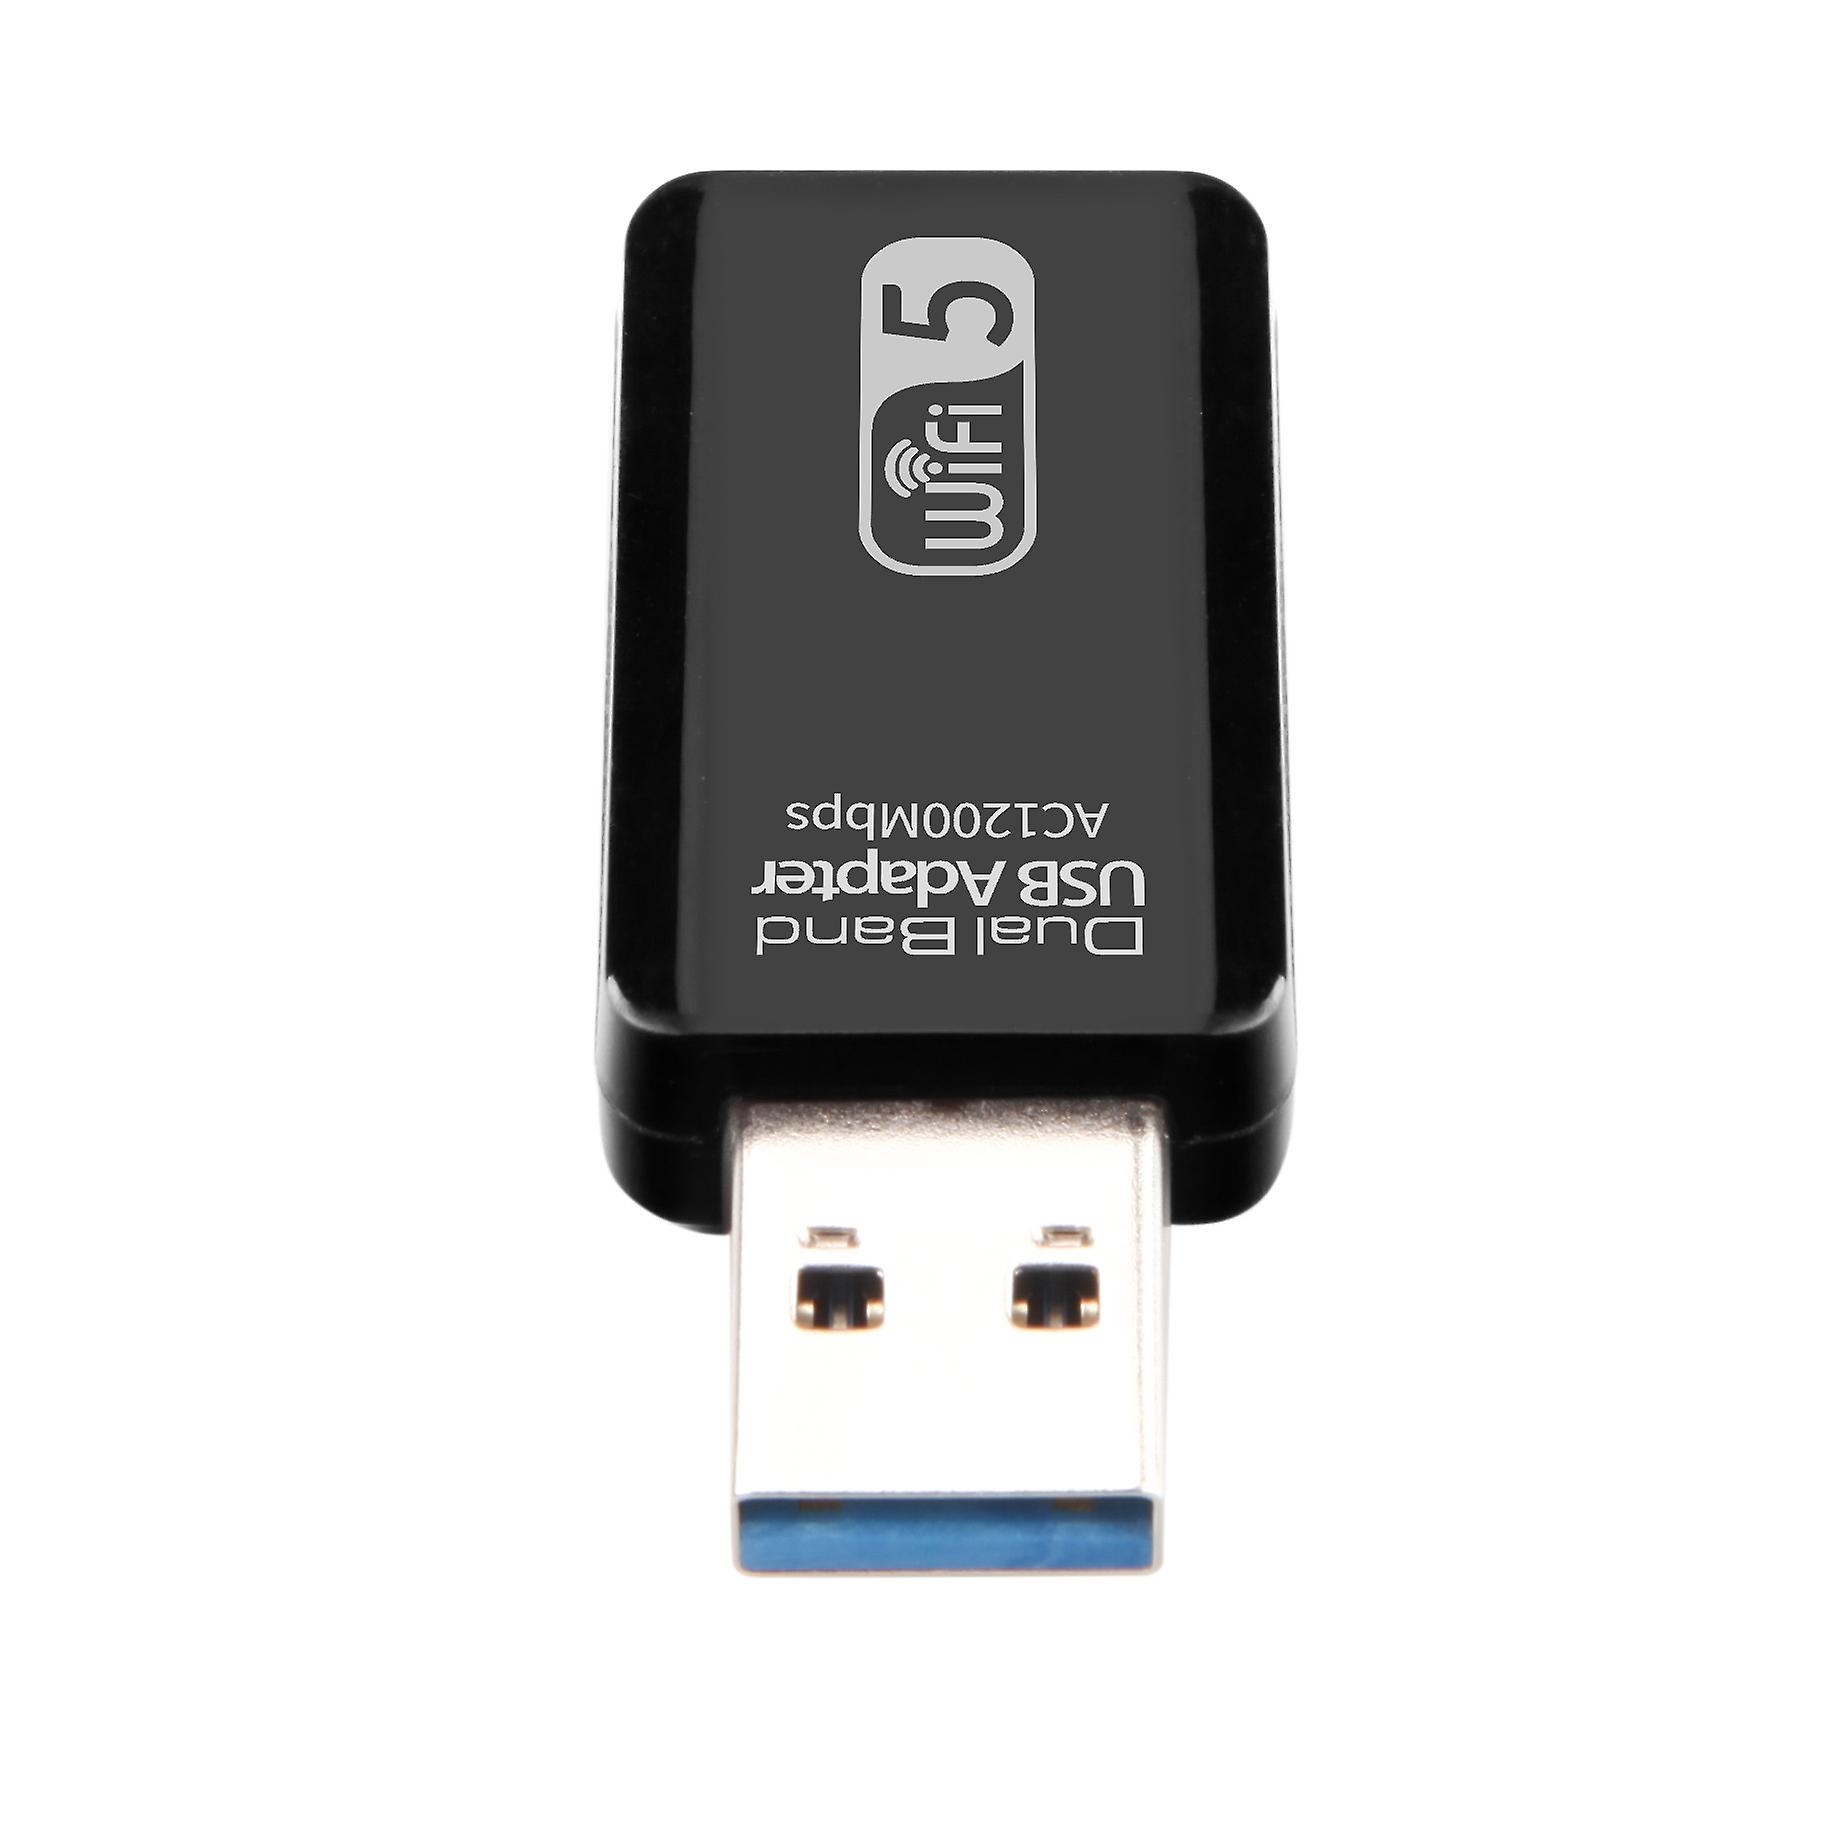
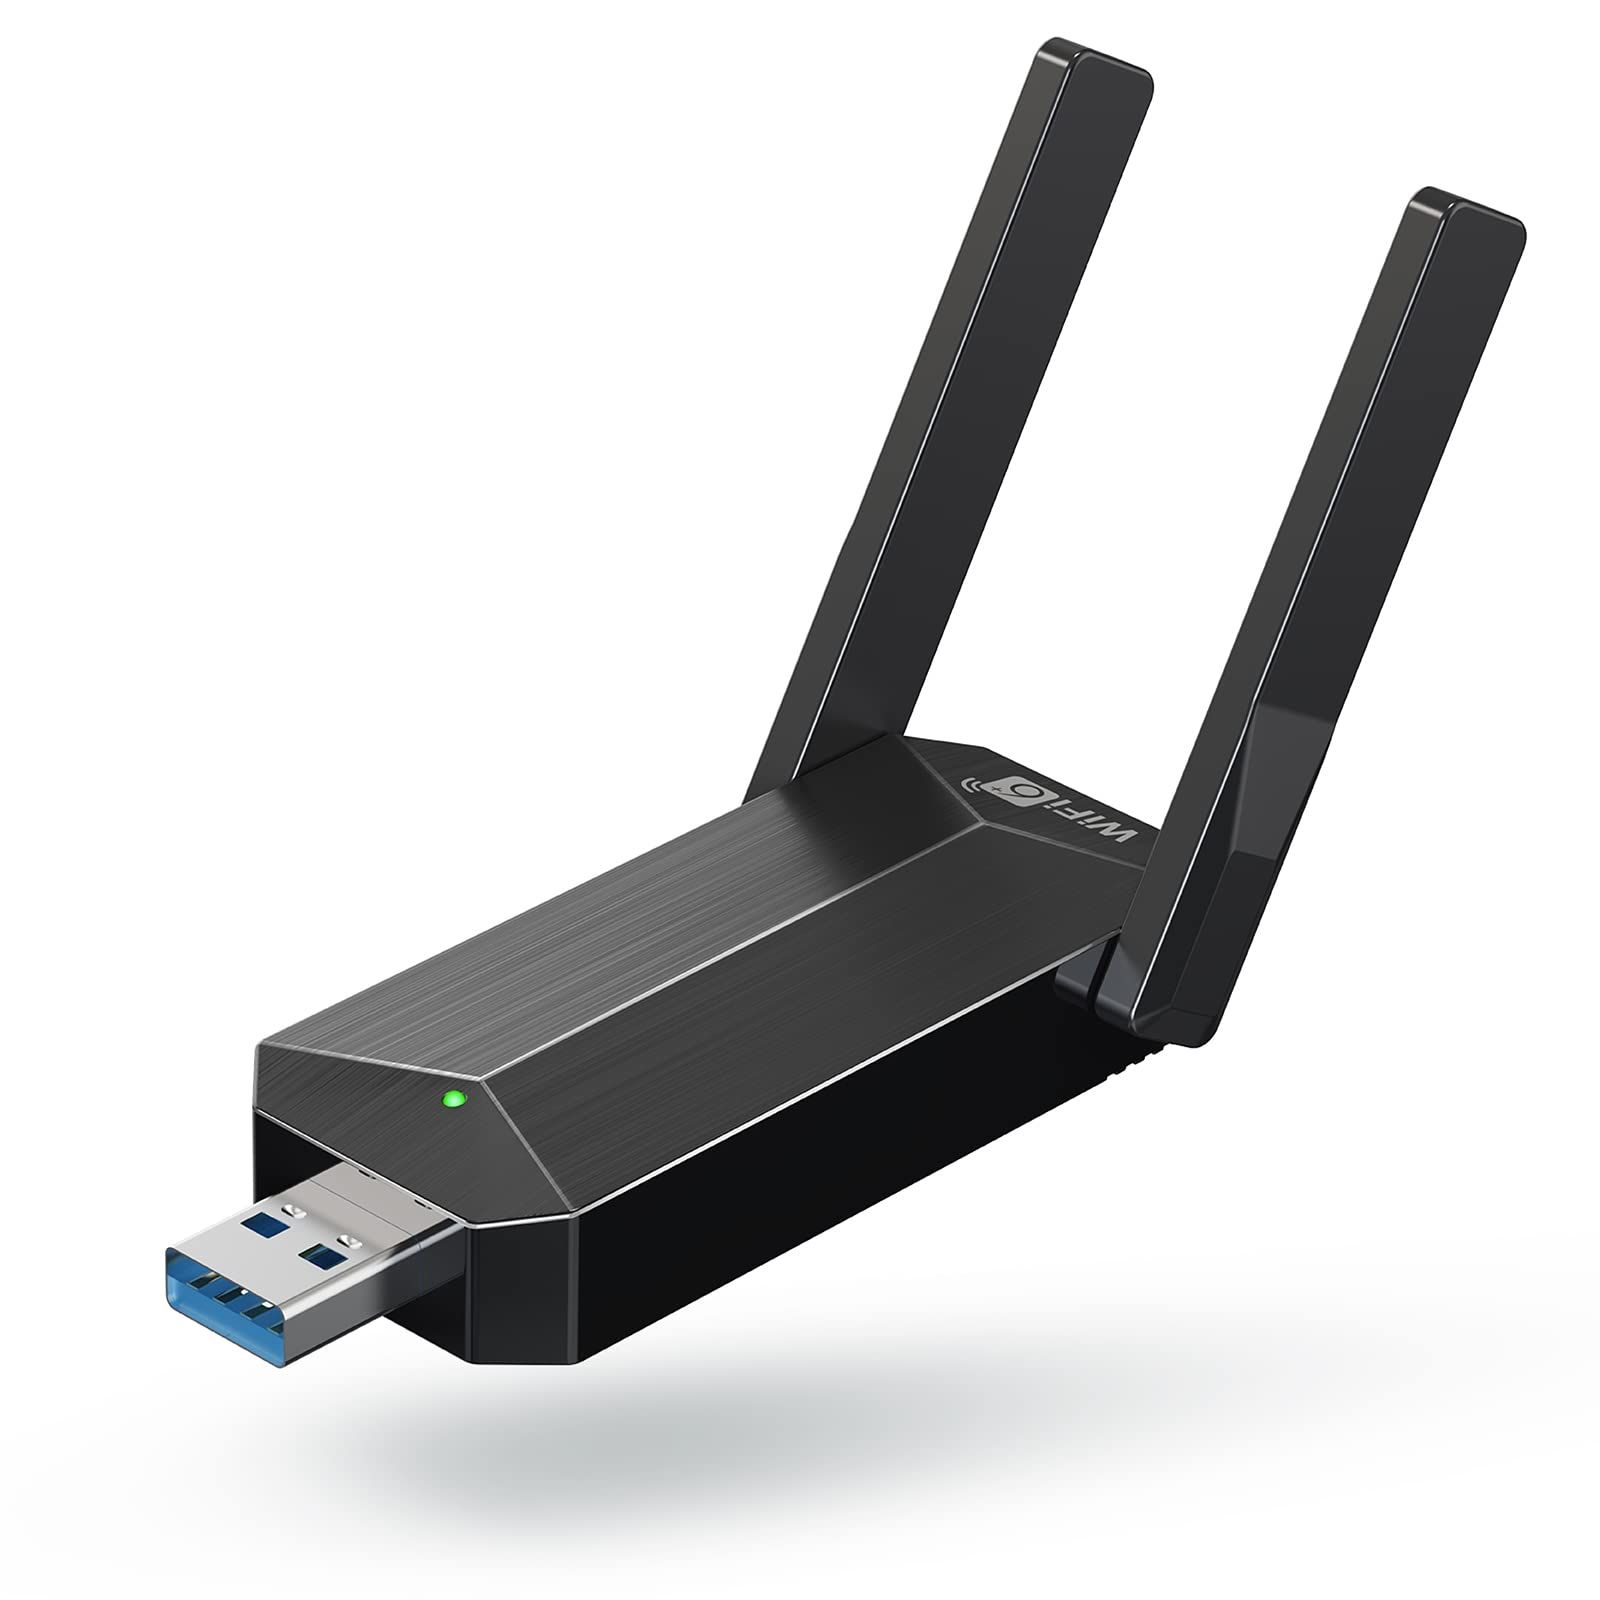
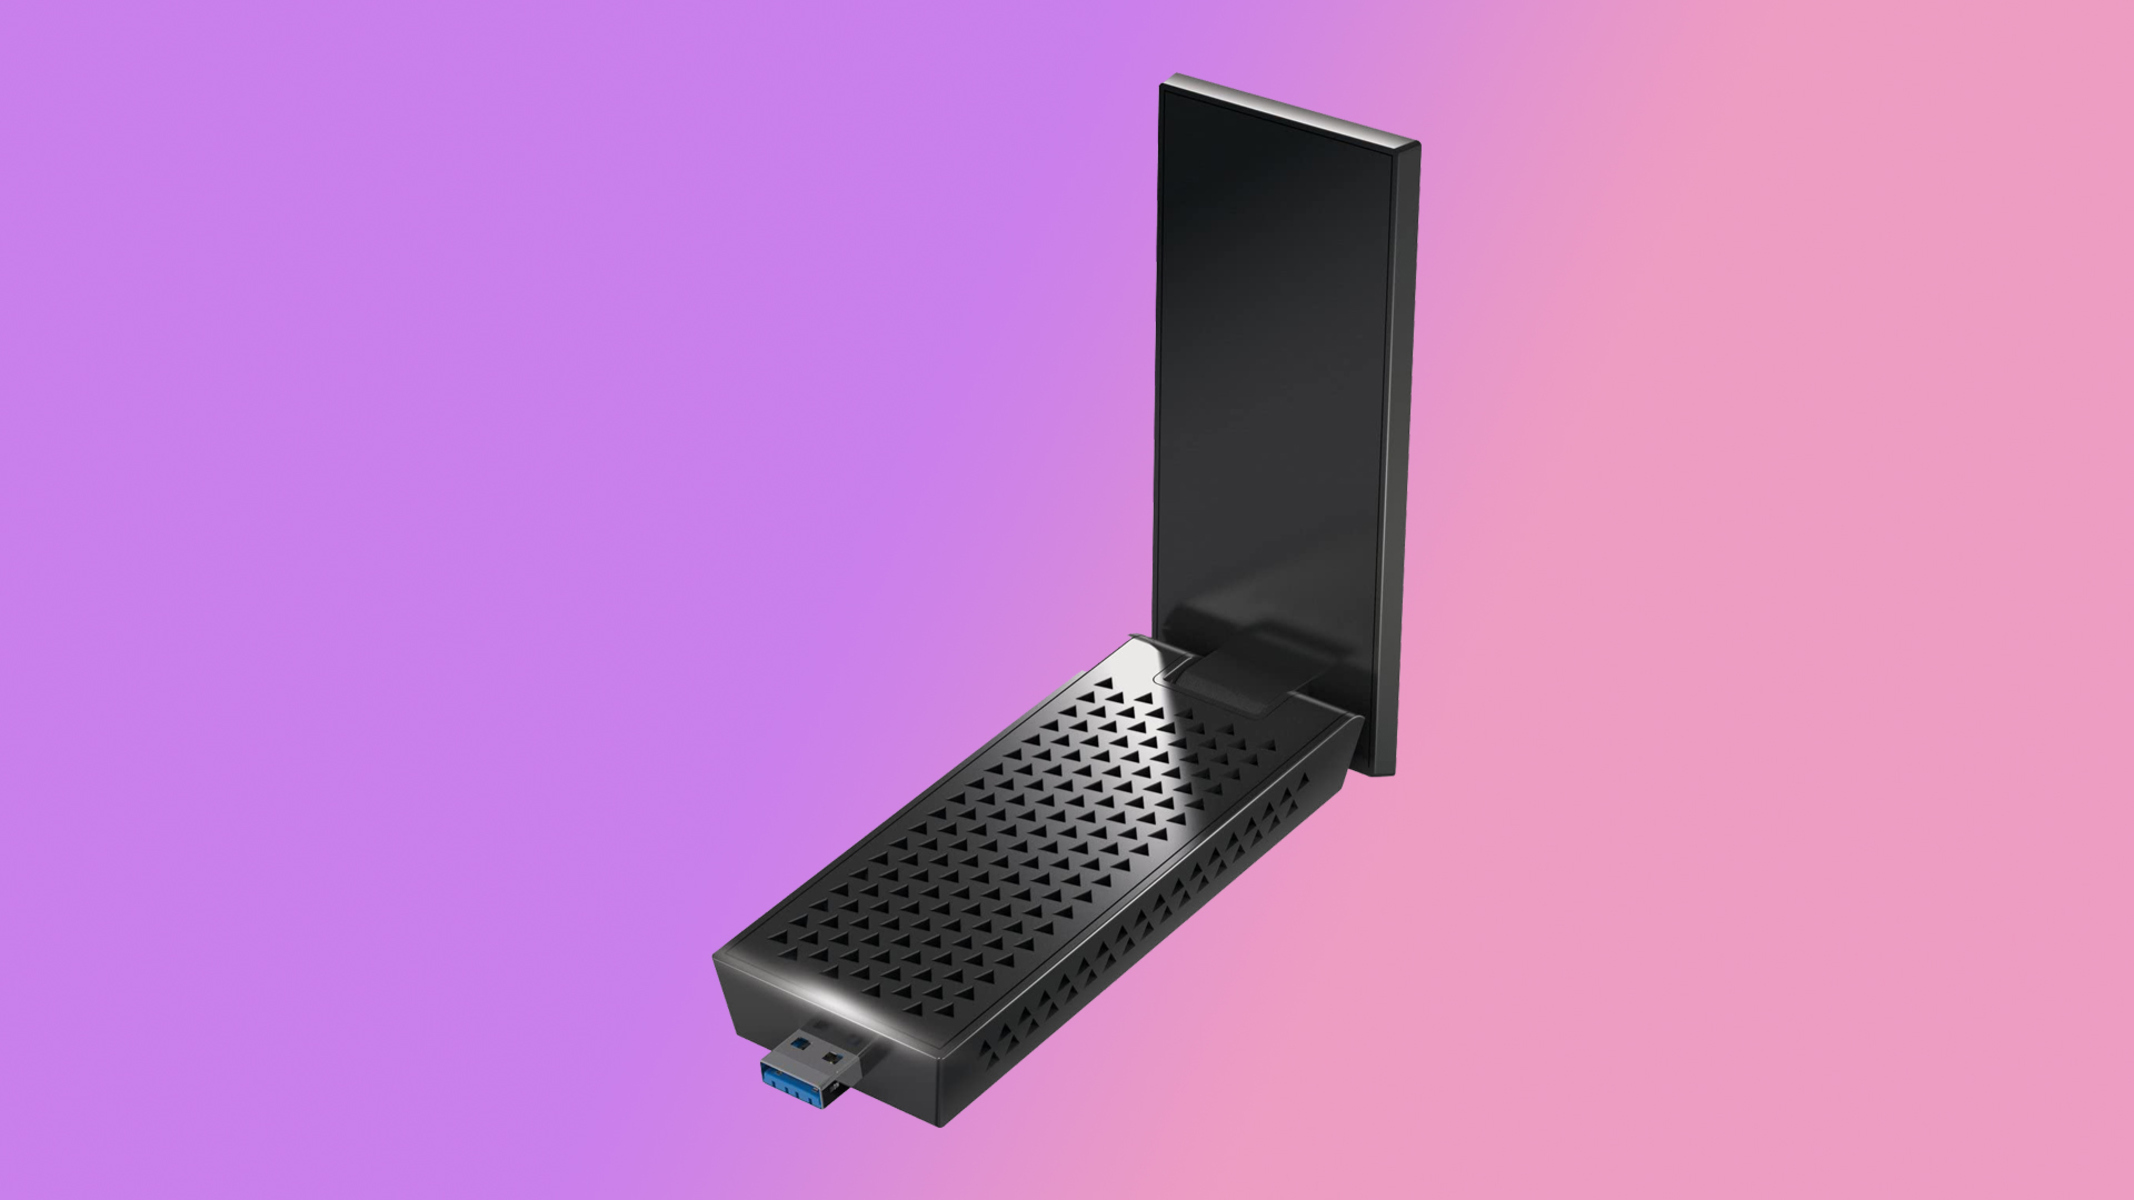
Before we delve into the details, it’s important to ensure that your device has a Wi-Fi adapter and that it is enabled. Most modern laptops and desktop computers come with built-in Wi-Fi adapters, but if you are using a desktop computer or an older laptop, you may need to purchase a separate USB Wi-Fi adapter.
Once you have confirmed that your device has a working Wi-Fi adapter, the next step is to enable the Wi-Fi connection. Windows 10 provides a straightforward process to enable Wi-Fi, and we will guide you through it.
After enabling Wi-Fi, the exciting part begins – connecting to a Wi-Fi network. Windows 10 makes it effortless to connect to available networks, whether it’s a home network, a public network, or a network with a hidden SSID.
While connecting to Wi-Fi networks is typically a smooth process, there can be occasional issues that prevent a successful connection. We will address common troubleshooting steps that you can take to resolve these issues and ensure a stable and reliable Wi-Fi connection.
Lastly, it’s important to know how to disconnect from a Wi-Fi network when you no longer want to be connected. Windows 10 offers a simple method to disconnect from Wi-Fi networks, and we will cover this as well.
By the end of this guide, you will be equipped with the knowledge and skills to connect to Wi-Fi networks on your Windows 10 device with ease. Whether you are a beginner or an experienced user, this guide will provide you with valuable insights to make the most out of your Wi-Fi connection.
Checking Wi-Fi Adapter Hardware
Before you can connect to a Wi-Fi network on your Windows 10 device, it’s important to verify that your device has a Wi-Fi adapter and ensure that it is functioning properly. Most modern laptops and desktop computers come with built-in Wi-Fi adapters, but if you are using a desktop computer or an older laptop, you may need to purchase a separate USB Wi-Fi adapter.
Here’s how you can check your Wi-Fi adapter hardware:
- Open the “Device Manager” on your Windows 10 device. You can do this by right-clicking on the “Start” button and selecting “Device Manager” from the menu.
- In the Device Manager window, look for the “Network Adapters” category and expand it.
- You should see a list of network adapters, including your Wi-Fi adapter. It may be labeled as “Wi-Fi,” “Wireless LAN,” or something similar.
- If you see a yellow exclamation point or a red X icon next to your Wi-Fi adapter, it indicates an issue with the hardware or driver. Right-click on the Wi-Fi adapter and select “Update driver” to resolve the problem.
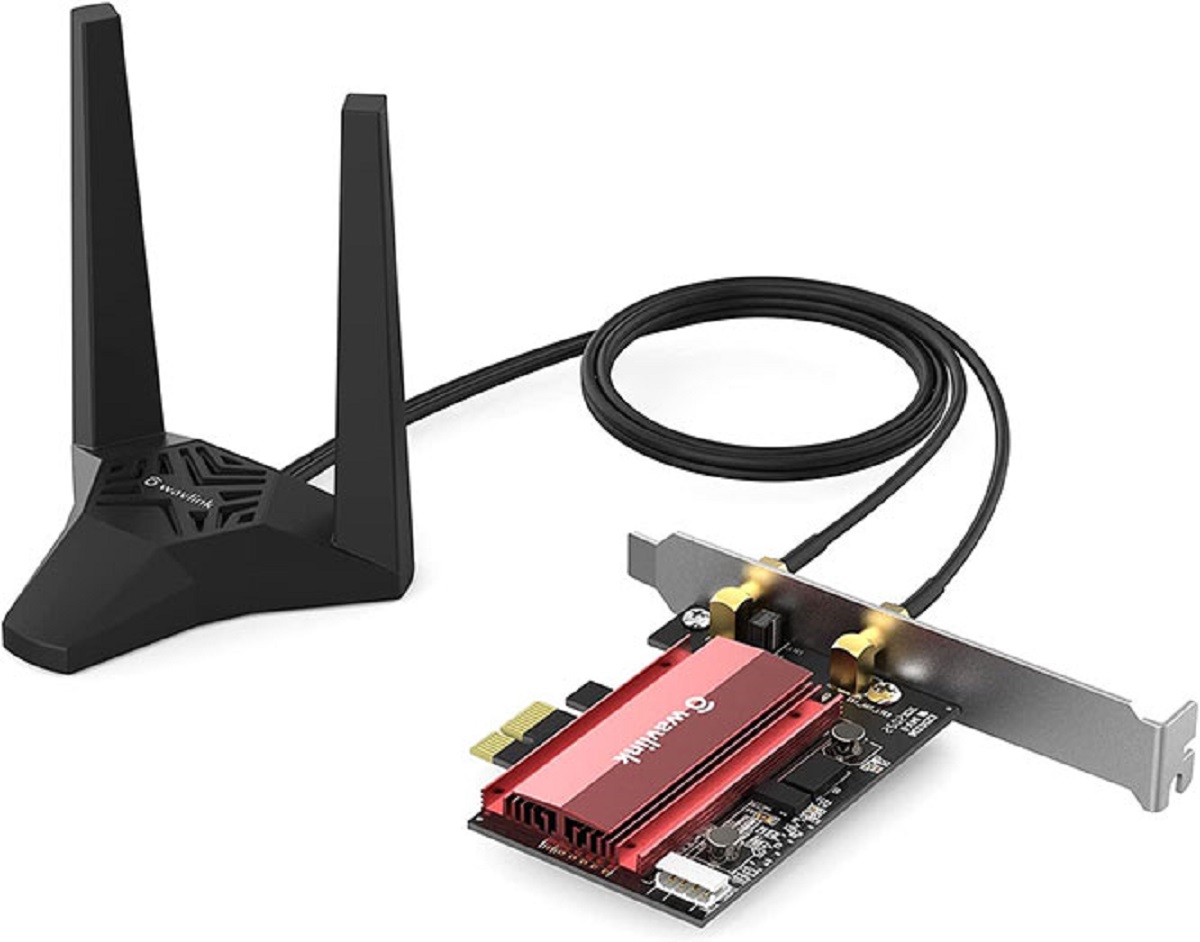
If you do not see any Wi-Fi adapter listed in the Device Manager, it means that your device does not have a built-in adapter, or the adapter is not functioning properly. In this case, you may need to purchase a compatible USB Wi-Fi adapter and install it on your device.
It’s worth noting that some laptops have a physical Wi-Fi switch or a function key combination to enable or disable Wi-Fi. Ensure that the Wi-Fi switch is turned on or use the appropriate key combination to enable Wi-Fi on your device.
Verifying the presence and functionality of your Wi-Fi adapter is an important first step before attempting to connect to a Wi-Fi network. Once you have confirmed that your device has a working Wi-Fi adapter, you can proceed to the next step of enabling the Wi-Fi connection.
Enabling Wi-Fi Connection
After confirming that your device has a Wi-Fi adapter, the next step is to enable the Wi-Fi connection on your Windows 10 device. Enabling Wi-Fi is a straightforward process and can be done through the Settings app.
Follow these steps to enable Wi-Fi on your Windows 10 device:
- Click on the “Start” button located at the bottom left corner of your screen, and then click on the “Settings” icon.
- In the Settings window, click on the “Network & Internet” option.
- In the left pane of the Network & Internet settings, click on “Wi-Fi.”
- In the Wi-Fi settings, toggle the switch under “Wi-Fi” to the “On” position. This will enable the Wi-Fi connection on your device.
Once the Wi-Fi connection is enabled, your Windows 10 device will start scanning for available Wi-Fi networks in the vicinity. These networks will be listed under the “Available networks” section in the Wi-Fi settings.
If your device has a Wi-Fi switch or a dedicated key combination to enable or disable Wi-Fi, you can also use that to toggle the Wi-Fi connection on or off.
Enabling the Wi-Fi connection is an essential step to connect to a Wi-Fi network on your Windows 10 device. Once you have successfully enabled Wi-Fi, you can proceed to the next section to learn how to connect to a Wi-Fi network.
Connecting to a Wi-Fi Network
Once the Wi-Fi connection on your Windows 10 device is enabled, you can easily connect to available Wi-Fi networks in your area. Windows 10 provides a user-friendly interface to view and connect to Wi-Fi networks.
Follow these steps to connect to a Wi-Fi network on your Windows 10 device:
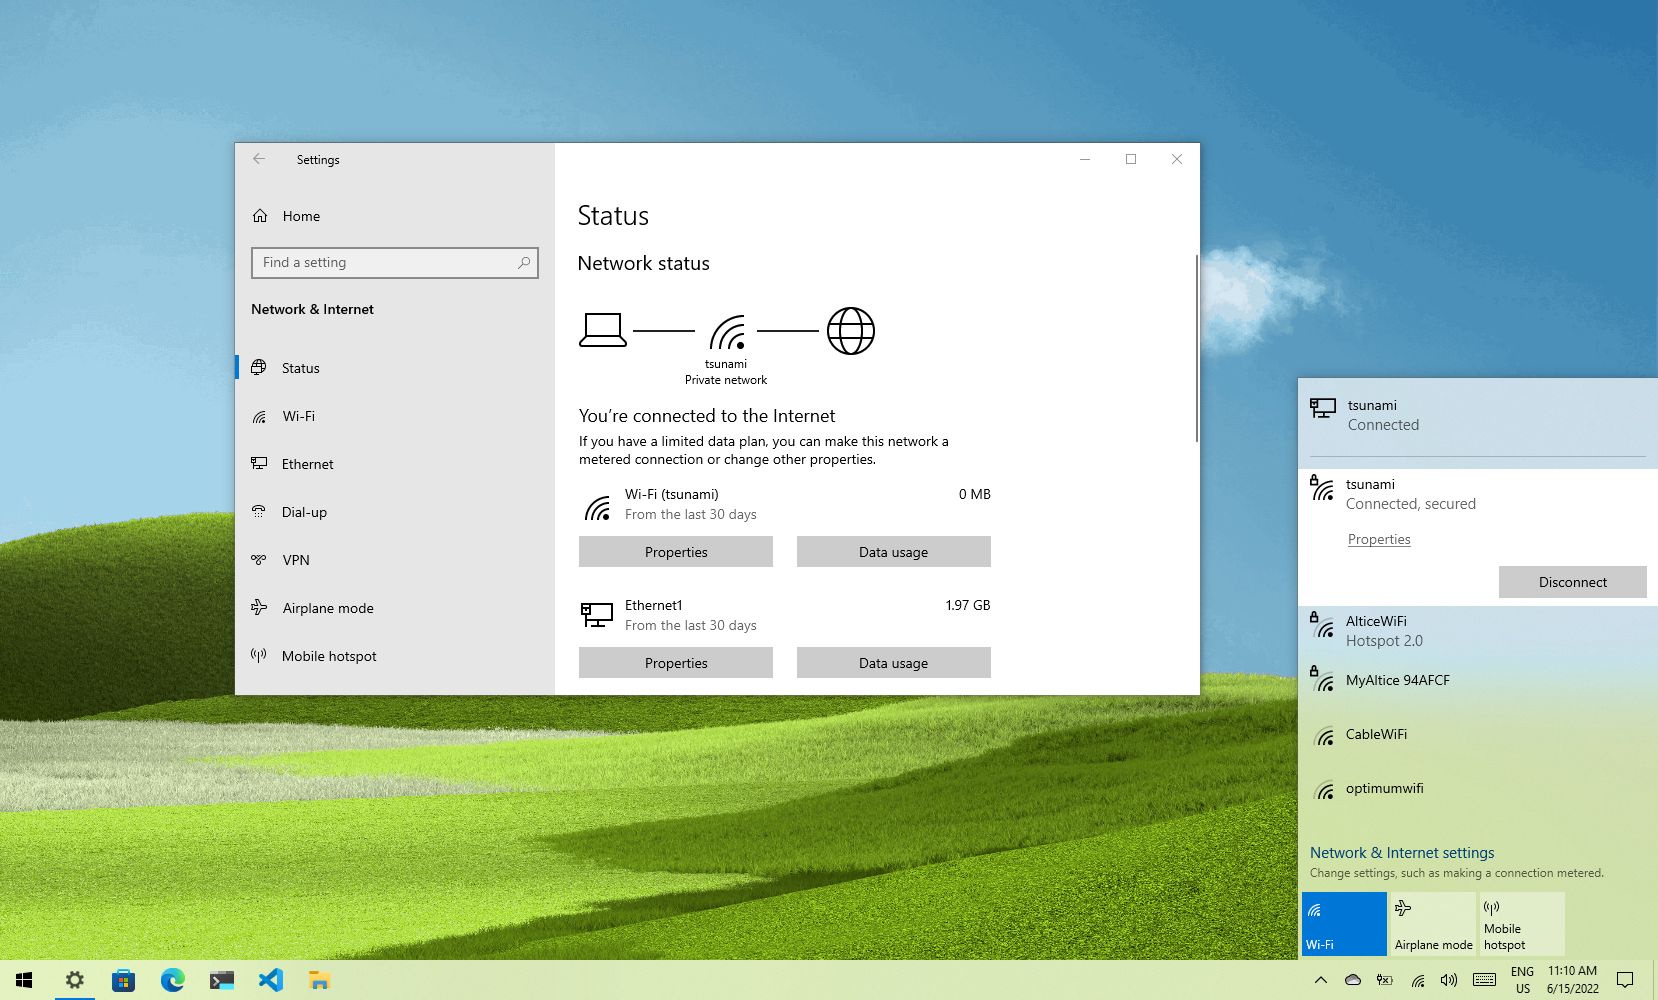
- Click on the network icon in the system tray, located at the bottom right corner of your screen. It looks like a series of bars or waves, signaling the availability of Wi-Fi networks.
- A list of available Wi-Fi networks will appear. Click on the network you want to connect to from the list.
- If the network is secured with a password, you will need to enter the password. Type the password in the provided field and click “Next” or press the Enter key. If the network is an open network, you will be connected automatically.
- Once you are connected, your Windows 10 device will display a notification confirming the successful connection to the Wi-Fi network.
If you want your Windows 10 device to automatically connect to the Wi-Fi network whenever it is in range, you can check the “Connect automatically” option while entering the password. This way, you don’t have to manually connect to the network each time.
If the Wi-Fi network you want to connect to has a hidden SSID (network name), click on the “Hidden network” option in the Wi-Fi network list. Then, enter the network name and other required details to connect to the hidden Wi-Fi network.
Windows 10 also allows you to prioritize Wi-Fi networks by moving them up or down the list. To do this, click on “Network settings” in the Wi-Fi network list, and then click on “Manage known networks.” From there, you can rearrange the order of the networks according to your preference.
Connecting to a Wi-Fi network on your Windows 10 device is an effortless process, thanks to the user-friendly interface and intuitive steps provided by the operating system. Once connected, you can enjoy a reliable and fast internet connection on your device.
Troubleshooting Wi-Fi Connection
While connecting to Wi-Fi networks on your Windows 10 device is usually a seamless experience, there are times when you may encounter issues that prevent a successful connection. Fortunately, Windows 10 provides several troubleshooting tools and methods to help you resolve these Wi-Fi connection problems.
Here are some common troubleshooting steps you can take to fix Wi-Fi connection issues:
- Restart your device: Sometimes, a simple restart can resolve temporary connection issues. Restart your Windows 10 device and try connecting to the Wi-Fi network again.
- Check network cables and power: If you are using a Wi-Fi router, ensure that the router is powered on and the network cables are securely connected. A loose or faulty cable connection can cause connectivity problems.
- Move closer to the router: If you are experiencing weak Wi-Fi signal or intermittent connection, try moving closer to the Wi-Fi router. Physical obstructions and distance can affect the signal strength.
- Forget and reconnect to the network: In the Wi-Fi settings, click on the network you are having trouble with, and then click on “Forget.” After that, scan for available networks and reconnect to the problematic network by entering the password.
- Update Wi-Fi adapter driver: Outdated or incompatible Wi-Fi adapter drivers can cause connectivity issues. To update the driver, go to the Device Manager, expand the “Network Adapters” category, right-click on your Wi-Fi adapter, and select “Update driver.”
- Reset network settings: In the Settings app, go to “Network & Internet” > “Status” > “Network reset.” This will reset all network settings to their default state, including resetting Wi-Fi adapters and deleting saved networks. Note that you will need to reconnect to Wi-Fi networks after performing this reset.
- Run the network troubleshooter: Windows 10 has a built-in network troubleshooter that can automatically detect and fix common network connectivity issues. To access it, go to “Settings” > “Update & Security” > “Troubleshoot” > “Internet Connections.” Follow the on-screen instructions to run the troubleshooter.
If the above troubleshooting steps do not resolve your Wi-Fi connection problem, you may need to seek further assistance. Contact your internet service provider (ISP) or a qualified technician to help diagnose and fix the issue.
Remember, troubleshooting Wi-Fi connection issues can vary depending on your specific circumstances and network setup. Experimenting with different solutions and seeking professional help when needed will help you maintain a stable and reliable Wi-Fi connection on your Windows 10 device.
Disconnecting from Wi-Fi Network
When you no longer need to be connected to a Wi-Fi network on your Windows 10 device, it’s important to know how to disconnect and free up your device’s resources. Windows 10 provides a simple method to disconnect from a Wi-Fi network without much hassle.
Here’s how you can disconnect from a Wi-Fi network on your Windows 10 device:
- Click on the network icon in the system tray, located at the bottom right corner of your screen. It looks like a series of bars or waves, indicating the availability of Wi-Fi networks.
- A list of connected Wi-Fi networks will be displayed. Click on the network that you want to disconnect from.
- In the network details pane, click on the “Disconnect” button.
After disconnecting from the Wi-Fi network, your Windows 10 device will no longer be connected to that particular network. It will then start searching for other available Wi-Fi networks in the vicinity.
In addition to the manual disconnection method mentioned above, Windows 10 also allows you to automatically disconnect from a Wi-Fi network after a certain period of inactivity. To enable this feature, go to “Settings” > “Network & Internet” > “Wi-Fi.” Under “Wi-Fi,” click on “Manage known networks,” then click on the network you want to configure. Toggle the switch under “automatically connect” to “Off” to disconnect after inactivity.
Disconnecting from a Wi-Fi network is useful when you want to conserve battery life or switch to another network with a stronger signal. It’s a simple process that can be done quickly whenever needed.
It’s worth noting that disconnecting from a Wi-Fi network does not remove it from your device’s list of known networks. If you want to remove a network completely from your device, you can choose the “Forget” option in the Wi-Fi settings. This will remove the network from the list and require you to manually reconnect and re-enter the password if you want to connect again in the future.
Understanding how to disconnect from a Wi-Fi network gives you greater control over your device’s connectivity options and allows you to manage your network connections efficiently on your Windows 10 device.
Conclusion
Connecting to Wi-Fi networks is an essential aspect of using a Windows 10 device, whether it’s for work, entertainment, or staying connected with friends and family. In this guide, we have covered the necessary steps to connect to a Wi-Fi network on your Windows 10 device, starting from checking the Wi-Fi adapter hardware to troubleshooting common issues.
First, we emphasized the importance of verifying that your device has a Wi-Fi adapter and ensuring that it is functioning properly. We then provided instructions on how to enable the Wi-Fi connection on your Windows 10 device, making it ready to connect to available networks.
Next, we walked you through the process of connecting to a Wi-Fi network on your Windows 10 device. With the user-friendly interface provided by Windows 10, you can easily select the desired network, enter the password if required, and establish a connection in no time.
Inevitably, there may be instances when you encounter Wi-Fi connection issues. That’s why we dedicated a section to troubleshooting common problems. From restarting your device to running the network troubleshooter, we provided various methods to help you diagnose and resolve connectivity issues.
Lastly, we discussed the process of disconnecting from a Wi-Fi network when it’s no longer needed. We explained how to manually disconnect from a network, as well as how to configure your device to automatically disconnect after a period of inactivity.
By following the steps outlined in this guide, you will be able to connect to Wi-Fi networks and enjoy a seamless browsing and online experience on your Windows 10 device. Remember to keep your Wi-Fi adapter hardware in check, enable the Wi-Fi connection, and troubleshoot any encountered issues using the methods provided. With these skills, you can stay connected to the internet wherever you go.