Introduction
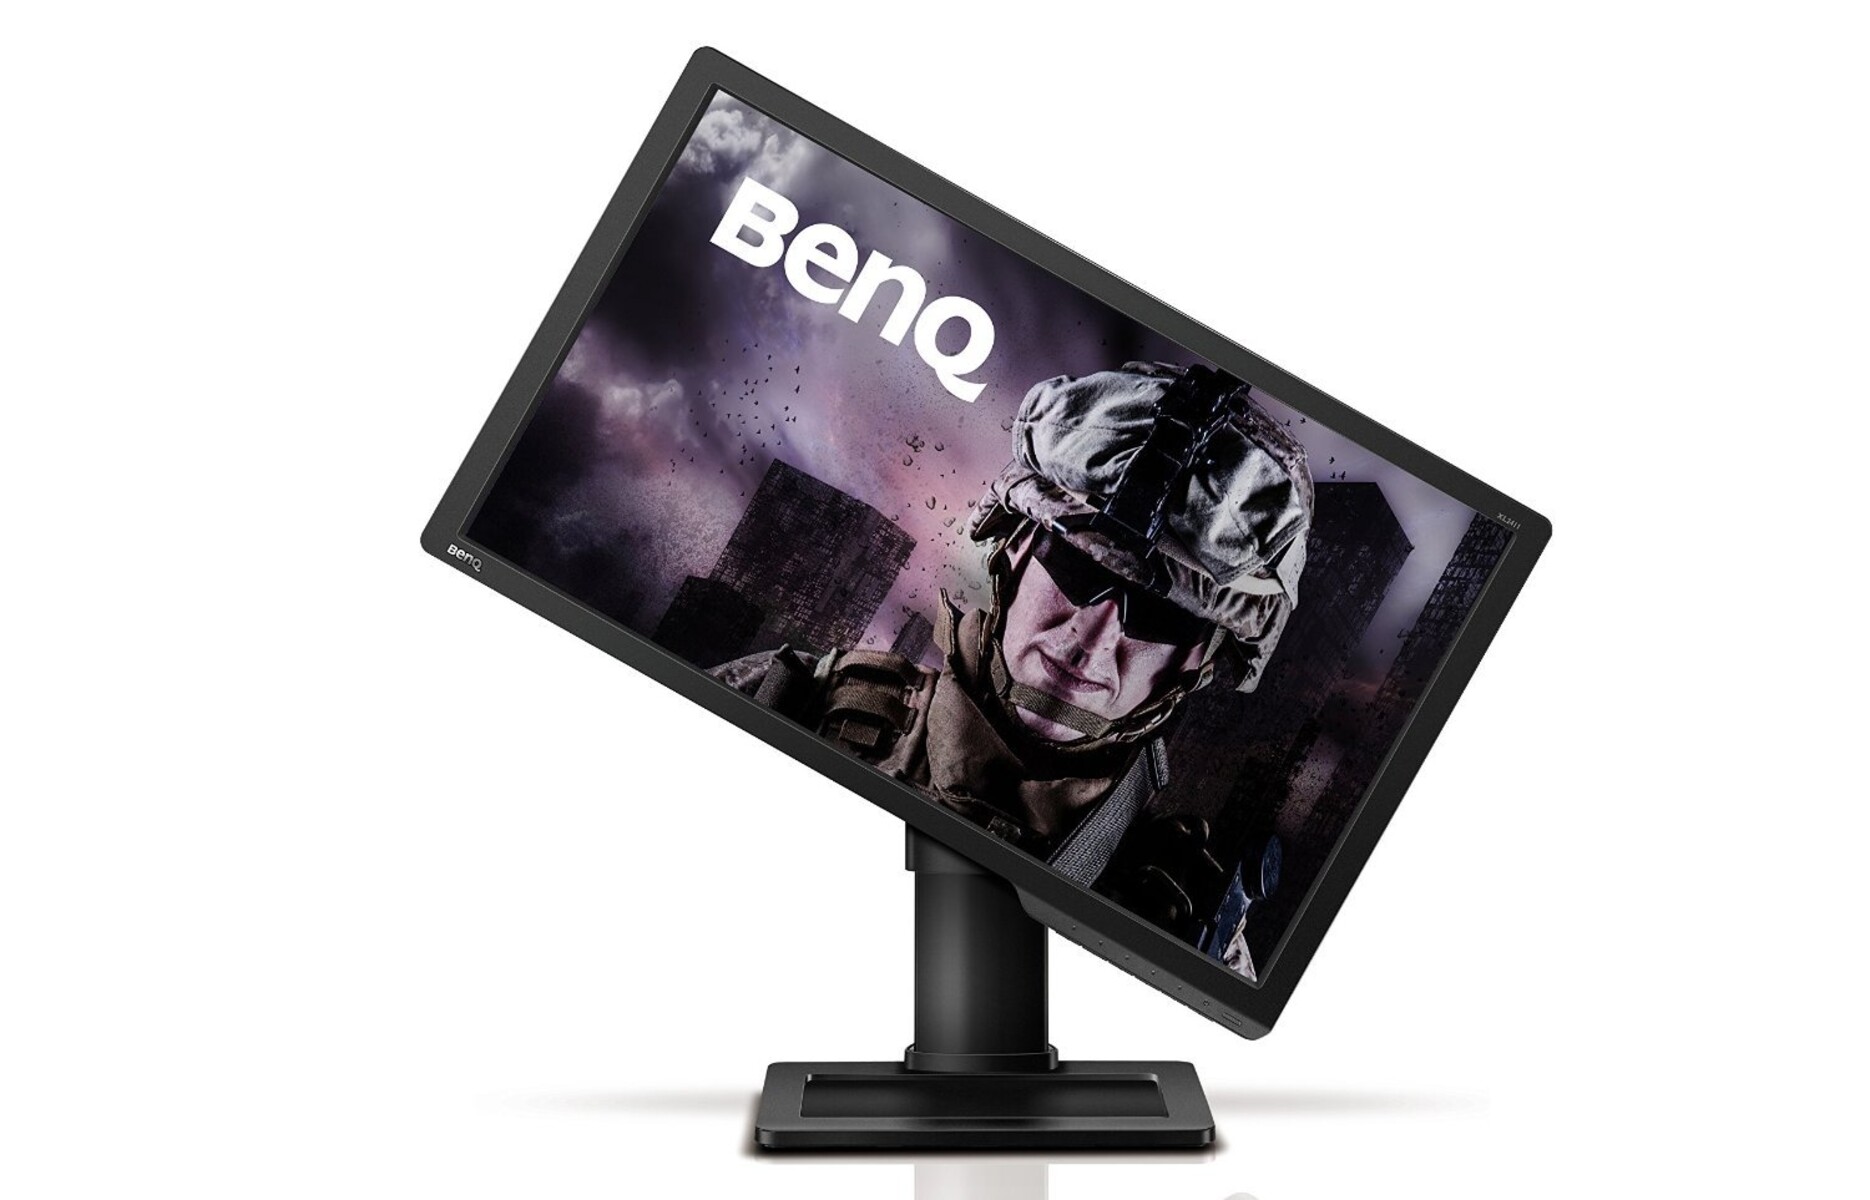
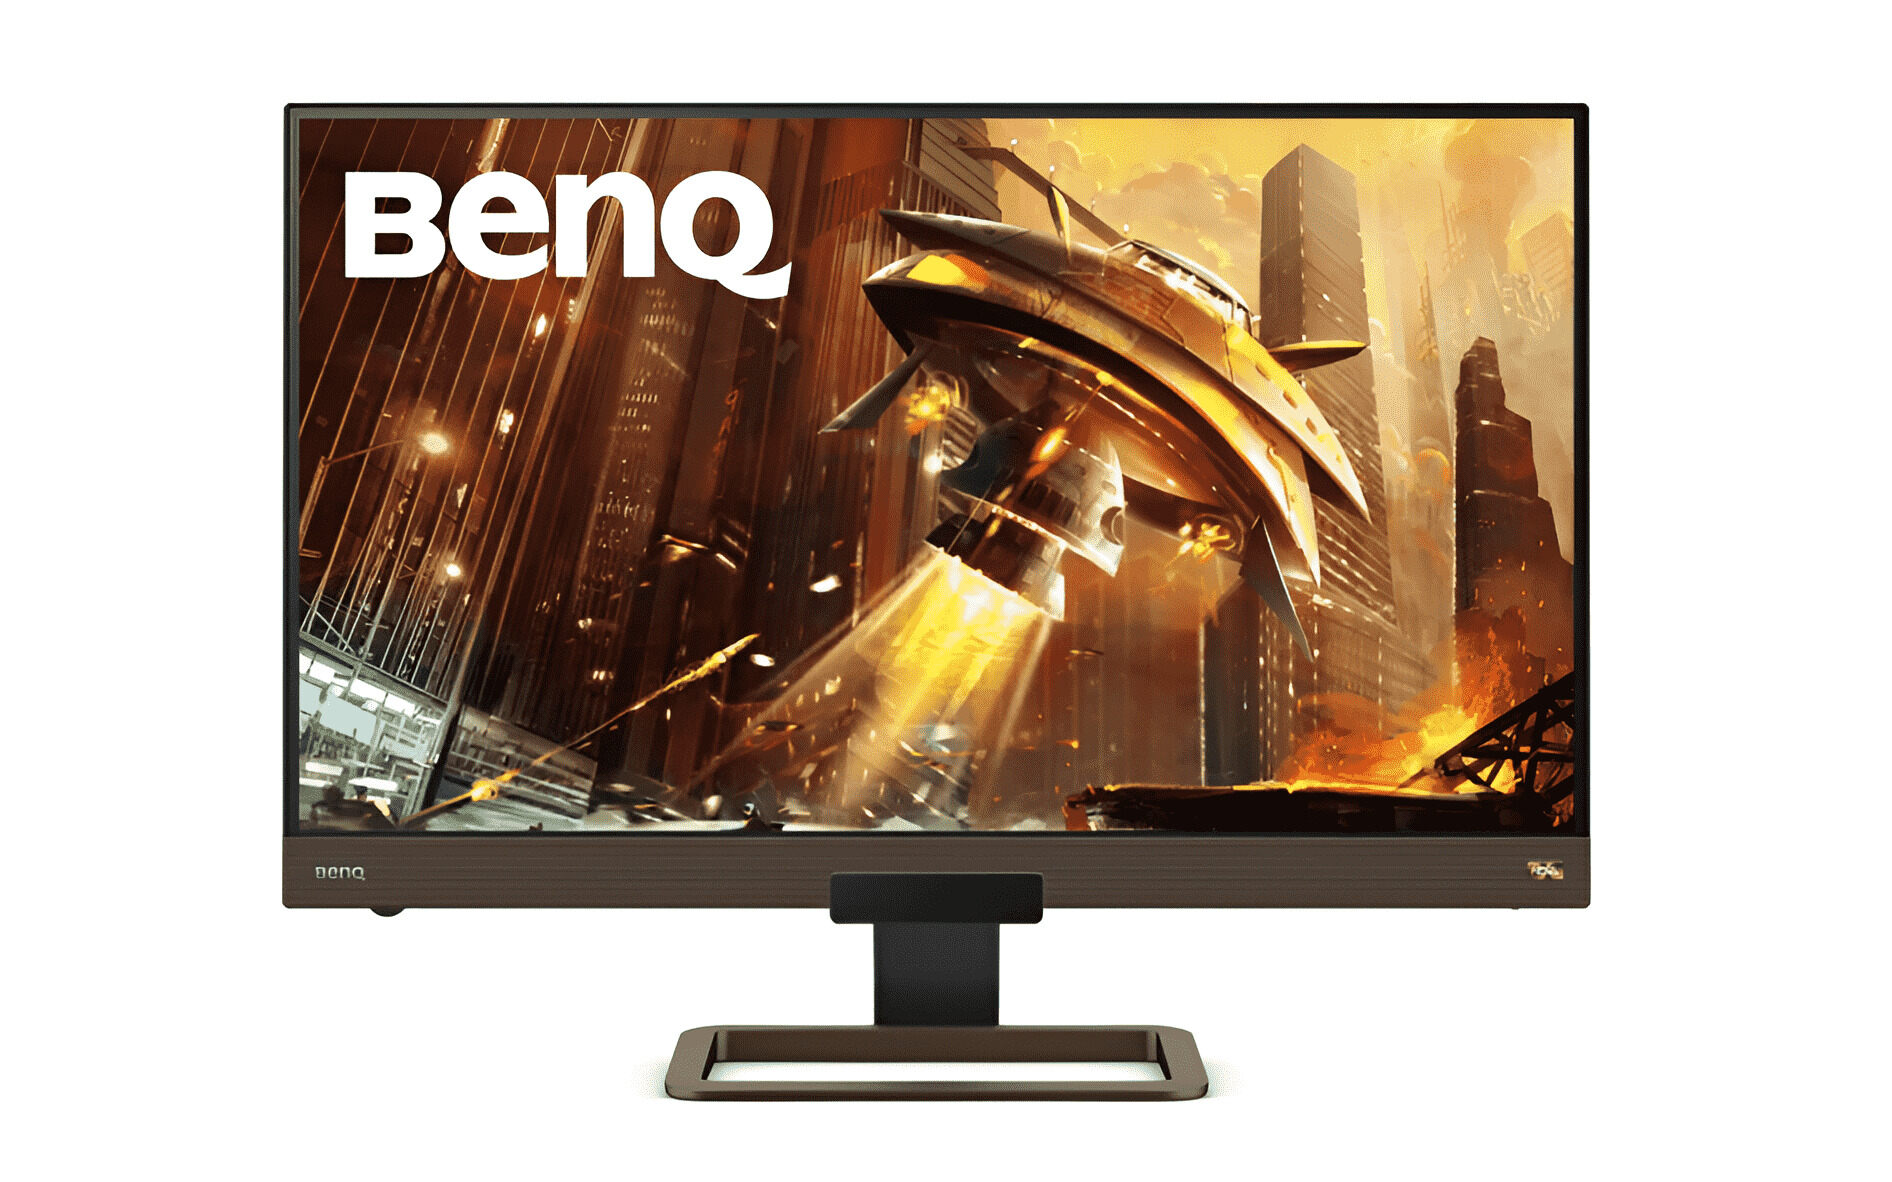
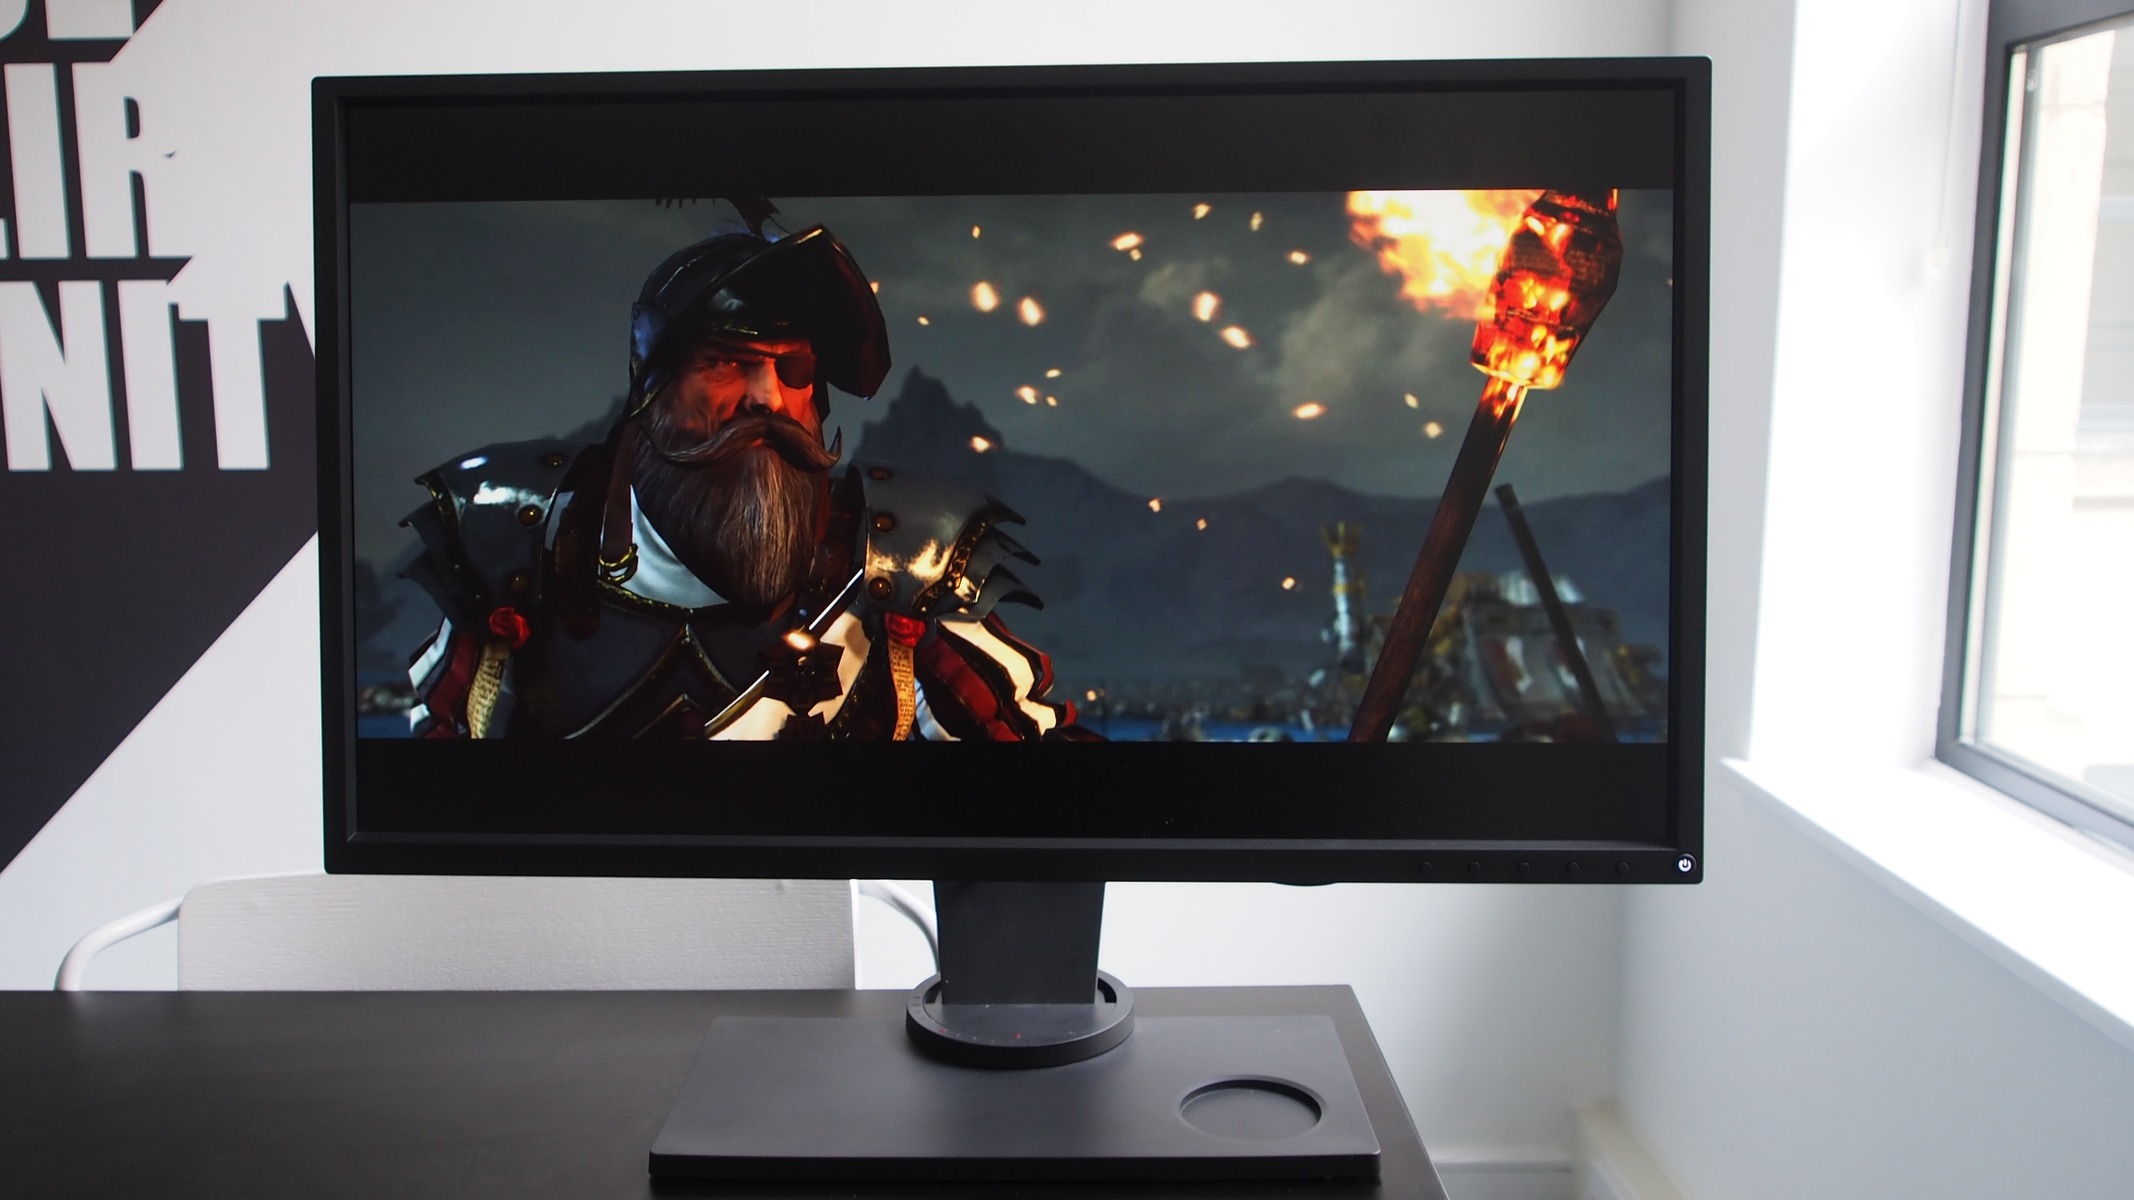
Welcome to the world of gaming with the BenQ XL2730Z Gaming Monitor! Whether you’re a casual gamer or a serious eSports competitor, this high-performance monitor is designed to take your gaming experience to the next level. With its stunning visuals, fast response time, and customizable settings, the BenQ XL2730Z offers a truly immersive gaming experience.
In this article, we will guide you through the process of setting up and connecting your BenQ XL2730Z Gaming Monitor, ensuring that you can start gaming as quickly as possible. We’ll cover everything from unboxing the monitor to configuring display settings and troubleshooting common connection issues.
Getting your BenQ XL2730Z up and running is a straightforward process, but it’s important to follow the correct steps to ensure optimal performance. So let’s dive in and get started!
Before we begin, make sure you have all the necessary cables and accessories provided in the monitor’s packaging. This includes the power cable, DisplayPort cable, and HDMI cable. Additionally, ensure that your gaming setup meets the minimum system requirements for the monitor, including the appropriate graphics card and operating system.
Once you have everything ready, we can move on to the next steps, beginning with unboxing the monitor.
Unboxing the BenQ XL2730Z
When you first receive your BenQ XL2730Z Gaming Monitor, unboxing it is an exciting moment. Follow these steps to safely unbox and set up your monitor:
- Start by finding a clear and spacious area to unpack your monitor. Make sure to place it on a flat surface to avoid any scratches or damage.
- Carefully remove the packaging material, taking note of any instructions or stickers on the box.
- Once the box is open, you will see the monitor securely packed with foam and protective coverings. Gently lift the monitor out of the box and place it on a soft surface.
- Remove the protective coverings from both the front and back of the monitor. Take care to avoid touching the screen directly to prevent smudges or fingerprints.
- Inspect the monitor for any visible damage or defects. If you notice any issues, contact BenQ customer support for assistance.
- Next, locate the accessories box that comes with the monitor. Open it and verify that all the necessary cables and accessories are included.
- Take a moment to familiarize yourself with the different cable types, including the power cable, DisplayPort cable, and HDMI cable.
- Ensure that you have the appropriate cables for your specific gaming setup.
- Keep the packaging materials and accessories box in case you need to return or transport the monitor in the future.
Once you have completed these steps, you are now ready to move on to connecting the power cable and getting your BenQ XL2730Z up and running. Make sure to follow the instructions in the next section to ensure proper connectivity.
Connecting the Power Cable
Now that you have unboxed your BenQ XL2730Z Gaming Monitor, it’s time to connect the power cable. Follow these steps to ensure a secure and reliable power connection:
- Locate the power cable that came with your monitor. It should be a standard power cable with a three-pronged connector.
- Identify the power port on the back of the monitor. It is usually located near the bottom and is labeled “Power”.
- Take the power cable and insert the plug into the power port on the monitor. Make sure it is inserted firmly and securely.
- The other end of the power cable has a standard three-pronged plug. Connect this plug to a power outlet or surge protector.
- Ensure that the power outlet or surge protector is working correctly and providing power. You can test this by plugging in another device to see if it powers on.
- Once the power cable is connected to both the monitor and the power source, you can turn on the monitor by pressing the power button, usually located on the bottom right or bottom center of the monitor’s frame.
- If the power indicator light on the monitor turns on, it means that the monitor is receiving power and is ready to use.
It’s important to ensure that your monitor is securely connected to a reliable power source to prevent any interruptions during gameplay. If you experience any issues with the power connection or the monitor does not turn on, double-check the cable connections and try plugging it into a different power outlet.
With the power cable successfully connected, you are now ready to move on to the next step, which is connecting the DisplayPort cable. We will go through this process in detail in the following section.
Connecting the DisplayPort Cable
To take full advantage of the high refresh rates and exceptional graphics of your BenQ XL2730Z Gaming Monitor, it’s important to connect the DisplayPort cable properly. Follow these steps to ensure a seamless and optimal display connection:
- Locate the DisplayPort cable that came with your monitor. It should have a connector on both ends.
- Identify the DisplayPort input on the back of the monitor. It is usually labeled “DisplayPort” and is distinct from other input ports such as HDMI.
- Take one end of the DisplayPort cable and insert it into the DisplayPort input on the back of the monitor. Make sure it is fully inserted and secure.
- Now, locate the DisplayPort output on your computer’s graphics card or display adapter. It should also be labeled “DisplayPort”.
- Take the other end of the DisplayPort cable and insert it into the DisplayPort output on your computer. Once again, ensure that it is fully inserted and seated properly.
- Once both ends of the DisplayPort cable are connected, tighten the screws on the connectors (if applicable) to secure the cable in place.
- With the cable securely connected, power on your computer and your BenQ XL2730Z Gaming Monitor.
- Make sure your computer recognizes the monitor. You may need to adjust the display settings in your computer’s operating system to ensure proper resolution and refresh rate.
- If the monitor does not display any image or if the image appears distorted, check the cable connections and ensure that the correct input source is selected on the monitor.
It’s worth noting that the DisplayPort cable provides the best performance for your gaming monitor, allowing for higher refresh rates and superior image quality. If your computer does not have a DisplayPort output, you can still use an HDMI cable, but it may limit the monitor’s capabilities.
Now that you have successfully connected the DisplayPort cable, we can move on to the next step, which is connecting the HDMI cable. We will guide you through this process in the following section.
Connecting the HDMI Cable
If you prefer using an HDMI connection for your BenQ XL2730Z Gaming Monitor, follow these steps to ensure a proper and reliable connection:
- Locate the HDMI cable that came with your monitor. It should have a connector on both ends.
- Identify the HDMI input on the back of the monitor. It is usually labeled “HDMI” and is separate from other input ports such as DisplayPort.
- Take one end of the HDMI cable and insert it into the HDMI input on the back of the monitor. Make sure it is firmly and securely inserted.
- Now, locate the HDMI output on your computer’s graphics card or display adapter. It should also be labeled “HDMI”.
- Take the other end of the HDMI cable and insert it into the HDMI output on your computer. Ensure that it is fully inserted and seated properly.
- With both ends of the HDMI cable connected, tighten any screws on the connectors (if applicable) to ensure a secure connection.
- Power on your computer and your BenQ XL2730Z Gaming Monitor.
- Check to see if the monitor displays the image from your computer. If not, you may need to adjust the display settings in your computer’s operating system.
- If required, select the correct input source on the monitor’s on-screen display (OSD) menu to ensure that the HDMI input is active.
- If you experience any issues with the HDMI connection, double-check the cable connections and try using a different HDMI port on your computer or monitor.
Although the HDMI connection is widely compatible and commonly used, it’s essential to note that it may have limitations compared to the DisplayPort connection in terms of refresh rates and image quality.
Now that you have successfully connected the HDMI cable, we can proceed to adjust the stand and position the monitor for optimal viewing comfort. This will be covered in the next section.
Adjusting the Stand and Positioning the Monitor
Now that your BenQ XL2730Z Gaming Monitor is properly connected, it’s time to adjust the stand and position it for optimal viewing comfort during your gaming sessions. Follow these steps to ensure a comfortable and ergonomic setup:
- Start by locating the stand adjustment buttons on the back of the monitor. These buttons allow you to adjust the height, tilt, and swivel of the monitor.
- Press the height adjustment button and gently lift or lower the monitor to your preferred height. Make sure to maintain a straight and comfortable viewing angle.
- If necessary, adjust the tilt of the monitor by pressing the tilt adjustment button and angling the monitor forward or backward. Find the angle that feels most comfortable to you.
- The swivel adjustment allows you to rotate the monitor left or right. Use the swivel adjustment button to achieve the desired viewing orientation.
- Once you have adjusted the stand to your liking, ensure that it is secured in place by tightening the stand screws (if applicable).
- Position the monitor at a comfortable distance from your seating position, typically around 20 to 30 inches, to reduce eye strain.
- Ensure that the center of the monitor’s screen is at or slightly below eye level. This will help prevent neck and back strain during prolonged gaming sessions.
- Consider the lighting conditions in your gaming area. Avoid placing the monitor directly in front of bright lights or windows to minimize glare and ensure optimal visibility.
- If desired, you can also mount the monitor on a compatible VESA mount or wall mount for more flexibility in positioning.
- Make any necessary adjustments to the monitor’s positioning until you achieve a comfortable and ergonomic gaming setup.
Properly adjusting the stand and positioning of your BenQ XL2730Z Gaming Monitor is crucial for long-term comfort and optimal performance. Take the time to experiment with different adjustments and find the setup that suits your preferences and gaming needs.
Next, we will move on to configuring the display settings on your monitor to further enhance your gaming experience. Keep reading to learn more in the following section.
Configuring Display Settings
Now that you have successfully connected and positioned your BenQ XL2730Z Gaming Monitor, it’s time to configure the display settings to ensure the best visual experience for your gaming sessions. Follow these steps to adjust the display settings:
- Press the Menu button located on the front or bottom edge of the monitor to access the on-screen display (OSD) menu.
- Using the navigation buttons or joystick on the monitor, navigate through the menu options to find the display settings section.
- Within the display settings, you will have access to options such as brightness, contrast, color temperature, gamma, and more.
- Adjust the brightness and contrast settings to your preferences. It’s recommended to set the brightness to a comfortable level that doesn’t strain your eyes during long gaming sessions.
- Explore the color settings and adjust them according to your personal preference. Some gamers prefer vibrant and saturated colors, while others may opt for a more accurate and natural color representation.
- Consider adjusting the gamma setting to fine-tune the overall brightness and contrast levels of the monitor’s display.
- If available, enable any gaming-specific features on the monitor, such as motion blur reduction or game mode, to enhance your gaming experience.
- Make sure to save any changes made to the display settings before exiting the OSD menu.
- Take your time to experiment with different settings and find the configuration that best suits your gaming preferences and the type of games you play.
- Keep in mind that the optimal display settings may vary depending on factors like ambient lighting conditions and personal preferences. Don’t hesitate to make further adjustments as needed.
Configuring the display settings on your BenQ XL2730Z Gaming Monitor allows you to fine-tune the visuals to your liking, ensuring an immersive and visually satisfying gaming experience.
Now that you have successfully configured the display settings, it’s time to enjoy your gaming sessions on the BenQ XL2730Z Gaming Monitor. However, if you encounter any issues with the monitor’s connection or functionality, troubleshooting steps can help resolve them. Read on to the next section for troubleshooting common connection issues.
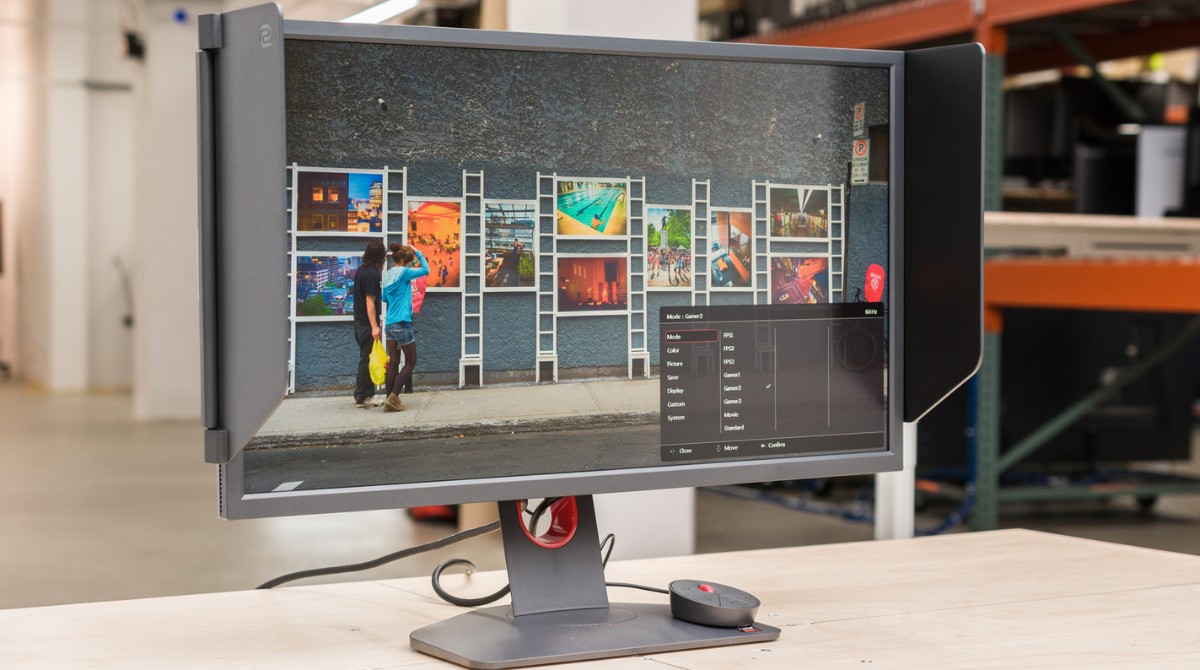
Utilizing the On-Screen Display (OSD) Menu
The On-Screen Display (OSD) menu on your BenQ XL2730Z Gaming Monitor provides easy access to various settings and customization options. By utilizing the OSD menu, you can personalize your monitor’s features and optimize your gaming experience. Here’s how to navigate and utilize the OSD menu:
- Press the Menu button located on the front or bottom edge of the monitor to open the OSD menu.
- Using the navigation buttons or joystick, navigate through the different menu options.
- Each menu option corresponds to a specific setting or feature. Common options include display settings, picture modes, input selection, and more.
- Use the navigation buttons to move through the menu options and select the desired setting or feature.
- To make adjustments, use the navigation buttons to navigate within the selected option and modify the settings according to your preferences.
- Depending on your monitor model, you may also have access to advanced features such as black equalizer, color vibrance, low blue light, and others. Explore the menu to discover all available options.
- Once you have made the desired adjustments, navigate to the “Save” or “Exit” option in the OSD menu to save your changes and exit the menu.
- It’s important to note that each monitor’s OSD menu may differ slightly in terms of layout and available options. Consult your monitor’s user manual for specific details regarding your model.
- Take some time to familiarize yourself with the OSD menu, explore its various options, and experiment with different settings. This will help you find the optimal configuration that suits your gaming preferences.
- If you’re unsure about any particular setting in the OSD menu, refer to the user manual or consult online resources for guidance and recommendations.
The OSD menu is a valuable tool that allows you to customize and fine-tune your BenQ XL2730Z Gaming Monitor according to your preferences and gaming needs. Utilize it to unlock the full potential of your monitor and enhance your gaming experience.
Now that you have learned how to navigate and utilize the OSD menu, let’s move on to the next section, which focuses on troubleshooting common connection issues that you may encounter with your BenQ XL2730Z Gaming Monitor.
Troubleshooting Common Connection Issues
While setting up your BenQ XL2730Z Gaming Monitor, you may encounter common connection issues that can disrupt your gaming experience. Here are some troubleshooting steps to help you resolve these issues:
- Check the cable connections: Ensure that all cables, including the power cable, DisplayPort cable, or HDMI cable, are securely connected to both the monitor and the appropriate ports on your computer.
- Verify power source: Double-check that the power cable is connected to a functional power outlet or surge protector. Test the outlet by plugging in another electronic device to ensure it is supplying power.
- Select the correct input source: Make sure the correct input source, such as DisplayPort or HDMI, is selected on the monitor. Use the OSD menu to navigate to the input selection options and choose the appropriate input source.
- Update drivers and graphics card: Ensure that your computer’s graphics card drivers are up to date. Visit the manufacturer’s website to download and install the latest drivers for optimal compatibility.
- Try a different cable or port: If the issue persists, try using a different cable or connecting to a different port on your graphics card. This can help identify if the problem lies with the cable or port.
- Restart your computer and monitor: Sometimes, a simple restart can resolve connection issues. Power off both your computer and the monitor, then turn them back on after a few moments.
- Adjust display settings: Check the display settings on your computer to ensure the appropriate resolution and refresh rate are selected for your gaming monitor. Incorrect settings can result in a blank or distorted display.
- Perform a factory reset: If you have exhausted all other troubleshooting steps, try performing a factory reset on your monitor. This will revert all settings back to their original defaults, potentially resolving any configuration issues.
- Contact customer support: If none of the above steps resolve the connection issue, it may be necessary to contact BenQ customer support for further assistance. They can provide guidance and help troubleshoot the problem.
By following these troubleshooting steps, you can identify and resolve common connection issues with your BenQ XL2730Z Gaming Monitor. Remember to refer to the user manual or consult online resources for specific troubleshooting guidance related to your monitor model, if needed.
With any connection issues resolved, you can now enjoy uninterrupted and immersive gaming sessions on your BenQ XL2730Z Gaming Monitor!
Conclusion
Congratulations! You have successfully set up and connected your BenQ XL2730Z Gaming Monitor, taking the necessary steps to ensure an optimal gaming experience. By unboxing the monitor, connecting the power cable, DisplayPort cable, and HDMI cable, adjusting the stand and positioning the monitor, configuring display settings, utilizing the OSD menu, and troubleshooting common connection issues, you have prepared yourself for immersive and enjoyable gaming sessions.
The BenQ XL2730Z Gaming Monitor offers impressive visuals, fast response times, and customizable settings, allowing you to fully immerse yourself in your favorite games. By adjusting the stand and positioning the monitor, you have optimized your viewing comfort and reduced the risk of strain during long gaming sessions.
Configuring the display settings through the OSD menu allows you to fine-tune the brightness, contrast, and color settings according to your preferences, enhancing the visual quality and immersiveness of your gaming experience.
Should you encounter any connectivity issues, the troubleshooting steps provided in this guide can help you quickly identify and resolve the problem, ensuring uninterrupted gameplay.
Now, armed with your BenQ XL2730Z Gaming Monitor and the knowledge on how to set it up and connect it properly, it’s time to dive into your favorite games and explore the world of gaming like never before. Enjoy the stunning visuals, responsive performance, and customizable features that this monitor brings to your gaming setup, and may your future gaming sessions be filled with excitement, competition, and victories!